
China Walkthrough - Part 3
More 3D Escape Room : Mystic Manor
This is our guide to Part 3 of the China chapter of 3D Escape Room : Mystic Manor. After competing part 2 you have followed the ghost to the tomb below the chamber. Back in the study you then use the book once more to activate the final part of this chapter.
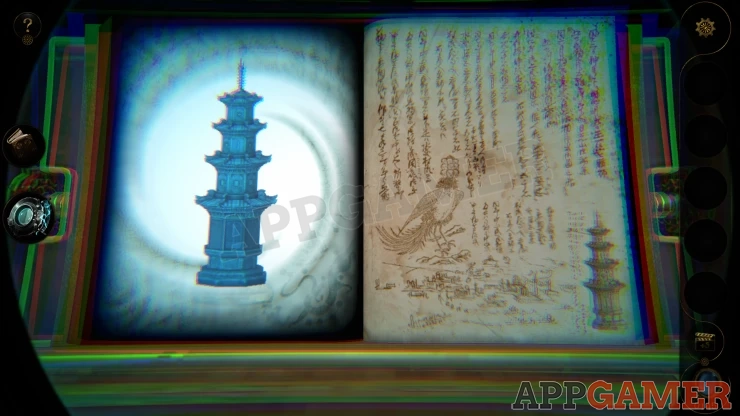
Book Two - China - Part Three Walkthrough
You find yourself in a tall room, the ghost appears and then passes through a doorway.
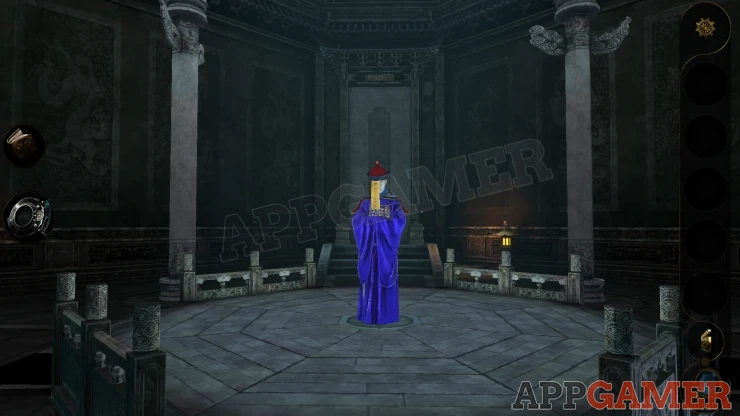
There are four columns in the room around the center. There are also 4 doors. Move to the door that the ghost went through.
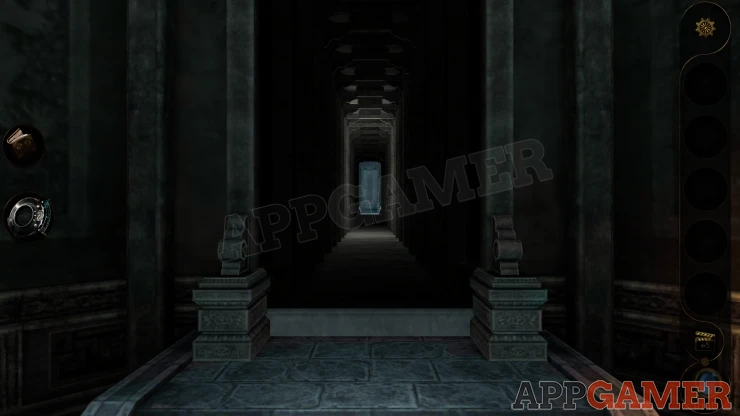
This will open and you will pass through a passage back to another room that looks the same. One of the the columns will lower.
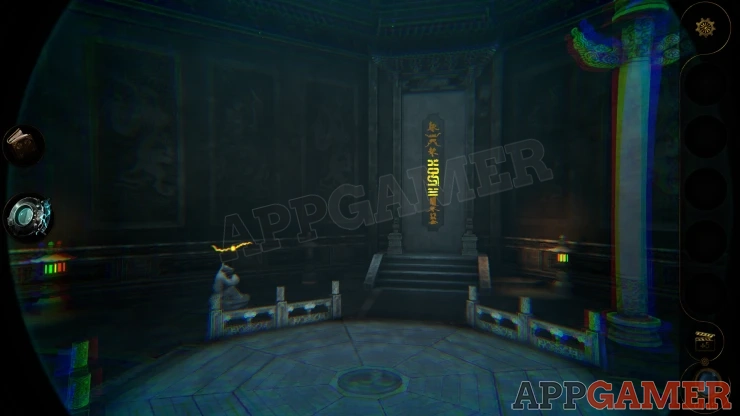
You now need to find the correct path through the doors to lower all of the columns. Use the Lens view to see symbols on the door and the columns.
Solution:
From the second room, turn to the door on the right and go through. You arrive at a room with a stone statue in the center.
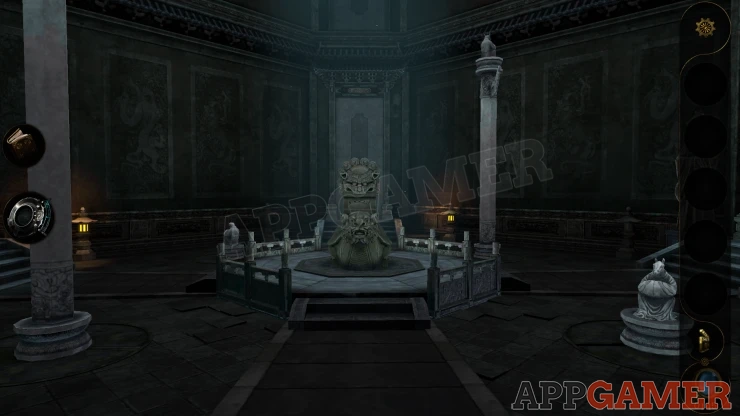
Turn around and go back through the door you came from. You arrive in a room with a large chest in the center.
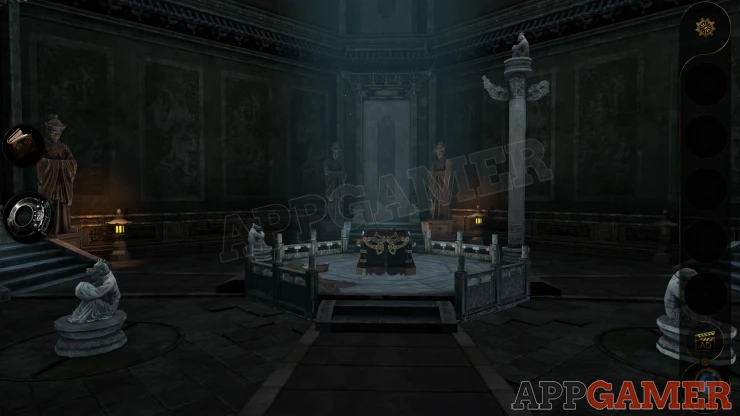
Turn to the door on the left and go through.
All of the columns should now be down. You are in a room with a Yin-yang symbol in the center
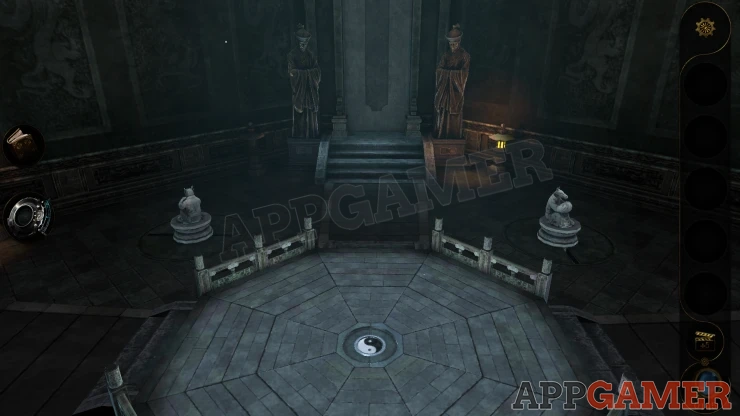
Now look back at the doorway you came in from. On the middle step you will see a symbol.
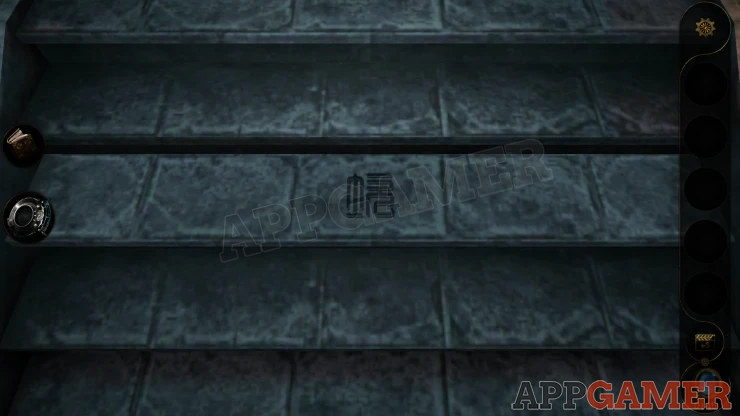
To the left and right are statues and at the base of each are dials that you can turn to set some characters.
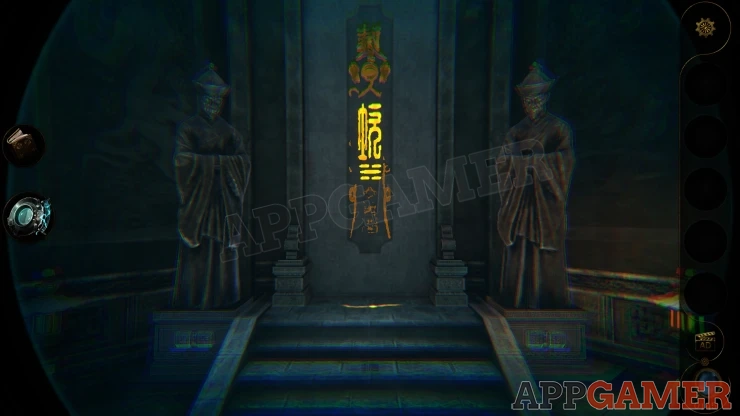
Using the lens you can view the symbols on the this door and also on the other doors. All of the other doors also have symbols on the base of the statues.
Use the clues to work out what runes and characters to set on this door.
Solution: Show
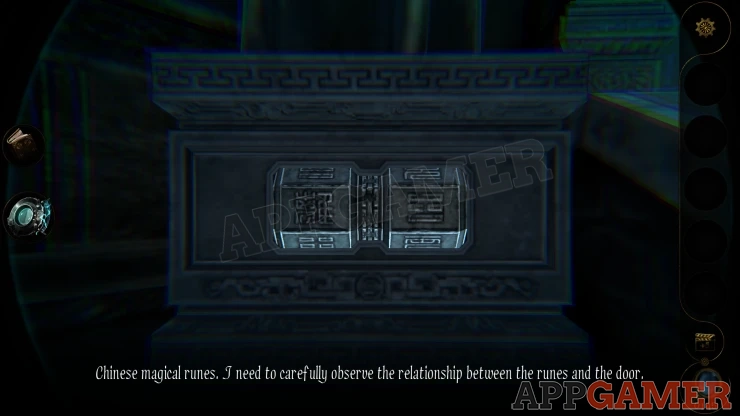
Once done the step with the symbol will move and then a mystical symbol will be added to it from above.
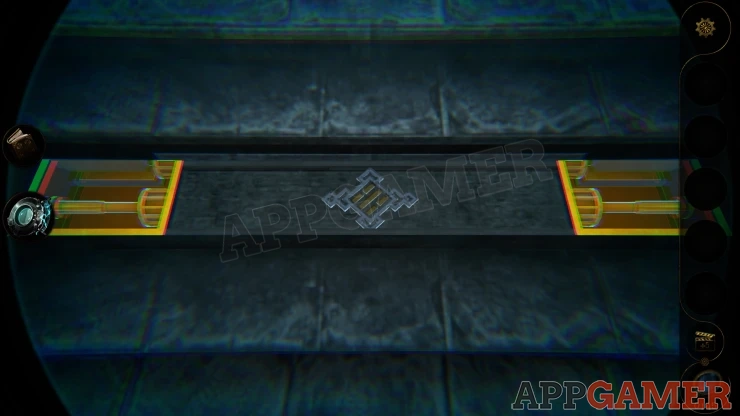
Go though the door that is at the top of these steps. this will take you back to the first room. Then approach the door directly ahead.
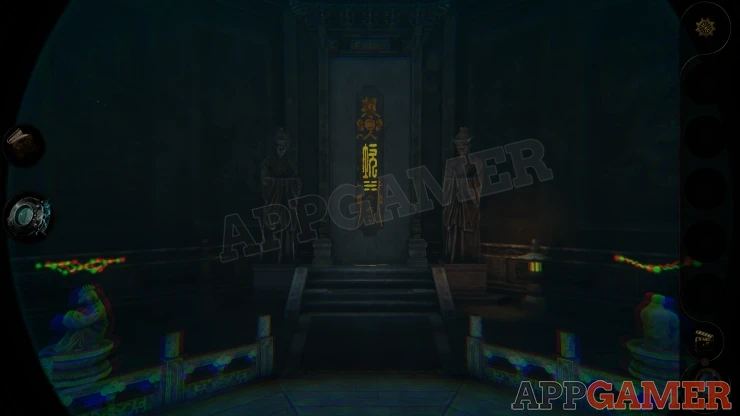
Another mystical rune symbol will descend onto the step and open it.
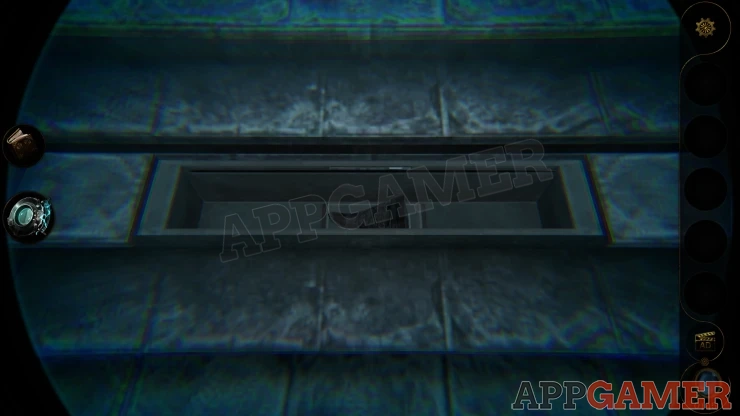
Collect a Stone Turtle tail.
Turn to the right and go through the door to the room with the Stone Statue.
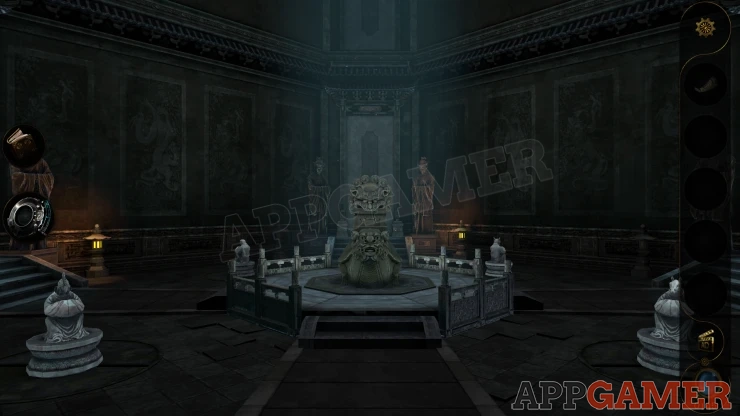
Look at the back of the status and place the Stone Tail onto it.
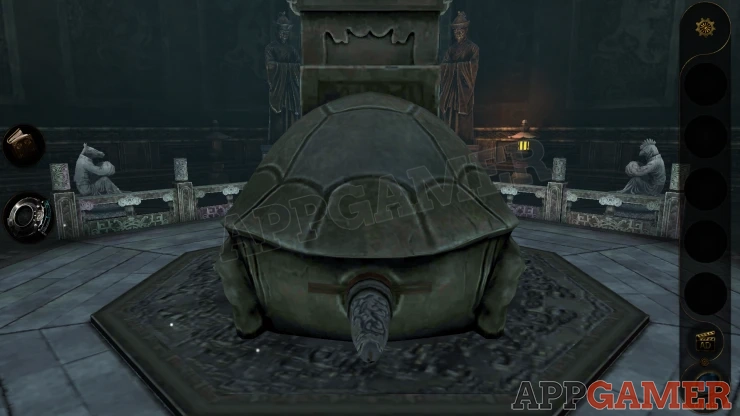
Move the tail down and the head on top will rise up.
Then move the tail to the left, and also the right to reveal two sets of four arms with candles on them
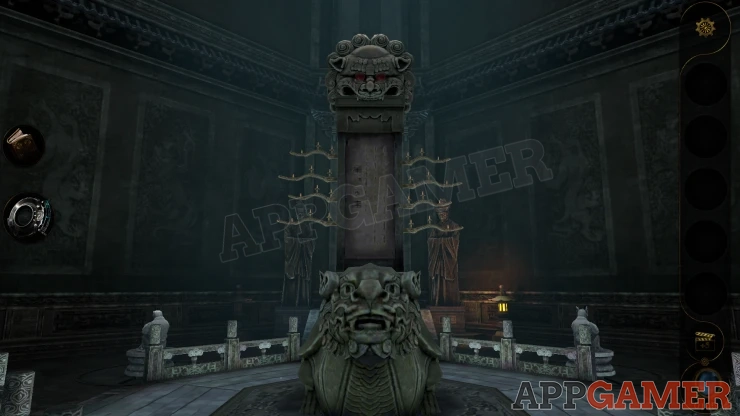
Look at this in lens view to see symbols on the candles and a Tower in the center.
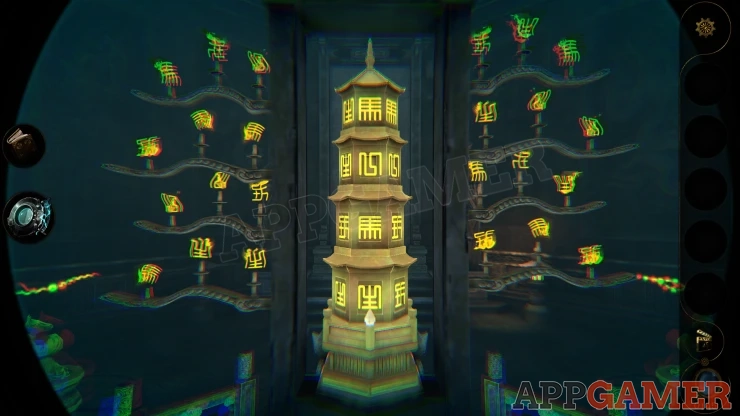
The tower has four levels and you can turn each one to change the position of the characters on them.
As you turn then you will see that some alignments will extinguish some of the candles (and symbols) on the arms.
Find the correct positions to put out all of the candles.
Solution: Show
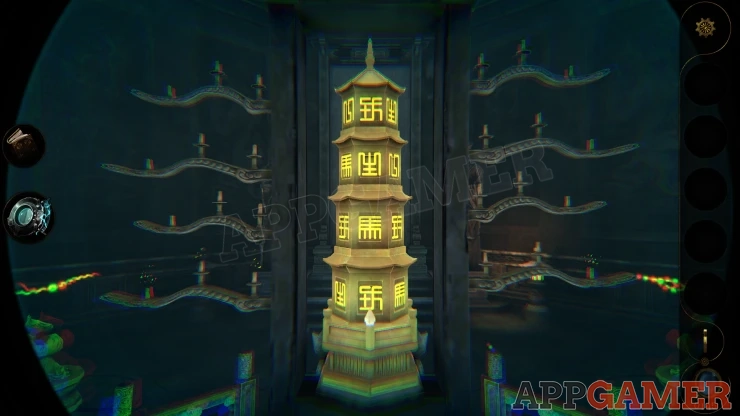
Once done the Turtle back opens and you can collect a Go Board Box.
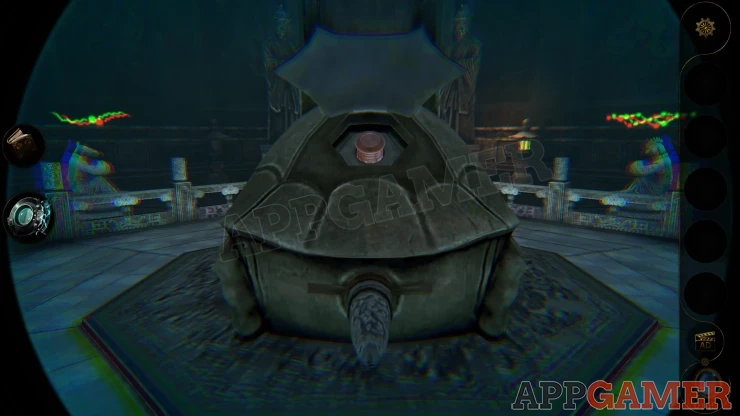
Look at the large panel that is above the turtle statue. On one side is some writing and there are 4 characters on the left. This is a clue. It is partly blurry.
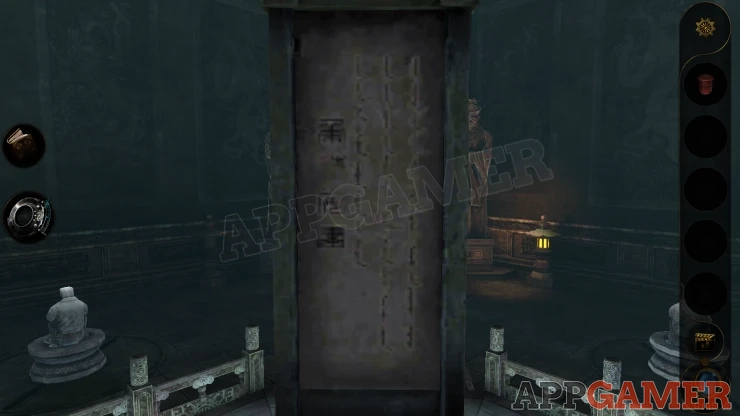
Go through the door that the turtle statue is facing. This will take you to the room with the Chest. View the right side of the chest and place the Go Board Box onto the hole.
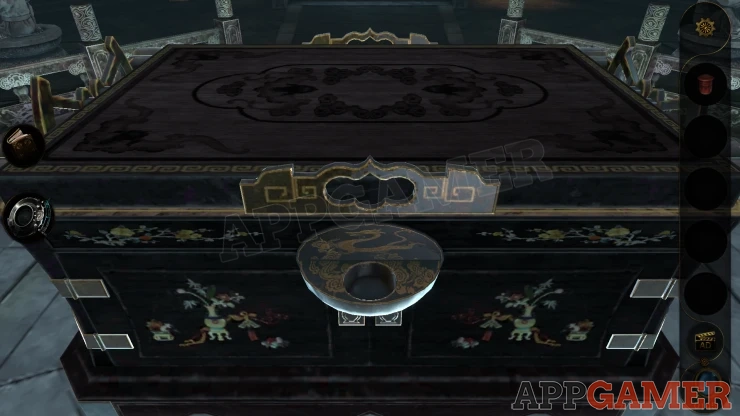
You can then turn the front part and the chest will open up to a puzzle.
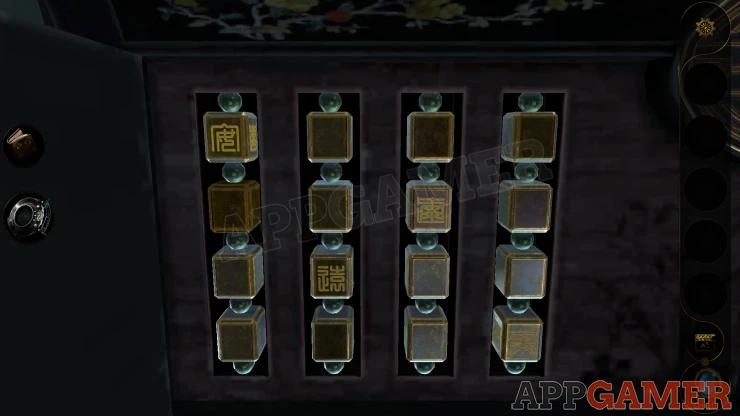
You see a grid of 4x4 blocks. On four of there are characters and you can turn these to change them.
Set these according to a clue seen above.
Solution: Show
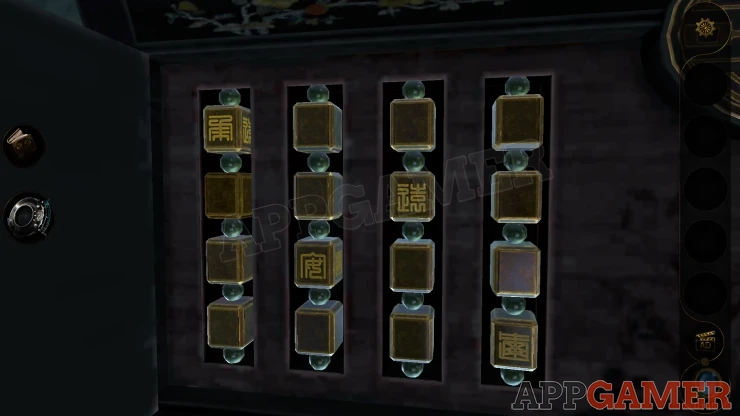
Now you can collect a Soldier's Bronze Statue figure from the door on the right. Next look at the board on top of the chest. Place the figure onto the lower left square.
Your piece will now be on the center board with another figure. One has a sword and the other has a shield.
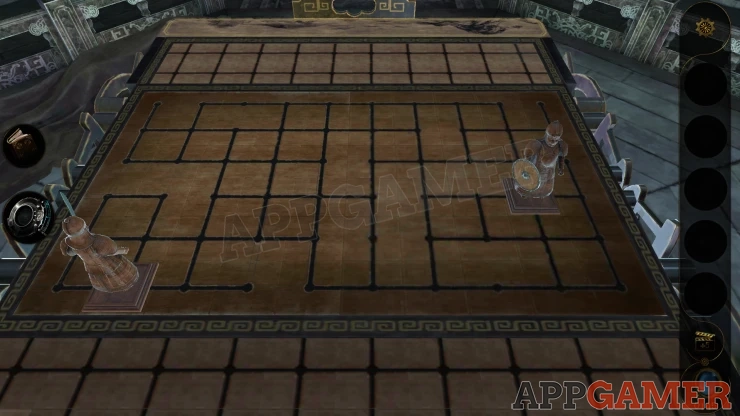
View this with the Lens eyepiece and you will see that there are 2 locations at the top of the board with a sword and shield symbol.
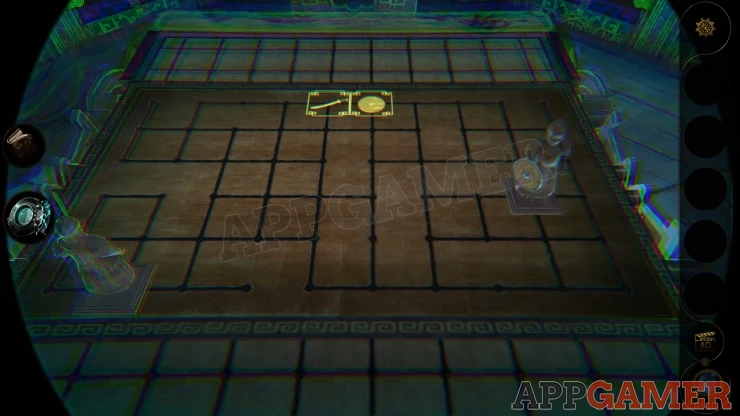
You can move the pieces around the board. Moving one piece will case the other one to also move in the same direction if there is a space for it to move to. If not it will remain in the same location.
As you move you will find that there are some traps. There will 'kill' the figure and reset the game. The traps will then be marked on the board.
Find a way to move both pieces to the correct spots on the board.
Trap positions: Show
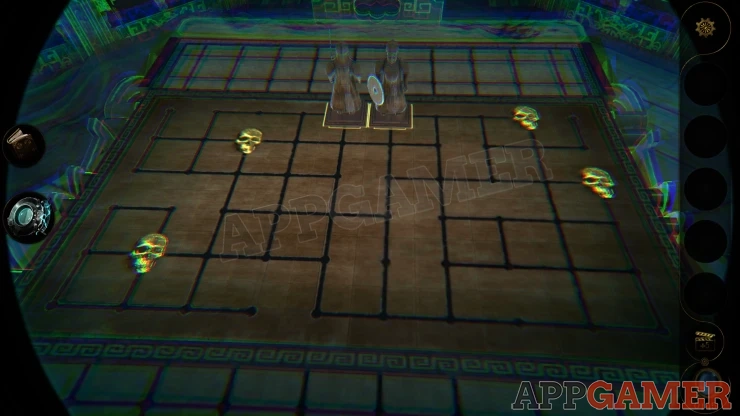
Once done another door opens on the chest and you can collect a Wooden Treasure Box with a skeletal hand.
This then opens a panel in the floor and you can collect a Generals Sword.
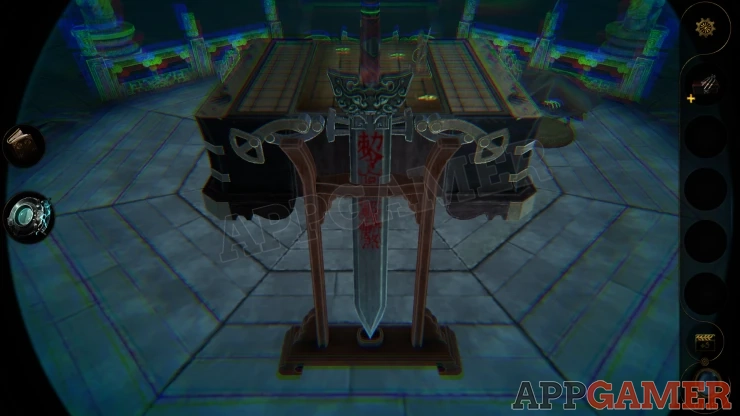
View the treasure box in you inventory and then slide the ring off of the finger of the hand to collect it.
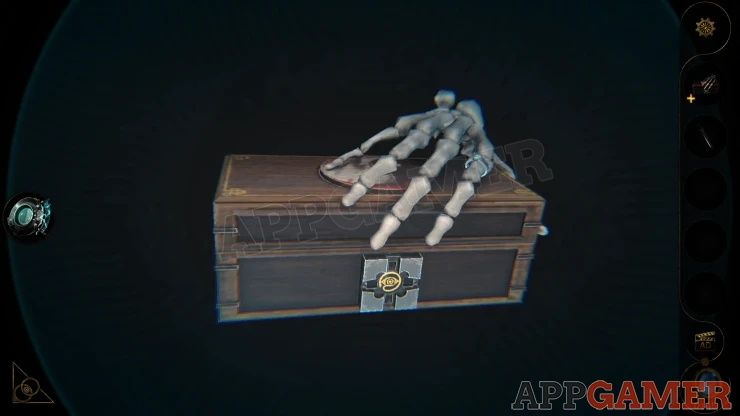
Next view the ring in your inventory. Rotate the back section of the ring to slide it into the the front section until it turns to form a cross shape.
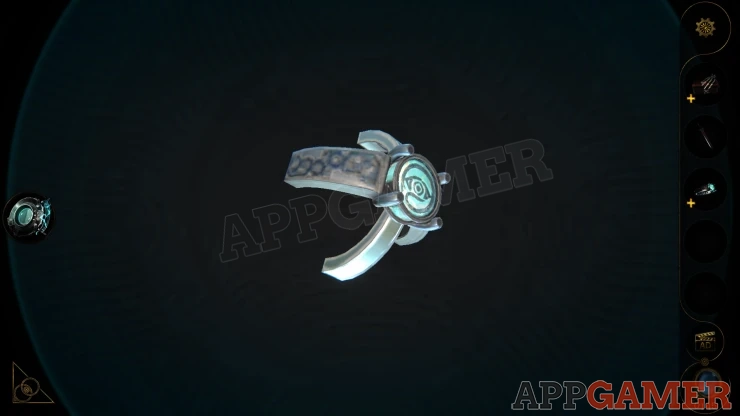
Now you can view the treasure box again and use the ring on the lock in the center, turn the lock to open it.
View the opened box and Collect the Worn paper from inside and the box also.
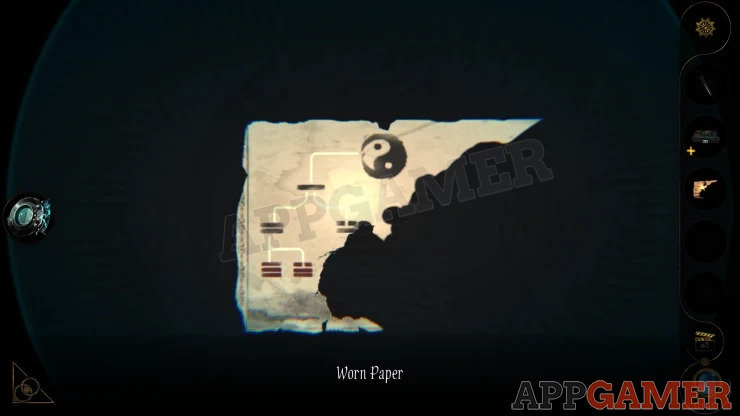
Next you need to proceed through the door that is to the right if you are looking at the sword holder. It is the one closest to the hand of the body on the floor.
This will take you to the room with the Yin-Yang in the center. The room will change to remove the symbols from the doors and also the statues.
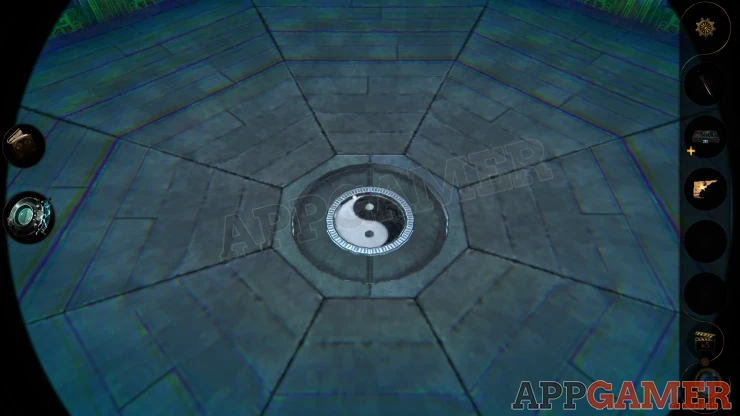
View the center and turn the Yin-Yang. this will reveal a slot in the floor. Place the Sword into the slot, it will rise up.
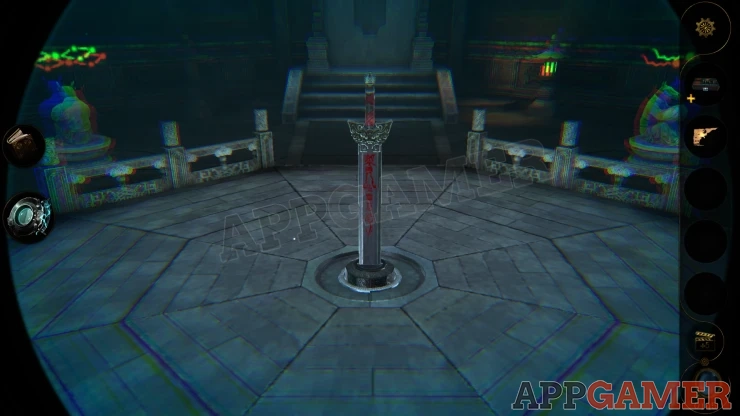
In lens view you now see floating symbols around the sword.
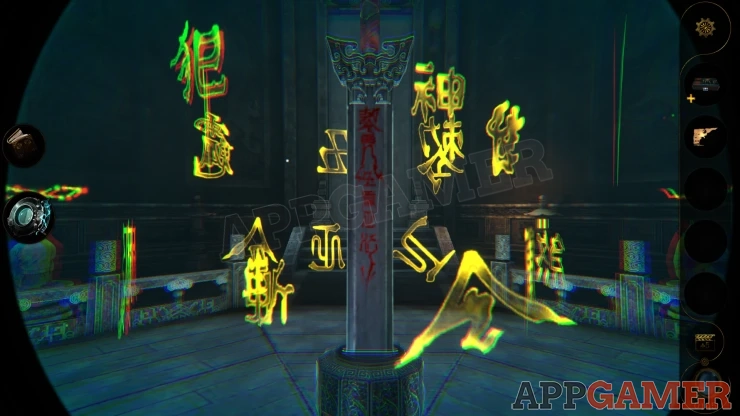
The sword has red markings on it. As the yellow floating symbols pass tap on ones that will fit / match ones on the sword.
There are six that will fit on the first side of the sword.
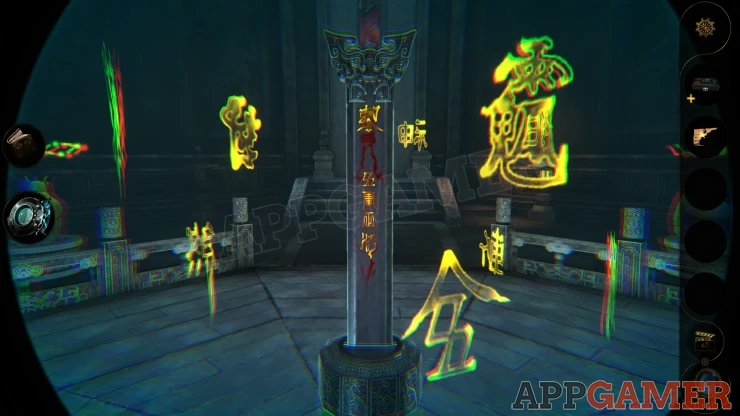
Then you can turn to the other side of the sword and find six more to fit on the other side.
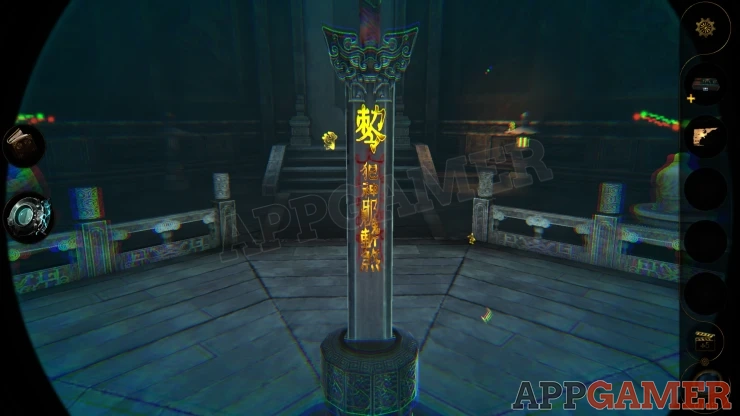
A small tower will rise up next.
Notice around the top section you see a side with a single line, this is like on the Torn paper which shows a progression from 1 line at the top down to multiple lines.
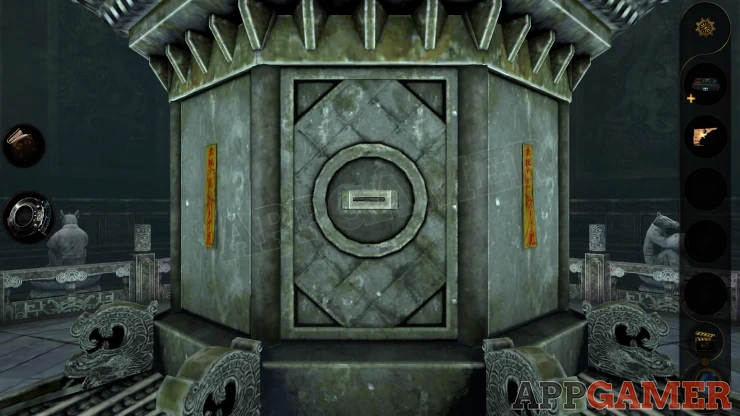
On the opposite side of the tower is another single line. Change this to show a split line.
- -
The tower rises again. On the second section you have four sides that have 2 lines on them. You can also change these.
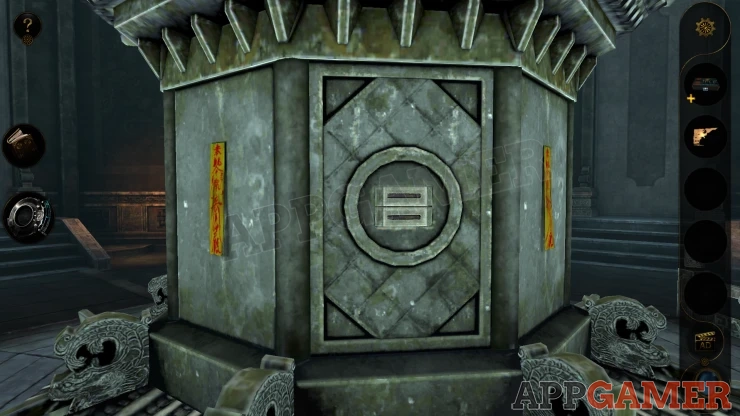
From the starting point turn to the first one on the right and set it to
- -
---
Then turn to the right again and set it to
---
- -
Finally move to the right once more and set it to
- -
- -
Now we see the third level appear, the side of this level all have 3 lines to set.
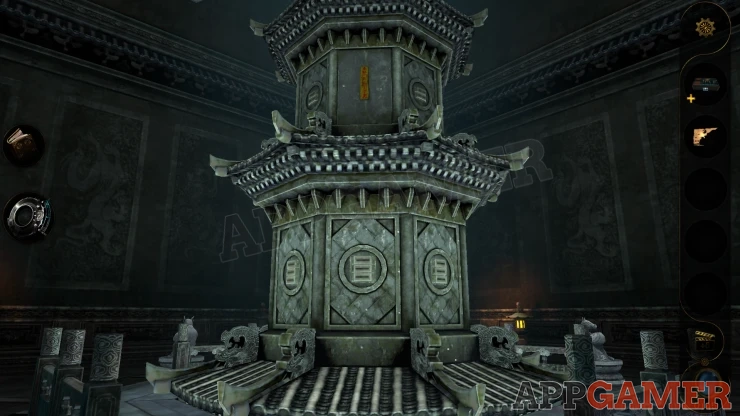
Starting at the first side you see, then moving around to the right, set them as follows.
1
- -
---
---
2
---
- -
---
3
- -
- -
---
4
---
---
- -
5
- -
---
- -
6
---
- -
- -
7
- -
- -
- -
8
---
---
---
The tower reached its full height and 4 panels open at the base. You can look inside these to see small statues.
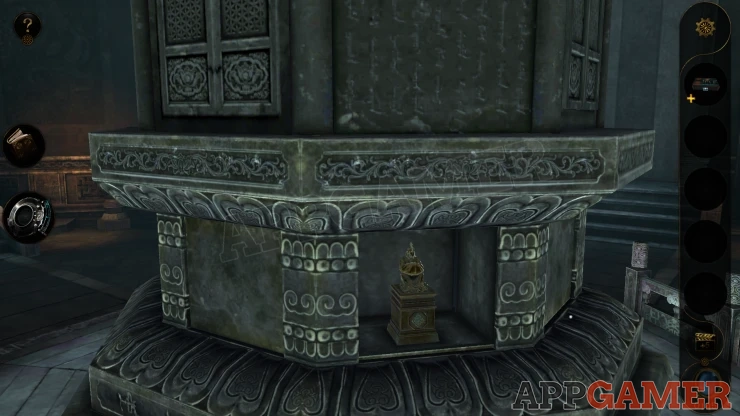
The small statues are similar to the 4 that are on top of the columns that descended. Examine each of them and then you can turn them to face in the same direction as the matching one on the column.
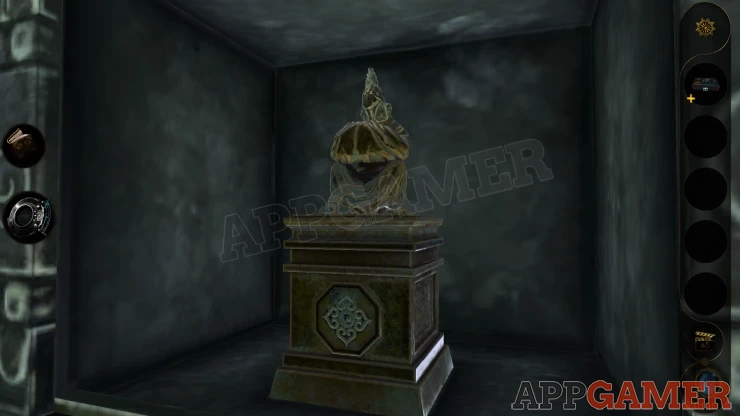
You can use the lens view to see match the symbols above their head.
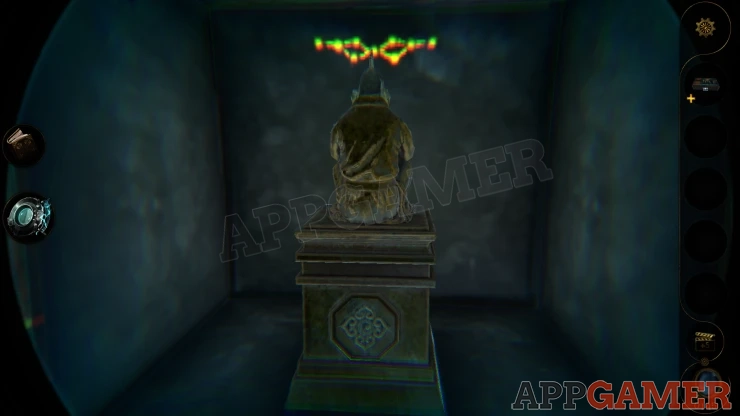
Once done another panel will open in the floor. Steps rise up and doors open on the side of the tower.
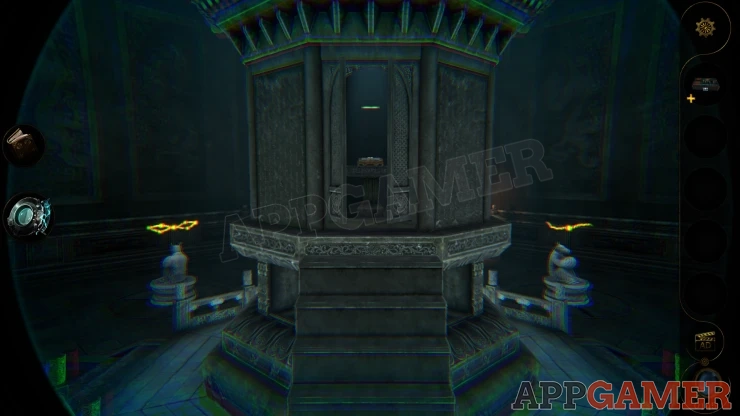
First look on the left side of the steps. You will see that each one has a flower symbol.
On the middle step the symbol is jumbled. View this and turn the disk to realign it.
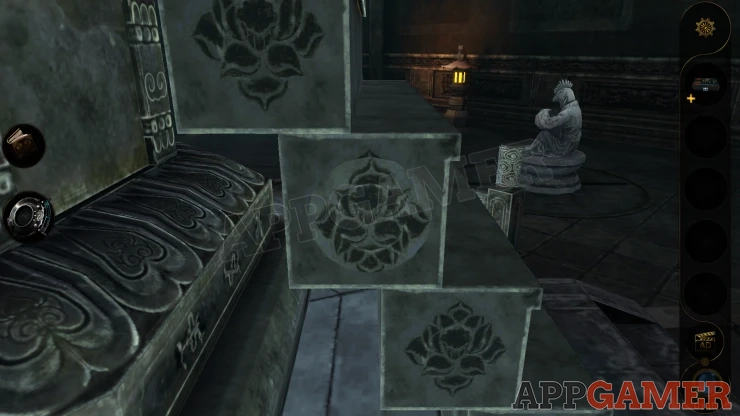
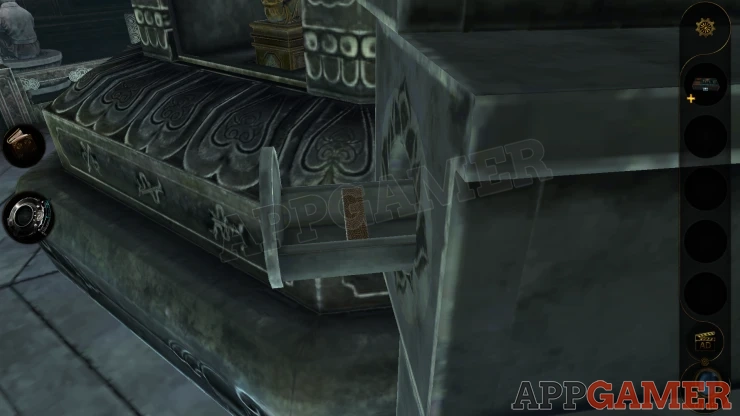
A small drawer opens and you can collect a Copper Handle.
Now view the Treasure box in your inventory again. Notice that it has an empty slot. Place the Copper handle here with the other ones. There are now 7 handles in the box.
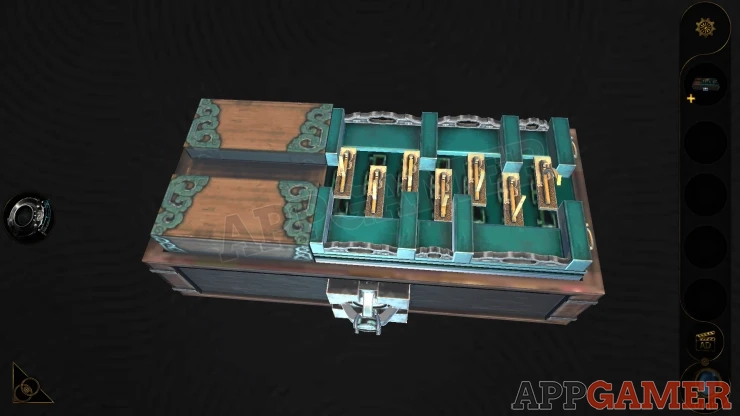
The handles can be moved up and down. At the top and bottom are sliding elements that you need to move to the left.
Move the handles to allow the sliding elements to move to the left. You will need to move them a bit at a time.
Move them both all the way to the left as shown.
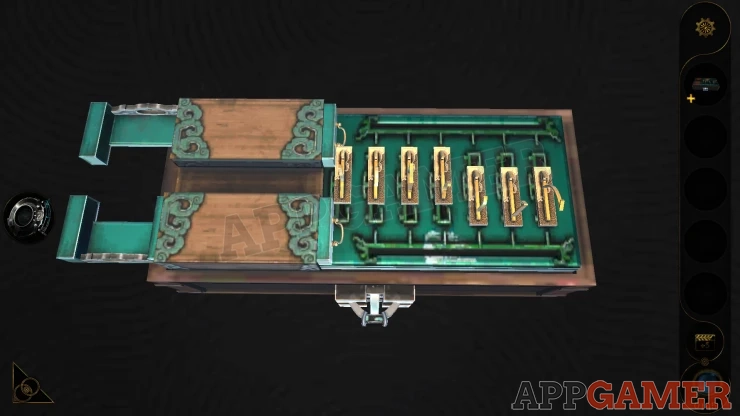
The box opens and you can collect a Copper Spoon.
Now look inside the opened doors in the tower. There is a box on the table.
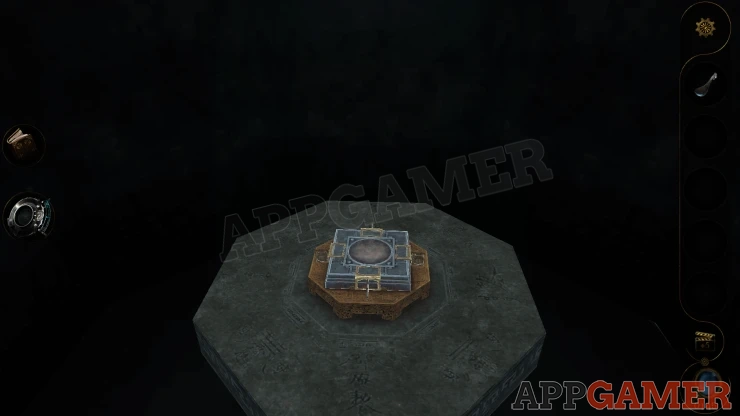
Add the Copper Spoon to the top.
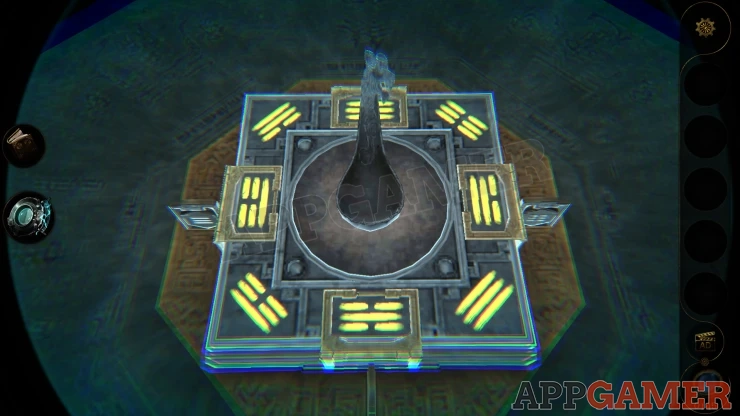
First move the spoon one position clockwise (North East corner).
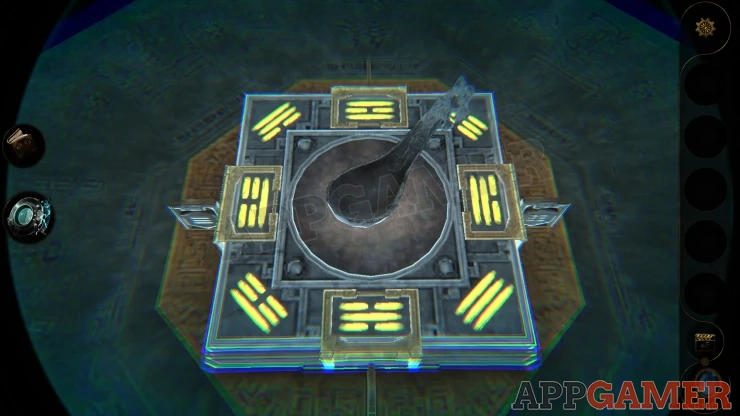
After making changes to the tower this will return you to the board, tap on it to release one of the 4 parts around the side. Lower the catch on the side that has been released.
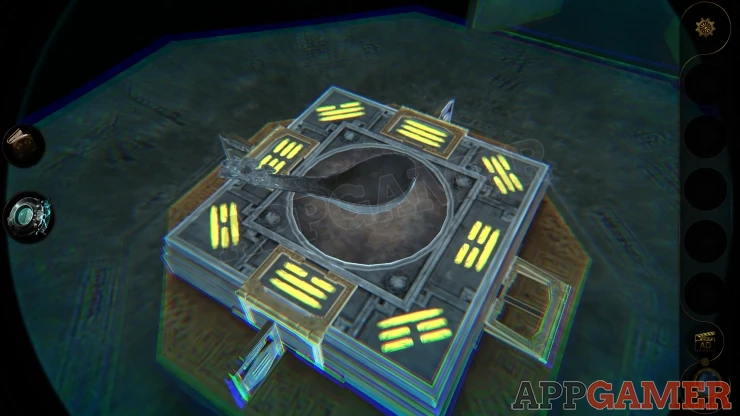
Back out to look at the ceiling to see a new symbol.
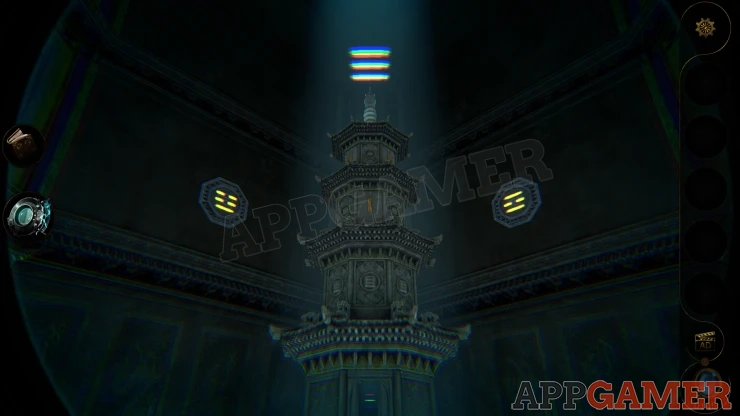
Then go back into the tower and turn the spoon to the bottom (South position)
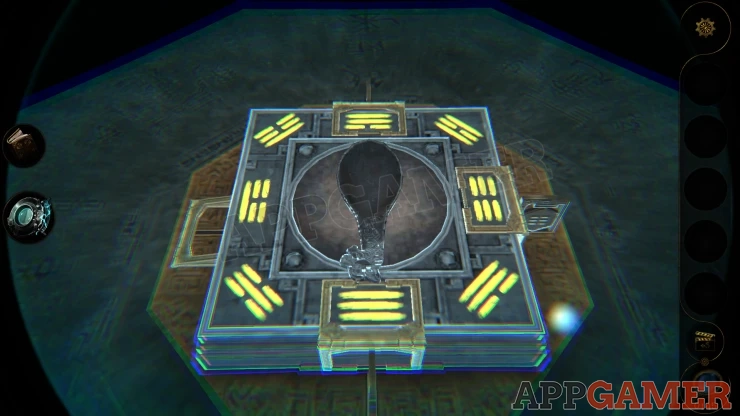
Back out and look up to the ceiling again to see that the symbol has changed.
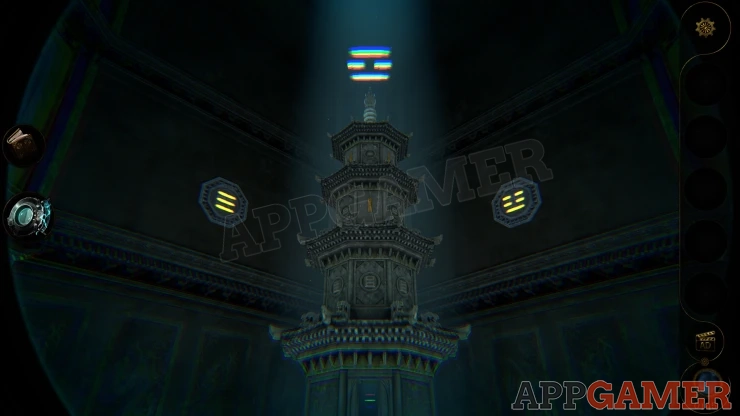
Then go back into the tower and another part will be released.
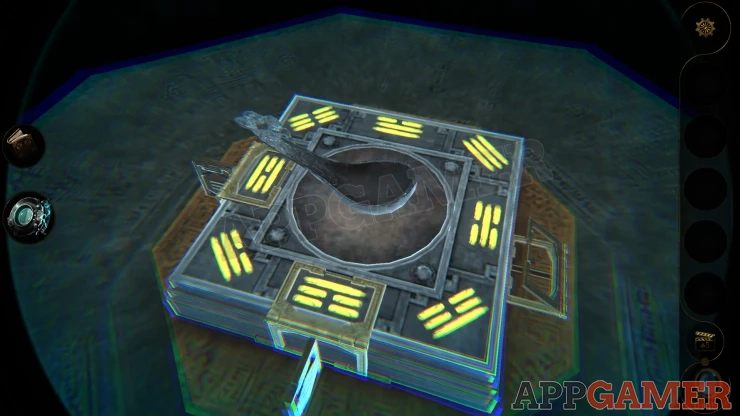
Turn the spoon 1 position anticlockwise. (South East position)
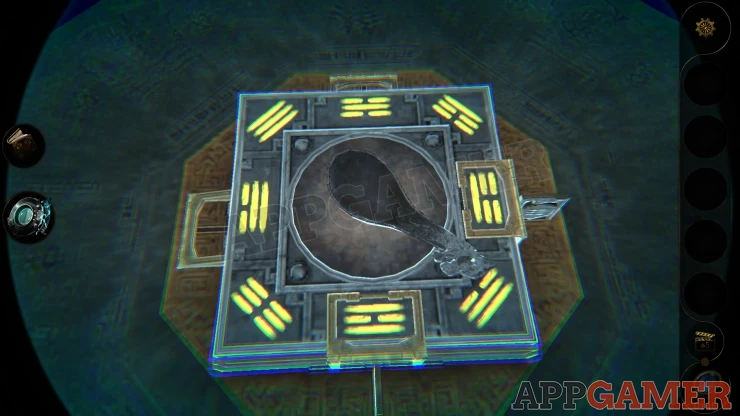
Look outside for the next symbol. Then go back into the tower and another part will be released.
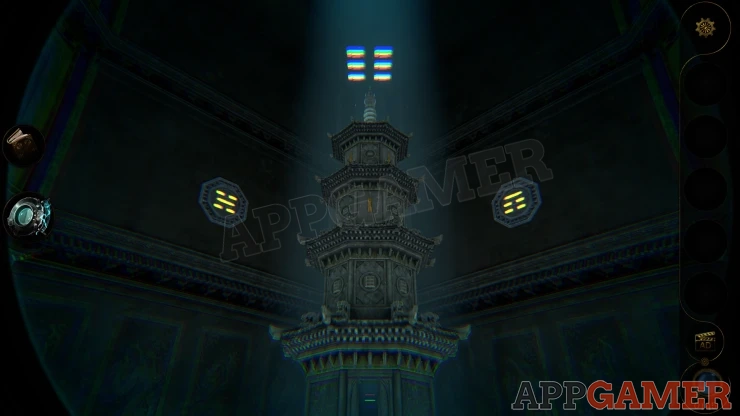
Turn 1 more position anticlockwise (East position)
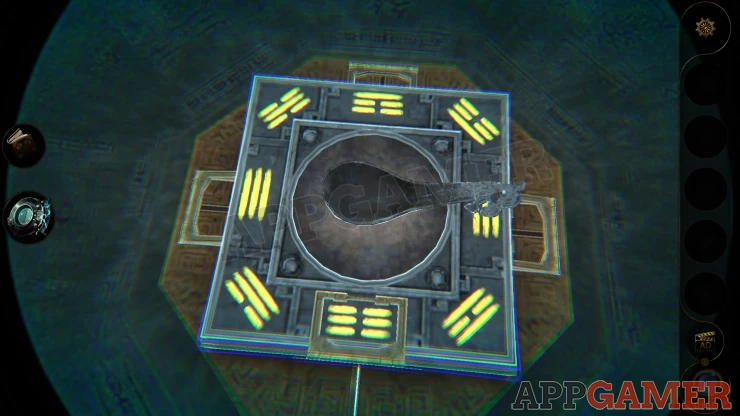
Look outside at the ceiling and then return to the tower to release the final part.
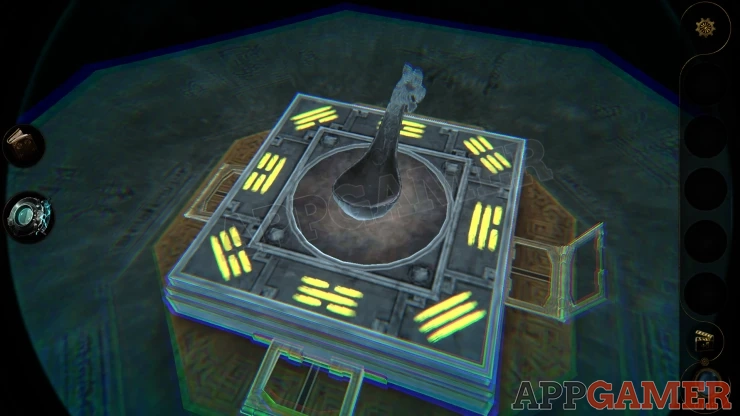
The puzzle turns over and you will find a small wooden coffin.
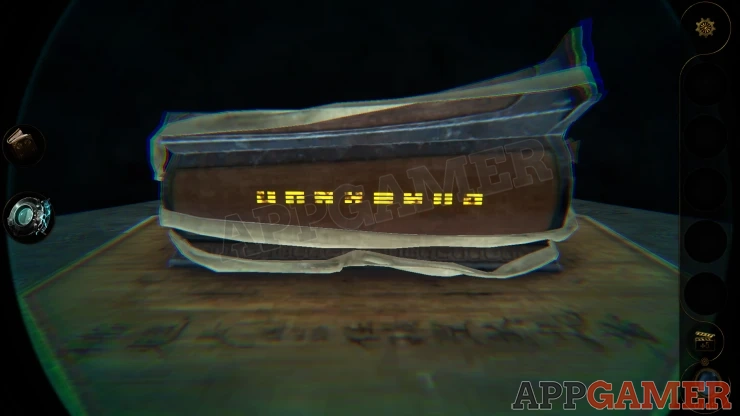
On the sides you will see (lens) characters on one side and the number symbols on the other. These are related to each other by position.
On the smaller end of the coffin are six of the number symbols, these are on blocks that can be moved.
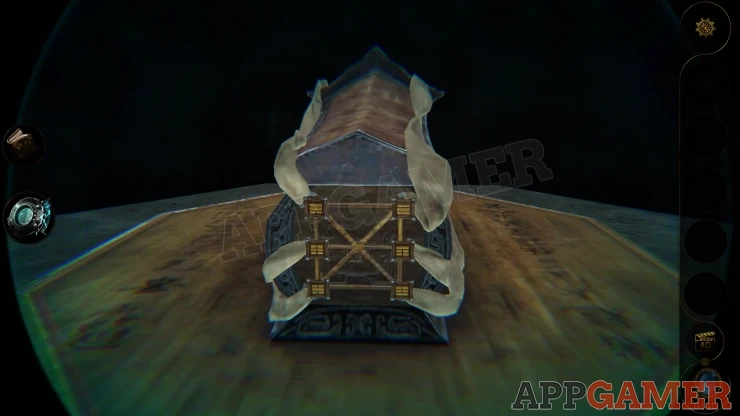
Then on the opposite end you can find 6 of the characters. These can also be moved around on the board to change their positions.
You need to arrange the blocks at each end so that the correctly matches symbols are connected by the white ribbons.
Solution: Show
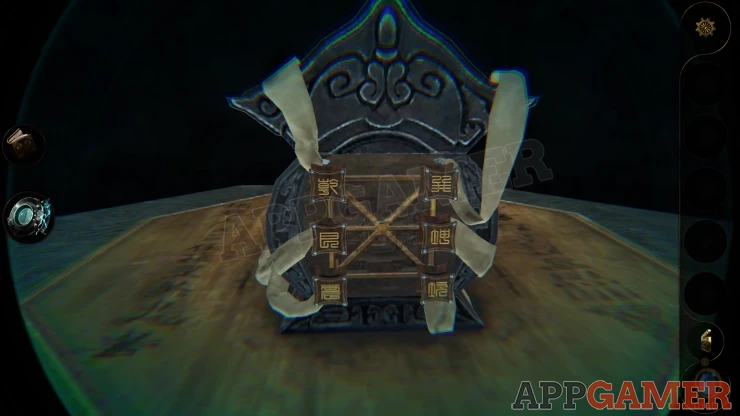
The Coffin opens and you can collect a Green stone.
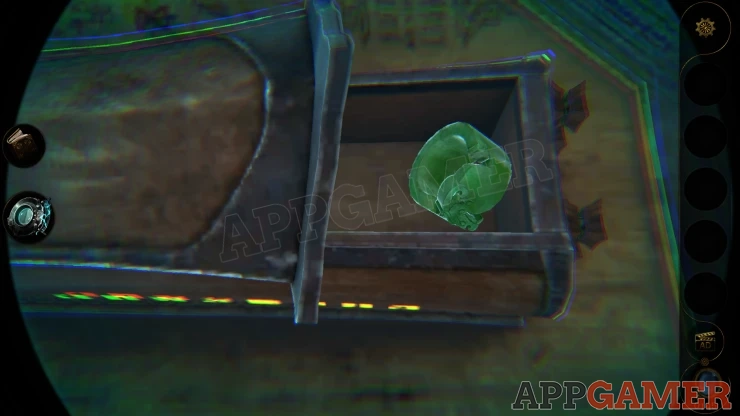
This completes part 3 and the China Chapter. You return to the study on the Manor.
Back out to the hall and view the organ on the stairs again.
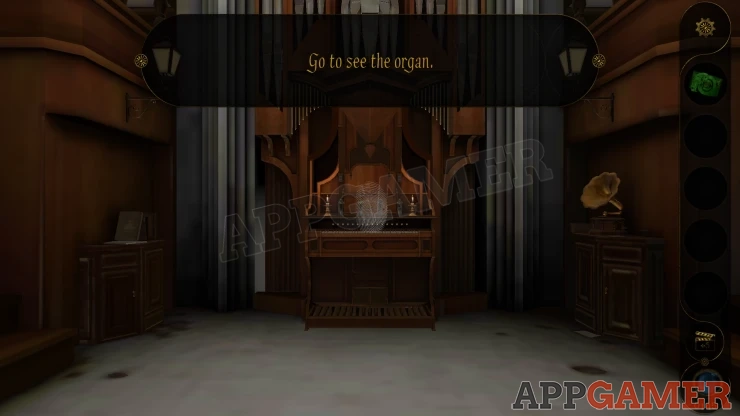
View the second small statue and place the stone here.
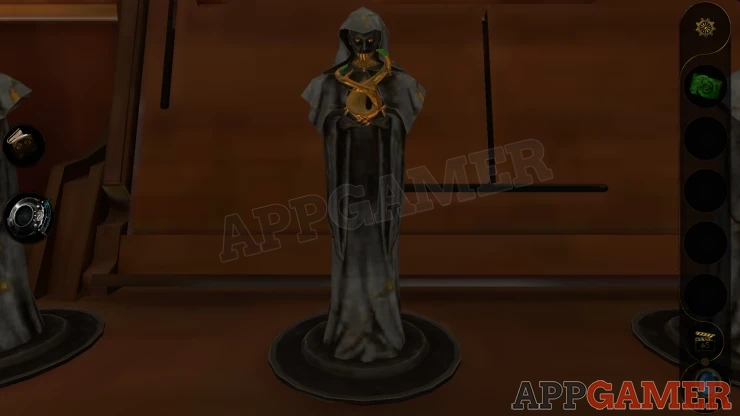
Collect the letter and the next container to open.
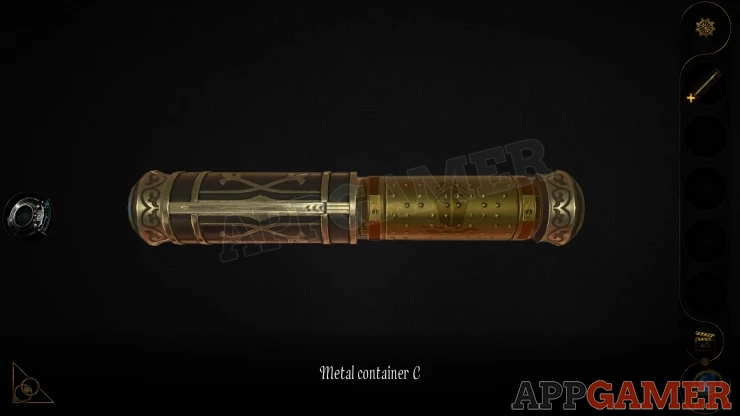
Get the Metal Cylinder C from the container. Then return to the study to place it into the next socket on the wheel.
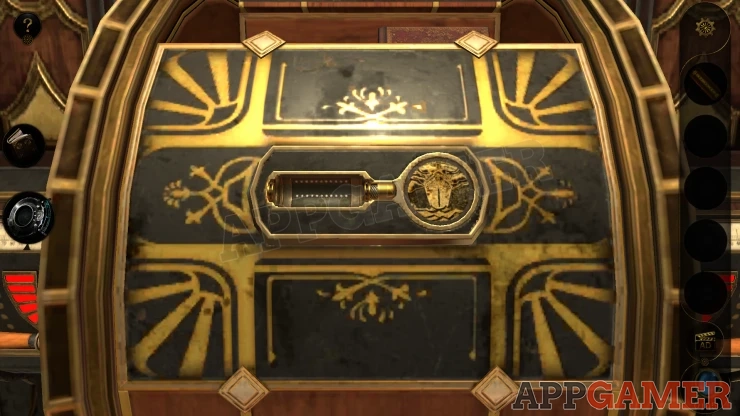
Now move on to Book 3.
 With 20 years of experience in creating video game content for the internet and over 30 years as a gamer, Mark is now a passionate mobile App Gamer. Loving a challenge, he is always ready to get stuck in to both survival builders and puzzle solving games. He has been providing content for AppGamer since 2014.