
Chapter 4 - Philip's Bedroom Walkthrough
More 3D Escape Room : Mystic Manor
This is our guide to Part 1 of chapter 4 of 3D Escape Room : Mystic Manor. After completing the 4 stages of the third chapter set on the Cruise Ship you collect the third gem and unlock another book in the device in the study.

In this chapter you are investigating various rooms and locations belonging to Philip, open the book and use it to go to the first of these, his bedroom.

Book Four - Philip's Bedroom Walkthrough

First view the dress on the stand on the right of the room. Collect a Butterfly Brooch from the front.

View this in your inventory and flip the center stem upwards to collect a Key.

Next look at the large cabinet to the left of the dress, and view the drawers in the center at the bottom.

On the second drawer there is a loose plate, move this to find a key hole. Use the key here to open the drawer.

Collect a Strange Wooden Block from the upper right and then move the sliding cover to collect a Wooden Soldier Carving from the lower right.
The drawer above opens. You cannot do anything here yet though.

Next look above the drawers to see a game board.
Board Game Puzzle

Part 1
First place the Strange wooden block on the upper left to start the game.
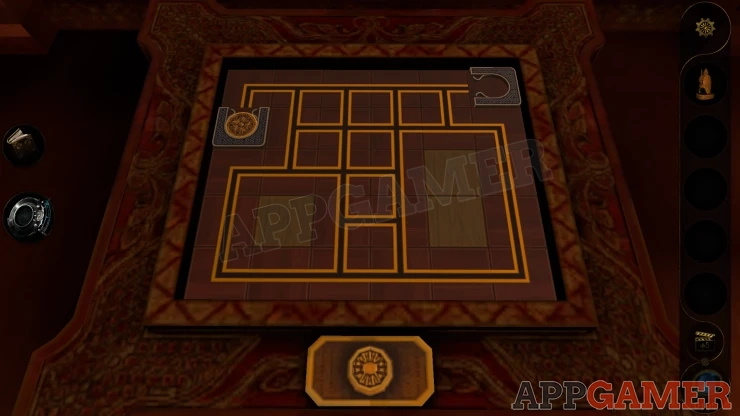
- You need to move the piece around the board on the lines, to reach the finish point on the top right.
- As you move the tiles will turn over to cover the lines.
- You need to turn all of the tiles before reaching the end.
Part 2
Next place the Strange Wooden Soldier onto the upper left to start the second part of the puzzle.

- View the board with the lens eyepiece. You will see that there are six blocks.
- The blocks need to be pushed with the .. onto the six marker squares in the center.
- There are three raised tiles around the sides that you cannot move the .. over.

Once done you can collect a Small Handle.
Now back up and look at a desk on the left of the room.

First view the circular calendar on the small table to the left.

Look at this with the lens eyepiece to see a circled number and arrows at the top.
You can turn the calendar (anticlockwise) to see the next indicated number and continue with this to get 4 numbers.
Next look on the desk and open the large lower left drawer. Inside is a combination entry for eight numbers.

Use the clue from above to open this.
Code: 19 18 12 05Show

Collect a Carving.
Next use the small handle on the small drawer on the left above. Inside is a puzzle box

Desk Puzzle Box
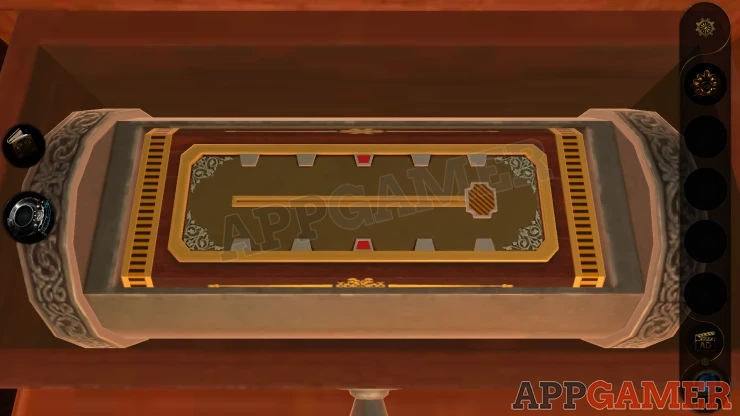
- On three sides of this box are sliders with five positions.
- On each one there is a red marked position to move it to.
- Moving one of the sliders will also cause the others to change.
- Find a way to get them all on the red marks.
Collect a Phonograph Needle.

Next view the corner post of the bed closest to you.

Place the carving into the socket on the side, then turn it. This will reveal a dial on the post above.
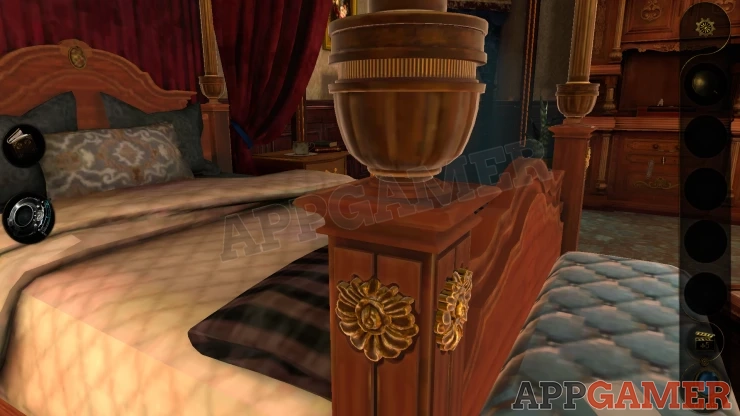
Turn the dial and a drawer will be opened on the side of the bed. Collect from it a Document Bag.
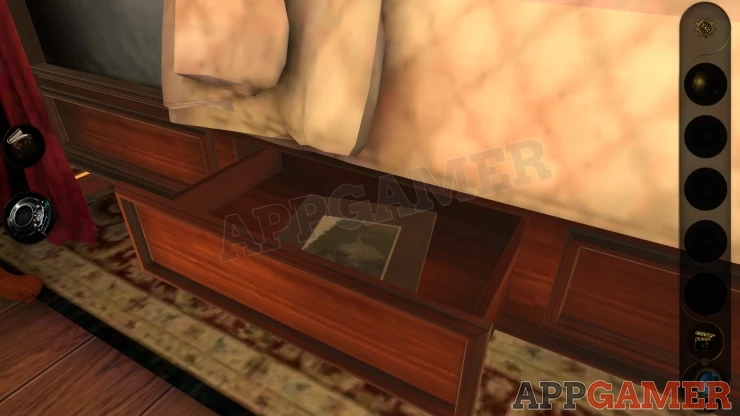
View this in your inventory and take out the Vinyl Record from it.
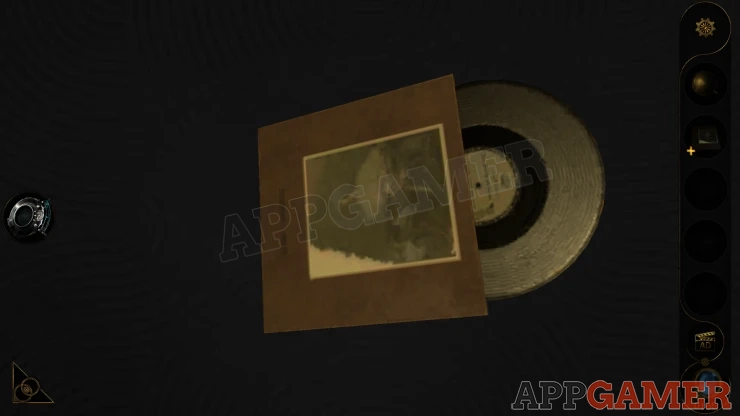
Next collect a letter from the blue stool at the end of the bed, then view the box on the case at the end of the bed.
Open the catches on the front and then open it to find a phonograph.

Look inside and collect the Lever. Then place the Needle to the arm of the phonograph. The add the record to the player.
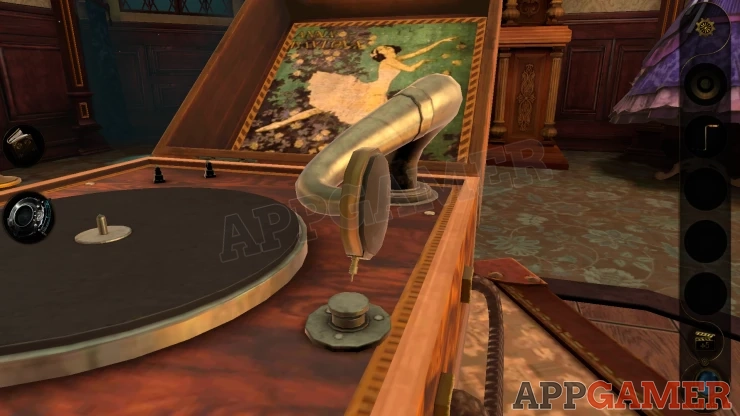
Finally add the handle to the socket on the front of the box and turn the handle to play the music.
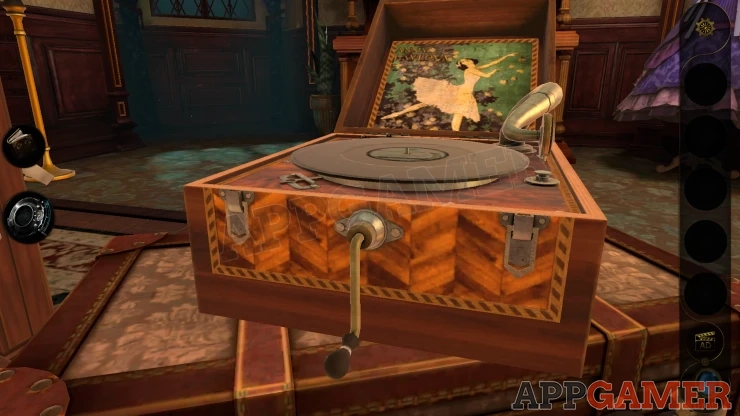
After it plays use the Lens eyepiece to view the record and see a clock.
Clocks Puzzle

- You can move around this to see there are four clock faces.
- Above these on the corners are numbers in Roman numerals.
- Notice that the hands on each face have different designs on them.
Solution: Adjacent faces will have 2 hands that match the same design. Move these to point to two numbers that add up to the roman numeral above the center of the 2 faces.Show

Once done you can collect a switch from a drawer on the side.

Go back to the large cabinet o the far side of the room and look in the drawer that is open with the buttons.
Add the switch on the left side and switch it on.
Lights Puzzle
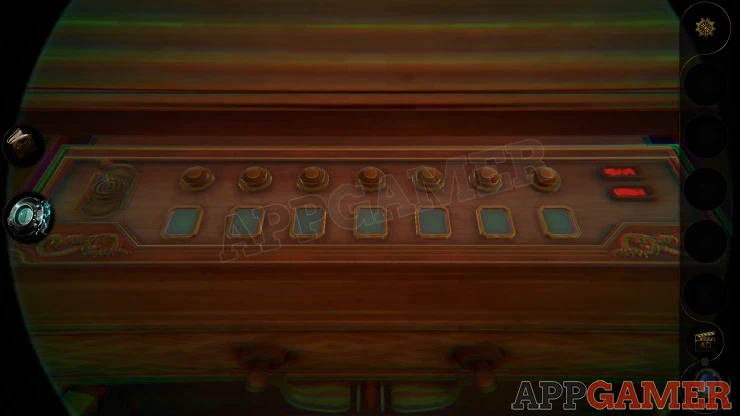
- This starts a lights pattern puzzle.
- Watch the 7 lights turn on in order.
- Then tap the buttons above the lights in the same order to complete step one.
- You then need to repeat this for step two but the lights will appear much faster.
Solution: The patterns for this seem to vary, so this may be different for you. Numbering the lights from left to right as 1 to 7. Step One: 1 2 6 5 4 7 3 Step Two: 7 2 6 4 3 1 5Show
Collect another letter from the drawer then press a button on the right and collect an Ornament.

Now go back to the desk and view the top of the mirror.

Place the Ornament here and adjust it. this will open another small drawer.
Look inside and you can collect a Key for the warehouse.

This completes Chapter 4 Part 1 - Philip's Bedroom. Move on to Part 2, Philip's Office.
 With 20 years of experience in creating video game content for the internet and over 30 years as a gamer, Mark is now a passionate mobile App Gamer. Loving a challenge, he is always ready to get stuck in to both survival builders and puzzle solving games. He has been providing content for AppGamer since 2014.