
Chapter 4 - Philip's Office Walkthrough
More 3D Escape Room : Mystic Manor
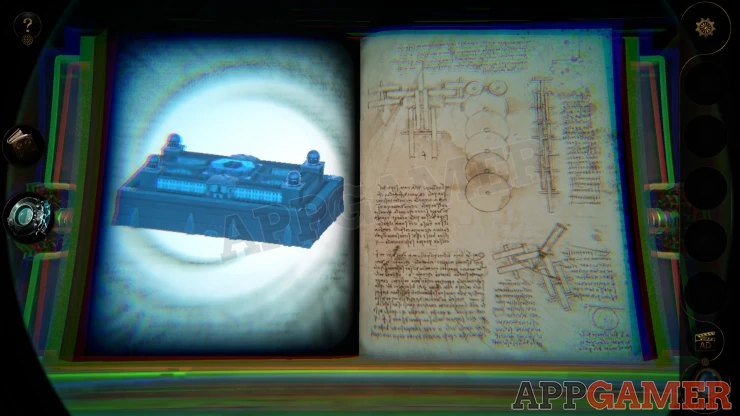
This is our guide to Part 2 of chapter 4 of 3D Escape Room : Mystic Manor. After completing the 4 stages of the third chapter set on the Cruise Ship you collect the third gem and unlock another book in the device in the study.
You first investigated the bedroom and found a key. Now you activate the next page of the book in the study and travel to Philip's Office.
Book Four - Philip's Office Walkthrough
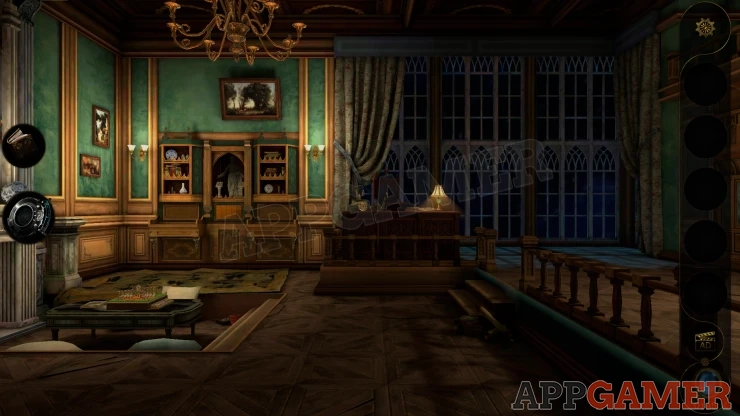
First move directly forward to see the large desk.
Look on top of it and collect a round Compass from the right side and also a letter.

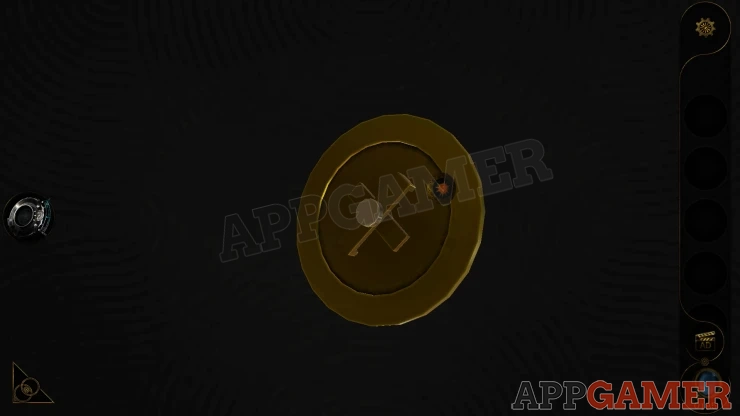
View the compass in your inventory and look on the back so that you can turn the wheel to make a + shape.
Next look on the right of the room to see a large globe. View this.

Look on the top and you can place the compass here.

Spin the compass and the globe will start spinning. When it stops examine it using the lens eyepiece.
Globe Outer Puzzle
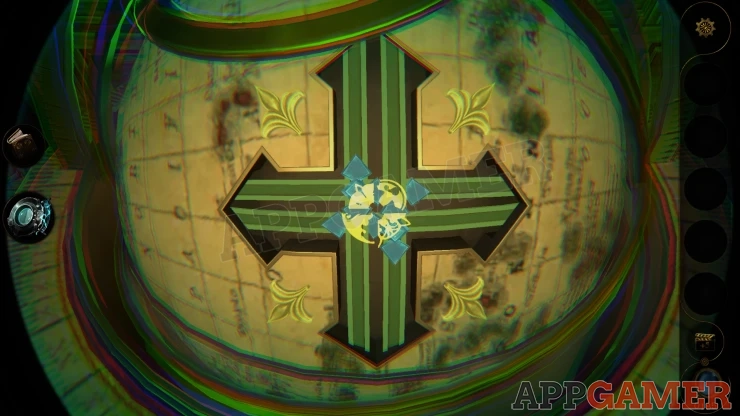
- The center has 4 parts to the symbol.
- Each of the parts is can be swiped to the left/right or up/down.
- This will swap the part for a different shape.
- You need to assemble a symbol of 4 matching parts. There is only one set of four that match.
Solution: Show

Once done the Globe will open.
Look in the bottom half and collect Silver Bottle from the center and then also Architectural Model A from the top right.

Look inside the square hole on the top right and press the button. This will open the top left side and you can collect Architectural Model B.
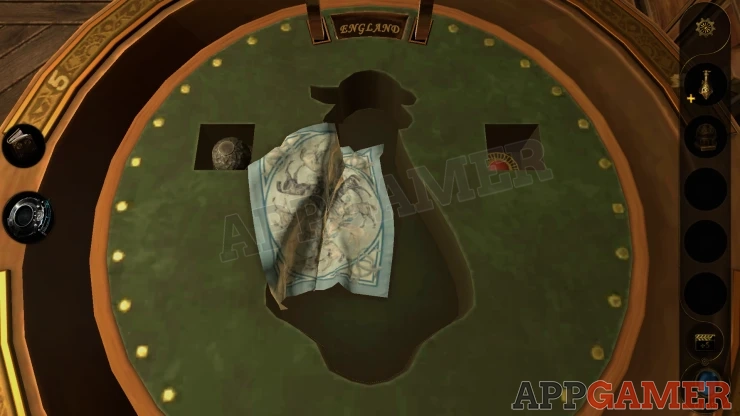
Now view the top section of the globe, you will see there are 9 buttons.

Globe Inner Puzzle
- View this with the Lens eyepiece and you will see shapes by each of the buttons.
- Notice the clue 'DANIEL'.
- These two clues will help you work out what buttons to press.

Solution: Looking at each of the shapes, notice in each one the inner lines. Only the lines that are not part of the outer boarder of the shape. These will resemble a letter. Then look for the ones that resemble the letters of the word DANIEL. Tap the buttons in order.Show
Once done you can collect a Crank Handle.
Next view the Silver Bottle in your inventory and open the top. You will collect a Note from inside.

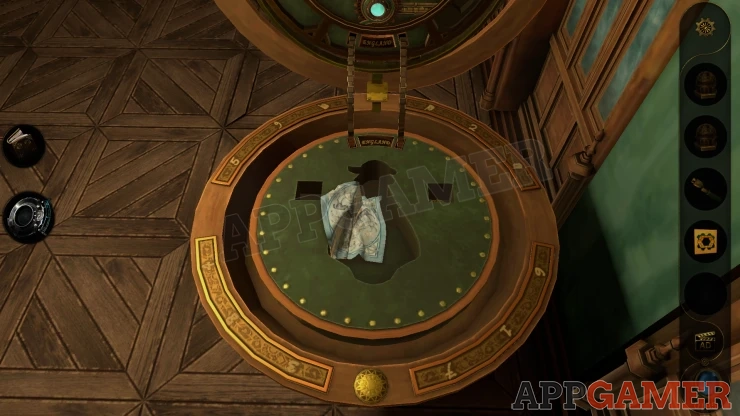
Then look at the bottom half of the globe again. Notice around the edge there are numbers written. Notice the positions of the numbers.
Now go back to the desk and view the telephone on the left.
Telephone Puzzle

- You need to tap the numbers on the phone dial to enter the code.
- The numbers from the globe are the clue.
Solution: The numbers on the globe are laid our like the dial. You need to follow the order of the numbers on the globe, but press the button in the matching position. I.e. Number 1 on the globe is in the position of the 5 on the dial so press 5 first.Show
Code: 5 2 7 9 0 4 6 8 #Show
When the phone lifts up you can look on the left side and place the Crank handle. Turn this and the side will open.

Collect a Slider Button

Now look to the right side of the room again to see 3 carvings. Below these is a slider with one button on the left.

Add the second button to the right and then slide both buttons to the center. This will move the panels above and reveal 2 switches.

Activate the left switch to open a panel on the side. Collect from here the Hexagonal Ornament A. Then do the same with the right switch and you will collect Hexagonal Ornament B.

Back up and go to the shelves to the left of the desk and look at a statue in the center. There are 2 stands to the sides of it.

Place the 2 Ornaments here, this will activate a puzzle below.

Painting Puzzle
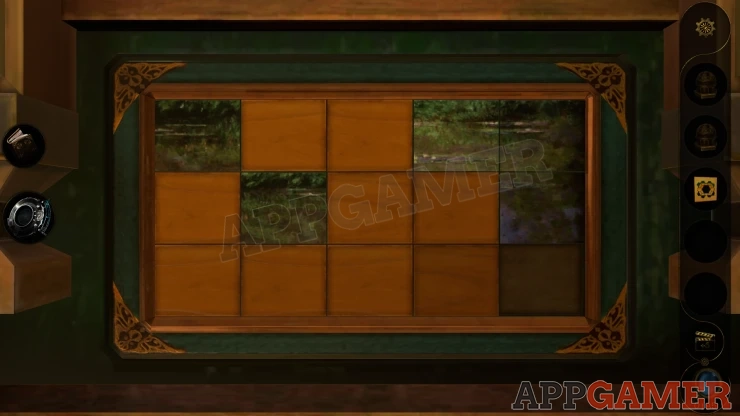
- The board is made up of 15 tiles that you can slide. There will a single space to slide them into.
- Sliding the tiles will make them flip over. In some positions they will display a part of the picture.
- The bottom center slot on the board has the last tile piece below it.
- Some you will need to move more than once
Final Image: Show

Once you complete this 2 sections open up on the left and right. First collect a Comb from the metal cylinder that appears on the right.

This will also activate another puzzle that lifts up from the below.
You should then also collect a Metal Cylinder from the left side.

View the board that appears and then you can add the two Architectural Models to the right side.
Hexagons Puzzle
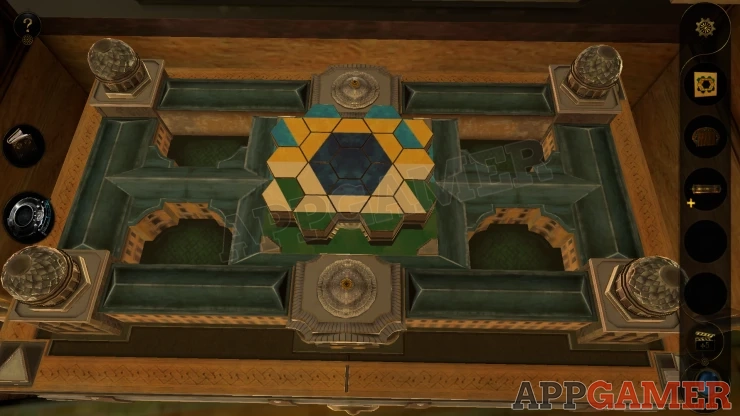
- First view the paper clue that you have that shows a layout of colored hexagons.

- The four .. on the corners are buttons that will raise or lower certain hexagons on the center board.
- You can then rotate the center board, this will allow some of the raise hexagons to be turned
- Use the buttons and the board to get the layout of tiles to mach the clue on the paper.

Once this is done a drawer will open.

First collect a Triangular Decoration from the lower left. Then view the drawer with the lens eyepiece.
Place the Note (paper clue) on the left where the glowing symbol is and it will pass under the glass in the center. You will see glowing lines.

Next add the Comb to the top of this, then you need to turn it vertically. as shown

Now you can slide the Comb up and down and the spaces will reveal letters to you. Note the letters that are shown from the highest setting downwards.
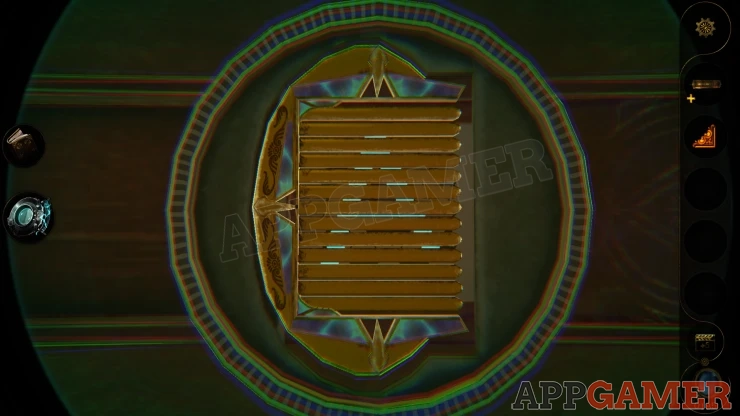
Letters: ANGELOShow
Back up and look on a small table on the left.
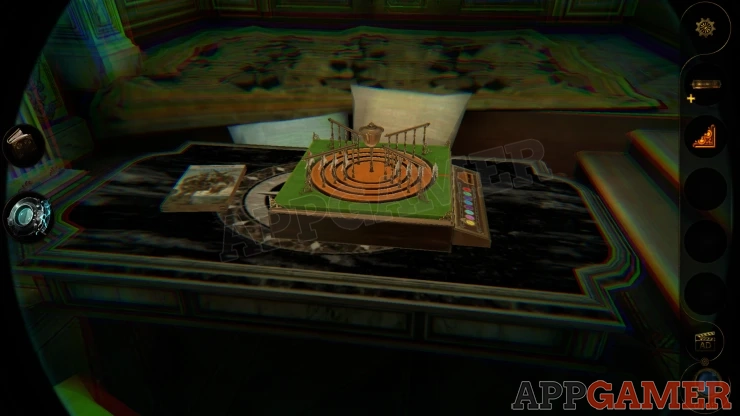
View the book on the table and then use the lens to see a series of numbers associated with the word at the top. This is a clue.

Now look to the left of the room to see a round 3 tier shelf.
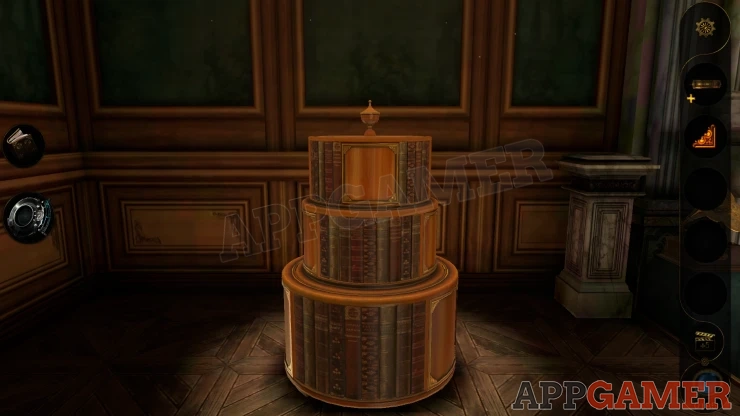
View the bottom tier. Then turn it around to find a door.

Place the Triangular Decoration in the top right corner and then move all of the four triangles inwards, the door will open.
Inside is a cylinder with six number dials. You need to set a code.

Solution: The code is found from translating the letters from the hexagon puzzle above into numbers using the clue on the book.Show
Code: 1 7 0 3 4 9Show
The middle shelf lifts up to reveal a puzzle with gems.

View the Metal Cylinder in your inventory. Then open a panel on the side and collect a red gem

Circular Gem puzzle
- Place the red gem into the slot at the center of the puzzle to begin.
- There are 2 circles of gem slots at the top and the bottom. You can turn either of these to the left and right to rotate them.
- In the center is a band with 3 empty slots. You can also rotate this around.
- Each of the slots has a color, you need to move the correct colored gems into the matching slots.
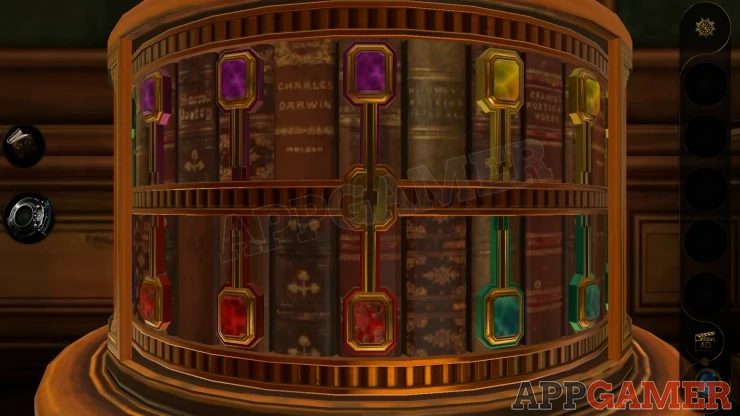
Once you complete this the left level up will open. Collect a letter and then pull down a switch handle.
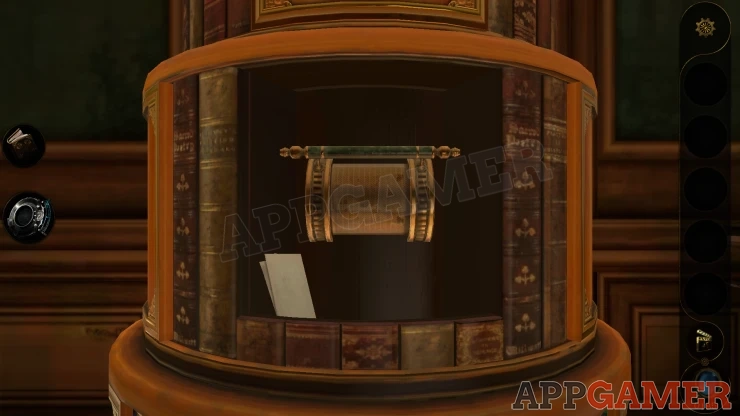
The top section opens and you can collect a Small Lever.

Return to the small table on the left and view the game that is on it.
Horse Racing Game
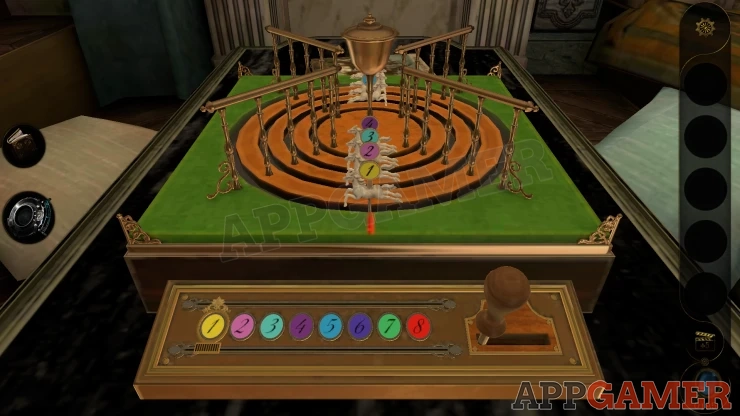
- Place the small lever on the lower right. Then slide it to start the horses spinning.
- One of the horses will finish on the red lie and is the winner.
- You can move the slider on the left to select any of the numbered horses and then play the game.
- If your horse wins then you complete the puzzle. Keep playing until you do.

When you win you can collect a Wooden Ornament.
Now look over on the right side of the office, to the left of the opened globe. There is a blue/green panel and above it 2 points hanging down. The one on the right is missing an ornament.

Place the wooden ornament here and turn it to screw it in place.

The panel then turn to reveal a clock.
Clock Puzzle
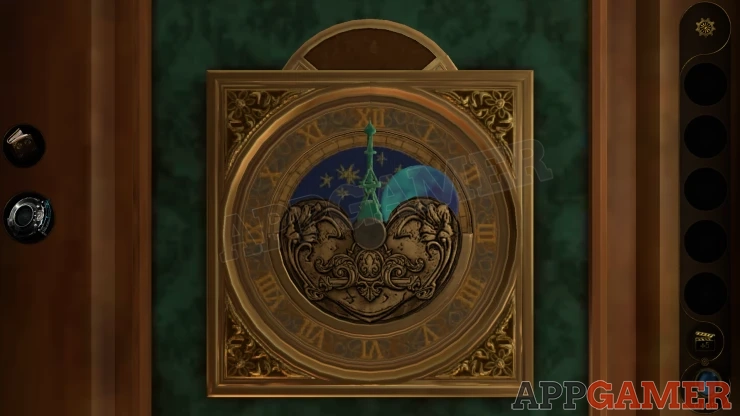
- View this with the lens to see numbers marked on the dial. This tells us that the clock numbers are replaced with a geometric progression as 1, 2, 4, 8, 16, 23, 64, 128, 256, 512, 1024, 2048
- At the top you also see a target number.
- The clock has 3 hands.

Solution: Set the hands to 3 numbers that add up to the number shown at the top. Once you do this you will get two more numbers to complete. Answers: 1312 = 1024 (11) + 256 (9) + 32 (6) 0529 = 512 (10) + 16 (5) + 1 (1) 2336 = 2048 (12) + 256 (9) + 32 (6)Show
After completing this a passage way will open up in the hearth. You move through this and complete this part of the chapter.

You return to the study. Continue on to part 3 - Philip's Warehouse
 With 20 years of experience in creating video game content for the internet and over 30 years as a gamer, Mark is now a passionate mobile App Gamer. Loving a challenge, he is always ready to get stuck in to both survival builders and puzzle solving games. He has been providing content for AppGamer since 2014.