Chapter 3 - First Brotherhood Walkthrough - Part 1
More Lost Lands 9
Welcome to our Lost Lands 9 walkthrough. Titled as Stories of the First Brotherhood, this game is another in the popular line of Mystery escape room and puzzle games from Five-BN games. This is our walkthrough for Chapter 3 of the game. You will need to have completed Chapters 1 & 2 to unlock it.
Chapter 2 followed the student magician Maaron as he investigated the disturbance made by the strange entity and traveled to the Dwarf Village to save Folnur. Now they must work together to Escape and then trap the Entity.
Our walkthrough is broken down into logical parts to cover each section of the chapter. It will help you locate the items you need, and give full solutions for the puzzles you will face. Please note that the game can be confusing at times as items that you need to collect may not let you pick them up until you have found a need for them.
This means that you will need to return to areas multiple times to find items. If you are unable to pick up any item that is mentioned in the guide then you may have missed tapping on an earlier scene or item that activates the need for the new item.
If you have any questions or problems playing the game please head to the Answers Page to post your question there.
Keep an eye out while playing for collection items and morphing objects, these are collectible items hidden around the scenes of the game. Most scenes will have one of each in them to find.
Lost Lands 9 Chapter 3 - First Brotherhood Walkthrough - Part 1
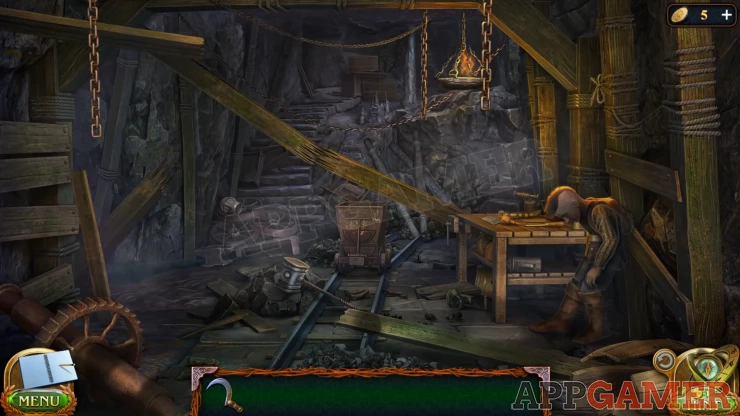
After the initial story introduction you begin in the mine that you visited in Chapter 2.
New Task: Another Way
Collection Item: Armor piece on the steps to the left of the mine cart.
Morphing Object: Knot / rope on the wooden beam above Folnur.
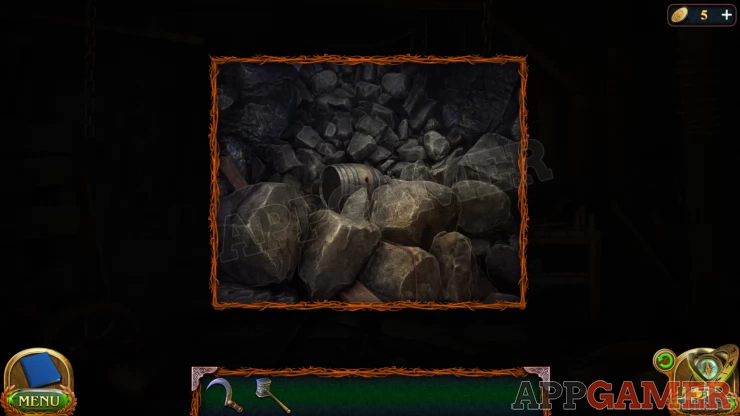
Collect Folnur's Hammer from the pile of rocks on the left of the tracks. Then tap on Folnur to learn that he is thirsty.
View the table. Collect a Keg of Gunpowder from under the table and then move the items on the lower shelf around to find a Mug.
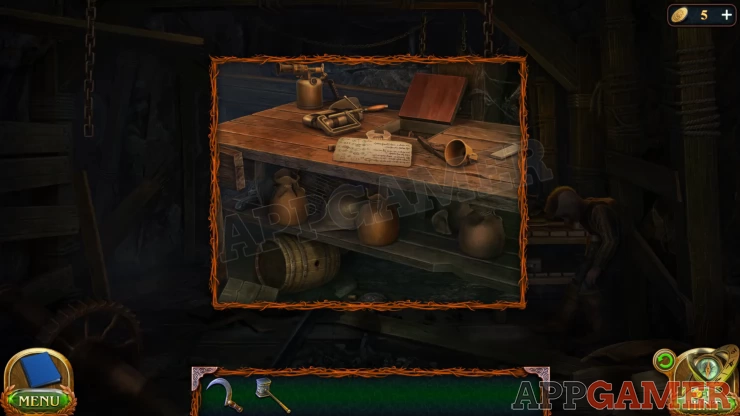
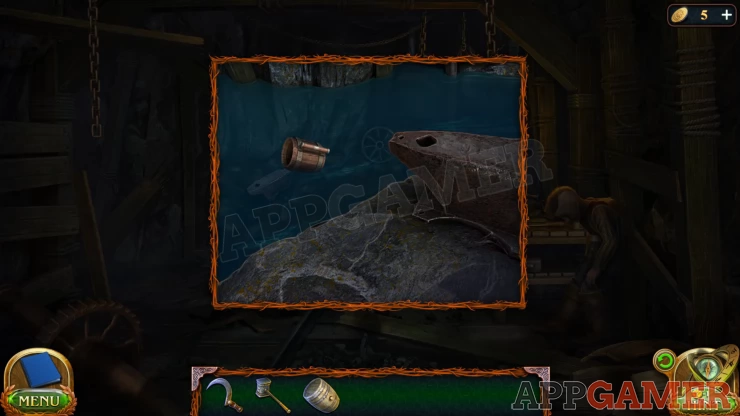
View the pool of water on the lower left and use the mug on it to collect a Mug with Water.
Then you can give this to Folnur to start a conversation.
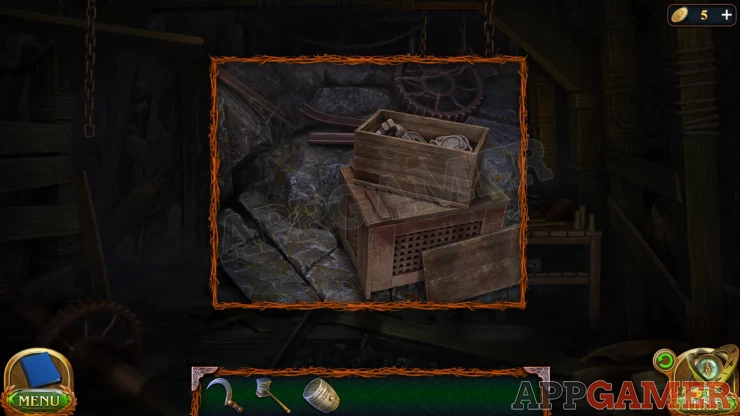
View the boxes at the top of the steps and remove the items from the top box. When you can open the bottom box, collect the Cord.
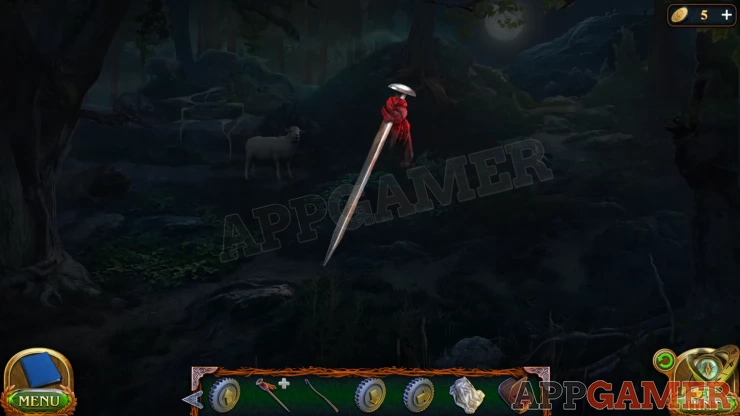
Now tap on the rocks that are blocking the path. This is to the right of the steps behind the broken beam. Then tap again to view them closely. Add the keg of gunpowder to the rocks and then the cord.
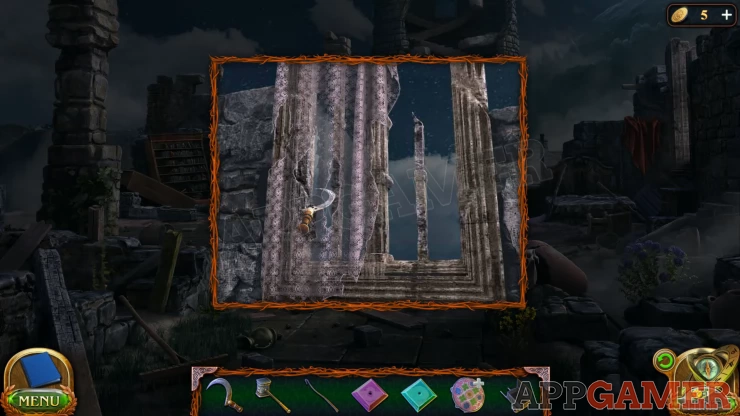
You now get a pattern to complete to conjure fire.
Conjure Fire
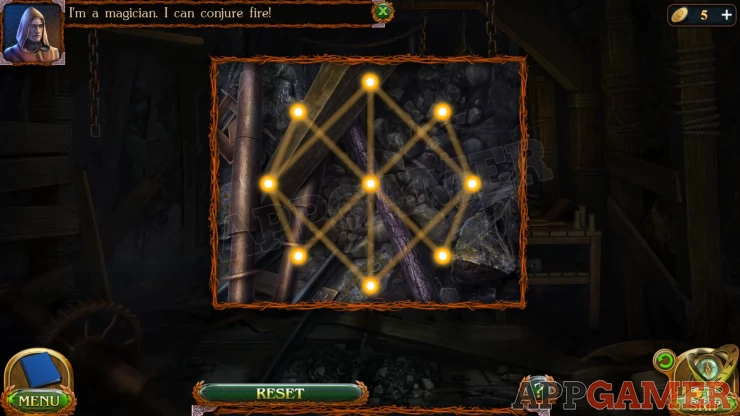
Draw a line on the pattern from point to point without repeating any line segments.
Solution: Start at the top and draw the large square. Then go down to the center and draw the left and right sections. Then finally copmlete the last line down to the bottom center.Show
This clears the rocks from the tunnel. Look inside to see some damaged track.
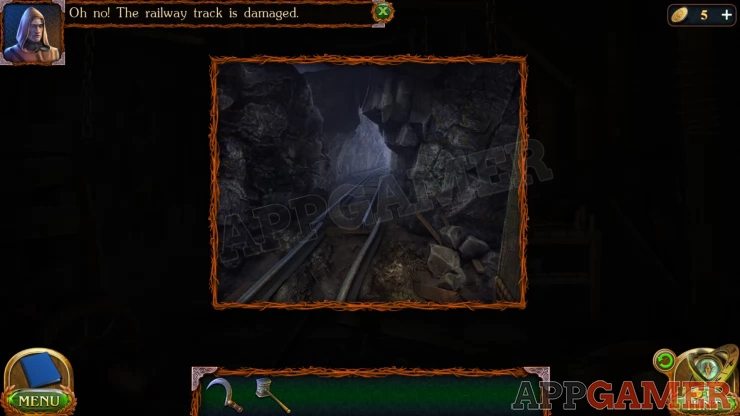
Use the hammer on the track to fix it and then you can start a puzzle game.
Mine Cart Puzzle
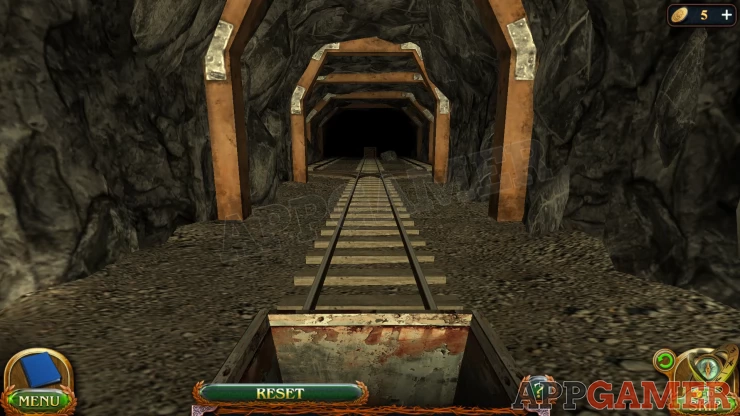
- The cart will travel along the tracks, there will be points as you travel where you need to select a direction to continue.
- Some paths end and other have obstacles that you need to avoid.
- Keep an eye on the distance to make the correct choices.
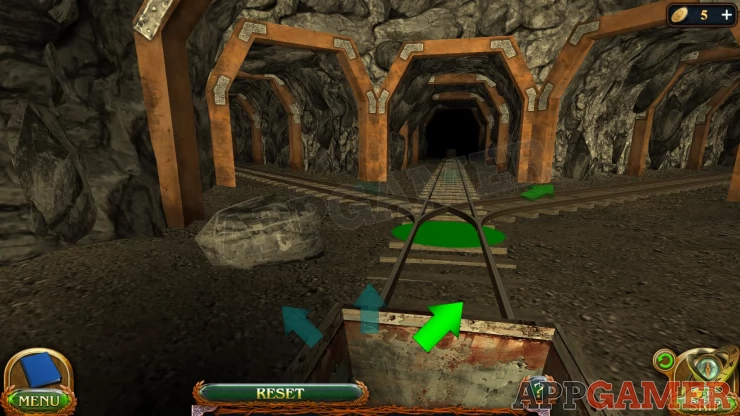
Solution:
Right Ahead Left Ahead Left Left Ahead Right Left Left Right RightShow
This will let you exit the mine.
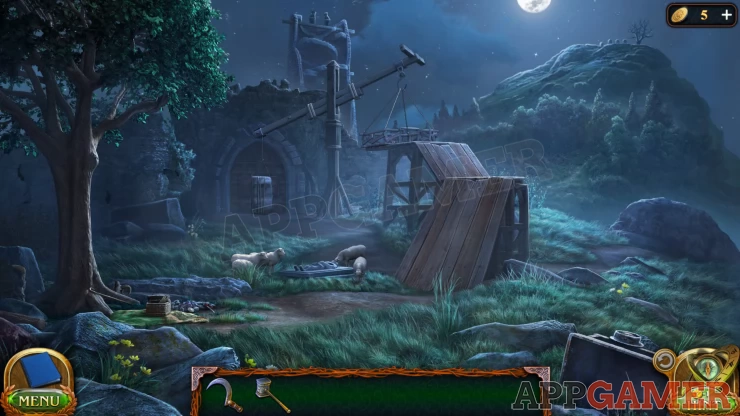
New Task: Portal Tower
Collection Item: Bird Totem on the ground in the right of the ramp.
Morphing Object: Bird in the tree on the left.
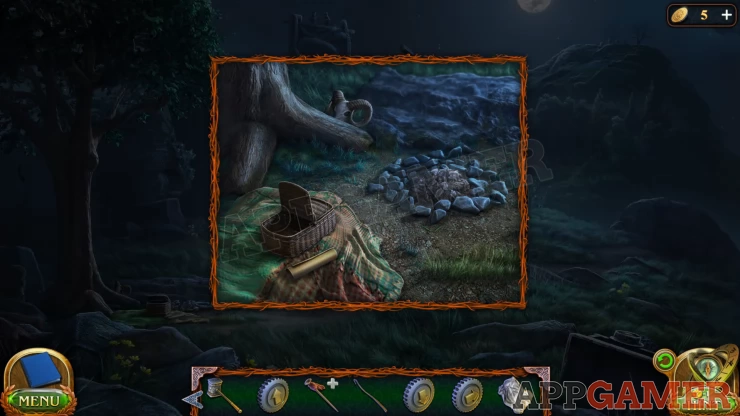
View the small camp fire on the left by the tree.
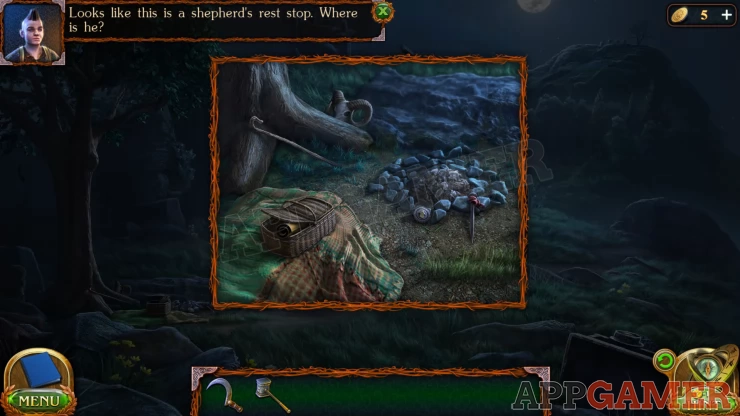
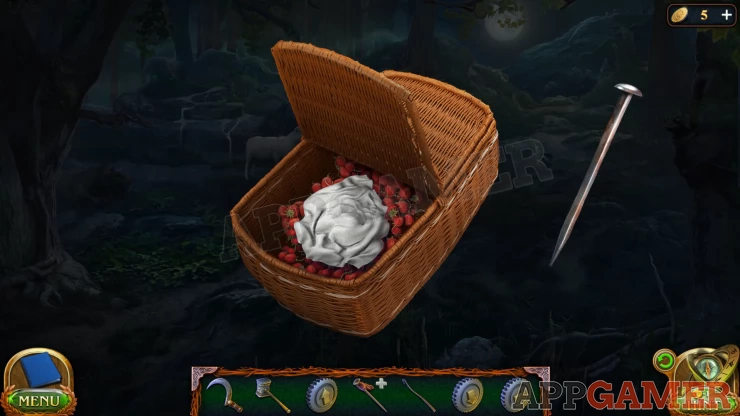
View the scroll in the basket on the left for some clues and then take the Sausage from the basket.
Then collect the Broken Flag and the Castle Gate Detail from the extinguished fire on the right.
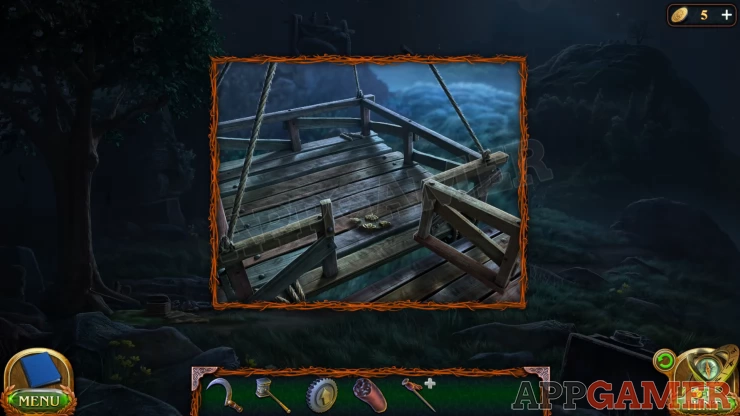
Now view the platform at the top of the wooden ramp. Open the gate and collect a Piece of the Puzzle.
New Task: Lost Sheep
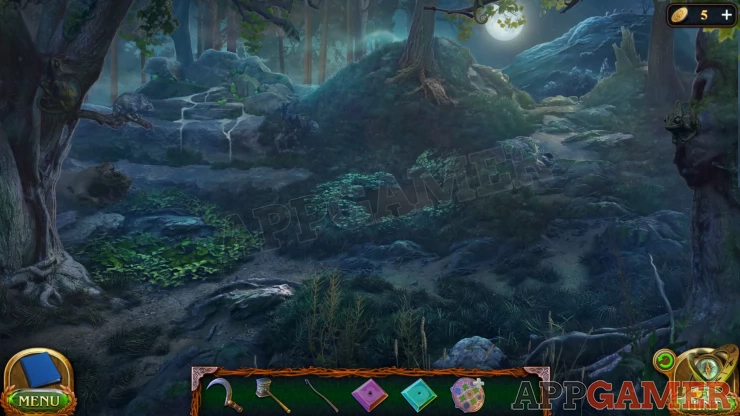
Next tap the hill on the right to move to a new area in the woods.
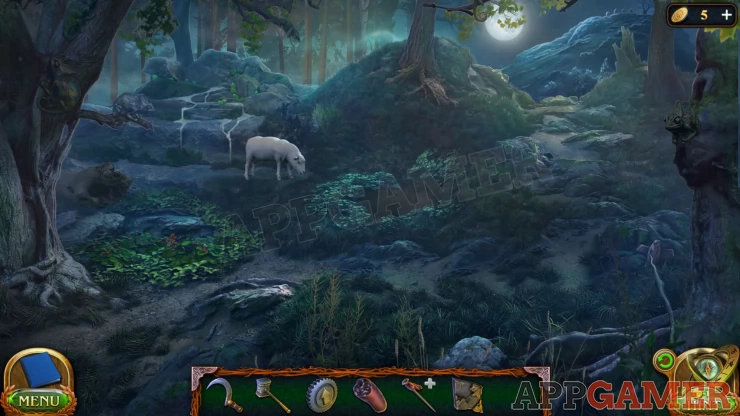
Collection Item: Totem on the ground on the right by the tree.
Morphing Object: Bush to the right of the sheep.
There is a hole in the ground in the center. Tap to look inside to see a dog.
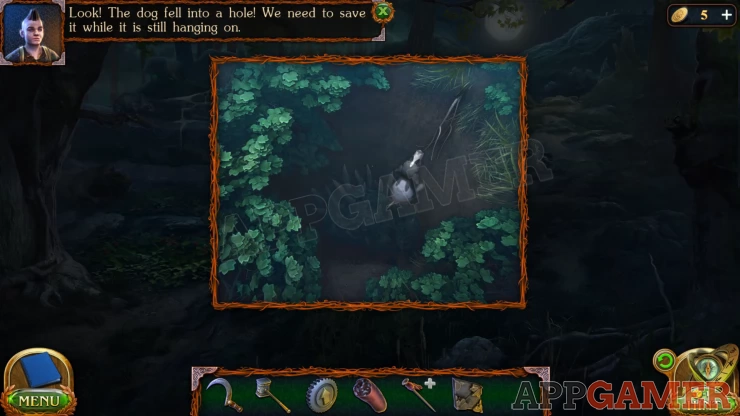
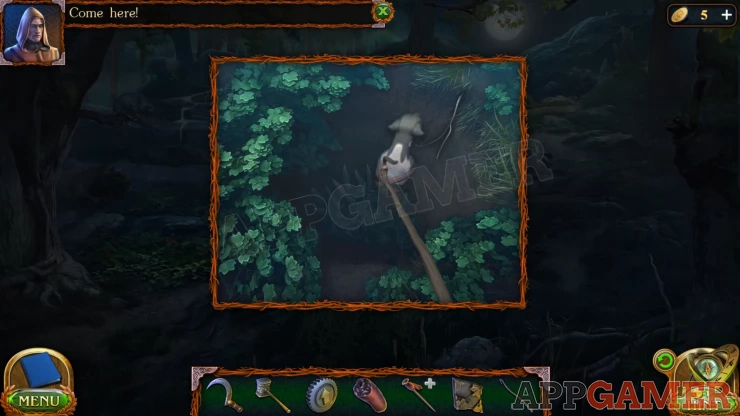
Go back to the camp area and collect the Shepherds Staff. Then return to the woods and use the staff in the hole to rescue the dog.
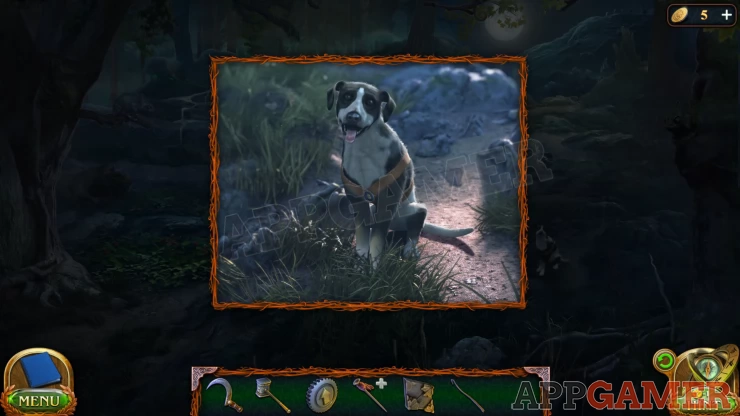
Once the dog is out give the sausage to the dog. It will sit and you can view the Dog to collect another Castle Gate detail.
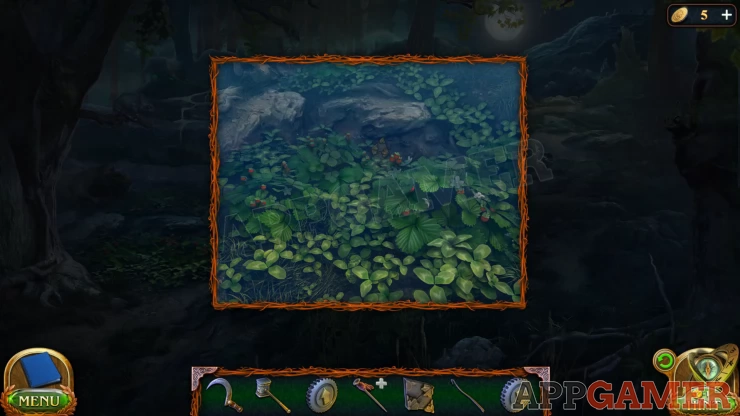
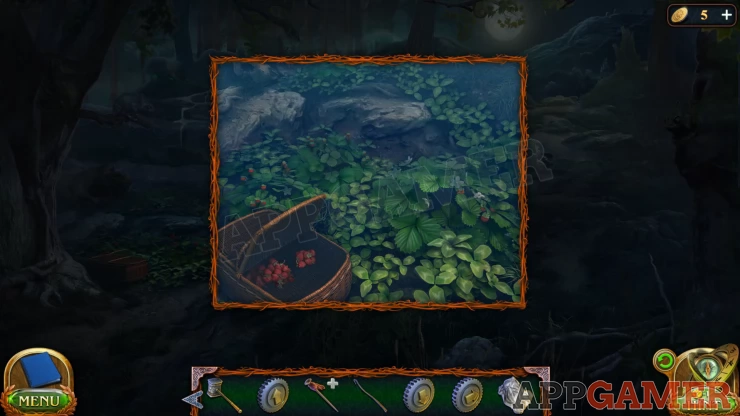
Next tap on the green leaves on the ground on the lower left. There are wild strawberry plants here. Collect the second Piece of the Puzzle hidden near the center.
Now tap the top of the path on the right to travel up to the top of the hill.

Collection Item: Armor piece in the far rock to the right of the tree with the cloth hanging from it.
Morphing Object: Small Tree stump towards the lower right near the cliff edge.
View the 4 standing stones and collect from the second one another Castle Gate Detail.
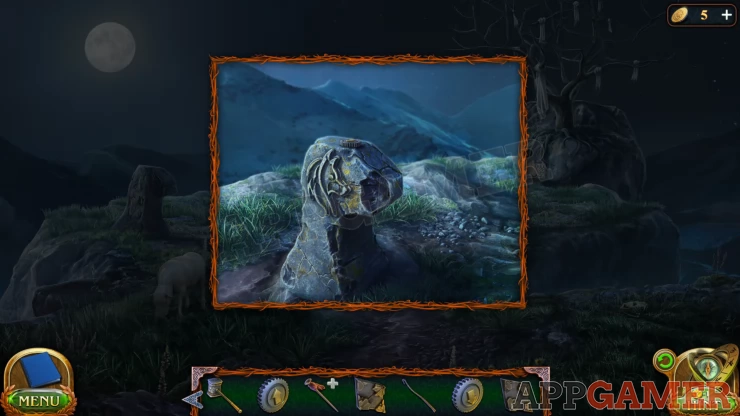
Then view the tree on the large rock.
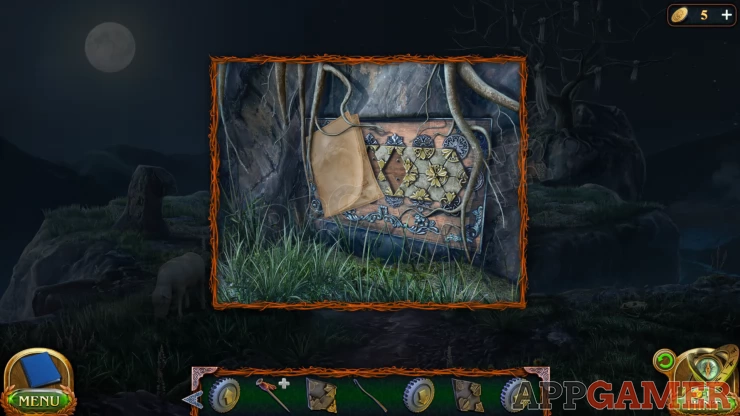
Manuscript: On the board attached to the rock.
Add the 2 puzzle pieces to start a puzzle.
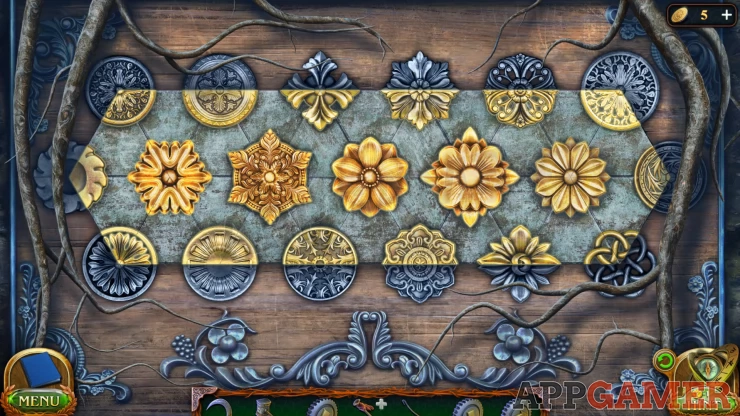
Flower Pattern Puzzle
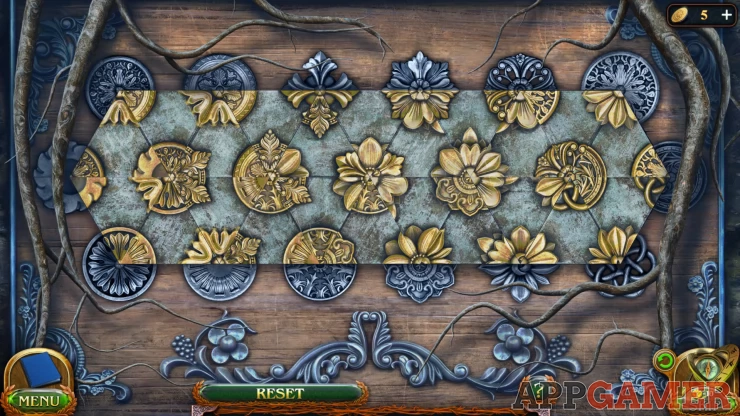
- The puzzle is made up of triangle pieces.
- Tap each piece to rotate it to align it with the edge pieces and complete the full pattern.
Solution: Show
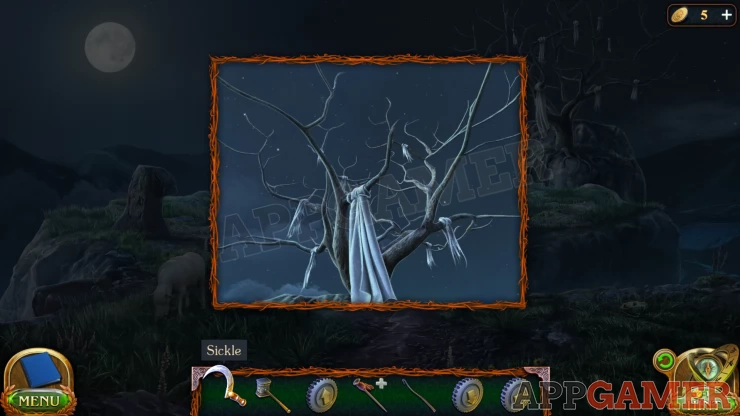
When the rock descends you can view the tree, use the Sickle to cut and collect a Piece of Cloth.
Back up to the first area and view the camp fire again. Collect the Empty Basket.
Then move to the woods again and view the wild strawberry patch on the lower left. Place the basket and then pick some strawberries to put inside. Collect the Ripe Strawberries.
Now you need to view the Broken flag in your inventory and tap it to remove the ruined red cloth. Then add the White Cloth to the remaining pole followed by the Ripe Strawberries.
Close the basket and the cloth will be stained, then tap again to fix the cloth to the pole and collect the Red Flag.
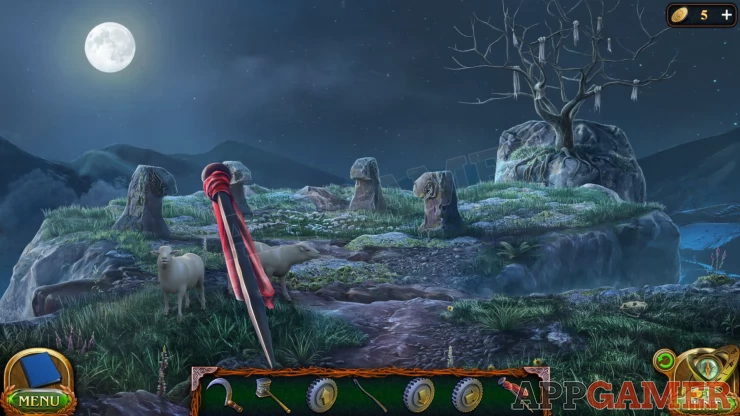
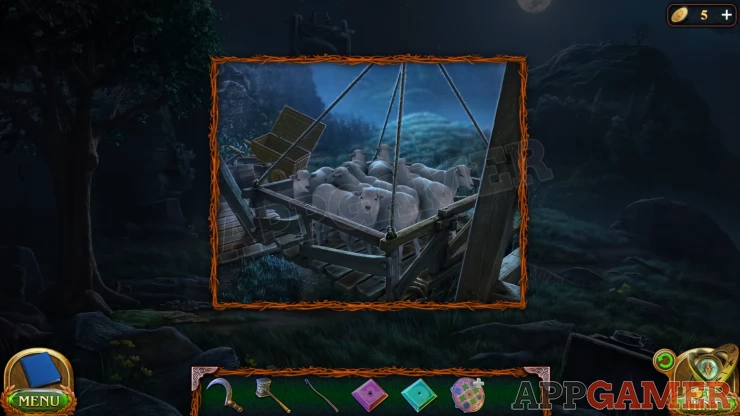
Use the flag on the sheep in the woods and it will return to the flock. Then go up to the top of the hill and do the same with the 2 sheep there.
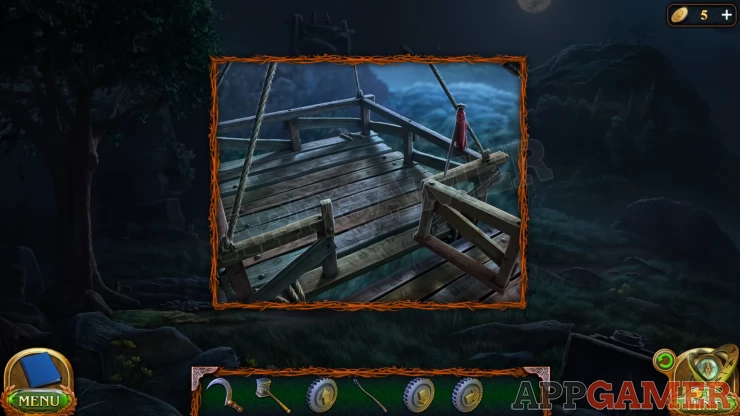
Go back down to the castle and view the platform at the top of the ramp. Add the red flag to it and then use the hammer to fix it in place.
7 of the sheep will go up, then you can view the last one that is stuck in a grave.
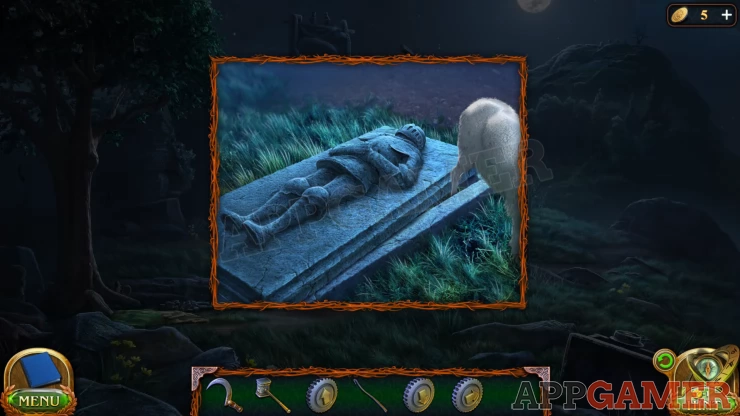
Use the shepherds staff here to move the grave top and free the sheep. This will lower the platform and move the stone blocking the Castle door. It completes the task.
View the opened grave again and collect another Castle Gate Detail.
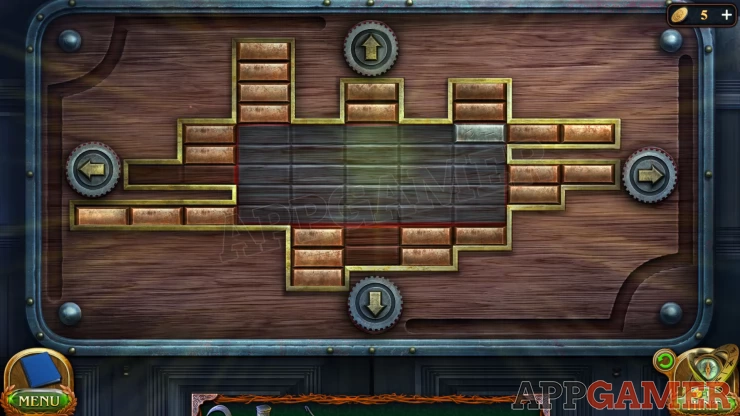
Now view the castle door to see a puzzle
Castle Door Puzzle
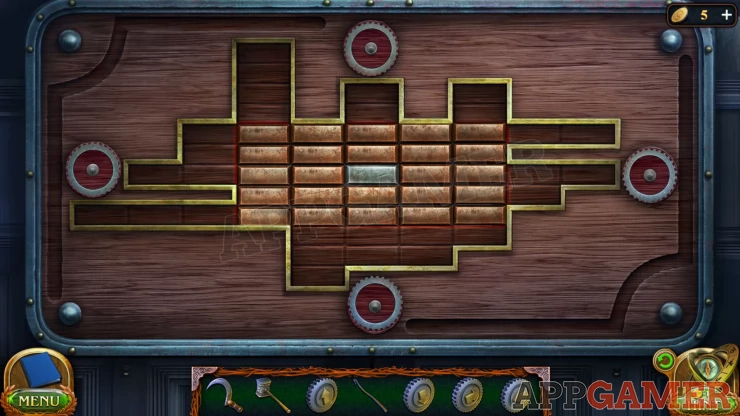
- Place the 4 details to begin.
- There are 4 buttons that will move the center metal 'chip' around.
- You can use it to push the copper colored chips around the board.
- You can only move the metal chip in a direction where there is a copper chip to push.
- The center area of the board has a red line around it. You need to move all of the copper chips into the brown sections outside of the red line.
Solution: Make the following moves to complete the puzzle:Show
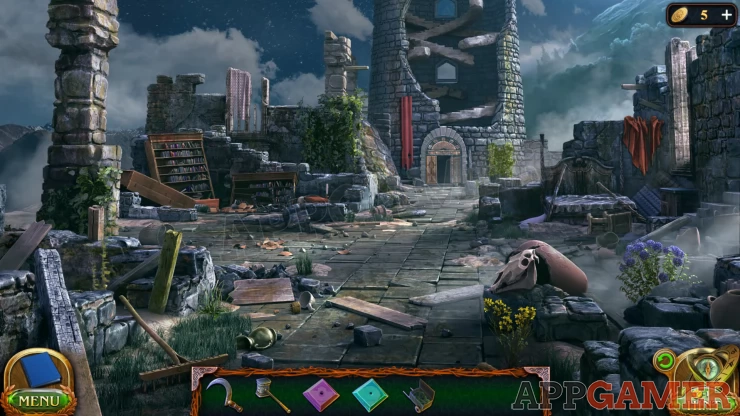
The Castle is now open, go inside.
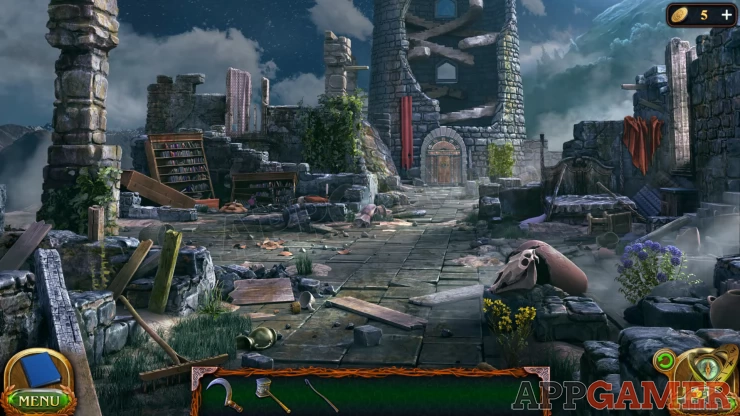
Collection Item: Armor piece by a stone wall near the center.
Morphing Object: Wood Plank in the stone ruins on the left.
View the broken bookshelves on the left of the ruins. Collect the Glass Prism. Then tap the books on the ground to move then and you can view one book with some clues in it.
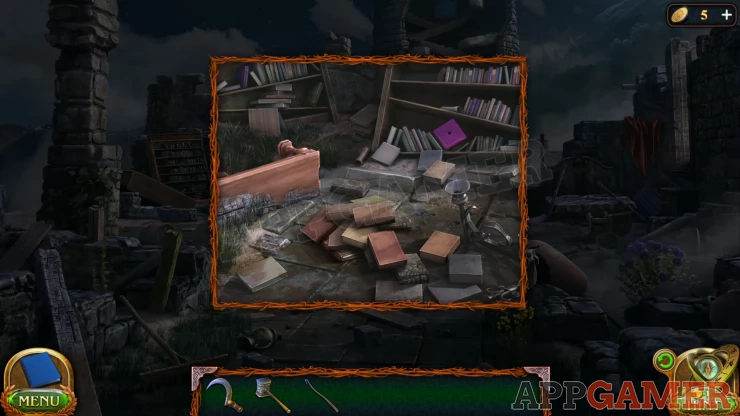
Next view an old curtain hanging above the book shelves. Collect another Glass Prism.

Now view an old bed on the right of the ruins. Move the sheet and collect an Embroidery Hoop.
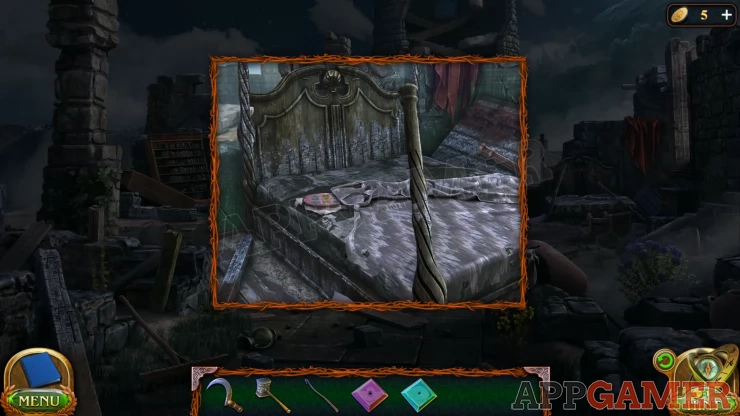
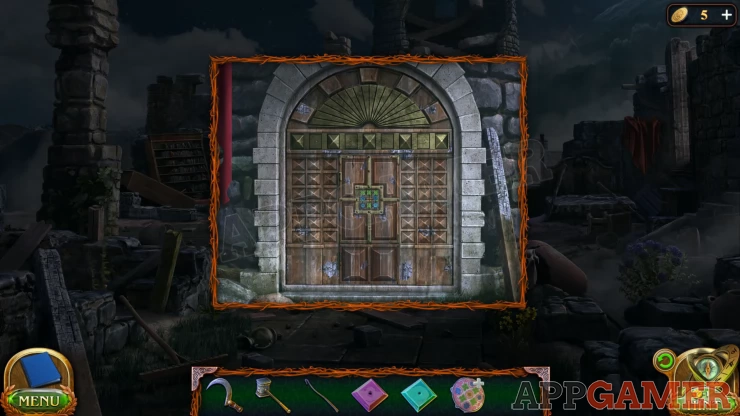
Now view the door to the tower. Then tap the center to see the puzzle.
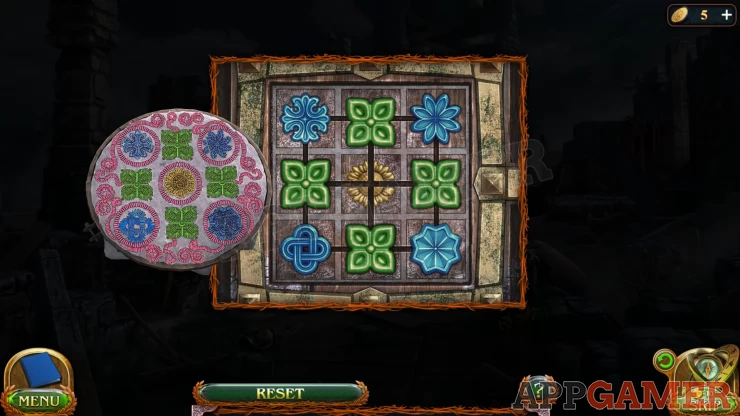
Embroidery Puzzle
- Move the green and blue emblems around the grid to match the embroidery.
- The green items are all the same but the blues ones have specific positions.
You can now reach the top of the tower.
New Task: Swarm of Flies
Collection Item: Totem on the ground on the left behind the bird.
Morphing Object: Jug / barrel on the right side of the stone pillar on the right.
Now you need to return to the woods. On the tree on the left is a chameleon. Tap on this.You will be told you need something to catch them in.
Back up to the first area and view the platform full of sheep. Collect the Cart on Wheels from behind them.
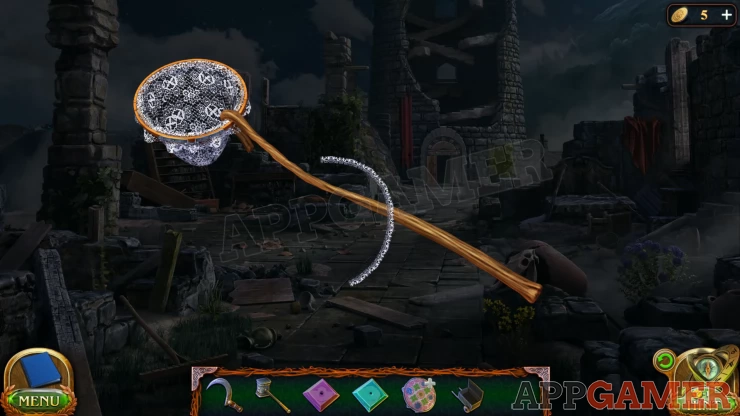
Next view the Embroidery in your inventory and tap the screw to remove the fabric and keep the Hoop.
Then go back in to the castle ruins and view the hanging curtain on the left again. Use the Sickle on it to cut it and collect the Lace Curtain.
View the embroidery hoop again and add the lace curtain to it. Then use the sickle on it to trim it.
Finally add the shepherds staff to make a Net.
Go back to the woods. Place the cart on wheels on the ground and then use the net to start a search game.
Find Chameleons
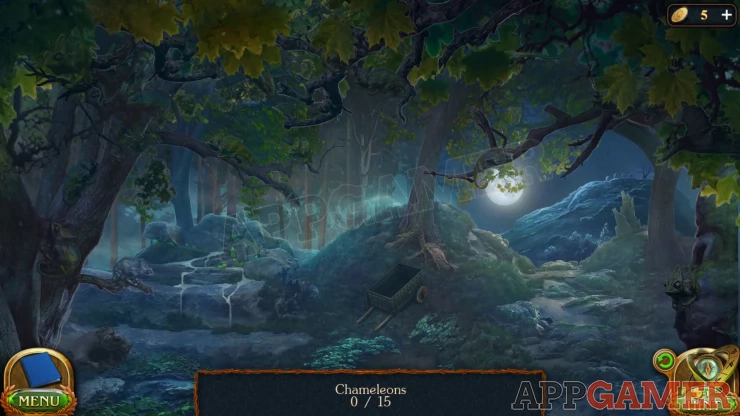
- You need to locate 15 chameleons in the trees.
- Some are visible on branches while others a camouflaged or hiding behind leaves.
Once you have them all collect the Box of Chameleons
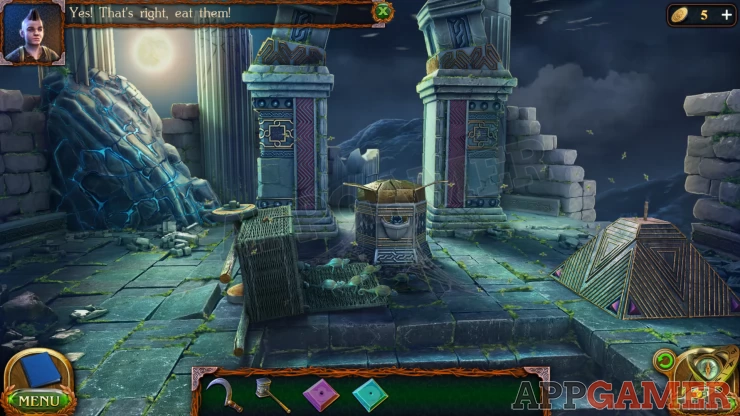
Return to the castle ruins and now collect a rake from the left side.
Then go back up to the top of the tower. Use the rake here to clear away the dead birds.
Then place the box of chameleons to clear away the flies. This completes a task.
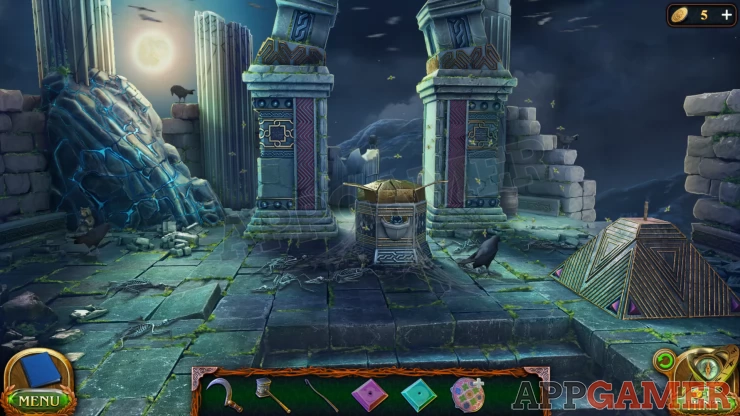
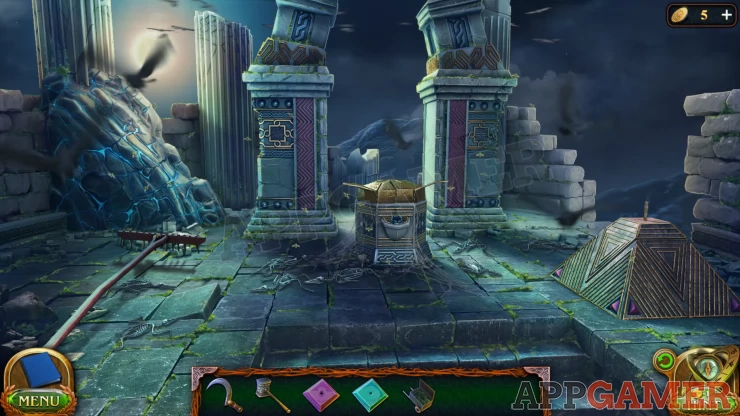
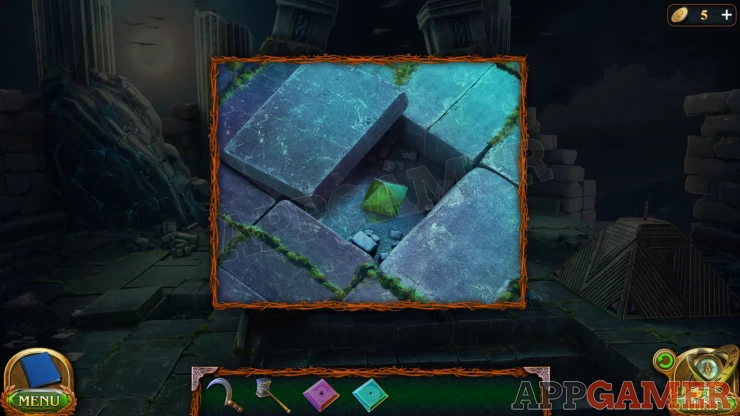
View a loose floor stone to the left of the box with wheels. Lift it and collect the Glass Pyramid.
Next view the pyramid structure on the right. Add the 3 glass pieces you have to complete the top.
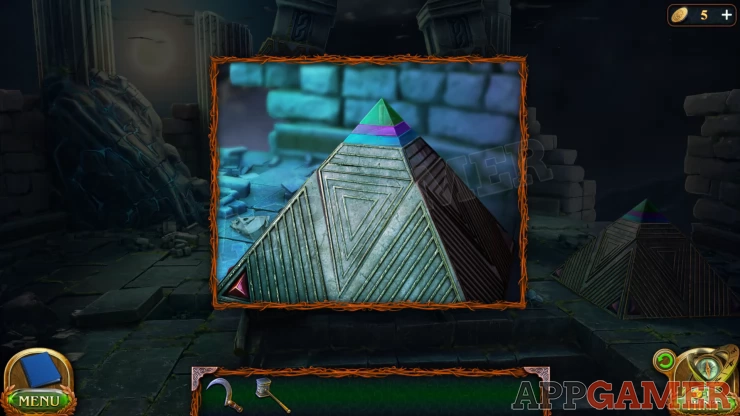
It will open and you can collect the Runestone.
Now view the gold topped plinth in the center. Add the rune stone to it and it will open up.

Look in the top to find a puzzle.
Pyramid Puzzle
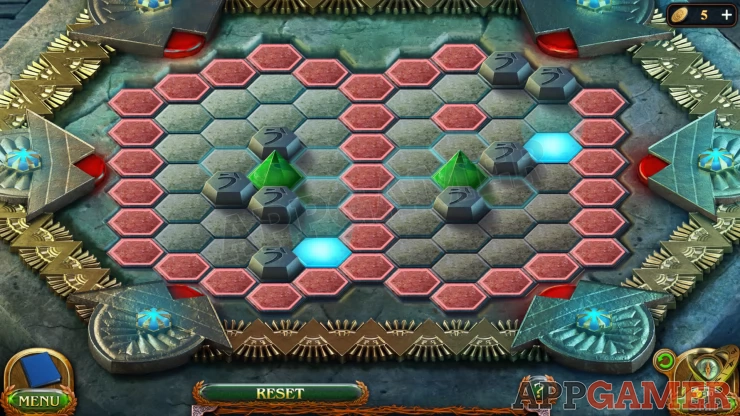
- There are 2 green pyramids that you can move by selecting a hexagon spot for it to move to.
- Each move with 1 pyramid will also move the other in the same direction if there is a space for it to move to.
- If either pyramid reaches a red hexagon the game will reset.
- The goal is to get both pyramids on to the blue spots at the same time.
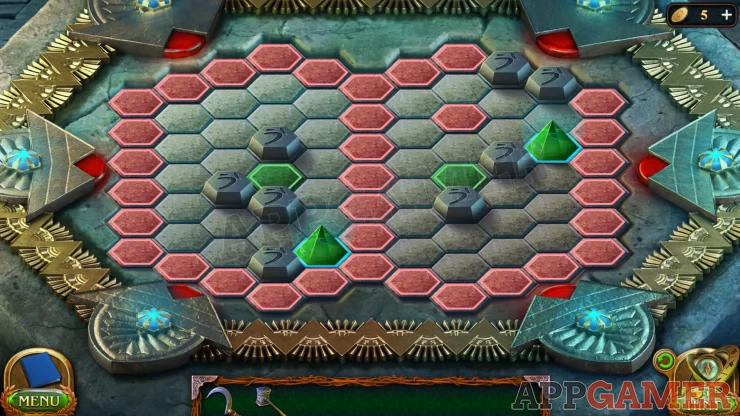
Once done this dolmen is active and you can travel through to the Academy.
Continue this walkthrough in Chapter 3 Part 2
| Chapter 2 - Academic Interest Walkthrough - Part 3 | Back to Top | Chapter 3 - First Brotherhood Walkthrough - Part 2 |
 With 20 years of experience in creating video game content for the internet and over 30 years as a gamer, Mark is now a passionate mobile App Gamer. Loving a challenge, he is always ready to get stuck in to both survival builders and puzzle solving games. He has been providing content for AppGamer since 2014.