Chapter 1 - Unchildlike Mischief Walkthrough - Part 3
More Lost Lands 9
Welcome to our Lost Lands 9 Walkthrough, another in the popular line of Mystery escape room and puzzle games from Five-BN games. This is part 3 of our guide to Chapter 1.
Following Chapter 1 Part 2, Folnur and Mora have discovered an ancient Sarcophagus in the Dungeon. After opening it and taking a dagger from inside they now return to their home.
Chapter 1 - Unchildlike Mischief Walkthrough - Part 3
New Task - It's Getting Dark
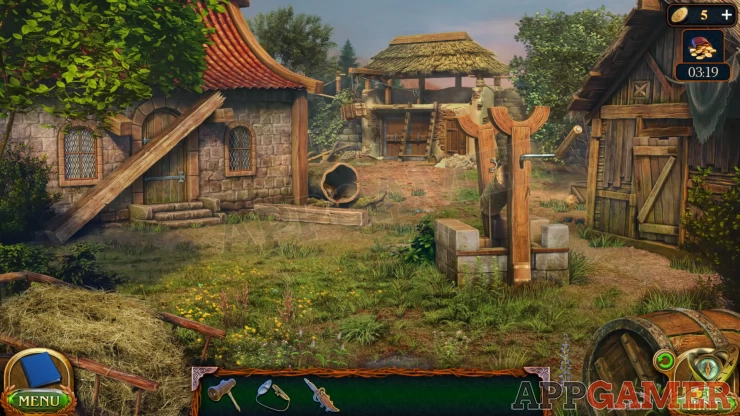
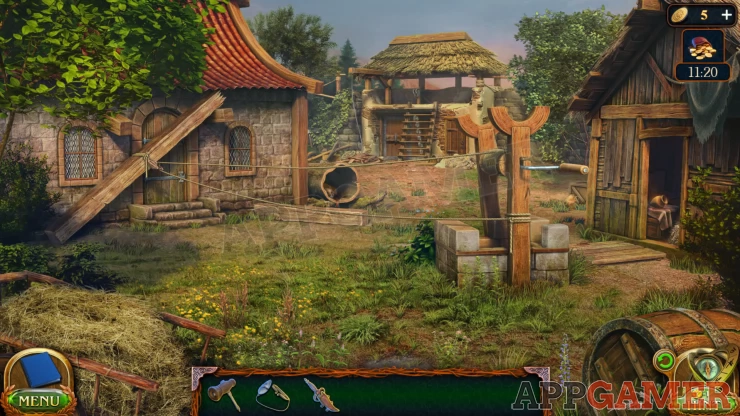
Follow the path toward the houses on the left of the hill to go to the village.
Collection Item: Book on the ground in front of the broken well.
Morphing Object: Wooden hatch / planks on the side of the building on the right. Above the door.
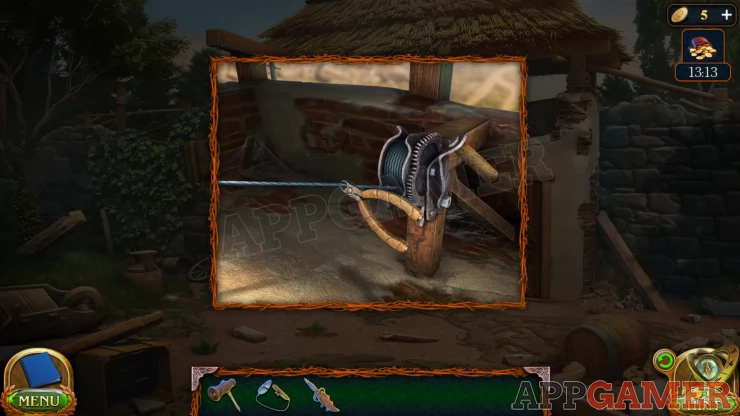
Fist view the broken well near the center and then use the screwdriver to fix the bracket on the far post.

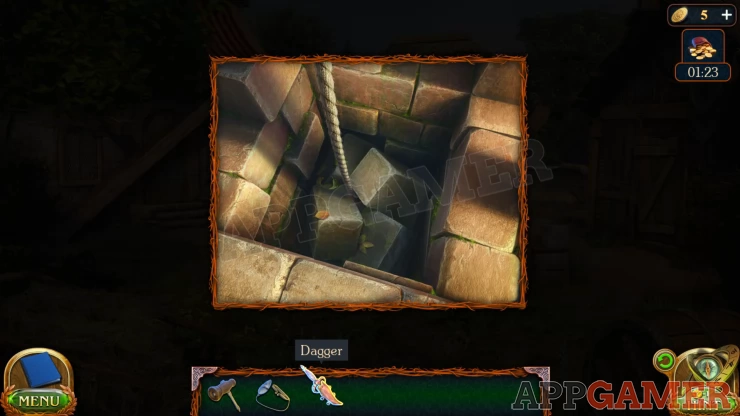
Lift the winch up and then tap it to try to raise the rope. It is stuck. Look inside the well and then you can use the dagger to cut the rope free. You collect the End of the Rope.
Next view the large beam blocking the door on the left. Then add the end of the rope to it.
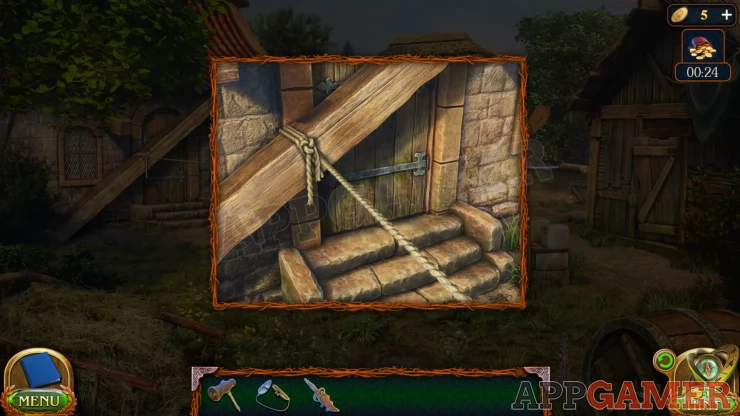
Now use the winch again to try to pull the beam away. It does not move.
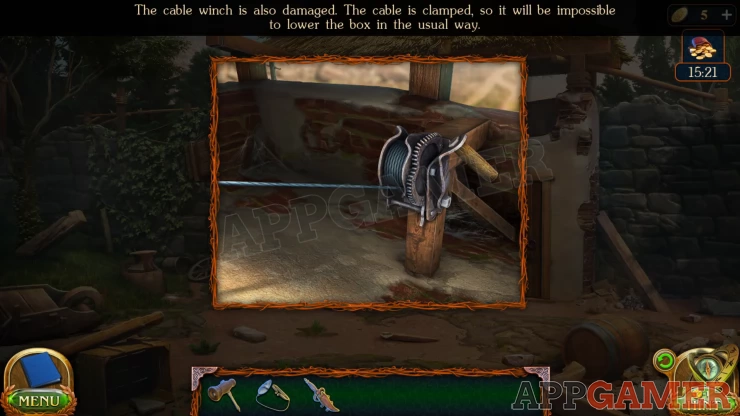
Tap to view the structure in the distance in the backyard. There are some broken steps and a crate hanging from a winch with a power mulitpull.
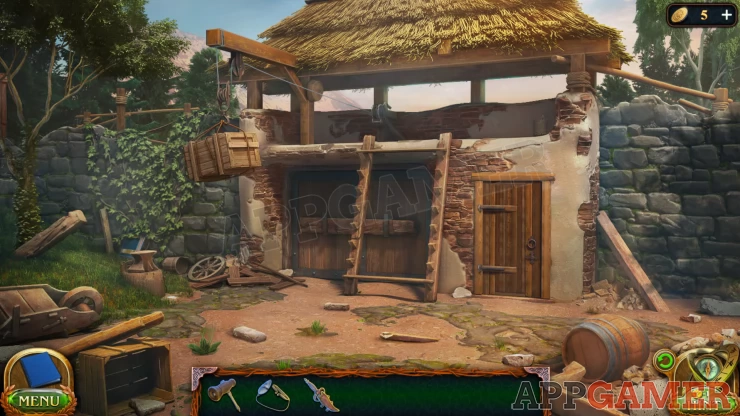
Collection Item: Book on the Anvil on the left side
Morphing Object: Logs / rocks on the ground on the right under a small wooden beam.
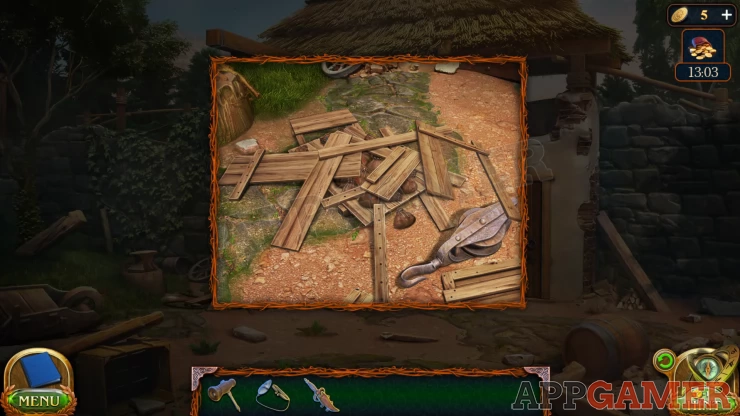
Tap the steps to view them an then tap on the pile of planks on the ground on the left to pick them up and start a puzzle.
Steps Puzzle
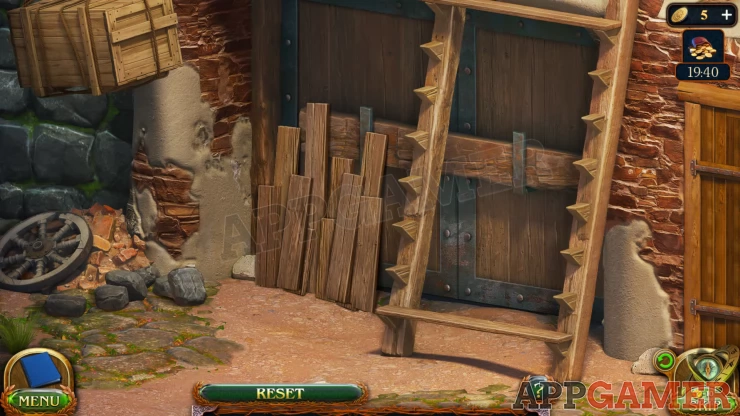
- There are 6 missing steps and 12 planks.
- Select a plank and place it on one of the missing spaces.
- You need to find pairs of planks that will fit together to fill the space of each level
Solution: Show
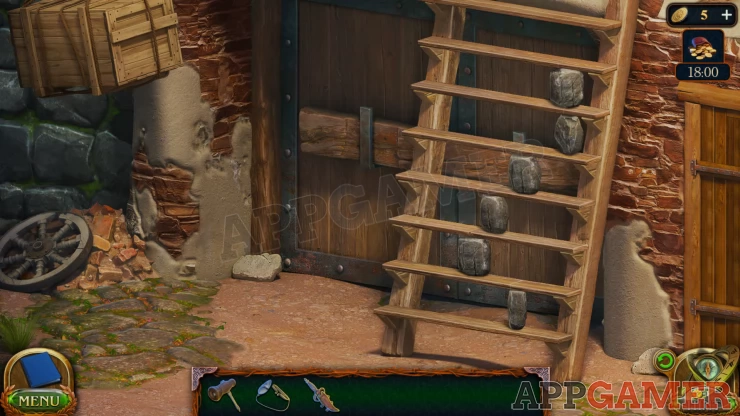
Once done the stairs are repaired and you can access the winch handle at the top.
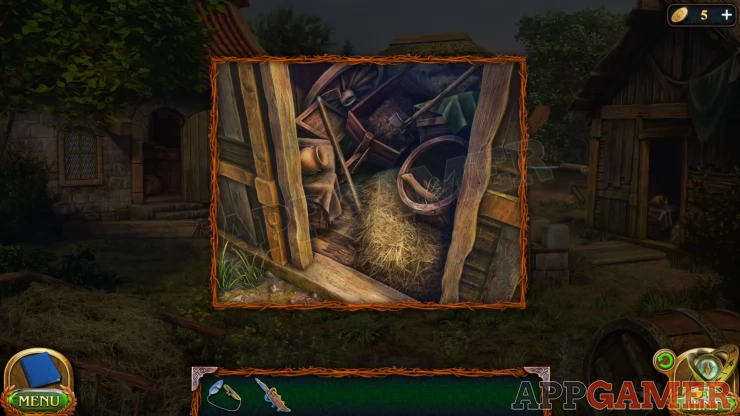
It is damaged and cannot be released. Back up from here to the first are of the house and open the door on the building to the right of the well.
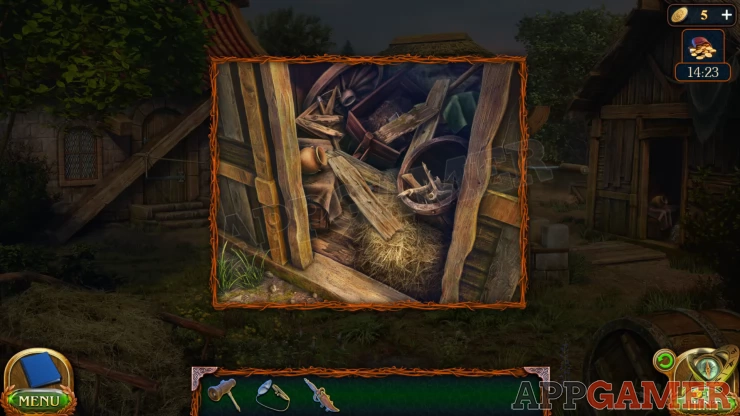
Look inside and move the items around until you can collect some Wire Cutters. Then you can return to the winch and cut the wire to let the crate fall.
Collect the Power Multipull. from the broken crate. Then go back to the well and view the large beam on the door on the left again.
Use the dagger on the rope to cut it and then add the power multipull to it and reconnect the rope.

You can now tap the well winch again to pull the beam away from the door.
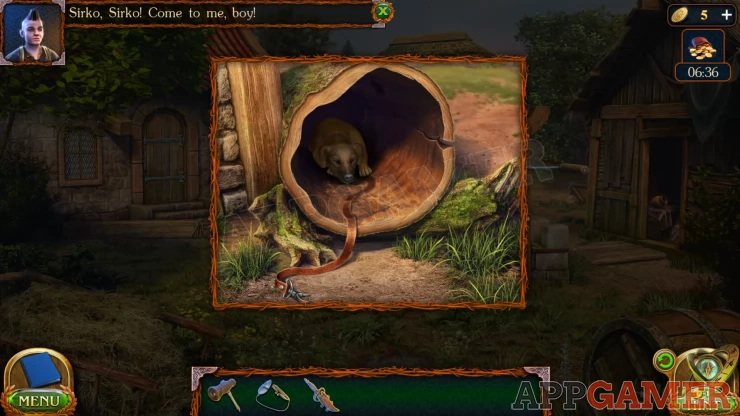
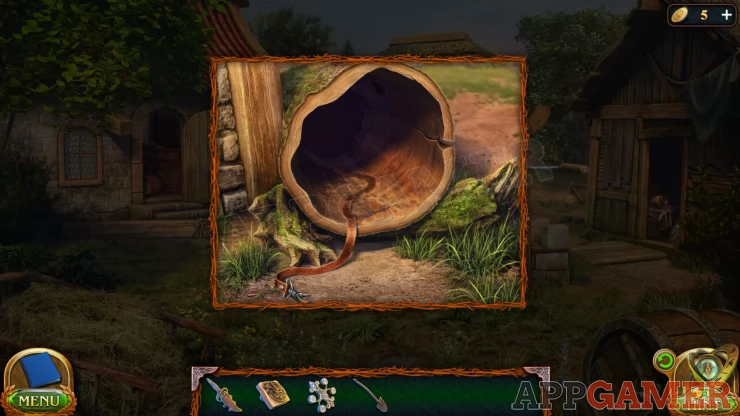
View the front door of the house. It is locked. You need to get the spare key from Sirko. Now look inside the hollow log just to the right of the house to see the dog Sirko hiding inside.
Back up to the start area with the camp in the center. View this and you can collect the Grilled meat that was cooked earlier.
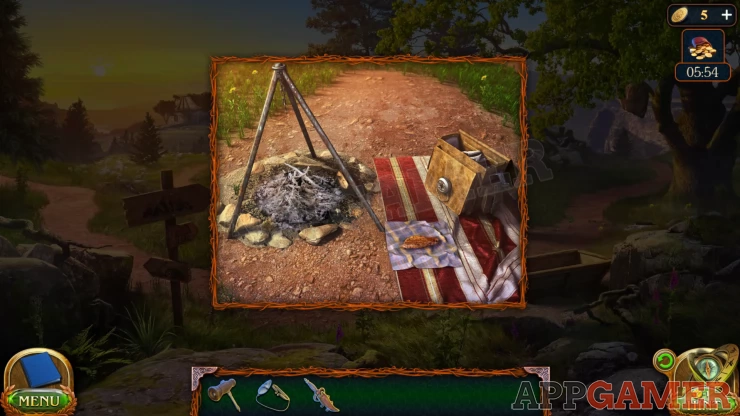
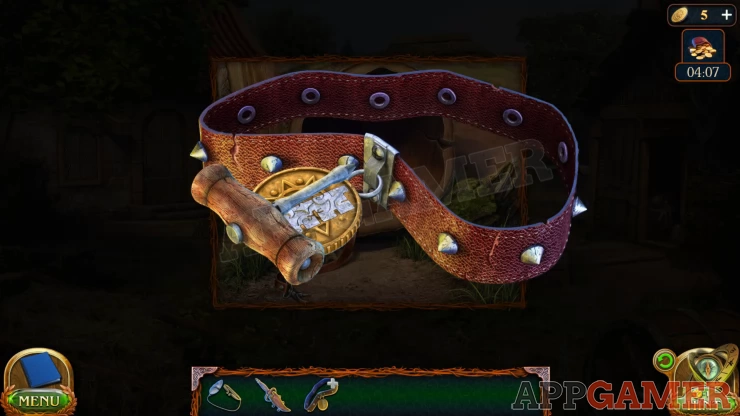
Then return to the house and place the meat o the ground for Sirko. It will come out of the log and eventually drop the collar. Collect the Collar.
View the Collar in the inventory and add the screwdriver to it so that you can collect the House Key.
Use the key to open the door and go inside.
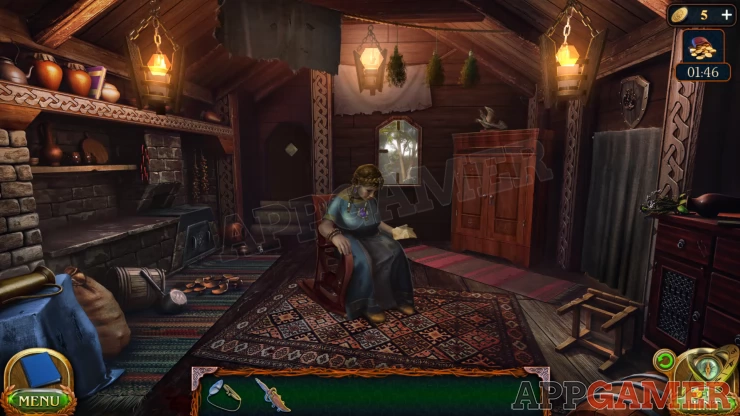
Collection Item: Book on the top left shelf.
Morphing Object: Small fish / figure on top of the large cabinet to the right of the window.
Mother is unconscious but has left a note with instructions for a medicine.
New Task: Medicine for mom
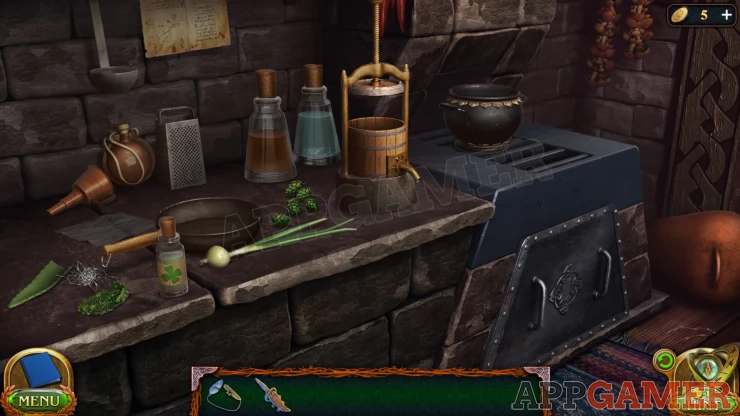
Open a curtain on the left and go through to a Kitchen.
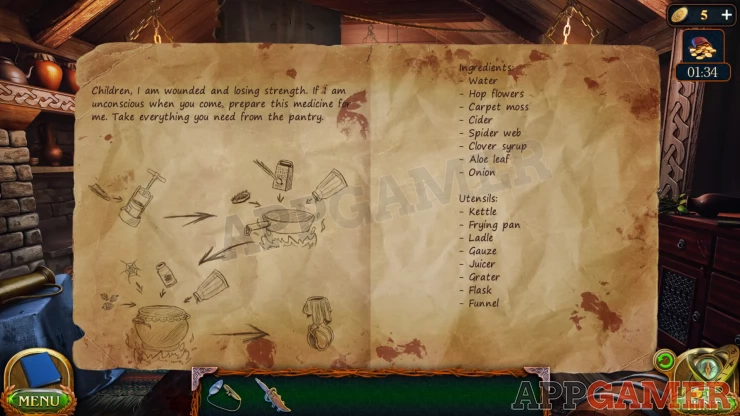
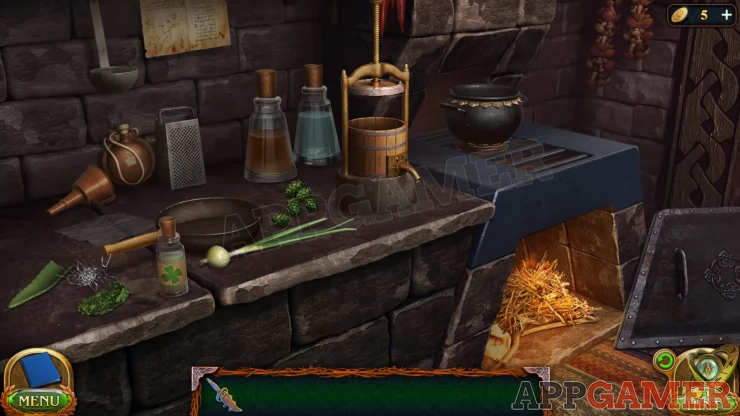
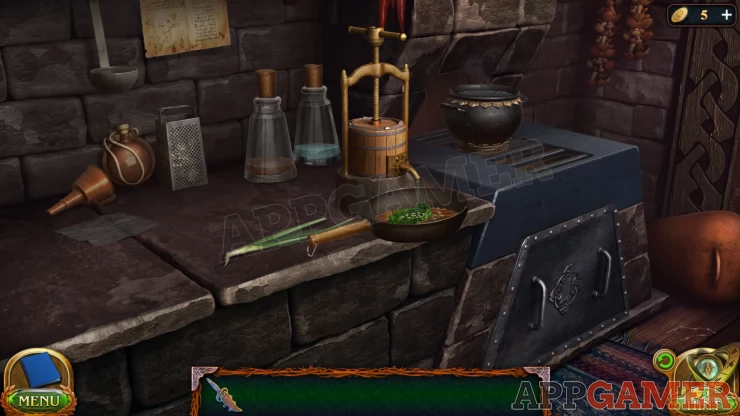
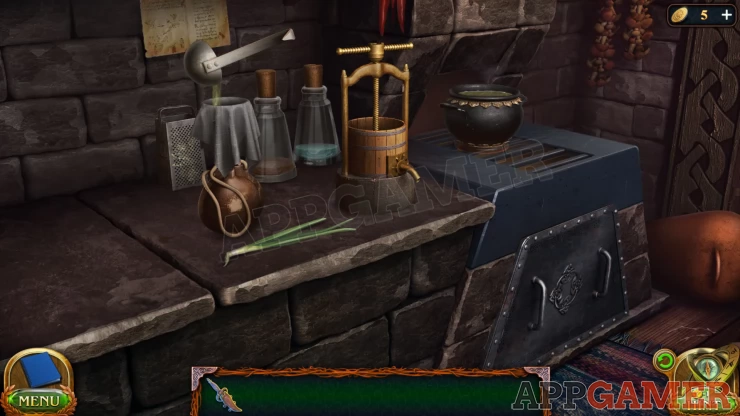
Medicine Ingredients
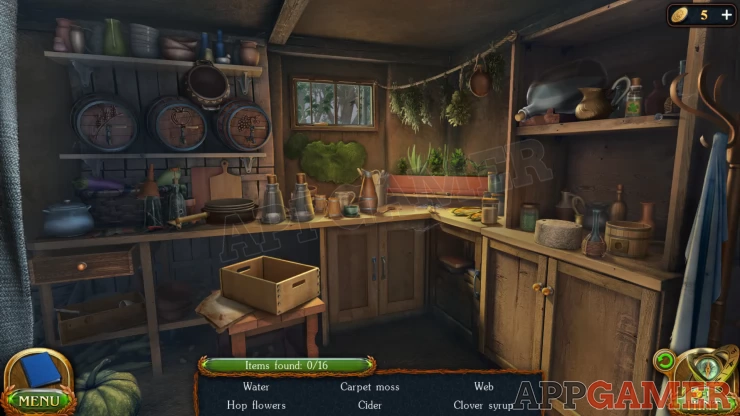
View the recipe list and add it to the wooden box on the small table. Now you need to find the items.
There are 16 items to collect which will appear in a list of 6 at a time at the bottom. They may not all appear in the same order for you.
- Water: select a bottle from the counter and use it on the water bottle on the shelf, top right.
- Cider: Select the other water bottle on the counter and use it on the center barrel on the shelf on the left. (apple)
- Hop flower: View the window and open it to collect this from outside.

- Carpet Moss: Also at the window use the knife to cut some green moss from the wall.
- Pan: Collect from the counter on the left, above the wooden box.
- Cauldron: Hanging from the top left shelf above the barrels.
- Aloe Leaf: View the herb planter on the right of the window. Use the knife to cut the plant on the left.

- Onion: Also in the planter. Long stem.
- Gauze: White cloth under the planter.
- Flask: Hanging from a rope above the planter to the right of the window.
- Funnel: On the counter on the left just below the Apple Barrel.
- Grater: view the open drawer on the far left to find the grater.
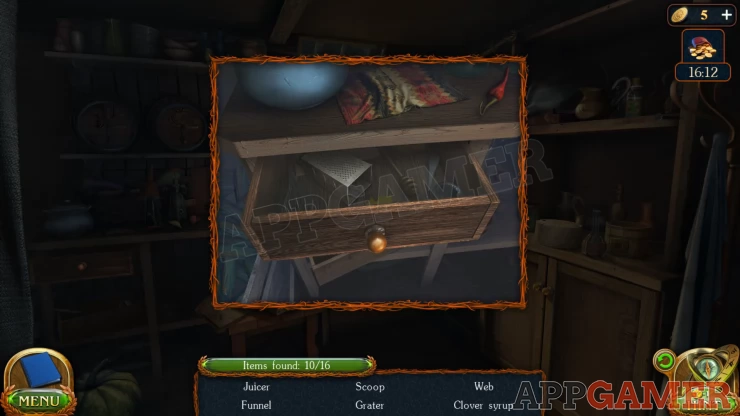
- Scoop: Close the drawer to find the scoop (ladle) below it.
- Web: open the cupboard doors below the window to find a spider web to collect.
- Clover Syrup: on the top shelf on the right next to the water bottle.
- Juicer: View the counter on the right side to see a large round base and other items. Assemble the items there to make the juicer to collect
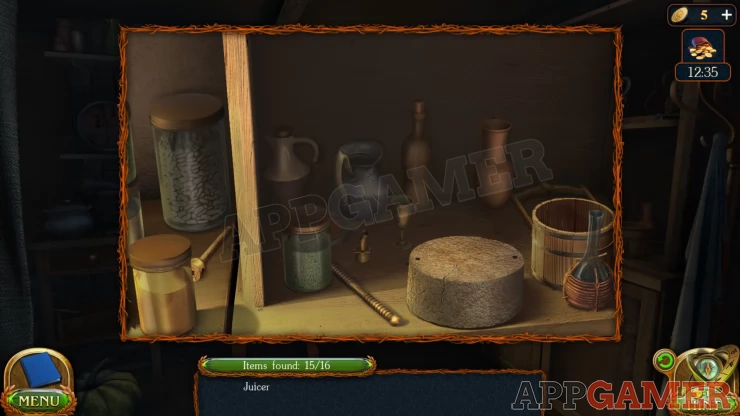
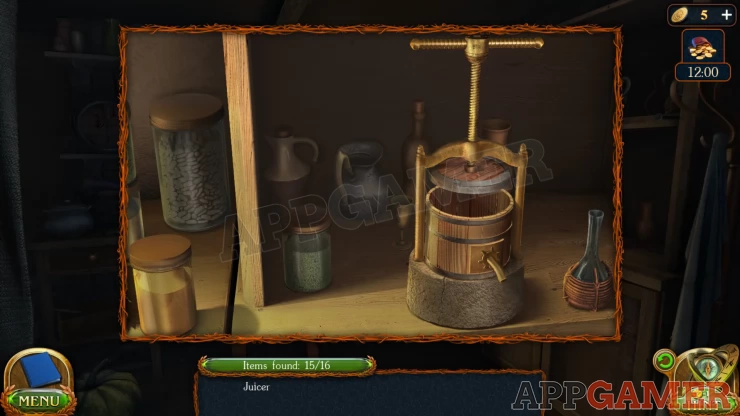
You now collect the Set of Ingredients.
Now view the fire place on the left of the main room and place the set of ingredients there.
Open the front of the stove and you will be asked to find fire wood. Back up to the out side of the house and enter the shed on the right again to collect the Ax.
Then go back into the house and try the back door. It is blocked. Next view the window and use the Ax on it to break the glass.
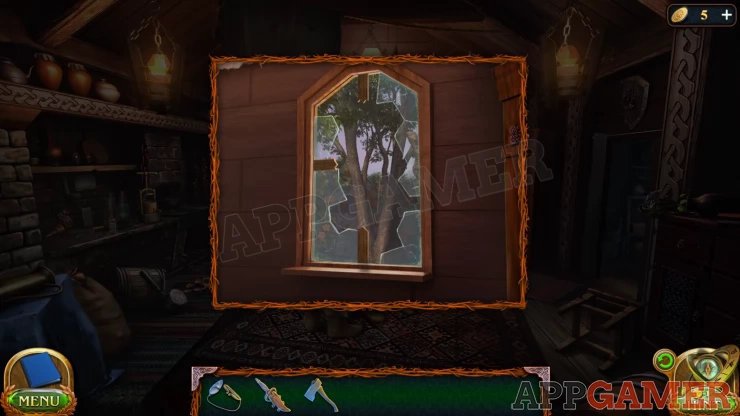
You can then climb out into a garden.
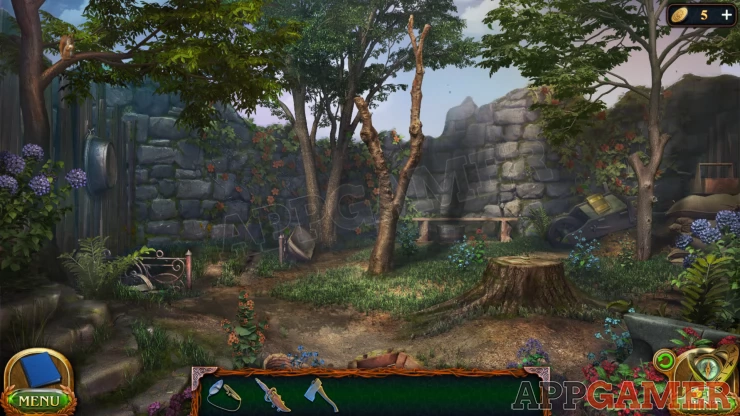
Collection Item: Book on an overturned wheelbarrow to the right.
Morphing Object: Owl / Squirrel in the tree at the top left.
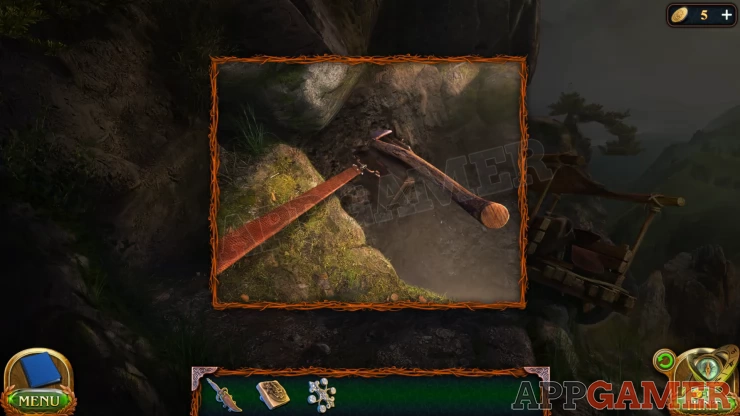
View the dead tree in the center and use the Ax on it to shop it down.
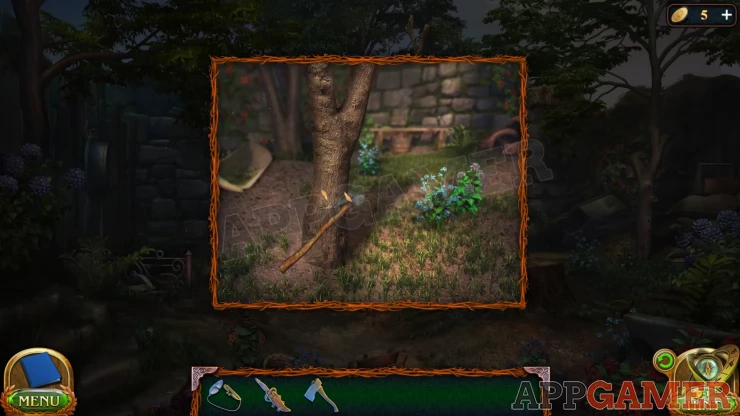
Then view the fallen tree again and use the ax on it to shop it up and collect the Firewood.
Go back inside and place the firewood in the stove. Then use the flint to light it.
Now you need to follow the instructions to make the medicine. Check the paper on the wall for the details.
Solution:
Show
You will now collect the Medicine. Give this to the mother and wake her up.
You will receive the Cabinet Key.
New Task: Family Weapon
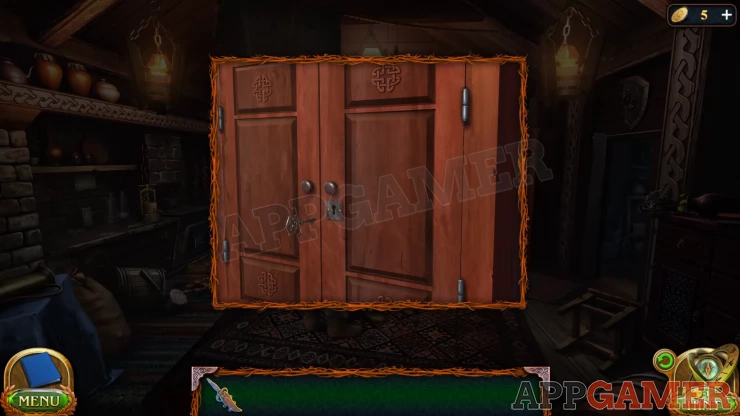
Use the key to open the large cabinet by the window. Inside is a puzzle.
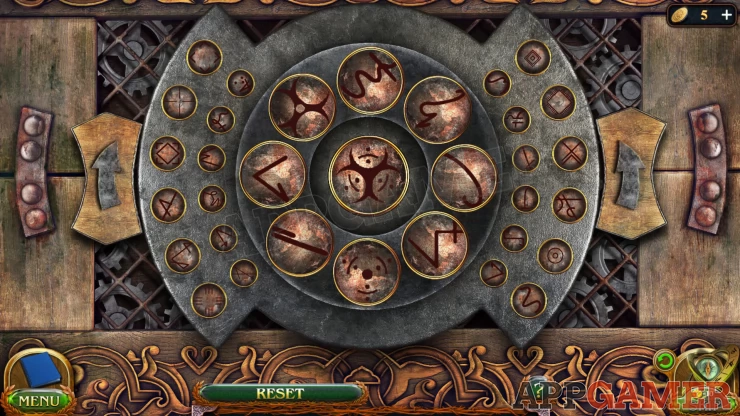
Cabinet Box Puzzle
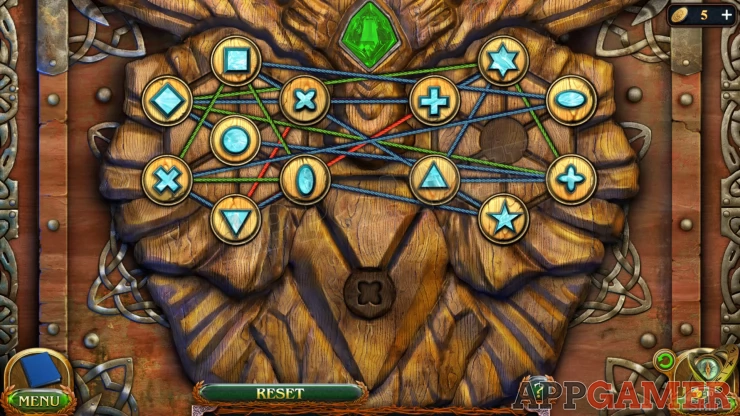
- This puzzle has round chips with shapes on them.
- Slide them around to any empty space to arrange them.
- All of the space (except 2) also have symbols on them. You need to move the chips to the matching spots.
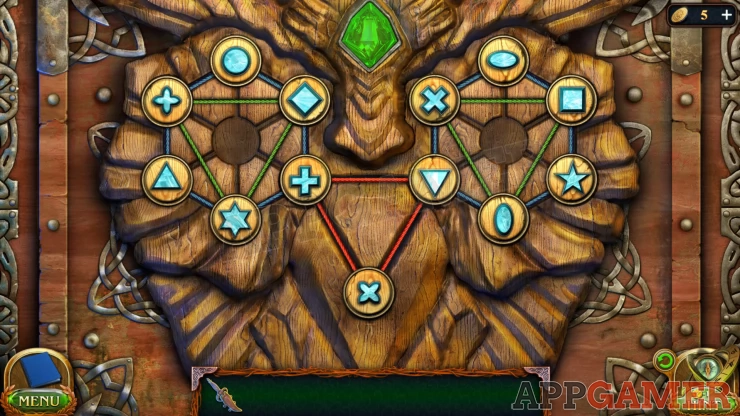
Solution: Show
Once done collect the Family Seal and the Gate Key.
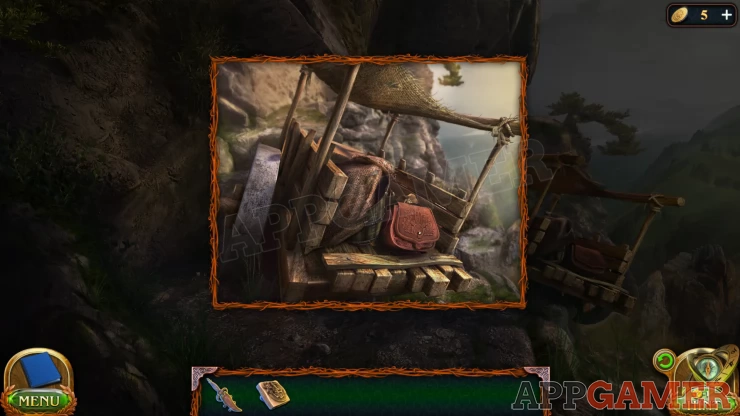
Back out of the house and go to the backyard area, use the gate key to open the door here and head out on to a road. Head forwards to find a broken wagon.

Collection Item: Gear on the wheel of the wagon.
Morphing Object: Tree on the far hillside just above the right side of the wagon.
Look in the back of the wagon and open the satchel. You will find a book with a clue about a fast time potion and you can collect a patterned Chip.
Next look in the hole in the road to see a buried chest.
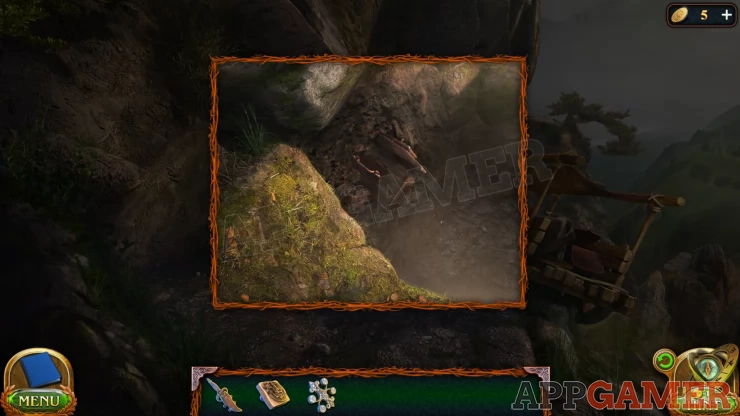
Back up to your house and look in the shed on the right again to collect a shovel. Then look in the hollow log where the dog was and collect the leash.
Return to the hole in the road and use the leash on the chest to attach it. Then you can use the shovel to dig the chest free and collect it.
View the Chest and add the Patterned Chip to the top to open it. Inside you will find another puzzle.
Chest Puzzle
- In the center is a symbol and around this is a circle of 8 symbol parts.
- You need to select 2 or more symbol parts from the 8 that make will combine to make the full symbol in the center.
- You also need to use the arrows on the sides to rotate the symbol parts to match the alignment in the center.
- Continue matching symbols until you have used up all of the symbol parts that exist on the sides.
Once the chest is opened you can collect the Fast Time Potion. Then tap the end of the road to travel on to the graveyard with your family Crypt.
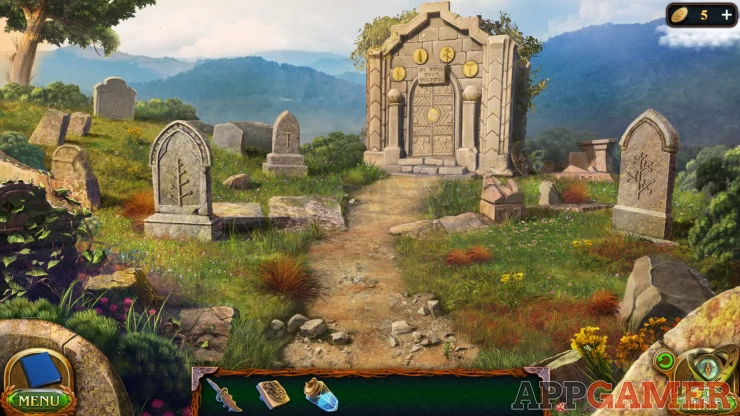
Collection Item: Gear leaning on the right side of the Crypt.
Morphing Object: Top of the gravestone on the far left.
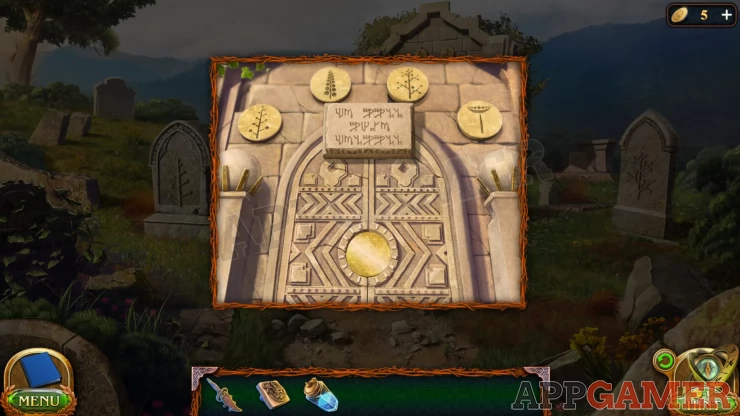
First tap on the Crypt to see a sign on it. Folnur reads this as bringing flowers to the graves. Notice the 4 symbols above the sign.
You can also tap to view 4 gravestones in the yard that each have one of the symbols on them.
New Task: Memory of Ancestors.
Travel back to the backyard of your house with the broken crate and view the bags of seeds on the ground, you need to collect the correct 4 bags based on the symbols.
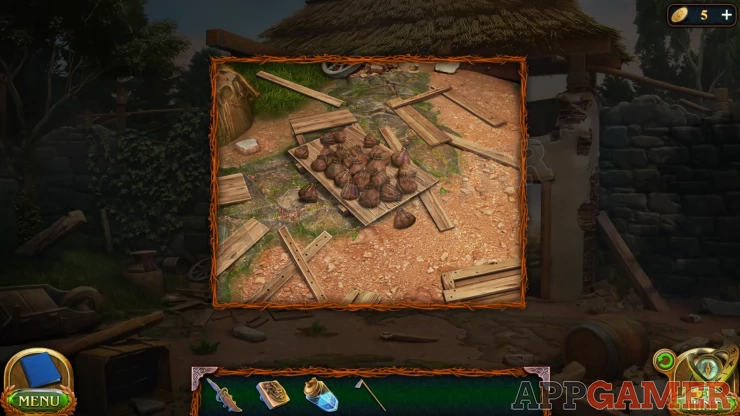
Solution: Select purple, green, red, blue.Show
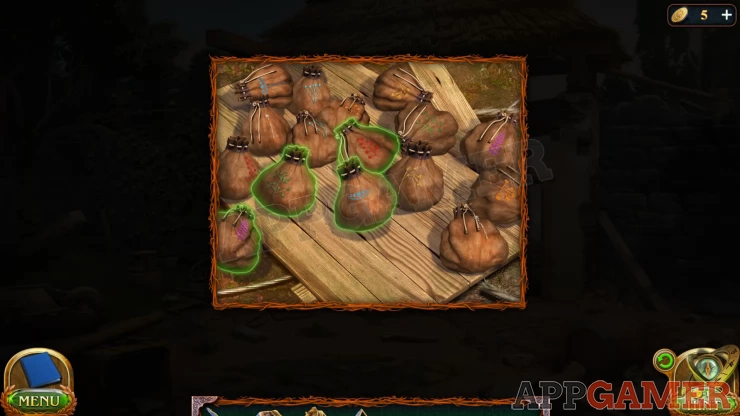
You will collect Flower seeds.Now back up to the front of the house and look in the shed on the right again to find and collect a Hoe.
Go through the house to the garden (through the window). Tap on the back left of the garden to see an overgrown flowerbed.
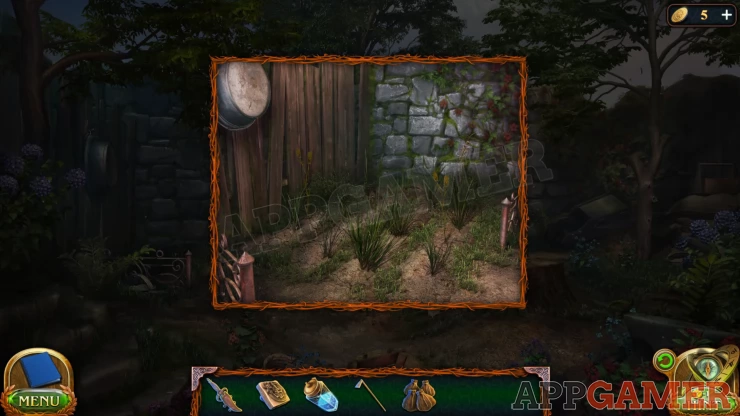
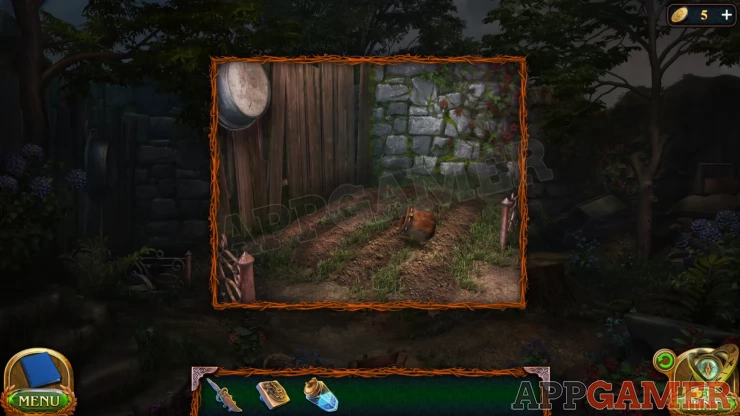
Tap to remove the weeds and then use the how on it to dig the soil. Then you can add the flower seeds to the rows.
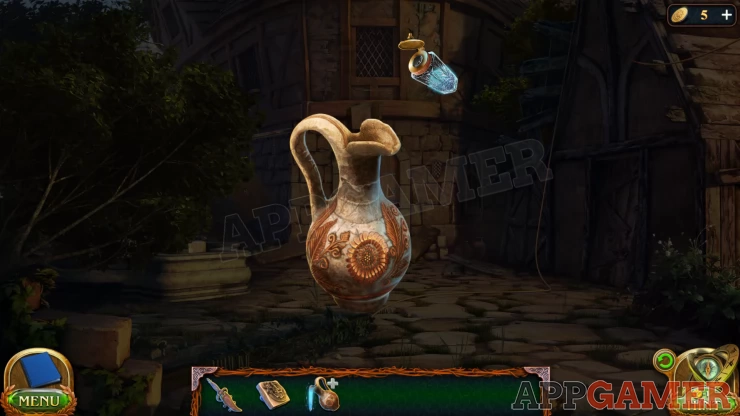
Try to use the fast time potion, but it tells you to dilute it in water. Travel to the school area to see that is it also devastated.

Tap on the fountain on the left again and you can then use a jug to collect a Jug of water. View this in your inventory and add the potion to it. You will collect Enchanted Water.
Return to your garden and use the water on the flowerbed. the flowers will grow.
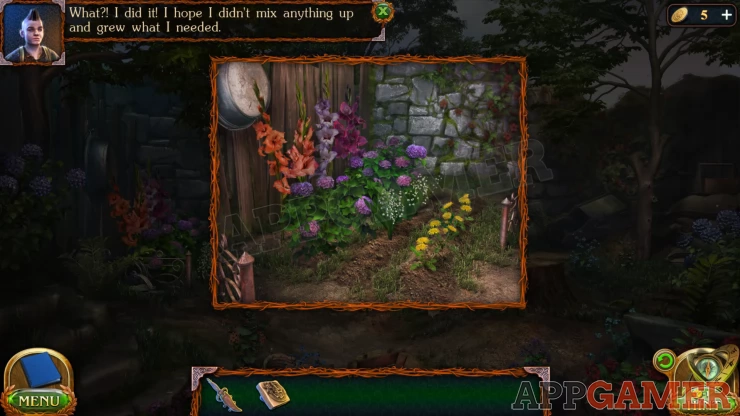
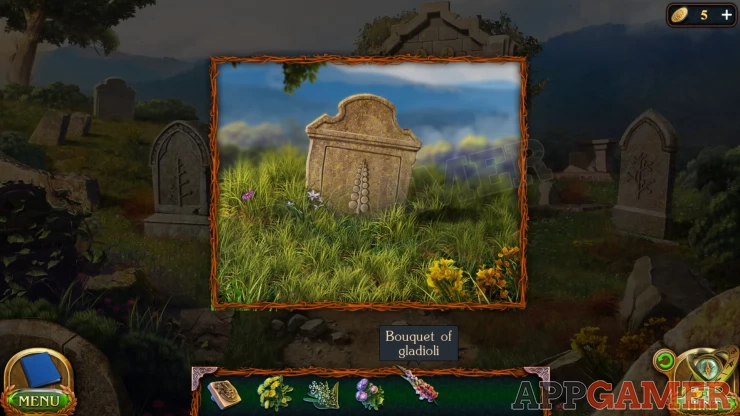
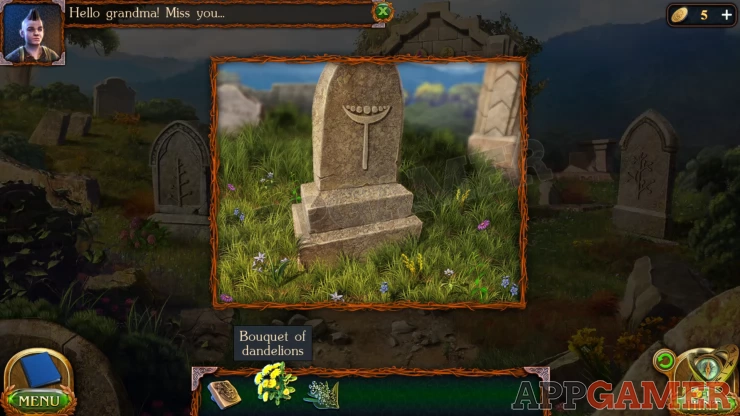
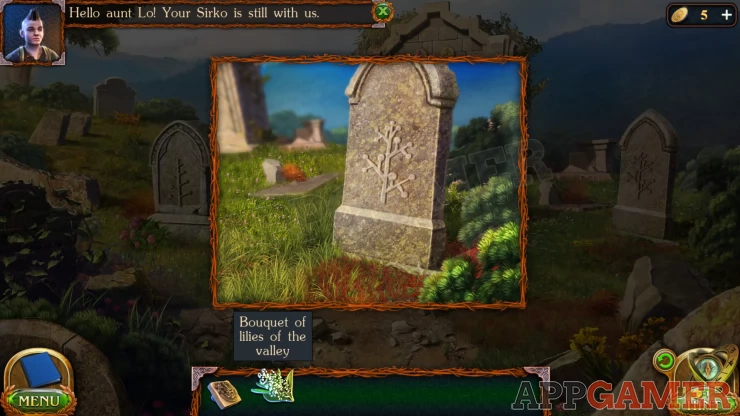
You can now use the dagger to collect 4 bouquets of flowers. Dandelions, Lilies of the Valley, Hydrangeas, Gladioli.
Return to the graveyard and view the 4 gravestones one by one. Place the correct bouquet on each grave.
Show

This will complete the task. Now you can place the Family seal on the doors and open the crypt. Inside is a casket and a Hammer, First you need to solve a puzzle.
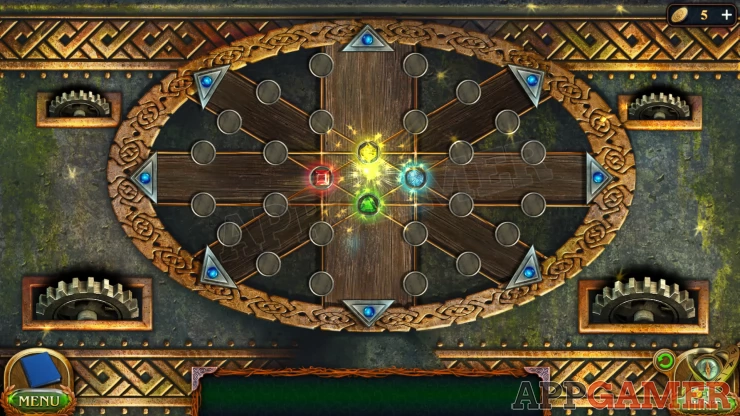
Crypt Puzzle
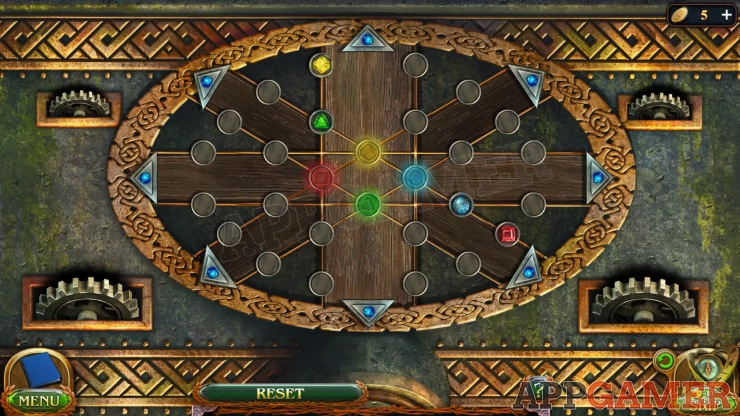
- The puzzle has 4 colored gems that can be moves around by tapping the 8 arrows to slide the pairs of lines.
- In the center are 4 colored spots that you need to move the gems to.
- Use the arrows to arrange them in the correct positions.
Solution: Show
Now Collect the Hammer to complete the task. You will now see the cut scene that is the final part of Chapter 1.
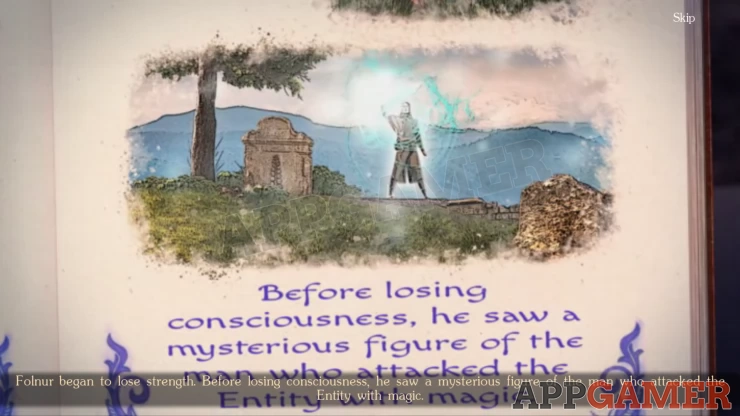
You can move on to Chapter 2.
| Chapter 1 - Unchildlike Mischief Walkthrough - Part 2 | Back to Top | Chapter 2 - Academic Interest Walkthrough - Part 1 |
 With 20 years of experience in creating video game content for the internet and over 30 years as a gamer, Mark is now a passionate mobile App Gamer. Loving a challenge, he is always ready to get stuck in to both survival builders and puzzle solving games. He has been providing content for AppGamer since 2014.