Chapter 3 - First Brotherhood Walkthrough - Part 2
More Lost Lands 9
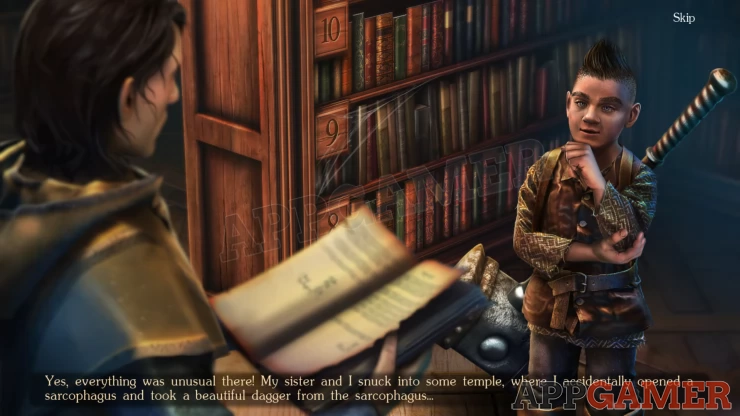
Welcome to our Lost Lands 9 Walkthrough, another in the popular line of Mystery escape room and puzzle games from Five-BN games. This is part 2 of out guide to Chapter 3.
Following Chapter 3 Part 1, the wizard Maaron and Folnur have escaped from the mine and repaired the Dolmen t at the castle to take them back to the Academy. Now they need to find information on the mysterious entity.
Chapter 3 - First Brotherhood Walkthrough - Part 3
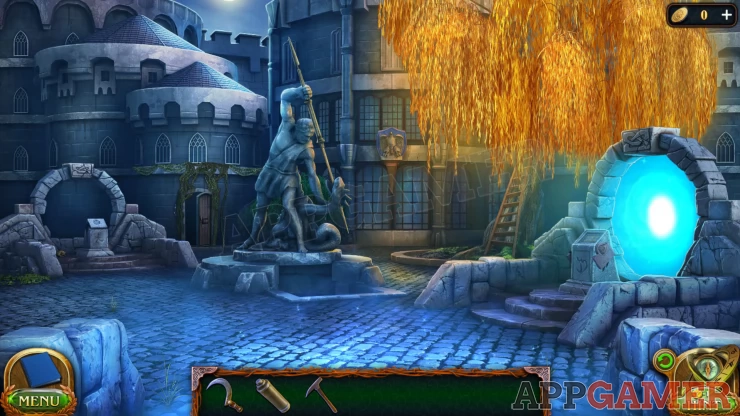
You have arrived at the backyard of the Academy.
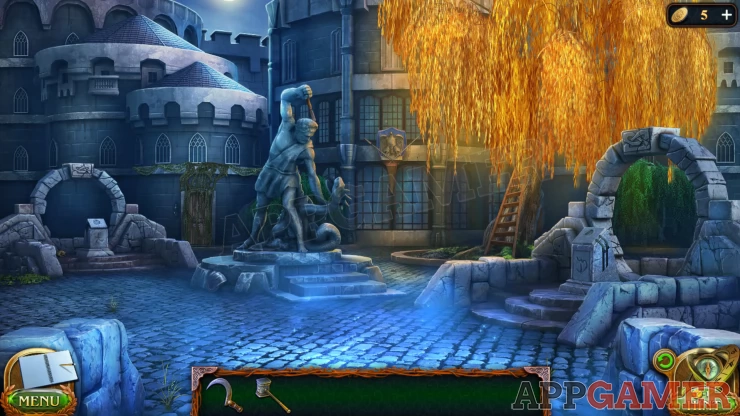
Collection Item: Armor piece by the left of the base of the center statue.
Morphing Object: balcony railing on the round building on the top left.
New Task: Information about the Entity
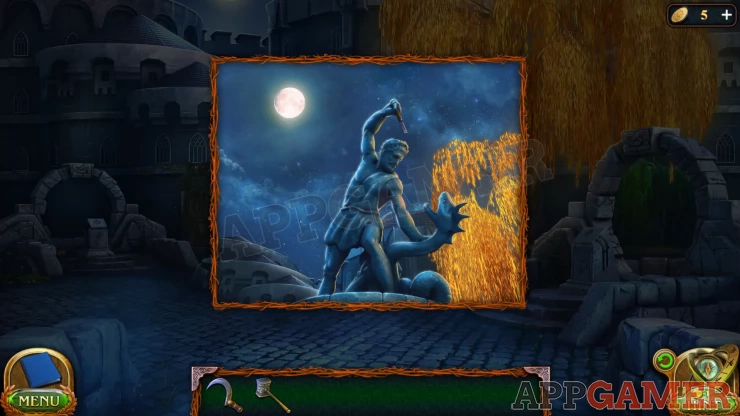
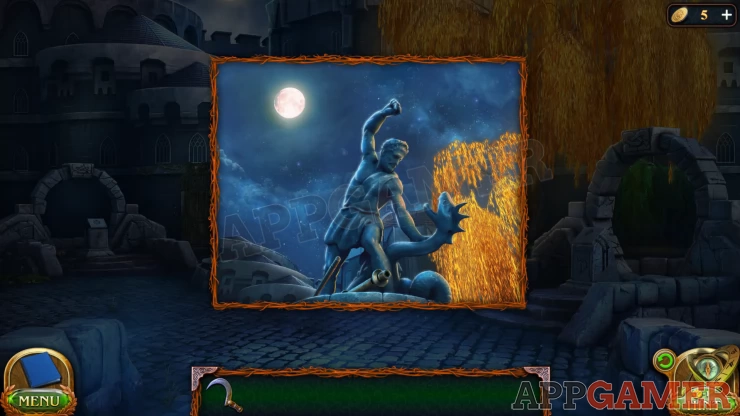
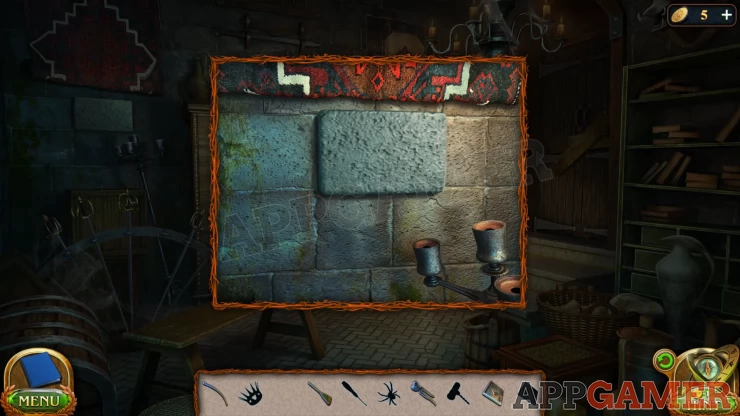
View the statue in the center and then collect the Chisel from its hand.
Next tap the tree on the right with the ladder. You want to view the top of the ladder.
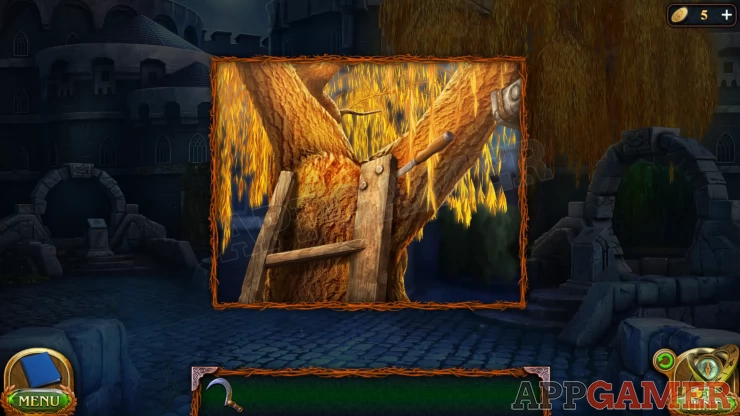
Use the chisel on the ladder where it is nailed to the tree. Then also use the hammer and you will be able to release the ladder.
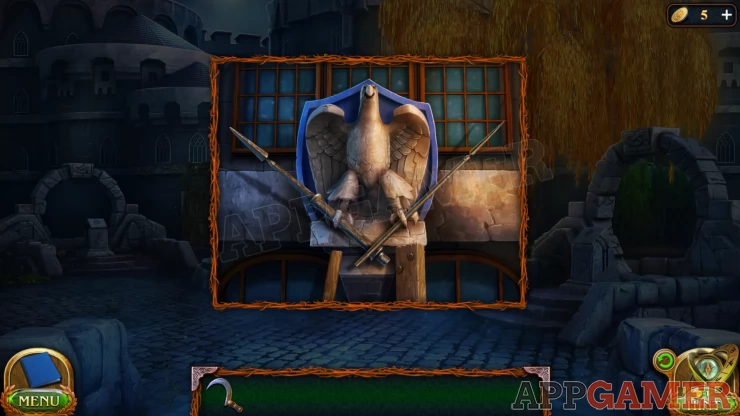
Select the ladder and place the ladder against the windows to the main building underneath a large bird emblem.
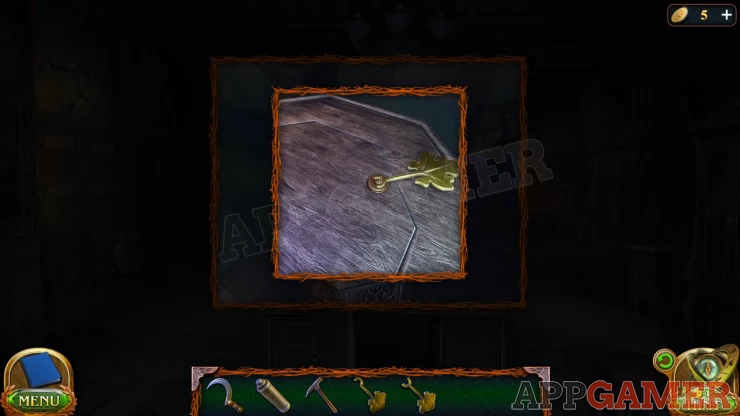
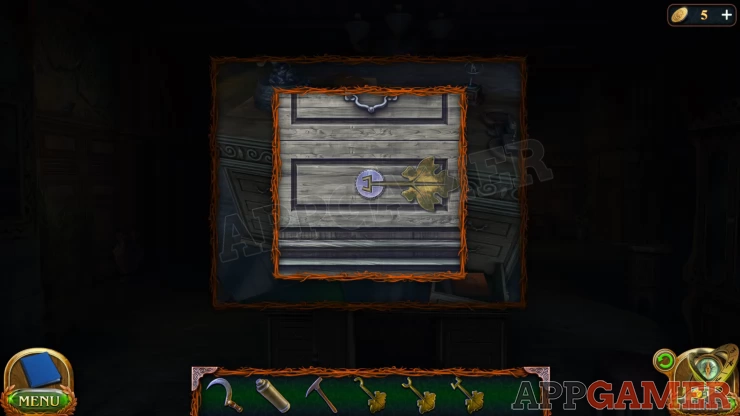
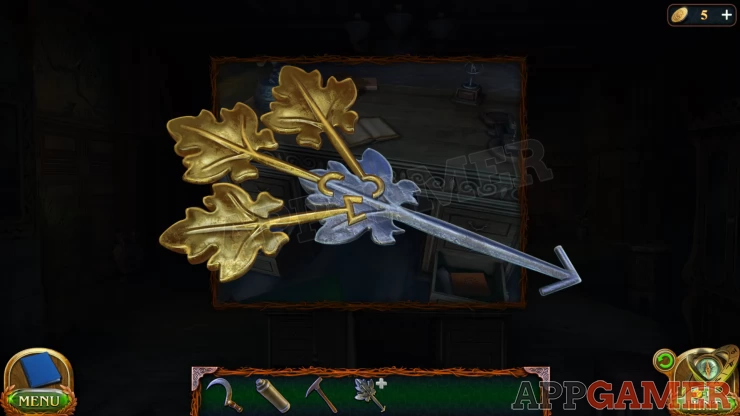
You can now view the emblem and collect 2 Spears
Now view the statue again and place the spears there. You need to add the 2 spear parts to the status in the correct order to complete it.
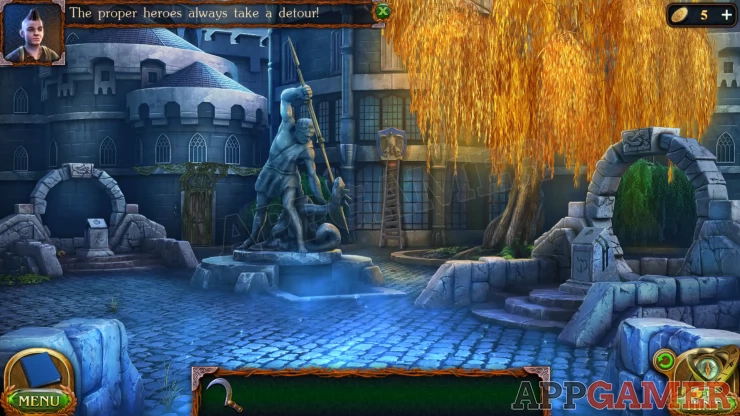
Once done a passageway opens up under the statue. Go down into it to reach the Library.
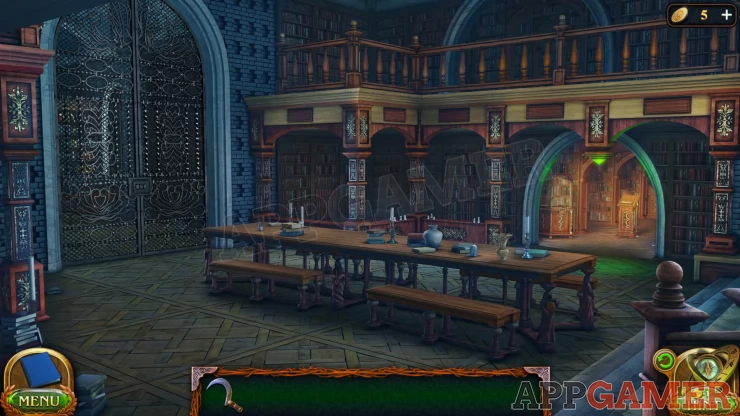
Collection Item: Totem below the long table, between the 2 benches.
Morphing Object: Vase on the long table
Move through the arch into the corridor of shelves. Examine the scroll on the pedestal to find the section you need, then move to that section and view the next scroll to find the shelf.
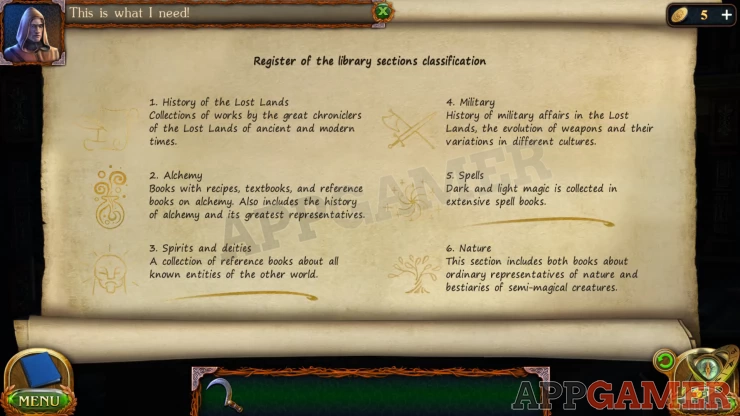
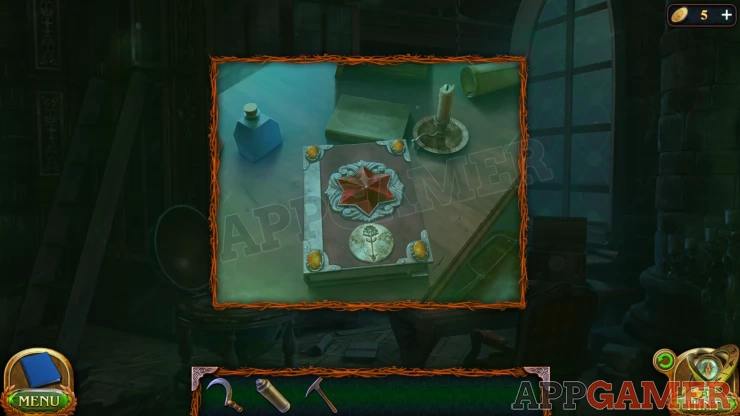
View the book on shelf 6 to get details on the entity.
New Task: Portal to the canyon
Open the gate to go into the Archive room.
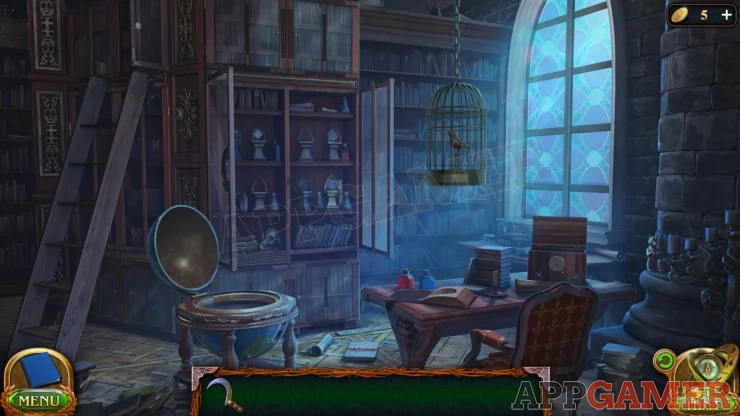
Collection Item: Totem on base of the brick pillar on the right.
Morphing Object: Book / papers on the table on the right of the chair.
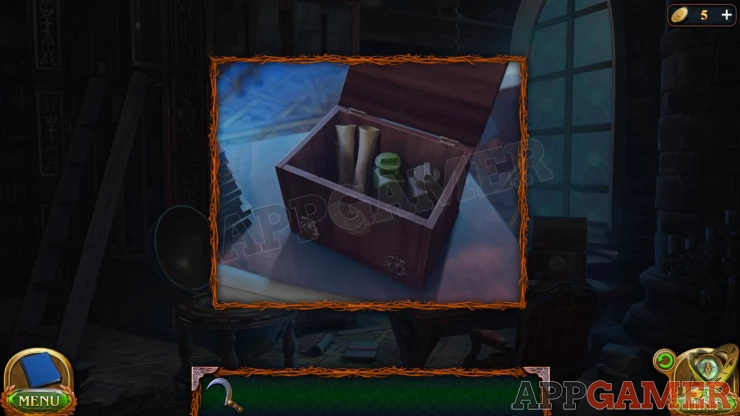
View the opened box on the table and collect from it a Spotting Scope.
You cannot find the key though so return to the Library shelves.
View the index scrolls again and you are directed to the Alchemy section Shelf 13.
Collect the Book of Potions
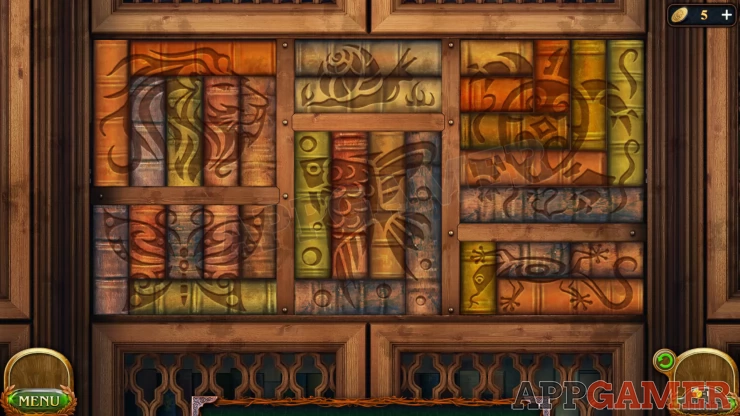
Move forward to the end of the corridor of book shelves and view the stack of books in the center.
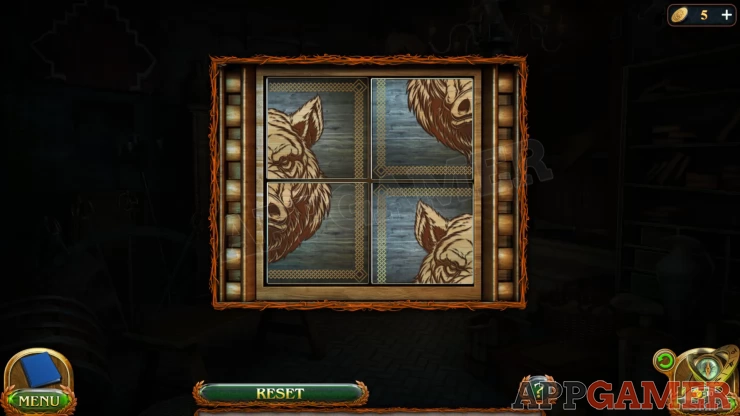
Book Puzzle
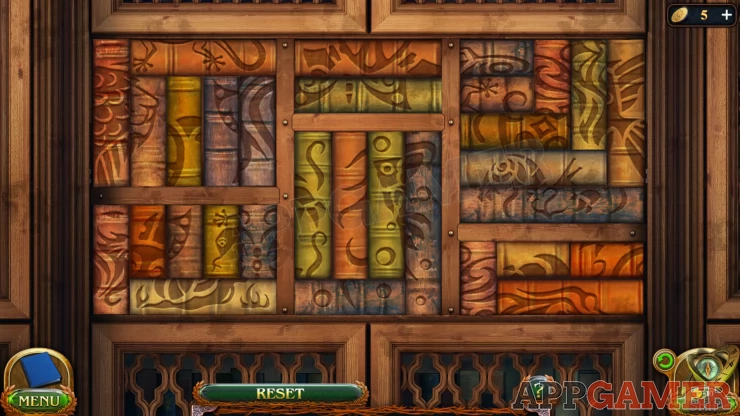
- Swap pairs of books to arrange them.
- The patterns on the spines will make images
- Each section has an animal print pattern in it.
Solution: Show
Enter Maarons Office
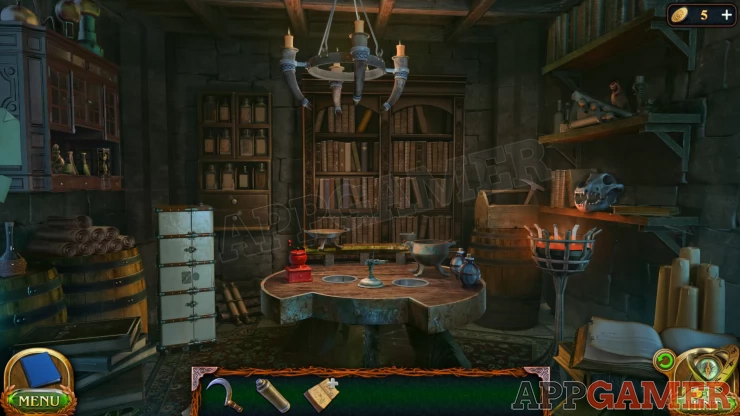
Collection Item: Totem on the middle shelf on the right wall
Morphing Object: small jar on the lower shelf on the left wall.
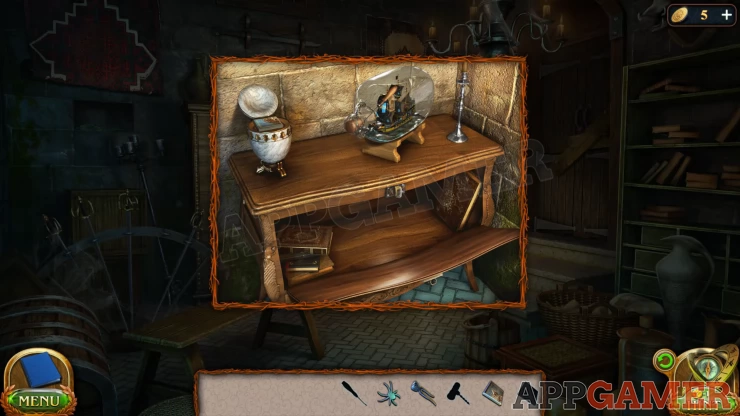
First look in the tool chest on the barrel in the back right side of the room. Collect the Mini Pickaxe and also a Cabinet Key.

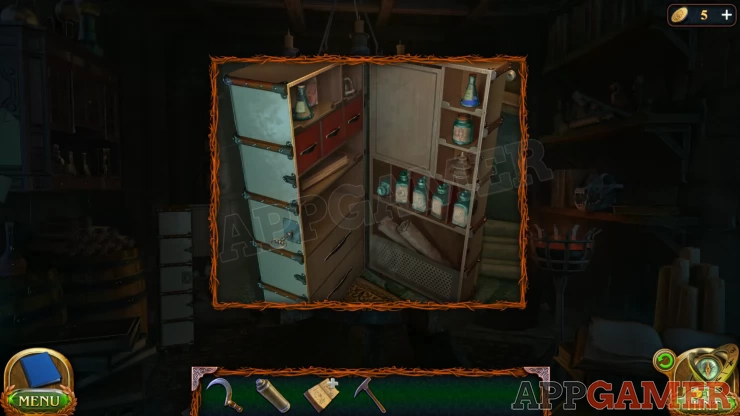
Now view the white trunk case on the left of the room. Use the key to open it. Check the bottles and drawers inside until you have collected Fossilized Mammoths Brain and Ice Leopards Whiskers.
Next look on the table in the center and collect the 2 Empty Bottles.
Now move out to the back yard of the academy. Then move the ladder back to the yellow tree and view the top of the ladder in the tree.
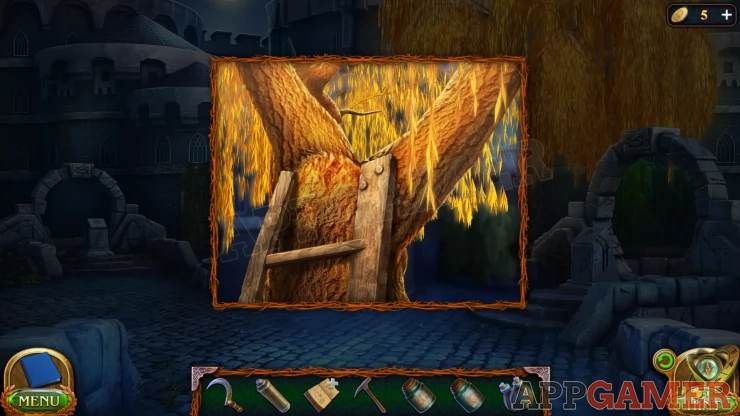
Use the sickle to collect Sunny Willow Leaves.
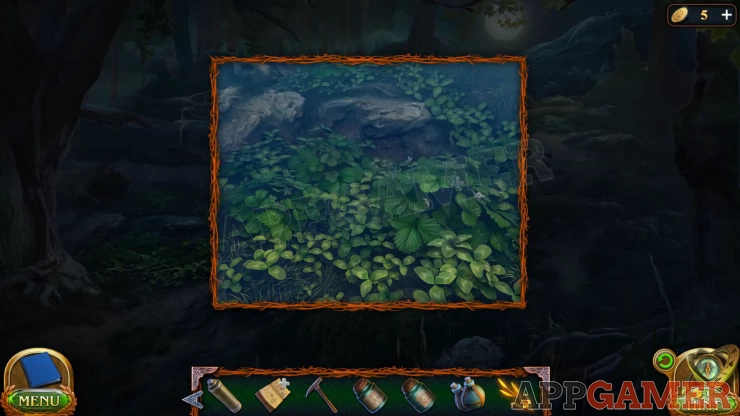
Next travel to the woods in Bryn Pass. View the patch on the ground on the lower left to collect some 5 leaf clover.
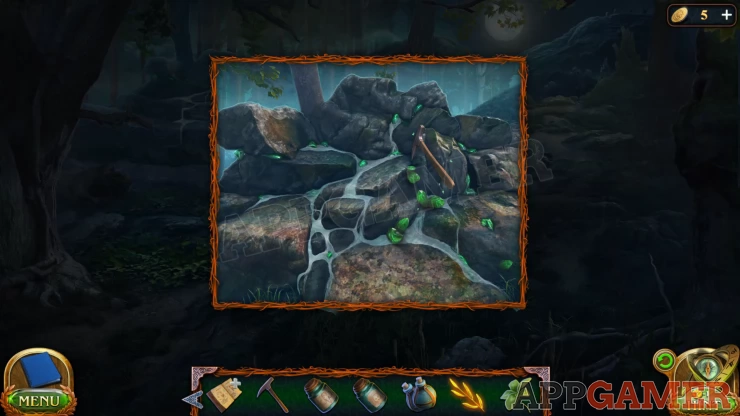
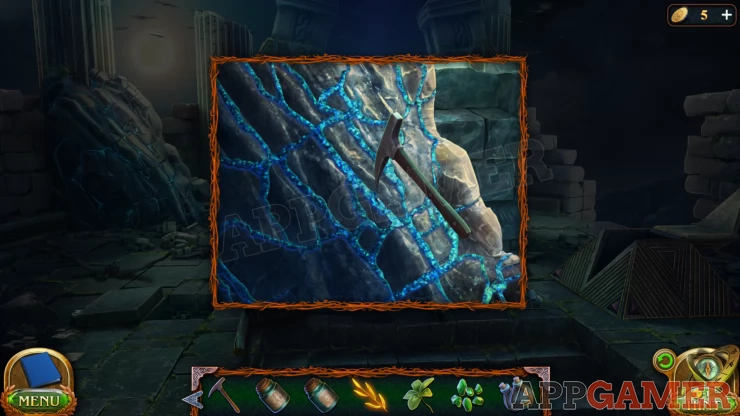
Then view the rocks on the top left. Use the mini pickaxe here to collect some Veconium Crystals and then use the empty bottles on the flowing water to collect the Spring Water.
Finally travel to the top of the tower in the castle again and view the rock on the left with the blue crystal in it. Use the pickaxe again to collect the Palerite Crystals.
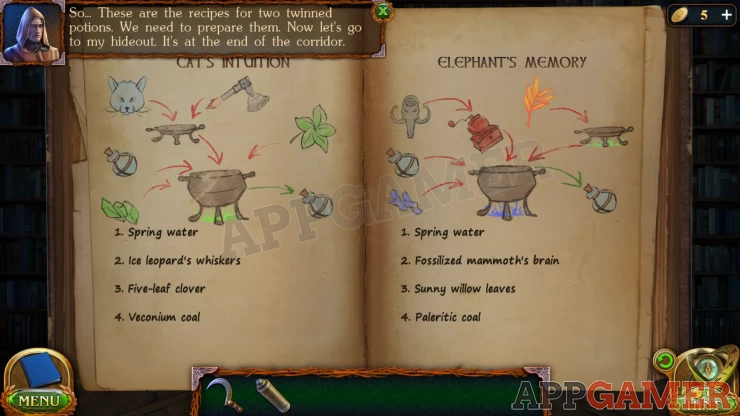
Now view the Book in your inventory and add the various ingredients to it. You will then collect the Set of Ingredients.
Return to Maaron's Offive room and place the set of ingredients on to the table.
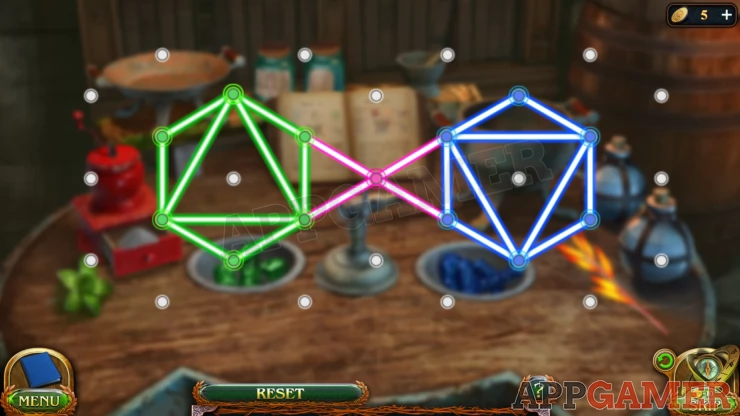
Magic Puzzle
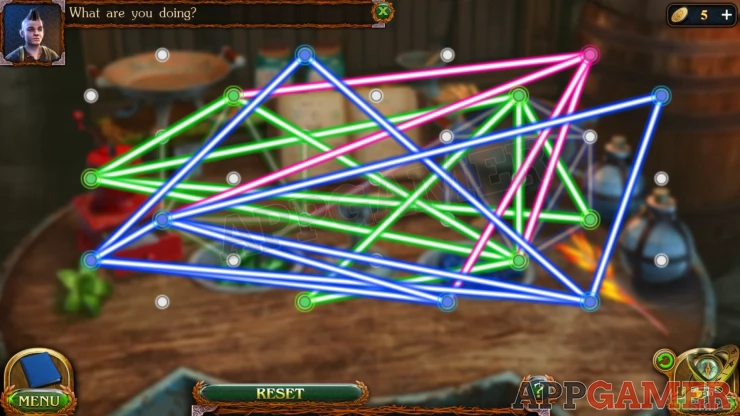
- You first need to complete a magic pattern to light a fire.
- Drag the points around to the the empty positions to arrange the lines.
- The required pattern is visible in faint lines behind.
Solution: Show
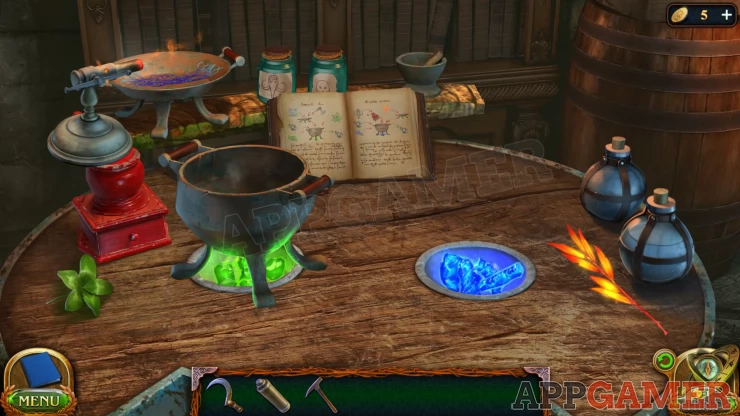
You can then follow the instructions to make the potions.
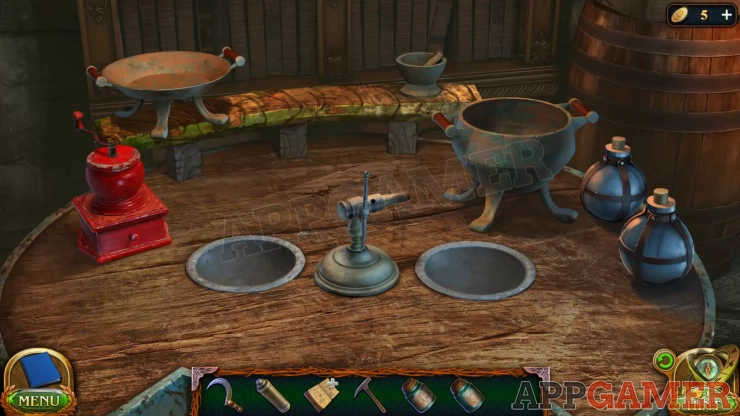
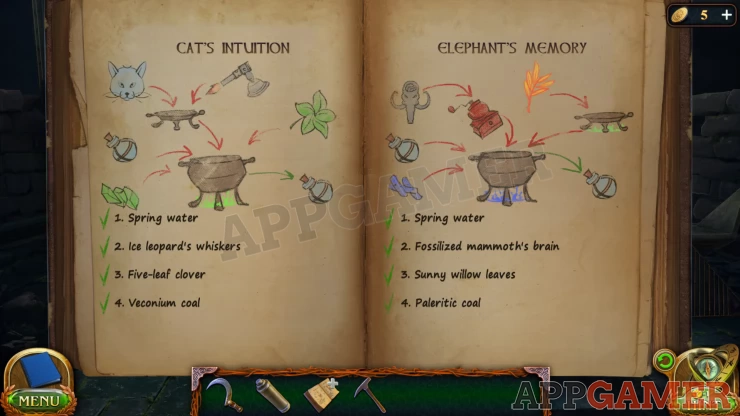
Cats Intuition
- Place the large pot (right) on the green crystal flame, Then add 1 of the spring water bottles to it.
- Place the Ice Leopards whiskers into the smaller pan (top left), then use the blow torch on it.
- Place the cooked whiskers into the large pot and then add the 5 leaf clover.
- Add the cooking pot to the empty bottle to collect the Cats Intuition Potion.
Elephants memory
- Place the large cooking pot (right) onto the Blue crystal flame, then add the other spring water bottle to it.
- Place the small pan (top left) onto the green crystal flame and then add the sunny willow leaves to it.
- Place the Fossilized mammoth brain to the red grinder and then collect the powder from the bottom and place it into the large pot.
- Add the cooked sunny willow leaves to the pot as well.
- Add the cooking pot to the empty bottle to collect the Elephants Memory Potion.
Go back out to the Academy backyard and view the door on the side of the building
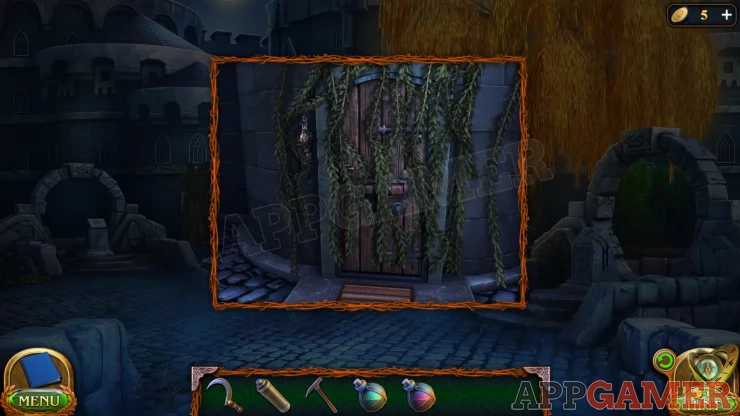
Clear away the vines and view the lock. Then use the Elephant memory potion on the lock to drink it.
Go back to the archive room and use the Other potion. You will see various areas of the room highlighted.
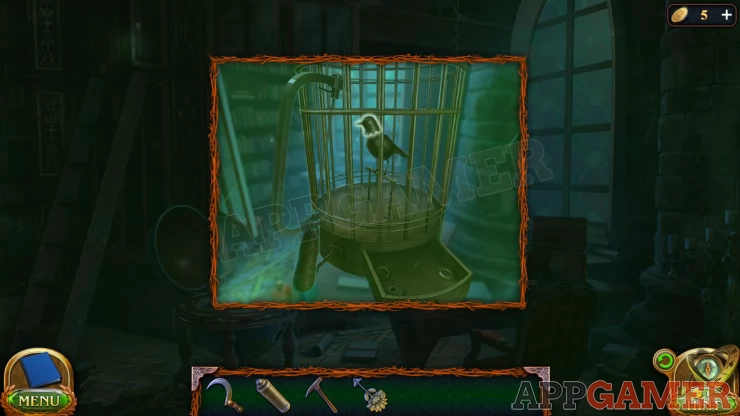
First view the birdcage and tap on the bird head, you cannot collect it yet but you need to do this first.
Next view the desk and close the book to see a key on the front cover.
Tap the key and watch the pattern of flashing lights and then repeat them as before. You will collect Cassandra's Secret Key. Also collect the Fretsaw that is on the ground to the right of the book as you look at the desk.
Go back to the birdcage and use the fretsaw on the bars to cut open the cage. Collect the second Cassandra's Secret Key.
Now view the cabinet at the top of the ladder. Tap the glowing item to find a hidden box.
Back up and look in the opened globe. Collect the Part of the horse figurine.
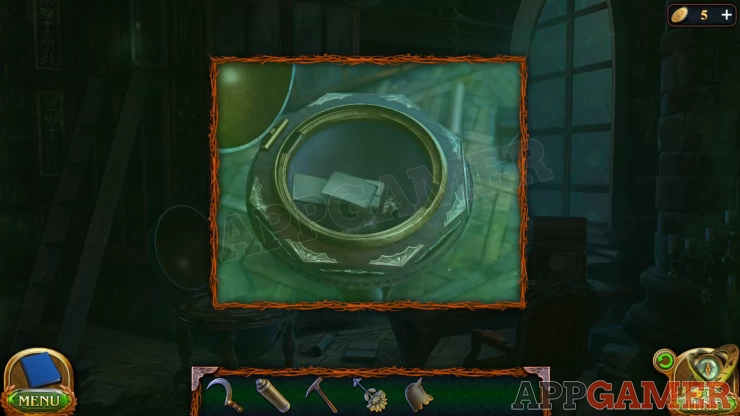
Then you can view the hidden box again at the top of the ladder and use this horse part to open it. Collect another Cassandra's Secret Key.
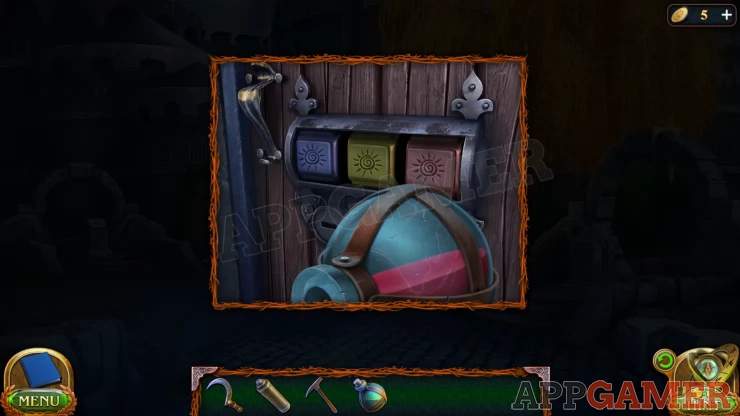
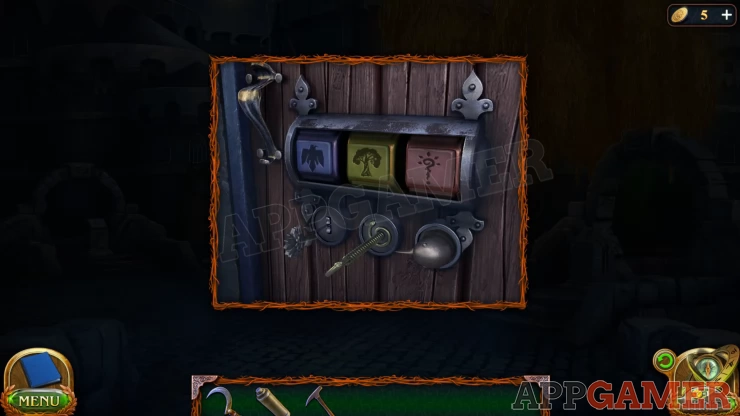
Go back to the door int e backyard and add the 3 keys to the lock. You then need to tap the keys to turn them and set the correct 3 symbols.
Door Look Puzzle
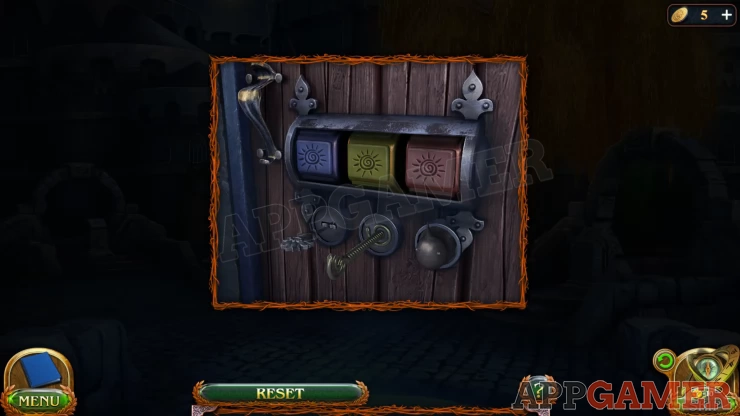
Look around the backyard for 3 colored clues. Blue Yellow and Red.
Each will give you a symbol to choose from those in each colored key lock.
Solution: Blue plaque with the bird, Red Banner you can see by taping on the windows, Yellow Tree.Show
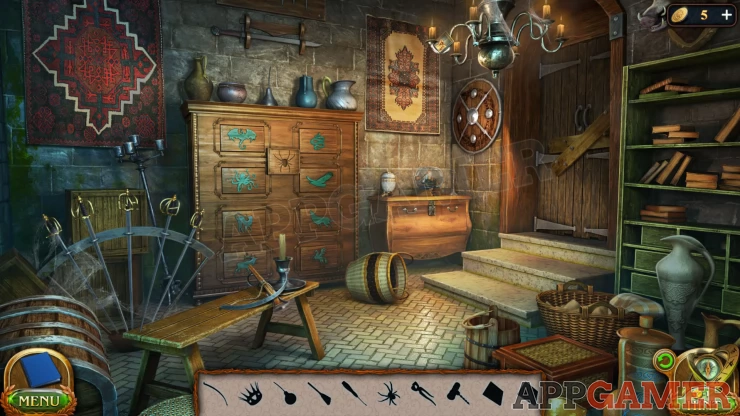
Enter the Utility Room. This is a puzzle room.
- Collect a Crossbow limb from the bench on the left.
- Select a sword from the rack on the left and use it on the hanging candelabra to know down and collect a Chip
- Collect an Oiler from the top of the large cabinet in the center.
- View the bureau on the right and use the oiler on the lock to open it.
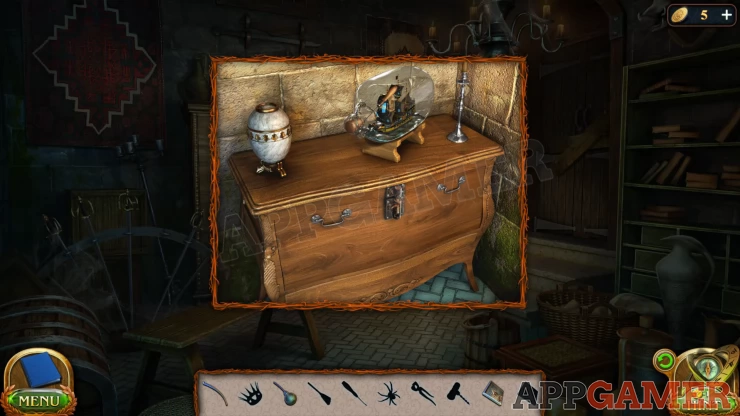
- Collect from inside a Broom and some Pincers.
- Tap the red wall tapestry on the left to lift it and look at the loose brick behind it.
- Use the crossbow limb to pry the brick out and then use the broom to clean the space behind it.
- Collect a Spider figurine and a Crown.
- Go back to the Bureau and place the grown on the ceramic egg to open it, collect another Chip.
- Now view the large cabinet and add the spider figurine to the slot in the center. Look inside.
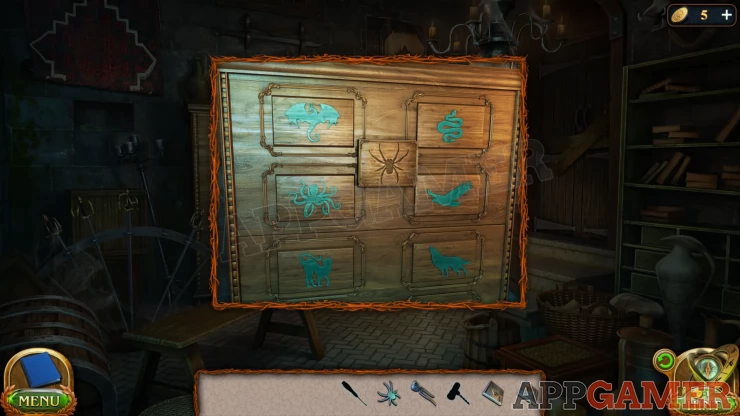
- Place the 2 chips and then swap them around to complete the image.
- When the cabinet opens collect a Corkscrew.
- View the bureau again and use the corkscrew on the large glass bottle. Collect a Lock pick.
- Now view the doors. Use the pincers to remove the nails and the boards.
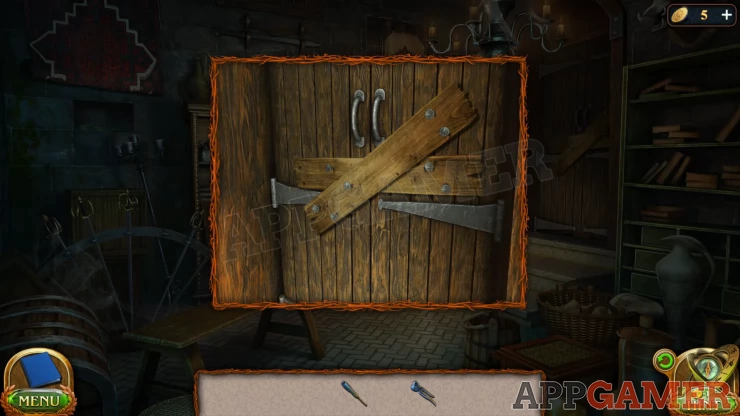
- Then you can use the lock pick to open the door and go through to the Office.
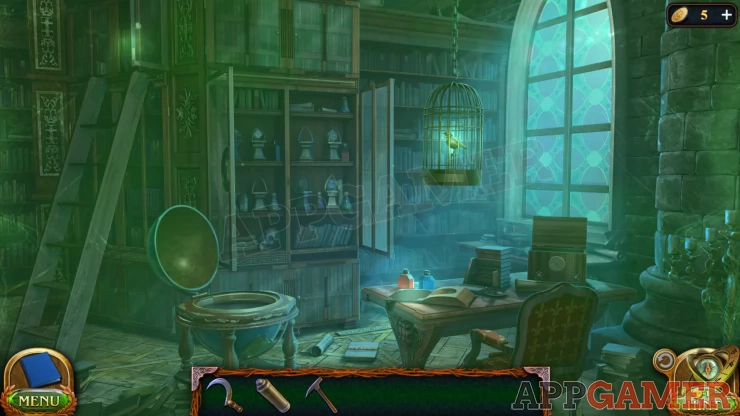
Collection Item: Totem on a small table on the back right of the room.
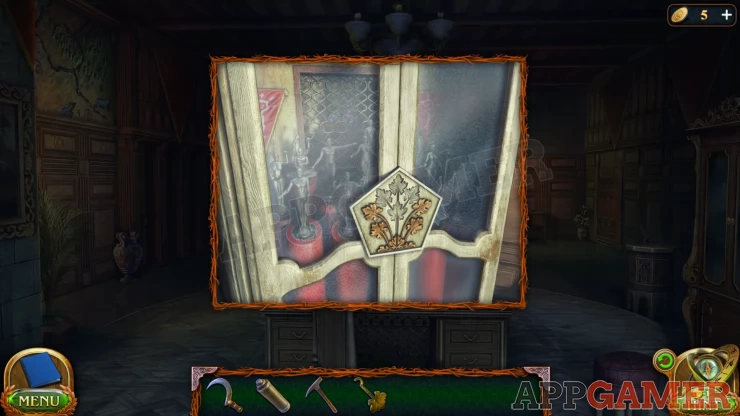
Morphing Object: Symbol on a red banner on the left wall near the map.
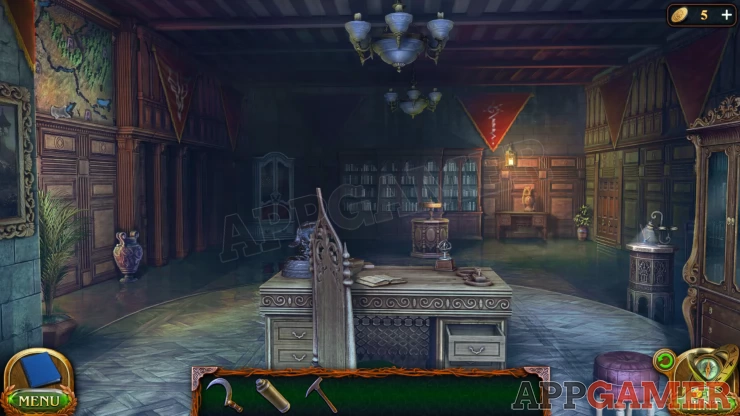
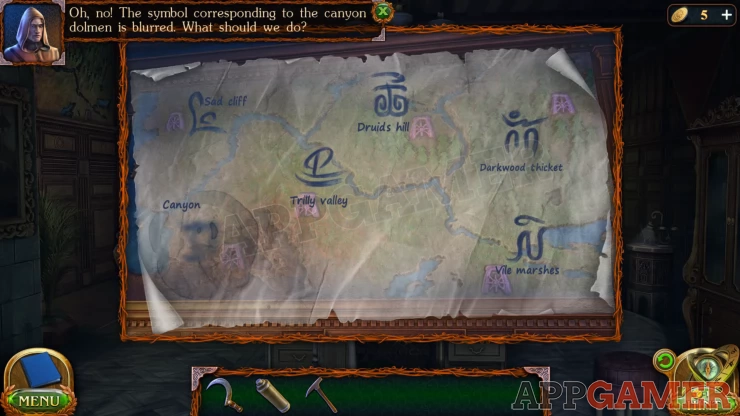
Check the map on the wall again for the Rune symbol but it is missing.
First view the desk and tap on the book to read a clue about the Rune Hyperstone.
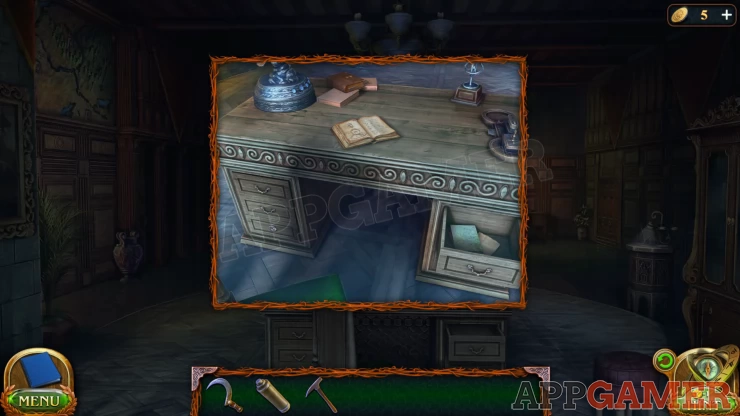
Then tap the book again on the desk to turn the page and collect a Pattern Element.
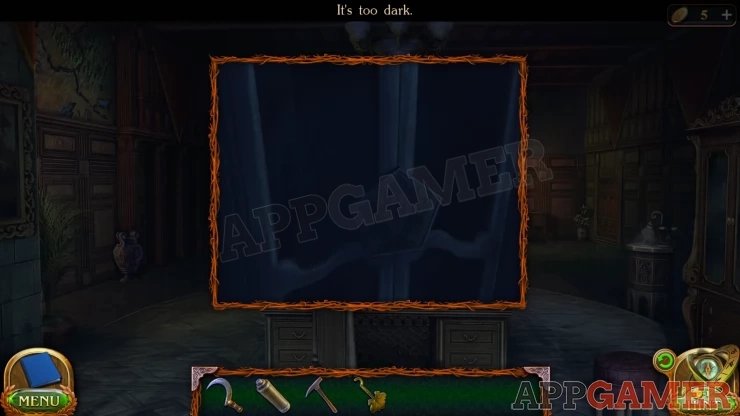
Next view the tall white cabinet in the shadows on the left of the room. It is too dark to see it.
Now view the small round table on the right of the room, Collect the Lamp.
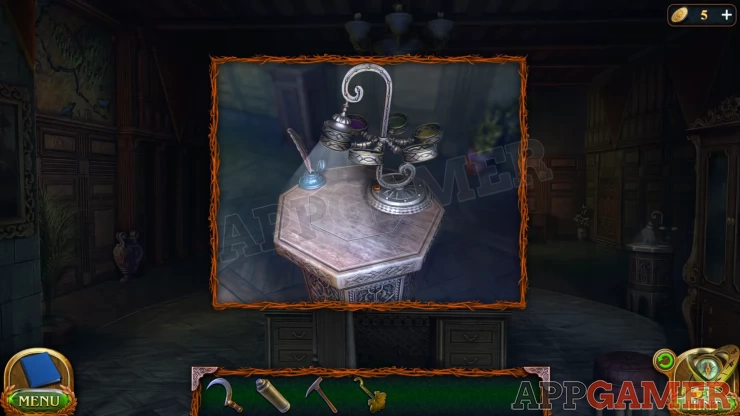
Go back to the white cabinet and use the lamp in it to light it up, you will see a pattern in the center with pieces missing.
Now view the other small table with the image device on it.
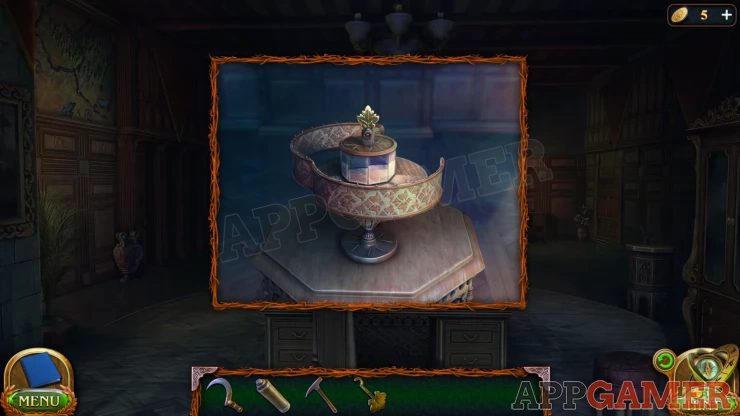
View the section in the center and then use the Pattern element on it to release and collect the second Pattern Element.

Go back to the small table where the Lamp was and use the second pattern element on the small latch to open the table top. Collect a third Pattern element.
Now view the Desk again and tap on the bottom left drawer. Use the third Pattern element on the lock to open it and then you can collect from inside a final pattern element.
View this last pattern element in your inventory and then add the other 3 to it.
Go back to the white cabinet and add the assembled pattern element to it to open the doors.
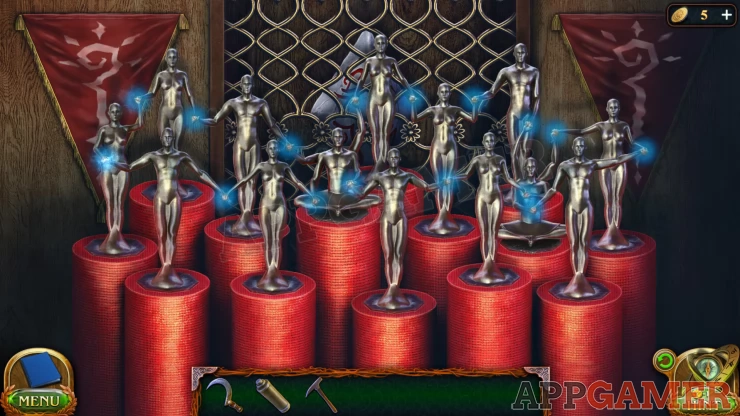
Small statues Puzzle

- Each statue is in s a different pose.
- You can swap pairs of statues.
- Arrange them on the stands so that they are all holding hands with each other.
Solution: Show
Collect the Rune Hyperstone.
View the small table where the lamp was and collect the quill from it. You can now Go back to the map on the wall and add the hyperstone to it. Then add the Quill
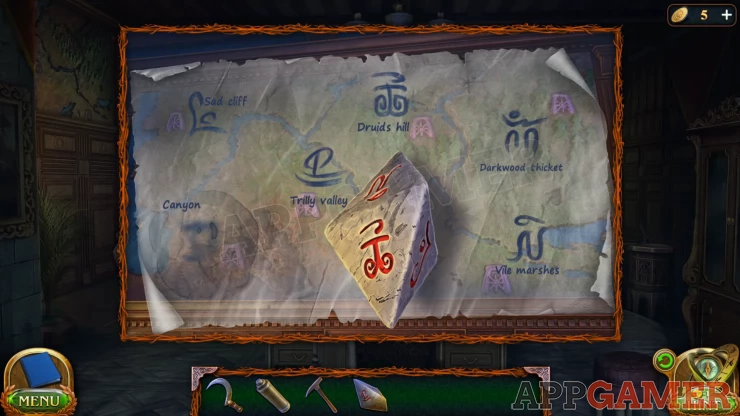
You can now tap the hyperstone to turn it around and find rune marks that match those on the map. Tap the ones on the map that match those on the rune. Do this until they are all circled.
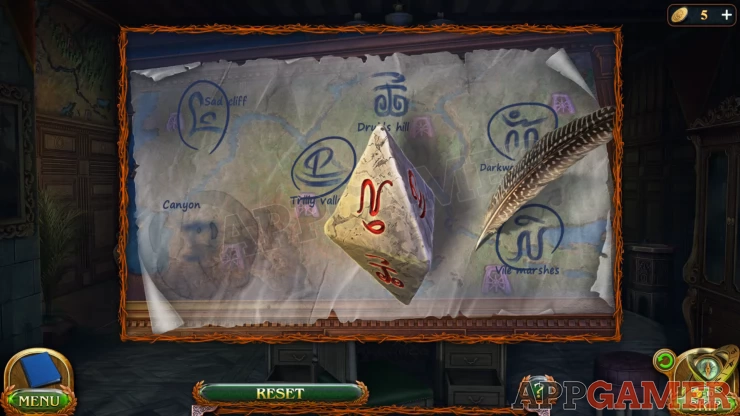
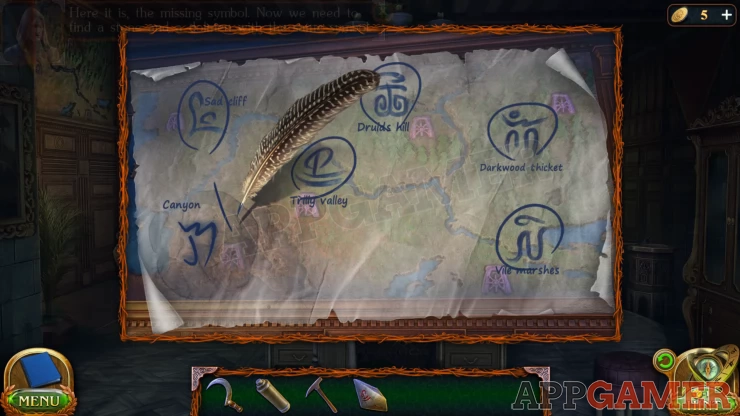
Then find and tap on the extra rune symbol on the stone that is not on the map, this is the one that you need.
Show
Go back to the Archive room and take the matching rune stone (Lower shelf on the left.)
Return to the backyard and view the Dolmen on the right.
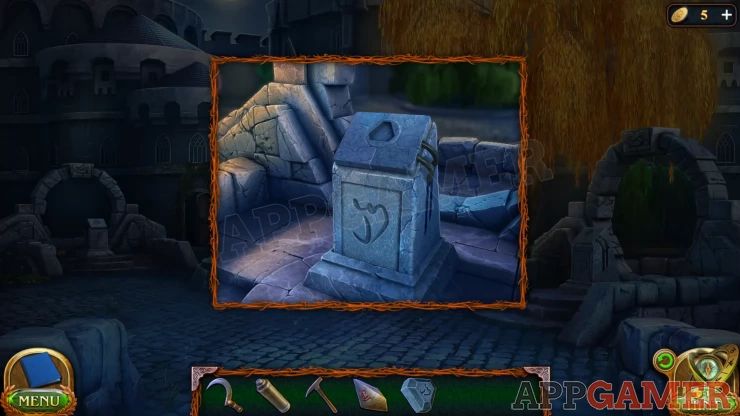
Add the rune stone to it to start another puzzle
Dolmen Puzzle
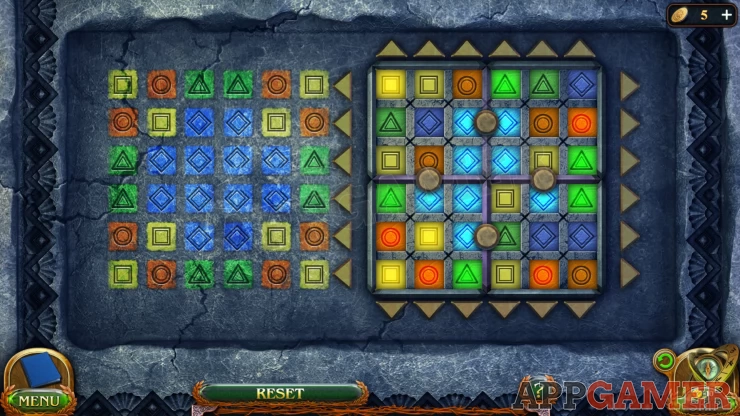
- On the left is a fixed pattern that you need to copy.
- On the right is a board with arrow buttons to move the rows and columns.
- There are also buttons in the center that will block sections of the board from moving
- Make the board on the right match the pattern on the left.
Once done a panel opens. Place the rune hyperstone inside and then the Dolmen will activate for you to use.
Continue the guide in Chapter 3 Part 3
| Chapter 3 - First Brotherhood Walkthrough - Part 1 | Back to Top | Chapter 3 - First Brotherhood Walkthrough - Part 3 |
 With 20 years of experience in creating video game content for the internet and over 30 years as a gamer, Mark is now a passionate mobile App Gamer. Loving a challenge, he is always ready to get stuck in to both survival builders and puzzle solving games. He has been providing content for AppGamer since 2014.