Chapter 1 - Unchildlike Mischief Walkthrough - Part 2
More Lost Lands 9
Welcome to our Lost Lands 9 Walkthrough, another in the popular line of Mystery escape room and puzzle games from Five-BN games. This is part 2 of out guide to Chapter 1.
Following Chapter 1 Part 1, Folnur has found his was into the shelter and assembled the device with the crystals.
Chapter 1 - Unchildlike Mischief Walkthrough - Part 2
After the cut scene you will now have a broken wall on the right.
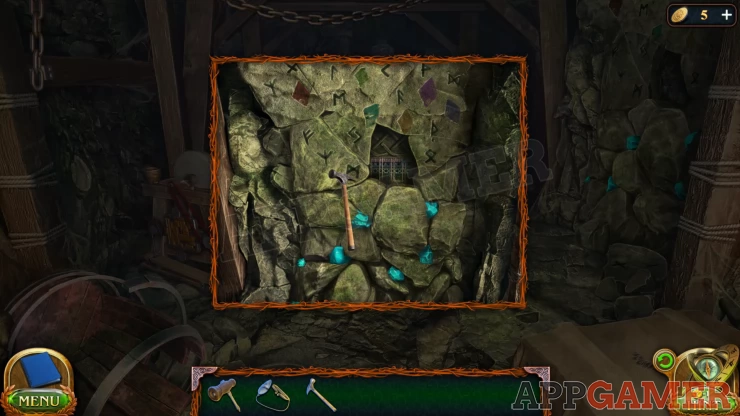
New Task: The secret in the wall.
Use the hammer here to remove more of the rocks. Inside is a puzzle.
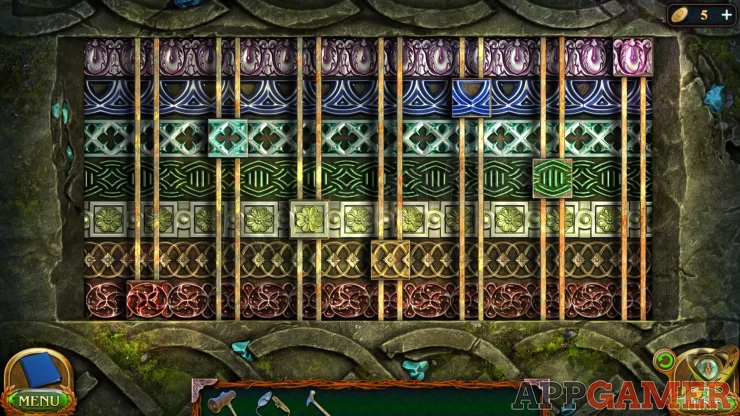
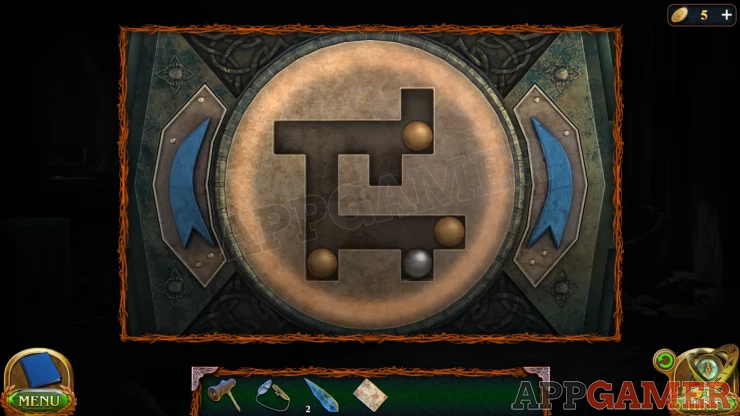
Pattern Puzzle
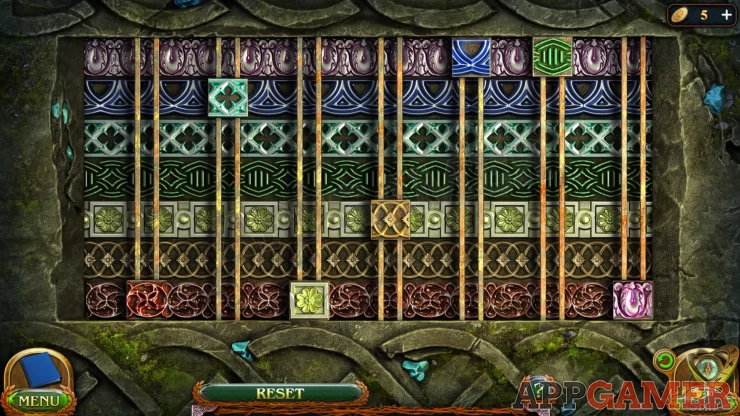
- There are 7 sliders, each has a small part of a pattern on it.
- Slide each to make the pattern fit with the correct background area.
- Moving each slider will also cause others to move.
Solution: Show
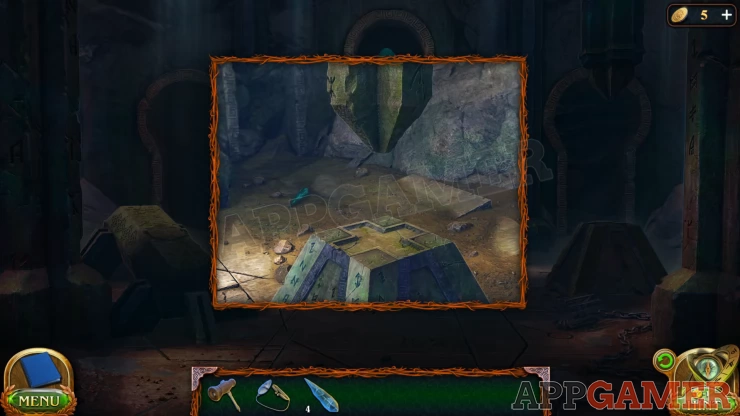
A secret doorway opens. Go though to a dungeon.
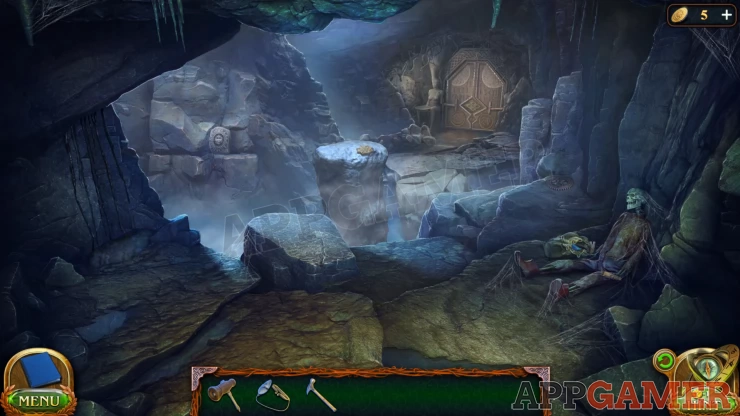
Collection Item: Gear on the rocks just above the skeleton.
Morphing Object: Carved block on the rock face just to the left of the center column.
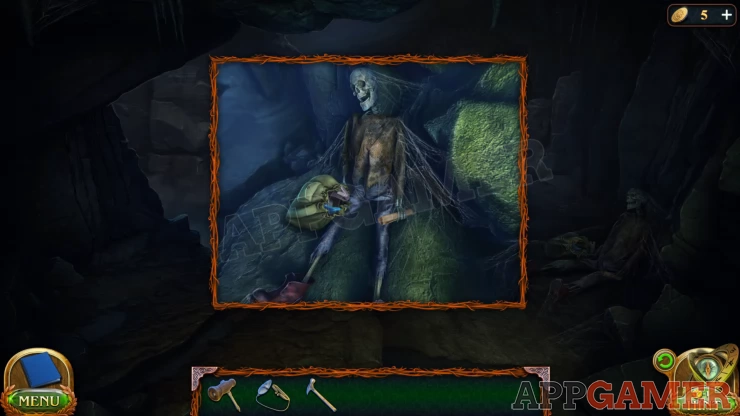
View the skeleton and look in the bag to collect a Crystal Candle and a Pry Bar. Then also check the scroll in its hand for a clue.
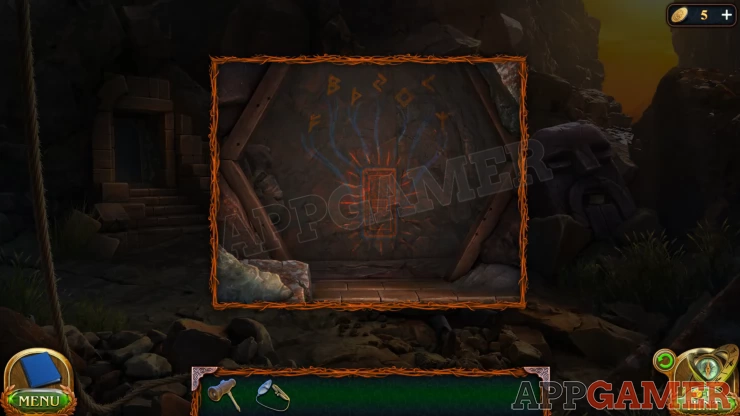
Back up to the bottom of the cliff and view the boarded up section of cliff in the center.
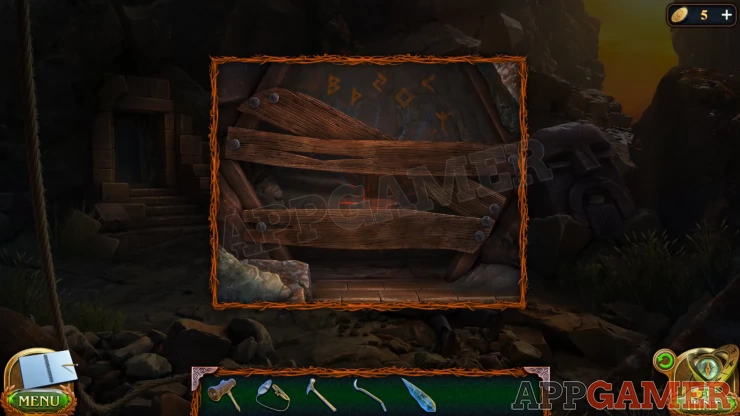
Use the Pry bar here to remove the boards and view the runes shown beneath. Then collect a Board.
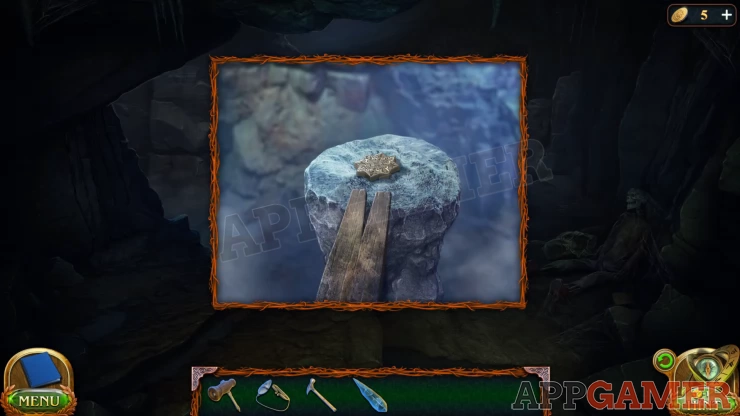
Return to the dungeon and view the column in the center, there is an object in the middle. Use the board here and you can collect the Ancient Seal.
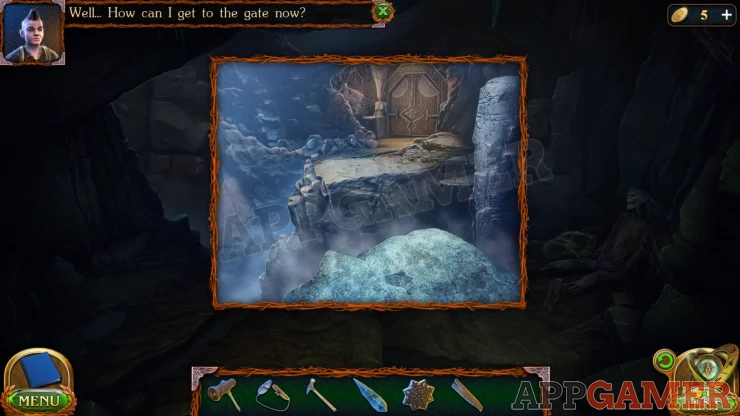
After the rock falls collect the Board again. Now view the patch on the right to the doors that was just destroyed by the falling column. There is a large gap. Try to use the board here, but it is too short (you need to try).
Back out again to the bottom of the cliff and view the area with the runes again. Collect the rest of the Boards and some Nails.
Now view the board in your inventory. Then add to it the other boards and the nails. Finally add the hammer to make a Self-made Bridge.
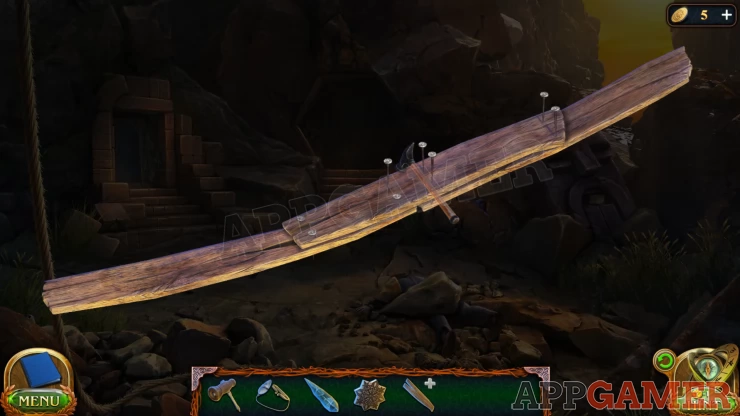
Return to the dungeon and use the bridge on the gap to cross over to the doors.
Collection Item: Gear on the ground on the lower right.
Morphing Object: Mask on the face of the statue on the left.
Look in the dish held by the status on the left to collect another Crystal Candle.
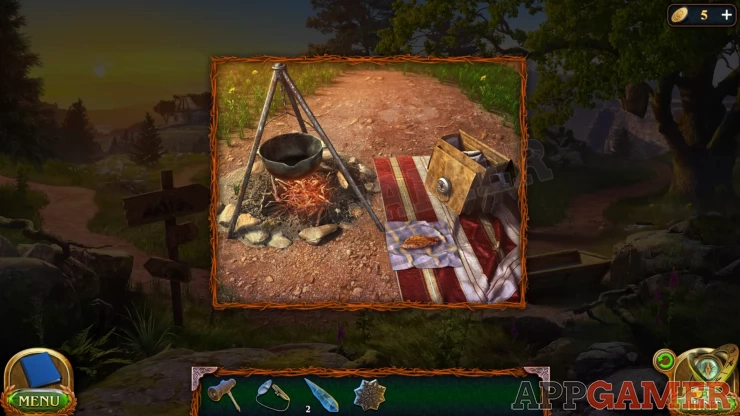
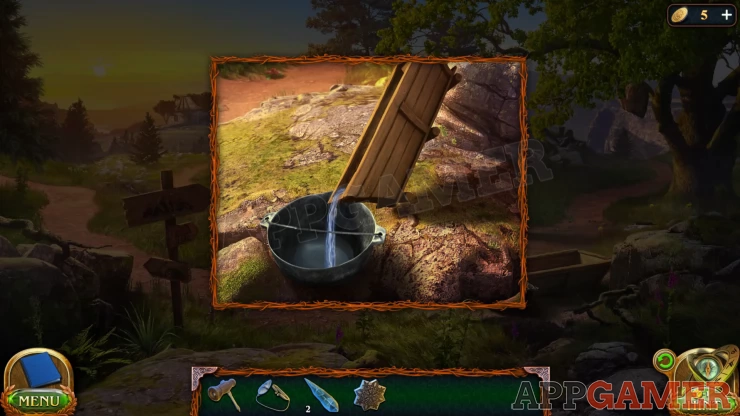
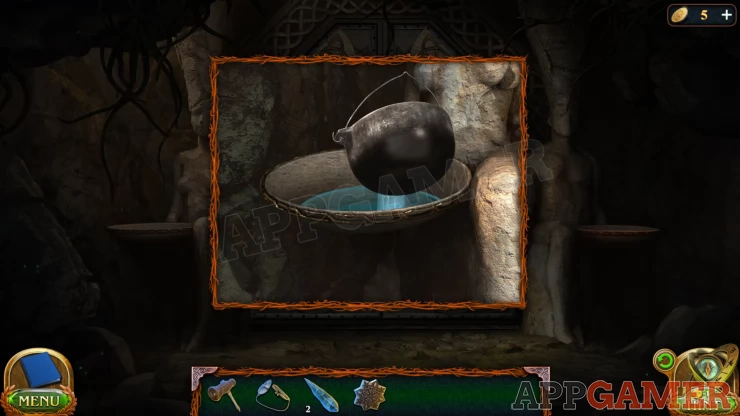
The next step is to go back to the camp in the first area and collect the cauldron from the fire. Then use it on the water trough to collect a Cauldron of water.
Return to the dungeon and use this on the left statue to fill the dish with water. You collect the cauldron again.
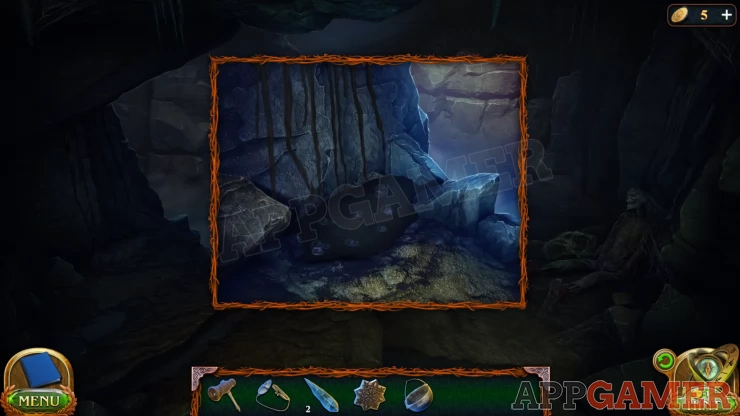
Back up to the other side of the dungeon and tap to view the dark area on the lower left. Use the cauldron here to collect a Cauldron with black oil.
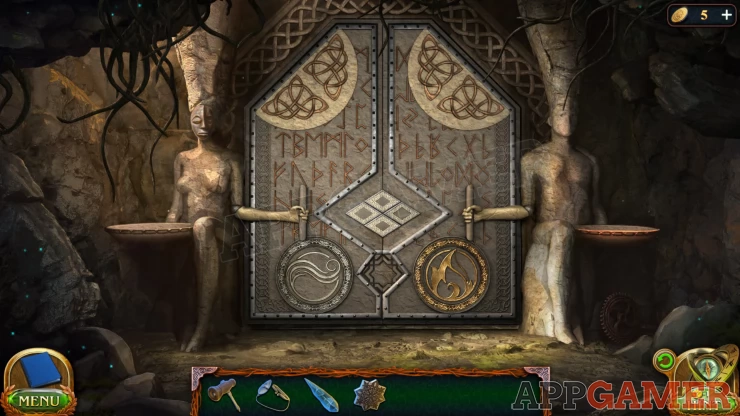
Return to the doors and add this to the right statue's dish. You can then use the flint to light this on fire.
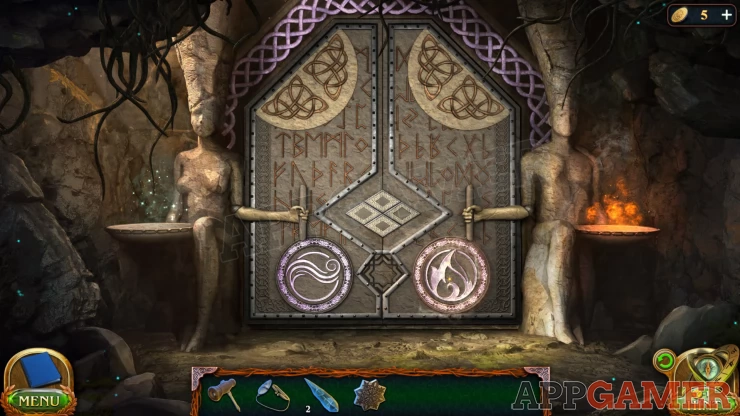
Next view the bottom center of the doors. Add the ancient seal to it and a section will open to reveal a rune puzzle.
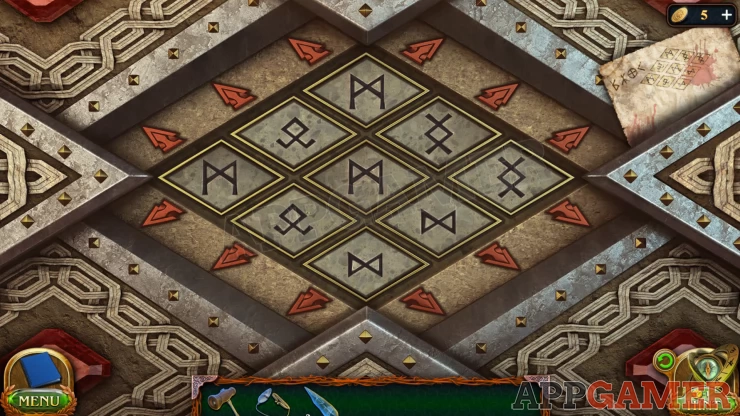
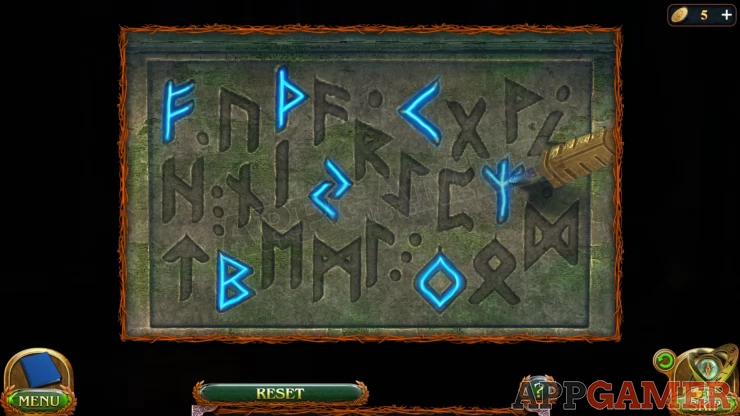
Rune Puzzle
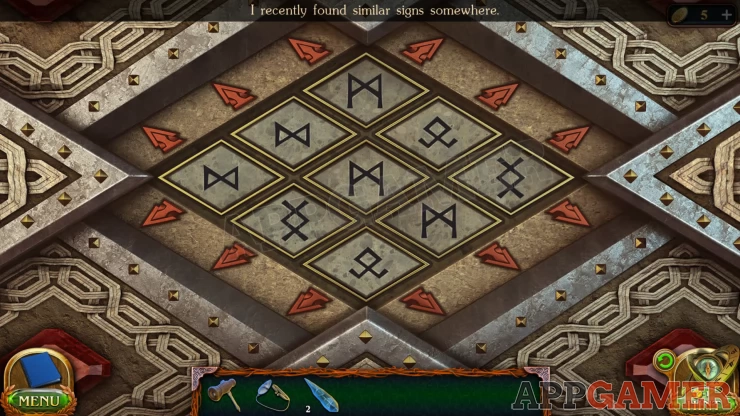
- You can now go back to the skeleton and collect the Treasure hunters note with the rune clue.
- Return to the puzzle and add the paper to start.
- Now you can use the arrows around the grid to slide the rows of runes to match the clue.
Solution: Show
Once done you will collect the Treasure Hunters Note again. The doors will open.
Go through to find an Underground City. You are joined by Mora.
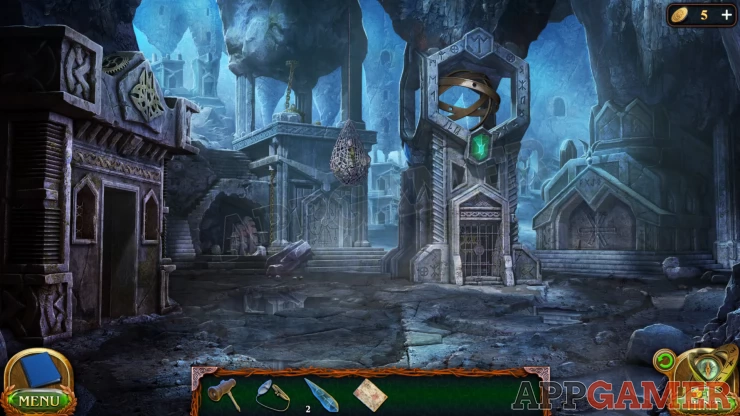
Morphing Object: a statue on top of the angled roof on the right side building.
Collection Item: Gear on top of the roof on the top left of the scene.
First view the front of the building on the right. Collect the Shaft Lock.
Then look under the steps on the left side of the scene. There are some large gear wheels.
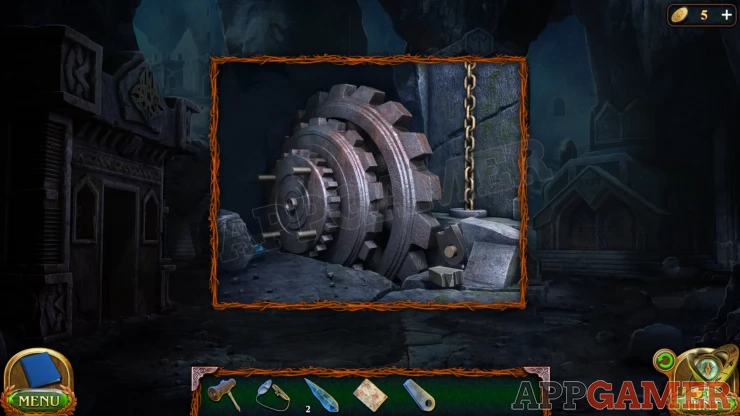
First move the rock on the floor on the left to find another Crystal Candle. Then use the Shaft lock here to replace the broken one by the large wheel.
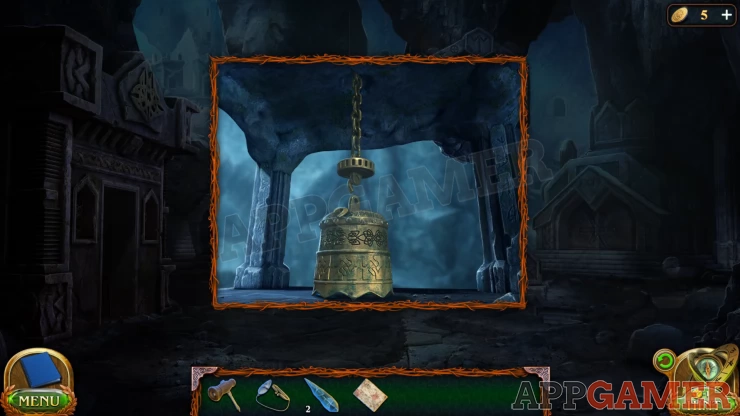
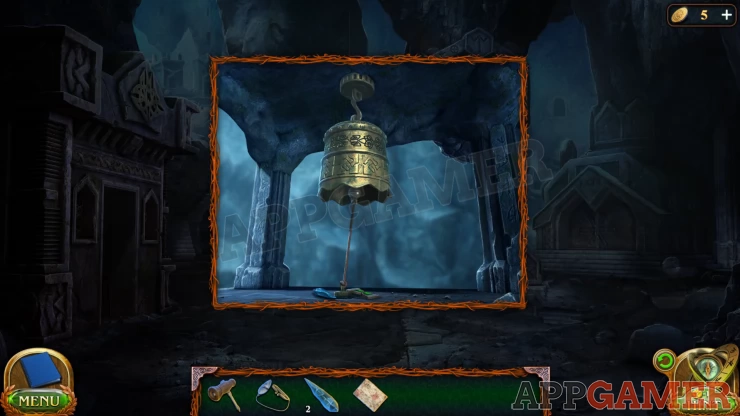
After the wheels turn tap at the top of the steps to see a bell in a tower. The connector at the top of the bell is broken, take the Broken Connector.
Now tap on the doorway on the far left of the scene to enter a Forge.
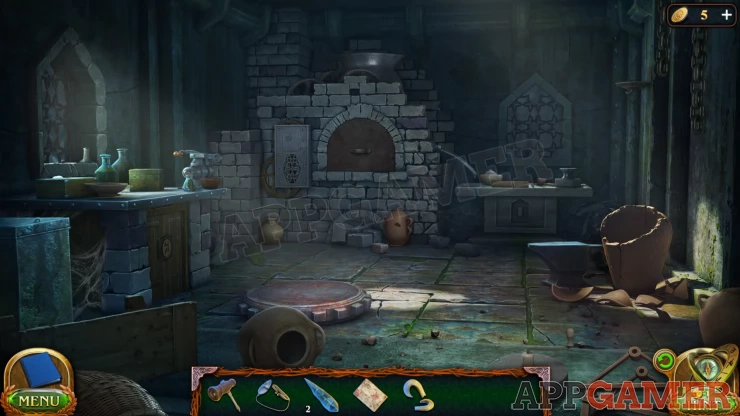
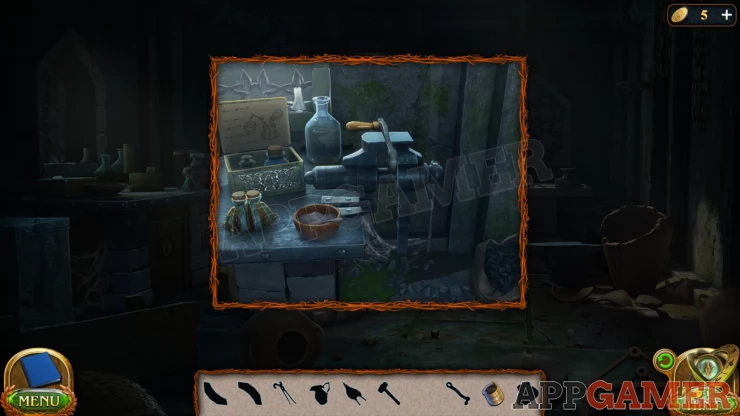
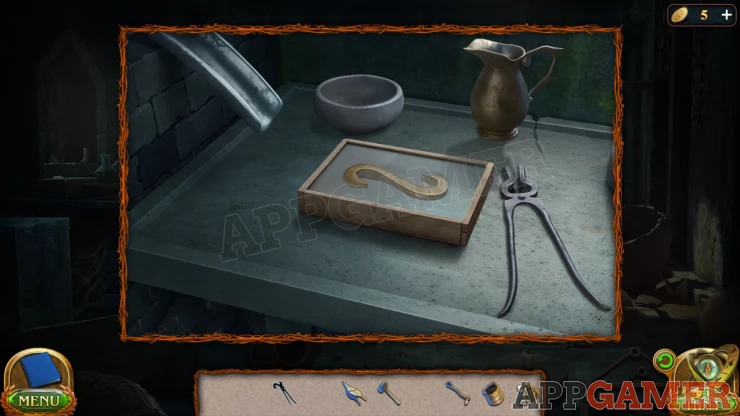
Use the Broken connector on the forge and you will place it on a table on the right. You now need to find the items needed to cast a new part.

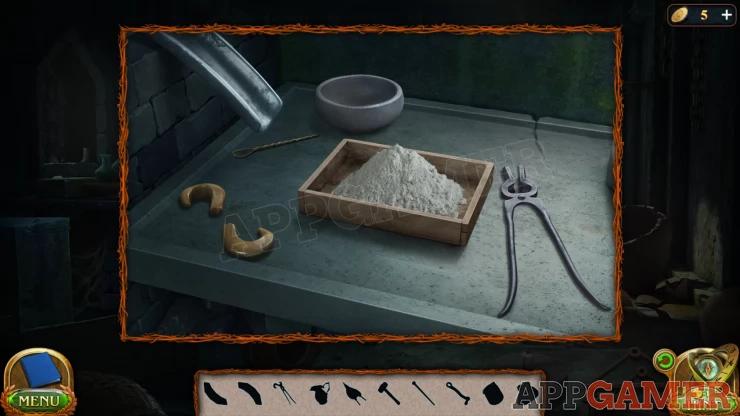
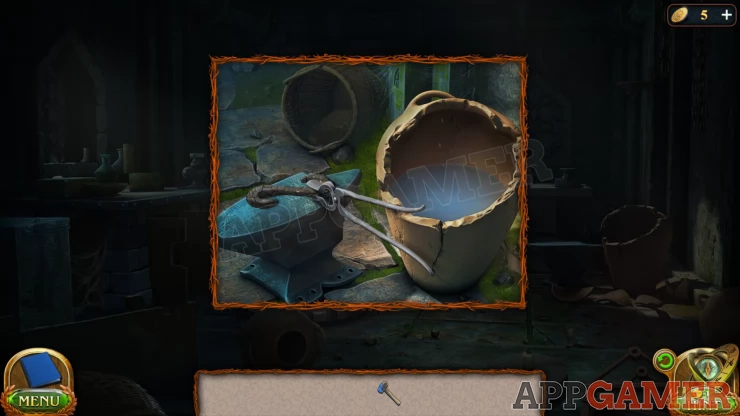
Take the metal spoon on the left and use it on the broken mold. Then use the small wooden piece on the right to add to the frame, this will then use the red Block on the back right to complete fixing the mold frame. Finally add the bowl of plaster to the mold.
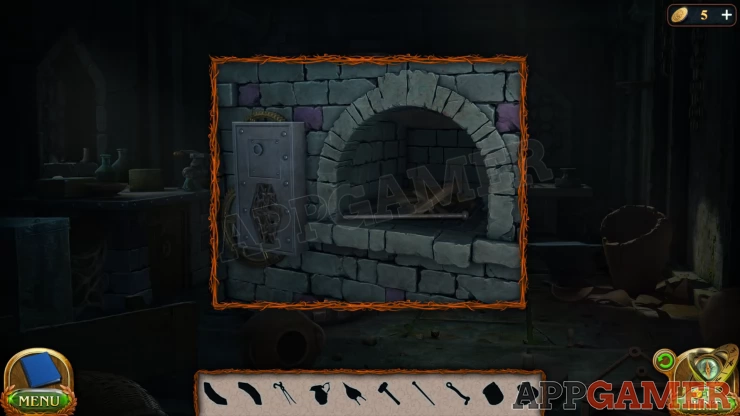
Back up from here and view the furnace door, open it and collect a lever from inside.
Back up again and now view the bench on the left. Collect the bucket of Coals from the floor. Then add the lever to the vice on the right.
Turn the vice and you can collect another Lever. Then open the box on the left and look at the note inside for information.
Select a bottle from inside the box and use it on the double glass flask on the bench. Then select the bowl of powder on the bench and also add it to the double flask.
Collect the double flask of Lighter Fluid.
Next view the bottom of the furnace with the pile of bricks blocking the hole.
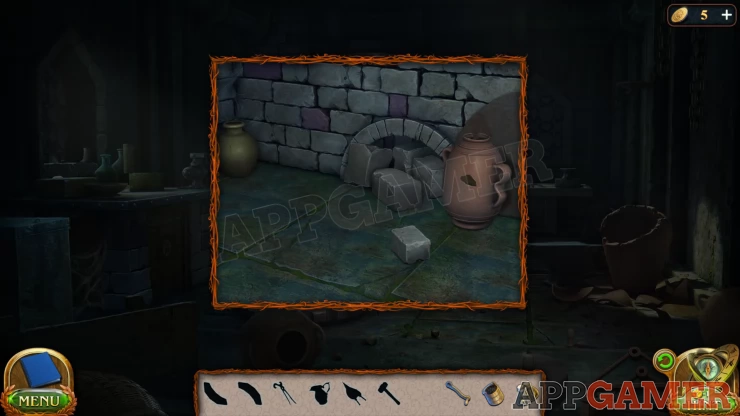
Move the bricks away to collect a Hammer, then use the small stone that remains to break the pot and collect a Button.
Next view the large urn on the right next to an anvil. The urn is full of water.
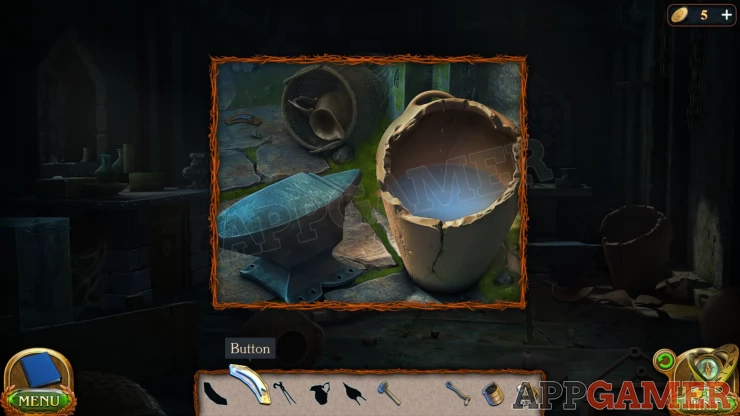
Collect another Button, from the ground on the top left and then use the jug that is in the basked at the top to collect some water from the urn.
Tap on the cupboard under the bench on the left, there is a puzzle lock. Add the 2 buttons to it to begin.
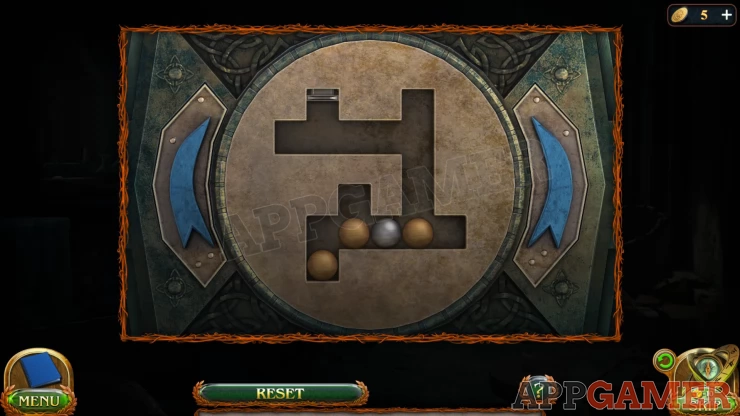
Use the buttons to turn the lock clockwise or anticlockwise. You need to make the balls move so that the silver ball ends up on the button.
Solution: Show
Collect the Bellows from the cupboard.
Now view the bench on the right again with the mold. Add the water to the plaster. Then use the spoon to mix it.
Finally add the broken connector to make a new mold and place it under the chute.
Return to the furnace and add the coals and use the lighter fluid to start a fire. Then add the lever to the panel in the left.
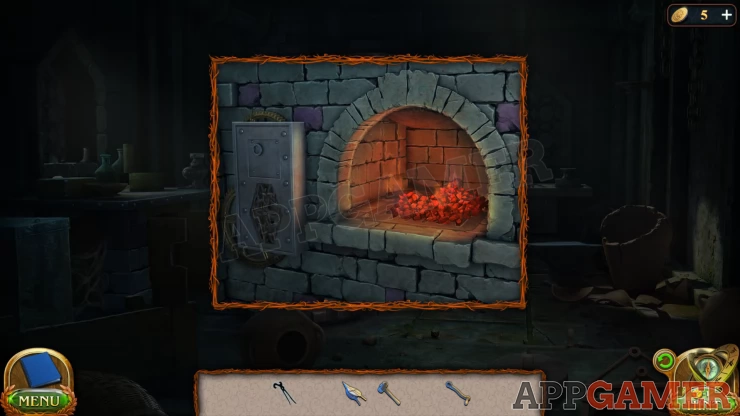
View the hole below this again and add the bellows. Then tap them to heat the fire.
Go back to the top section and turn the lever. This will pour the molten metal into the mold.
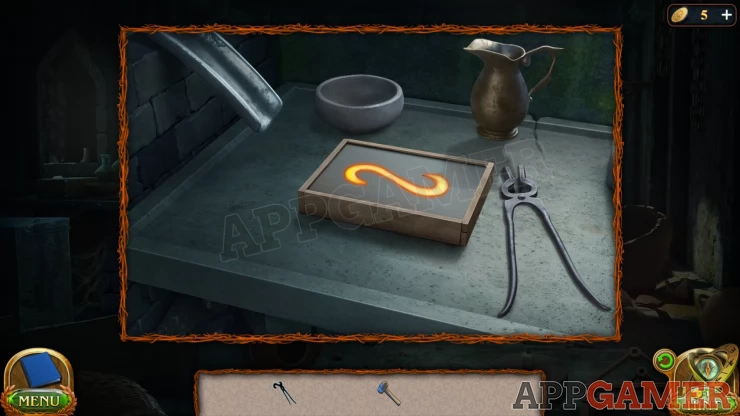
Use the Tongs to collect the piece, then view the anvil on the right again. Place the hot metal connector into the water to cool it. Then place it on the anvil.
Use the Hammer on this and you will collect the new Connector.
Now view the bell tower again and add the connector to it. Then view the gear wheels below again and tap them to raise the bell. You can now collect another Crystal Candle and an Hourglass Figurine from under the bell.
Next view the gate on the central column of the scene. You can place the hourglass figurine her to open the gate.
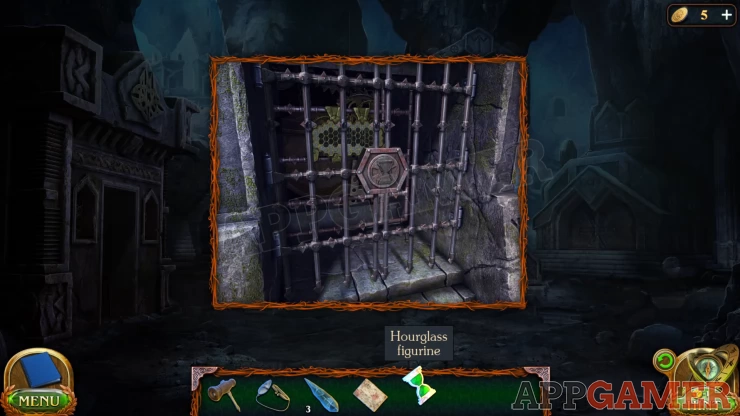
Look inside for a puzzle.
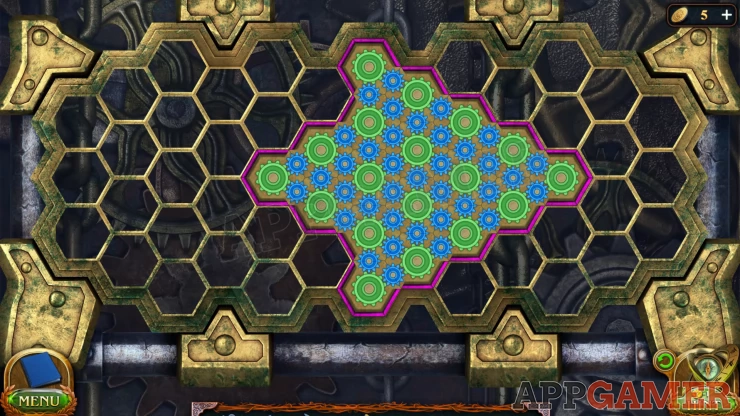
Gears Puzzle
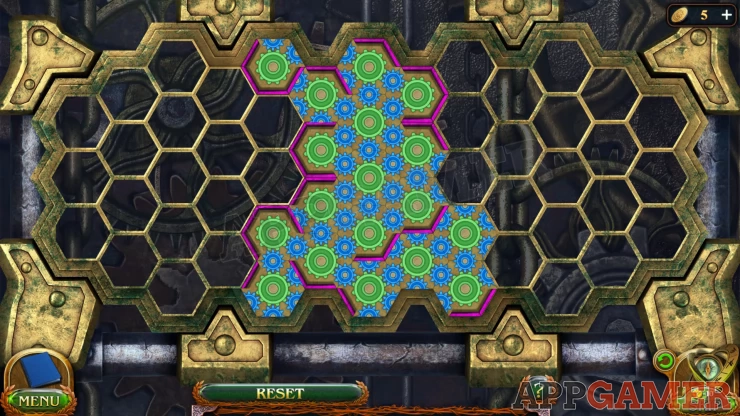
- This puzzle has a grid of hexagons with gear parts.
- Each hexagon part has gears or parts of gears. Some of them have wall (edges).
- Arrange these into a single block where all the gears connect together and the walls surround the outside.
Solution: Each puzzle can have a different solution.Show
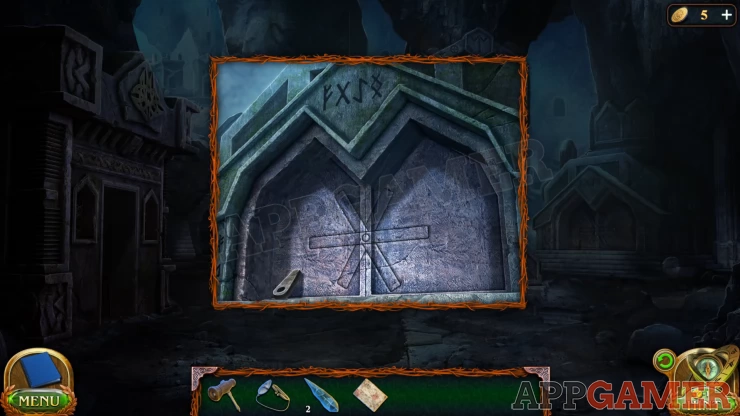
The bell rings and you will see a door with a bell symbol.
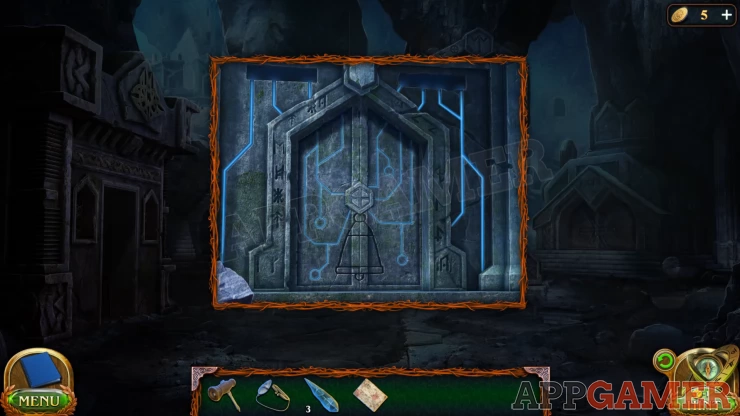
View the buttons in the center and you can add the treasure hunters note here for a clue.
Solution: The 4 symbols on the door are written on the note. Tap them in the same order as written on the note.Show
Go though to the Sarcophagus room.
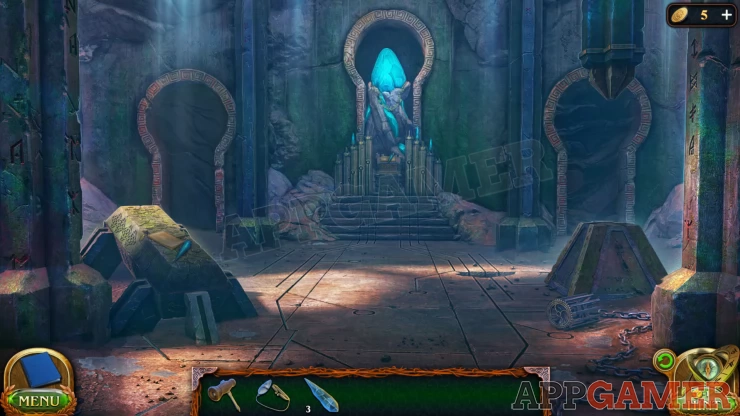
Collection Item: Gear on the end of the chain on the floor on the right.
Morphing Object: Green vine on the large blue rock in the top center.
View the sarcophagus on the left, collect the Crystal candle.
Manuscript: on the Sarcophagus.
Next view the block on the right of the room, collect another Crystal Candle from here.
Now view the altar in the center under the blue crystal. Collect the final Crystal Candle from here. You can also read the book.
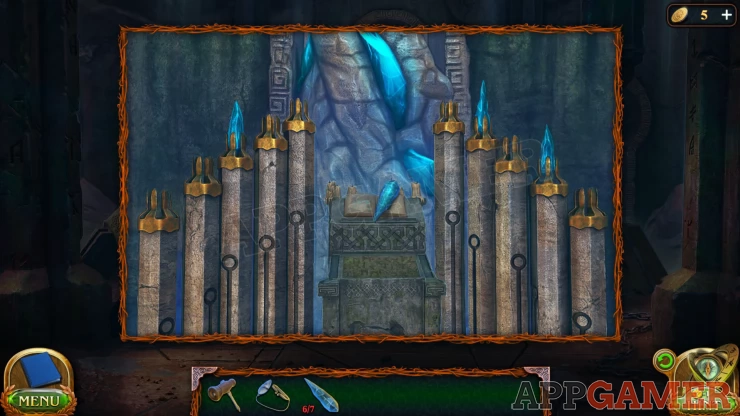
Place the 7 crystal candles on the empty holders, then a panel will open.
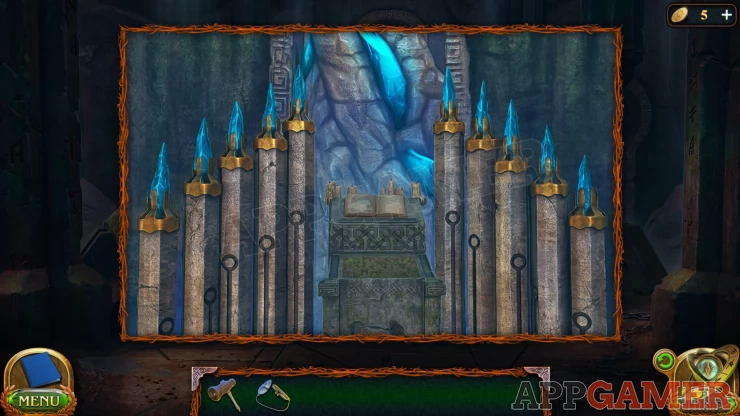
Draw the Runes
You can now use the quill from inside on the tablet below to draw out specific runes. You need to select the correct one in the correct order.
Solution: The runes are show on the rows at the bottom of the cliff where the dead body lies, You remove the boards covering it in part one.Show
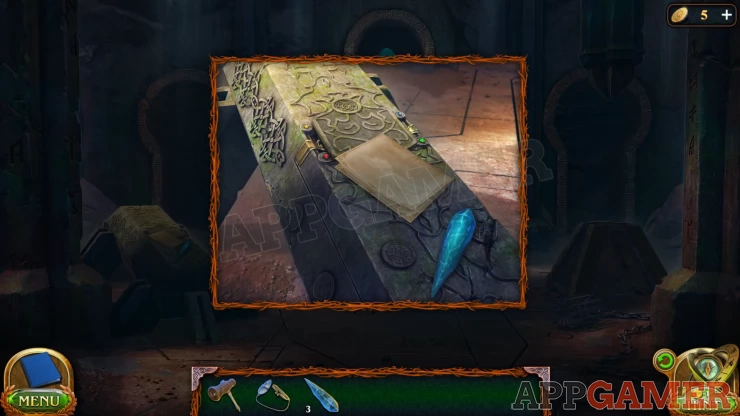
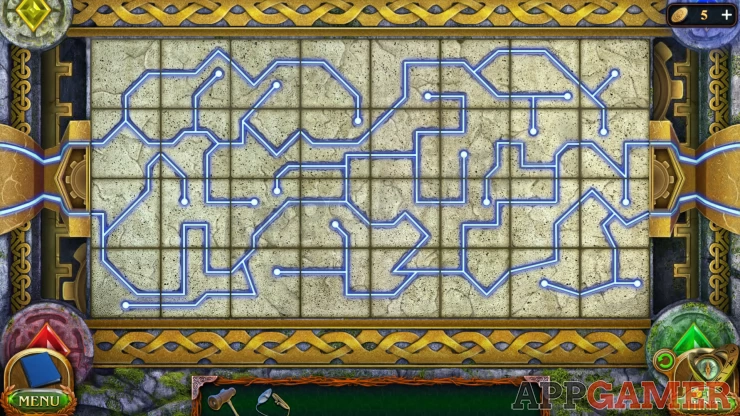
Tap on the sarcophagus and then view another puzzle on the lid.
Sarcophagus Puzzle
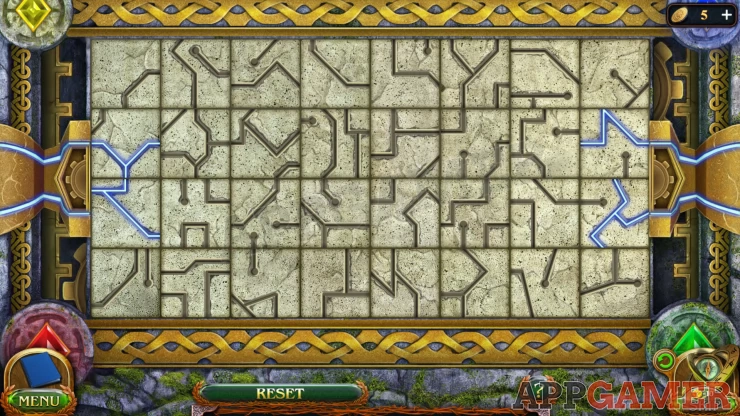
- The board has squares that you can rotate
- Each of these has lines on them Rotate them to match up the lines
- Connect them all to let the energy flow through them all.
Solution: Show
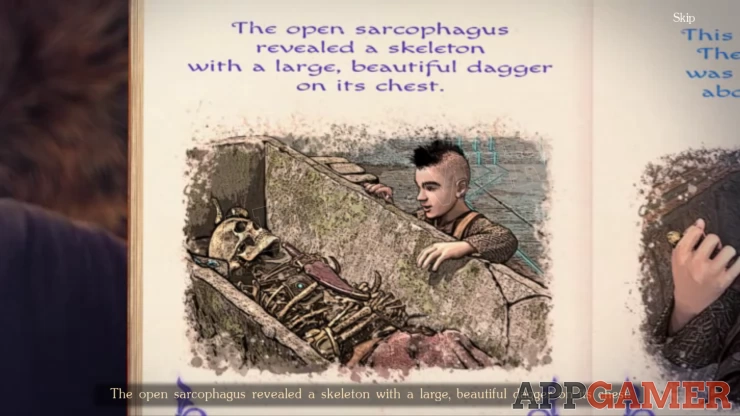
Once this is complete Folnur will open the sarcophagus and discover a dagger. We get a cut scene as the pair now escape from the dungeon.
Continue the guide in Chapter 1 Part 3
| Chapter 1 - Unchildlike Mischief Walkthrough - Part 1 | Back to Top | Chapter 1 - Unchildlike Mischief Walkthrough - Part 3 |
 With 20 years of experience in creating video game content for the internet and over 30 years as a gamer, Mark is now a passionate mobile App Gamer. Loving a challenge, he is always ready to get stuck in to both survival builders and puzzle solving games. He has been providing content for AppGamer since 2014.