Chapter 6 - Zhang Wanning - Part 2
More Hospital Escape - Room Escape Game
This is part 2 of the guide for Patient 6 - Zhang Wanning.
You have found your way into the school building and now need to locate the patient.
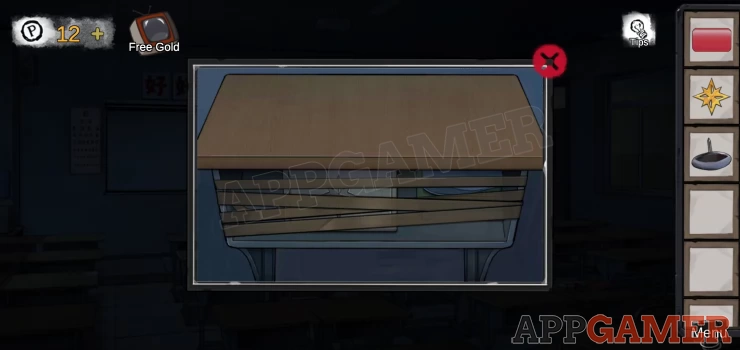
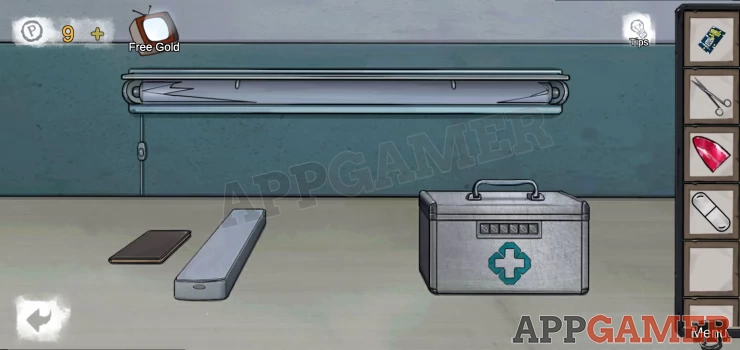
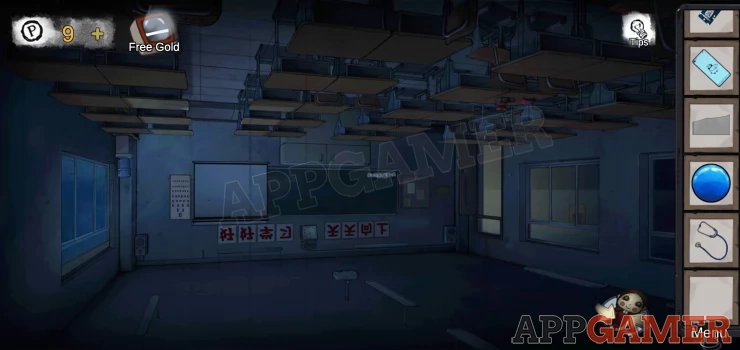
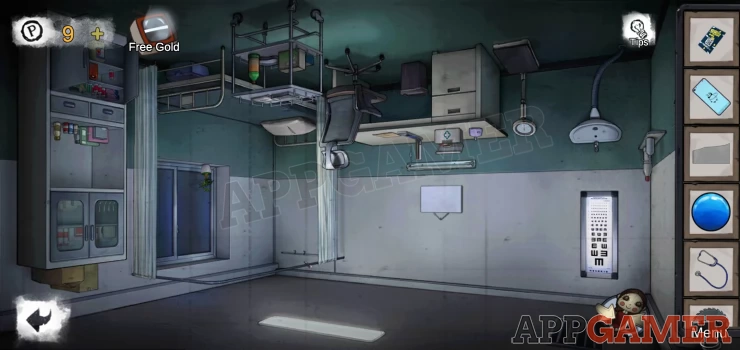
You are in a classroom.
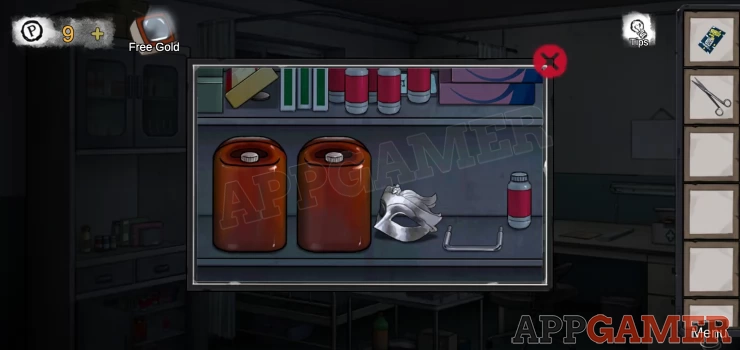
Object, Silver mask on the desk bottom center.
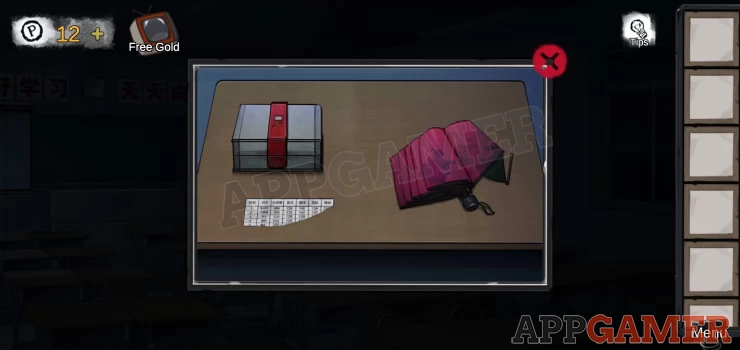
View the desk to the right, view the paper on it for a clue and then collect from the desk an 'umbrella'. It is actually some sort of pin from the umbrella.
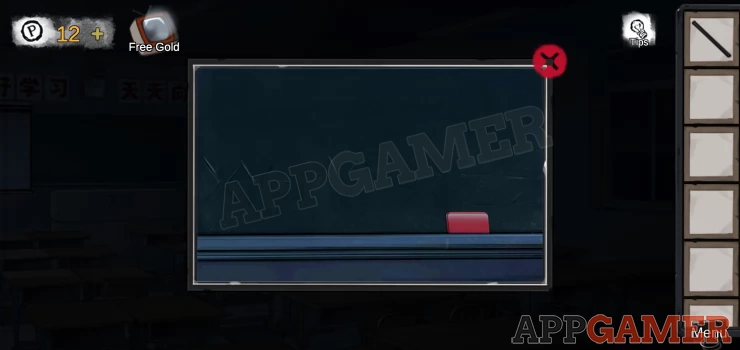
Next tap on the blackboard to view it and collect a red button.
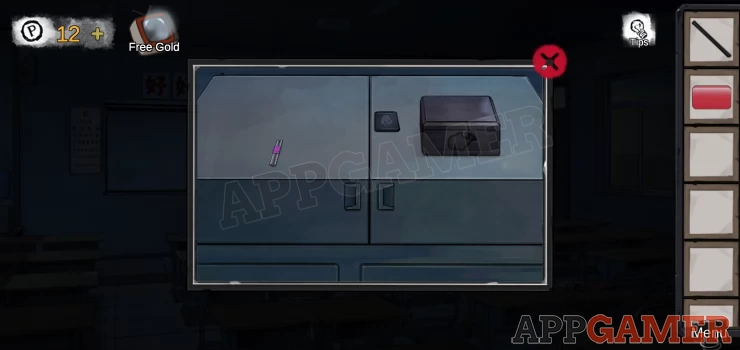
Then tap the unit just below the blackboard and collect from it a 'wire coil'
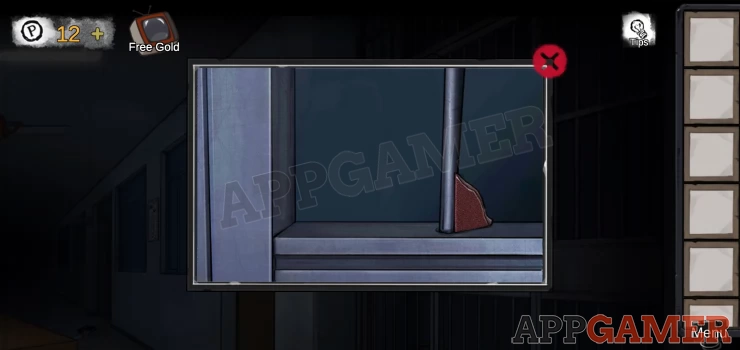
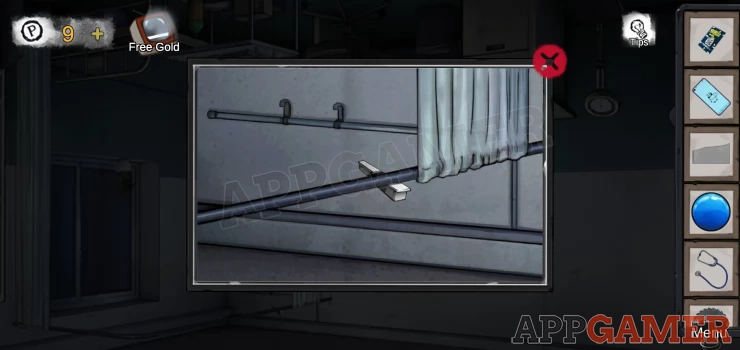
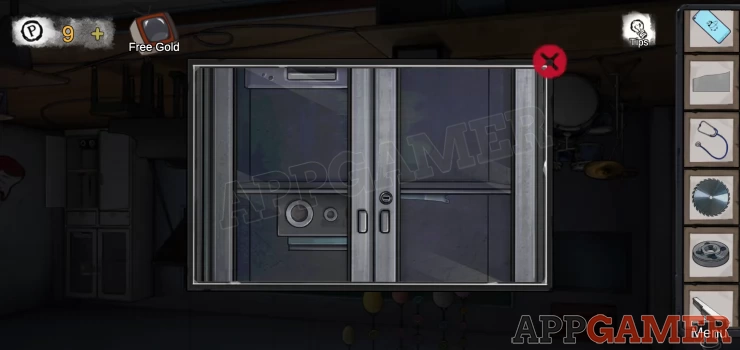
Now view the door to the classroom.

There is a small crack on the left. Use the item called 'umbrella' on this to retrieve a 'metal sheet'
Then use the wire coil on the round pin near the bottom to collect a 'Pushpin'
Now tap to view a desk on the far left. This has tape over the storage area.
Use the pushpin on the tape to break it.
Use the metal sheet on the box on the left to open it and then collect a green button.
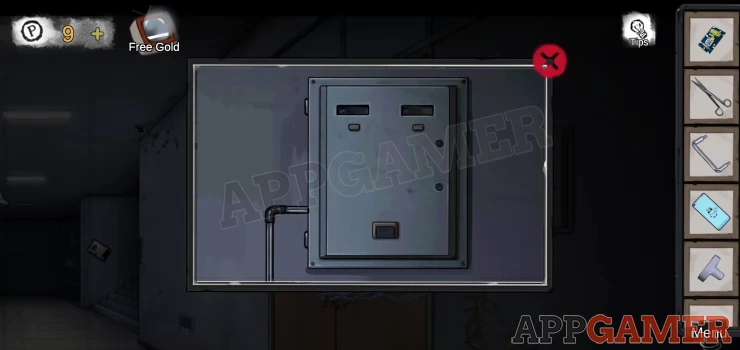
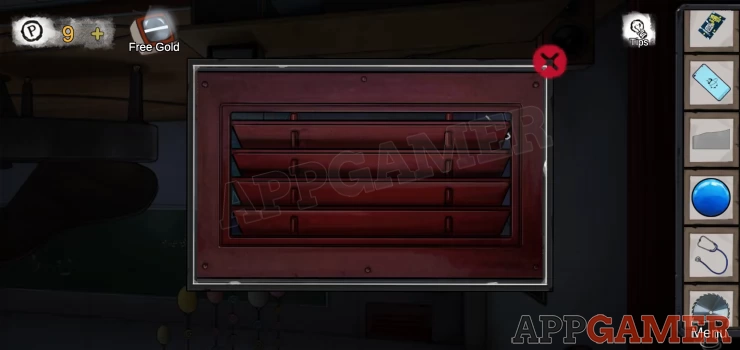
Go back to the dark on the right and view the red box on the left.
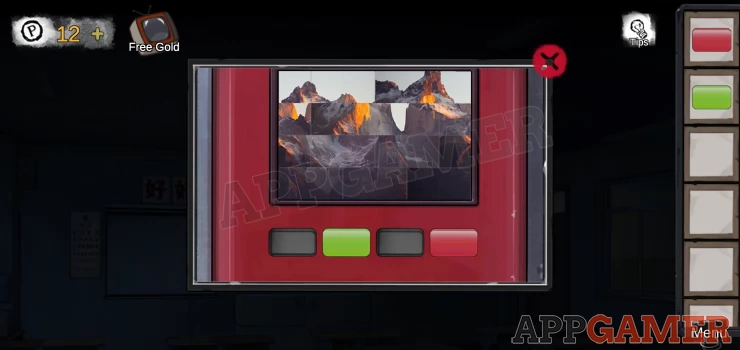
Add the 2 buttons then solve the puzzle.
Use the buttons to move the 4 rows to arrange them to complete the picture.
Solution: Show
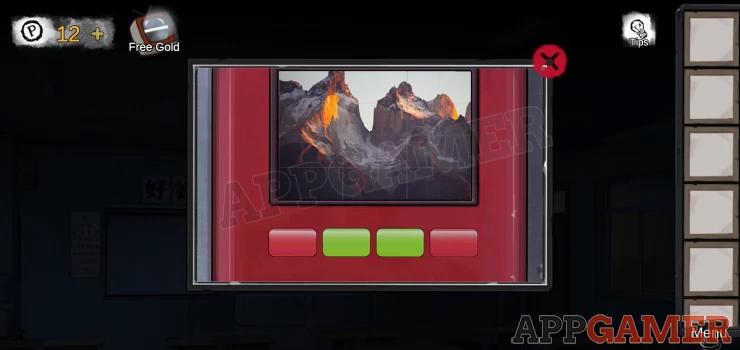
Once done collect a key.
Use the key on the door of the classroom to open it and then exit into the Corridor on the third floor
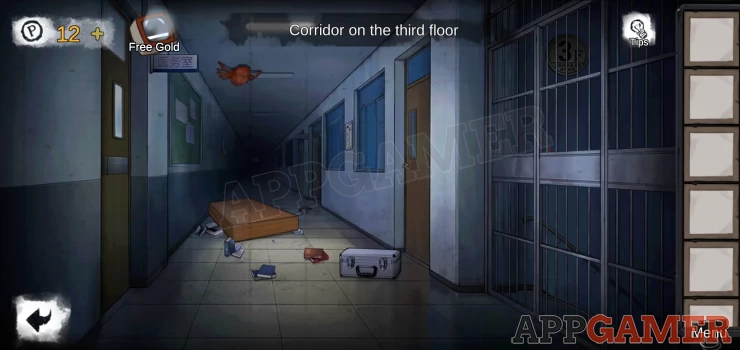
Object: On the floor to the left of the case.
View the metal gate on the right and collect from it some sandpaper.
Now view the case on the floor. Use the sandpaper to clean the latches and then open it.

Collect some chalk.
Return to the classroom and view the black board again.
Use the chalk on the board to reveal a clue.

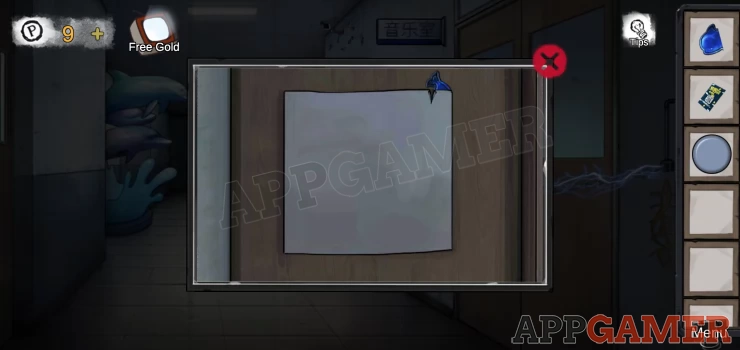
Go back to the corridor and tap on the small poster on the right wall between the 2 windows.

Collect 'glass flakes' from the broken section and then drag the poster up to find a hidden compartment.
Collect the blue 'glass decoration'. Then view the box on the right.

Hint: Use a clue above to solve this. Replace the letters in the equation on the board with numbers. A 2 digit number + itself = a 3 digit number.
Solution: 61 + 61 = 122Show
Code: 612Show
Collect a 'Chip'
Now view the case on the floor again and the box on the right.
Add the chip to this to start the puzzle.
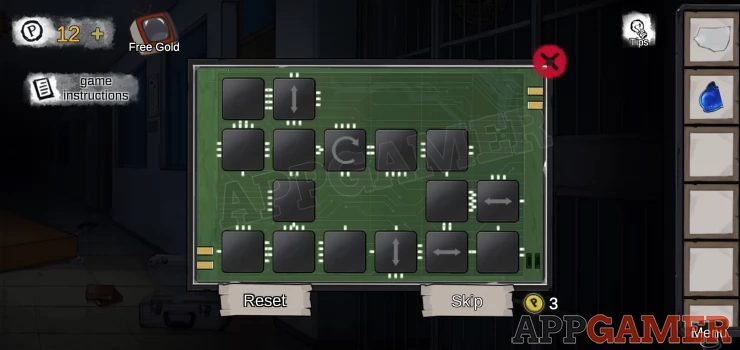
Rearrange the chips so that the connecting lines match up.
Some items will only move in 1 direction, the rotation arrow chip only spins.
Solution: Show
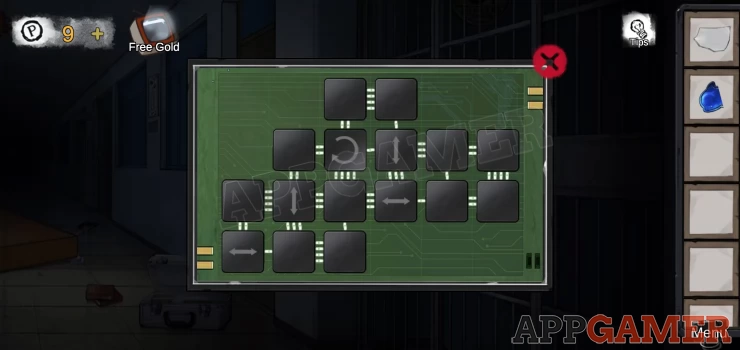
Once done collect an 'Unlocker'
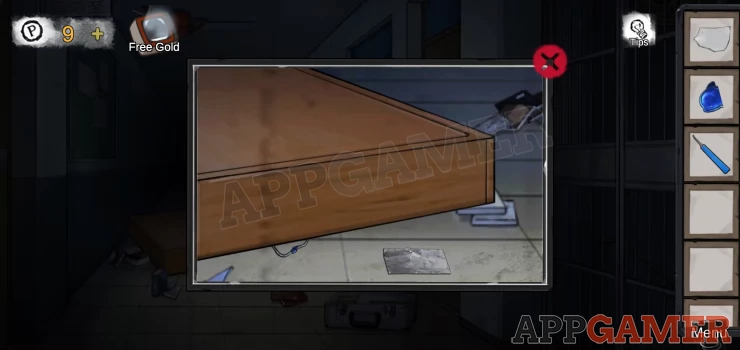
Tap on the fallen bookshelf on the floor. From next to it collect some tin foil.
Now combine the tin foil and the glass flakes to make a hand made mirror.
View the metal gate on the right again and use the mirror to let you see the lock.
Then use the Unlocker to pick this and open the gate.

Go through to move down to the Corridor on the second floor.
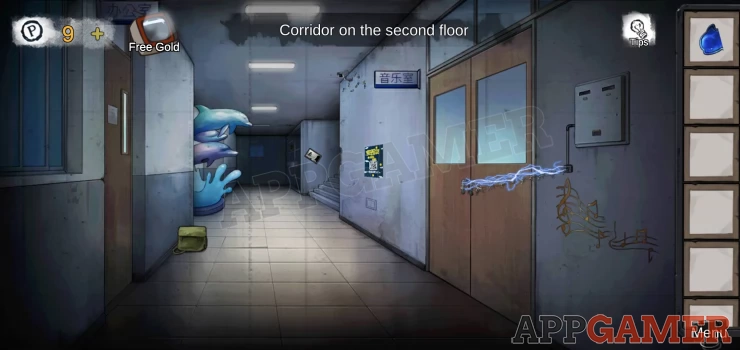
Object: bag by the left wall.
Tap and collect the poster on the right wall. View it to get a clue.
View the electrical box on the far right and collect from it a 'round block'.
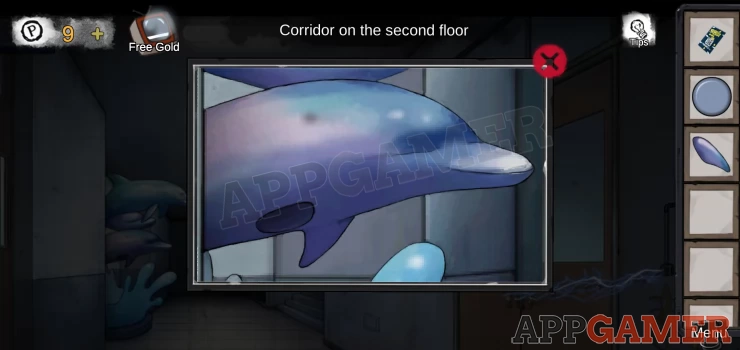
View the door on the far left and collect from the top a 'glass dolphin'.
Now go back up the stairs at the end and enter the classroom.
View the unit under the blackboard again.
Use the 2 blue glass objects on the box on the right.
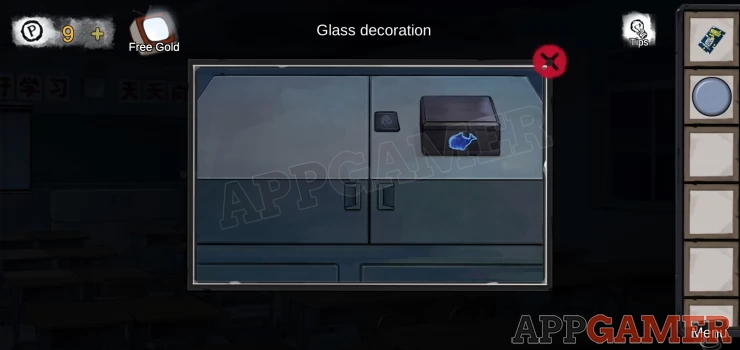
Open it to collect a 'Statue block'
Exit the room and go back down to the second floor.
View the dolphin statue on the left.
Add the block you collected to it to replace the flipper.
When the mouth opens collect another round block.
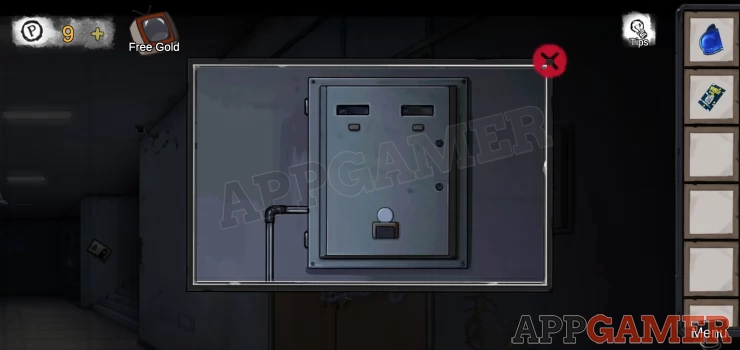
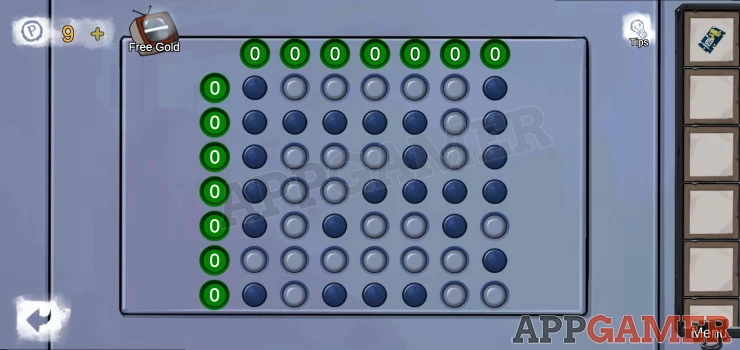
Now find on the right wall a small square panel, near the stairs.
View this for a puzzle.
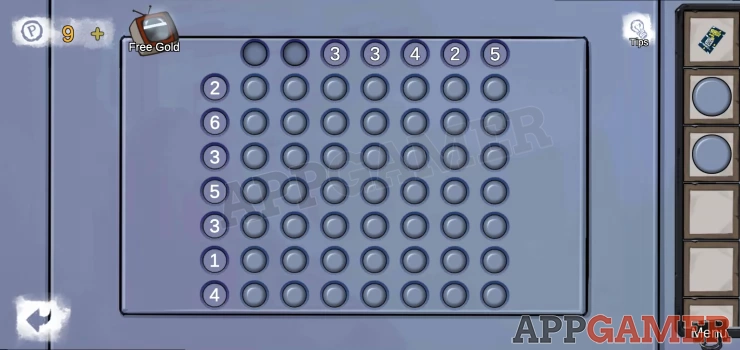
Add the 2 round blocks to start.
Hint: the numbers shown on the rows and columns show how many buttons need to be pressed in each to complete it.
Solution: The puzzle is not the same every time to you will need to work it out from your own given numbers.
Collect a door card.
Go back up to the third floor and use the door card on the door on the far left.
Enter the Infirmary.
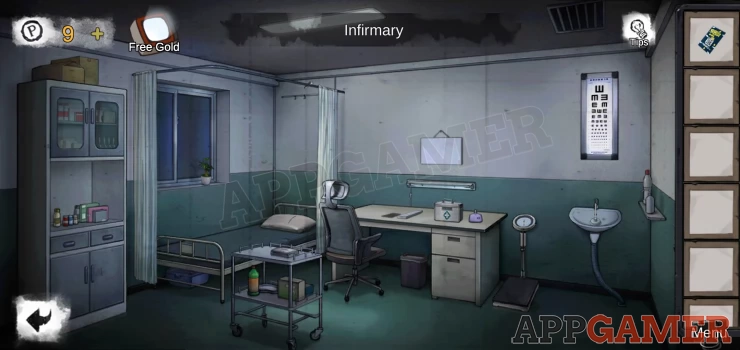
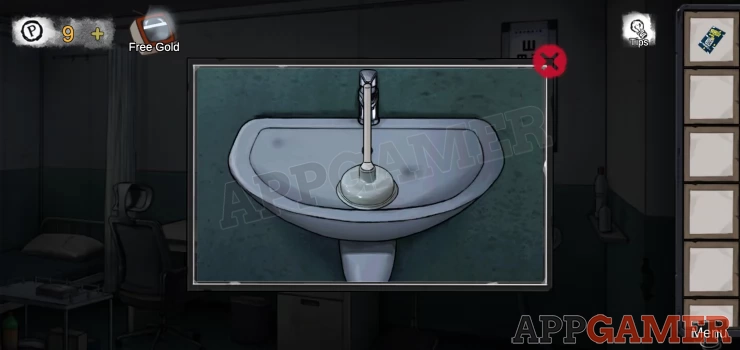
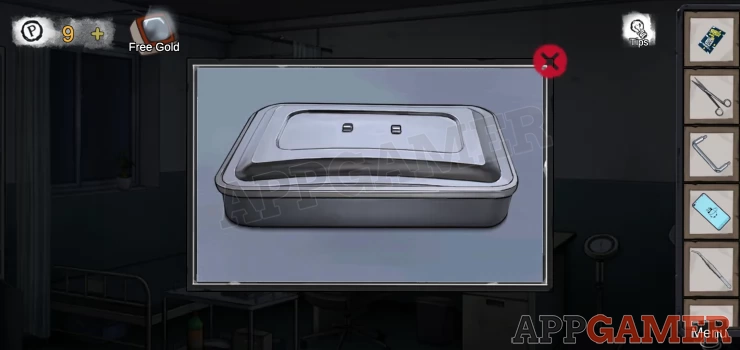
Tap the sink on the right and collect the 'Plunger'. (Pi Liaozi)
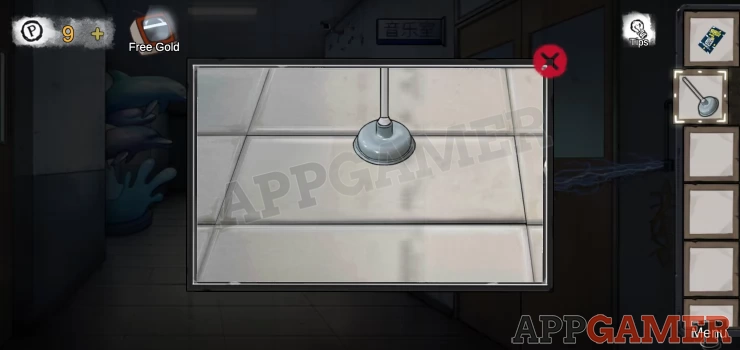
Go back down to the second floor and view a loose tile on the floor.
Use the plunger to lift this.
Collect the Torn Iron scissors.
Now return to the infirmary
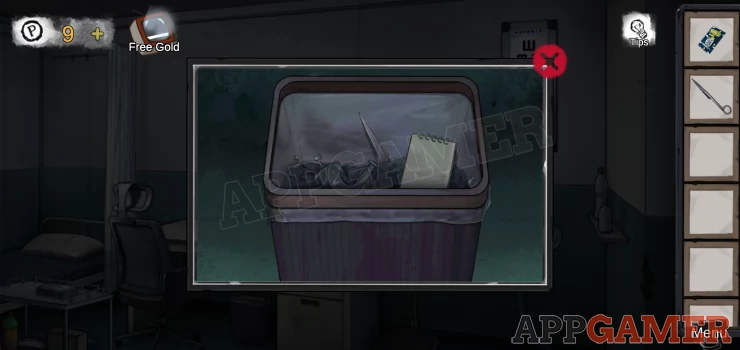
View the bin under the desk and collect the other 'Torn iron scissors'.
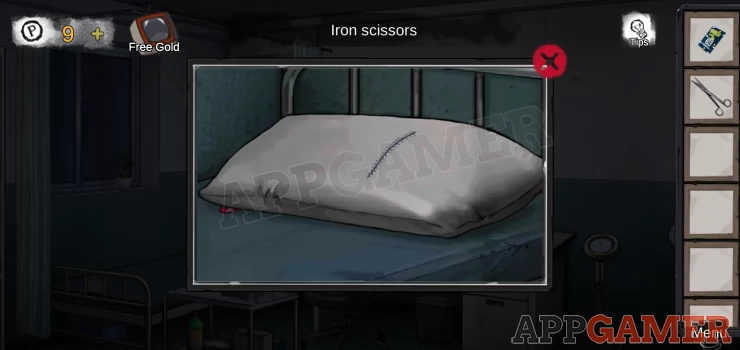
Combine the 2 parts to make the Iron scissors.
View the bed on the left and collect a 'Pattern Block' from under the pillow.
Then use the scissors on the pillow stitching and collect a 'light'.
Now view the desk
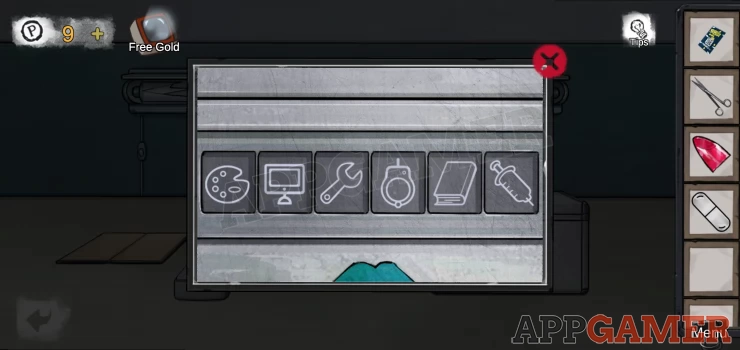
Open the notebook to see some instructions. On the first page on the left is a set of clues, tap to read them but they are not in English.
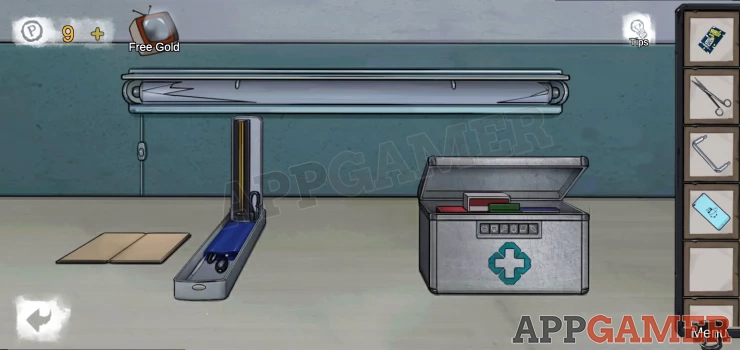
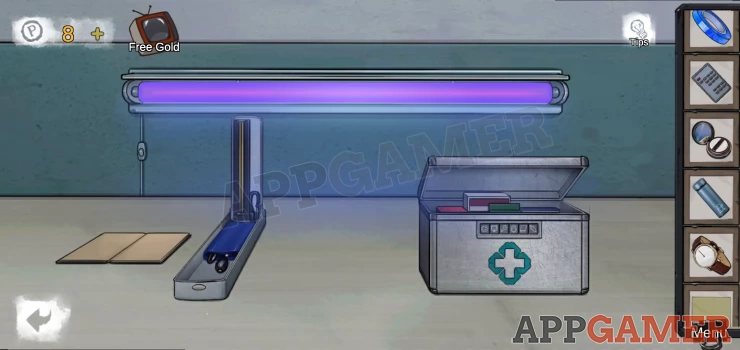
Then view the medical box on the right. This has a Puzzle Lock.
Hint: Unfortunately the clues for this are not written in English.
Use the clues to work out the order of the professions, police, doctor etc. This will tell you what symbols to apply on the code entry.
Solution: Painter, Programmer, Mechanic, Police, Teacher, DoctorShow
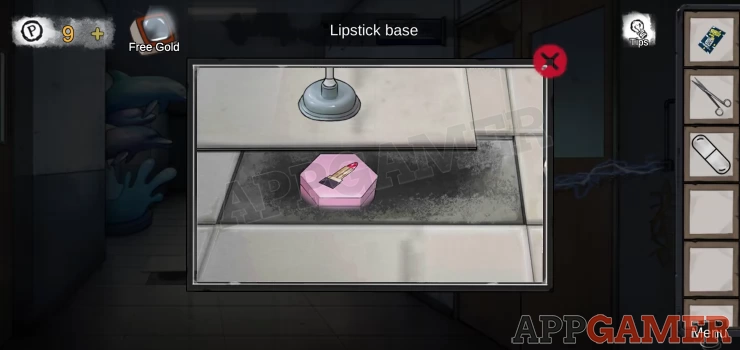
Open it to collect a lipstick base
Go back to the second floor. Under the tile is a pink box with an indent.
Place the base and the 'pattern block' in this to open it.
Collect a second light
Back to the infirmary and tap to view the lower cupboard doors on the bottom left.
There is a puzzle lock
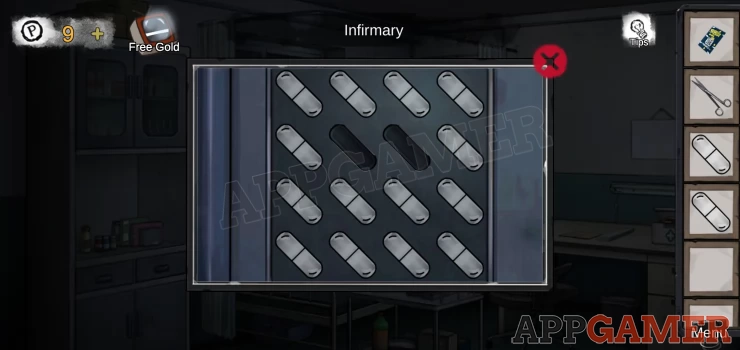
Add the 2 lights to this to begin.
The lights will turn on one at a time in sequence. After each flash you must tap the last one that came on.
The order varies with each game.
Once done the cupboard is open.
Object: Middle of bottom shelf.
Collect from the cupboard a handle, a cellphone, and a power switch button.
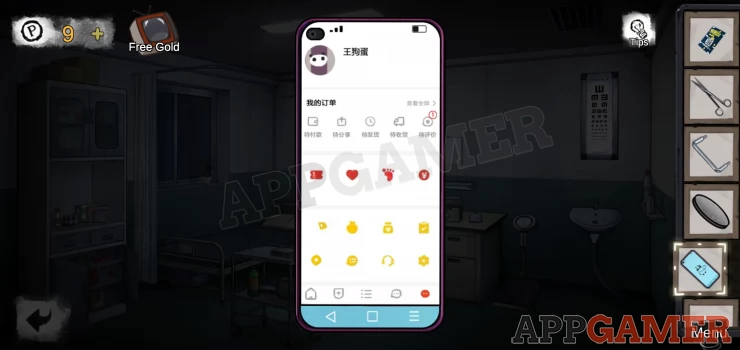
View the cell phone. Tap on the red heart icon and then the icon with the 1 above it on the right to view notes. Read it for a clue.
View the desk again and add the power switch button to the long thin box on the left. tap to open it and then collect some 'Tweezers'
Now tap on the small trolley next to the foot of the bed to see a silver box.
Use the tweezers to lift the lid and then you can collect a 'Guillotine'
Go down to the second floor and view the electrical box on the right.
Add the handle to it and open the door.
You can now add the guillotine to the power switch on the left and then tap to turn off the power.
Now view the double doors on the right.
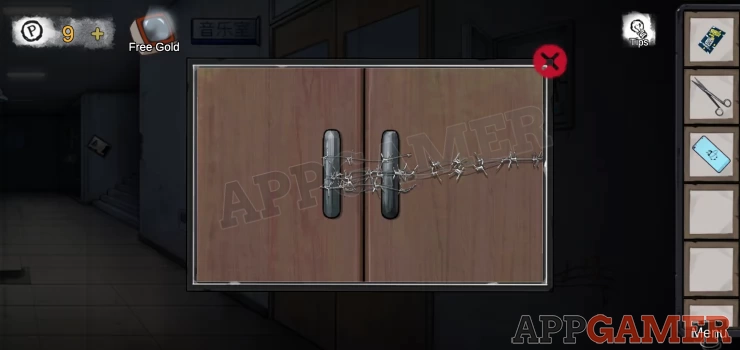
Use the scissors to cut the cable.
Enter the Music Room
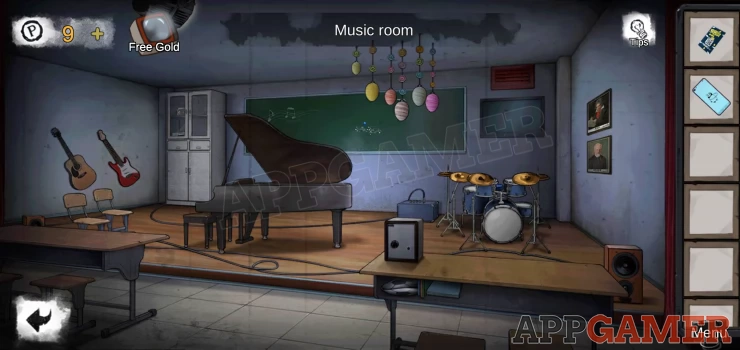
View the guitar on the far left and collect from behind is a scrap of paper (clue)
Then collect a 'Hex screwdriver' from the sound hole.

Notice also a clue on the wall.
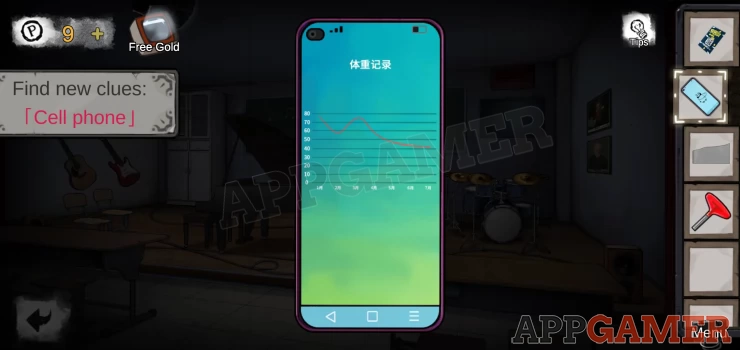
View the phone again and tap on the orange scale icon. You need to enter a passcode.
From the clue above Enter 9397.
Tap the green button at the bottom to view a graph of weight loss, another clue.
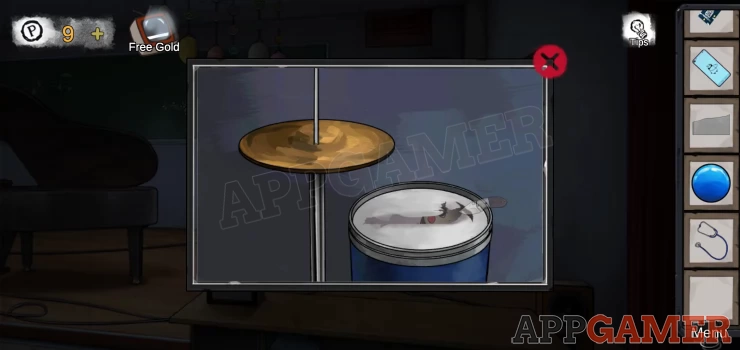
Now view the drums.
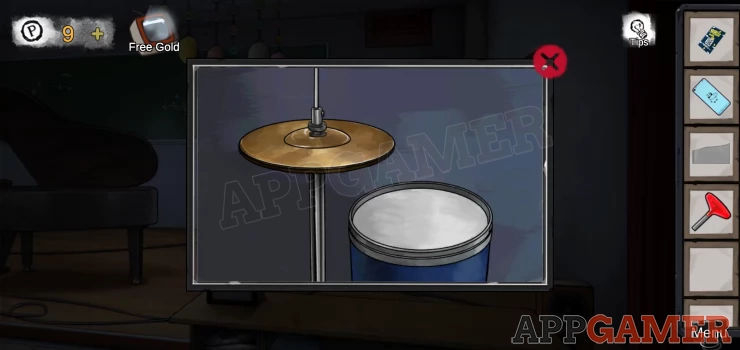
Use the hex screwdriver on the top symbol to move it and then collect a 'Gas needle'
Next from the opening of the desk on the lower right of the room, collect a 'dead football'.
View the board with the musical notes and collect a blue 'Magnet'.
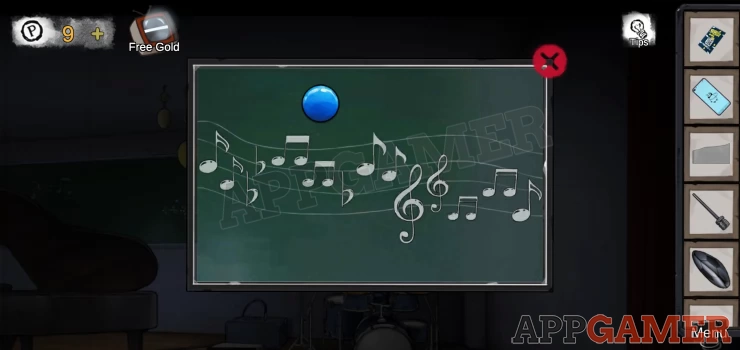
The notes are a clue.
Now tap the piano to see the keyboard. Collect from one of the gaps a 'clip'

Tap on the lower doors of the cabinet on the left.
Use the clip on the bit of the key sticking out to turn it and open the cupboard.
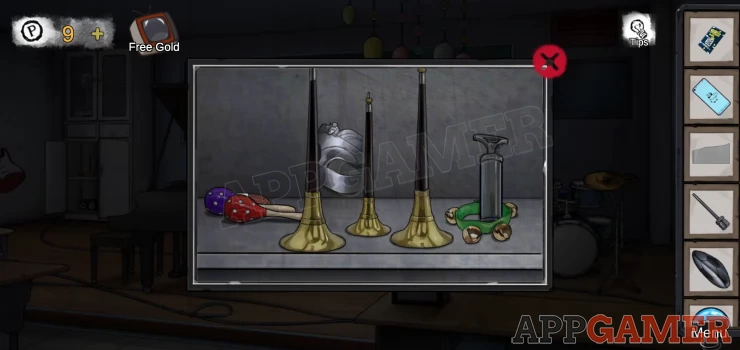
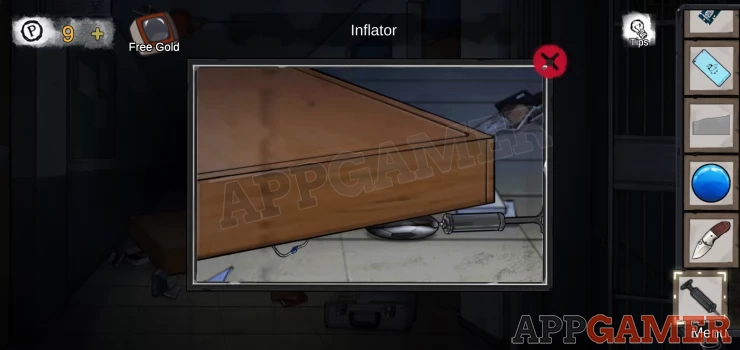
Object: one of the trumpets.
Collect a 'folding knife' and an 'Inflator missing a needle'.
Combine the Inflator with the gas needle to complete it.
Now go back up to the third floor corridor and view the fallen bookshelf again.
Place the dead football under the bookshelf.
Then use the inflator to pump it up.
You can now collect the Stethoscope from under it.
Go back to the music room and view the drums again.
Use the folding knife to cut open the drum and collect the Muppet.
This now give us the ability to flip the rooms again as we have had in the past.
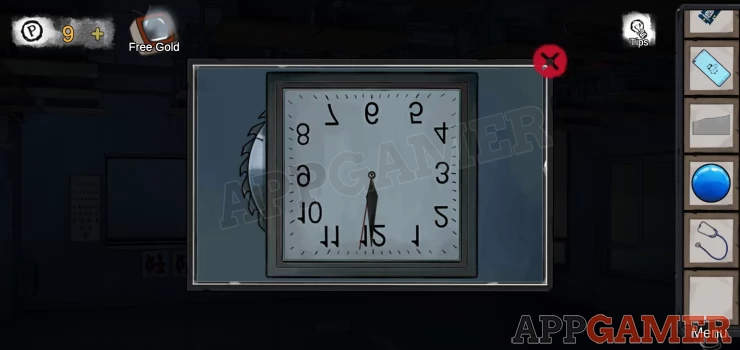
Now go back to the first classroom on the third floor.
Make it upside down.
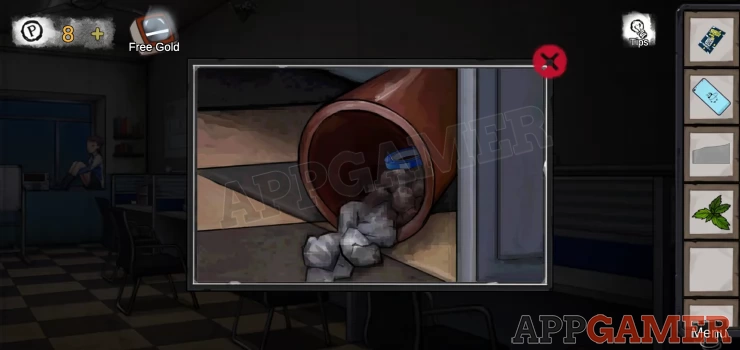
View the clock on the wall and collect from it a cutting disk.
Next tap on the projector that is now sticking up from the floor.
Collect a 'pressure plate'.
Exit and go into the Infirmary. Make it upside down.
View the rail that holds the bed curtain to find a 'piano key' to collect
Go to the second floor corridor. Make it upside down.
View the security camera that is now on the floor.

Collect another piano key and take note of the arrangement of musical notes and letters.
Enter the Music room. Make it upside down.
There is now a vent on the lower right. view this.
Use the magnet on this to collect a key.
Tap to view he hanging decoration (that is now rising from the floor)
Collect from this another piano key.
Next tap on the top glass cupboard doors on the left (that are now low down)
Use the key to open these.
Collect a 'toothed wrench'
Flip the room back to the right way up and then view the piano keyboard again.
Add the 3 keys to it.
Play a tune on the piano following clues above.
Hint: By the camera in the corridor you can match note shapes with letters. On the board is some musical notation but ignore the positions of the symbols just translate them to the letter to play.
Solution: C C G G A A G F F E E D D CShow
Collect a mask
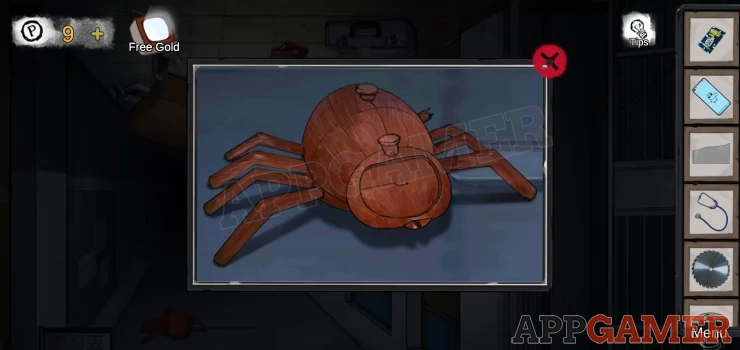
Go back to the third floor corridor and make it upside down.
View the wooden spider model on the floor and add the mask to it.
Collect a button.
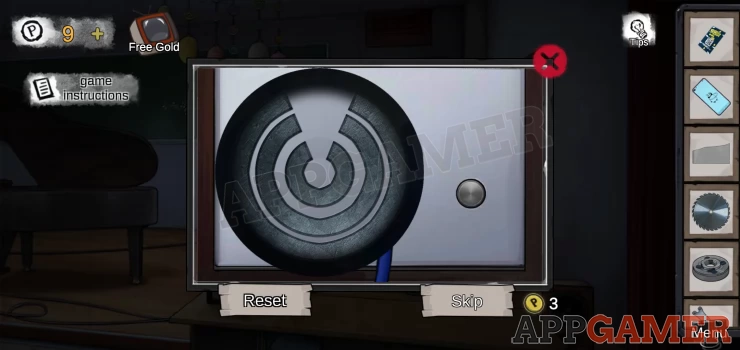
Go back to the music room (the right way up ) and tap on the safe on the stage.
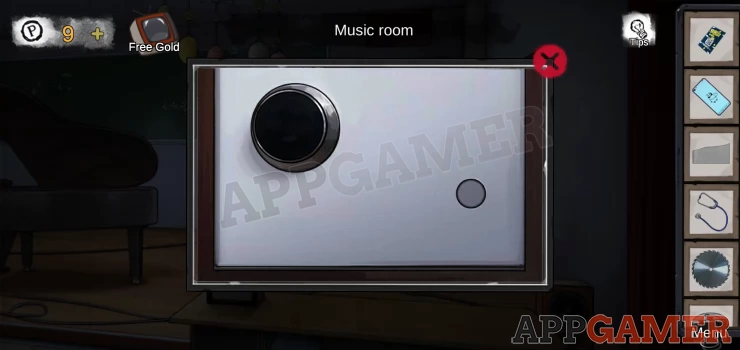
Add the button and then the stethoscope to start a puzzle.
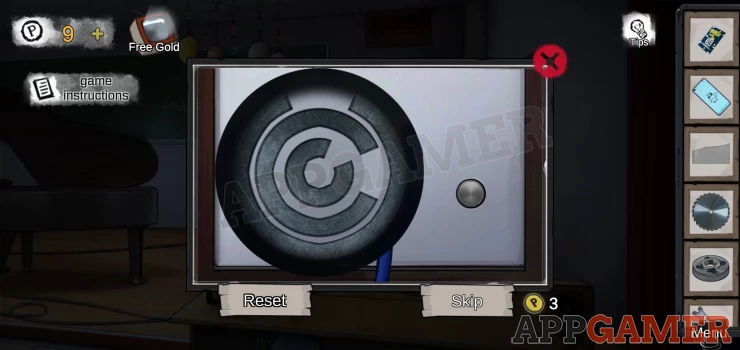
Spin the 3 cylinders to get them to line up with the gaps to the top.
Press the button to open it.
Collect an 'angle grinder with missing parts'.
View the angle grinder, then add the cutting disk and the pressure plate. Then the toothed wrench to complete it.
Now make the room upside down again and view the vent on the lower right.
Use the angle grinder on it to open it fully and then tap to enter the duct.
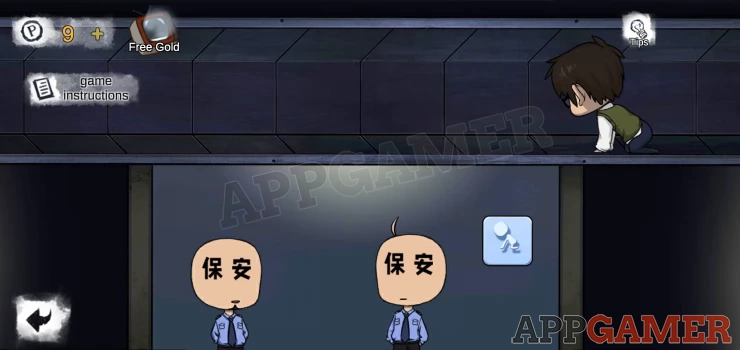
This is a mini game where you must tap to crawl though the duct without alerting the guard talking.
Take it it slow and you will get through.
Enter the Office.
The lady in red is here. And there is a bomb.
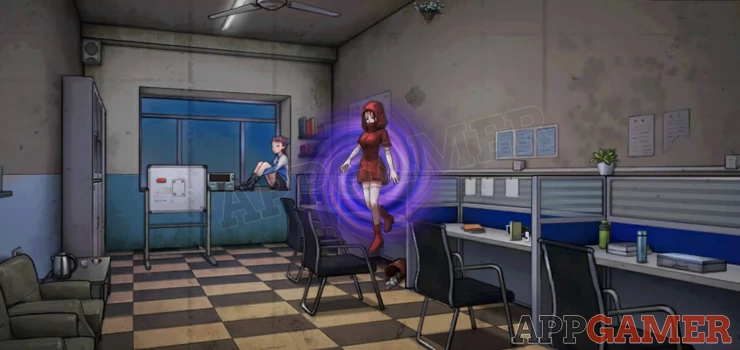
This is now a timed puzzle
View the bomb that is next to the patients feet.
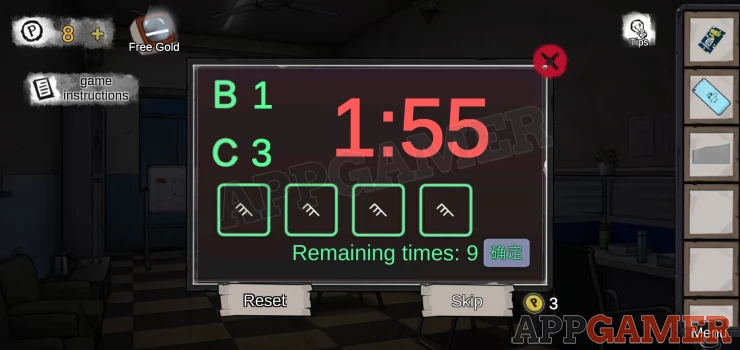
Hint: You need to correctly set 4 symbols. B tells you the number of correct symbols in the right place and C is the number of correct symbols in the wrong place. Press the green button to test each combination.
You have 2 minutes to solve it. And 9 tries.
The combination is different every time.
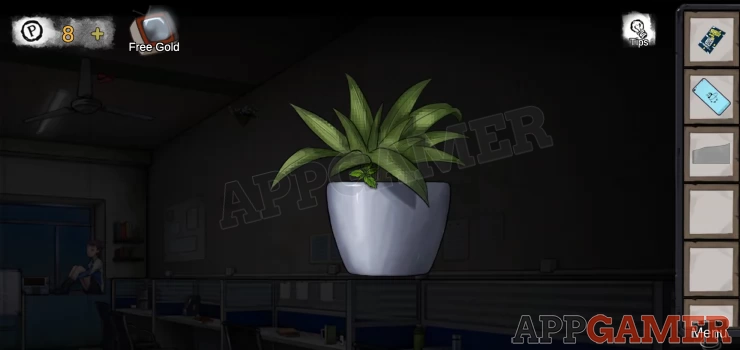
View the small plant on the right shelf and collect some 'mint'
Next look under the second desk on the left to see a bin. View this and collect some 'Tape'
Look on the third desk.
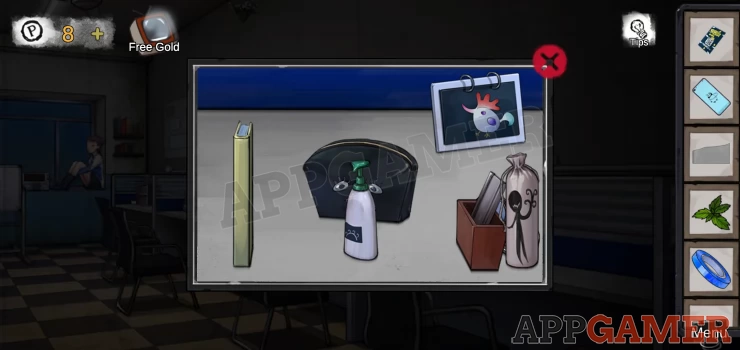
Move the items around to find and collect an 'Air cushion' and a 'Remote Control'
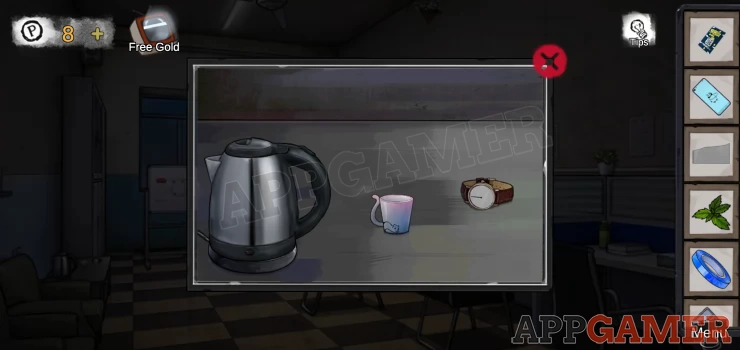
Now view the fourth desk and collect the Thermos Cup
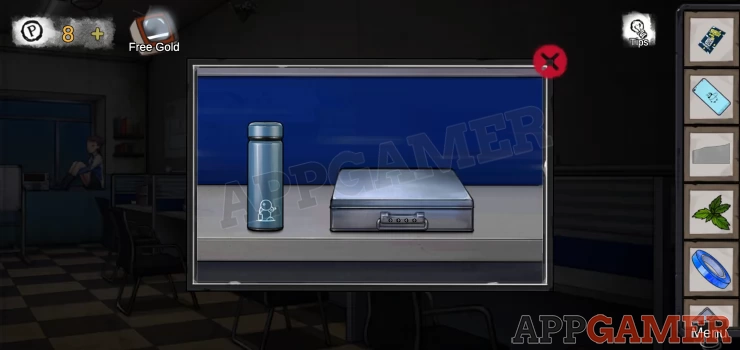
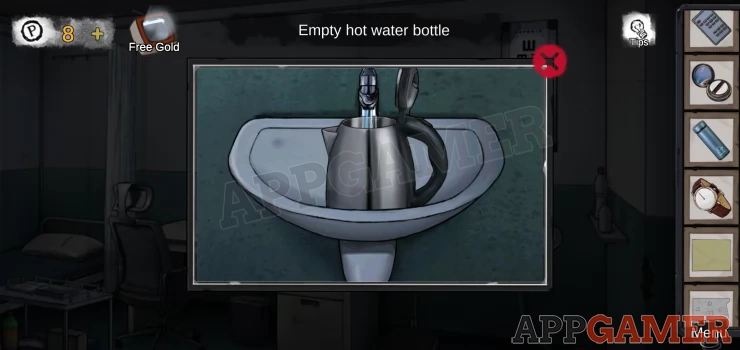
On the lower left side of the room is a table. View this and collect the kettle (Empty hot water bottle) and the 'watch'.
Above this is a shelf on the wall. View this and collect some Small pieces of paper from between the books.
Also tap on the control knob on the right to turn it down. This turns off the ceiling fan.
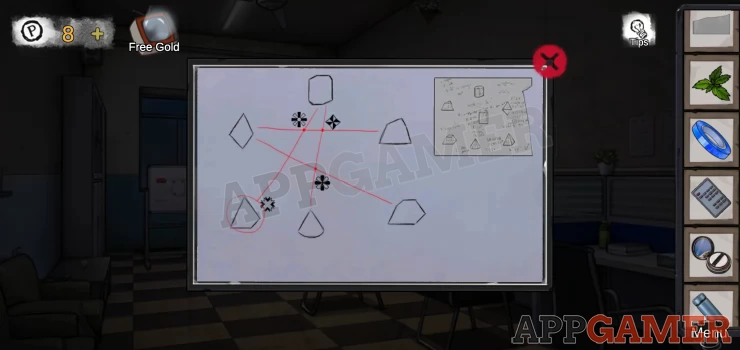
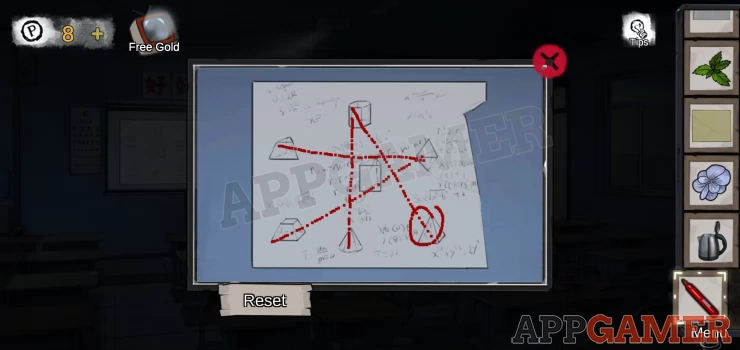
View the white board at the end of the room to see a diagram.
Then collect the 'small patterned paper' from the top right.
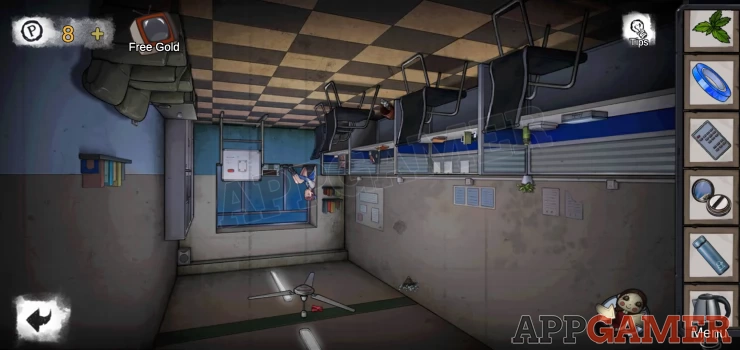
Now make the room upside down.
Under the fan collect 'Leather Gloves'
Then on the right wall there is a hanging basket of flowers. View this
Collect a 'flower' and a 'Light Tube'
Go back up to the third floor and into the Infirmary. The right way up.
First view the sink. Turn on the tap and place the kettle to fill it with water.
Collect this.
Now view the desk and use the gloves to remove the broken light tube.
Then add the new light tube.
Switch it on for a purple light.
Place the watch on the desk, then add the 'Air Cushion'.
Next place the Thermos cup on the desk and also add the Air Cushion.
Each have a finger print.

Use the tape on the watch and then also on the thermos cup to collect both prints.
Go back to the first classroom. Upside down.
View the projector again and use the remote control to turn it on.
Now make the room the right way up.
View the unit under the board again.
Use both of the prints in the small scanner, one will open the lid.
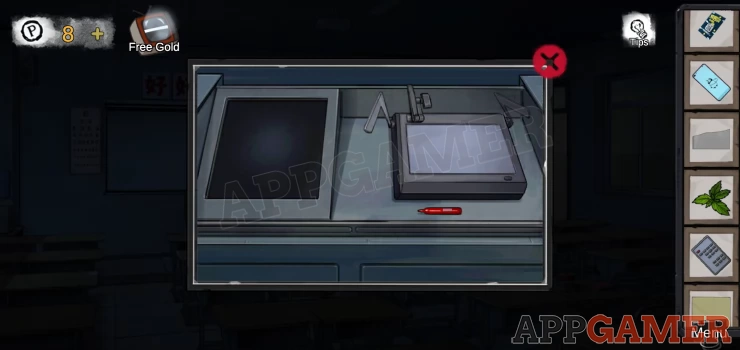
Collect from inside the 'brush' (red pen) .
Then add the Small patterned paper to the box on the right.
Tap it to activate the projection.
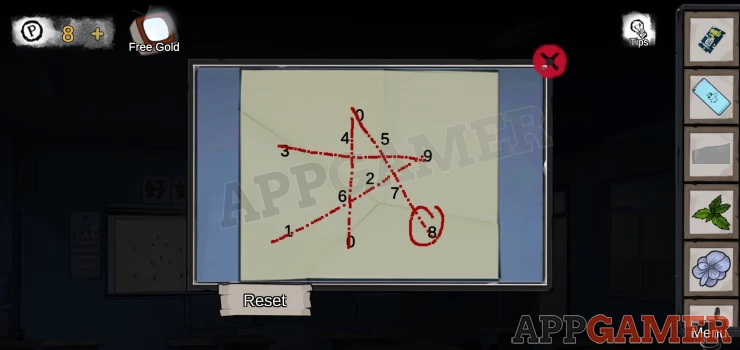
You will see the images from the paper projected on the screen. View this.

Use the brush (red pen) to draw lines on the screen to match the diagram from the Office.
Show
Now go back to the unit under the desk and use the small pieces of paper on it to replace the patterned paper.
View the screen again to see that you have numbers on the screen
Show
Return to the office. The right way up
View the desk on the far right to see a case with a combination lock. This has symbols on it.
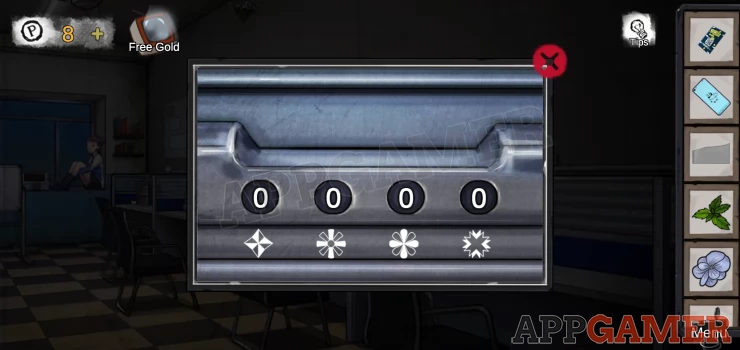
Hint: The diagram in the office also has the same symbols.
Solution: Find the numbers on the classroom screen that are in the locations of the symbols. The numbers change with each game so you must find your own combination. Show
Object: On the left in the case.
Collect the 'Circle parts'
Return to the music room - Upside down.
View the hanging decoration again and add the circle part to it.
Then tap it to open and collect 'Arrow keys'
Back into the office and tap on the tall cabinet on the left. There is a puzzle
Add the arrow keys to it.
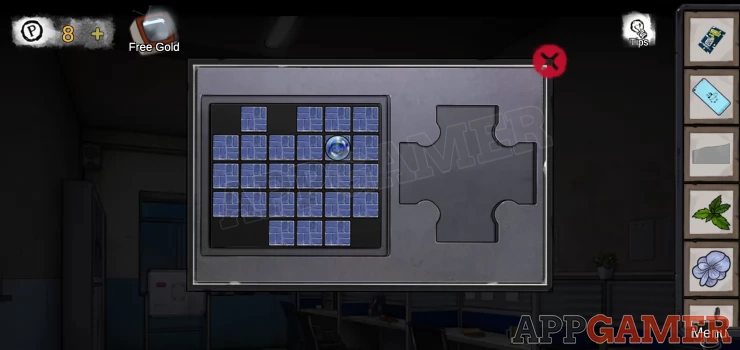
Hint: Use the arrows to move the ball around the puzzle and delete each square one at a time. You need to reach every square so plan your route carefully.
Once done collect the 'Ammonia' and a 'Letter'
Read the letter for a clue.
Now view the small table on the left again
Place the kettle with water, then add to it the mint, the flower and the Ammonia.
Turn it on to make it boil
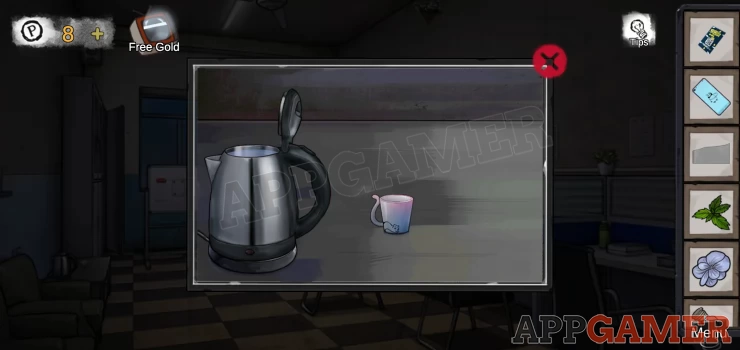
Then tap to pour it into the cup. Collect the Smelling Salt.
View the patient now and use the smelling salt on her to wake her up.

Begin the dialogues.
The answers to choose to get success are:
- Guess (requires 26 observation)
- Speculate
- Question
- Negative
- Admonish
This complete the 6th patient.
Perform your schedules and move on to Patient 7.
We have questions and answers related to this topic which may also help you: Show all