Chapter 2 - Tong Wei - Part 2
More Hospital Escape - Room Escape Game
Continuing this level of Hospital Escape from Part 1 of Chapter 2 - Tong Wei. You have unlock the elevator and found your way to the library.
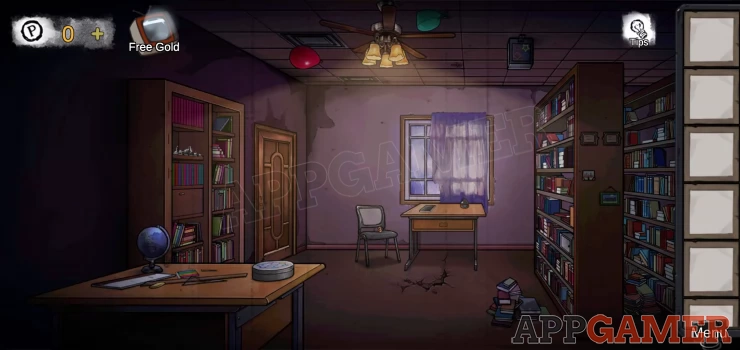
Object: Mask on the ceiling above the fan. but you will need to wait until you can reach it.
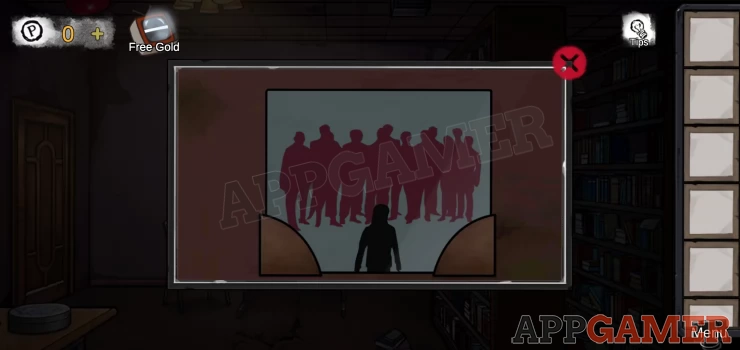
Tap on the end of the book shelf to the right to view a picture, then slide the picture up to find a hidden photo underneath. Tap to collect this clue.
Tap the desk at the back to view it.
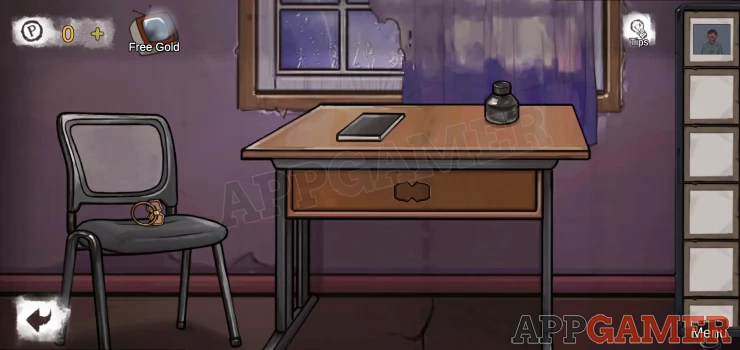
Collect the handle (pull ring) from the chair and then add it to the drawer. Open it to collect a 'pick'.
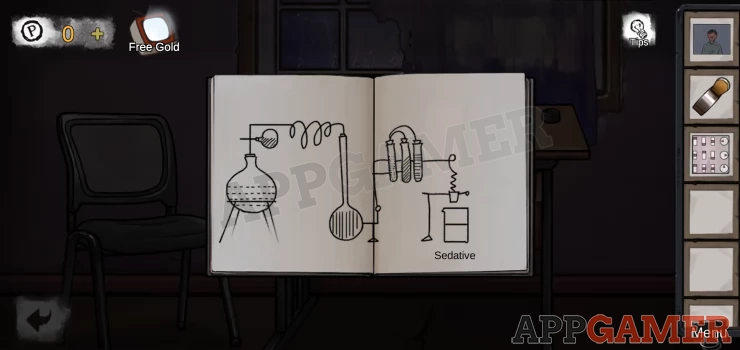
Tap the book on the table and open it. Collect a scrap of paper and note the diagram showing equipment to make a sedative.
Next tap the table on the front left and collect from it a 'Card Issuance' which is a hair pin or lock pick.
Now look on the bookshelf on the right for a small safe with a lock, it is on the 3rd shelf up.
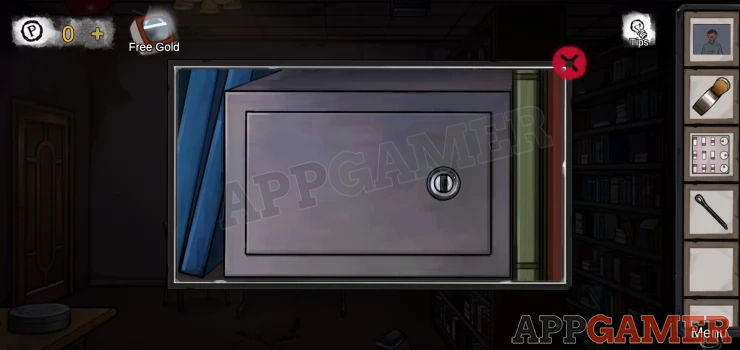
Use the lock pick item on this to open it and collect another 'pick'
Tap the door on the back left to see the lock puzzle.
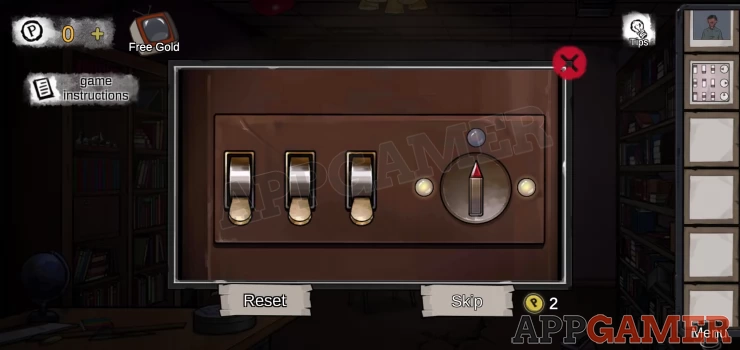
This has 3 switches and a dial. (2 switches are missing. Add the 2 'pick' items to this.
Hint: Follow the clues on the scrap of paper you found to solve this.
Solution: there are 3 steps, set the switches as shown on the paper and then set the dial.
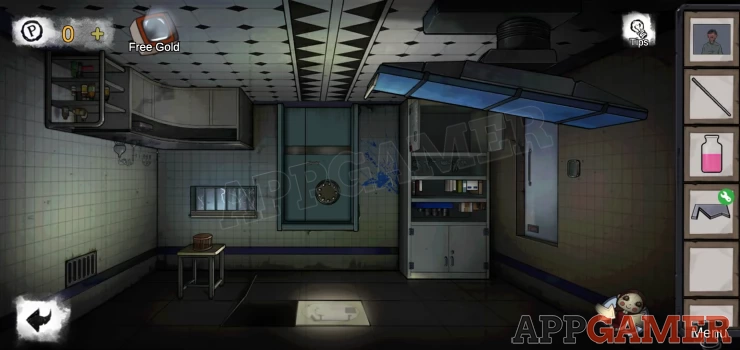
Go into the back room - Laboratory.
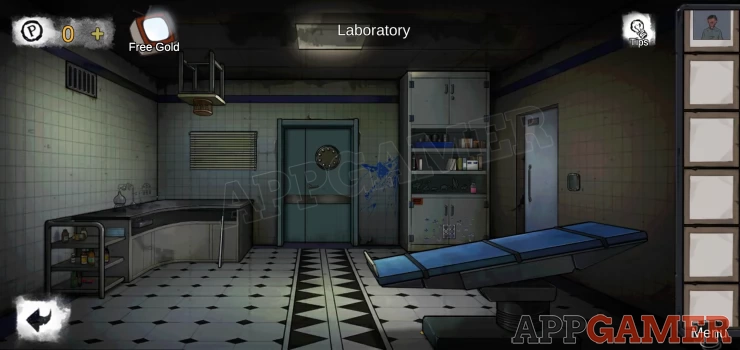
Object: mask on the shelf on the far left.
First collect the iron rod leaning on the cabinet on the left. Then tap the base of the bed on the right to view it closely.
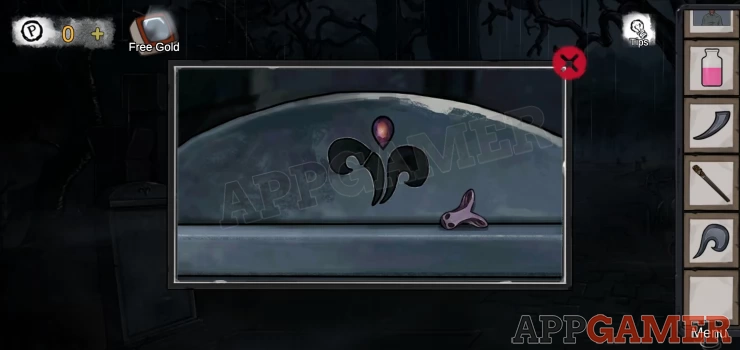
Use the iron rod to move the bed a little and collect a 'Grimace' token object.
Tap the window on the back (with blinds) to view it and then drag the cord on the right down to open the blinds.
Collect a second Grimace token.
Back out to the library and tap on the near left table. There is a round box with tokens 6 colors on it.
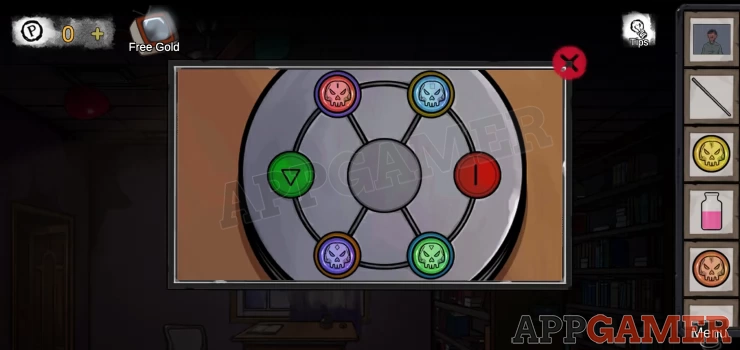
Place the 2 grimace tokens on the open spots then solve the puzzle.
move the tokens around to arrange them on the correct colored spots.
Once open collect the 'round block'
Go back to the laboratory and tap on the large cabinet on the back right to view it.
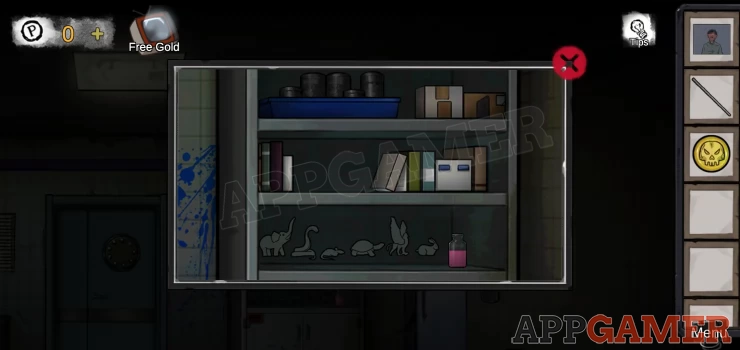
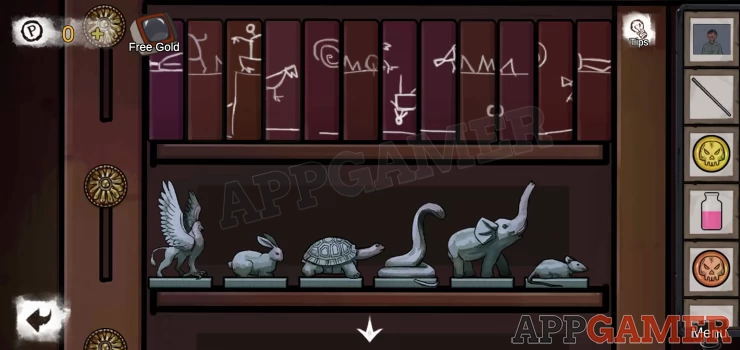
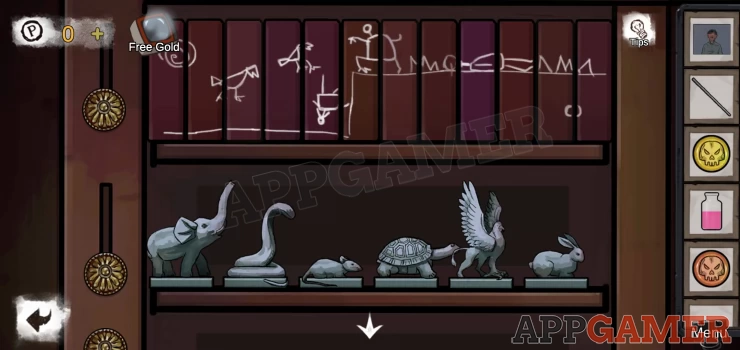
Collect the jar with pink liquid in it, and note the clue of animal shapes shown.
On the center shelf tap the books to the right to collect an Admission list.
Next tap to view the bottom doors on the cabinet. There is a puzzle lock.

Hint: First place the round block on the empty spot and you will then see numbers.
Tap all of the matching shapes to clear the numbers and open the door.
Collect a metal fragment.
A toy will fall from the ceiling. Collect the 'Muppet'
View the muppet and then drag down its tongue to activate it. This gives you the option to reverse the room so that you can move about on the ceiling.
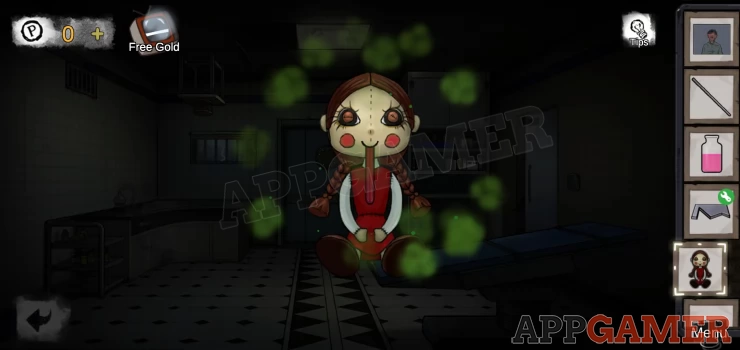
You can now access items that were too high.
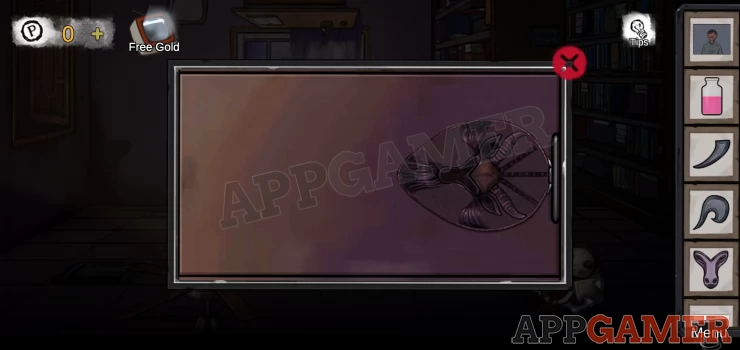
Use the iron rod on the ceiling light that is now on the floor.
Collect a Saw (no blade) and a Tin Box
Go back to the library and use muppet to move upside down.
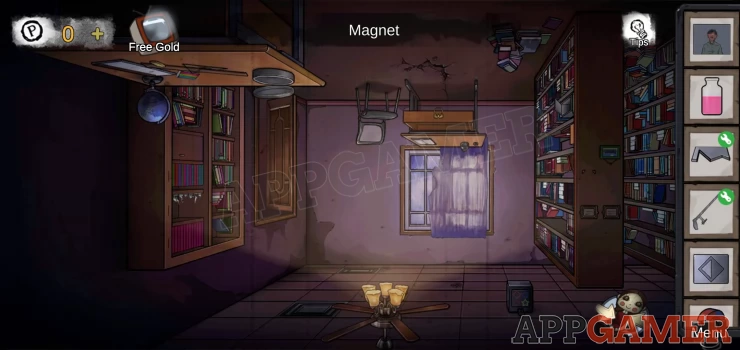
Object: You can now collect the mask from the ceiling.
Tap to view and then to pop the red balloon. Collect a magnet.
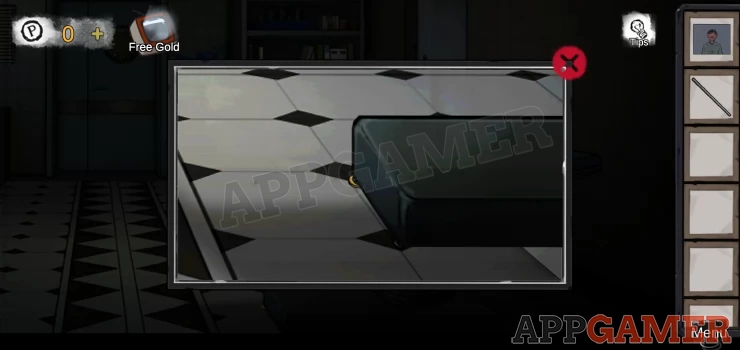
Use the muppet to return to the normal way up and then tap to view the crack on the floor.
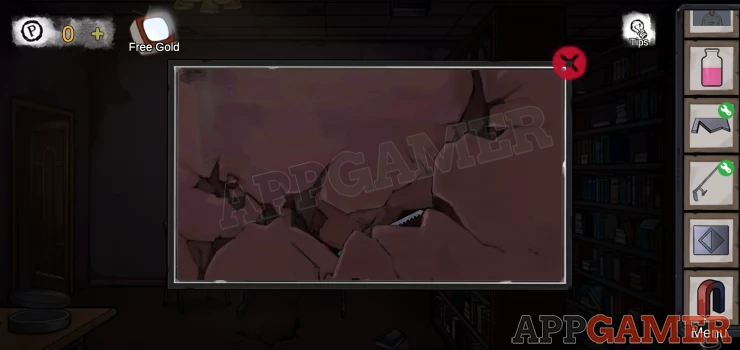
Use the magnet to retrieve a saw blade.
Combine the saw blade and the saw handle.
Return to the laboratory (upside down).
Tap the ceiling table that is on the left. The use the saw on the small cage on it.
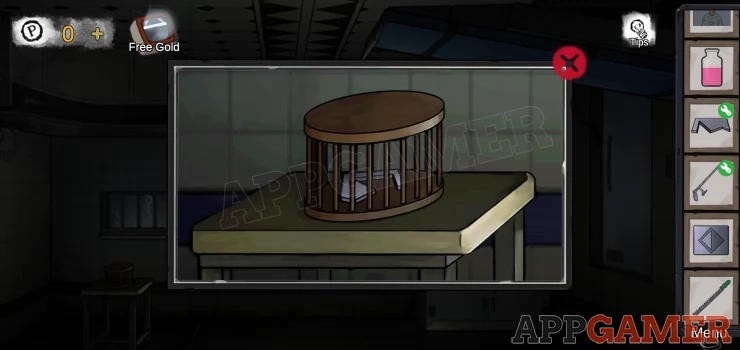
Collect a second metal fragment.
Combine the 3 fragments in the inventory.
Now view the tin box in the inventory and add the metal block to it.
You can now collect a Pass card.
Reverse the room back to normal. Then tap the door on the right to see a pass scanner.
Use the pass card on it to unlock the door.
Enter the Pharmacy Room.
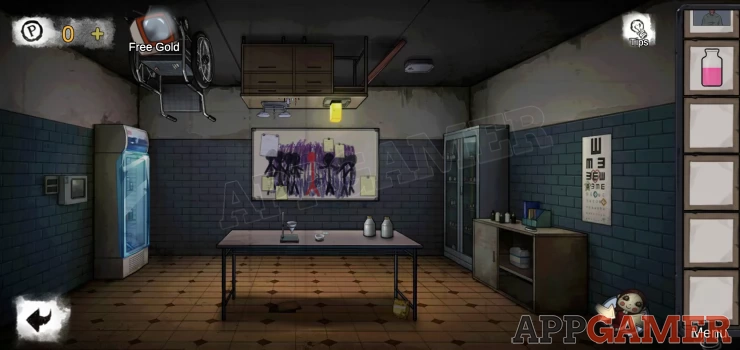
Object: Mask on the floor under the table.
View the bench on the right. Collect a board Eraser and also a book.
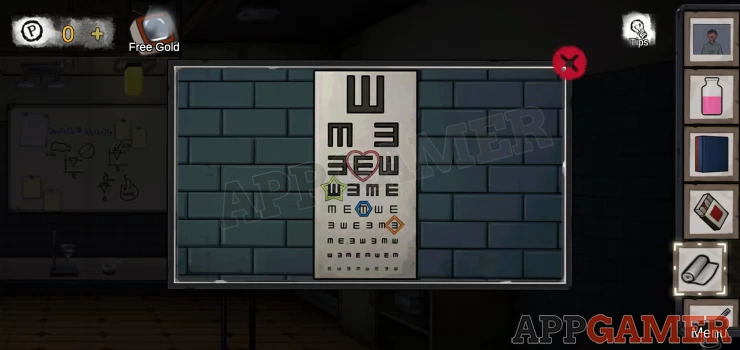
View the eye chart poster on the right wall. Note the 4 colored shapes and the positions.This is a clue.
Tap to view the white board at the back and use the eraser to remove the graffiti.
You will find some instructions.
Reverse the room.
Tap the wheel chair and collect some matches and Gauze.
View the desk with the scales on it.
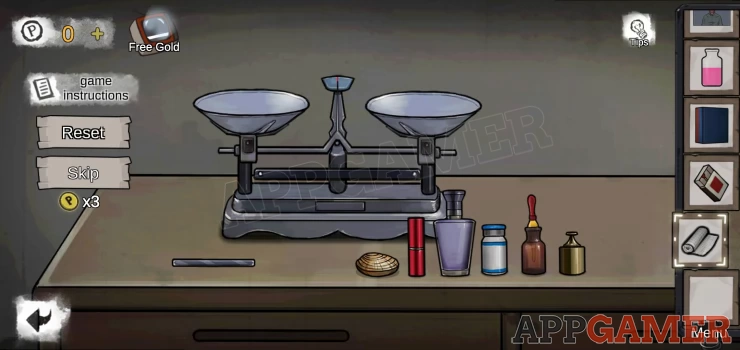
Collect the Magnesium bar.
Place the items on the scales to make a balance.
When the small drawer opens at the bottom collect a Stone
Back out to the library room (the right way up) and tap the bookshelf on the far left to find a puzzle. There are 3
shelves.
Top shelf: tap pairs of books to swap them and rearrange them to complete the drawing on the spines.
Second shelf: arrange the animal shapes in the correct order. the clue is in the laboratory.
Bottom shelf. Place the book you have collected and then rearrange them to match the patterns and colors.
Show
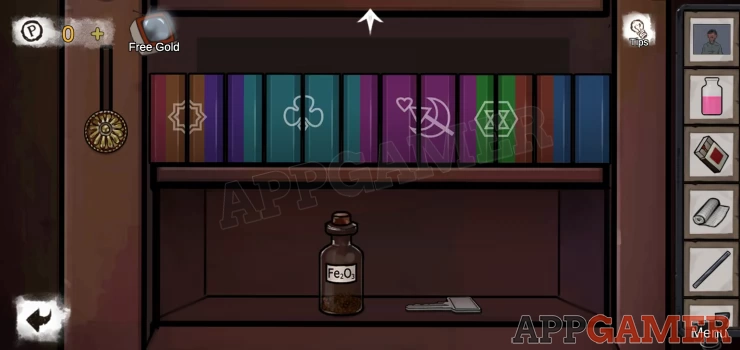
Collect the bottle of Iron oxide and the key.
Reverse the room.
Tap to view the small box that is on the ceiling (now floor) It has 4 Shapes.
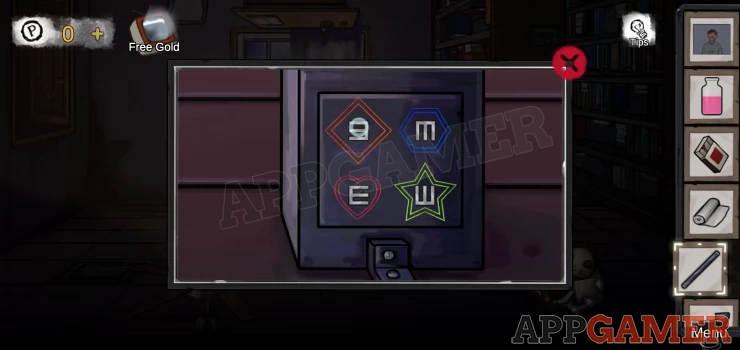
Hint: The clue is the eye chart in the pharmacy room. Tap each shape to rotate the E symbol to match the clue.
Collect the potassium chlorate.
Go to the laboratory. Upside down.
Use the key on the cabinet that is now on the bottom right.
Collect the pestle and the Aluminium powder

Move to the Pharmacy room. (The right way up) and tap to view the center table.
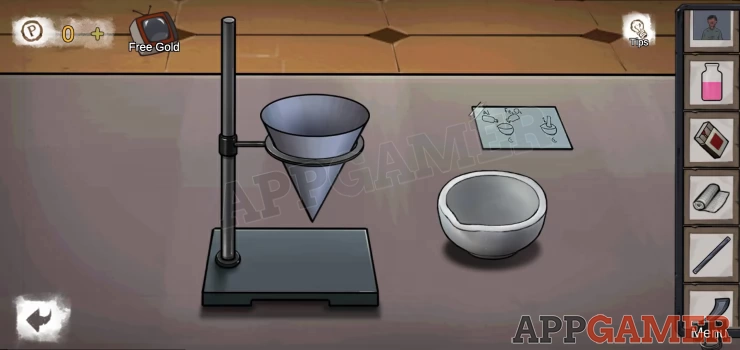
Follow the instructions as below:
Place the Aluminium powder and the iron oxide in the mortar on the right. Use the pestle to grind these. Collect the 'Thermite' Place the thermite into the funnel on the left. Add the potassum Chlorate. Add the magnesium bar. Show
Collect the Thermite Reaction Device.
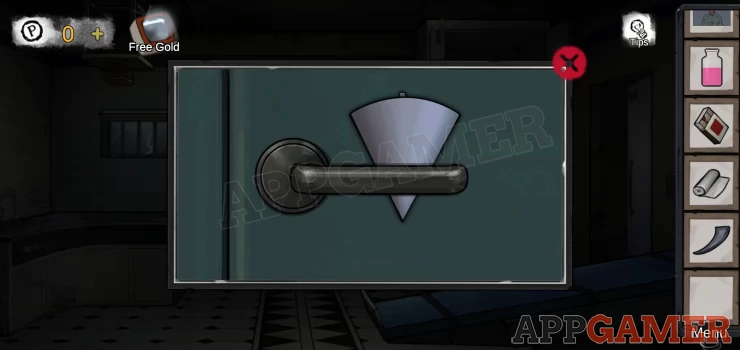
Go back to the Laboratory (the right way to and view the door at the back.
Place the device on the door handle.
Use the matches to light it. Yo can now open the back door.
Outside you meet a mysterious lady in red.

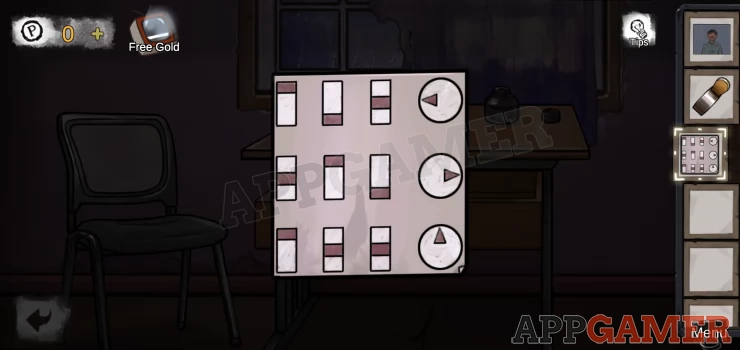
You now need to solve the vision puzzle to let you proceed. Tapping any square will change its state between clear and hazy. It also changes adjacent ones. Make all squares clear.

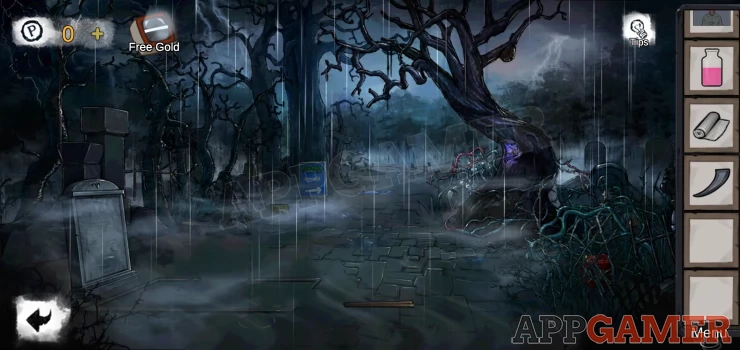
Object: Mask on the ground to the left in front of the blue sign.
Now you can collect the sticks from the ground.
Then tap on the bush on the lower right to see a red shape. Use the sticks on this to get a barrel of gasoline.
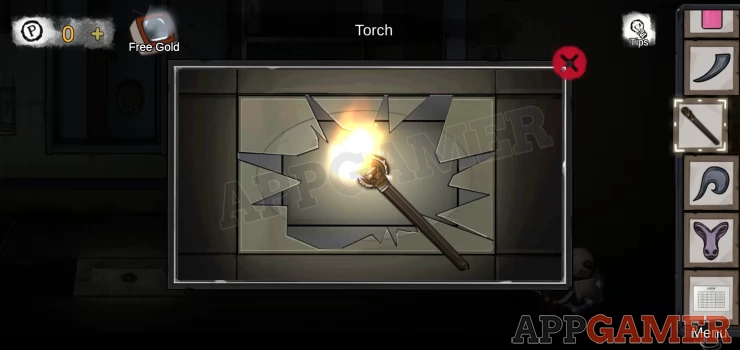
Combine the gasoline with the sticks and the gauze to make a Torch.
Tap the blue sign to view it and collect another stone
Go back int the laboratory and make it upside down.
Tap on the light fitting that is now on the floor and use the torch on the spark in the center to light it.
Go back outside to the cemetery and tap the tree on the right with the purple glow.
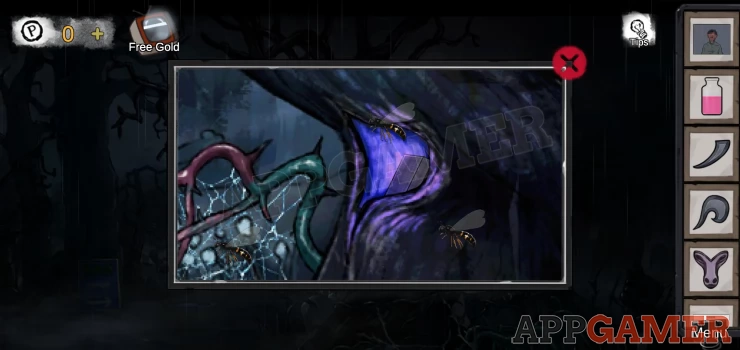
Use the torch on this to get rid of the insects. Collect a pen case.
Next tap on the grave stone on the left and collect a mask piece from it.
Go back to the library, the right way up.
View the desk at the back and open the ink bottle on it.
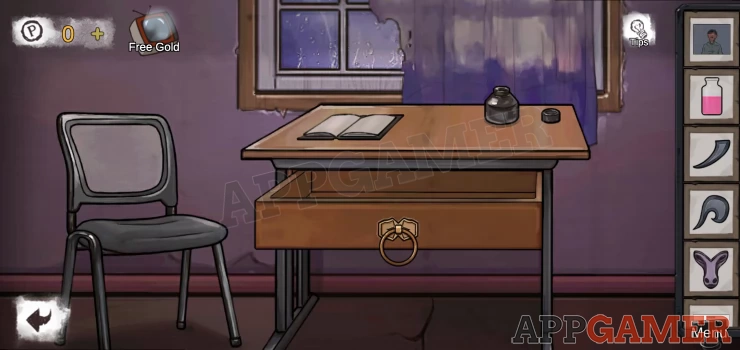
View the pen case that you have and take out the pen, use it on the ink bottle to fill it.
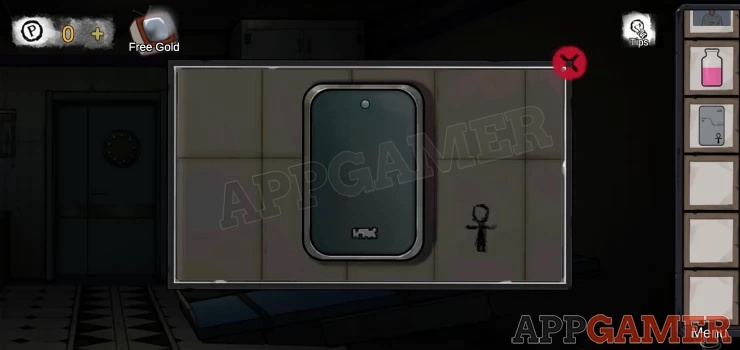
Then make the room upside down. On the ceiling in front of the window is a tile with a mark on one side. Tap to view this.
Place the mask piece you have onto the marking and it will open. Collect another stone.
Now go to the pharmacy room. Upside down.
To the right of the desk is a brown board leaning on the desk. Tap to view a drawing.
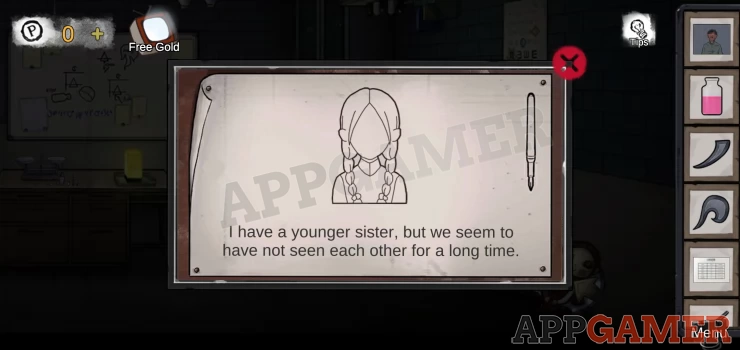
Use the pen to color in the drawing by dragging it over. You will learn a little of the story of the patient.
On the final image collect a compass needle.
Return to the cemetery and tap again on the gravestone on the left.
Place the 3 stones onto the gaps and the coffin will rise up.
Open it and find a dolls head.
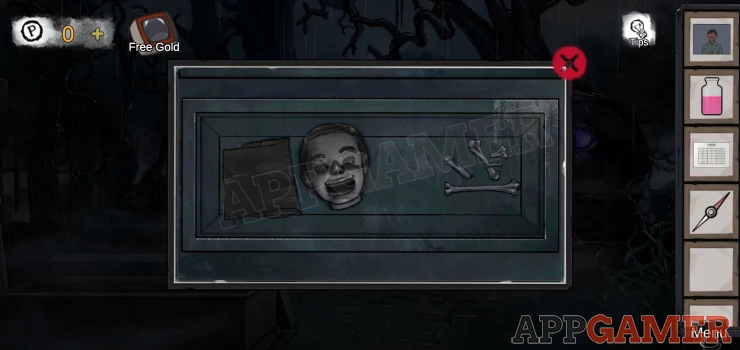
Tap to view a puzzle in the mouth
Hint tap the teeth in the right order. You must match numerals from the top with the number of dots on the bottom. So press I followed by . or II followed by ..
If no exact matches are found add up numbers to make a match, Eg I then II followed by three dots.
Collect the screwdriver.
Now go back onto the laboratory, upside down.
On the left is a grate in the wall. View this and use the screwdriver to open it.
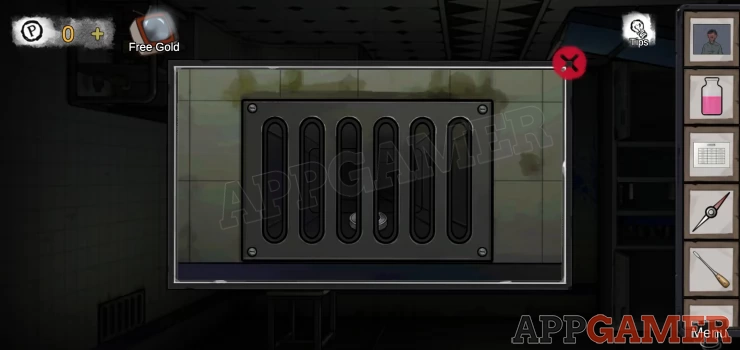
Collect a Compass with no needle.
Combine this with the magnetic needle to make a compass.
Now go into the Pharmacy room, upside down.
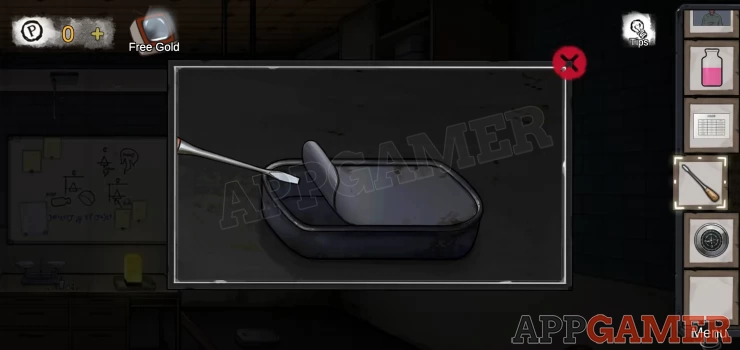
On the right of the desk is a small tin.
View this and use the screwdriver to open it. Collect a key.
Go back out to the Cemetery and tap in the center to move on to the next area.
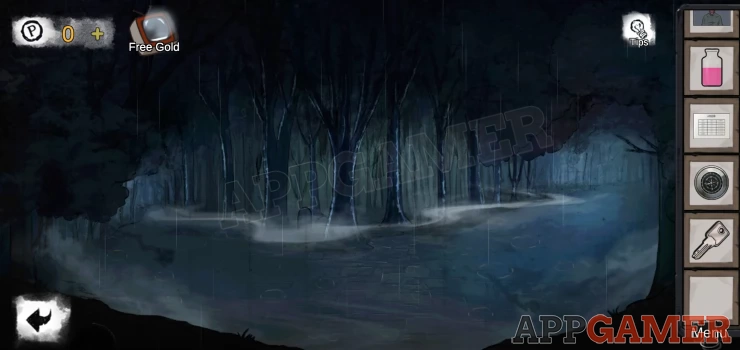
You need to find your way in the woods. Use the compass and follow the red needle direction to go left or right.
There are 3 choices to make, (left, right, left)
You arrive at a wooden house.
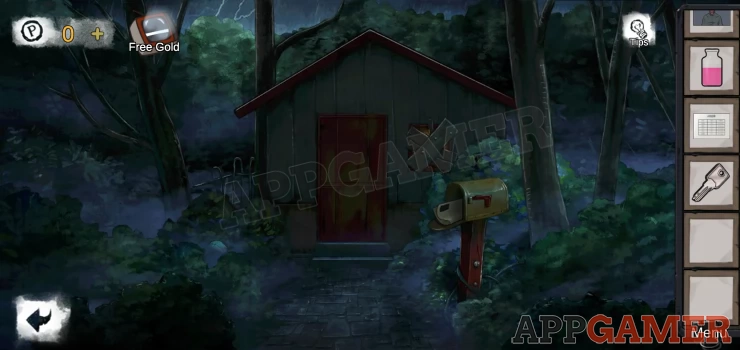
Object: Mask in the bushes on the left.
Collect the newspaper from the letter box.
Open the door and enter the house.
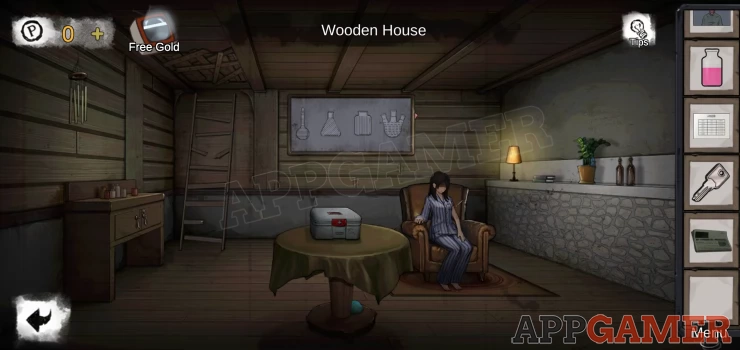
Object: Mask under the table in the center.
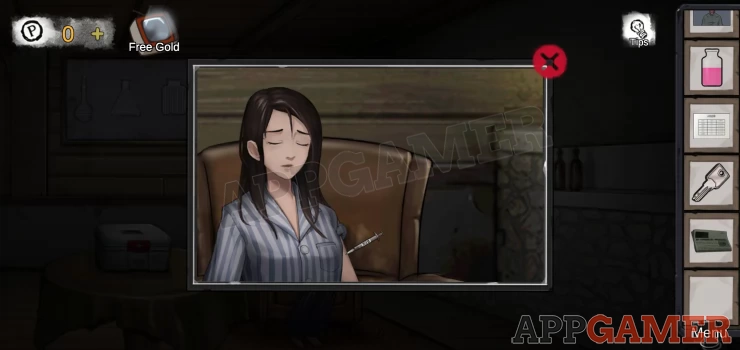
Tap to view Tong Wei, then tap to remove the needle from her arm.
You now need to make some sedatives to give to her.
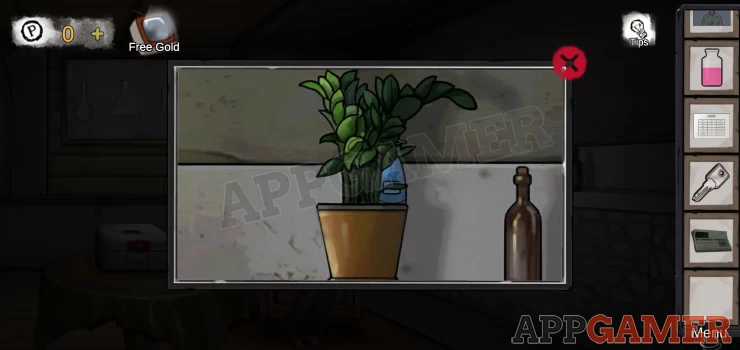
Tap to view a plant pot on the shelf on the right.
Collect a blue Thawing Agent spray bottle.
View the dresser on the left of the room and use the key to open the door.
Collect the Erlenmeyer flask. (yellow)
Tap the box on the center table. This has a puzzle lock.
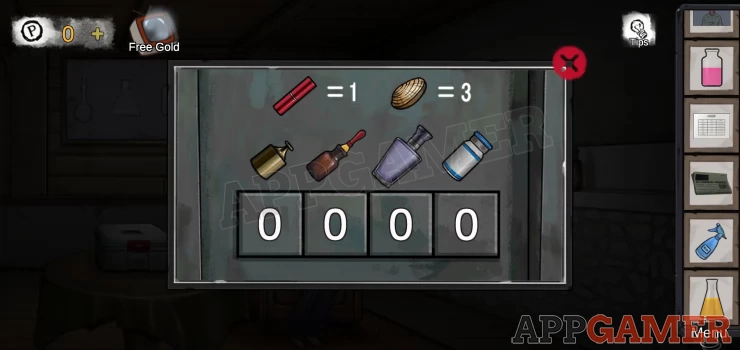
Hint: You are given the weight of 2 items that you saw back in the pharmacy room. You can return to the room and use the scales to work out the weight values of the other 4 items.
Solution: 6485Show
Collect the Volumetric Flask (Green)
View the picture on the wall to see a clue. This ad 4 flask shapes and each one has a different shading pattern on it.
Tap to the top right to collect a journal (clue)
Now return to the Pharmacy room. The right way up.
View the blue cabinet on the left. This is frozen shut.
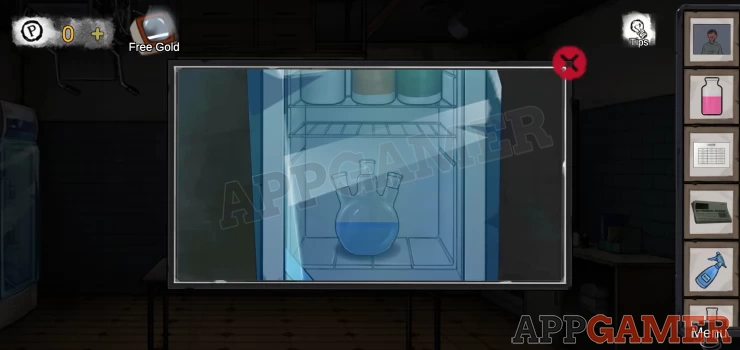
Use the thawing agent to unfreeze it and you can then collect the Three-necked flask (blue)
Go to the laboratory (the right way up)
On the left is a chemical equipment set up, this matches the diagram for making sedatives found in the book in the library.
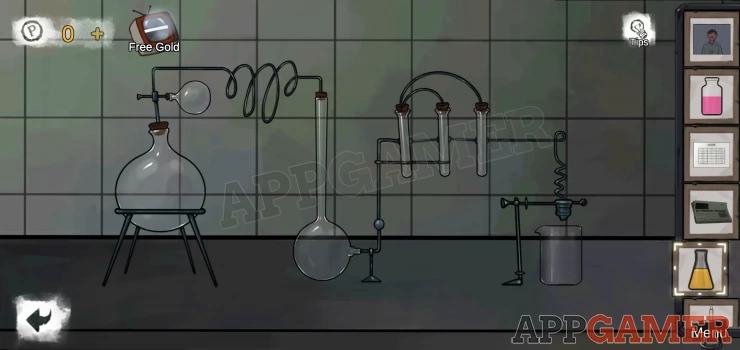
The book also shows reach item with shading, which you can combine with the clue in the wooden house for the flask shapes to know which color of liquids to put in which container.
You have 4 colors of liquids in your inventory.
Solution: Show
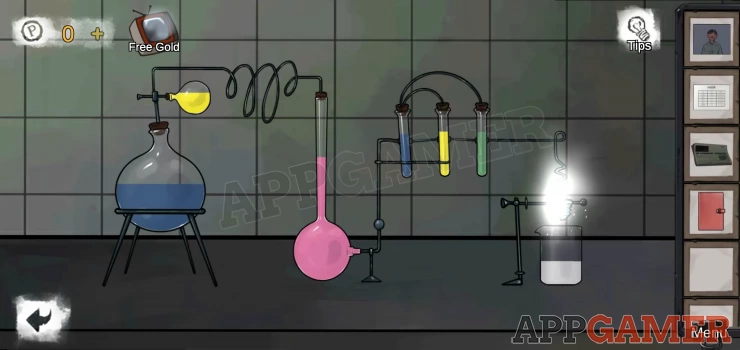
Collect the white sedative solution.
Go back to the wooden house
Give the sedative to Tong Wei.
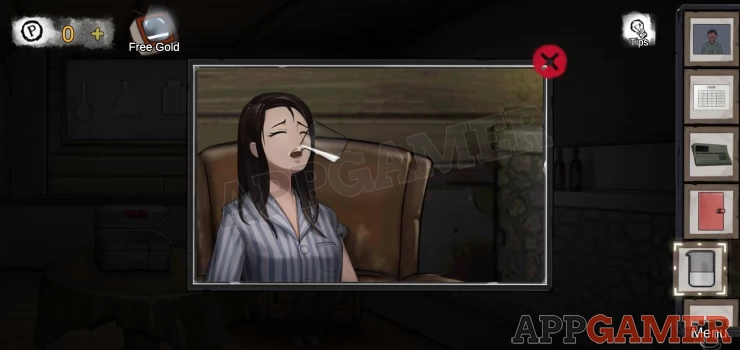
She is now awake and you can begin the diagnosis by completing the dialog options.
If you have found all the clues above then you will be able to complete it successfully with the following choices.
- Ask the reason - About Photos - About admission list - Refute - About DiaryShow
That completes Day 2
Arrange your schedule, then sleep to move to Day 3
We have questions and answers related to this topic which may also help you: Show all