Episode 2 Walkthrough
More An Elmwood Trail - Crime Story

Episode 2 of An Elmwood Trail is now out and we are covering this new installment with a full walkthrough below. The Episode 2 update gives us some new game play mechanics and the addition of a Progress Reset option allowing you to replay each episode or the side trails again from the start to try out different conversations.
This walkthrough and related pages will help you get through the various puzzles and challenges in Episode 1. If you find you need any more information or help you can post any questions you have for the game on our Answers Page for other Trail buddies to help you out.
An Elmwood Trail - Episode 2 Waklthrough
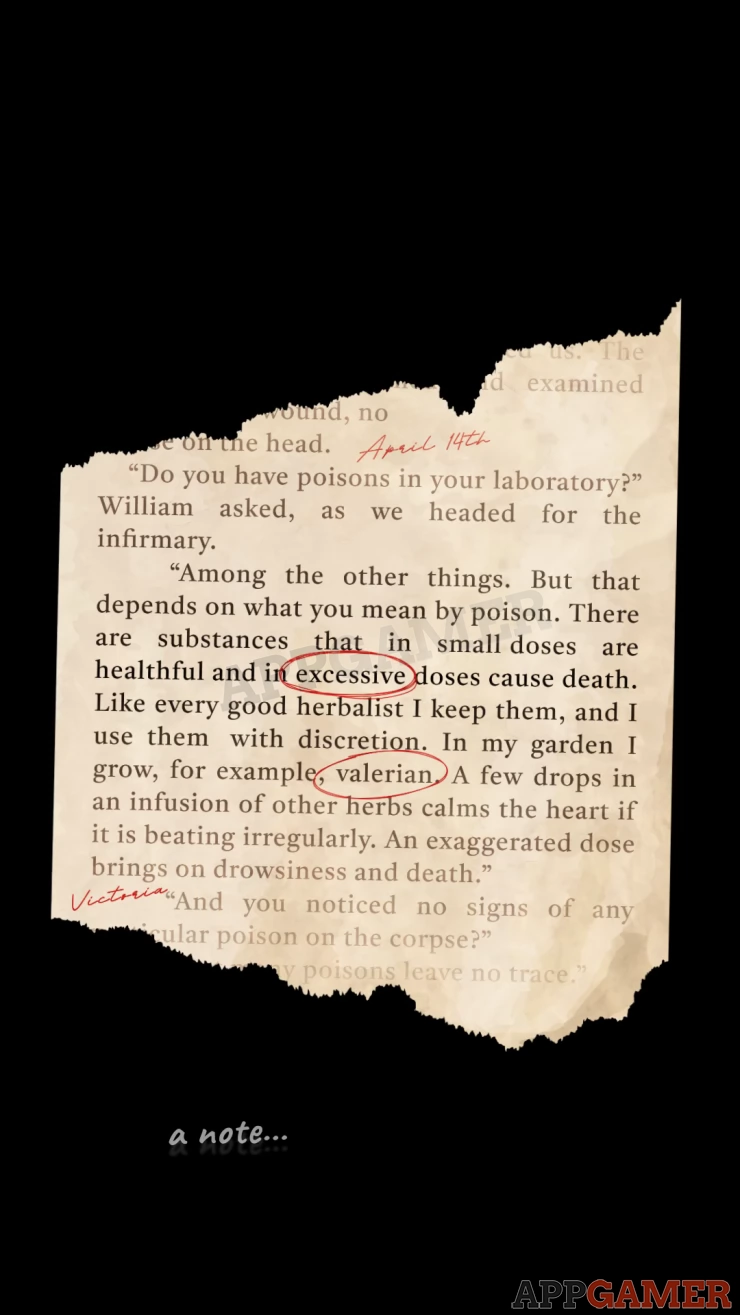
Episode 2 begins with a a flash back to the past as we go back in time 10 years to the Brown's Murder Case that changed Adam Lane's career. Follow through the conversation with Maxwell on Adam's phone (old). He wants you to reopen the closed case with some new evidence. You review the Photos and the Note.
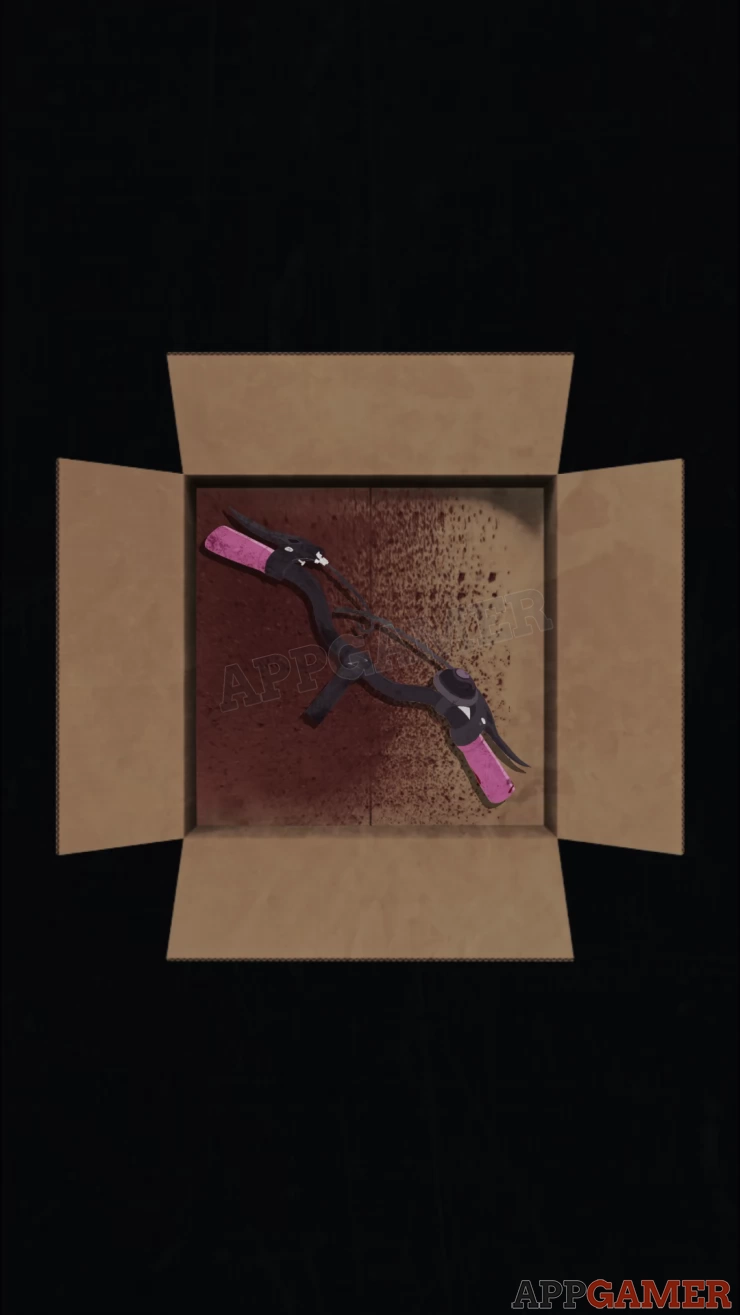
This then jumps you back to the present time and a review the events of Episode 1 to catch you up. You then need to check out the unknown box that you received at the end of Episode 1. As you interact you need to answer some questions.
- The condition of the bicycle..... - Broken
- This mark... - Zoey's initial Z
- Is it Dirt or ... blood? - Dried up blood
- Whose blood is it? - Can't Say
- This symbol was also on... - Crumpled paper
- Why was it sent here? - To threaten
You now send the box for forensic analysis. Then you are contacted again by the unknown person who started you on this investigation. Follow the conversation.
Then you will have another conversation with Kevin who sent you the crumpled note.
Task: Observe the group chat on Zoey's phone.
Go to the messages on Zoey's phone and the Chicks and Kicks chat.
Connect the retrieved Clues
As in episode 1 you now need to match up connected clues. Find the 3 matching pairs.
- Someone is trying to threaten by sending the box with the broken bicycle handle.
- Zoey Might not be safe
---
- Brad Betty and Kyle know that we have access to Zoey's Phone
- Zoey got removed from the group
---
- Unknown is aware about others knowing that we have Zoey's phone.
- There must be a way Unknown is finding out all the information.
Task: read Zoey's Diary Note
You can now access more of Zoey's diary. Episode 2 as pages 5 to 8.
View the diary on Zoey's phone to find them. You will need to read the clue and work out the answers for Page 5.
For more help check the guide for Zoey's Diary Pages walkthrough
After reading the diary page you will receive a call. Switch to Adam's phone and answer it. You will hear a recording from Riverstone Carwash with a Riddle.
Solve the Riddle
I dance with the wind, a flickering desire
In the darkest of nights I light up like a pyre.
I devour all I touch, not an ancient myth
a wild untamed forest that you do not play with
Solution: FireShow
Now go to the browser app and visit vault8.com again. Following the clue though you need to type in
vault8.com/fire
You now have another text adventure similar to the original vault8.com.
Check the guide for Vault 8 - Light a Fire for help with this.
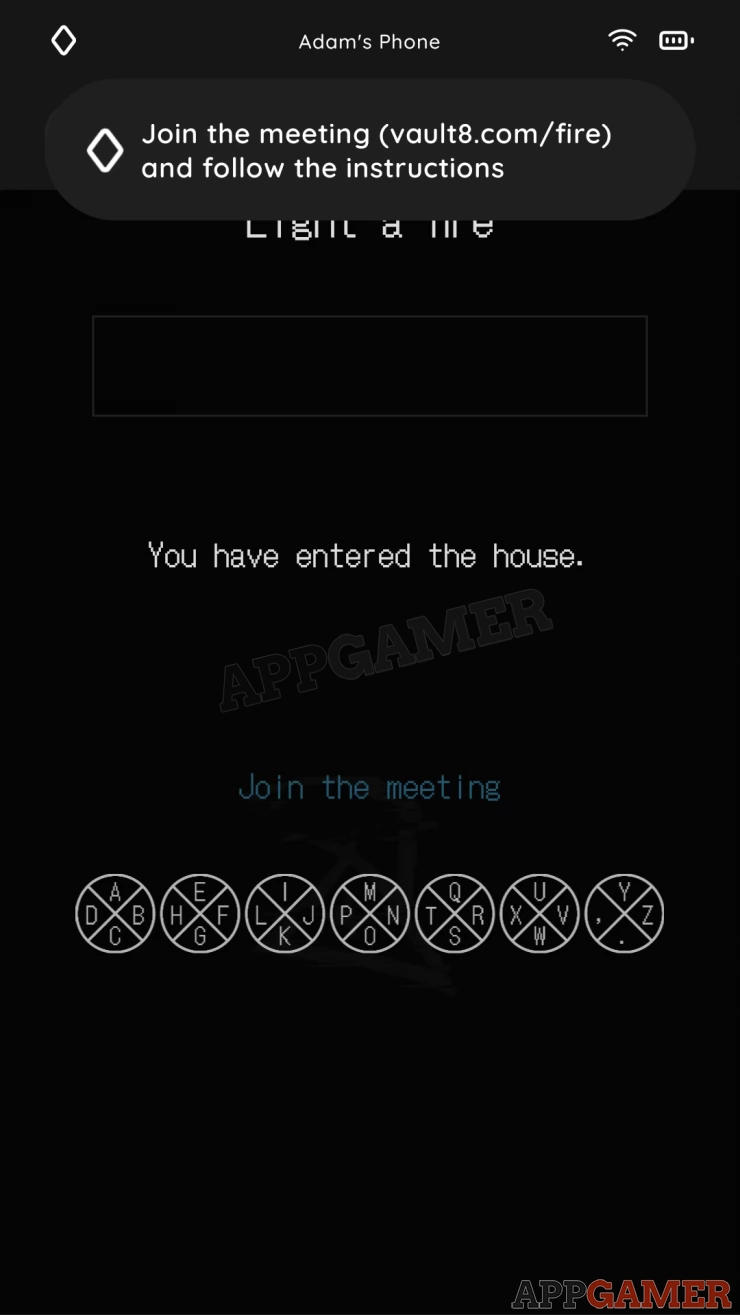
Once you solve this you will be invited to join a meeting. Notice the circles with letters in them, this is a clue.
Enter a nickname. It can be anything
The meeting has a host, then you and 3 other participants. after the initial conversation 1 has been eliminated.
You now have a task to find out the name and profession of one of the other participants.
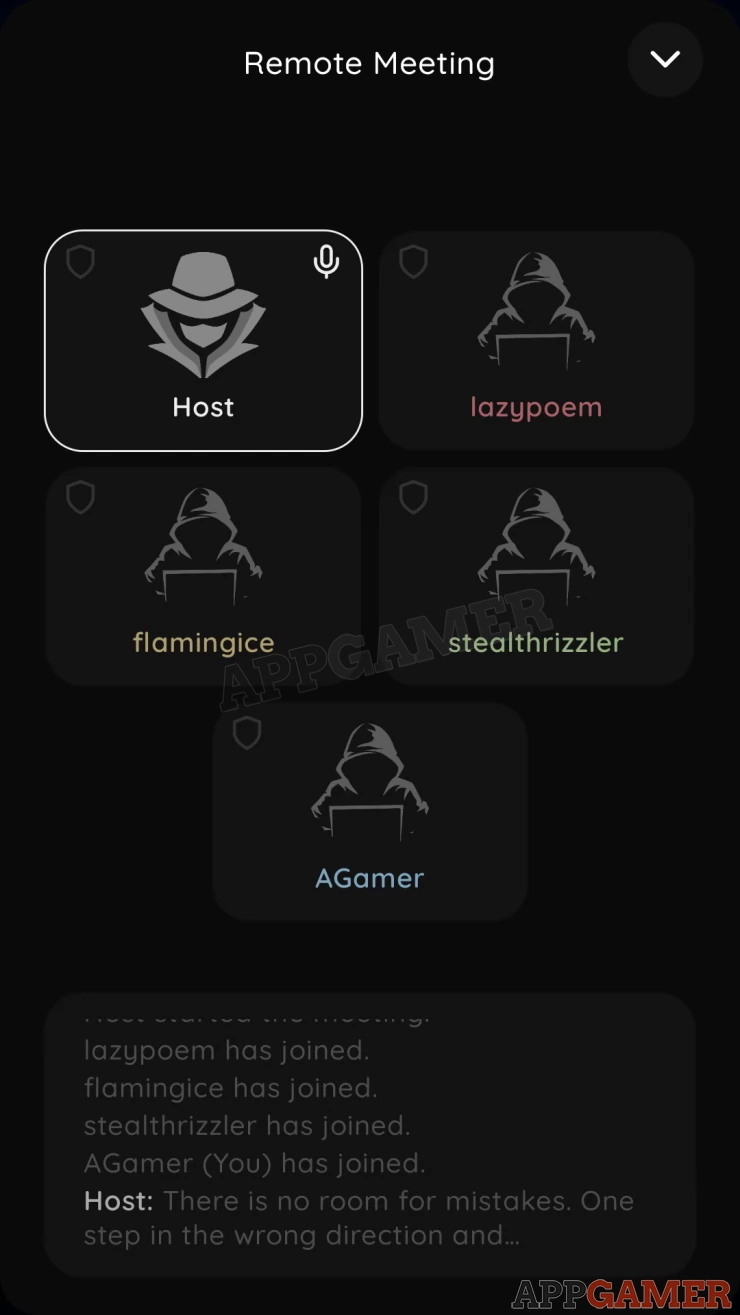
There are 2 clues for this, one was on the join meeting screen and the other is shown at the top of the meeting screen. You can tap the arrow on the top right of the meeting screen to close it temporarily.
Solution: There are 7 shapes on the screen, each has a number inside.
Back up and look at the code circles showon the screen with 'Join the meeting'
the first shape ins the right side segment of a circle with the number 4, look at the 4th circle adn get the leter from the riht side segment = N
Repeat this with the others to get the 7 letters / symbols.
Solution: NLW.NETShow
Net get the IP address from under your targets name: 94.134.248.86
Go to the browser app and enter the address from the code above.
Then you will need to play a puzzle game.
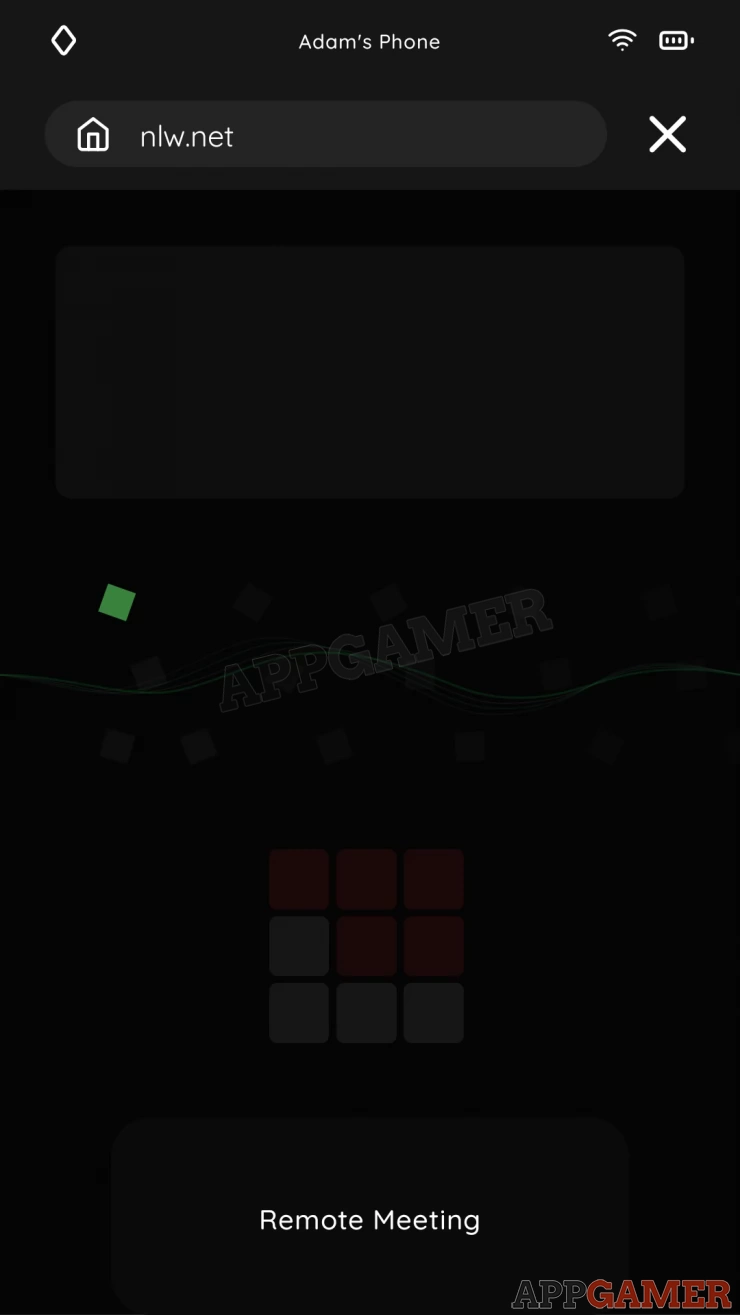
- There is a grid with grey and red squares.
- Tap on the red squares to turn then grey, you need to do it quickly before they change.
- More red squares will appear. Tap these quickly and continue until they are all grey.
As you clean each stage information will appear. When you have the name you can return to the meeting and Send the data.
The call ends
Feb 13th 2023
Task: Talk to all the kids raging at you.
You now have a message from Helen to respond to you, followed by conversations with other kids who want to talk after Betty has given out your number on her blog.
Eventually you will talk to Trey who is trying to help you. He let syou know about a map in Zoey's locker that might be a clue. THen you need to make a note of the website that he recommends to get the pixabowl post removed that is causing the trouble.
"pbmassrep.com"
Visit the site in the browser app and you will need to close some advert popups. Then you need to ID of the Pixabowl post that need to be removed.
Go to Pixabowl app on Zoey's phone and look for the post about Adam Lane (it has a **** emoji image).
The ID is listed below the image.
Return to the website and enter the ID: tiWwChNT
Task: Ask Kevin about the map in Zoey's locker
Go to your messages and to send the image of the map to Kevin. There is no immediate response.
Connect the retrieved Clues
As before, find the 3 matching pairs.
- Betty Doxxed our number in a hate post.
- Is there something Betty doesn't want us to find?
---
- Trey was the one who sent us the picture of Zoey getting in Mike's car
- A picture of Zoey with a map in her locker.
---
- We were invited to an anonymous meeting
- Everything detailed in Vault8 must hold some significance.
Task Read Zoey's Diary note
Zoey's diary page 6 is now available to read. View the diary on Zoey's phone to find it. You will need to read the clue and work out the answer for Page 6.
Check the guide for Zoey's Diary Pages walkthrough for help.
Once unlocked you will read the page and see a clue at the bottom.
Task: complete the data recovery process on Zoey's phone.
Data Recovery
You now have another Data recovery task to restore more deleted content on Zoey's phone. There were several of these in the first Episode. These take the form of a puzzle to solve.
Start the Data recovery process on Zoey's phone.
For help with the puzzles for Data Recovery see the guide here: Episode 2 Data Recovery Walkthrough
Task: Find the counselor's number
You can now check the recovered data on the phone. You can find a chat with Mr. Davis the school counselor as well as a photo in the gallery, both with his contact number.
Go to Adam's phone to start a conversation with Mr. Davis.
After this you are contacted by Jim, your son.
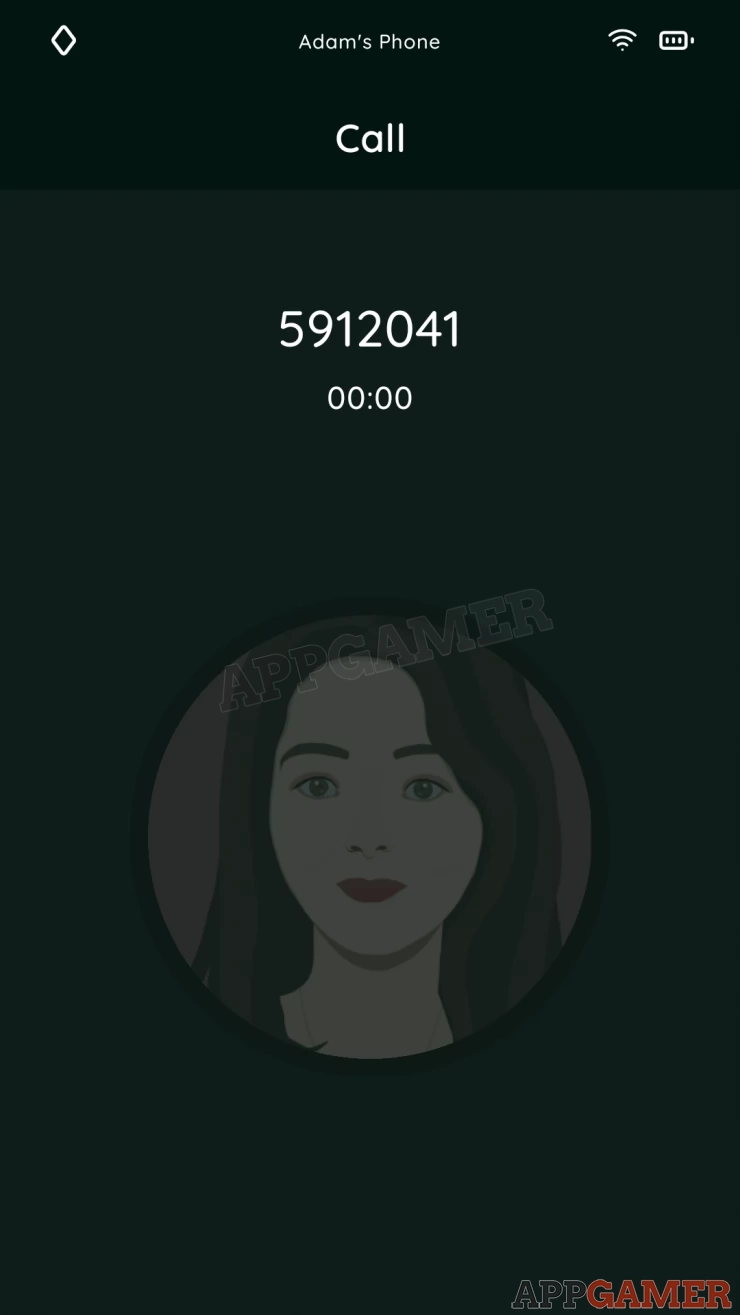
Task: Call Amanda
Find the number for Amanda in your phone and then try calling. You can find it in the contact details for Amanda in messages. [5912041]. It will only reach the answer phone.
Next you will chat to Kevin about the map
Task: find a way to locate Amanda
Check on Zoey's phone again for the recovered data, there is an email for Phone Finder. There is a phone number.
Return to your phone and call. [3561999]
Then enter Amanda's number when prompted.
You will get a tracking code: 4136
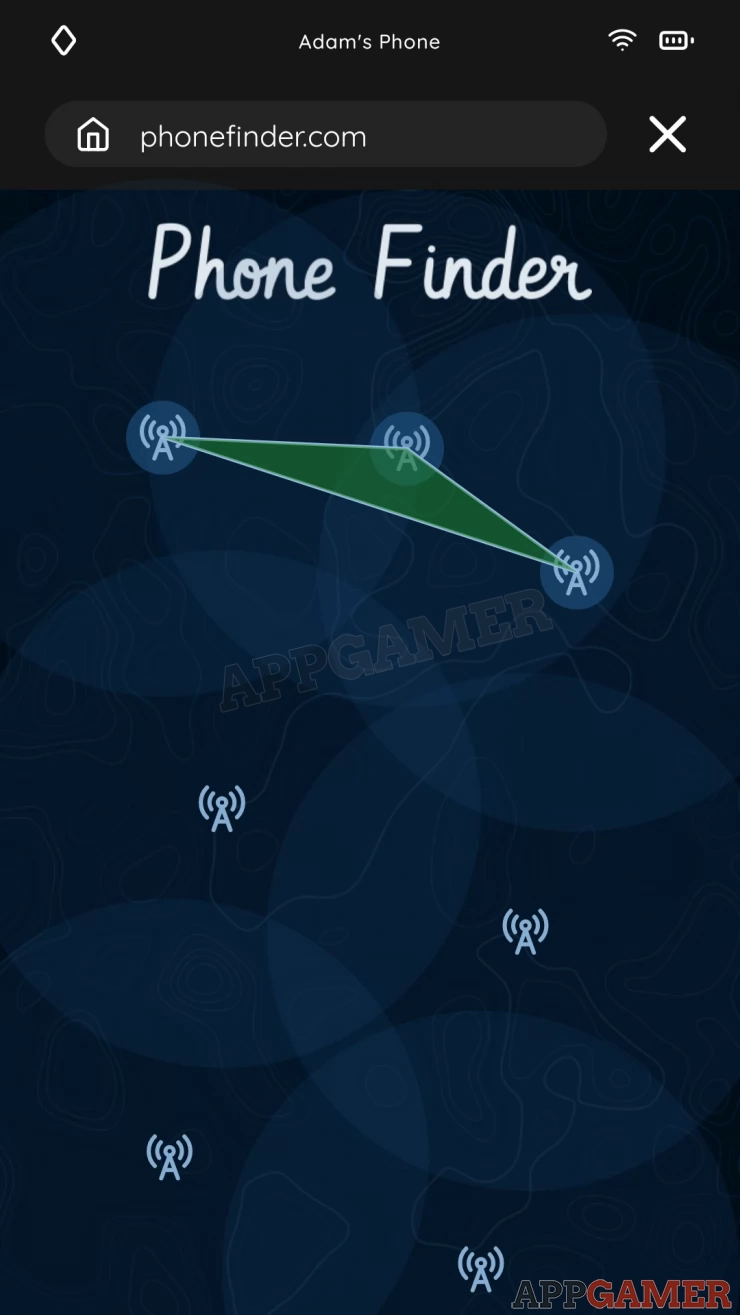
Now go to the browser app and enter phonefinder.com. You can now enter the tracking code onto the site. You will get an image of some cell phone towers.
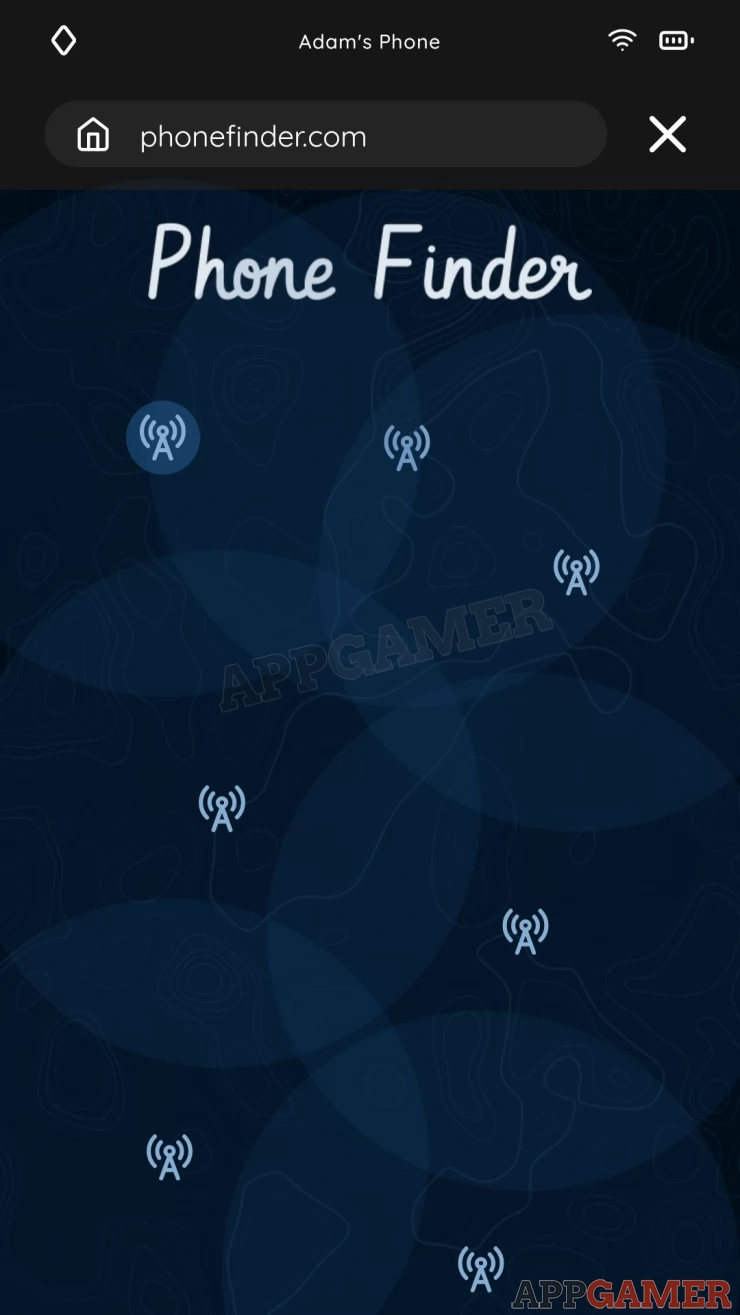
You need to pick 3 that can help you locate the phone. Select 3 to form a triangle and if it turns green you have it.
Show
Task: ask Tim for help
You now need to find your chat with Tim. You will send him the data.
Connect the retrieved clues
You now need to connect 3 more pairs of clues.
- Zoey was having multiple sessions with the school counselor Mr. Davis.
- Davis isn't willing to share any information
---
- The logo on Zoey's map is of the school's football team
- The map is not fully visible but it has some markings over certain areas.
---
- Zoey loved making meaningful maps and puzzles
- Having the map in her locker must mean that it's important to her.
Task: Find the actual map of that part of the school.
To find a map of the school you need to visit the school website.
Open the browser and go to riverstonehigh.edu
Then you can tap on the map icon on the top right. Enter the term football to search for the related area of the school and you will see a map. Tap it to save it, then return to your conversation with Kevin.
Feb 14th, 2023
Data Recovery
The next stage of the Data recovery on Zoey's phone is now available.
For help with the puzzles for Data Recovery see the guide here: Episode 2 Data Recovery Walkthrough
Once done you will retrieve 1 email and 3 photos.
Task: Check the recovered items to find anything important.
Check the email on the phone to find a new one from littlehamsters.com
Go to the browser app on Adam's phone and visit littlehamsters.com, you will need to log in.
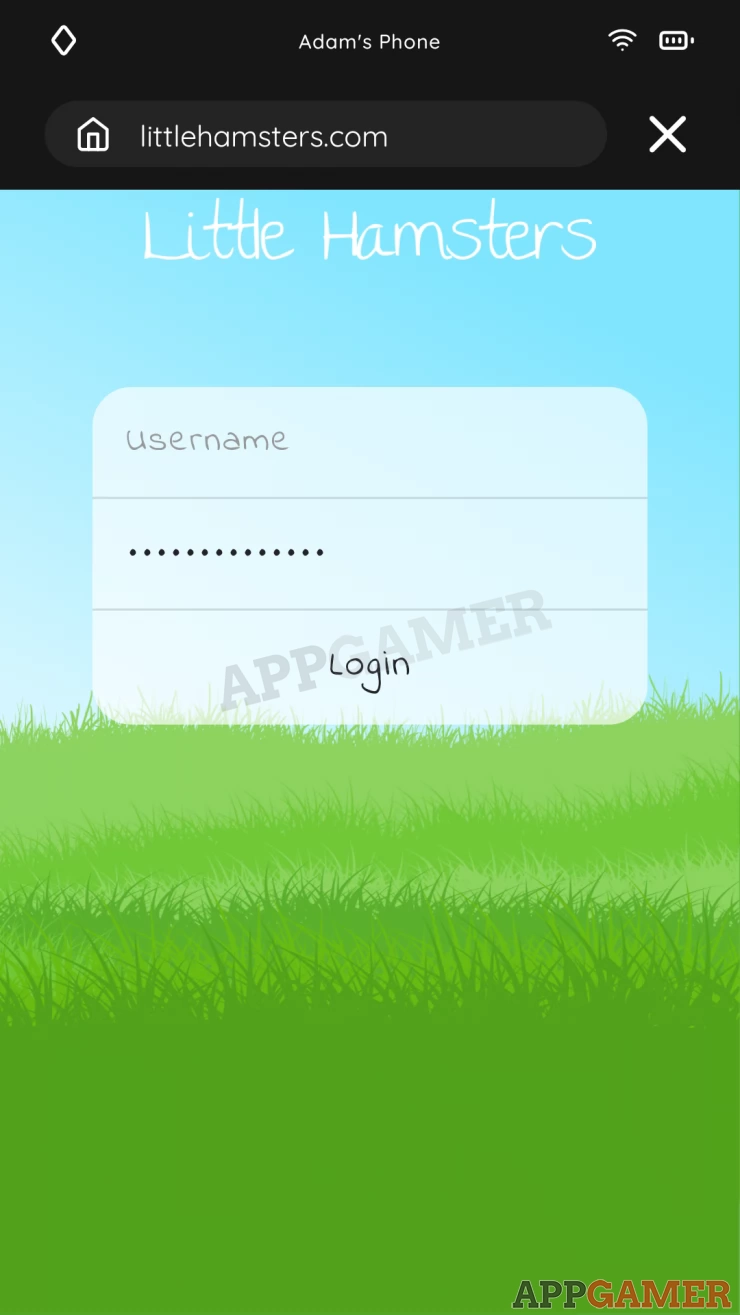
The username is in the email: sleepykiwi
The clue to the password is in the last diary page recovered.
Code: Art the bottom of the diary entry is 3 symbols, "cat heart fish". Using the cats name we get: jerrylovesfishShow
This will log you into a chat in Little Hamsters with 'crossbar_36'
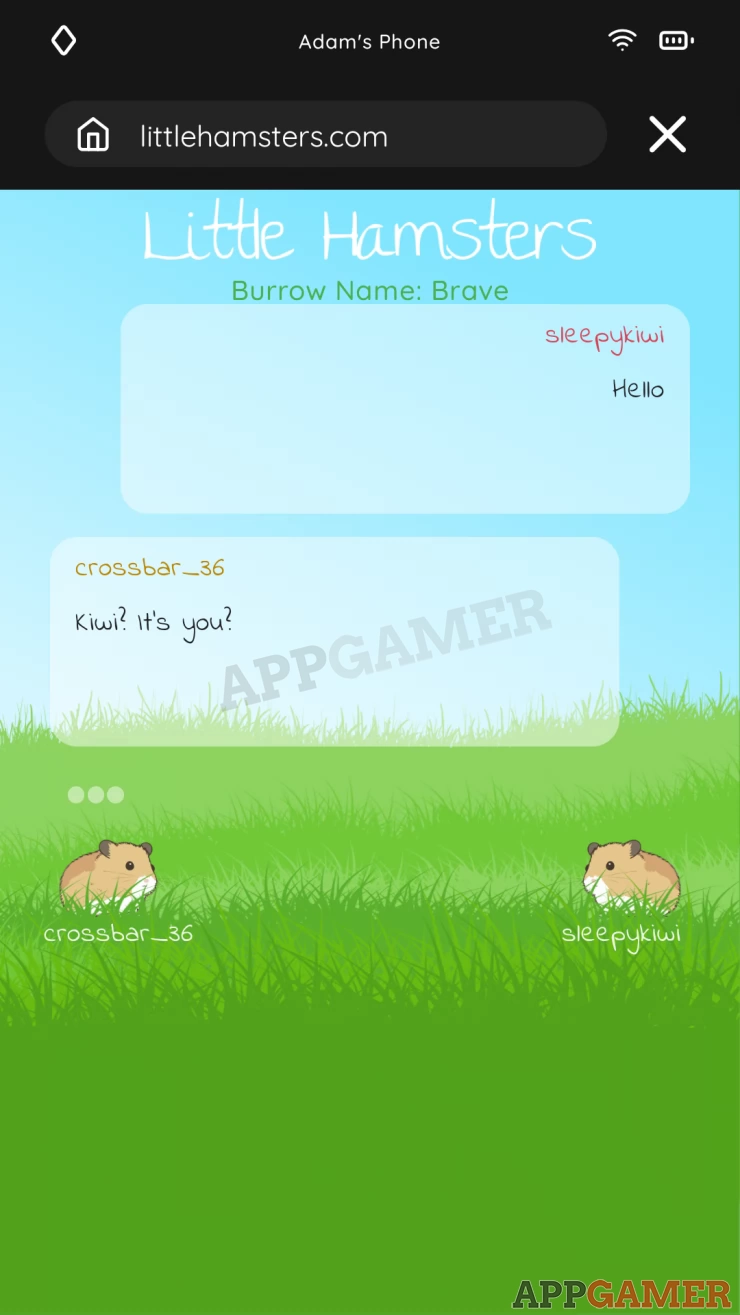
Follow through the chat until crossbar_36 leaves, you then need to talk to Kevin and Brad.
After coming up with the plans for each of them they will head to the school.
When Kevin needs help with finding the correct room for Mr. Davis you can find this out by going to the school website again and looking at the staff list *(tap the icon on the top left). Find his room number (307). Then from the school home page click the link to the list of replacement Third floor rooms.
Solution: Room 104Show
After this you need to help Brad locate the correct crate. When the guard seems to be coming back you have a 3 minute timers to work out the correct room and crate number for Brad to look in.
Hint: check the photo of the drawn map.
Solution: Room 2 - Crate 86Show
Brad will find the box and get out in time. Next Kevin will need help again. You will need to call Mr. Davis.
Task: Call and distract Mr. Davis
You can find the number for Mr. Davis either in the contact detaild of the chat you have with him, or there is a photo on Zoey's Phone that shows it.
Call his number from Adam's Phone and you will speak to him. [7345599].
First you get him to leave the office then keep the conversation going. He will eventually hang up.
Then return to the chat with Kevin and Brad.
After finding out what was in the box from Brad you will lose control of your phone. Then you are contacted by crossbar_36
Go back to littlehamsters.com and continue the conversation there. crossbar_36 will help you with some information about the pendant and offer to help with the symbol.
Task: Complete the data recovery process on Zoey's Phone
Data Recovery
Time for the next data recovery puzzle, switch to Zoey's phone and begin the next puzzle.
For help with the puzzles for Data Recovery see the guide here: Episode 2 Data Recovery Walkthrough
You recover 1 email and 3 photos.
This then triggers the next Diary Page.
Task Read Zoey's Diary note
Zoey's diary page 7 is now available to read. View the diary on Zoey's phone to find it. You will need to read the clue and work out the answer for Page 7.
Check the guide for Zoey's Diary Pages walkthrough for help.
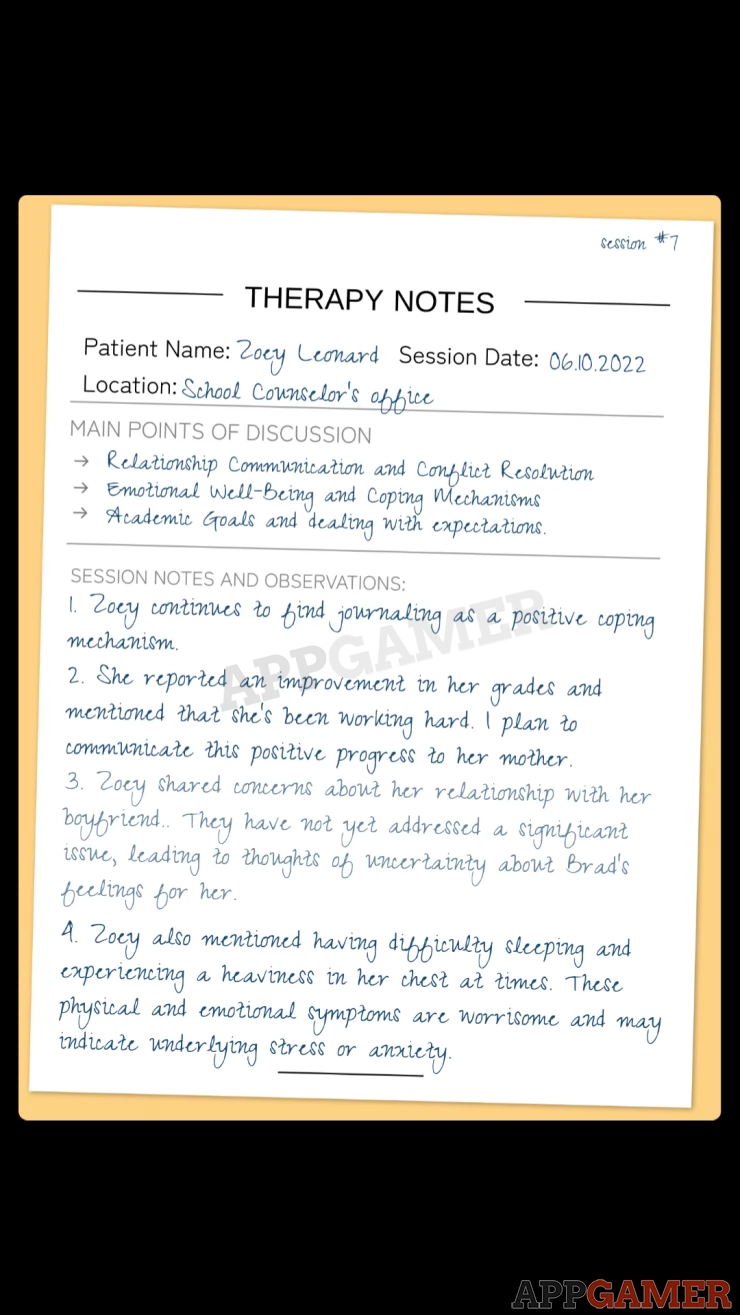
Task: Analyze the report sent by Kevin (0/2)
Switch to Adam's Desk view and you will find a yellow envelope on the desk.
Read the notes and tap on the flashing paragraphs to identify 2 bits of information.
Connect the retrieved Clues
After checking the counselors reports you will have another task to connect the clues. As before, find the 3 matching pairs.
- Mr. Davis's notes gave us an insight into Zoey's mental health
- Zoey was experiencing stress leading to difficulty breathing and sleeping
---
- Zoey was known to frequently communicate with someone online who goes by the name 'crossbar_36'
- crossbar_36 knows about letters Zoey used to recieve
---
- Brad told us that he found a pendant with ZB initials written in the box that Zoey hid.
- According to crossbar_36, Zoey never hid a pendant rather bought it as a gift for Brad on his birthday
Task: Chat with Tim
Return to your messages with Tim to see what progress he has with Amanda
Task: Confront Brad about his lies
Return to the Chat with Kevin and Brad
After this you get a call from Amanda, speak to her.
Feb 15th, 2023
Task: message Tim about Amanda
Task:Read Zoey's Diary note.
Zoey's diary page 8 is now available to read. View the diary on Zoey's phone to find it. You will need to read the clue and work out the answer for Page 8.
Check the guide for Zoey's Diary Pages walkthrough for help.
Data Recovery
Time for the next data recovery puzzle, switch to Zoey's phone and begin the next puzzle.
For help with the puzzles for Data Recovery see the guide here: Episode 2 Data Recovery Walkthrough
Once done you will recover 1 email, 2 photos and 1 app.
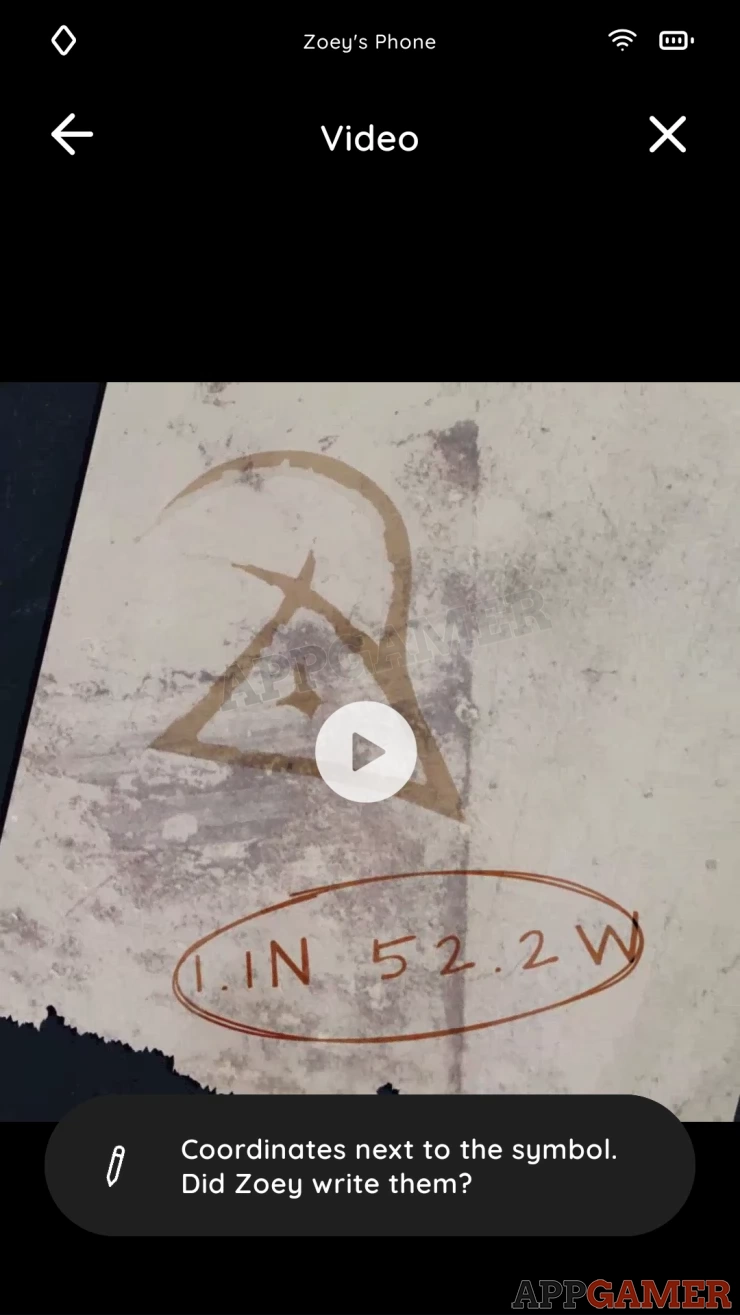
Task: Check recently recovered data to find something important.
Check the Files app that has been recovered and you will find a video showing the symbol with some coordinates.
Connect the retrieved Clues
After viewing the file, you will need to connect the clues. Find the 3 matching pairs.
- Zoey decided to chase the truth behind the letters and emails she was receiving.
- She mentioned she needs to tell someone about her decision. Could it be crossbar_36
---
- Brad betrayed us and lied to our faces again. He's trying to conceal the truth from us.
- It's difficult to make Kevin understand the consequences of his impulsive decisions.
---
- The new app reveals a video containing the infamous symbol.
- Zoey probably figured out a set of coordinates linked to the symbol.
Task: Chat with Kevin
You discuss the symbol and coordinates with Kevin. He then heads off to the location in the Forest.
Assist Kevin on the Call
Stay on the call with Kevin as he explores the woods.
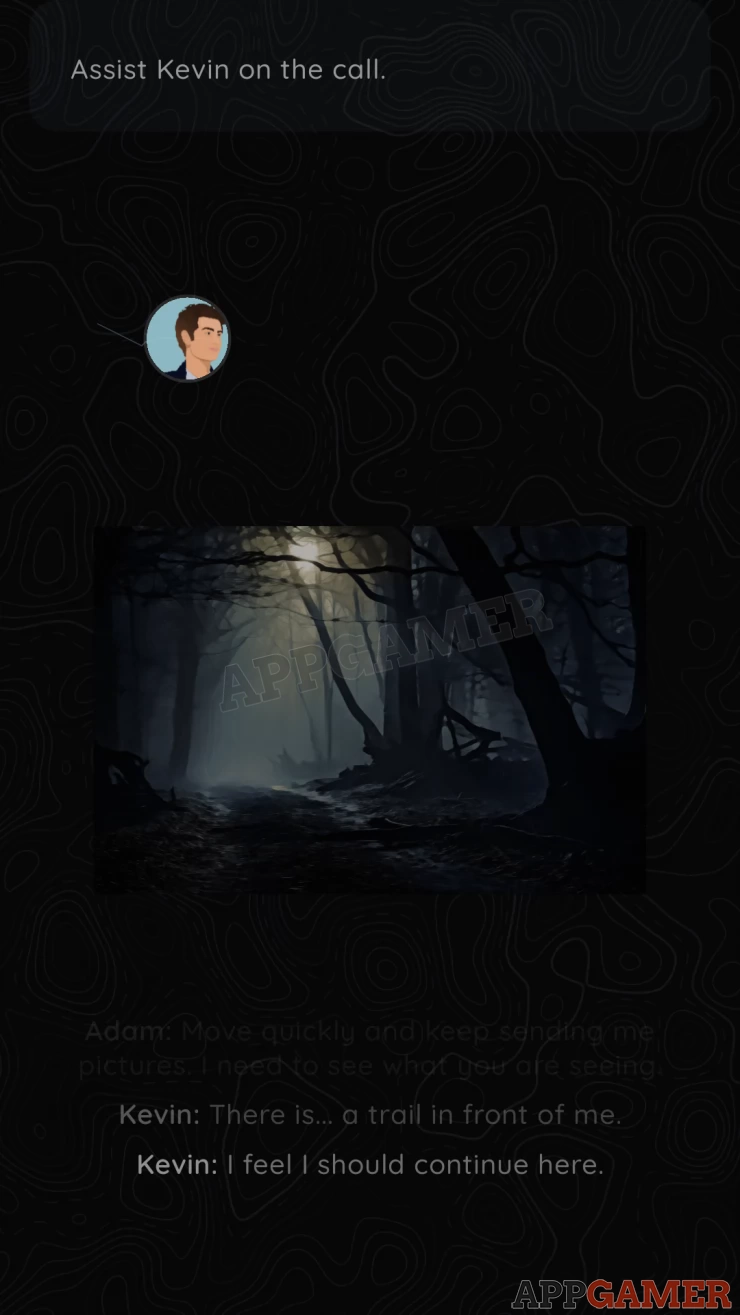
You will need to help solve a couple of puzzles as he investigates a cave.
Kevin will leave the cave and find a house.
After the final chase you will need to call emergency services.
Feb 16th, 2023
Task: Read the newspaper
Return to your Desk and tap on the paper that is on the desk.
After this a blue envelope will be on your desk. Open it to read the letter.

Assemble the picture
Now you need to assemble the pieces of the torn paper.
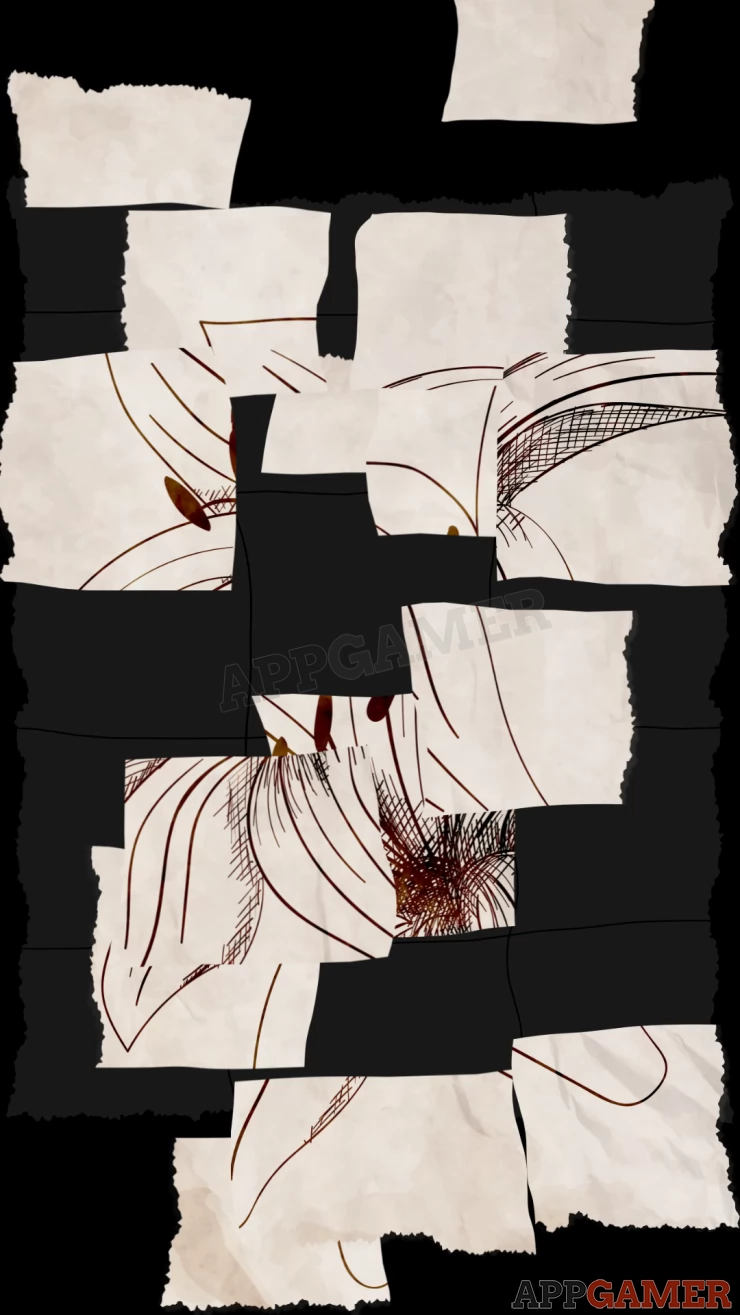
This is a simple jigsaw puzzle. The final image will look as below.
Show

After it is complete you will then see the back of the paper with some directions drawn out.
Show
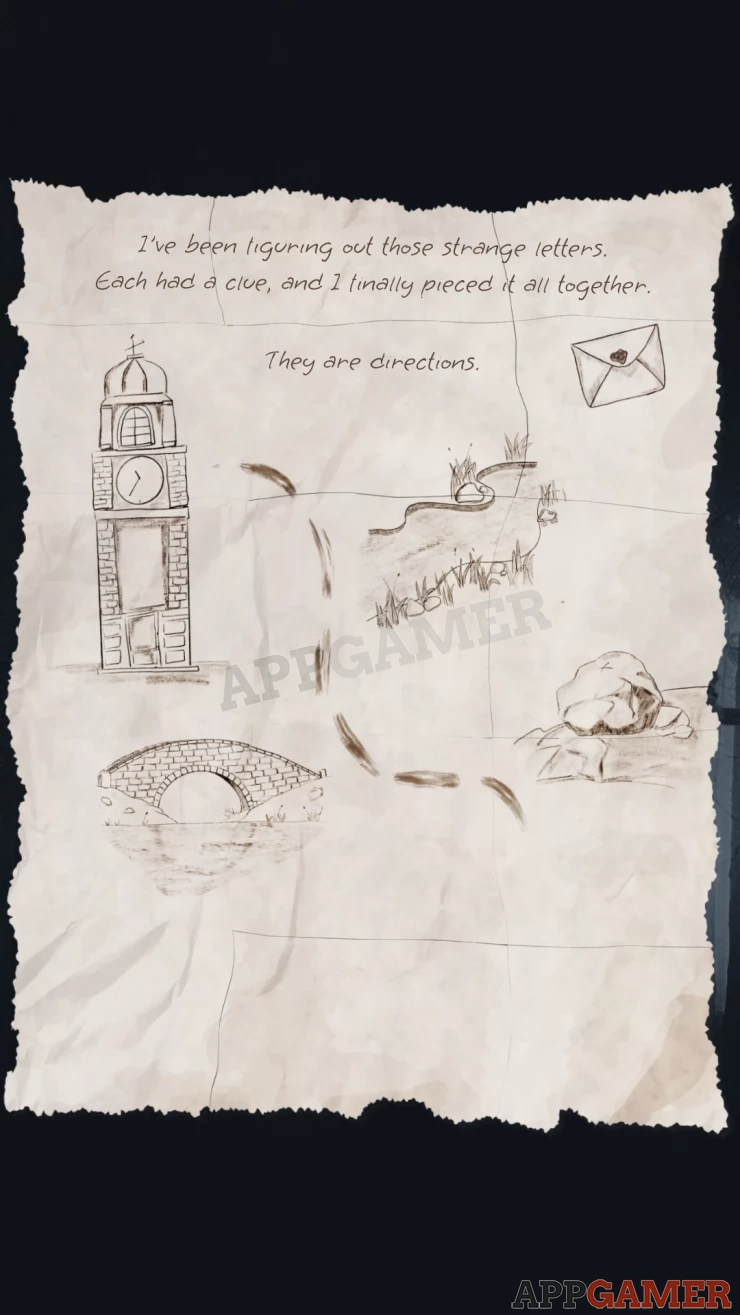
You see a final image of a house in the trees and then this is the end of Episode 2. What has happened to Kevin. What do the directions mean and who was in the mysterious house with no windows.
Hopefully the next thrilling episode will be in development for release soon.
We have questions and answers related to this topic which may also help you: Show all
 With 20 years of experience in creating video game content for the internet and over 30 years as a gamer, Mark is now a passionate mobile App Gamer. Loving a challenge, he is always ready to get stuck in to both survival builders and puzzle solving games. He has been providing content for AppGamer since 2014.