
Chapter 2 - Curse Walkthrough - Part 2
More Mystery Detective Adventure 2
This is the second part of the walkthrough for the second chapter of Mystery Detective Adventure 2. The latest episodes from FiveBN of Detective John Woodbray featuring his occult investigations.
In part 1 you have started investigating the disappearance of Noel Sheppley a Factory owner and collector of ancient artifacts.
Chapter 2 Walkthrough - Curse - Part 2
Having reached the Sheppley Mansion and talkes to the butler in the garden you now have access to the house
Go to the front door and then go inside.
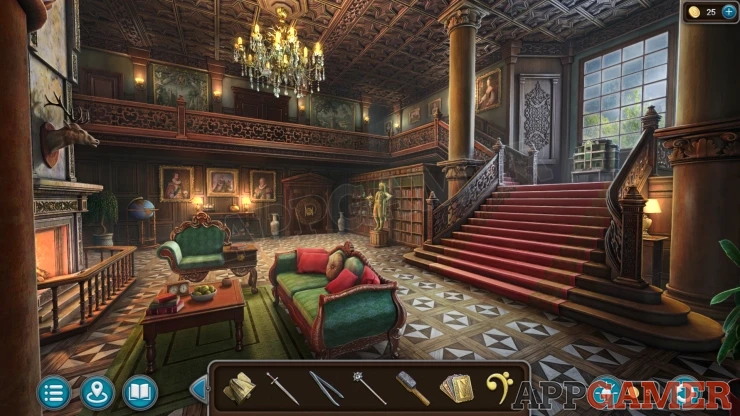
Morphing Object: Small box / clock on the small table on the left.
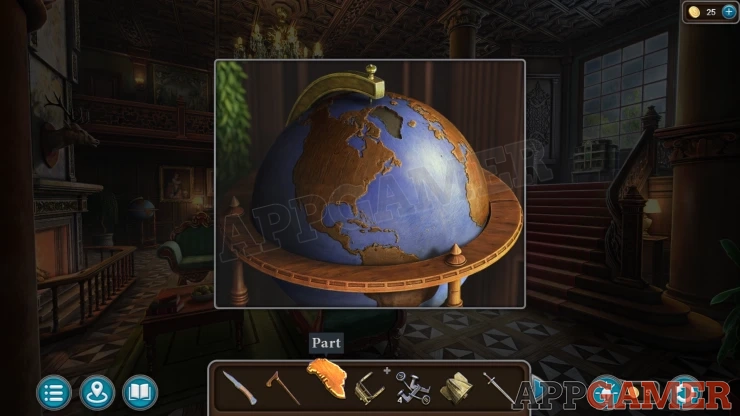
View a Globe on the back left of the room. Add the Part to it to open it. Collect a Small Window (1 of 6) and a Key.
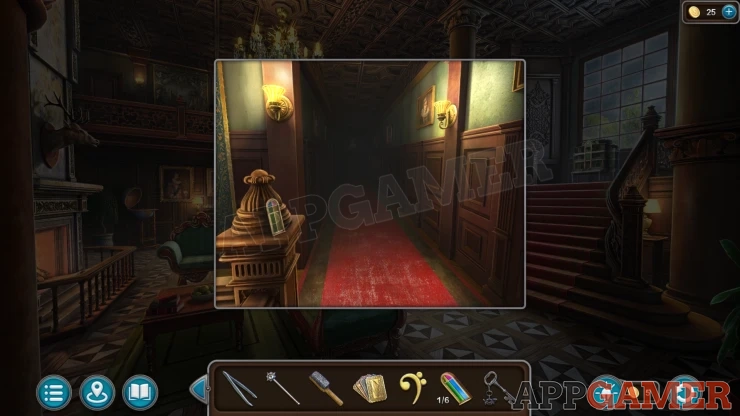
Then look at the passage at the top of the stairs to the left. Collect another Small Window (2 of 6).
Back out to the front of the house and view the post box on the left of the drive. Use the Key to open it, then you can read a note inside.
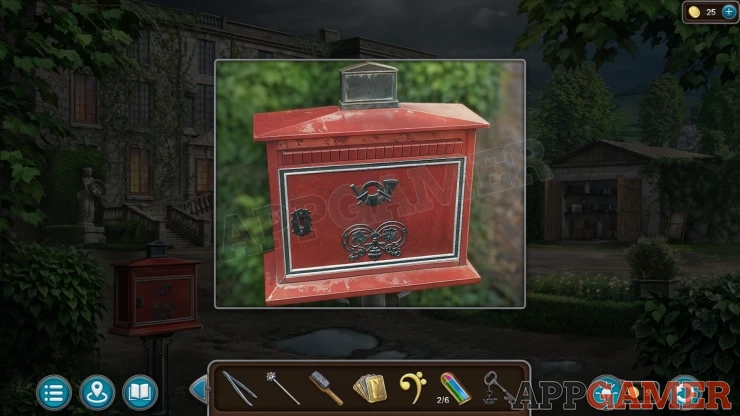
Collect a Fleur-de-lis (1 of 5) and a Glass Shade.
Go back into the house and view a large brass figure to the left of the stairs. Add the Glass Shade here.
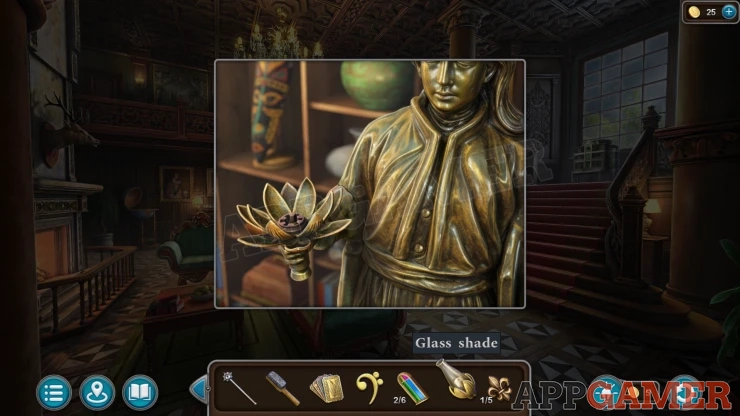
A secret door will open.
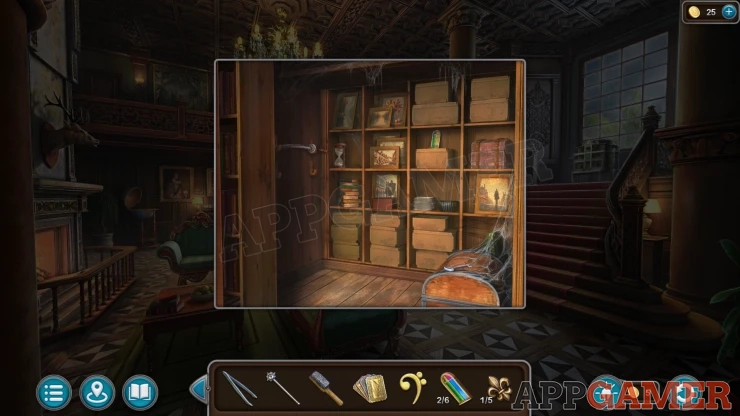
Collection Item: Hourglass - on the shelf on the left.
Collect a Katana from the left, a Small Window (3 of 6) from the shelf and a Key from the lower right.
Now view a door on the upper floor on the far left. Use the key to unlock this.
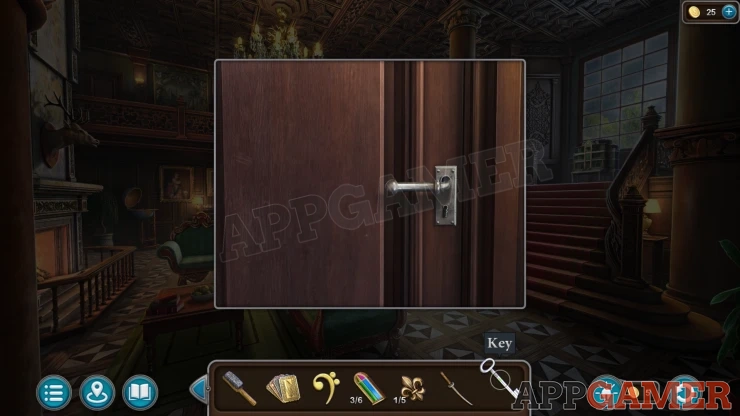
Enter the Butler's Room.
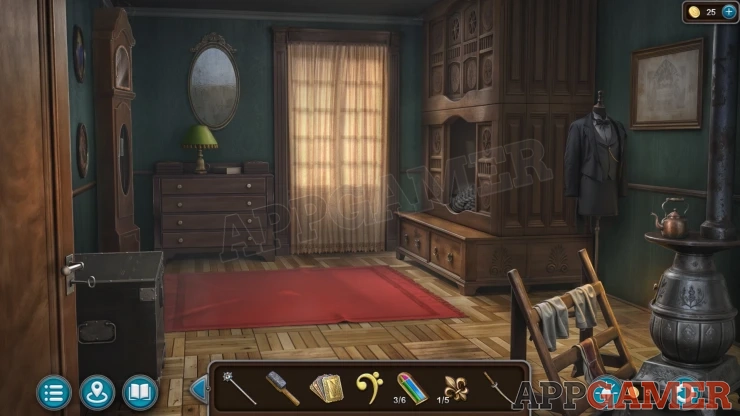
Morphing Object: Pot on the stove on the far right.
View the suit on the dummy on the right, collect a Star from the pocket.
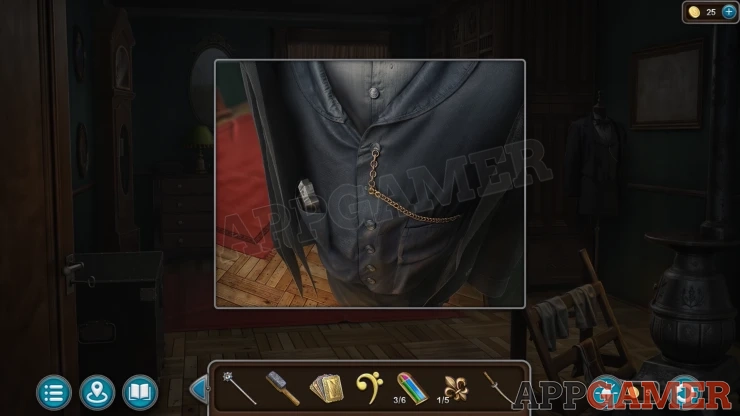
Now view a large trunk on the left side of the room. Add the Star to this to open it.
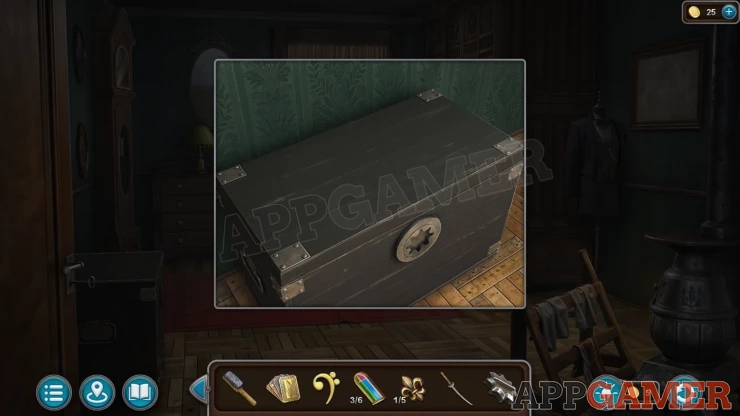
View the folder inside to see a Lease. Collect the Evidence - Butler (1 of 7).
Then view a Ticket to get Evidence - Butler (2 of 7).
Then collect a Small Window (4 of 6).
Then view the lower bunk bed on the right. Remove a note on the wall to find a clue. A Time.
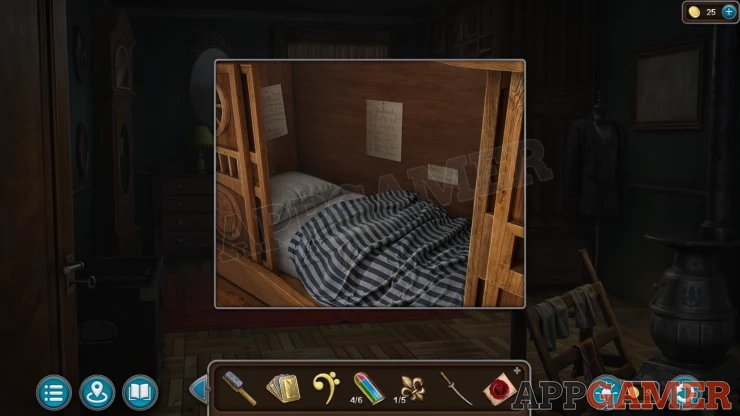
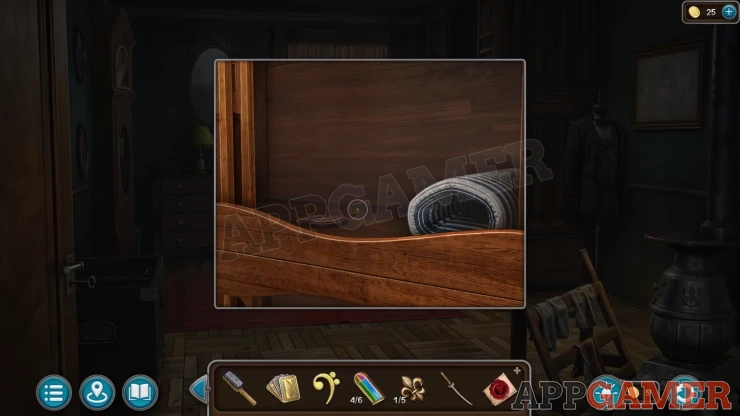
Next look at the top bunk, open the doors and move the mattress to collect a Part.
Look at a tall clock on the left wall. Open the glass door and then you can use a clue to move the hands and set the time.
Set the time to the clue seen by the bed.
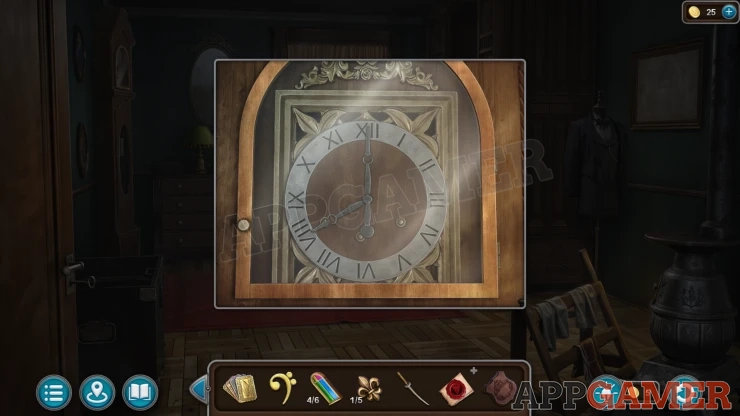
The clock face opens and you can find the Artifact Evidence - Butler (3 of 7).
Collect a Small Pyramid (1 of 4).
Next view the oval mirror above the chest of drawers to look behind it. Collect another Small Pyramid (2 of 4).
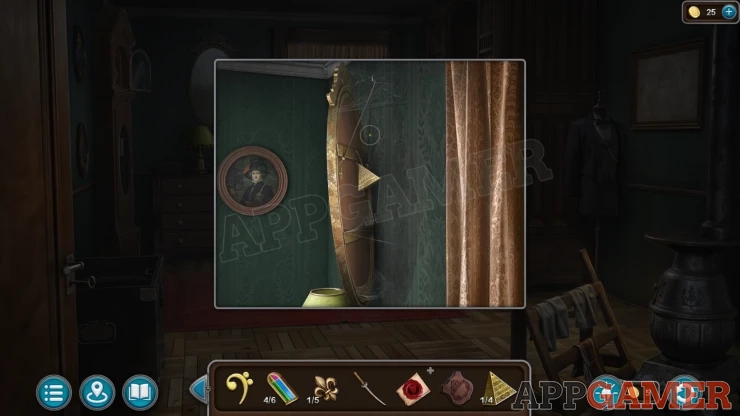
Next look at the chest of drawers.
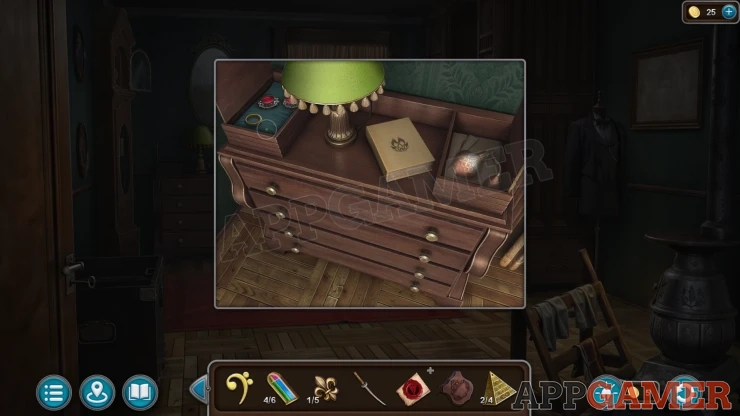
Collection Item: Perfume - open the smalll box on the right on top of the drawers.
Open the second drawer to find a compartment with a slot. Add the Part here to open it. You find a watch. Evidence - Butler (4 of 7).
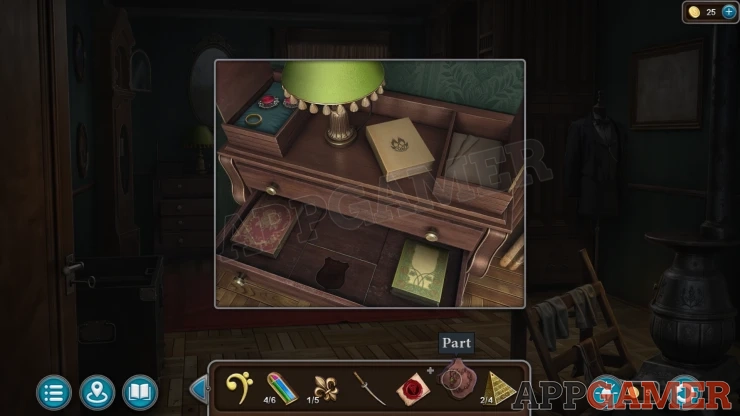
Collect a Small Window (5 of 6) from under the watch.
Now return to the factory and go to the office upstairs. View the glass case on the table on the left again.
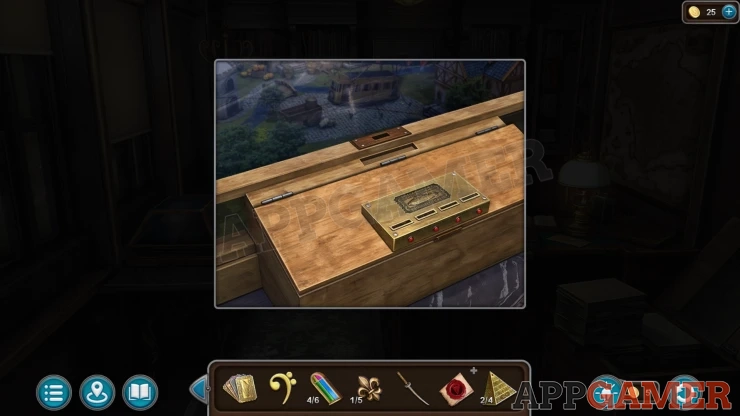
Add the Metal Stamps to the slots on the front and it will open.
Office Diorama Puzzle
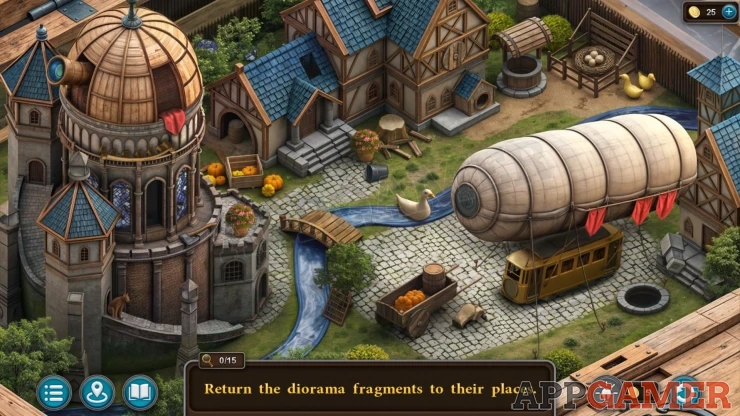
- The scene has 15 items that are misplaced.
- Find each item and return it to the coorect location.
- Items include: a Dog, stained glass window, pumpkins, plant pot, an axe, manhole cover, a gate, a bucket and a duck.

Once you have them all in place you can collect a Small Window (6 of 6) a Small Pyramid (3 of 4) and an Airship Fragment.
Return to the Sheppley Mansion and view a model house on the stairs in front of the large window.
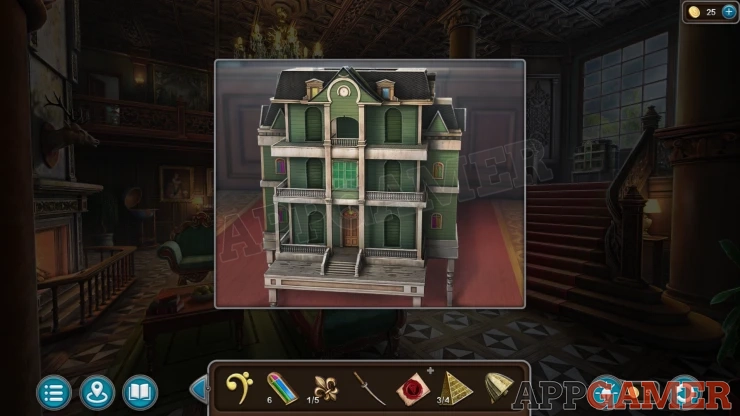
Add the 6 small windows to this to start a puzzle.
Model Mansion Puzzle
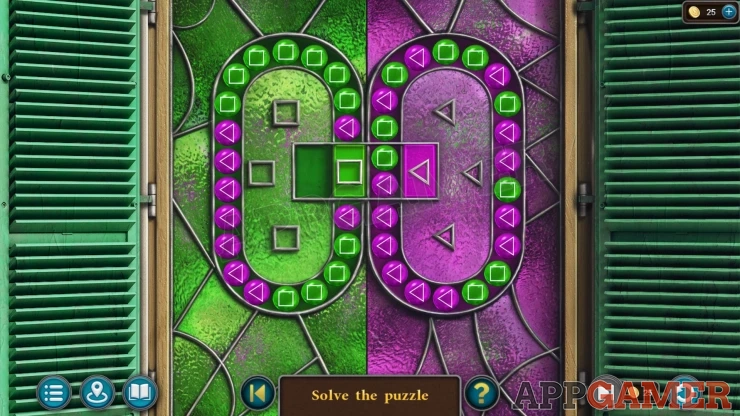
- There are two loops with green or purple balls. Some ar mixed up.
- Slide the balls aeound each loop and use the center section to move balls betwen the two loops.
- Arrange them so that all the gree balls are on the left and all the pueple ones on the right.
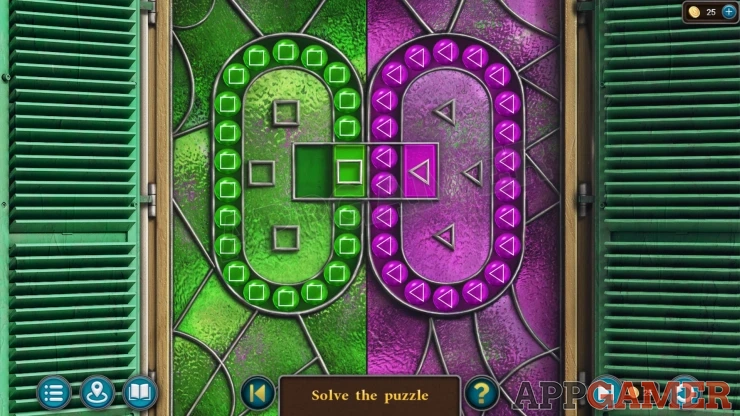
Once done collect another Small Pyramid (4 of 4) and a Wolf (1 of 2).
Now view a door on the wall to the left, next to three paintings. Add the Small pyramids to the door to open it.
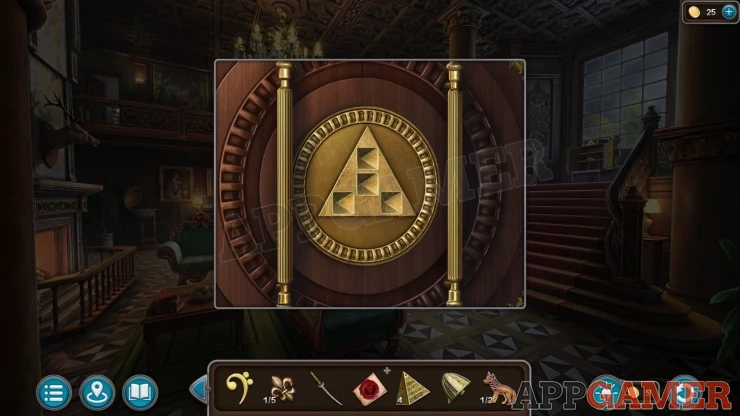
Enter the Artifact room.
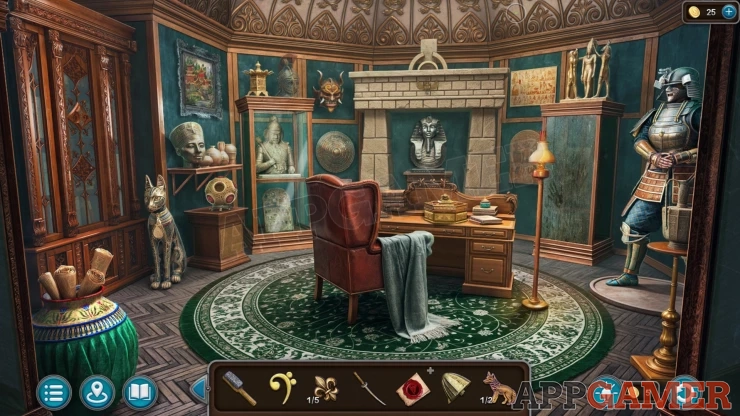
Morphing Object: Helmet on top of the glass case to the left of the armchair.
View the desk.
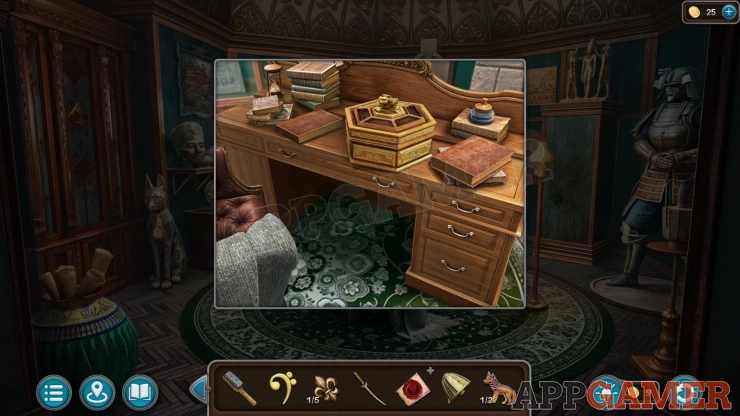
Collection Item: Hourglass on the top left.
Open the top right drawer, you find Evidence - Mistress (1 of 4).
Task - Find the Mistress
Collect a Small Board (1 of 4) from the drawer.
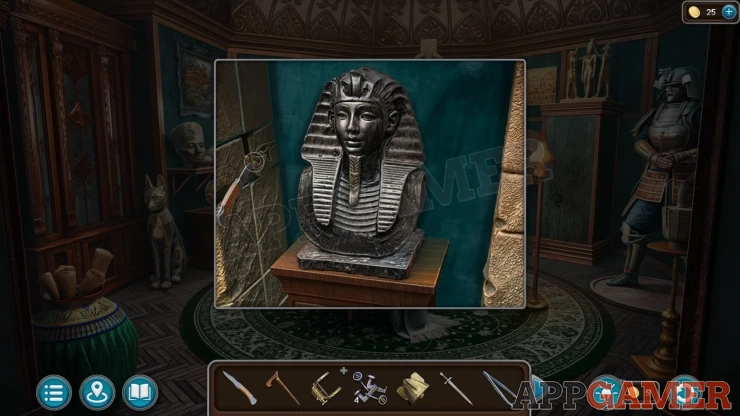
View the Egyptian Mask in the central alcove. There is a tile with s symbol on the left side. Use the knife in this to open it and collect anorther Small Board (2 of 4).
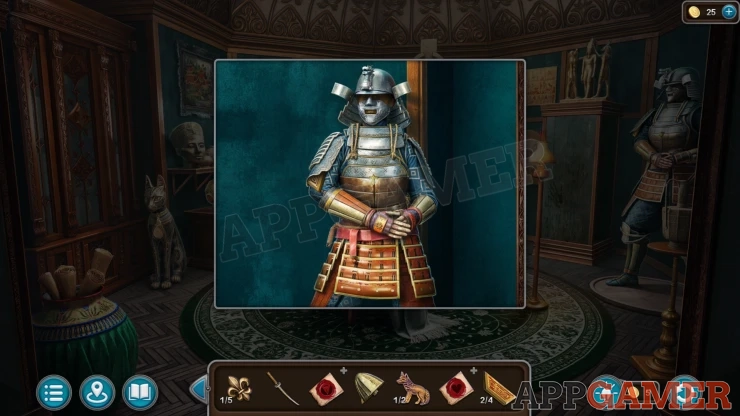
The view the Samuri armour on the right of the room. Collect another Small Board (4 of 4) from the arm on the left.
Return to the town square and look in the building on the left again.
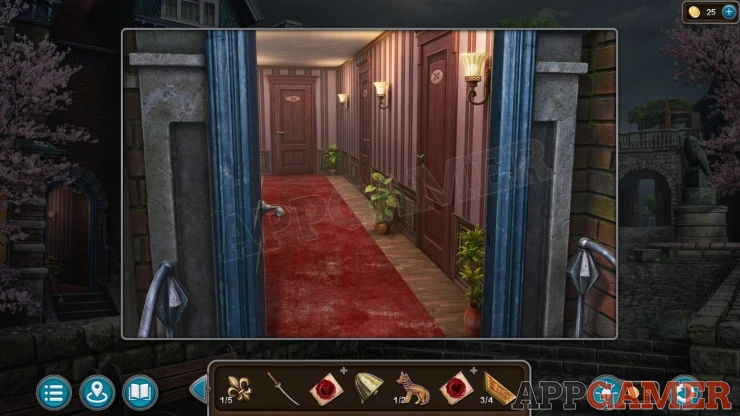
View door 5C at the end of the corridor and open it. Talk to the lady inside.
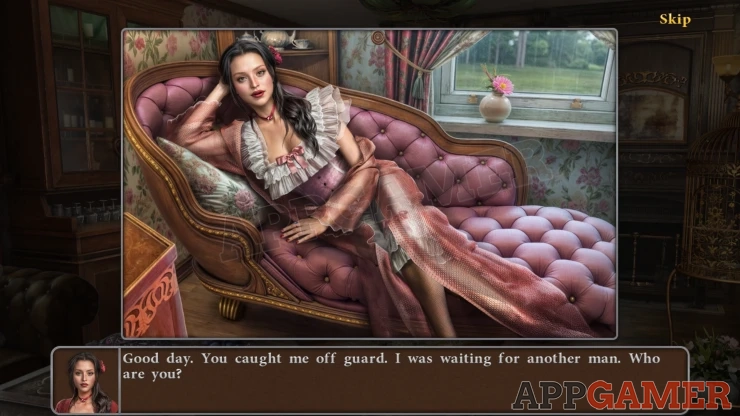
You receive the File: Business - Evidence (1 of 4)
Task - Investigate the Conflict
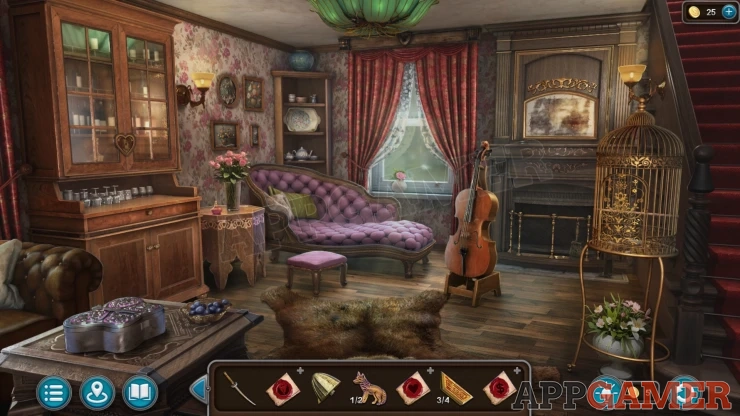
Morphing Object: Brush/shovel in the fireplace.
View the bottom of the cabinet on the left of the room. Open the drawer to collect a blue Case and an Airship Fragment.
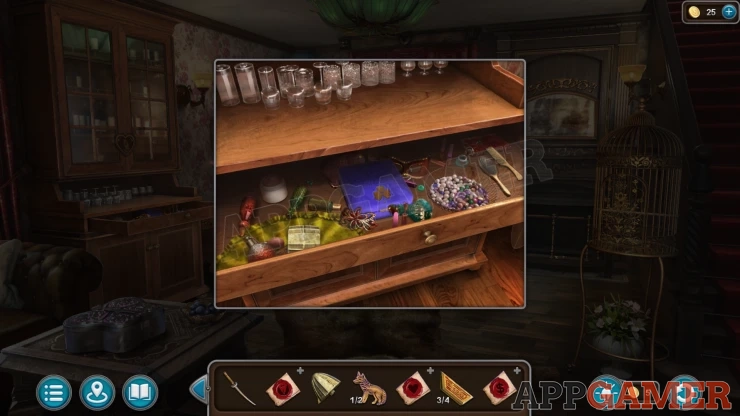
Collection Item: Perfume in the drawer on the left.
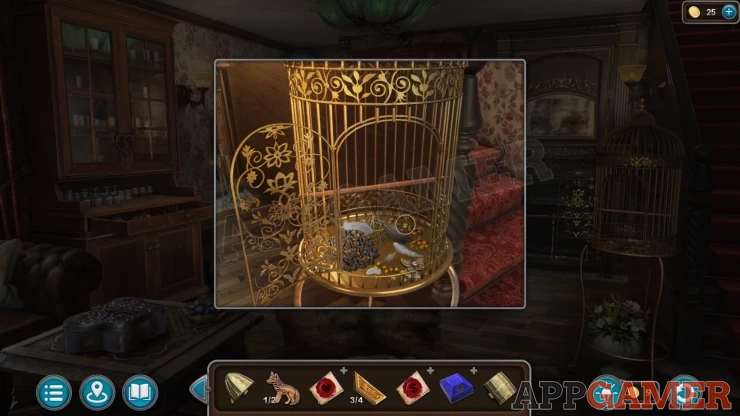
Next view a birdcage on the right, open the door and then move the items on the bottom around to collect a Butterfly (1 of 4).
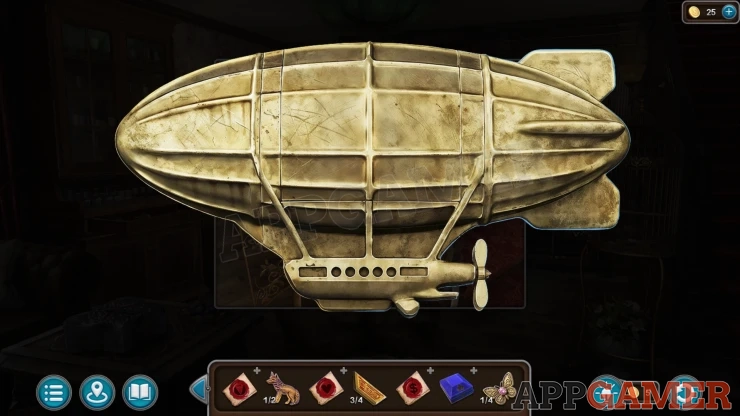
Veiew the original Airship item in your invenroty and then you can add to it the three airship fragments that you have collected. You get the completed Airship.
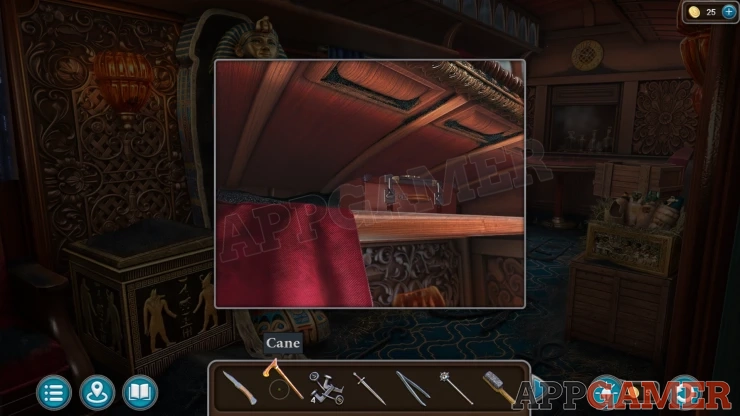
Return to the Airship location and then view a high shelf above the sofa. Use the cane here to help you retrieve a case.
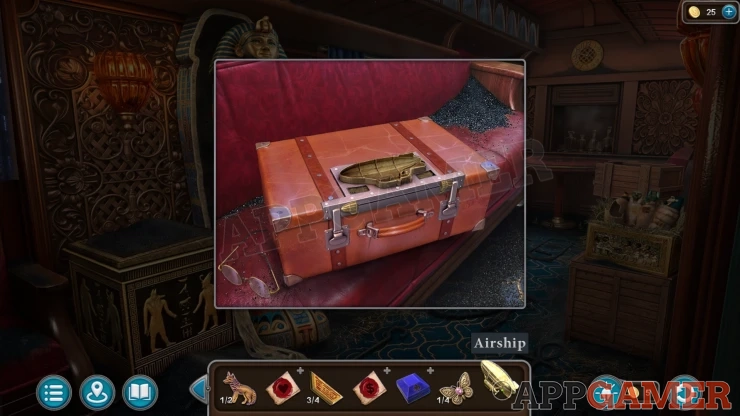
Then view the case on the sofa and add the Airship to it. When the case opens collect the Stethoscopre and a Part.
Go back to the artifact room in the mansion. View the Samurai armour again and add the Katana to it.
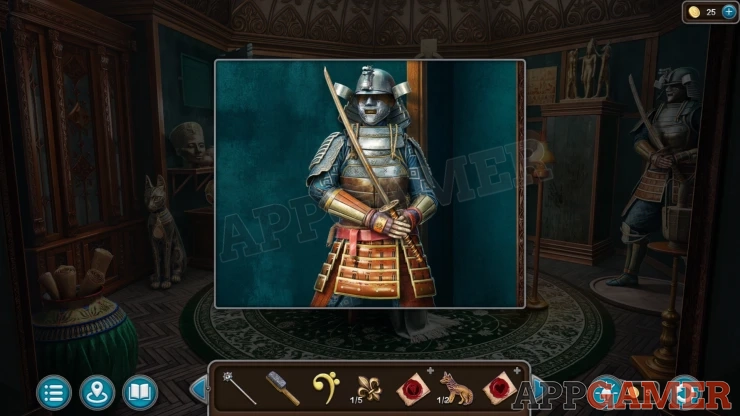
A panel will open on the left, view this to find a safe.
Add the Stethoscope to the safe to start a puzzle.
Safe Puzzle
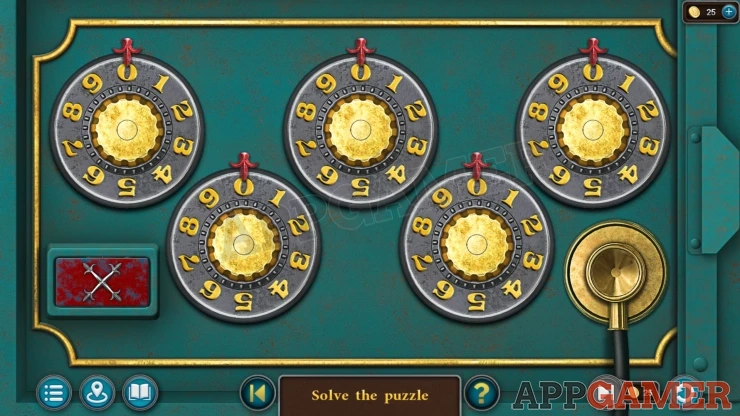
- With the stethoscope atached you can hear the sound of clicks when the five dials are turned
- You will also see a visual indication when the correct point is reached.
- Turn each diual slowly until it clicks to find the correct combination.
Once done the safe opens and you can find Evidence - Mistress (2 of 4).
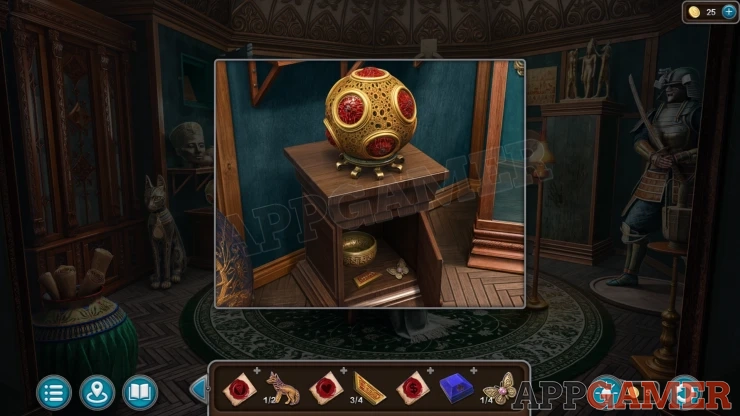
Next look at the gold orb below the safe. Add the Part to this and a door will open. Collect a Small Board (4 of 4) and a Butterfly (2 of 4).
Look on the desk again to find a gold hexagonal box. Add the four small boards to this.
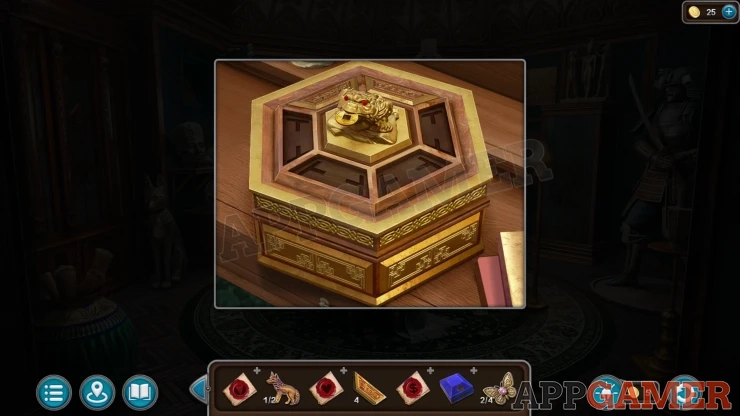
Small Boards Box Puzzle
- You need to tap the six small boardd on the lid of the box in the correct order.
- This is trial and error and may be different in each game.
When the box opens you can find the Evidence - Butler (5 of 7).
Return to the butler by going through the garden maze. Talk to him to get Evidence - Butler (6 of 7) and a Key.
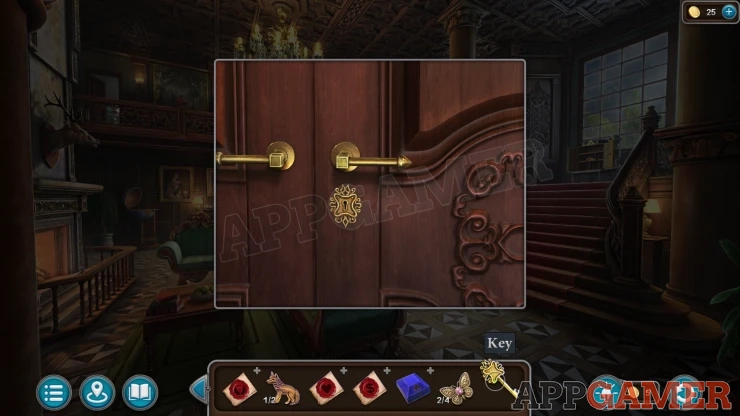
Go back into the mansion and then view another locked door on the upper floor to the left of the stairs. Use the new key to open this.
Enter Harvey's Room.
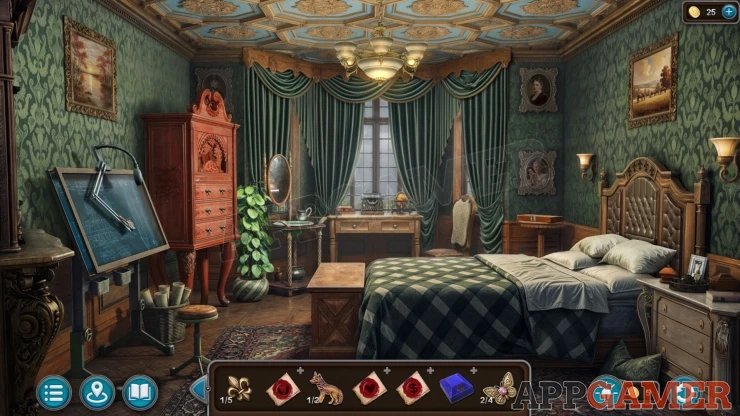
Morphing Object: Portrait on the top right.
View the drawing easel on the left of the room, collect a Magnifying Glass.
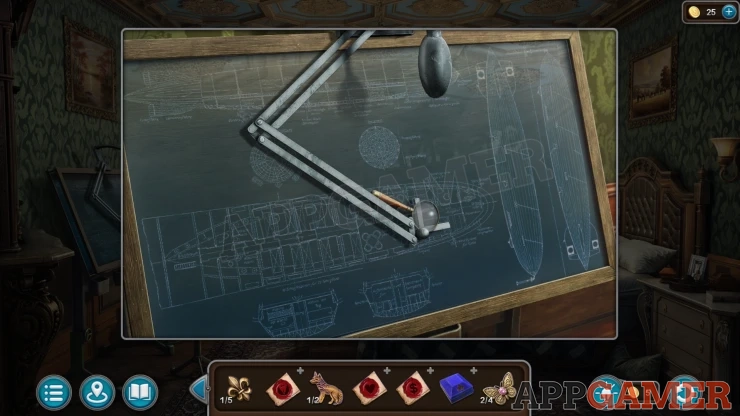
Then view the desk under the window.
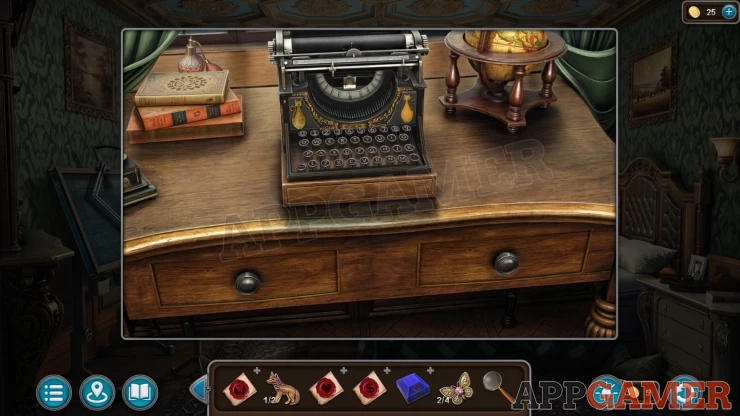
Collection Item: Perfume on the left.
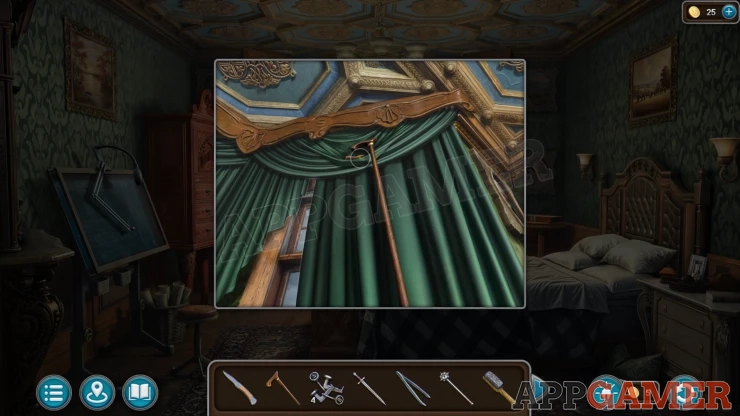
Then view the green curtains on the right. Use the cane to knock down and collect a Wolf (2 of 2).
View a tall cabinet on the left of the room and open the drawers, Collect a Fleur-de-lis ( 2 of 5) from the bottom drawer.
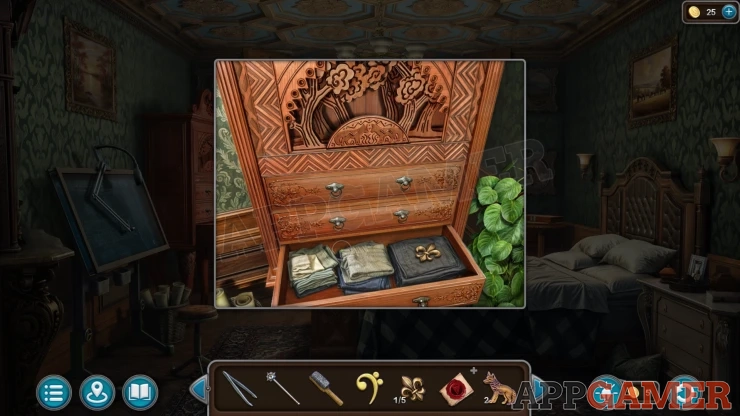
Then add the Two Wolves to the doors of the cabinet to find a puzzle.
Wolves Cabinet Puzzle
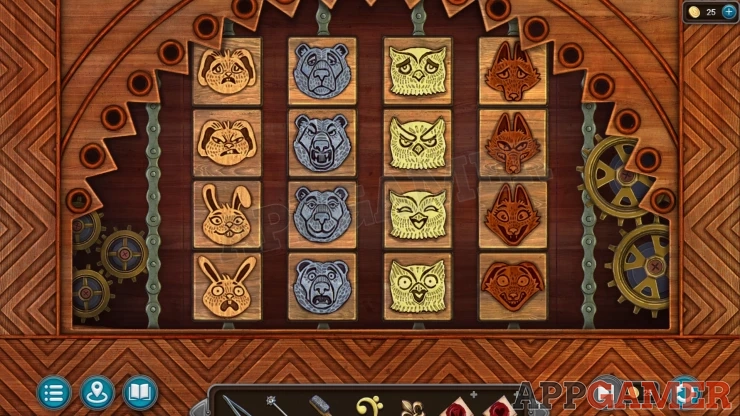
- The board has 4 columns of animal pictures, each with a different expression on the face.
- Tap paris of the images to swap their positions.
- Arrrange them so that each row and each column contain four unique animals with four unique expressions.
Solution: Show
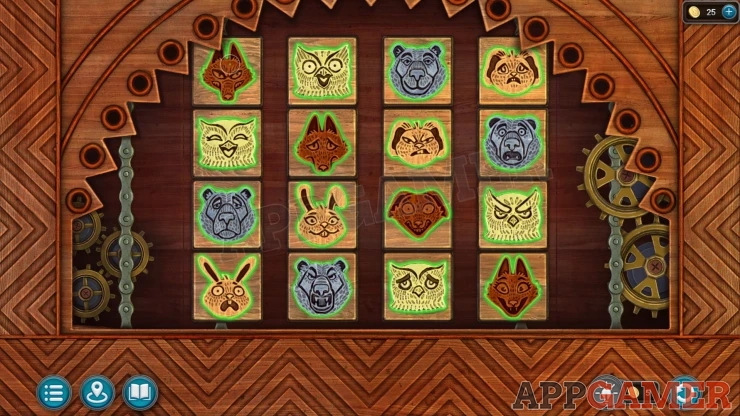
Once done you can view the ledge inside to get the Evidence - Business (2 of 4). Then collect a Fleur-de-lis (3 of 5).
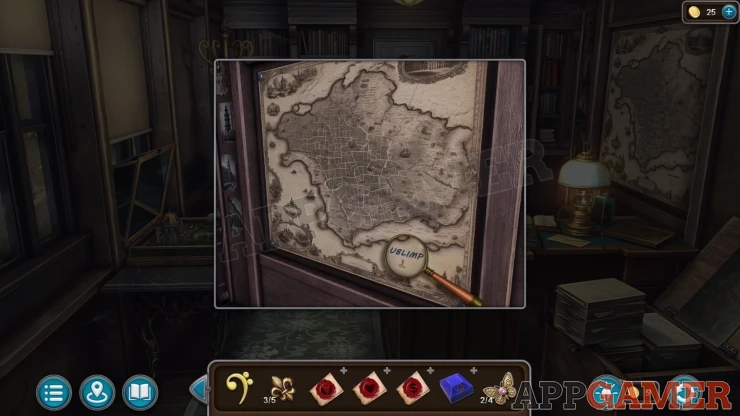
Go to the upstairs office in the factory and then view a large map on the right wall. Use the magnifying glass here and you will see a clue.
Next view a metal panal on the back wall with a circle section in the center.
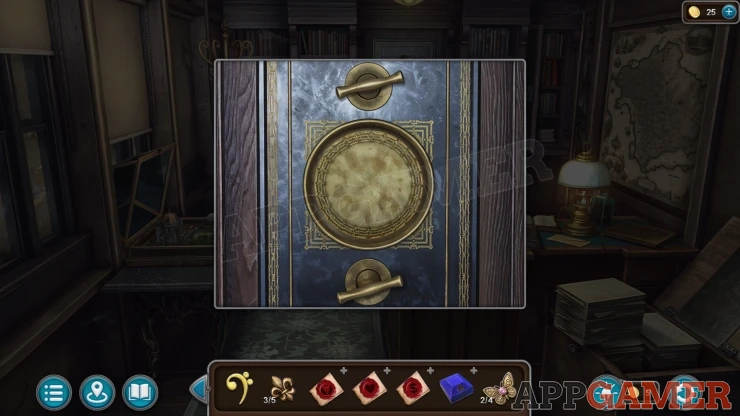
Tap the circle to open it and find a puzzle.
Office Circles Puzzle
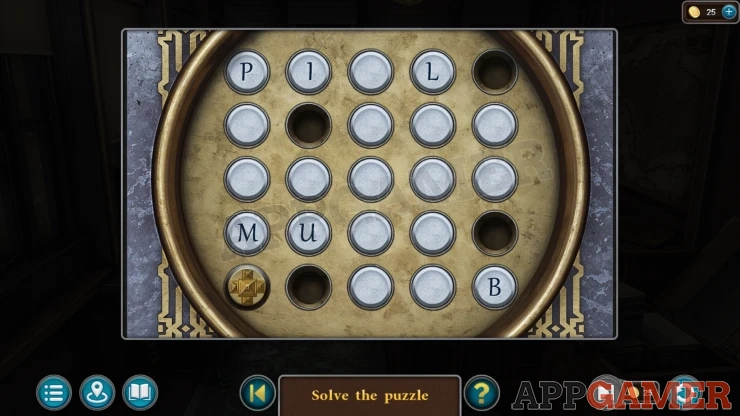
- There is a board with white circles on it. Although some are missing. Some have letters on them.
- There is a piece with a gold cross that you can move.
- Move the piece around the board fro one white circle to another. You can move in any direction to an adjacent white circle. Once you move the circle turns grey and you canno revisit it.
- You must move to all of the white pieces on the board to turn them grey. You must also follow the clue seen on the map and visit the circles with letters in the correct order.
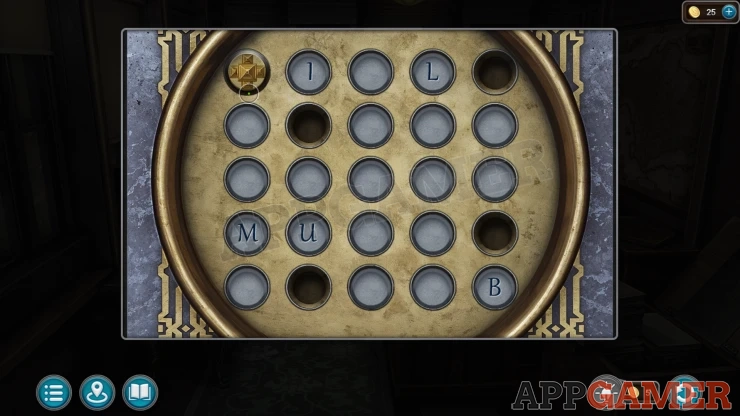
This opens the large safe and you can view a folder inside to get the Evidence - Business (3 of 4)
Then collect a Key.
Go to Harvey's Room and view a large box at the foot of the bed. Use the key to open it. Collect a Bee and a Handle.
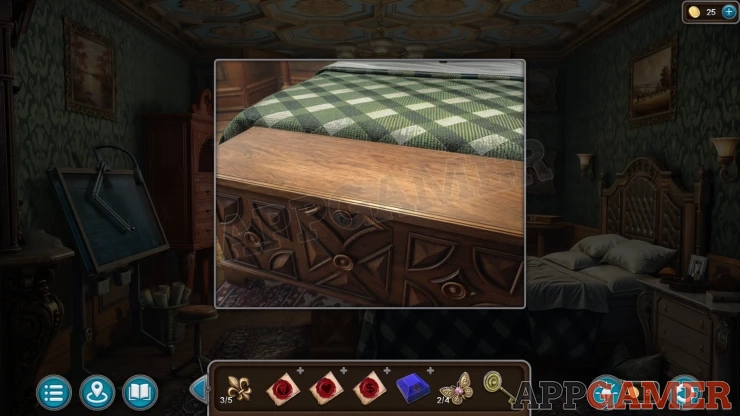
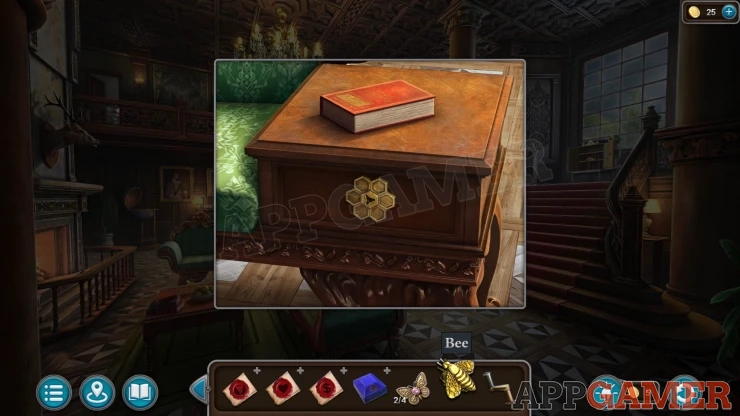
Back up to the lower floor of the mansion, then view a box on the right side of the green chair. Add the Bee to this to open the drawer. Collect a Butterfly (3 of 4) and a Figurine.
Now go to the room of the Mistress. View the top of the large cabinet on the left.
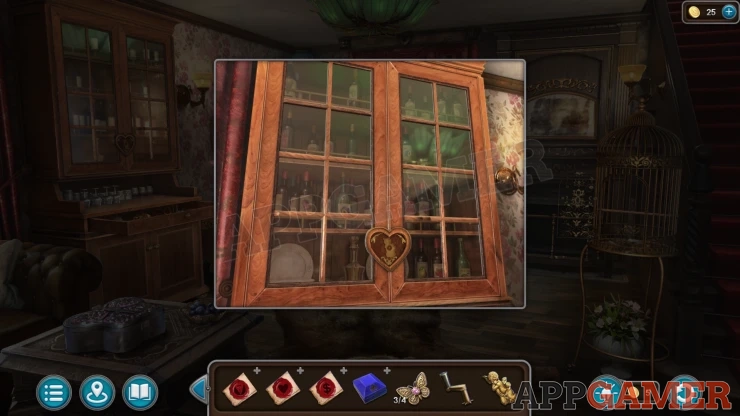
Add the Figurine here to open the doors. Then collect a Butterfly (4 of 4) and some Alcohol from inside.
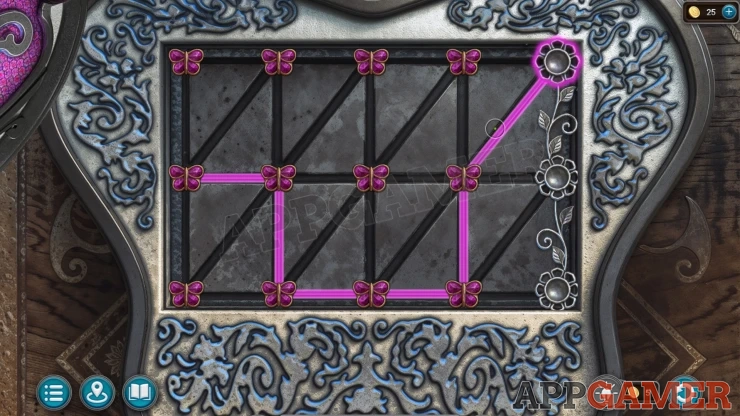
Then look at a Butterfly shaped box on the lower left of the room. Add the four Butterflies here to find a puzzle.
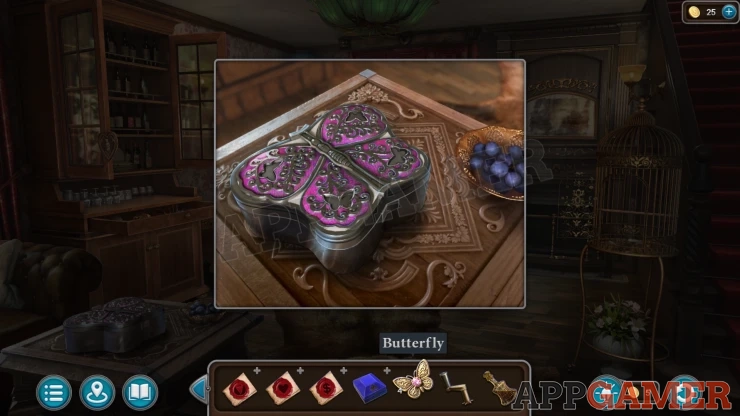
Butterfly Box Puzzle
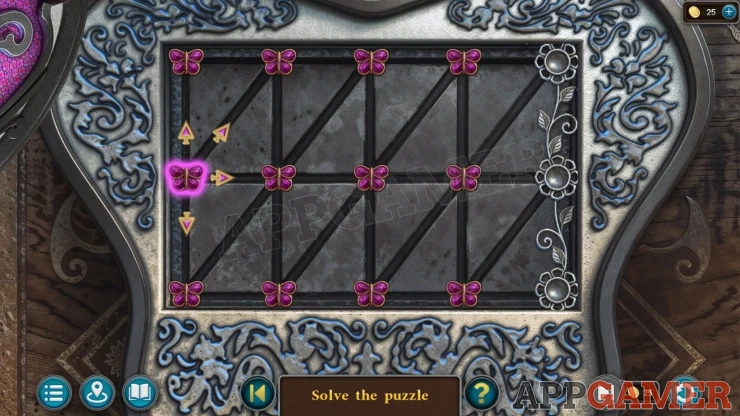
- From the starting butterfly on the left draw a line by selecting a direction.
- Make a line to reach accross to one of the three flower symbols on the right.
- As you move thorns will try to block your path. Find a way to corss the baord and avoid the thorns.
Solution: The solution may vary for each game. This was mine:Show
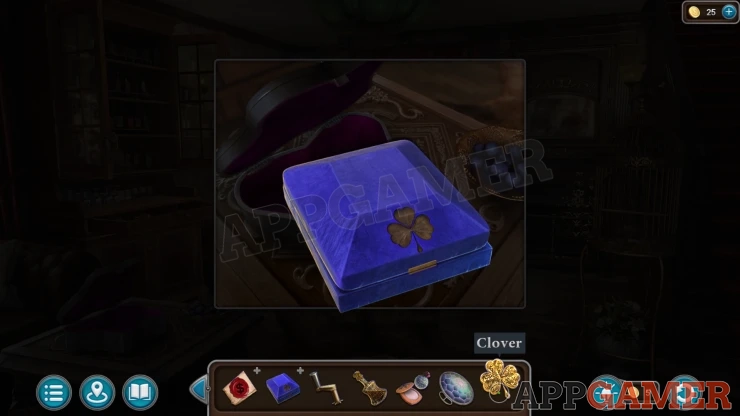
Collect Some Powder, a Mirror and a Clover.
Now view the blue Case in your inventory and add the Clover to it. It opens and you can read a note. You get Evidence - Mistress (3 of 4).
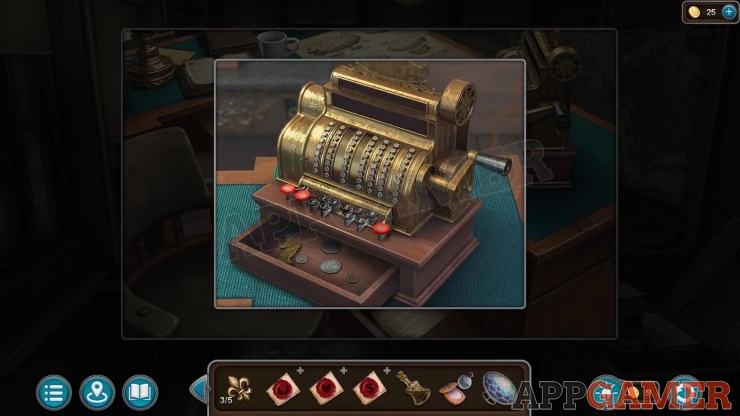
Return to the main office in the factory and view the Till / calculator machine on the desk. Add the four Keys to this and then the Handle. Turn the handle to open the drawer. Collect a Horse.
Go back again to Harvey's room in the mansion. View a chess board box on the small table on right behind the bed.
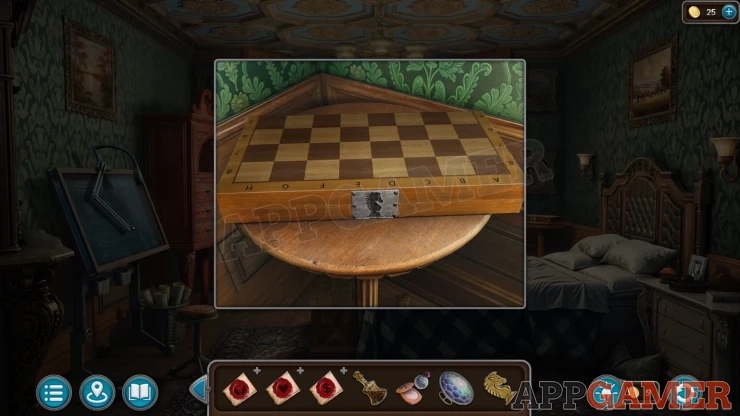
Use the horse to open the box and then collect a Cat and a Lockpick.
Then view the drawing board on the left of the room. Use the Powder on the board to reveal a hidden code.
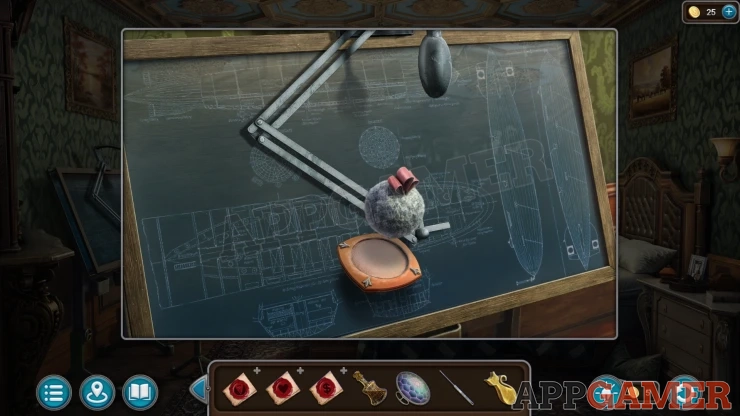
Now view the desk with the typewriter again. Add the Cat to the typewriter to activate the keys and start a puzzle.
Typewriter Puzzle
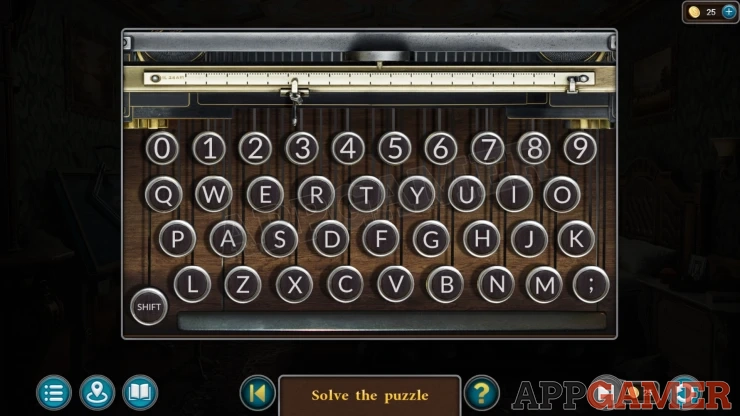
- Use the keys to enter the code seen on the drawing board.
- For capital letters you need to set the Shift key down first. Remember to raise it again for lower case letters.
A drawer opens, collect the Fleur-de-lis (4 of 5) and a Screwdriver.
Exit to the front of the mansion and then look at a square grate on the front of the wall below the entrance steps.
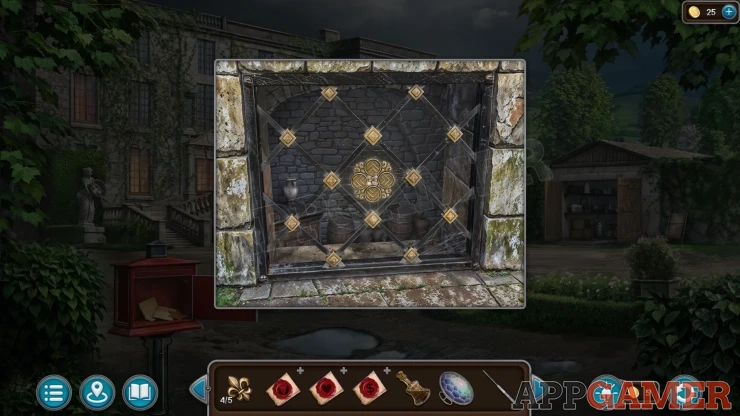
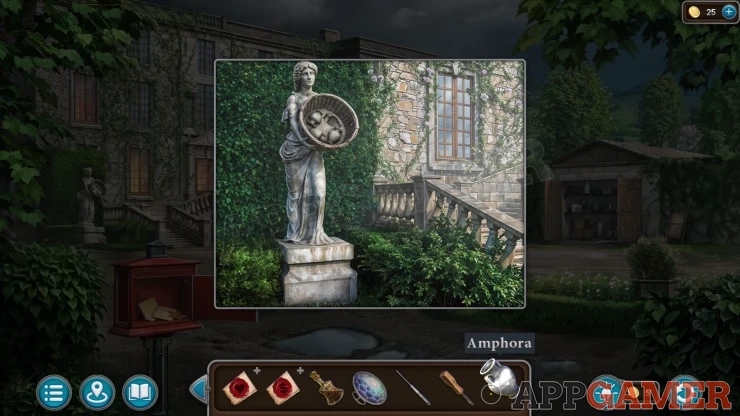
Use the screwdriver to remove the grate and then you can use the Cane to reach and collect the Amphora jug.
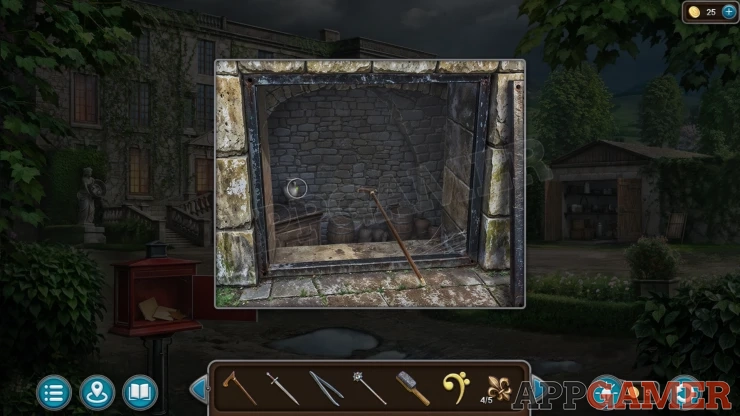
Next view a statue on the left of the entrance steps. Add the Amphora to the basket and a panel will open. Collect another Fleur-de-lis (5 of 5).
Go back to Harvey's Room and look at the head of the bed. Add the five Fleur-de-lis to the slots and then tap them to open a secrect compartment.
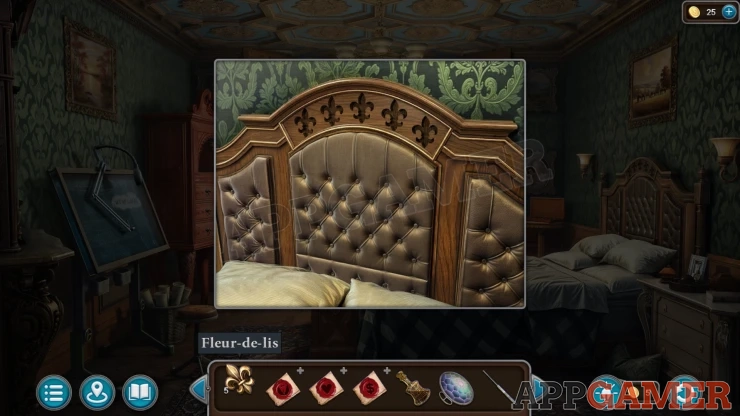
View the folder inside to collect the Evidence - Butler (7 of 7). Then also collect the Treble Clef.
Now return to the Artifact room in the mansion. First view a dirty glass cabinet on the right.
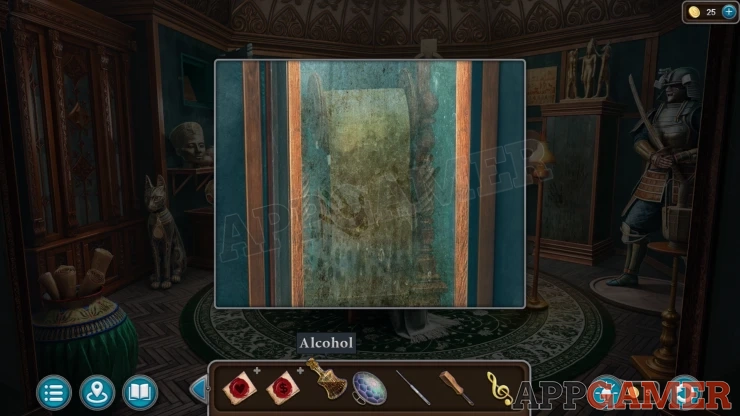
Use the Alcohol here to clean the glass to see inside, ther is a scoll with a pattern.
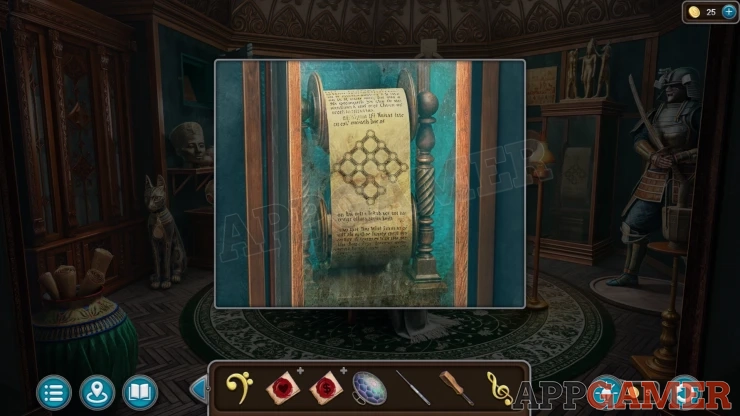
Next view another cabinet on the left of the room. Add the Treble and Bass Clefs to this to start a puzzle.
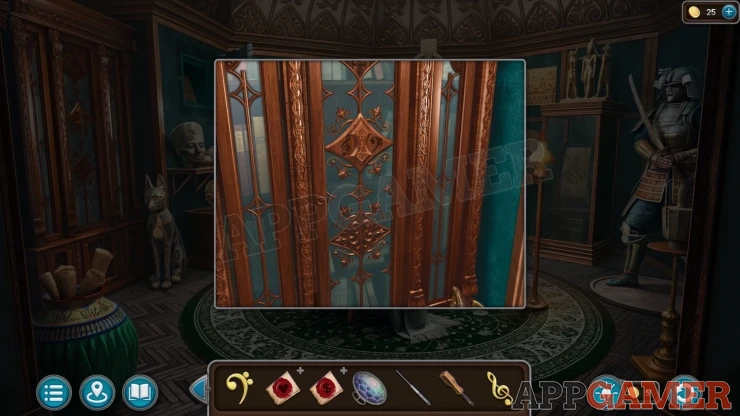
Treble/ Bass Clef Cabinet Puzzle
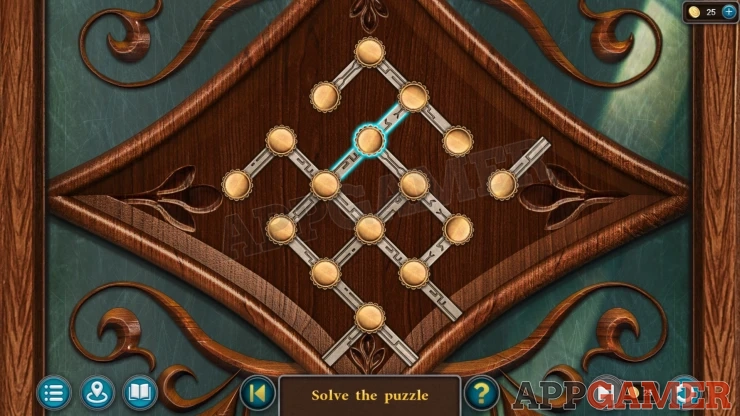
- There are 16 nodes on the board ewach with some lines attached.
- Tapping a node will rotate the lines around to make diffren connections.
- Arrange the lines to create a pattern that matches the one seen in the clue.
Solution: Your pattern may be differentShow
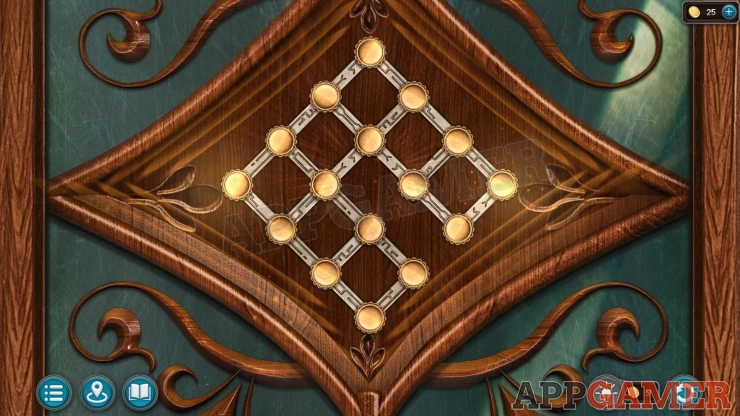
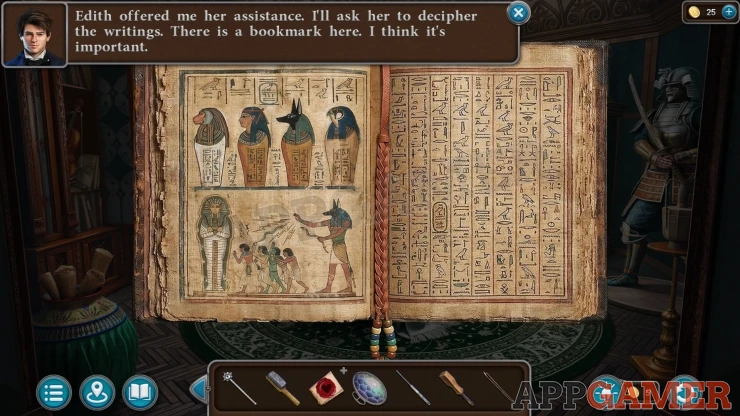
When the cabinet opens find Evidence - Business (4 of 4). Then collect the Bow and a Book.
Continue the walkthough in Part 3.
We have questions and answers related to this topic which may also help you: Show all
 With 20 years of experience in creating video game content for the internet and over 30 years as a gamer, Mark is now a passionate mobile App Gamer. Loving a challenge, he is always ready to get stuck in to both survival builders and puzzle solving games. He has been providing content for AppGamer since 2014.