
Chapter 3 - Victim Walkthrough Part 2
More Mystery Detective Adventure 2
This is the second part of the walkthrough for the third chapter of Mystery Detective Adventure 2. The latest episodes from FiveBN of Detective John Woodbray featuring his occult investigations.
In part 1 you have started investigating the disappearance of Amber the daughter of the High Councillor of a religeous community. You have been made to do this following the kidnapping of your girfriend Margaret.
Chapter 3 Walkthrough - Victim - Part 2
You have talked to the councillor and to Luka the head of the community, now you need to enter the school. You have just collected the Food supplies from the pantry and have returned to the dining hall.
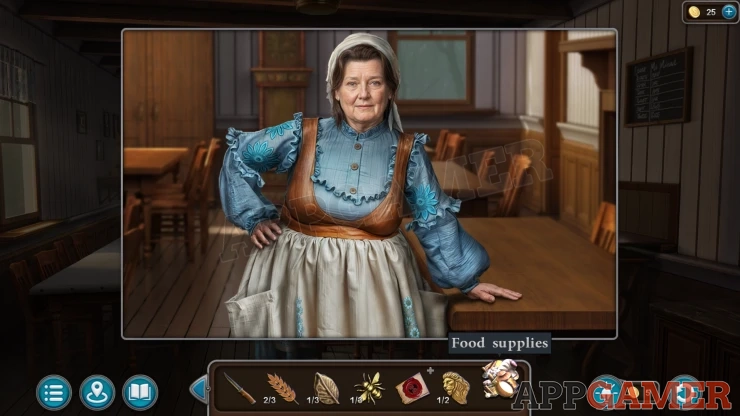
Give the food supplies to the cook and you will receive the Bone.
Return to the riverbank and approach the school building again. Place the Bone in the dog's bowl and you can then pass through the gate.
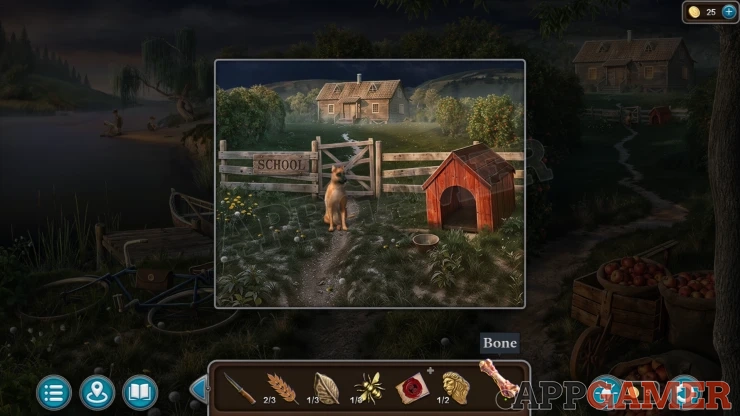
At the school use the Handle on the small roof over the door, on the left side. You will collect a Wheat Ear (3 of 3).
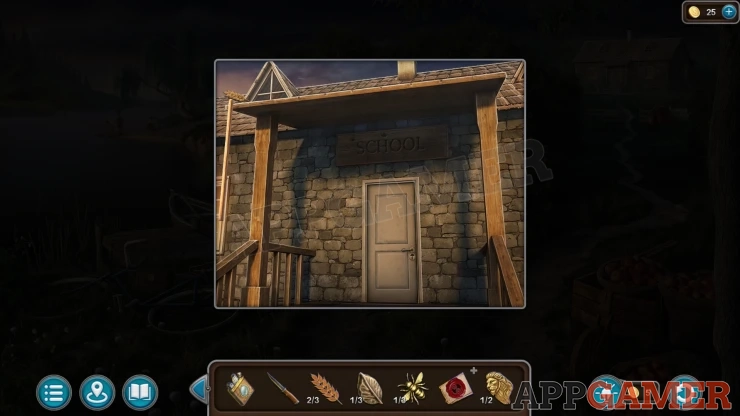
The school door is locked. Go back to the store room in the dining hall and view a small chest on the floor on the right. Add the Three wheat ears here to find a puzzle.
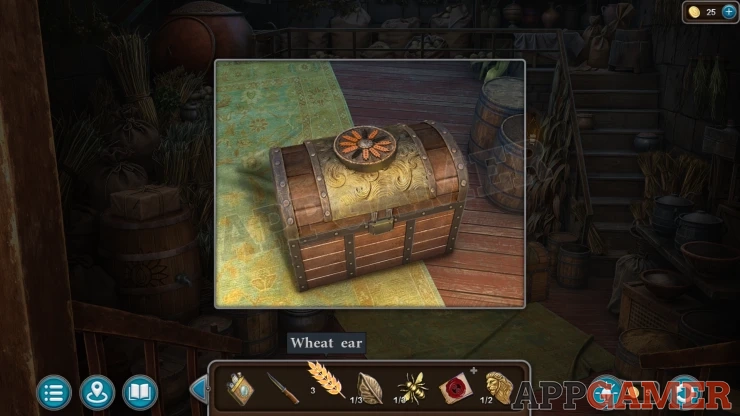
Wheat Ear Puzzle
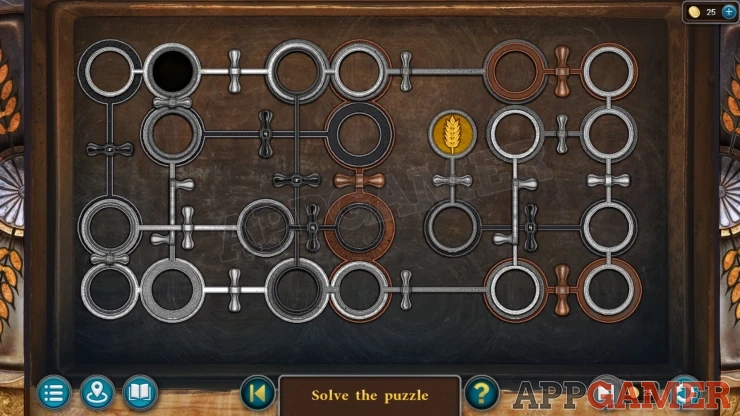
- The board is made up of circles connected by rods. On the rods are small vertical handles that will let you rotate the rods and switch the circles around. This also moves anything in the circles.
- There is a wheat ear token in one of the circles.
- Using the handles move the whjeat ear around the board to place it into the black circle.
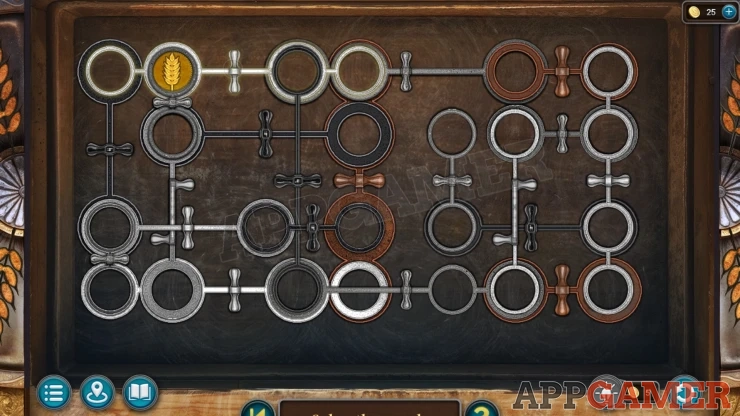
Once done collect a Wrench and an Empty Oil Can.
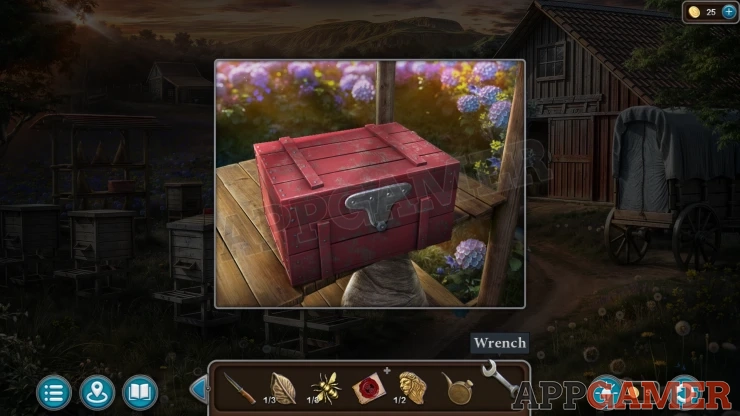
Go to the Apiary field and view the shelves on the left again with a red box. Use the wrench on this to open it and collect a Key.
Go to the house of the councillor and look in the bedroom on the left.
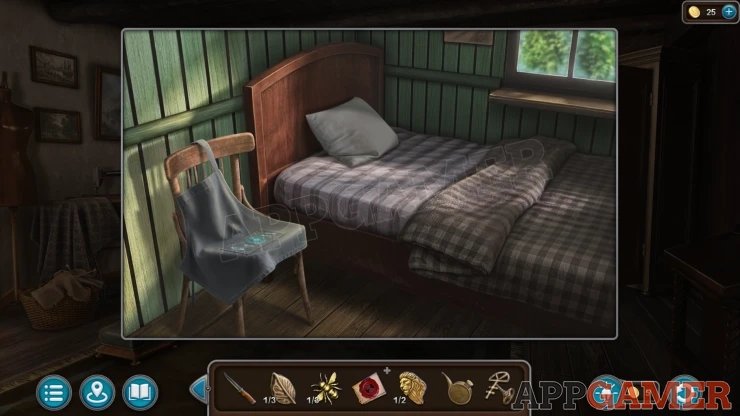
Move the chair away and then find the lose floorboard on the lower left and use the knife to lift it.
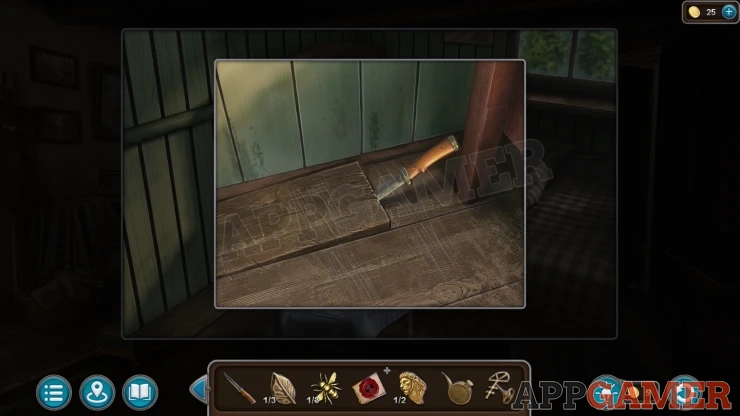
Inside read the note to get Evidence - The Counselor's daughter (1 of 6).
Then collect the Board with the Letter A.
Return to the school house door and use the key to open it and go inside.
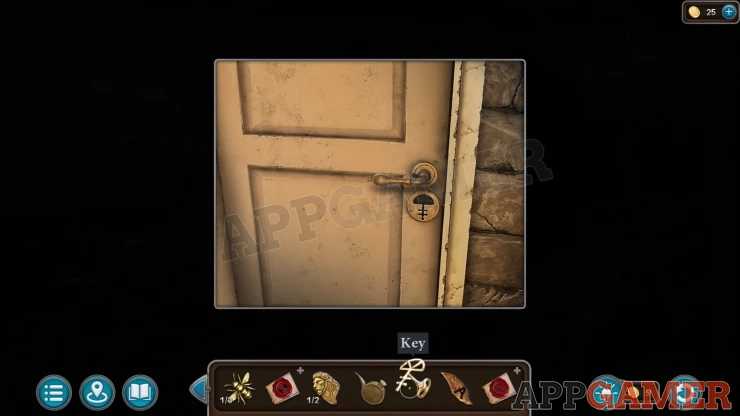
Talk to the school teacher. You will get Evidence - Conflict (2 of 6).
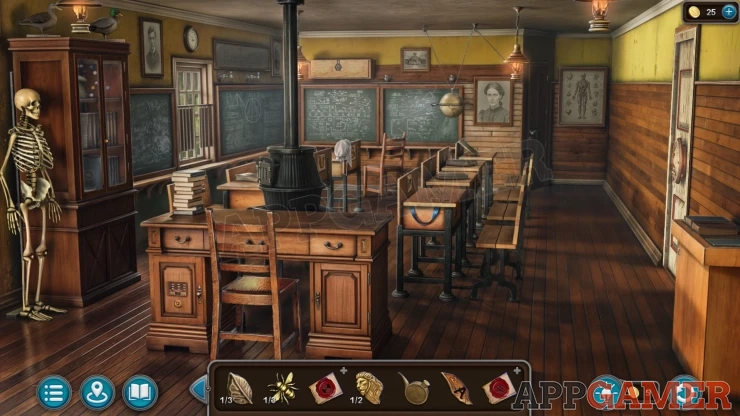
Morphing Object: chalk diagram on a board on the back left.
View the first desk on the right to see some grafitti. Tap this to get Evidence - Conflict (3 of 6).
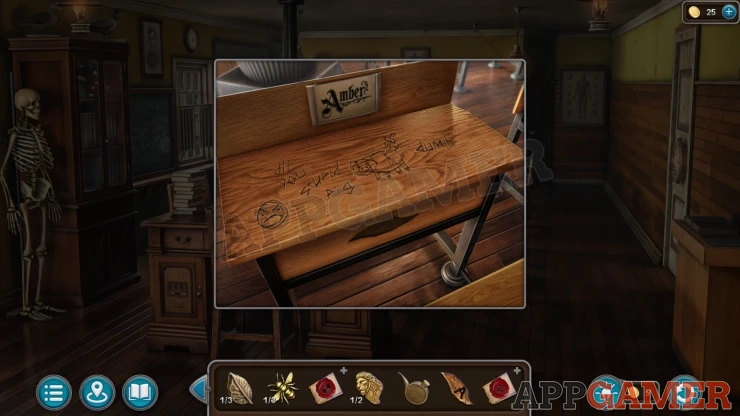
Thjen add the Board with the Letter A to the front of the desk to open it. View a photo inside to get Evidence - Conflict (4 of 6).
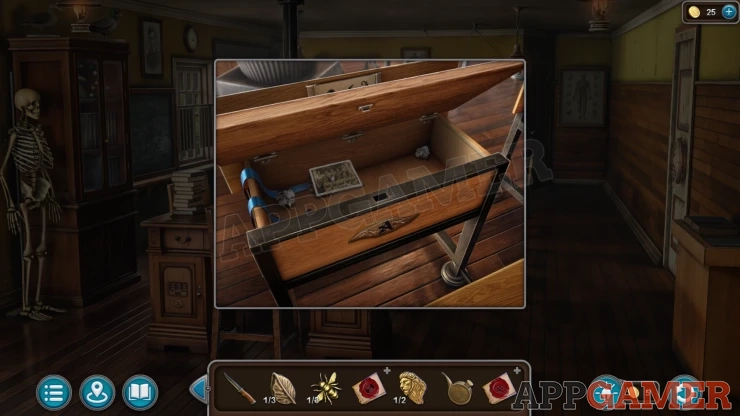
Collect a Flower.
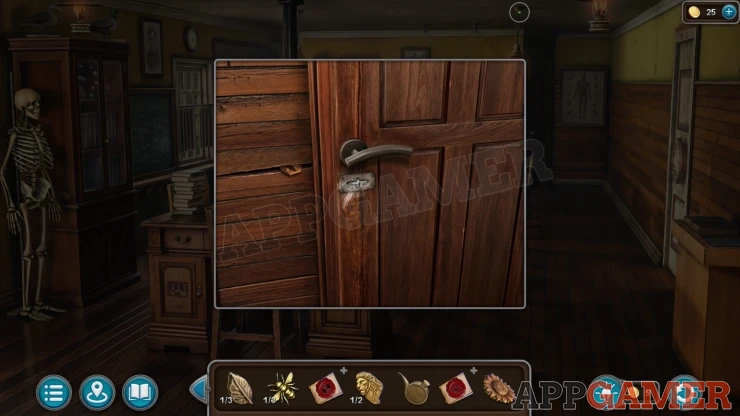
Next view a door on the back right. It is locked, Collect a Carved Bell from the wall to the left.
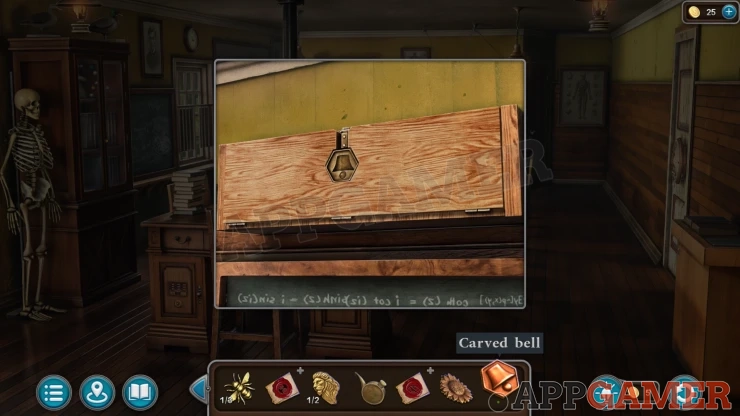
Now view a box on the wall above the left blackboard on the back wall. Add the Carved Bell to it to open it. Collect a Syringe.
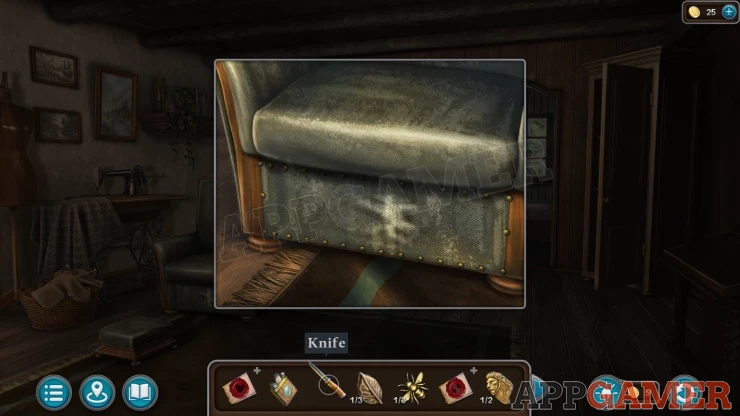
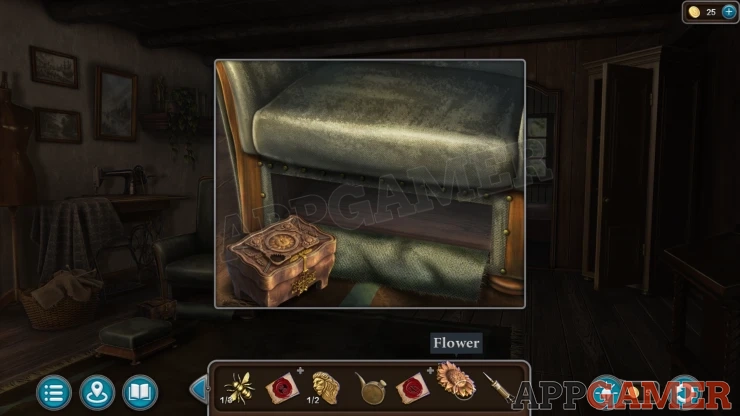
Go back to the councillors house and view the bottom of the councillors chair. Use the knife here to cut a hole and find a box.
Add the Flower to the box to find a puzzle
Flower Box Puzzle
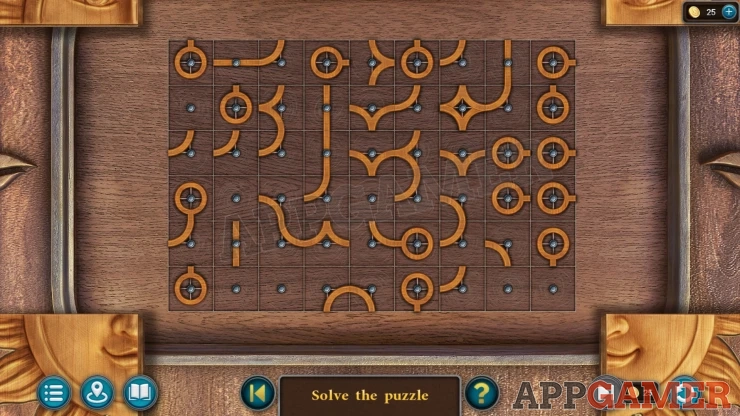
- Tap each of the squares on the board to roitate the curved lines.
- Arrange the lines to join up and form only continuous lines around the board.
Solution: Your puzzle may look differentShow
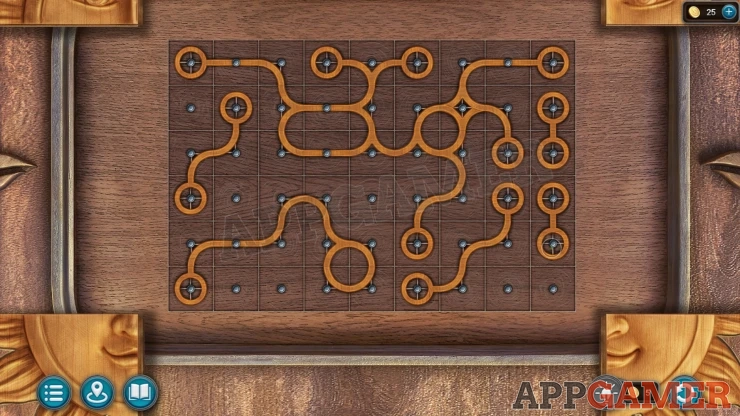
Open the box and find a note, Evidence - The Councillors daughter (2 of 6)
Also collect a Moon.
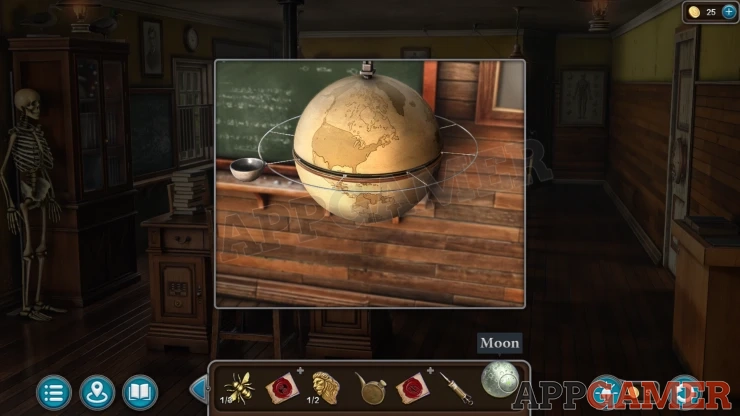
Go back to the schoolhouse and view a globe hanging in front of the blackboard, add the moon to this to open it and collect a Leaf (2 of 3) and a Panel.
Now look at the door on the lower left of the school teachers desk. There is a safe here.
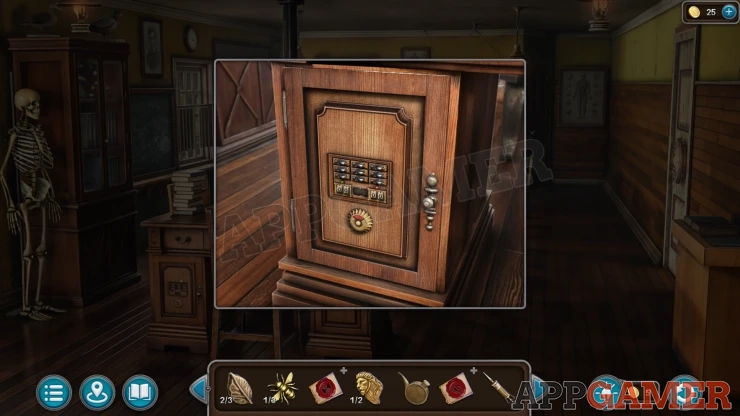
Add the Panel to the safe to begin the puzzle.
School Desk Safe Puzzle
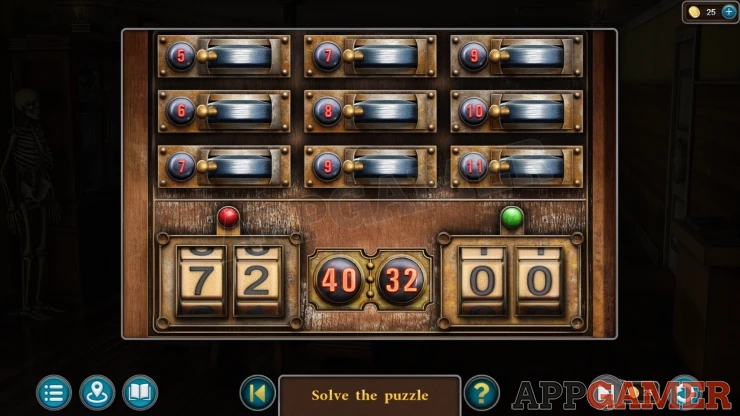
- At the top are 9 switghes with numbers, the switch can be set to the left or the right.
- At the bottom are two set of numbers that can be changes and a panel in the center that has the target numbers on it.
- When you move the switches the number at the bottom with show the total for all the switchges that are set left. THe number on the right will show the total for all the switches that are set right.
- Set the switchges so that the numbers match the ones on the panel.
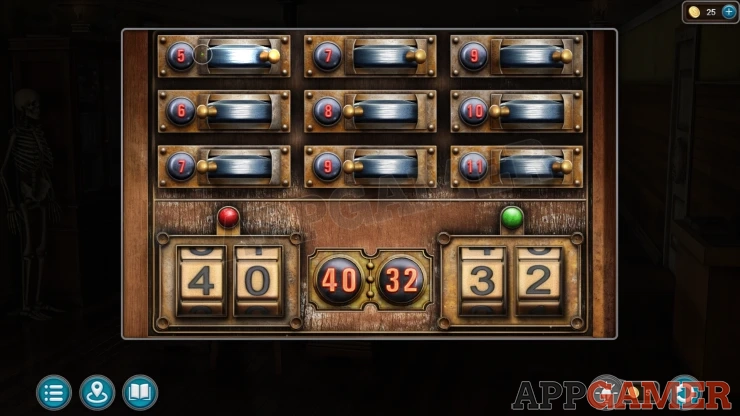
When the door opens collect a Key and a Handle.
Look at a glass cabinet case on the left of the schoolroom and add the Handle to it. Open the door and collect the Tweezers.
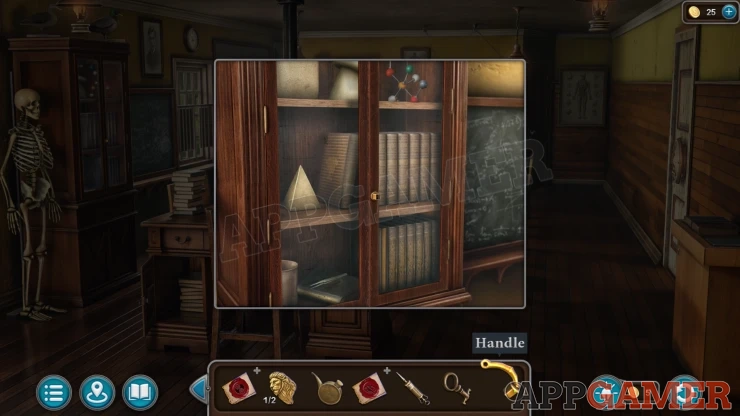
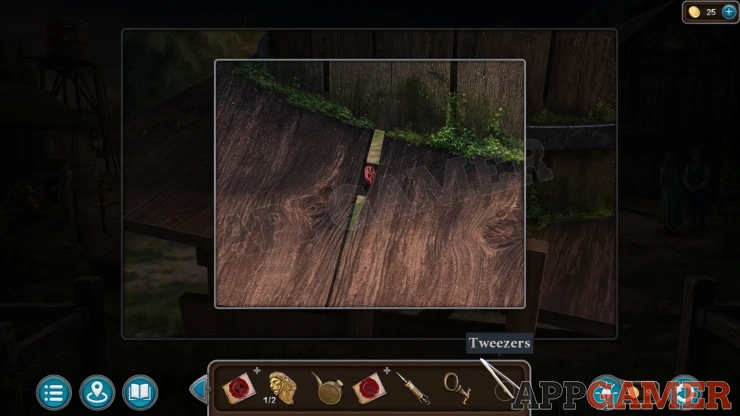
Go back to the town square and view the Water tower again. Use the tweezers on a small crack in the boards and collect a Valve wheel.
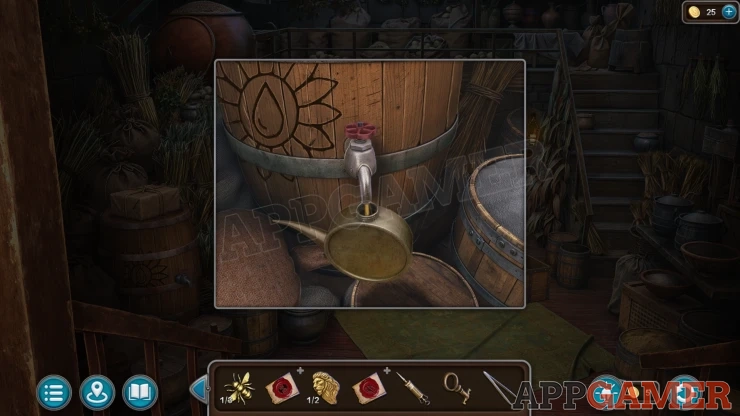
Then go to the store room in the kitchen. Look at a large barrel on the left and add the valve wheel to it. Then use the Oil can on it to fill it and collect the Full Oil Can.
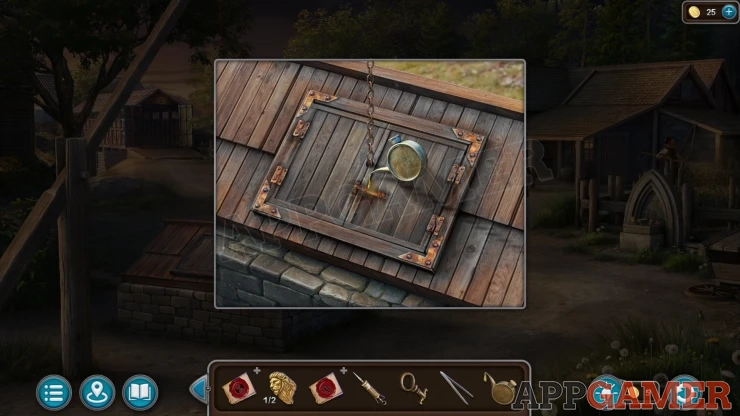
Go to the area with the bridge and the dining hall and view a bunker cover on the left with a chain. Use the oil can hear to loosen the bolt and hinges. Then open the doors.
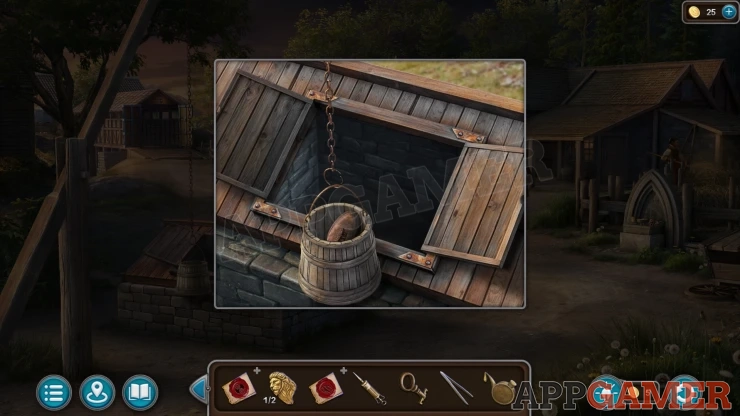
Look inside and then raise the bucket to find a shoe. You get Evidence - The councillors Daughter (3 of 6).
Now go to the apiary and enter the barn again. View the sliding doors on the right of the cow.
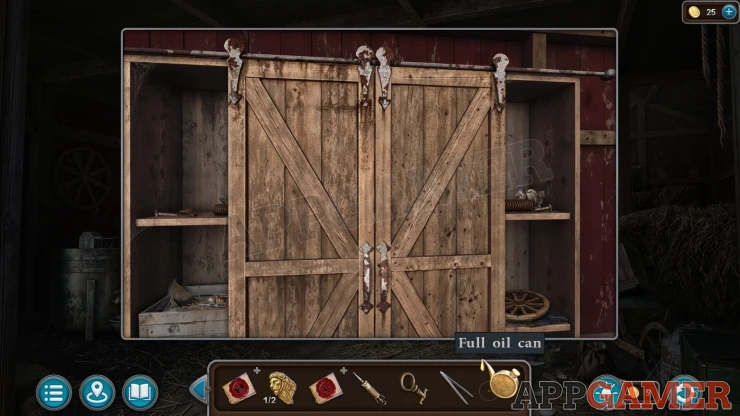
Use the Oil can here to loosen the doors so that you can open them. Then collect a Hammer and look inside a tool box on the shelf and collect a Bee (2 of 3).
Now go to the town square and view a metal box on the center platform. Use the Hammer to break the lock and open it. Collect a Hex Key and a Bee (3 of 3).
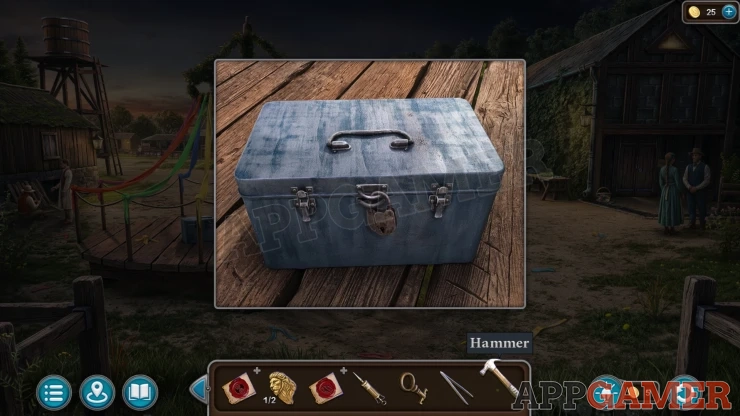
Now go to the Councillors house and view the glass tank on the back wall. Use the Hex key to open it and collect form inside a Handle (flower shape).
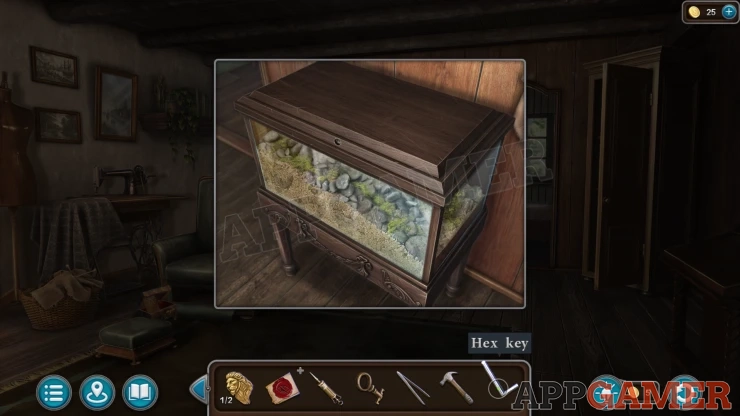
Then go to the river side. On the lower left is a bicycle on the ground. View the Bag hanging from the frame.
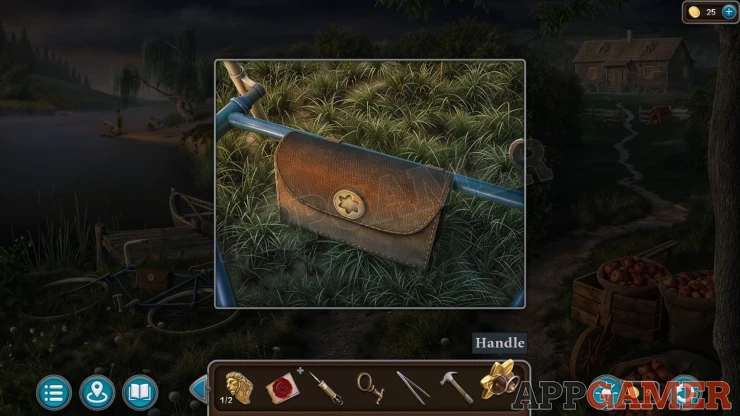
Use the flower shape handle to open the bag and collect Wire Cutters and a Winding Key.
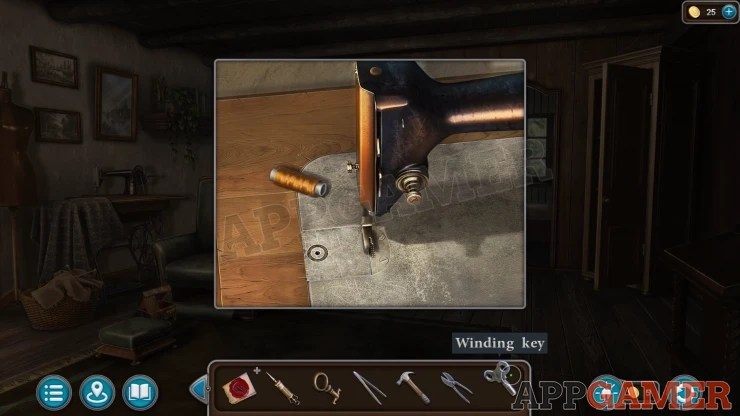
Go to the Councillors house and view a sewing machine on the left side. Use the winding key on the place to open it and collect an Awl.
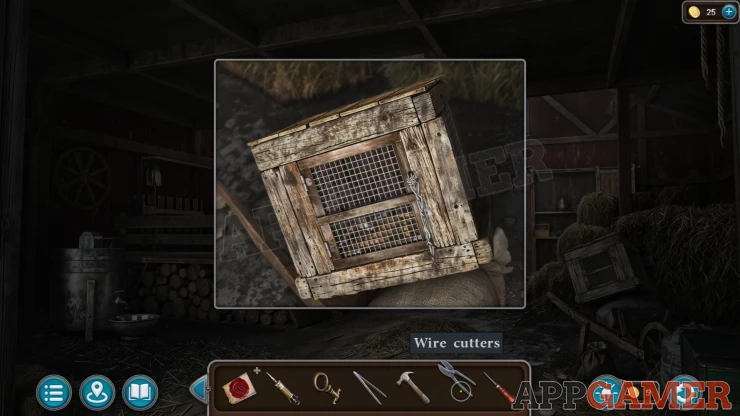
Go back to the Barn and first view a wooden crate on the right. Use the Wire cutters to open this and collect a Mitten and a Can Opener.
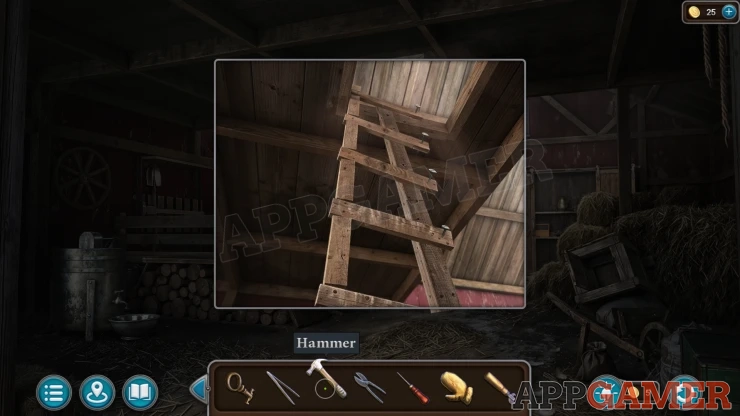
Then look at a broken ladder on the left of the barn, use the Hammer here to mend it.
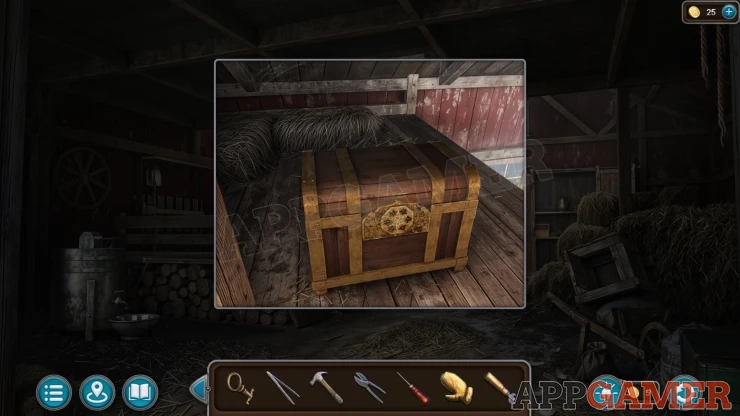
Then go up and find a red box. View this and add the three bees to it to start a puzzle.
Bees Puzzle
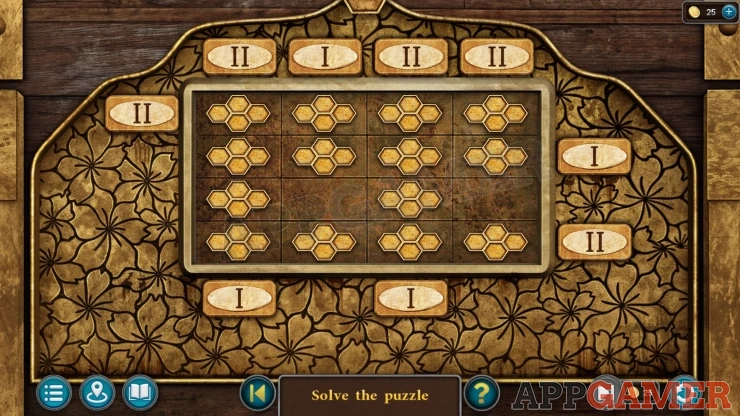
- The board has some squares with honeycombe symbols on them and some without.
- Around the sides there are some buttons with numbers.
- When you tap a button it will push out bee symbol blocks onto the board.
- Using the buttons push out bees to cover only the honeycomb symbols and not onto the empty squares.
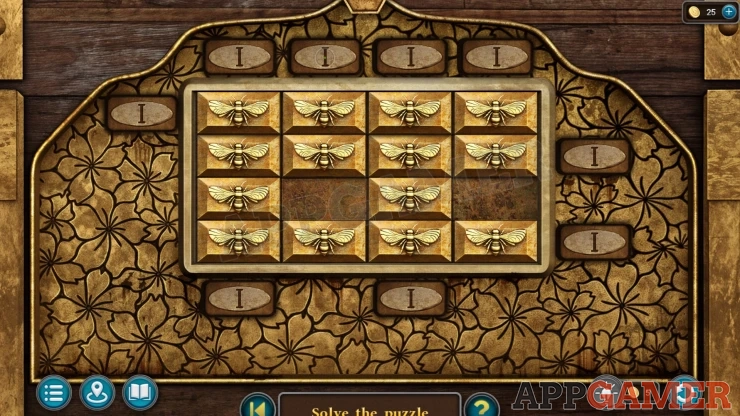
Once done you can collect the Key (beekeepers house). Go to the beekeepers house above the apiary field and use the key to open the door.
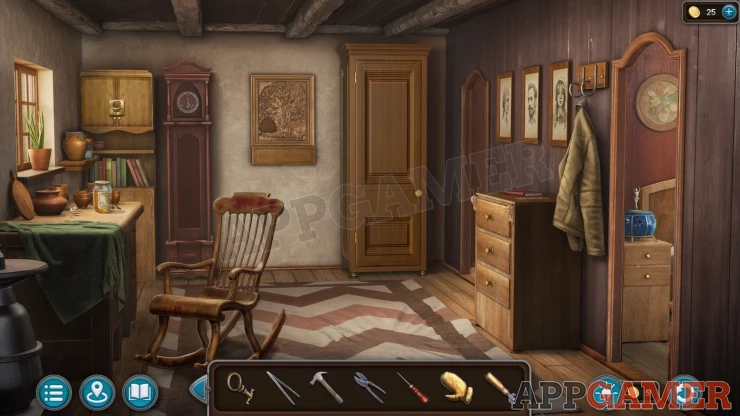
Morphing Object: decorative carving on top of the tall grandfather clock.
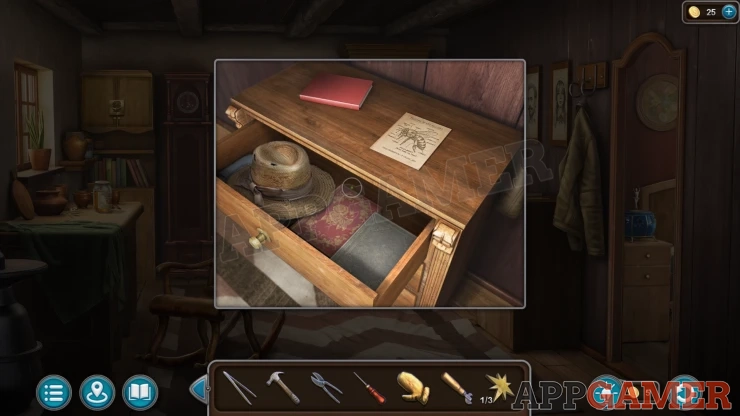
View a chest of drawers on the right, open the middle drawer to collect a Star (1 of 3).
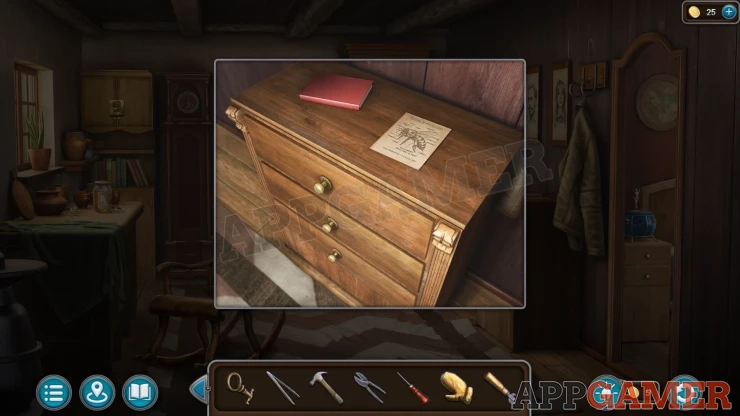
Collection Item: Straw Hat - open the top drawer to find it.
Open the tall cabinet on the back right of the room and collect another Star (2 of 3).
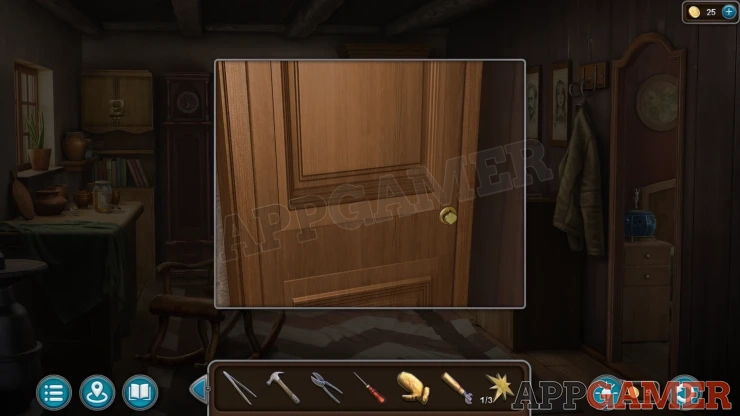
Then view the table on the left. There is a jar of vinegar. Use the Can opener on this to remove the lid.
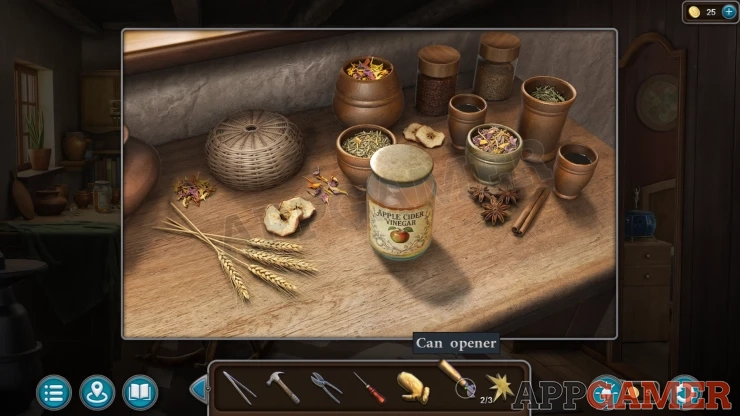
Then use the Syringe to collect Syringe with Vinegar.
Go back to the school classroom and view the door at the back again. Use the syringe here to disolve the chalk, then you can use a key to open it.
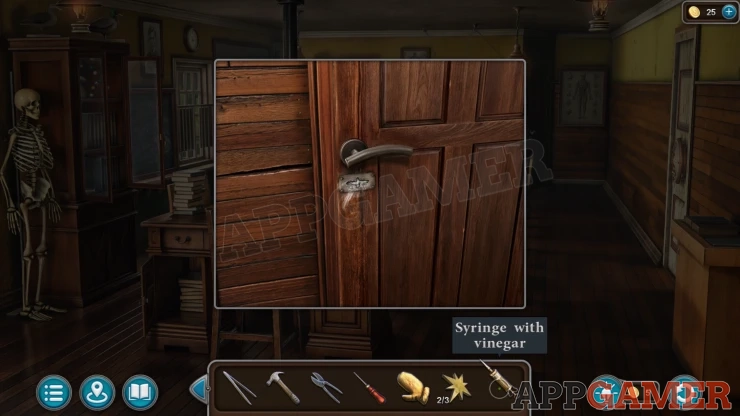
Look inside and tap the items on the floor to get Evidence - Conflict (5 of 6). Collect another Star (3 of 3).
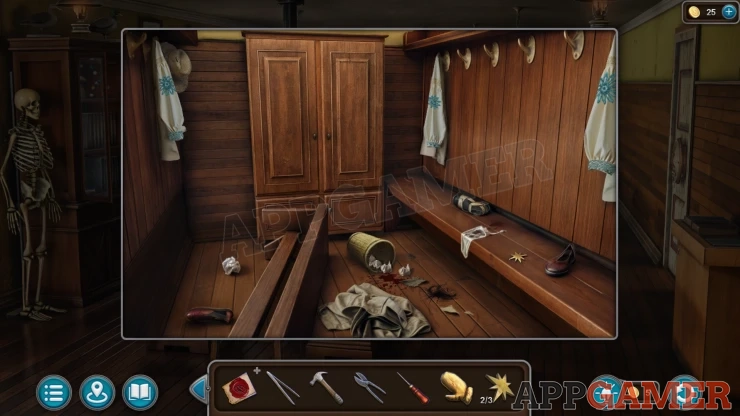
Collection Item: Straw Hat - on a hook on the top left.
Now return to the house of the beekeeper and then look in a bedroom on the right. There is a blue music box by the bed.
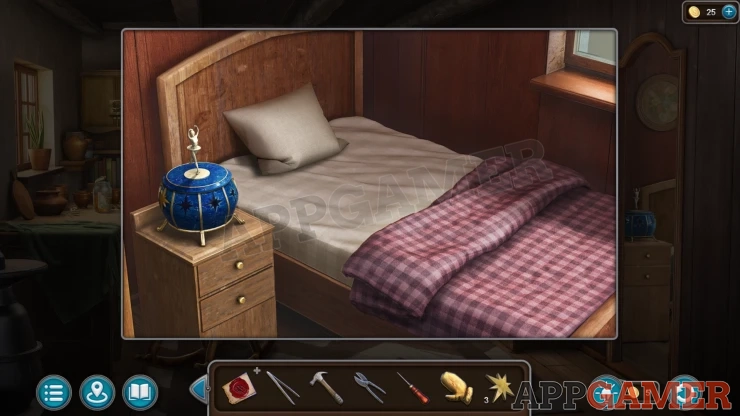
Add the three stars to this to open it and then collect the Evidence - Conflict (6 of 6)
Also collect the Board with the Letter S.
Task - Find the Choir Soloist
Go back to the school classroom and look at the desk to the right of the stove near the blackboard.
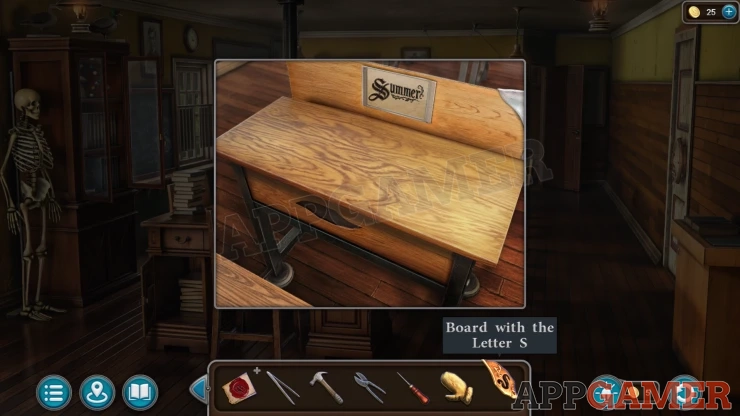
Add the Board with the letter S to open the lid, then view a card inside for information. Collect a Treble Clef.
Now go to the apiary field and then view the patch of purple flowers to the right of the house. Talk to Summer.
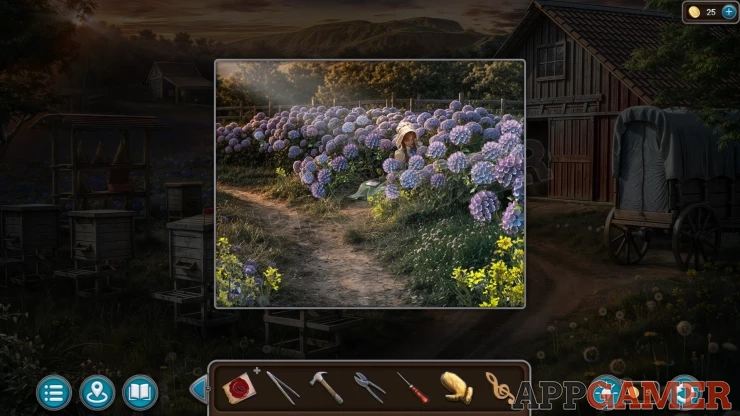
After this you will reveice another Letter.

Task - Solve the mystery of the letter
Read the letter to get Evidence - Margaret (2 of 4). and also a Key (shed).
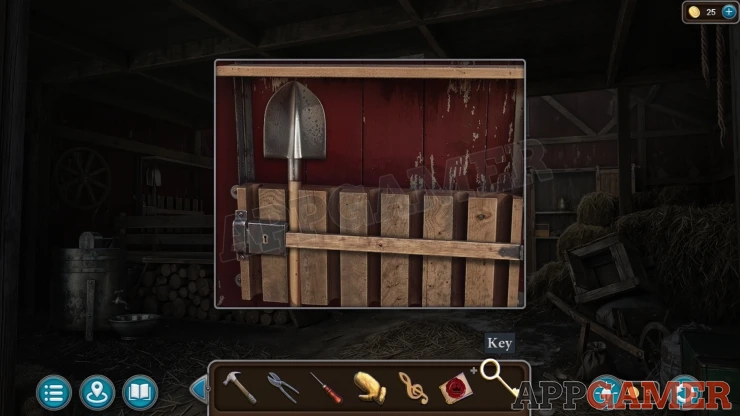
Go into the barn and view a tool rack with a shovel on the left wall. Use the key here to unlock and collect the Shovel.
Go back to the river bank and then look at the wooden path to the left by the boat. There is a broken board.
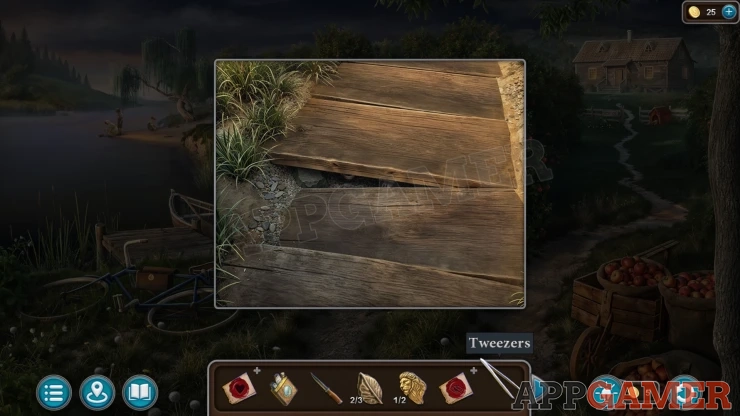
Use the Tweezers here to collect a Key from under the boards.
Go to the cemetery and then tap near the top center to find a locked gate to an old crypt. Use the Key to open this.
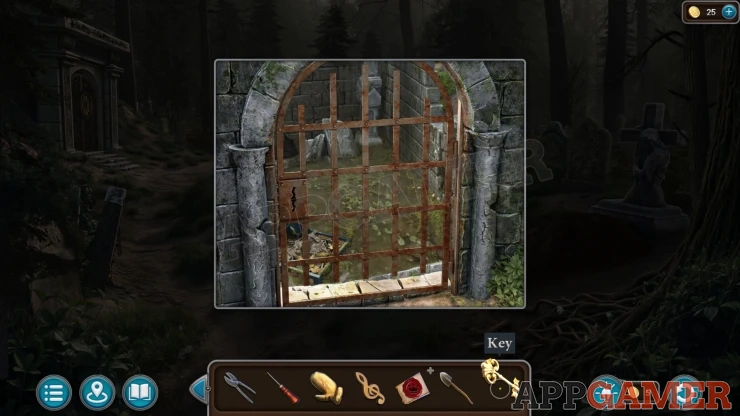
Look in an old chest on the ground and collect a Leaf (3 of 3).
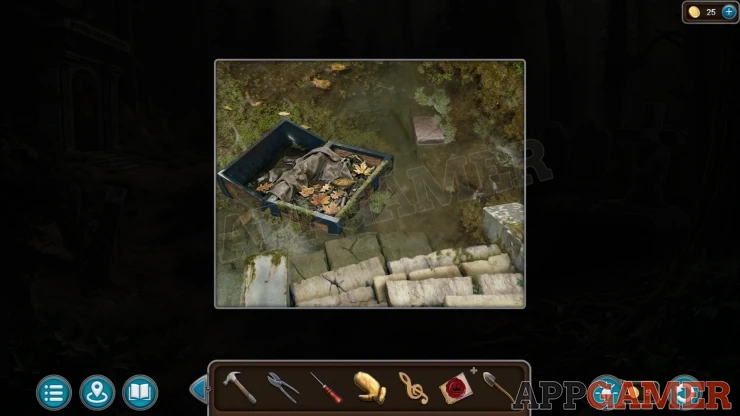
Then look at an old grave in the distance, it is by a tree to the right of the large crypt on the left side. The grave is covered with metal and vines.
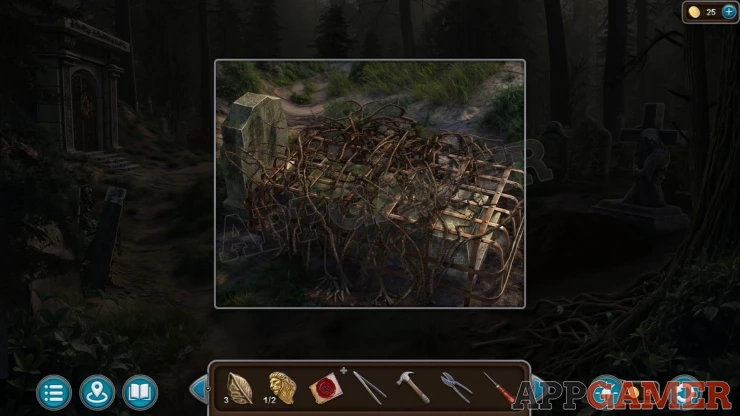
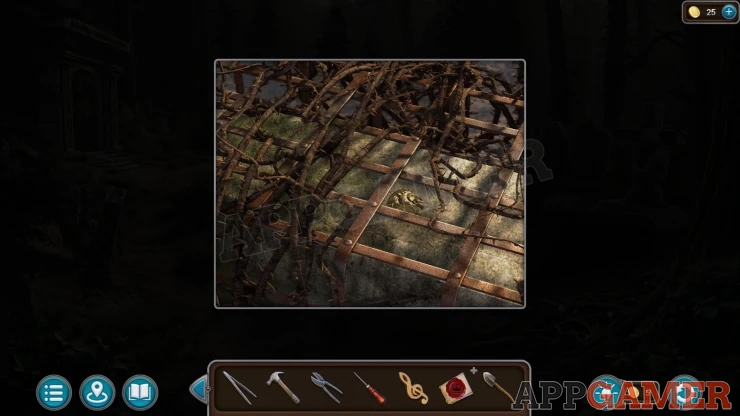
Use the Mitten here to move away the vines and then collect a Lions Head (2 of 2).
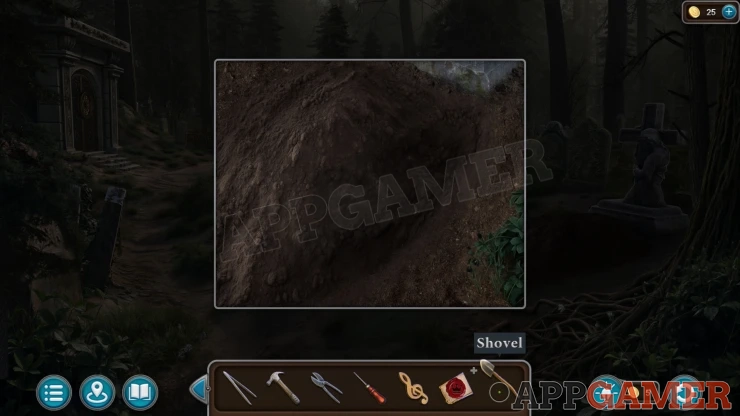
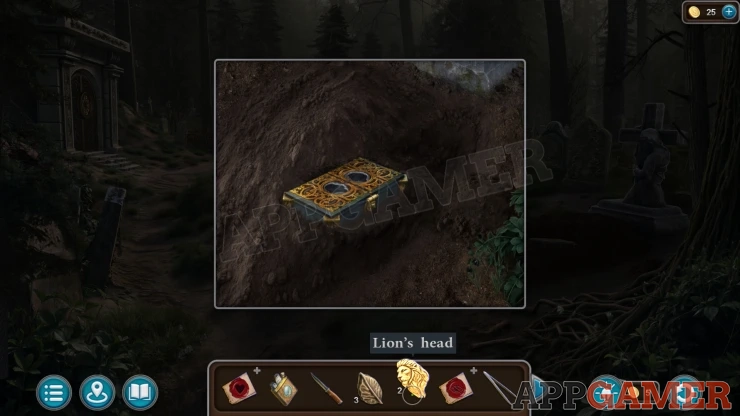
Then look at a fresh dug pile on the right of the cemetery. Use the Shovel here to dig and find a box.
Add the two lions heads to the box fo find a puzzle.
Lions Head Box Puzzle
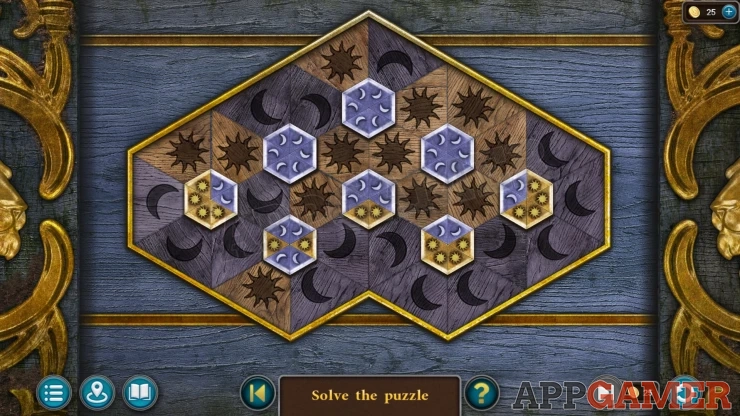
- There is a board full of triangles, each one has a moon or a sun symbol.
- There are hexagons that you can tap to rotate the triangles that are touching it.
- Arrange the triangles so that the symbols are touching the matching symbol on each hexagon.
Solution: Show
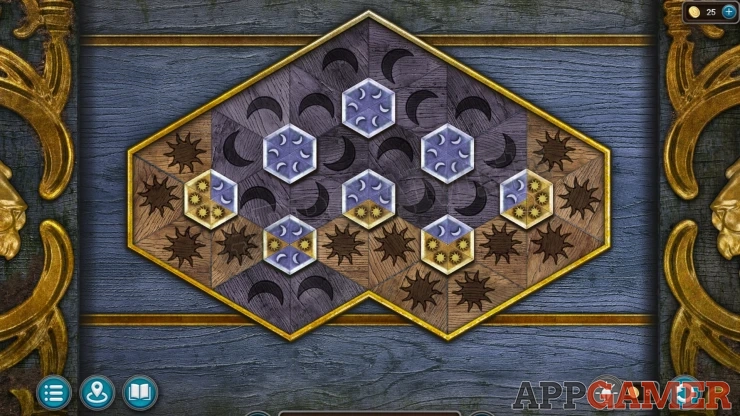
Open the box and find a finger - Evidence - Margaret (3 of 4).
Read the note inside, then collect a Figurine.
Continue the Guide in Part 3.
We have questions and answers related to this topic which may also help you: Show all
 With 20 years of experience in creating video game content for the internet and over 30 years as a gamer, Mark is now a passionate mobile App Gamer. Loving a challenge, he is always ready to get stuck in to both survival builders and puzzle solving games. He has been providing content for AppGamer since 2014.