
Chapter 1 - Faithfulness Walkthough
More Mystery Detective Adventure 2
This is our walkthrough for Chapter 1 - Faithfulness of Mystery Detective Adventure 2, second game featuring detective John Woodbrey from Five-BN games.
In chapter 1 you have left your detective agency following a bad case and are now spending time in a quiet seaside town when a local presents you with a new case.
Follow the walkthrough below for help finding all the hidden objects and guides to all of the puzzles.
Chapter 1 Walkthrough - Faithfulness
You receive a call from Marjorie Mortimer to ask for help solving the mystery of her daughter's frequent disappearances. But first you need to locate the client to go and speak to her.
Task - Find Marjorie Mortimer
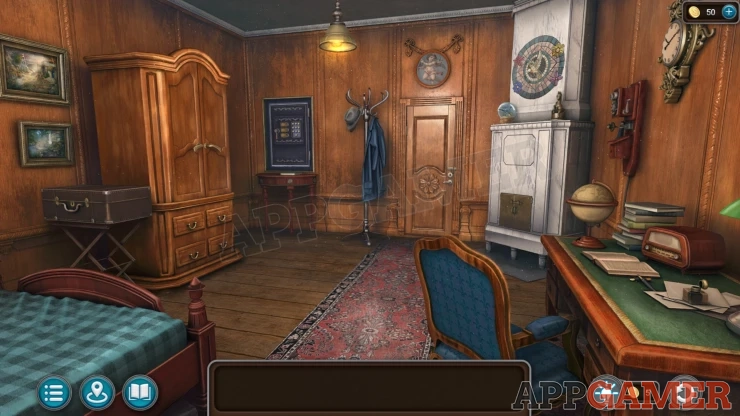
Morphing Object: Hat on the coat stand by the door.
Collection Item: Glass Ball on the shelf of the marble unit in the right corner.
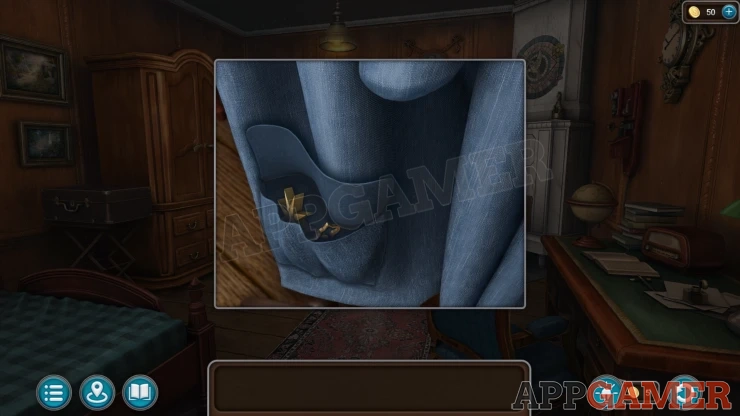
First view the blue coat on the coat stand by the door. Look in the pocket and collect a Star and a Key.
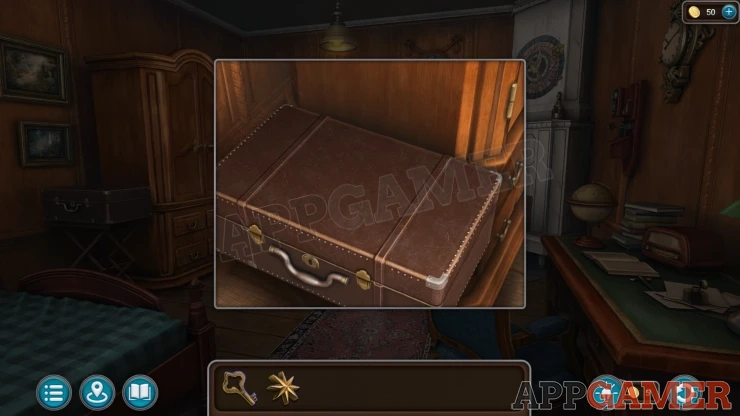
Then view a case on the far left and use the key to open it. Collect the Umbrella.
Next look on the desk on the right to see a Globe. Add the Star to the base and it will open.
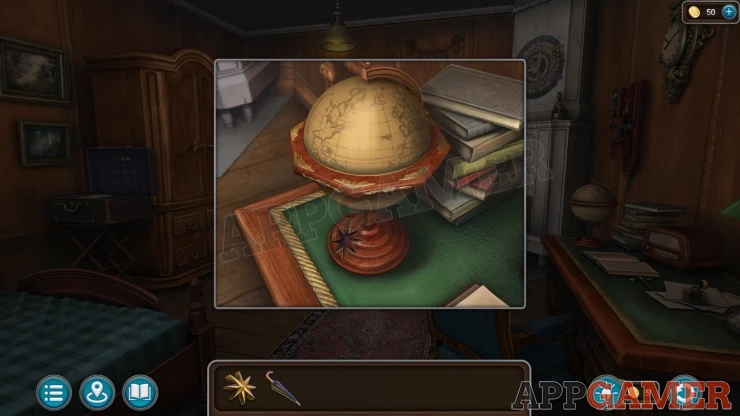
Collect a Star (1 of 2) and a Key. Then also collect the Safe Code.
Now view the Safe on the wall to the left. Add the safe code paper to this to start a puzzle.
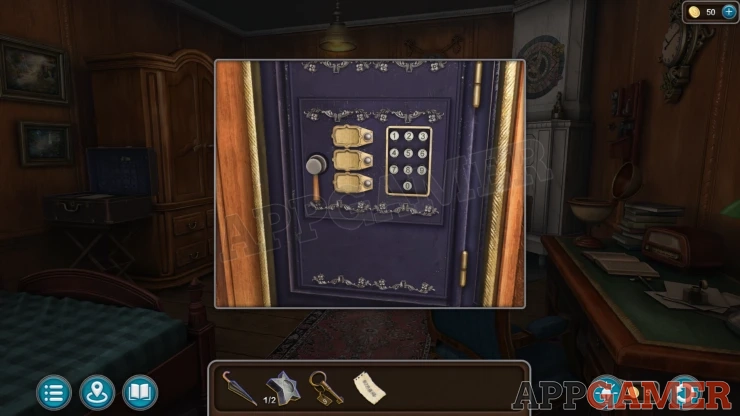
Enter the safe code using he keypad (two numbers at a time). This opens the safe.
Collect a Knife.
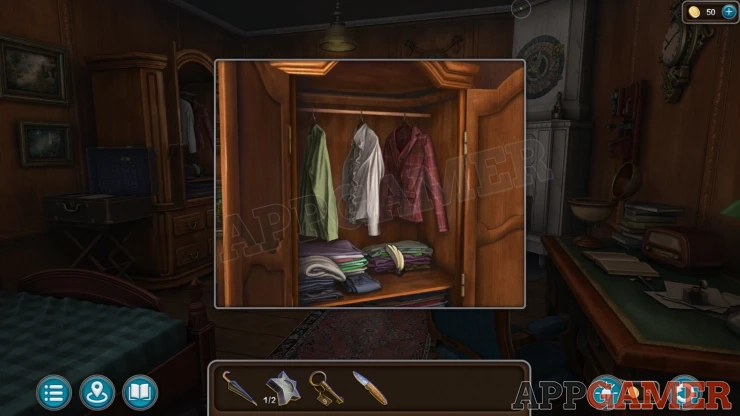
Finally open the wardrobe on the left of the room and collect a Feather (1 of 2).
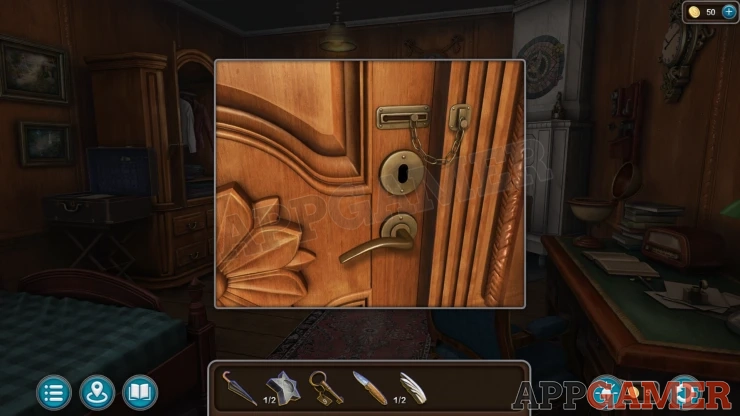
Now view the door and use the key to unlock it as well as tapping the chain to remove it.
Exit to the landing then tap the stairs to go down to the hotel lobby. You will talk to Vicky.
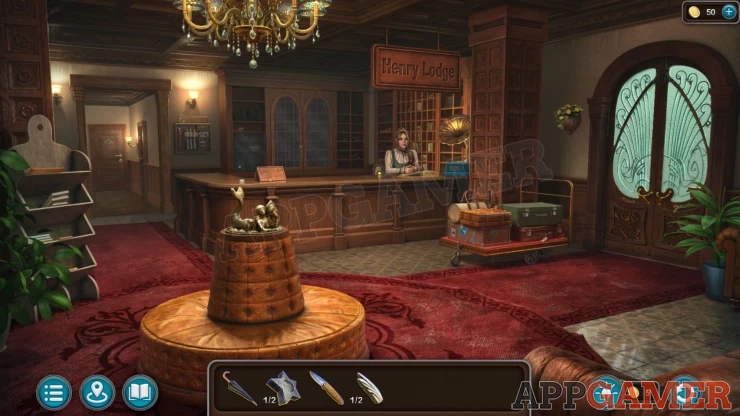
Morphing Object: Wall basket with flowers on the wall by the door on the right.
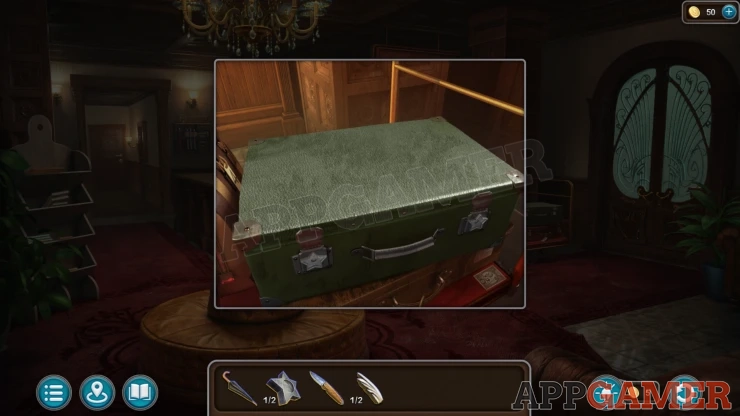
Collection Item: Stamp. View the green case on on the trolley of cases by the door and find it on the lower right.
Tap the door to exit to the street.
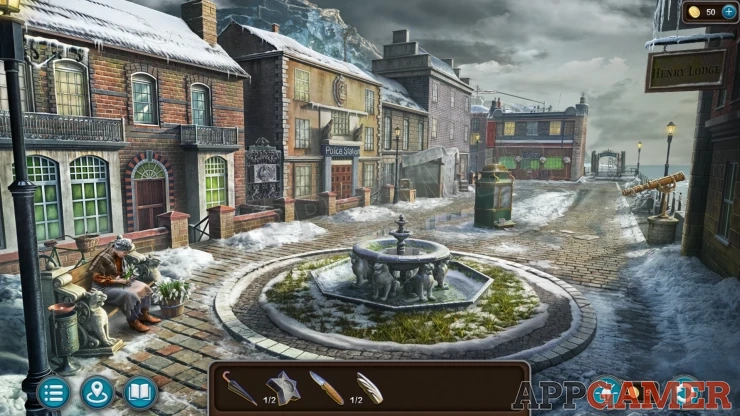
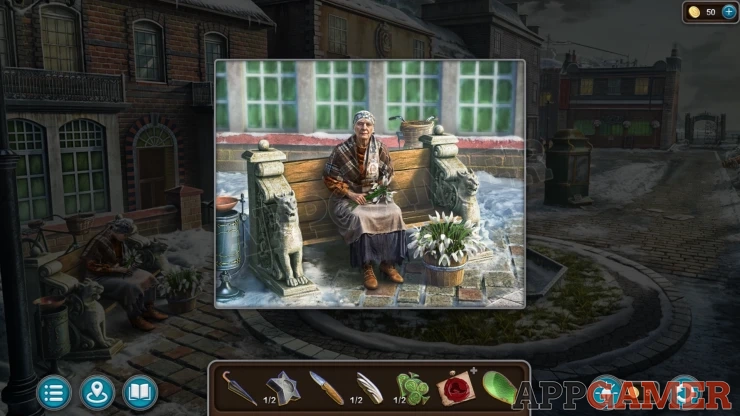
There is a lady here selling snowdrops.
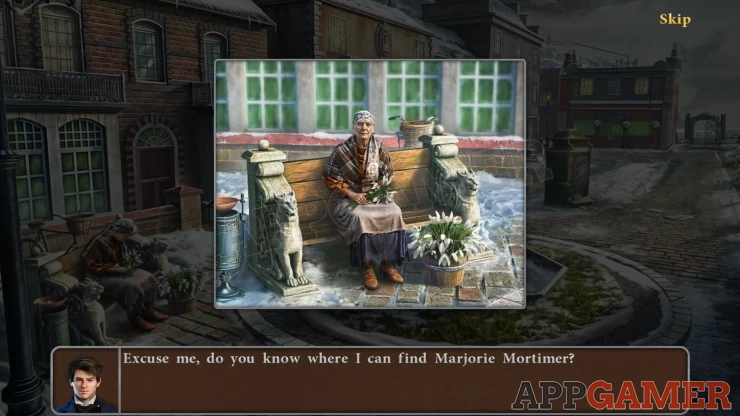
Talk to the lady to ask about Marjorie Mortimer. She directs you to the house.
Morphing Object: Weather Vane on the roof of the Police Station.
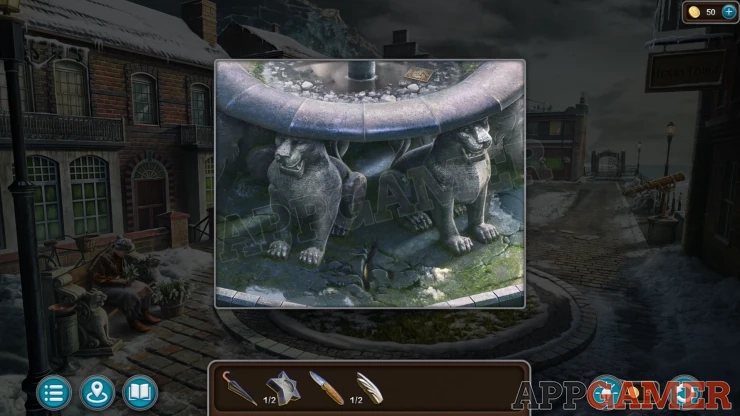
Collection Item: Stamp, view the fountain in the center to find it.
Tap the house behind the flower seller to enter it.
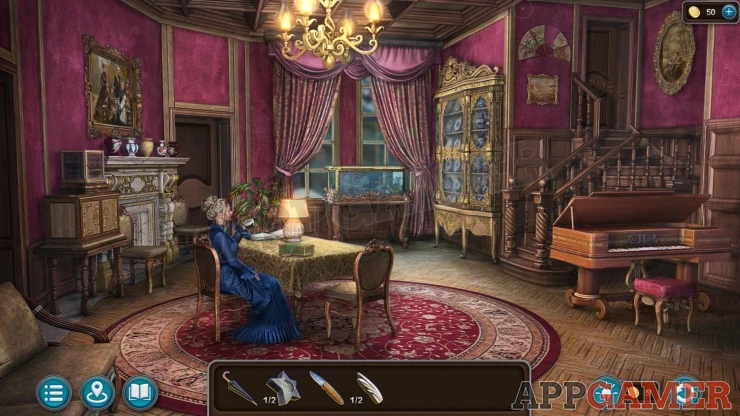
Talk to the client.
Task - Find Penelope Mortimer
Morphing object: Small center section of the pelmet of the curtains above the window.
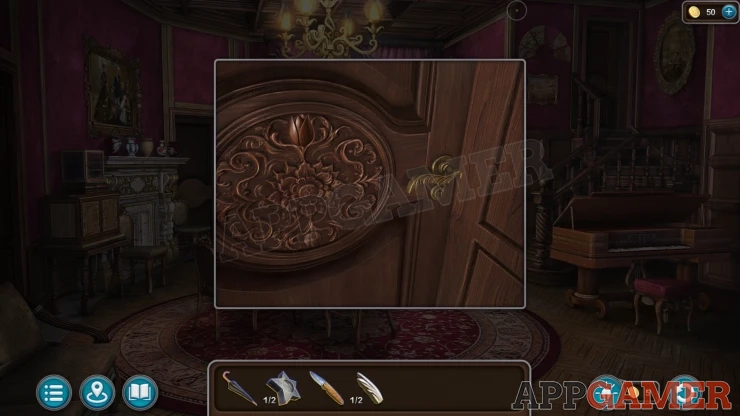
Tap the stairs on the right to go up to a locked door. Use the knife on the door decoration to collect a wooden Flower.
Go back to the living room and then view a painting on the left wall above the fire place.
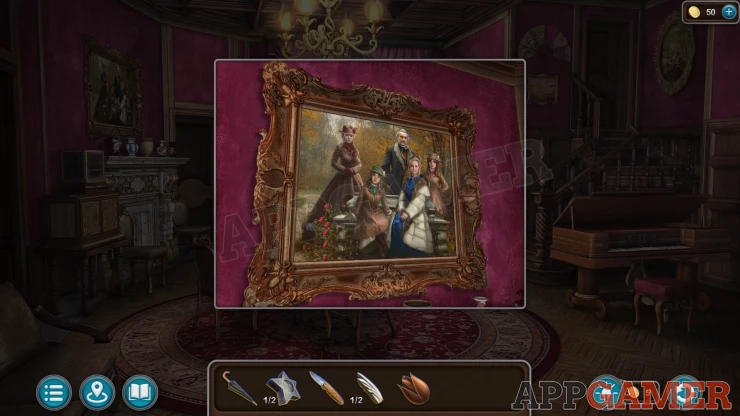
Add the wooden Flower to the left side of the frame and it will move. Collect a Key.
Go back up to the locked door and use the key to open it. Enter Penelope's Room.
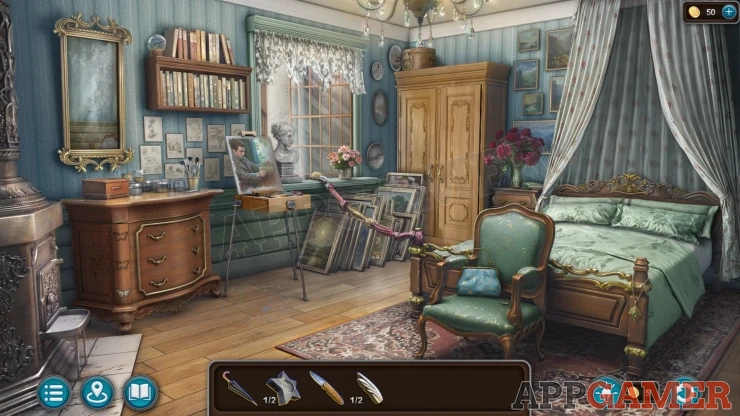
Collection Item: Glass Ball, on a high shelf on the top left.
Morphing Object: Whistle/pendant hanging on the closest right bedpost.
View the chair on the right, collect a Figurines (1 of 2).
Open the wardrobe on left of the bed and open the doors.
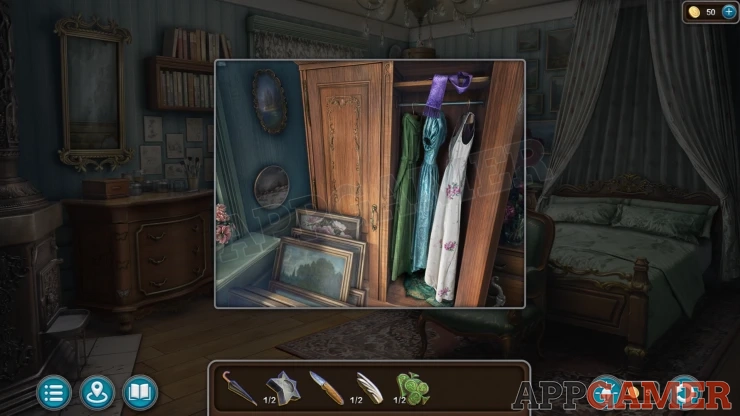
View a green dress at the bottom inside - Evidence (1 of 8)
Then also collect some Glass.
Tap on the Rope made of cloth that hangs out the window. Search for the Girl - Evidence (2 of 8).
Then tap the open window to look outside.
Tap on the footprints in the snow. Search for the Girl - Evidence (3 of 8).
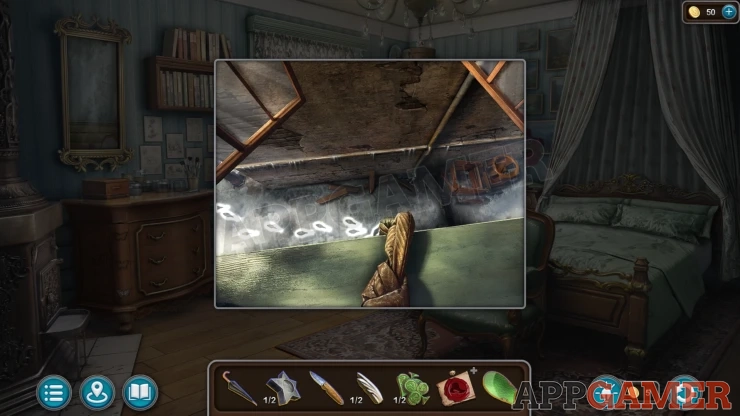
Back out to the street and talk to the flower seller again. Search for the Girl - Evidence (4 of 8).
Next look further down the road on the left after the police station. There is a stall in front of a house. Covered with a cloth.
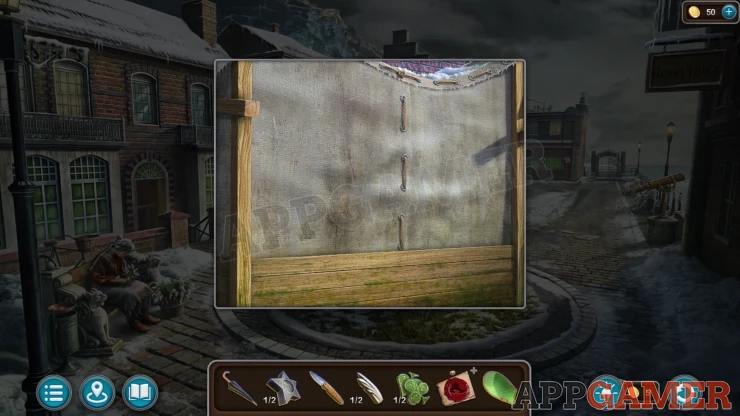
View this and use the knife to cut open the cloth, then you can collect a Key.
Next view a sign board in the center of the road. Use the key to open the glass doors.
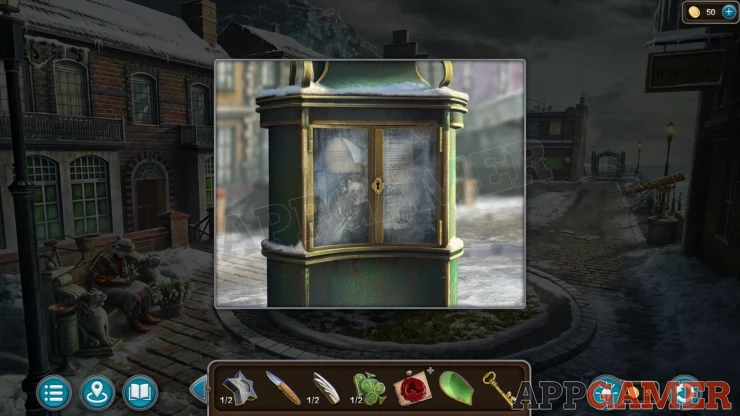
Read the various notices. The one from Professor Laroche. Then you can collect a Flower (1 of 4).
Next view the Gate at the end of the street on the right.
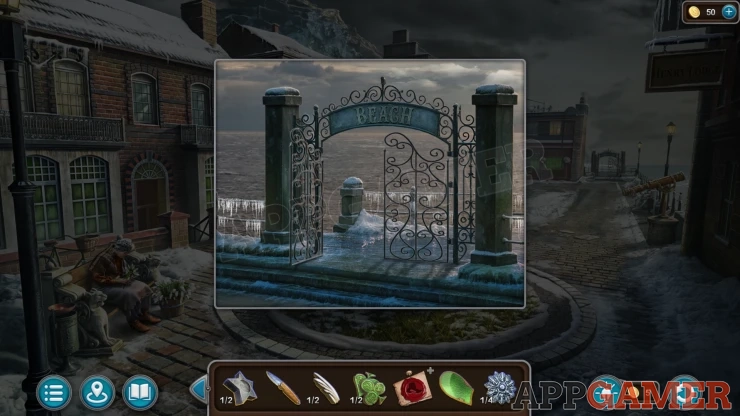
Go through to the Beach.
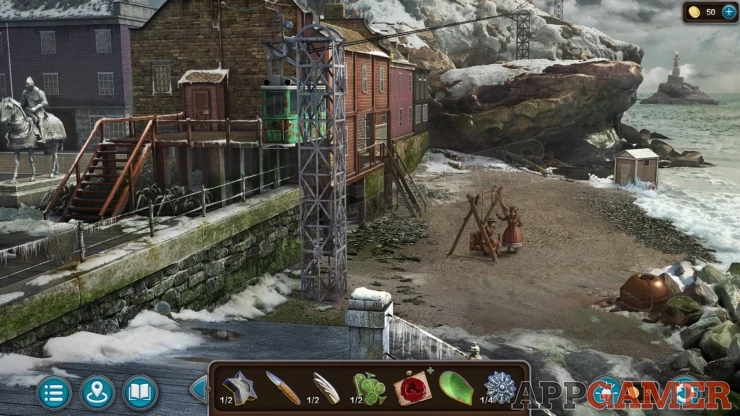
Collection Item: Glass Ball on the snow on the left side of the beach.
Morphing Object: cloth draped over the raining on the far left.
Talk to the two girls on the swing.
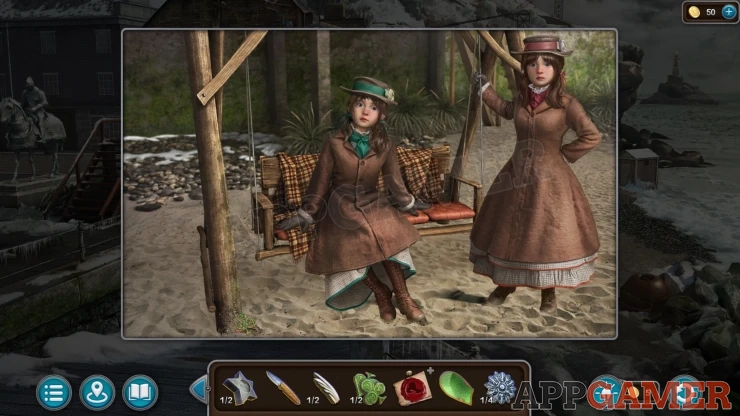
Collect a Figurines (2 of 2) from the left pole of the swing.
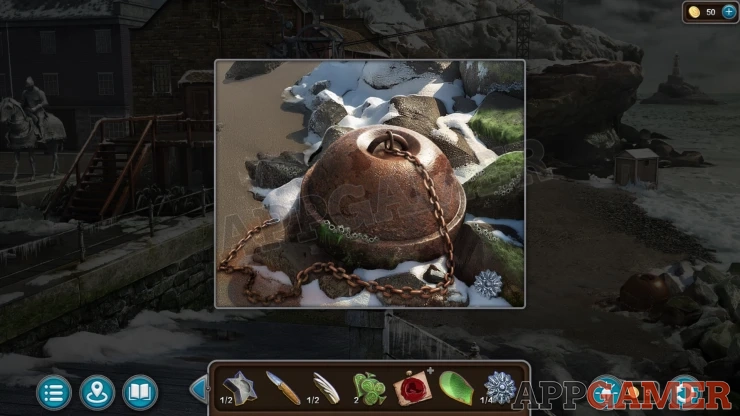
Then view a Buoy on the rocks on the right of the beach. Collect a Flower (2 of 4).
Go back to the clients house and look on the table where she was sitting. Collect a Silver Figurine.
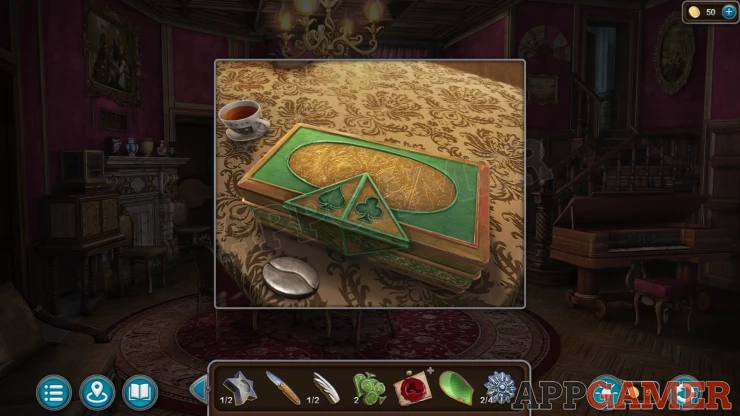
Then add the two green figurines to the box to open it. Collect an Awl.
Return to your room in the hotel and look in the safe again. Open the wallet and tap the money to collect Semper.
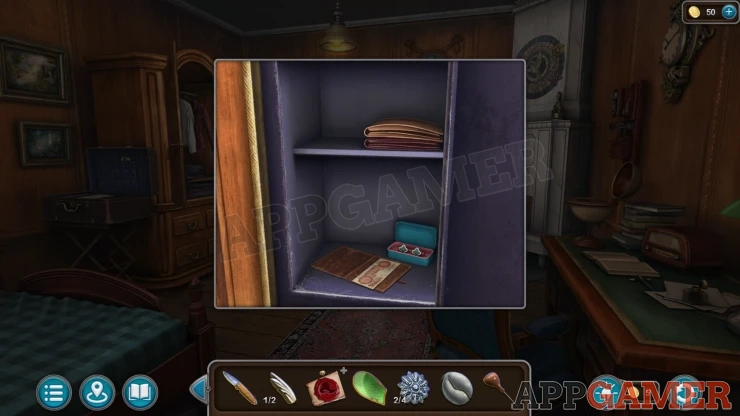
Return to the flower seller and give her the Semper. You will then receive the Flowers.
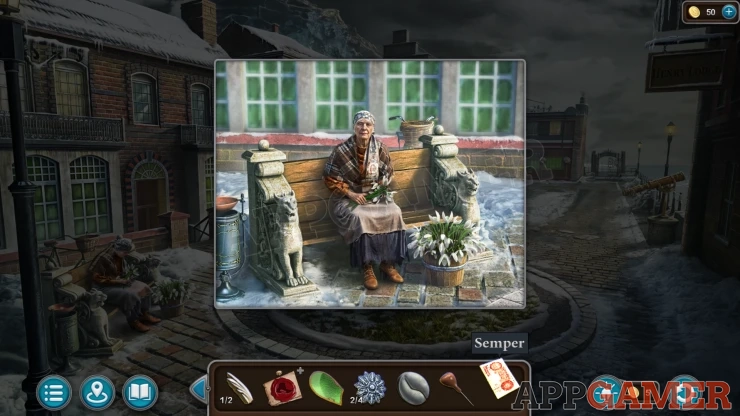
Then go to the beach and talk to the children, give them the flowers. They will give you information Search for the Girl - Evidence (5 of 8).
Back up to the street and then view the pub building at the far end by the gate.
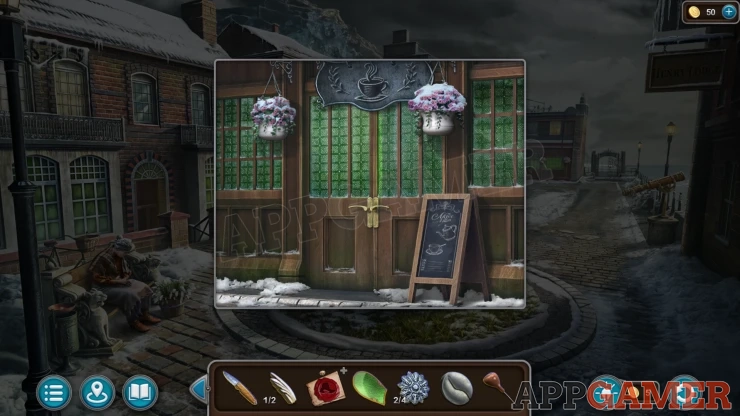
Open the door and go inside. Talk to the policeman on the left.
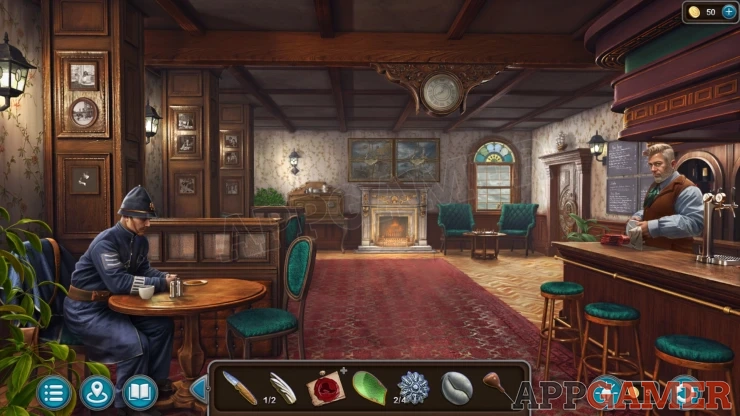
Then talk to the Bartender.
Morphing Object: Picture on the wall above the policeman's table.
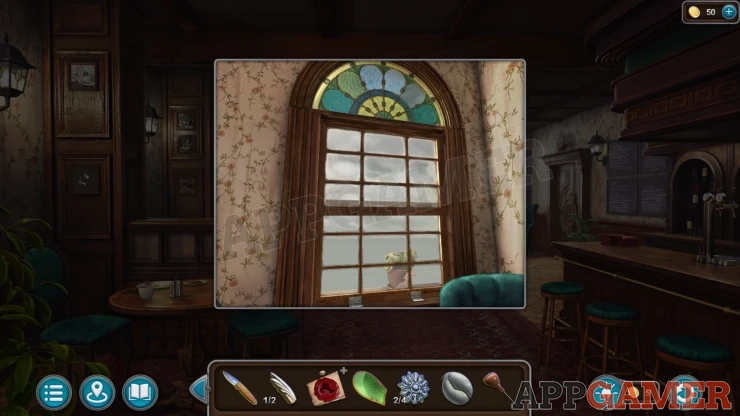
View a window on the back right. First add the Glass to the missing panel on the top.
Then open the lower window and collect a Horse (1 of 2).
Next tap on the clock on the ceiling. A stool moves and you can view it.
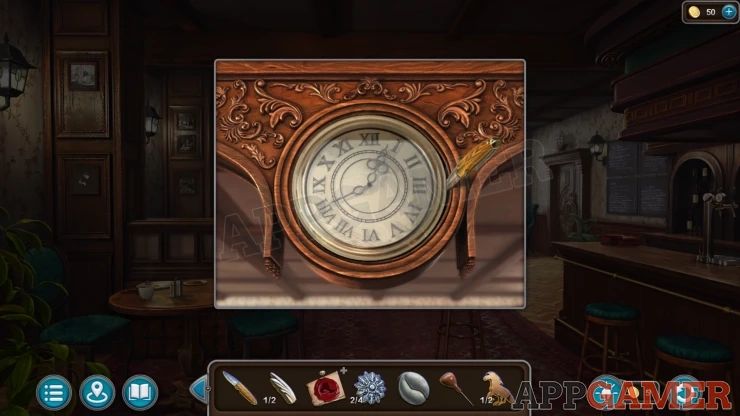
Use the knife to open the clock face, then collect a Bow and a Temper.
Return to Penelope's Room and view the top of the wardrobe. There is a Hat box on top.
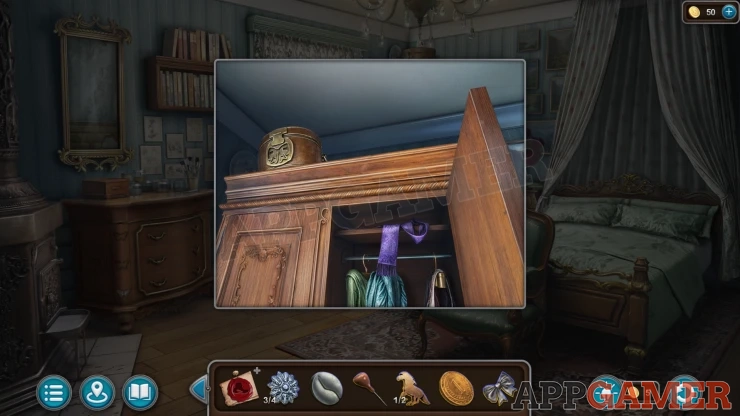
Use the umbrella on this to knock it down. Then you can view it on the pile of paintings.
Add the Bow to if to open it. Then you can read a note inside. Search for the Girl - Evidence (6 of 8)
Then also collect a Horse (2 of 2).
Task - Find Frances Doyle
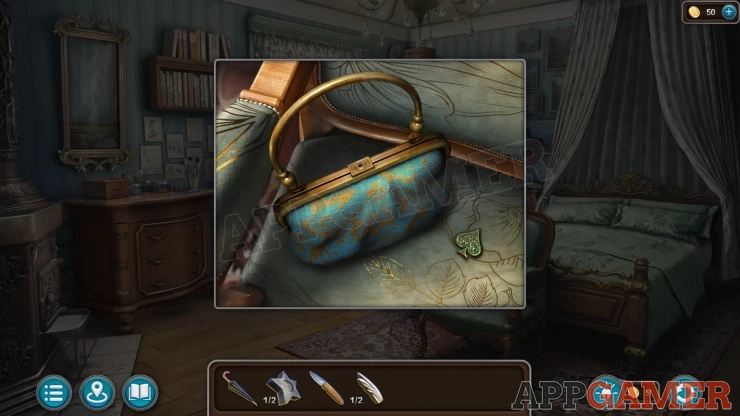
Next look on the chair at the end of the bed again. Use the Awl on the purse to open it.
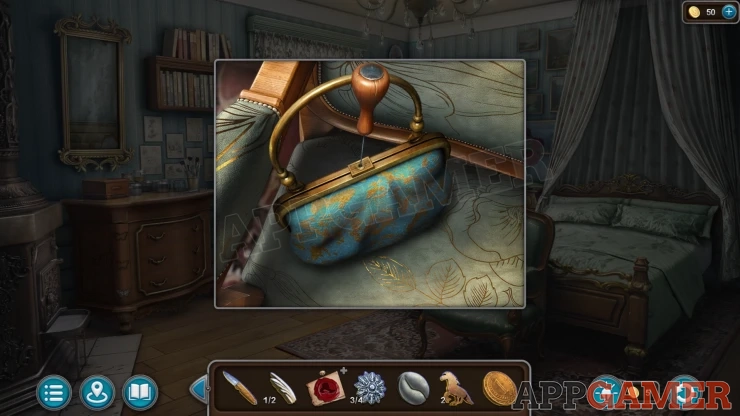
Collect the Sheet Music.
Go downstairs and view a piano near the bottom of the stairs. Place the Sheet music here to start a puzzle.
Piano Puzzle
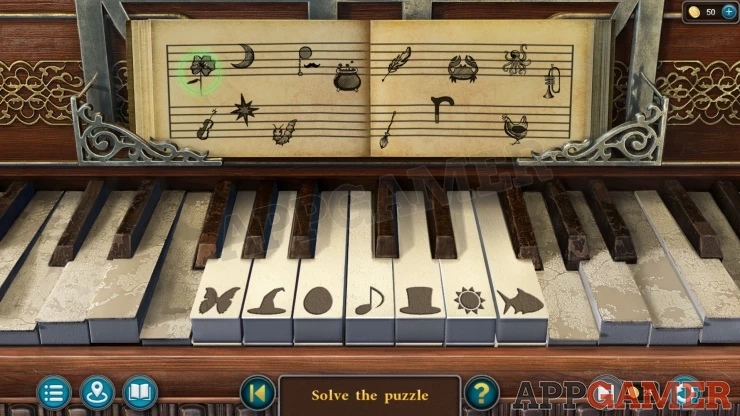
The sheet music shows a number of symbols, the keys on the piano also have symbols on them.
Each of the symbols on the paper are related to one of the symbols on the keys.
Play the notes in the correct order.
Solution:
Cane = Top Hat Star = Sun Trumpet = Musical Note Moon = Sun Caterpillar = Butterfly Flower = Butterfly Octopus = Fish Feather = Egg Crab = Fish Broom = Witches Hat Violin = Musical Note Monocle = Top Hat Chicken = EggShow
Once done a glass cabinet door opens. Look inside.
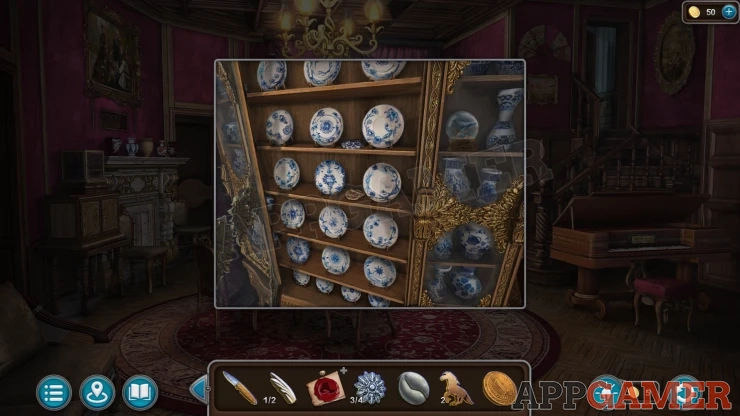
Collection Item: Glass Ball, on an upper right shelf.
Collect a Palette from the shelves. And also a Flower (3 of 4).
Go back up to Penelope's Room and view the easel with the painting.
Add the Palette to the slot on the left and a drawer will open, collect the Crab (1 of 2) and the Tweezers.
Exit to the street and view the fountain in the center. Use the tweezers on the crack in the ground to collect another Temper (2)
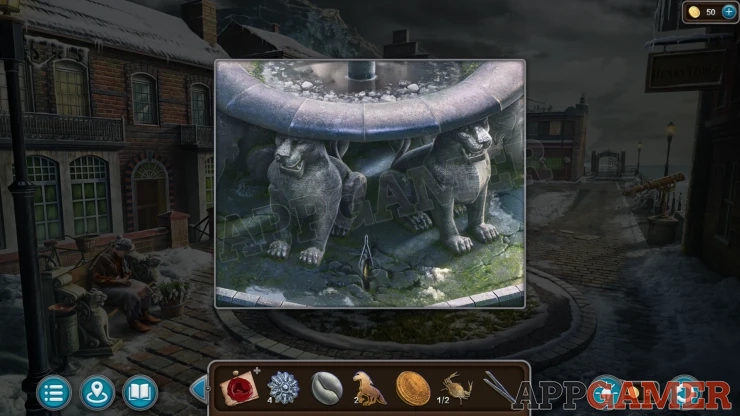
Enter the Police Station.
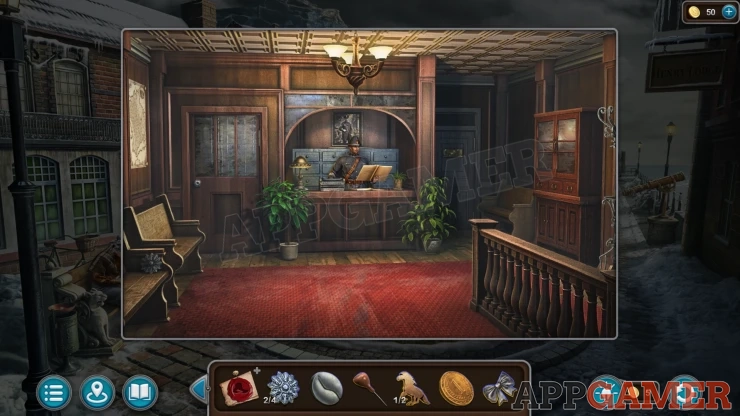
Collect a Flower (4 of 4) from a bench on the left. Then talk to the Policeman again.
Then view a gate on the left between the clients house and the police station.
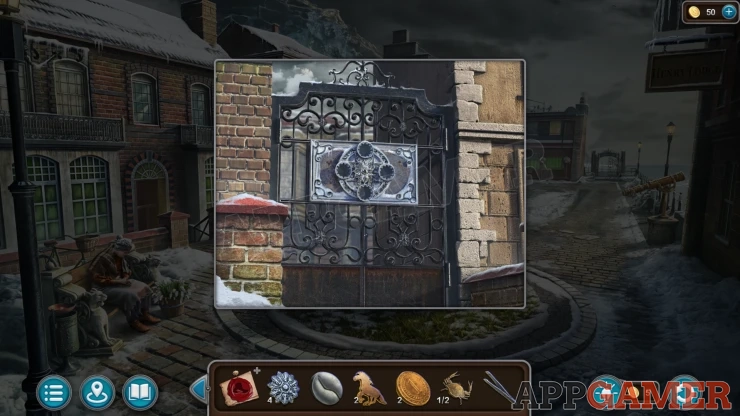
Add the four Flowers here to start a puzzle.
Four Flowers Puzzle
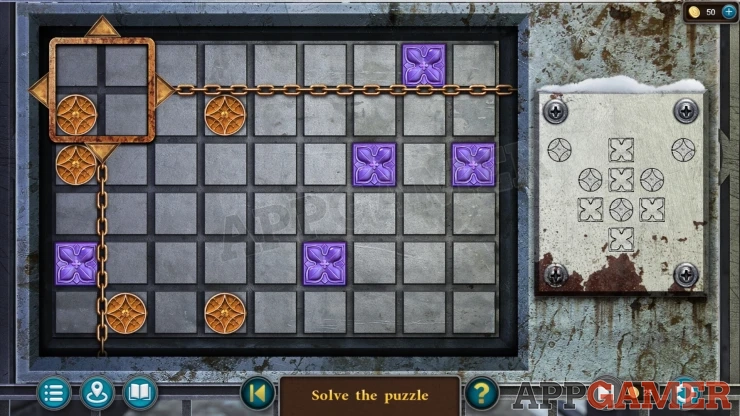
- The board has a grid with several tokens on it of two colors.
- There is a square box that you can move around the board.
- Use the arrows to place the square over one of the tokens and then you can tap to rotate the token around the fours grid blocks inside the square in a clockwise direction.
- Using this square to move the tokens, arrange them to match the layout shown on the right side.
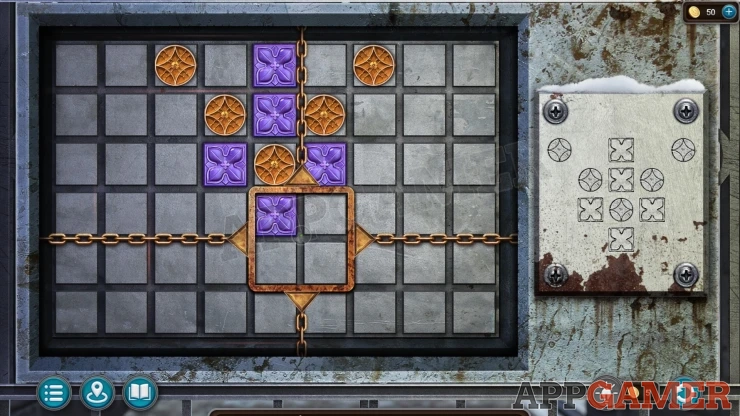
Once done the gate opens and you can enter the back alley.
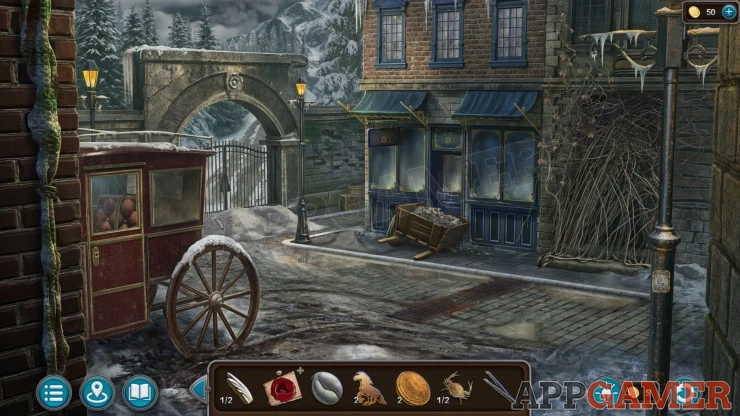
Collection item: Stamp, on a lamp post on the right.
Morphing Object: decorative details at the top of the arch on the left.
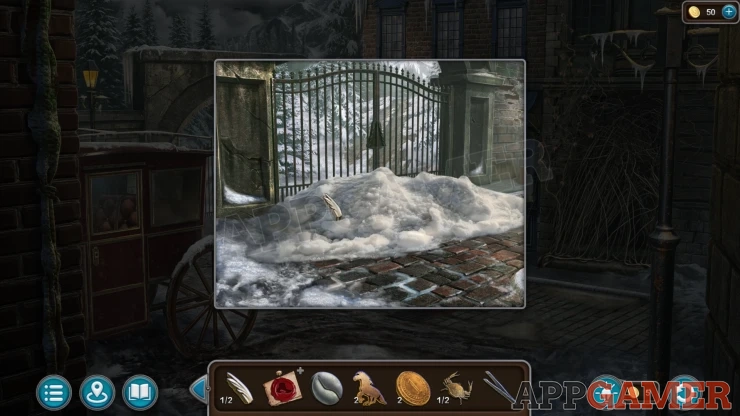
Look in the snow pile in front of the gate on the left. Collect a Feather (2 of 2).
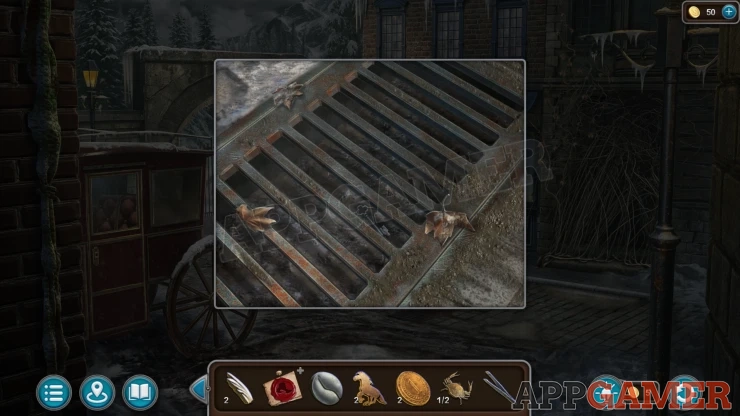
Next look in a drain that is in the road at the bottom. Use the Tweezers here to collect a Key.
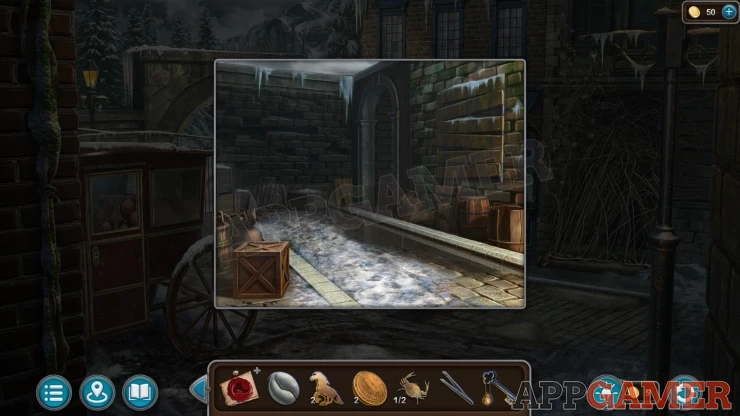
Then look in the dark alley that is to the right of the gate. Collect the Boards from the back.
Return to your room at the hotel. Look on the marble wall on the right to see a round panel design with a bird.
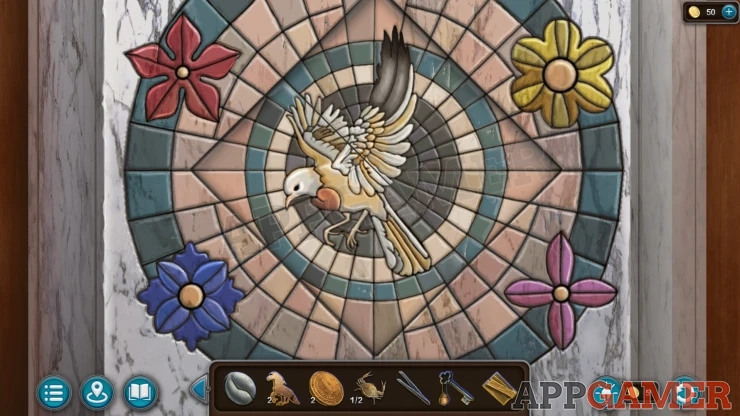
Add the two feathers to start a puzzle.
Bird Panel Puzzle
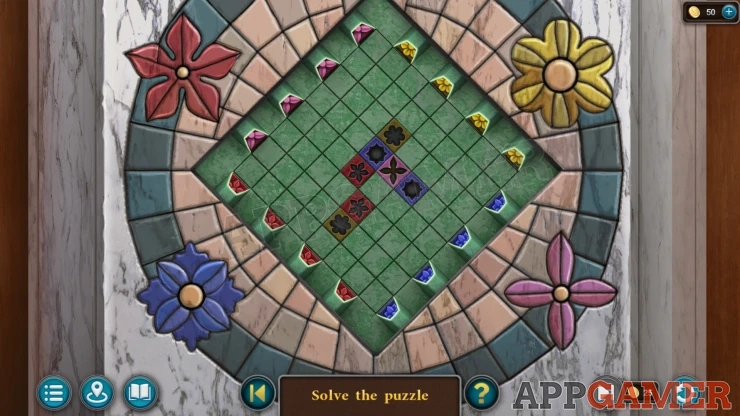
- There is an 8x8 grid with a number of colored symbols arranged on it in slots.
- Around each edge there are four slots of each symbol design / color.
- Tapping a slot will push out the line of the matching symbol tokens onto the board.
- They will also push other tokens that they encounter.
- Push the correct lines of tokens out onto the board so that each of the symbols already on the board is covered by the matching token.
- The layout can be different in each game
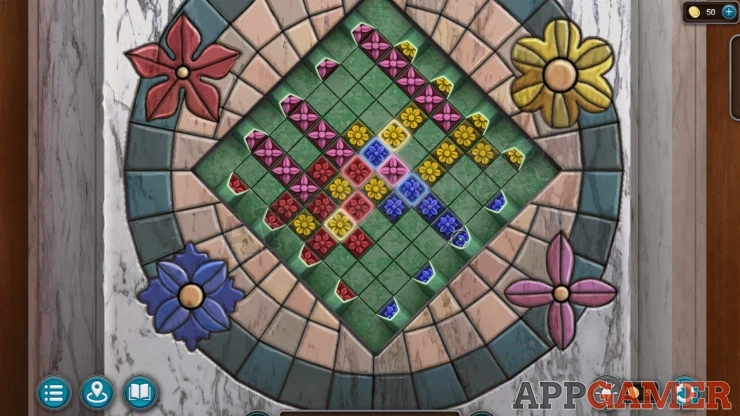
Once done you can collect a Star (2 of 2) and read another note.
Go down to the hotel lobby and view the trolley of cases again. Add the two Stars to the green case to open it.
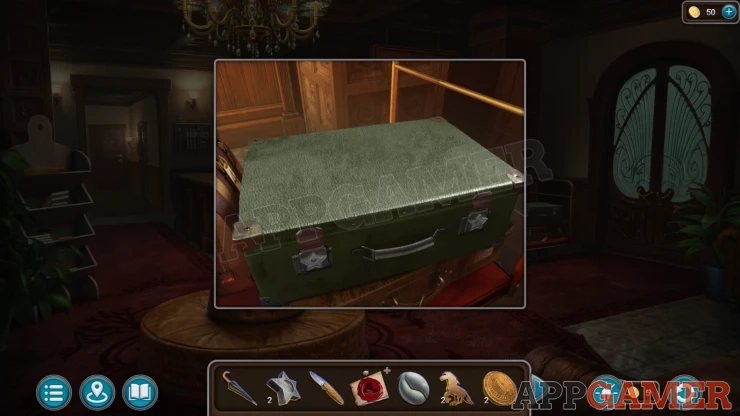
Collect a Flask
Now go back to the Pub. View a desk on the back wall to the left of the fireplace.
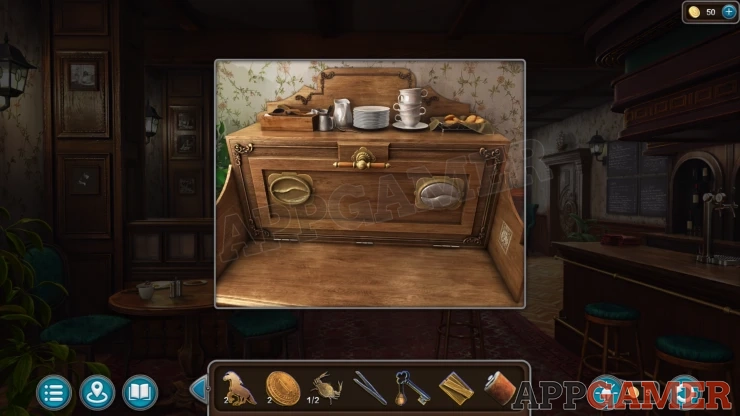
Collection Item. Stamp on the right side of the desk.
Add the silver Figurine to the flap on the desk to open it and find catering items inside. Use the flask on the water container on the right to collect the Boiling Water.
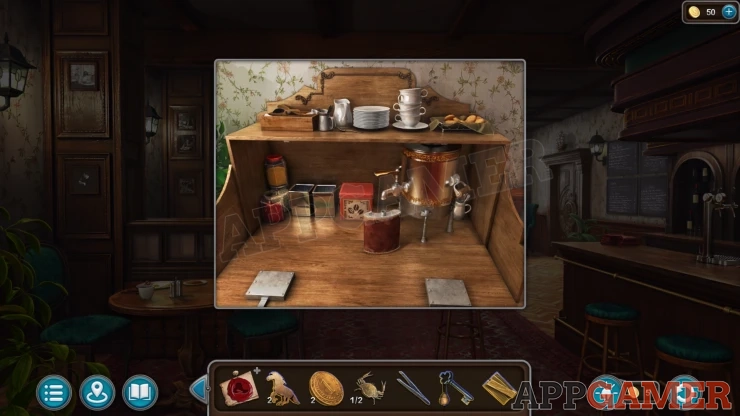
Now go back to the beach and view a small hut at the far end. The door lock is frozen shut. Use the boiling water to melt the ice. Then you can use the Key to open the door.
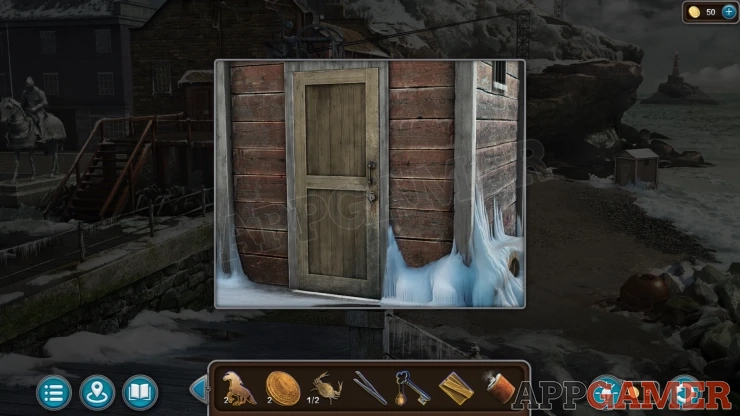
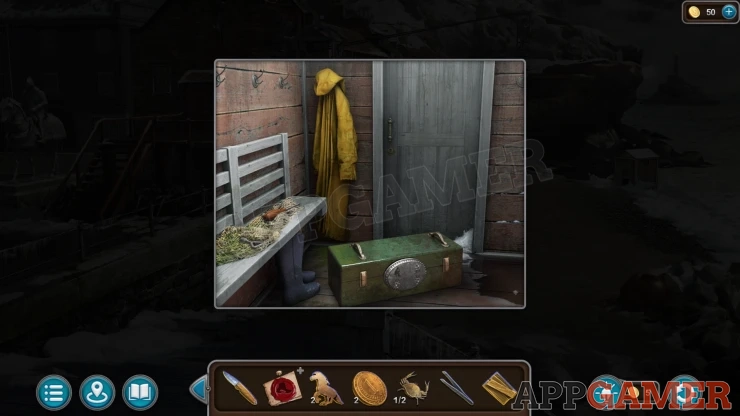
Collect a Screwdriver and a small Key from the bench on the left.
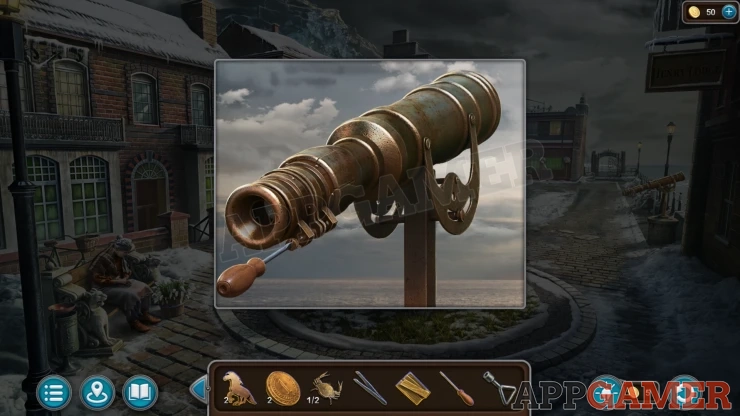
Back up to the street and then view a telescope on the right. Use the screwdriver on this to release and then collect a Lens.
Go to Penelope's room and view the painting on the easel again. Use the Lens on it for a close up view to see a clue.
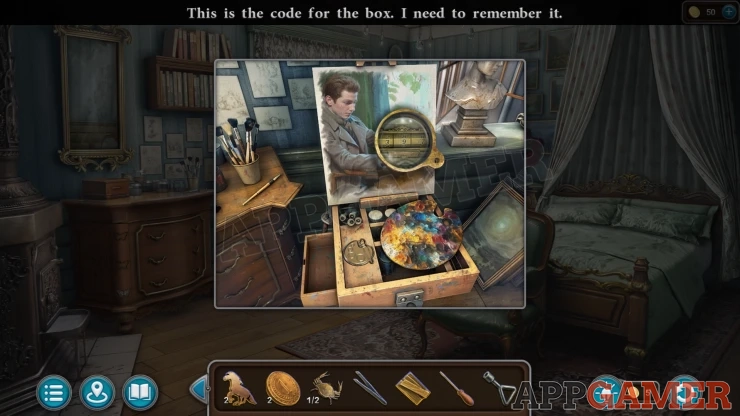
Go back to the hotel and look at a cabinet behind the reception desk. Use the small Key here to open it. Take a Key.
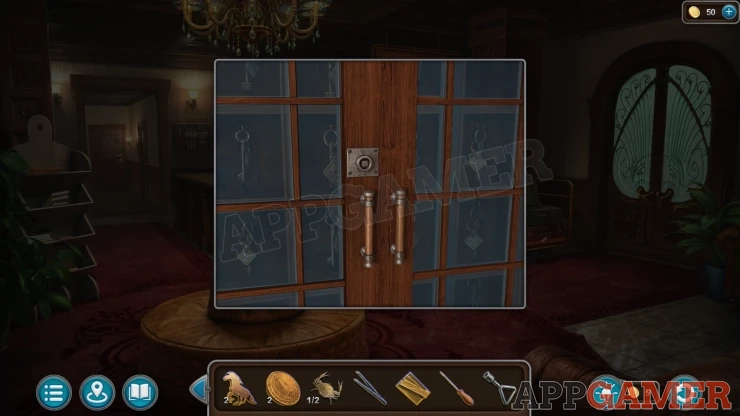
Next view a door on the back left. Use the Key to open this.
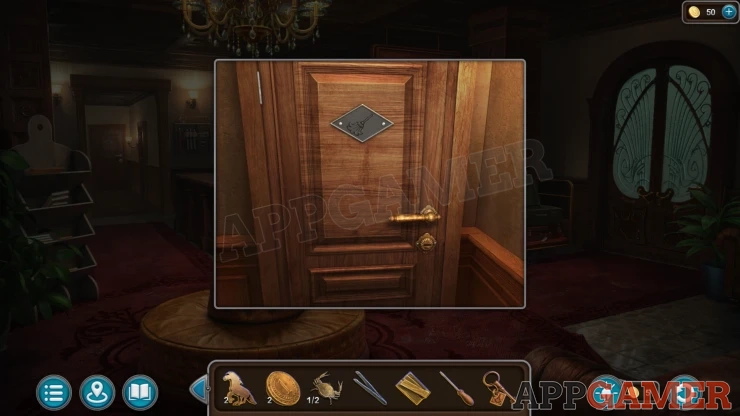
Enter Frances' Room.
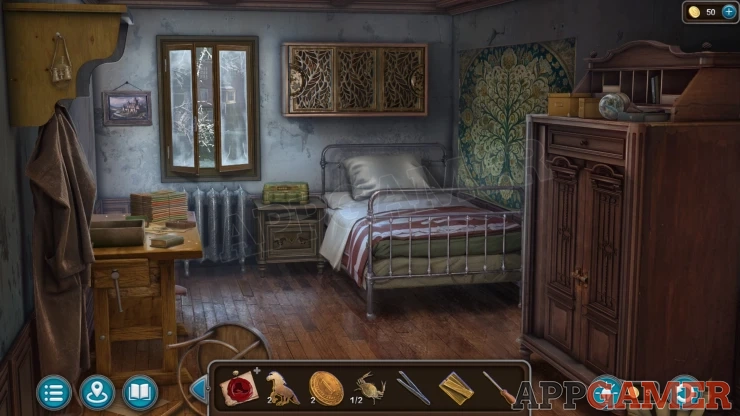
Collection Item: Glass Ball on the cabinet on the right.
Morphing Object: Binoculars / flask hanging on the top left.
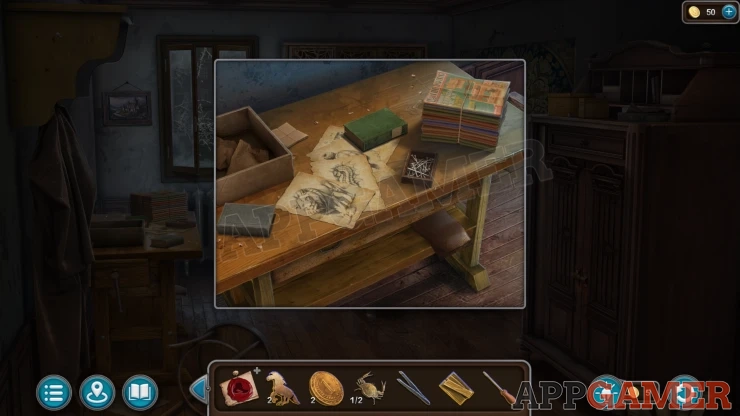
Look on the table on the left and collect a box of Nails.
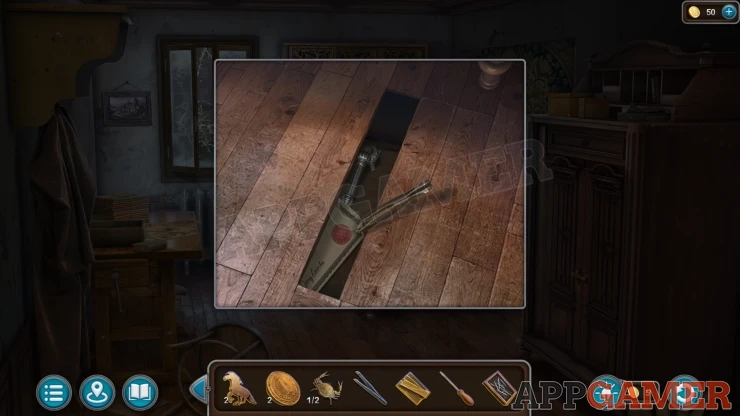
View the floor and then use the screwdriver to lift a loose board.Use the tweezers in the hole to collect a Handle (1 of 2) and find a check. Young Mans Disappearance - Evidence (1 of 7)
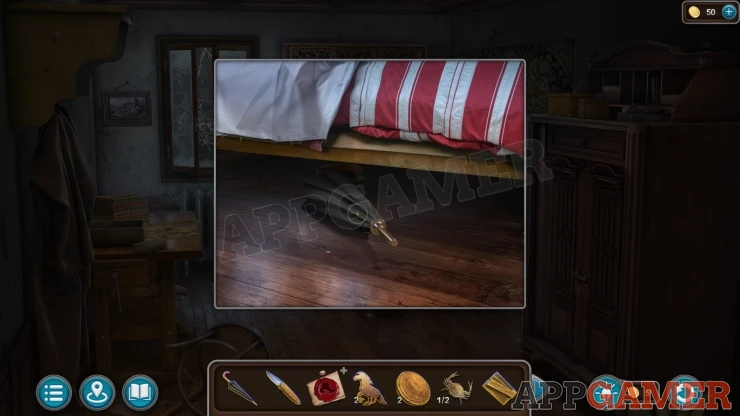
Next look under the bed and use the umbrella here to collect a Dial.
Next look on top of the bedside table to see a small box. Add the Dial to this to allow you to enter the code.
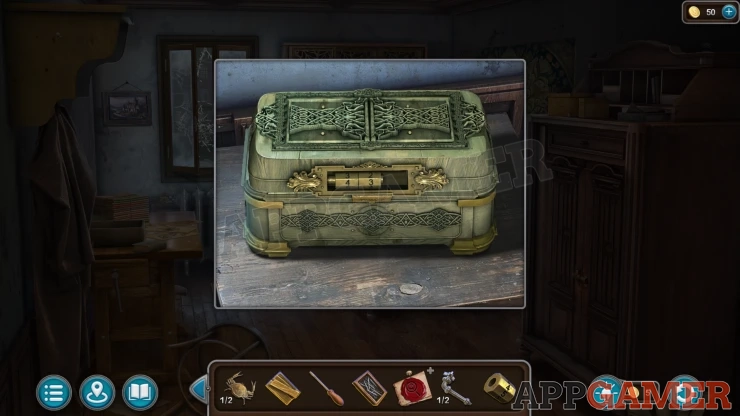
The code was found in the painting in Penelope's Room. It can be different in each game.
Open and read the letters from Penelope, then collect them as Young Mans Disappearance - Evidence (2 of 7)
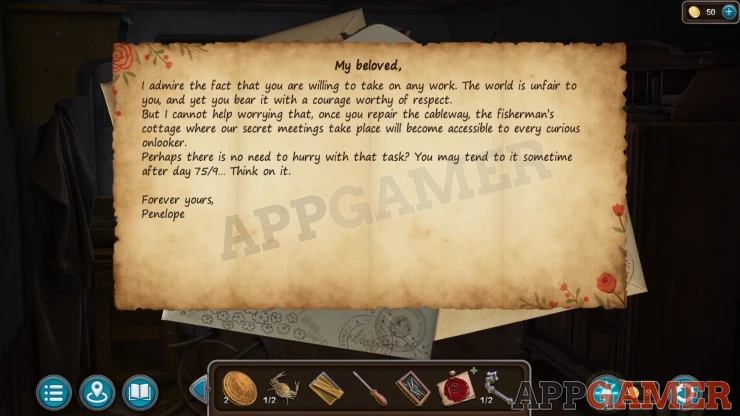
Then also collect the Handle (2 of 2)
Task - Inspect the Fisherman's cottage
Then view the bedside table, place the two horses on the drawer to open it and find a puzzle.
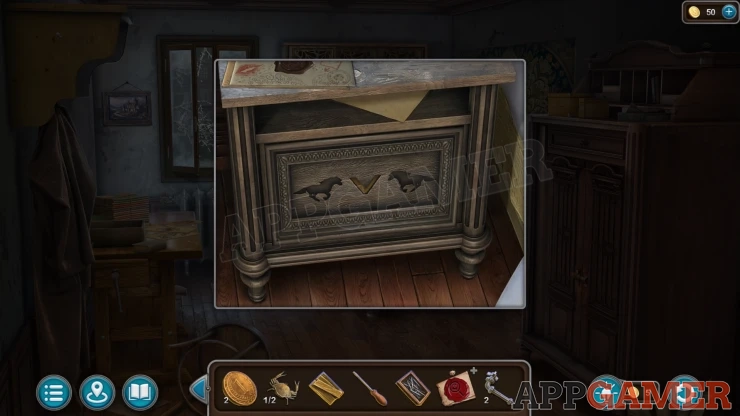
Bedside Drawer Puzzle
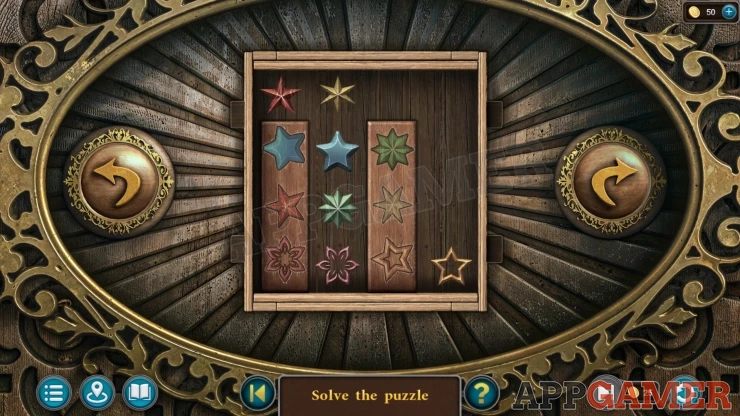
- There is a box that you can rotate by using the two arrow buttons on the left or right.
- In the box are two fixed columns with marked symbols.
- There are also two column of symbol tokens that will move as you rotate the box.
- Re arrange the movable tokens so that they line up next to the matching fixed symbols as shown below.
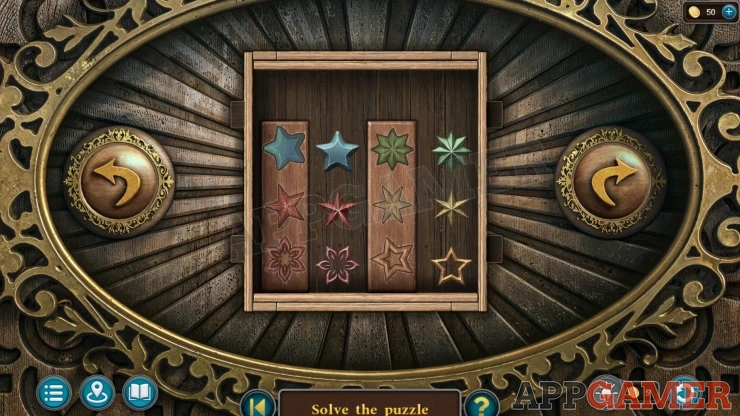
Once done you can collect a newspaper. Young Mans Disappearance - Evidence (3 of 7). and also a Handle.
Continue the walkthrough in Part 2.
 With 20 years of experience in creating video game content for the internet and over 30 years as a gamer, Mark is now a passionate mobile App Gamer. Loving a challenge, he is always ready to get stuck in to both survival builders and puzzle solving games. He has been providing content for AppGamer since 2014.