
Chapter 1 - Faithfulness Walkthrough - Part 3
More Mystery Detective Adventure 2
This is the third and final part of the walkthrough for the first chapter of Mystery Detective Adventure 2. The latest episodes from FiveBN of Detective John Woodbray featuring his occult investigations.
In Part 2 you. have followed the clues to find Penelope Mortimer and are now continuing your investigation into Frances Doyle around the scientist's mansion.
Chapter 1 Walkthrough - Faithfulness - Part 3
Go out to the grounds of the house and view a small building on the left.
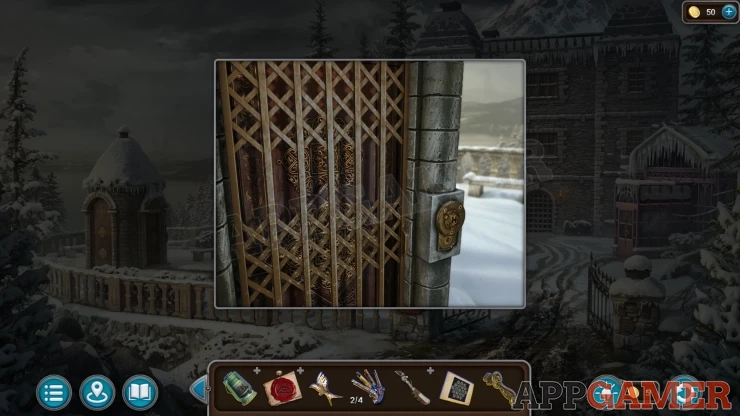
Add the handle to the door to open the gate and start a Puzzle.
Garden Elevator Puzzle
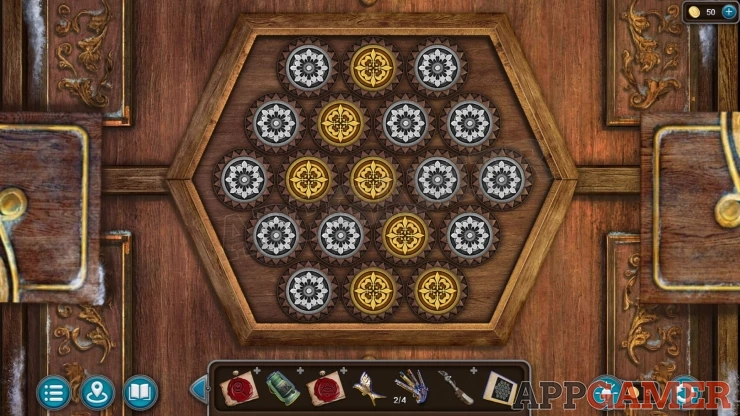
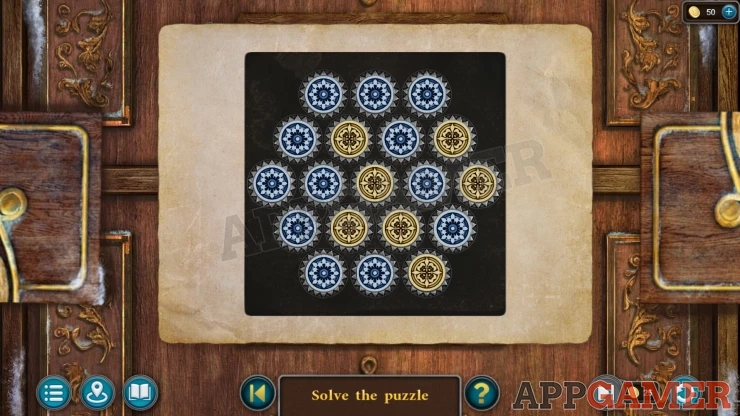
- Add the Hint that you have to the puzzle to see the required solution.
- Tap any of the circles on the board to then rotate the other symbols that are around it in the clockwise direction.
- Move the yellow and white symbols around the board to match the layout seen on the Hint.
- The pattern can be different in each game
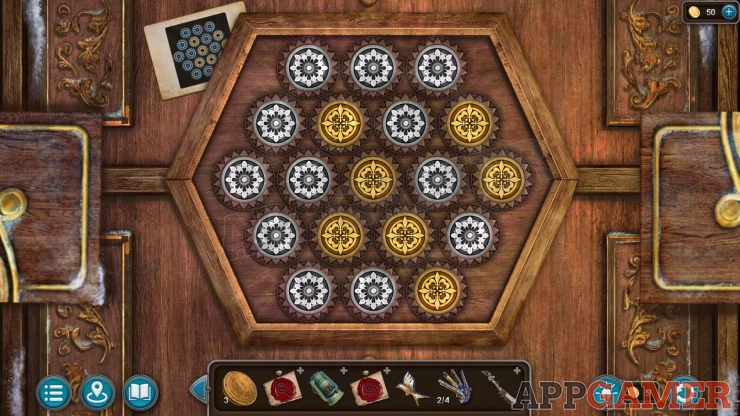
One done you can enter the elevator and use the handle on the right to go down. You arrive at the Scientist's Laboratory.
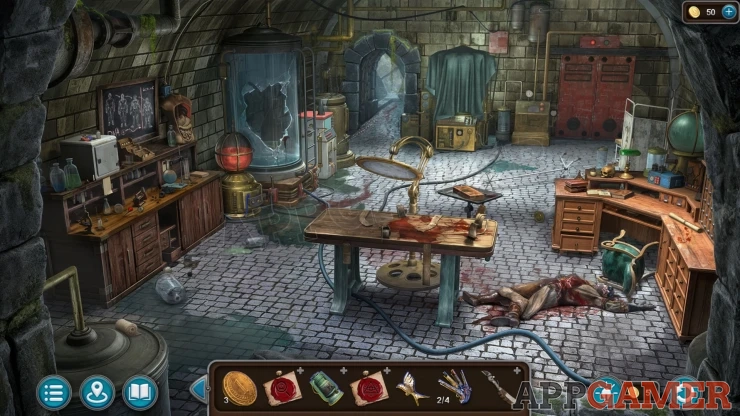
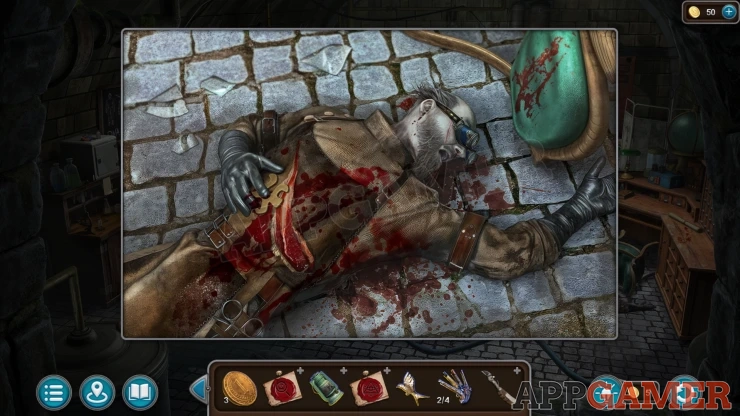
You view the body of the Scientist on the floor. Laboratory - Evidence (1 of 6)
Collect a Part
Morphing Object: small cotton reel on a cylinder at the bottom left of the scene.
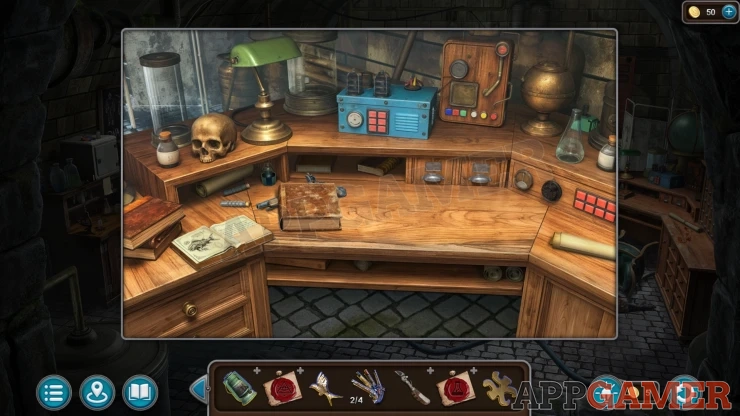
View the desk on the right side of the room. View the open book for information and then open the closed book near the center. Then you can collect a Pistol (3 of 4).
View a small tray table just behind the center operating table. There is a small case on it.
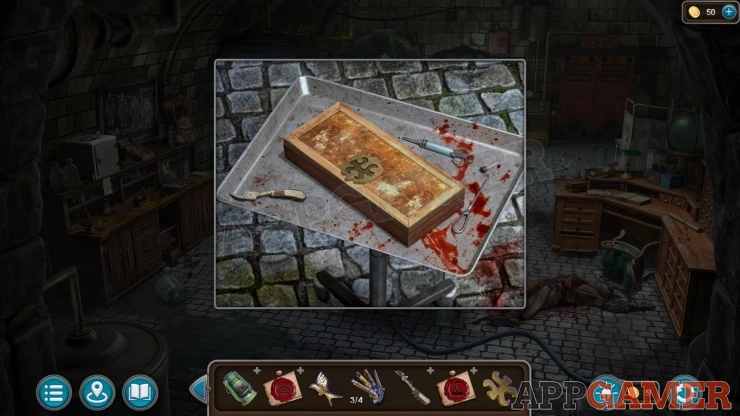
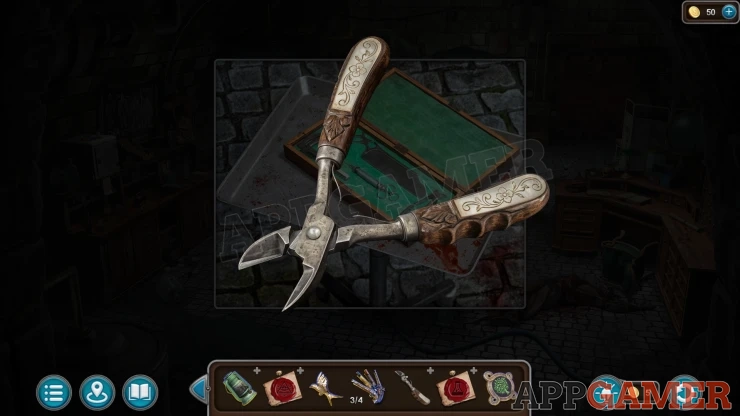
Collect the Part of the Cutters, then use the Part that you have on the small case to open it, collect an Amulet.
Now view the Broken Cutters in your inventory and add the Part of the Cutters to it to fix them, you collect the Wire Cutters.
View a white box on the shelf on the left, collect from here a Magnet.
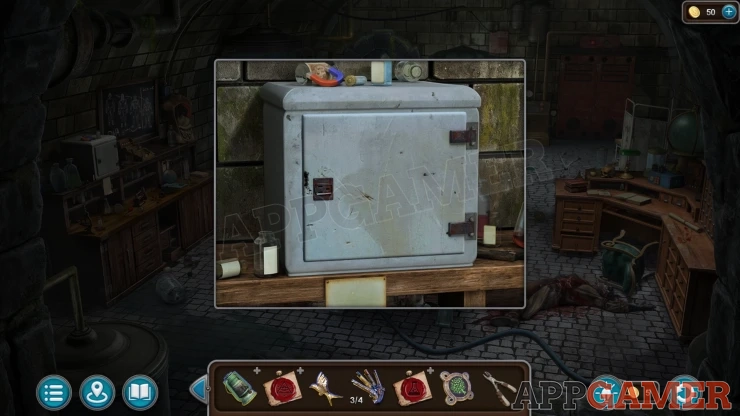
Collection Item: Stamp, on the top of the white box.
Then view a passage at the back of the room. There is a sewer system here. Collect a Fish emblem from the floor.
Return to the Scientist's living room and view a Glass cabinet at the back of the room.
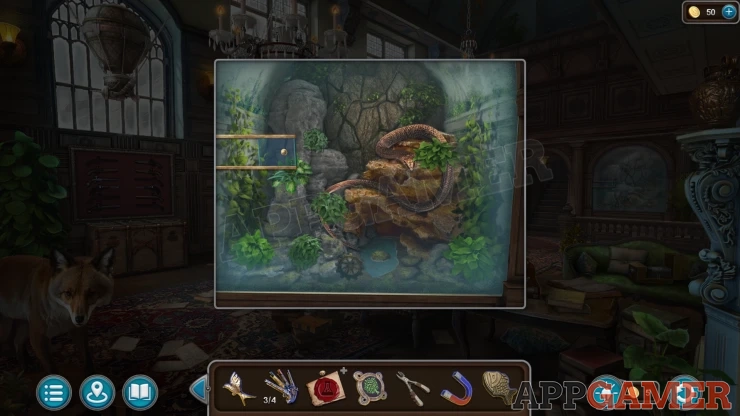
Tap the small panel on the left to open it and then use the Magnet on this hole to collect a Gear.
Exit to the grounds of the house and then view the Greenhouse on the right.
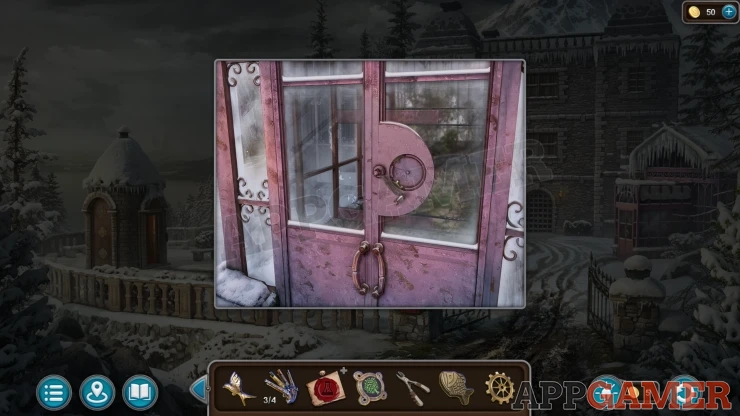
Add the gear to the door and it will open. Collect the Pruning Shears and a Shovel from the floor.
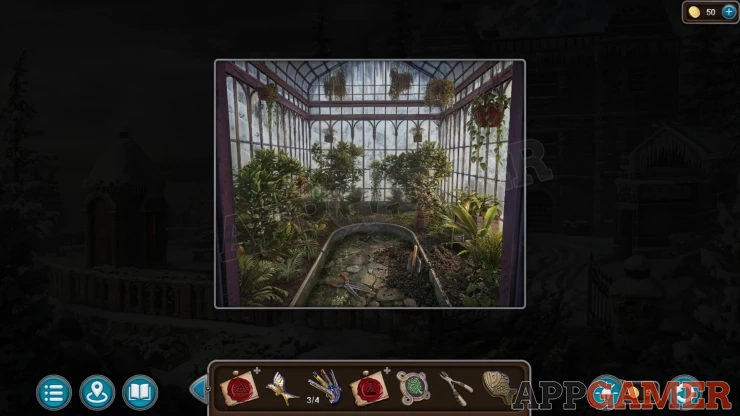
Back on the grounds tap in the snow near the old dead tree. You can then use the Shovel on this location to dig.
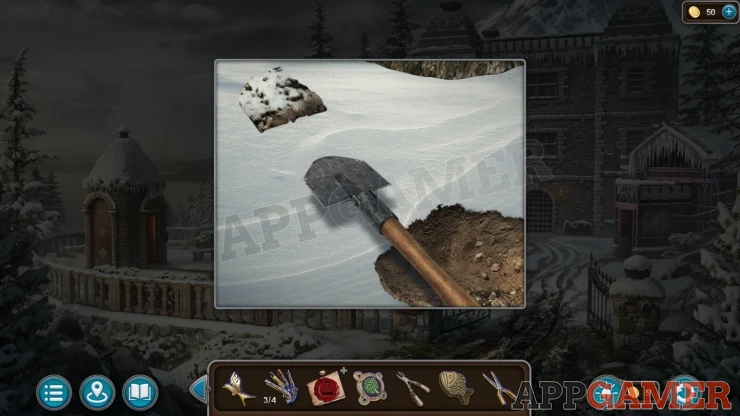
Add the Amulet to the chest that you find, this will start a puzzle.
Buried Chest Puzzle
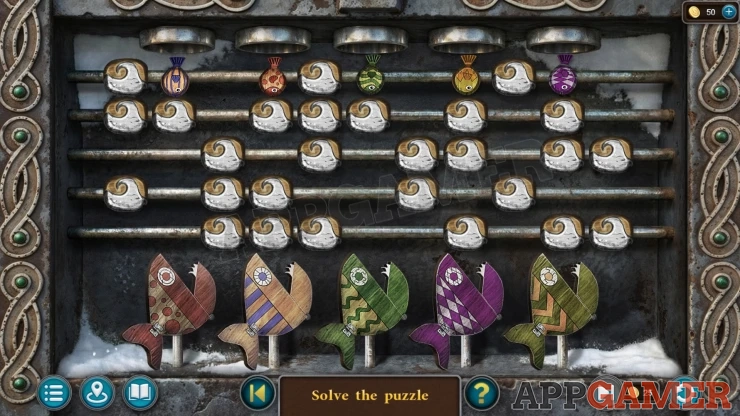
- At the bottom are five large fish. Each with a different color pattern.
- At the top you will get five small fish that have matching patterns.
- Move the rows of blocks to direct the small fish and allow them to drop down.
- You need to drop each of the small fish into the mouth of the matching large fish below.
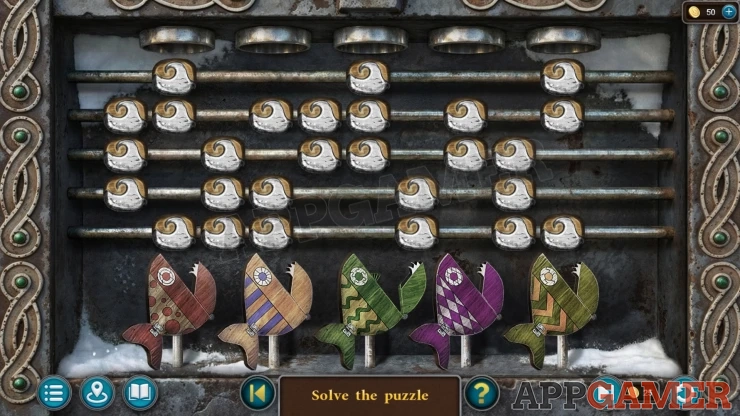
Once done the chest is opened
View the red folder to then collect the Laboratory - Evidence (2 of 6).
Collect a Lever
Next look in a round gazebo on the left of the garden. View a bench seat at the back.
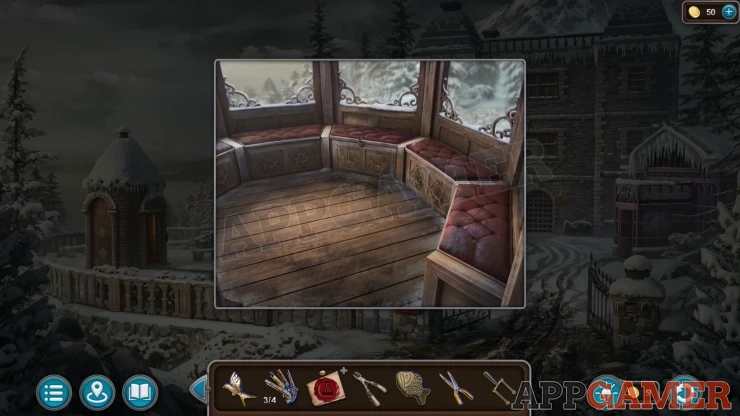
Use the Wire cutters to remove the wire and then you can open the lid. Collect a Pistol (4 of 4).
Enter the living room of the house again and view the gun display on the left. Add the four pistols here and the box below will open. Collect a Valve and a Handle.
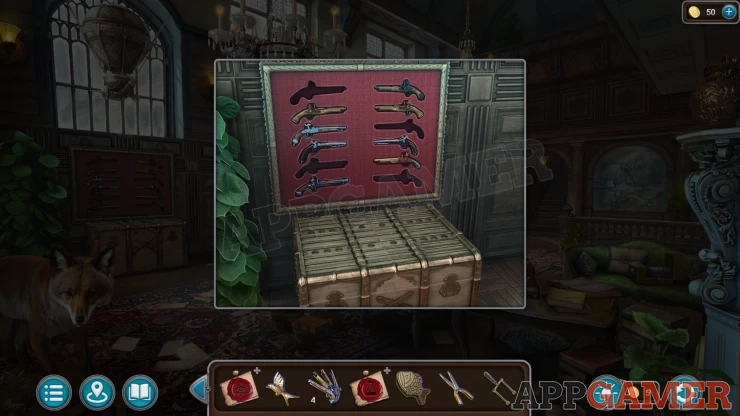
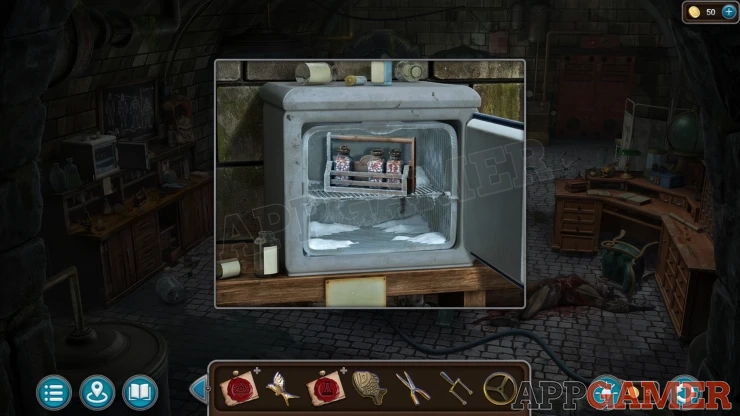
Go back to the Laboratory and view the white box on the shelf on the left again. Add the Handle to it and it will open.
Tap the pills inside to get Laboratory - Evidence (3 of 6).
Then look on the back right of the room to see a machine next to a red door.
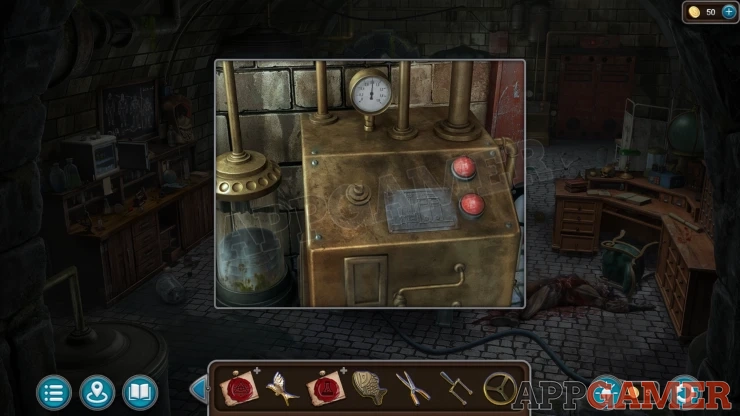
Add the valve to this machine and tap it to start it working. The red door will open. Look inside and tap on the glass containers. You will get Laboratory - Evidence (4 of 6)
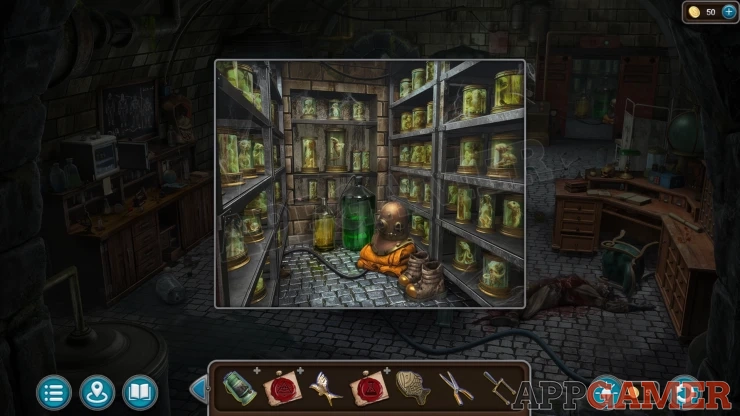
Then tap on the diving suit parts on the floor to assemble it and collect the Diving Suit.
Next view another machine on the back wall with a cloth over it.
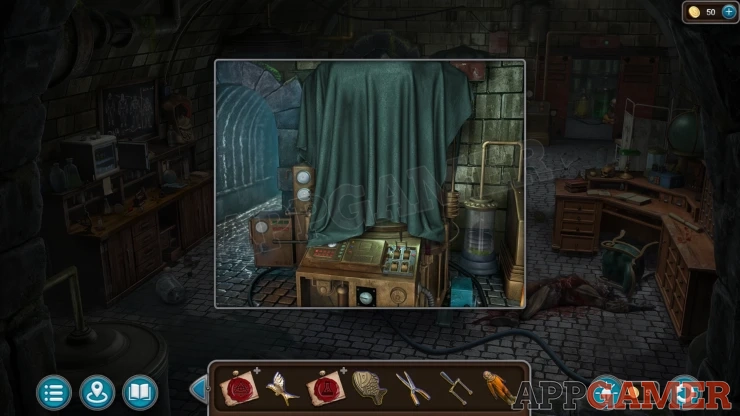
Remove the cloth and then view the control panel at the base. Add the Lever to this to start a puzzle.
Laboratory Tank Puzzle
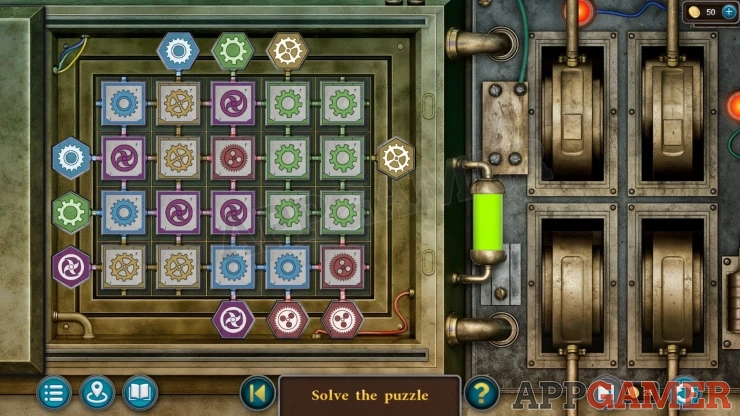
- There is a 4x5 grid of colored gear symbols.
- You can slide the rows and columns to arrange them.
- There are other fixed symbols around the edges.
- Arrange the color symbols on the board so that they link together the matching fixed symbols on the sides.
Solution: Show
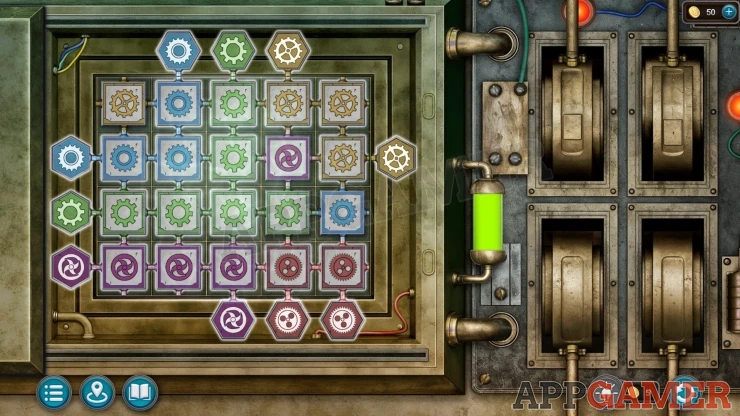
Once done a creature appears. Collect the Laboratory - Evidence (5 of 6)
Next return to the far end of the beach with the Fisherman's Shack and then view the wrecked boat again.
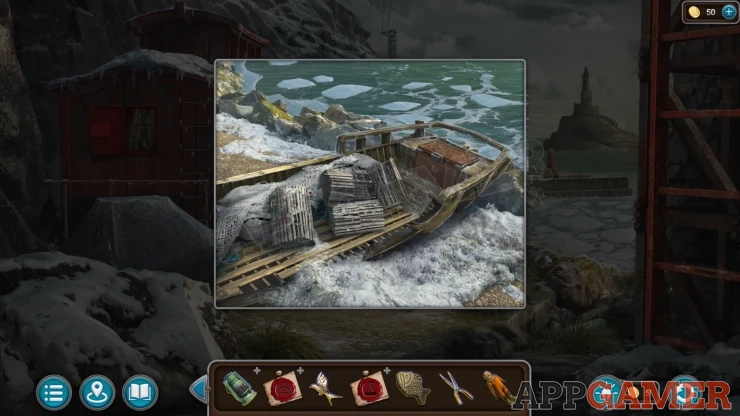
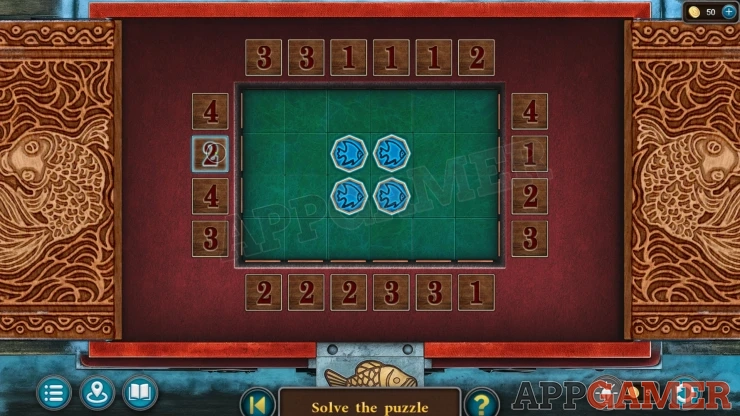
Add the Fish to the lock of a compartment at the back. This will start a puzzle.
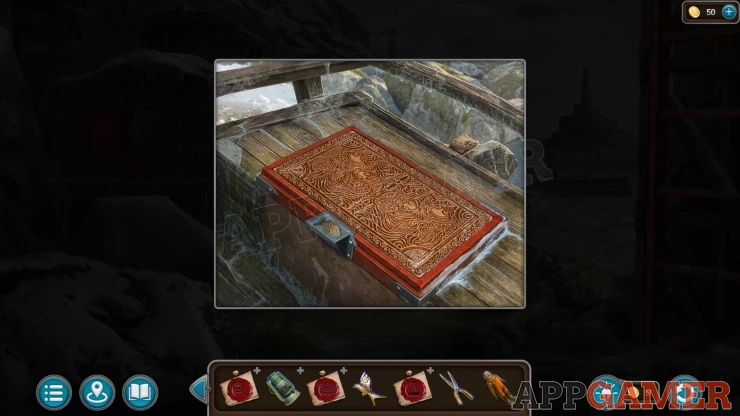
Wrecked Boat Fish Puzzle
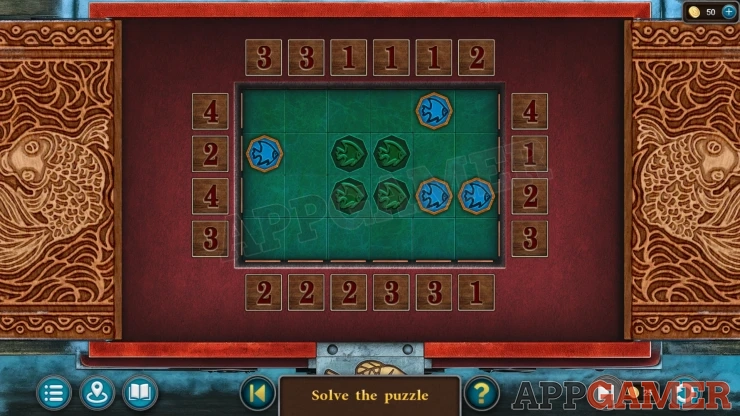
- The board has four shish shaped slots in the center squares.
- There are four fish tokens that you can move around the board.
- Tap the numbers on the sides of the board to push out an arm and move and tokens in its path.
- The arm will extend out the same number of squares as the number shown.
- Move all of the four tokens into the center four slots.
Collect the Kerosene.
Look at the far end of this beach, there is an underwater cave. Place the Diving suit on the ground.
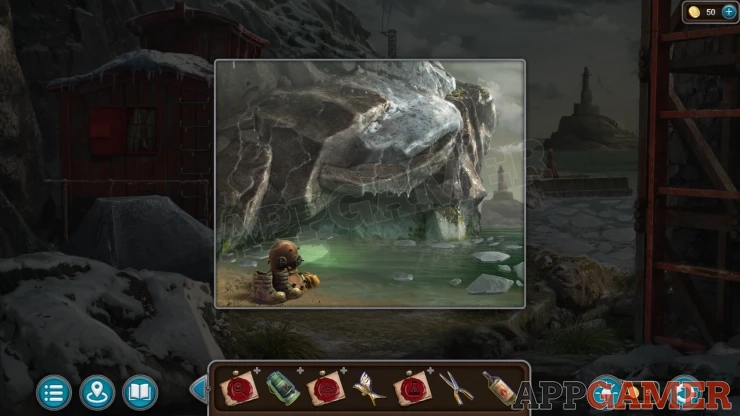
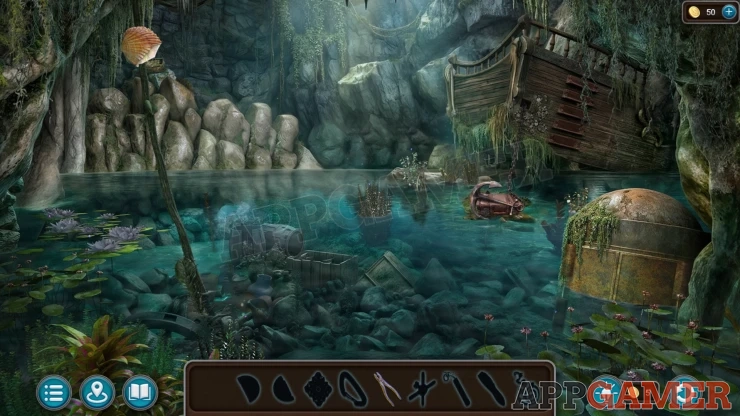
Tap the water to enter the Cave. You now need to locate objects shown by the outlines at the bottom.
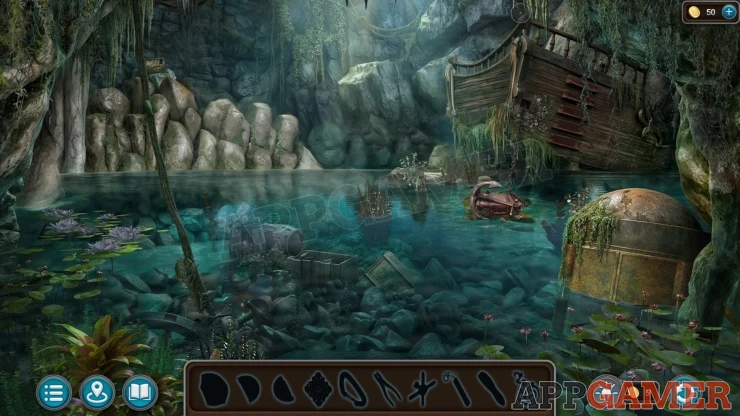
Look in the water to the left and collect a Seashell, the move the pots until you can collect the Tongs
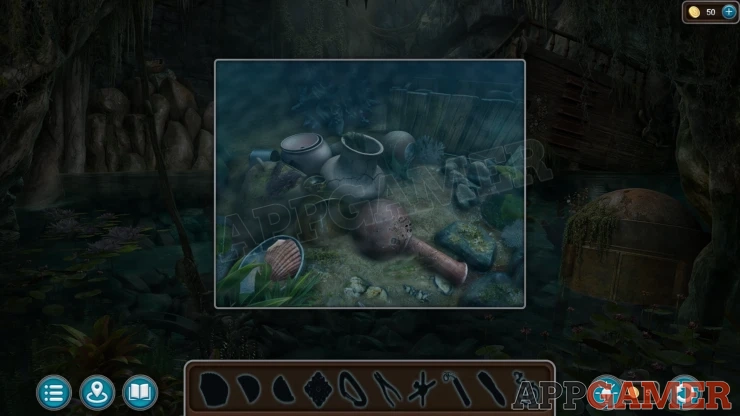
Use the seashell on the vine on the left of the scene, it will cut it and you can collect the Vine
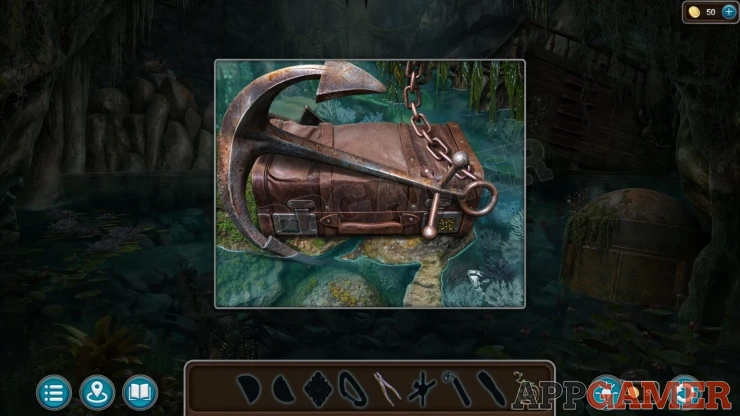
Next view a case with an Anchor on top. Use the Tongs here on the bottom right to collect a Part of the Stone from the water.
Next tap on the ship to look on the deck and collect another Part of the Stone.
Now view the rocks on the left of the cave and use the Vine here to make a rope to climb.
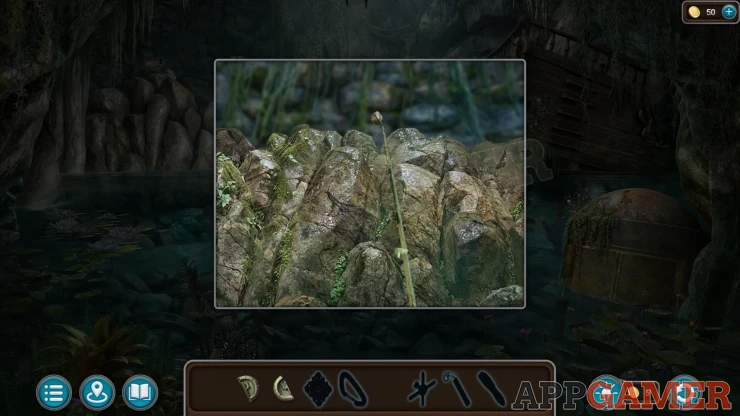
Then you can tap on a chest on the top of the rocks to view it. Add the two parts of the stone to this.
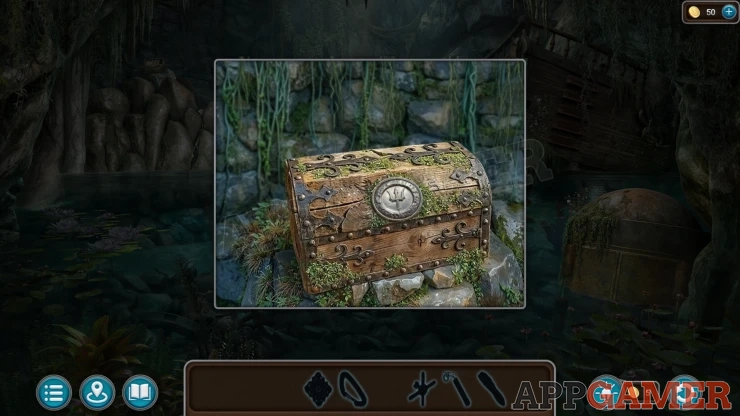
Open the chest and collect the Flare, a Brush and a Part.
Look in the water on the left near the rocks to see a deep dark hole. Use the Flare on this to drop it and light up the bottom.
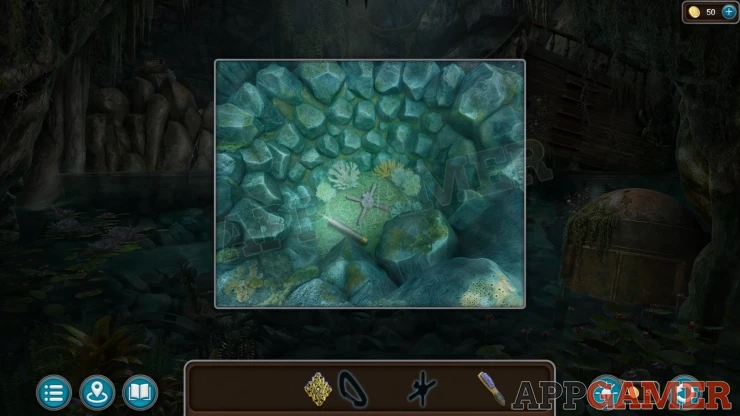
Collect the Wheel Handle.
Next view a large metal cylinder in the water on the right. Use the brush on this to remove rust.
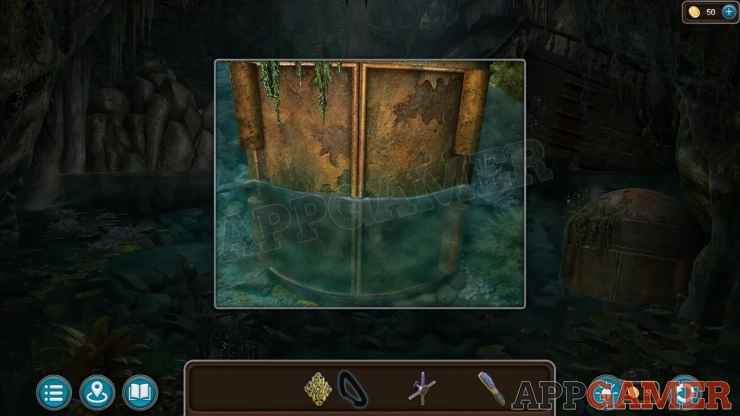
Open the cylinder and collect a Carabiner.
View the case again with the anchor on top. Add the carabiner to connect the chain to the anchor.
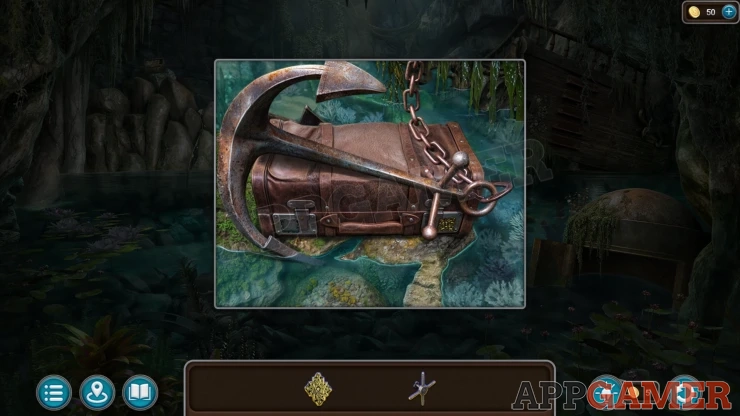
Then look on the ship deck again and use add the wheel handle to the winch. Turn this to lift the anchor.
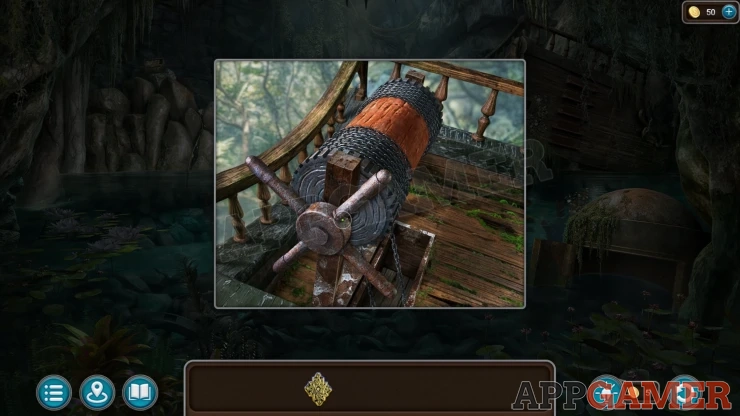
View the case again and add the Part to the left lock. Then you can open it and find a folder inside. Young Mans Disappearance - Evidence (6 of 7).
Collect the Matches.
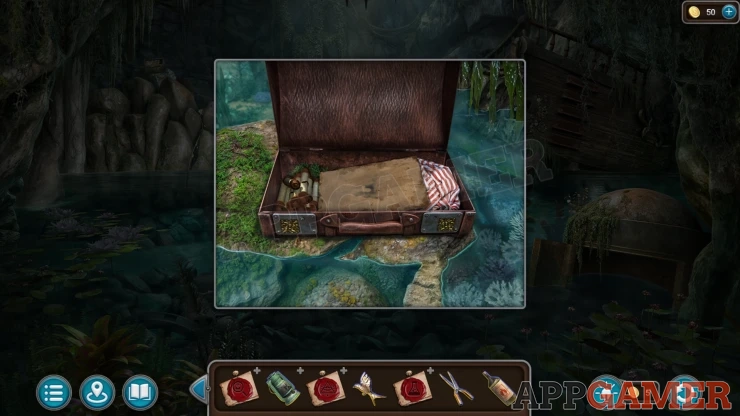
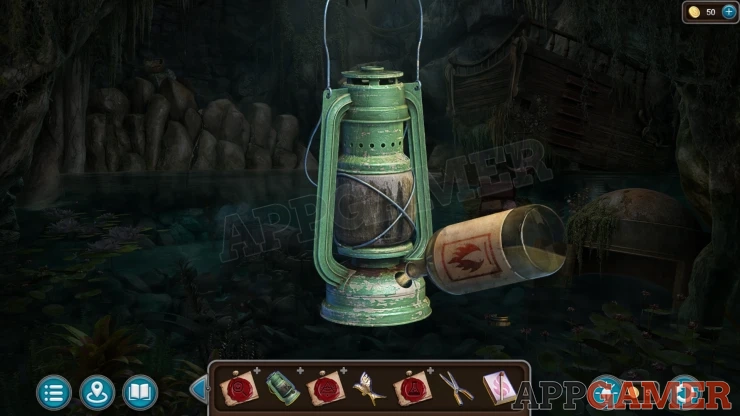
View the Lamp in your inventory and open the cap on the base. Add the Kerosene to it. Then you can use the matches on this to light it and get the Lit Lamp.
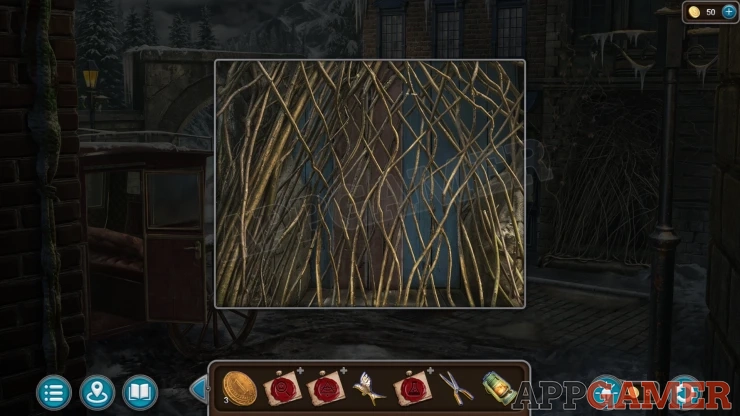
Go to the Back alley in the town and view another doorway on the far right that is covered with branches. Use the Pruning shears here to cut a hole, then you can tap the boards to pass through.
It is dark inside, use the Lit Lamp to let you see the room.
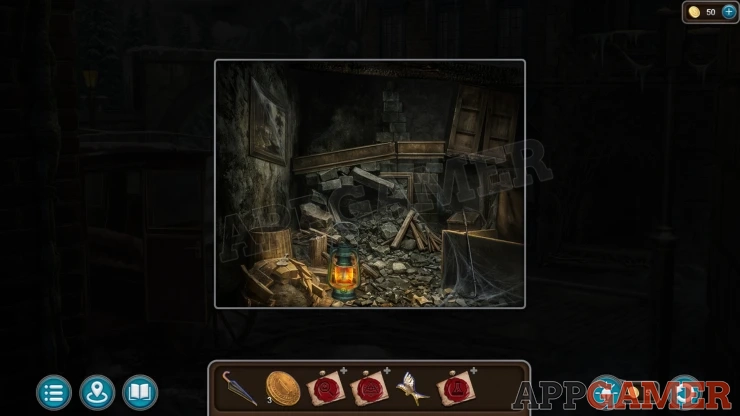
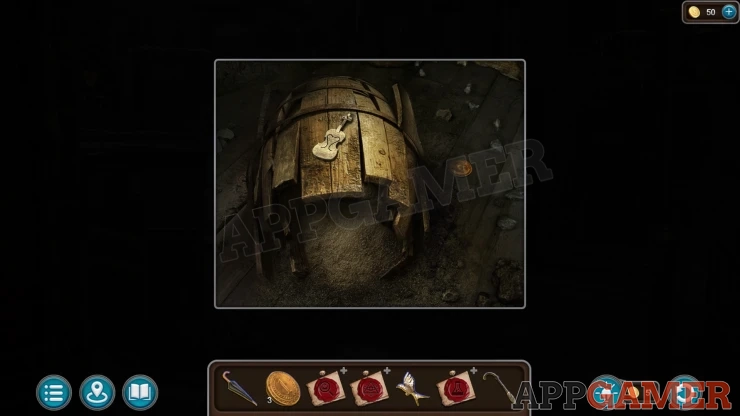
Collect a Poker from the right and then view a broken barrel on the lower left. Collect a Violin and another Temper (4).
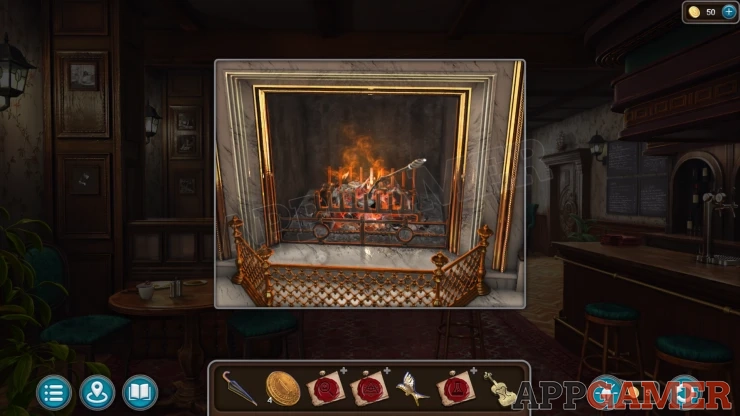
Go to the pub and look in the fireplace. Use the Poker here to collect a Coal.
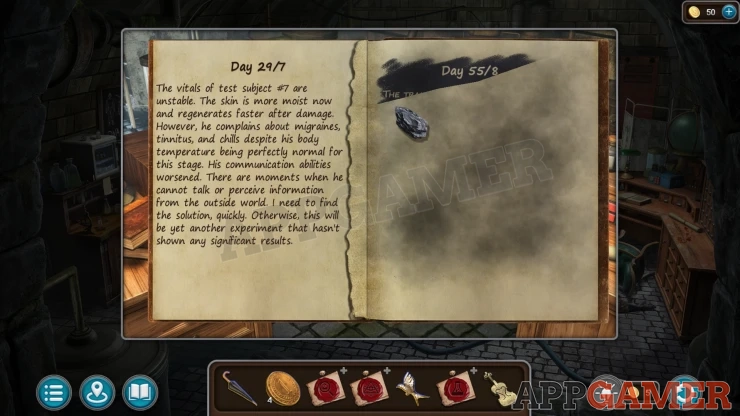
Now return to the laboratory and view the desk on the right again.
Look in the diary book and you can use the coal on the blank page on the right to see what it reveals from the torn out page. This give you Laboratory - Evidence (6 of 6).
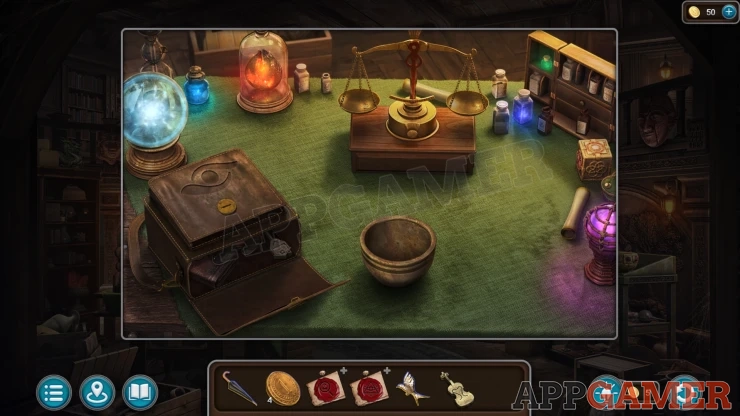
Go back to the Mystics house, Look on the table on the left. Open the bag to collect a Key.
Tap on the ceiling of the room above the bulls head, there is a trapdoor. Use the Umbrella here to pull down the ladder to the attic.
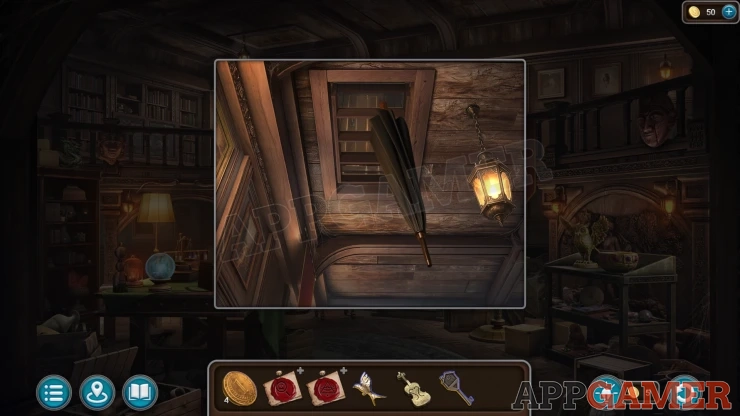
Go up and then you can use the key to unlock the door.
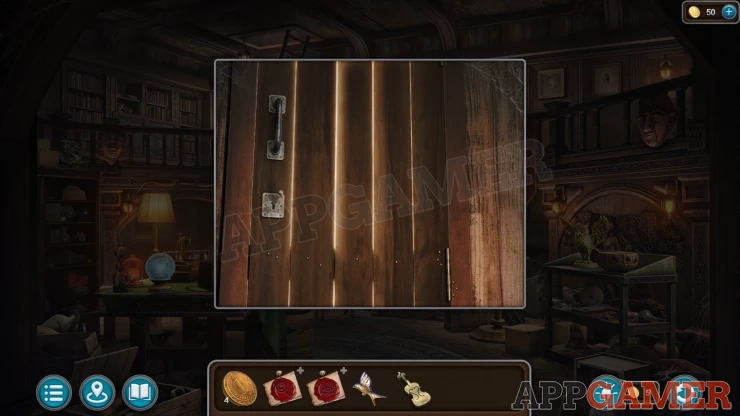
Enter the Attic.
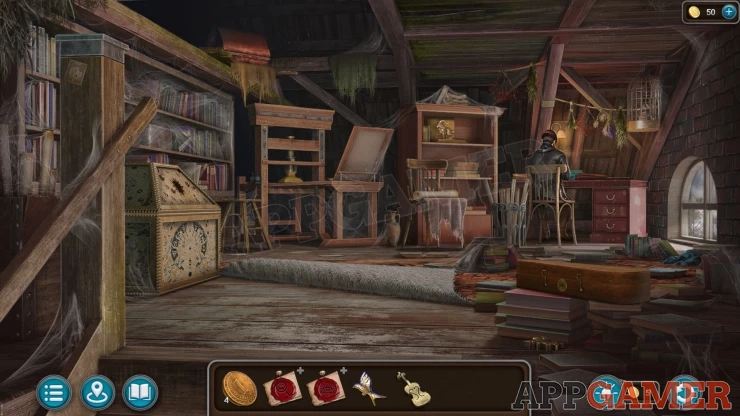
Talk to the Mystic at the desk to collect Mystic - Evidence (4 of 4). He will give you a Key.
Morphing Object: Vase/Globe on the floor in the center.
Collection Item: Stamp, on the wooden post on the top left.
Go back down and then view a locked case on the balcony on the left. Use the key to open it.
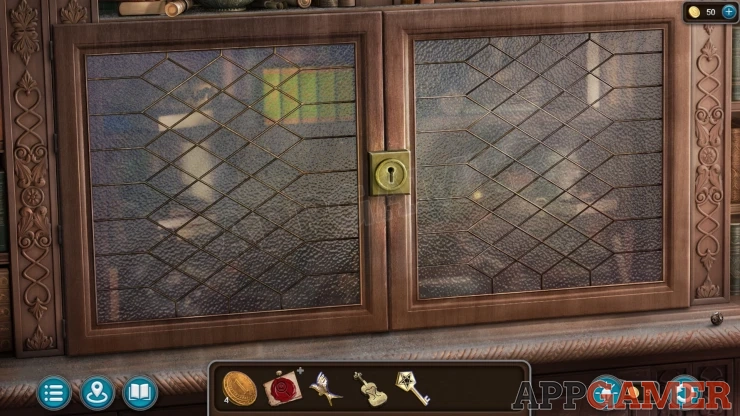
Mystics Book Puzzle
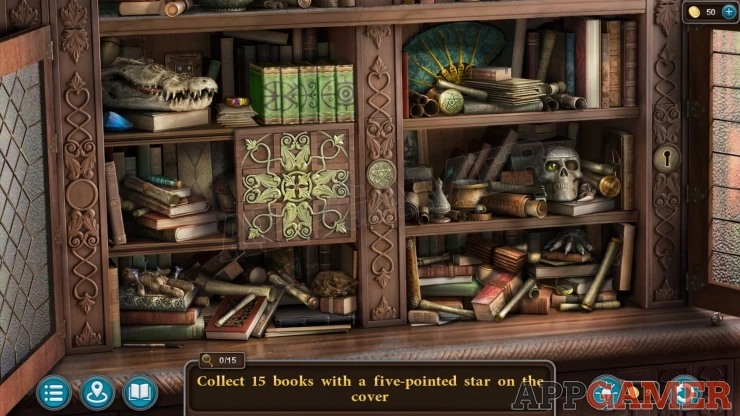
This is a hidden object puzzle. You need to find 15 books in the cabinet. Each with a five-pointer star on it.
- Look at each of the shelves carefully. You will need to move various books and items around to find the correct books.
- Some of the books are round.
- In many cases you need to find keys, open items or activate objects to reveal the books.
Once you have them all you collect the Books. Return to the mystic in the attic and give him the books.
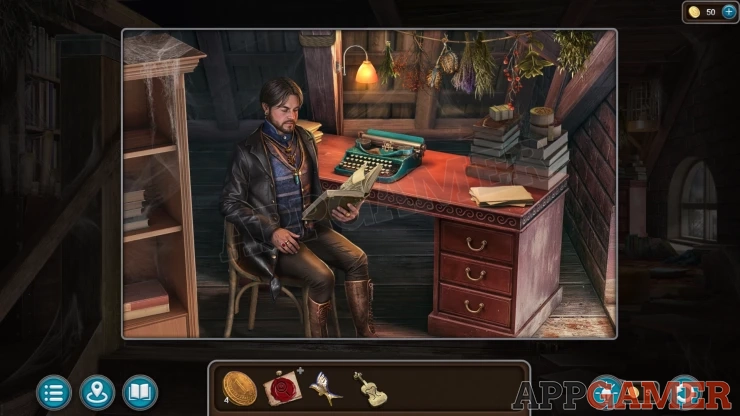
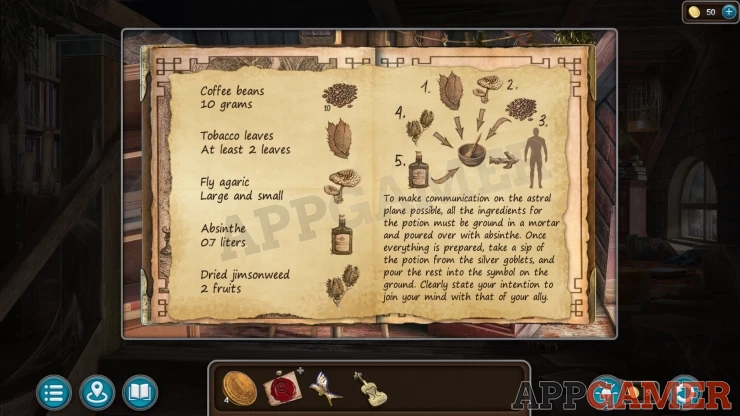
You will receive a Book with detail of a Ritual. View the paper with the instructions to collect the Book.
View the desk now that the mystic is gone and collect the Dried Jimsonweed from the bunches hanging above the desk.
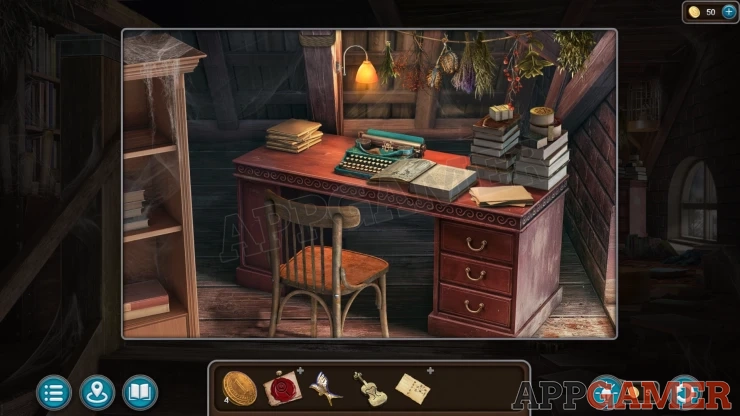
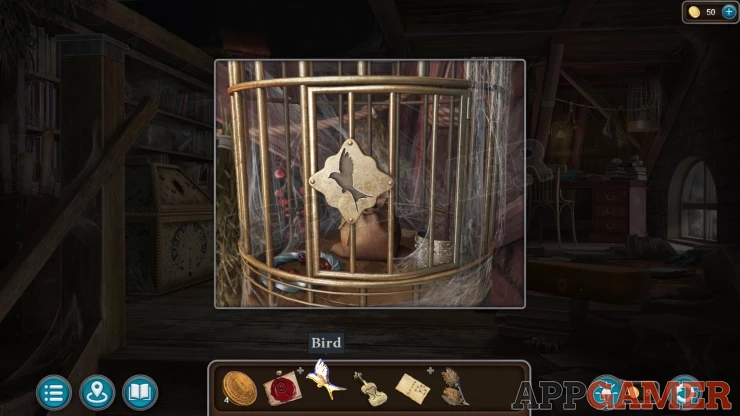
Then view the birdcage hanging above the desk in the corner. Use the Bird item you have to open this, collect a Temper (5) from the bag in the center.
View a violin case on the floor on the lower right. Collect a Sun (1 of 2) from the floor.
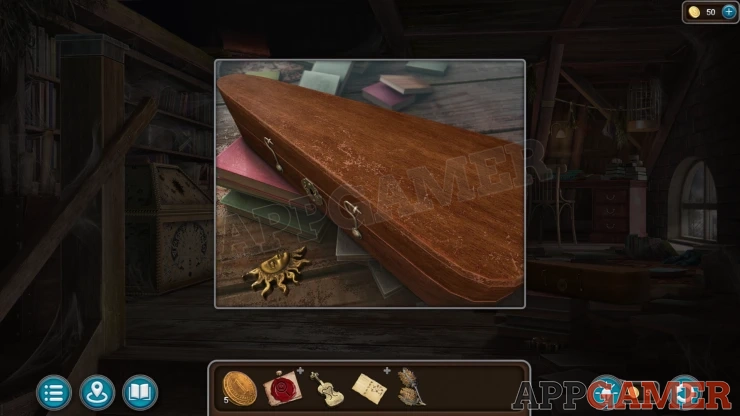
Use the Violin object you have to open the lock on the case. Then you can collect a Lever and a Head (1 of 2).
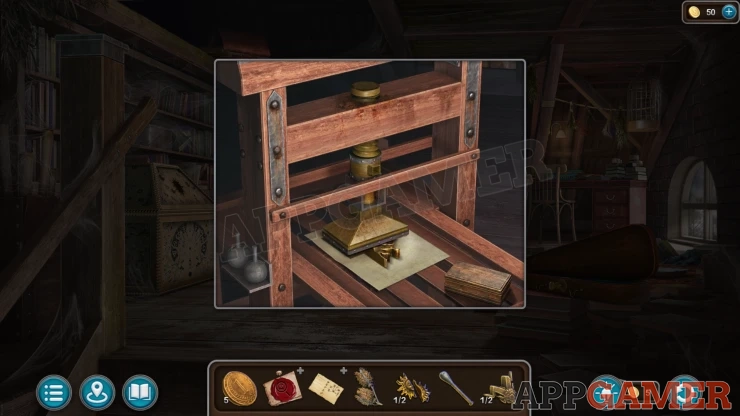
Next view the printing press at the back of the room on the left. Collect a Set of Weights from the base and then add the Lever to is and then you can raise the press and collect the Sun (2 of 2).
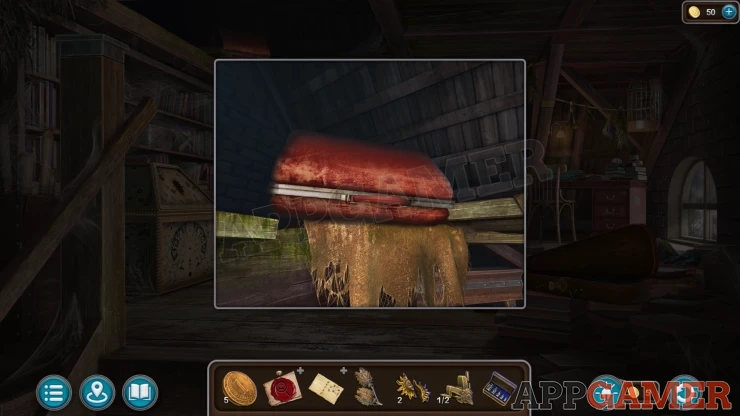
Then view a red case on a high beam above the printing press. Open it to collect a Pestle and a Head (2 of 2).
Now look on the top shelf of the book case to the left of the desk. There is a golden ram statue.
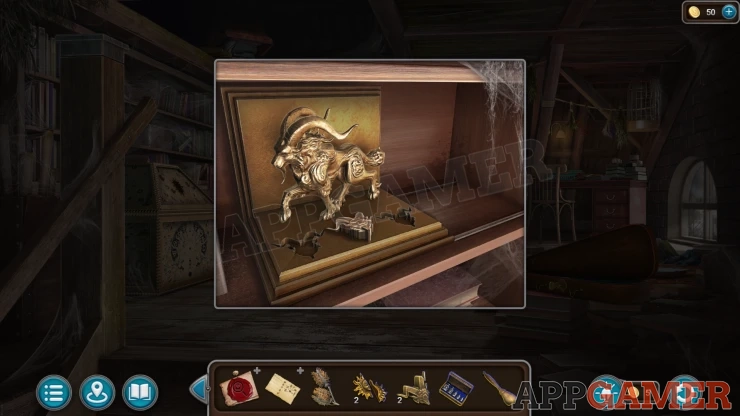
Add the two heads to the base in the slots and it will open. Collect the Fly Agaric.
Finally view a large chest on the floor on the left. Add the two suns to it, this will reveal a puzzle.
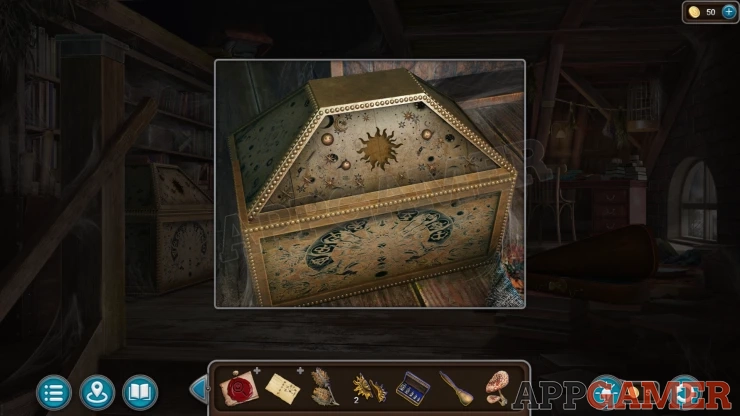
Sun Chest Puzzle
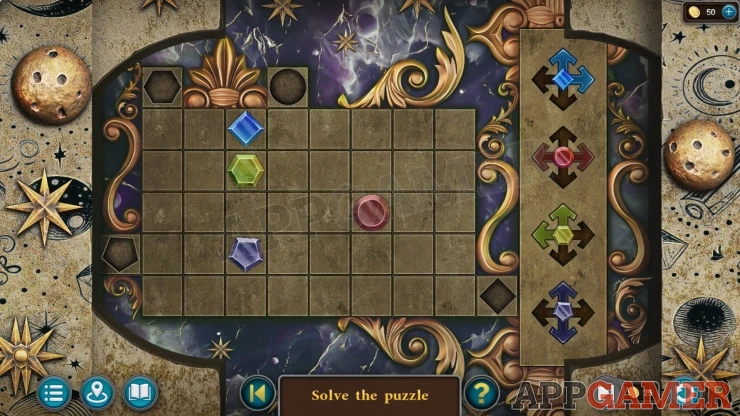
- There are four tokens on the board with different shapes.
- On the right are controls to move them. Each one can only move in certain directions.
- Around the sides are four slots with matching shapes for one of the tokens.
- Use each token to move others around and arrange them all so that they fit into the matching slots.
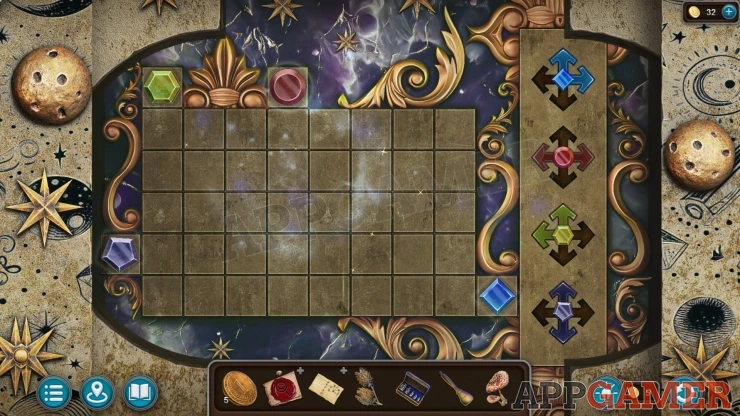
Once done the chest opens and you can collect the Ritual Items.
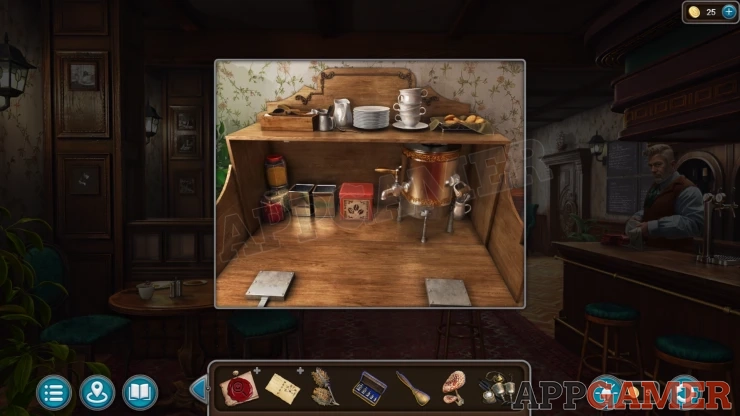
Return to the pub and view the catering desk on to the left of the fireplace and collect the tin to get the Coffee. If you cannot collect it make sure you have seen the mortar and pestle on the green table in the mystics house.
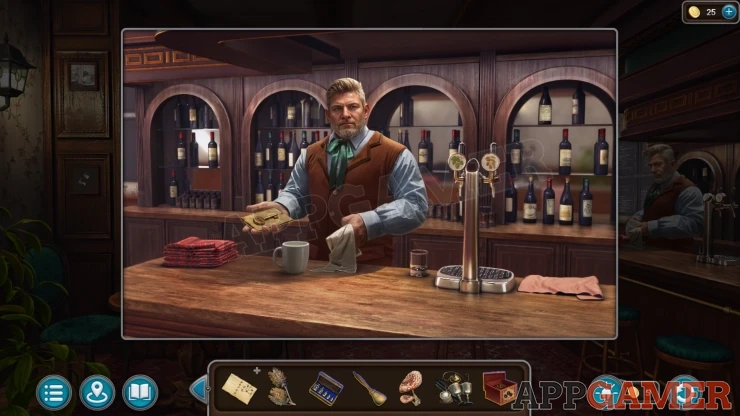
Then talk to the bar tender. You will receive a Key and a List.
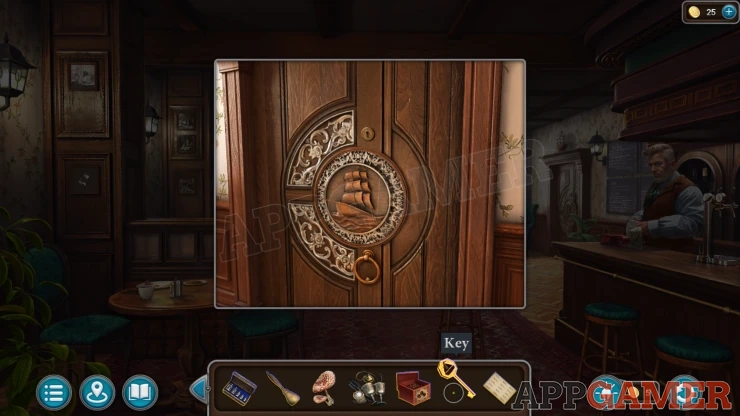
View the door on the right of the room and use the key to open it.
You enter a store room. View the list that the bartender gave you to start the puzzle.
Pub Storeroom Hidden Objects
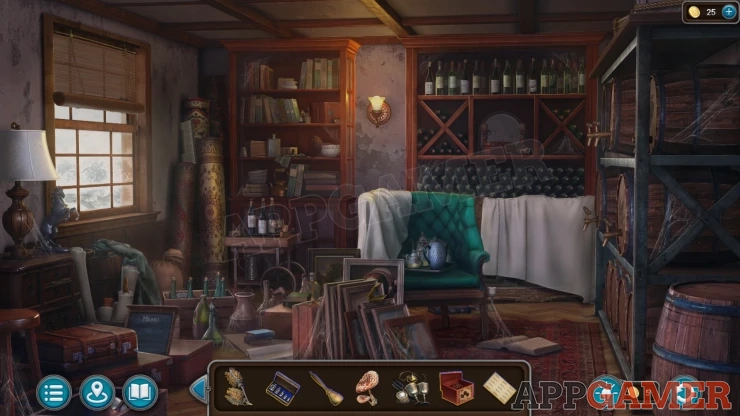
- This is a hidden object puzzle. Find the 15 items that are on the list.
- Search the room to look find all the items.
- Some are in plain view while others are in boxes, a tea set and more. Lower the blind on the window for an item.
- In some cases you need to use keys or find clover details to open boxes.
- Uncover a painting on the right for one more object.
Once you have them all you will collect the Things. Give these to the bartender and you will get the Absinthe.
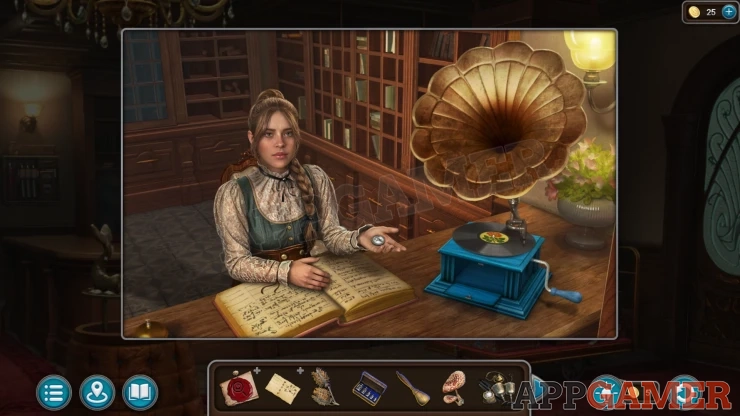
Go to the Hotel lobby and talk to the receptionist. Give her the five Temper coins to receive a Token.
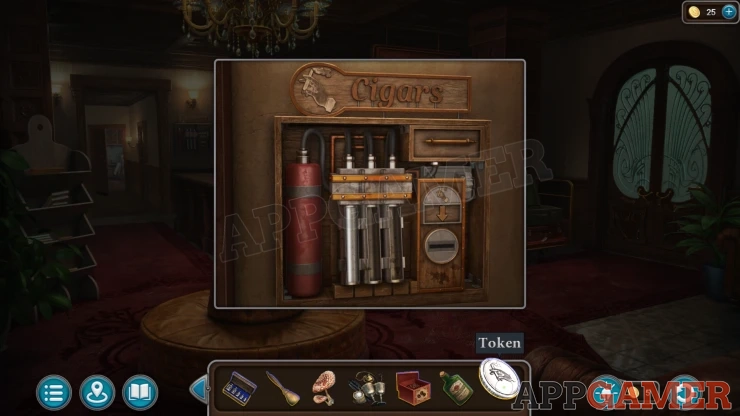
Then view the cigar machine above the left side of the reception desk. Use the Token here to get a Cigar.
View the cigar in your inventory and unroll it to get the Tobacco Leaves.
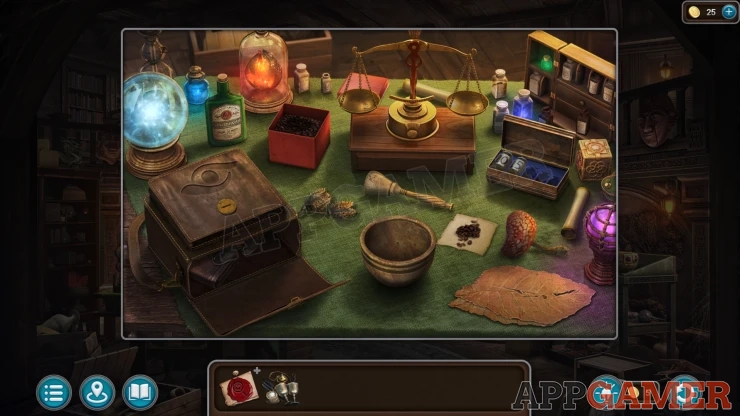
Return to the Mystics house and view the table on the left again with the green cloth. Add the Pestle and the Set of weights to the table as well as the Coffee.
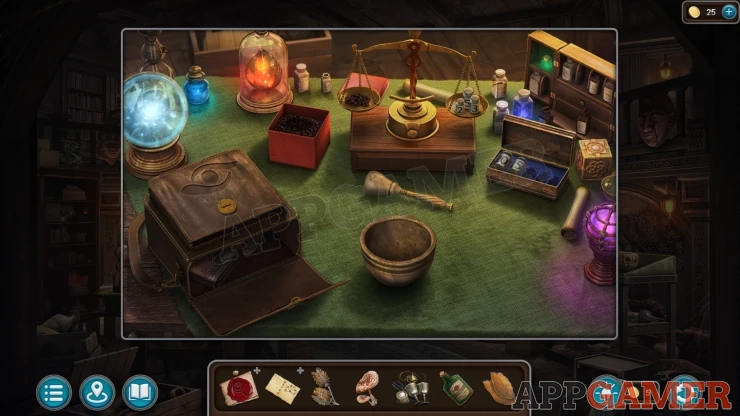
Add weights from the box to the scales to add up to 10g. Then add the coffee beans to the scales. Collect the Coffee Beans.
View the Ritual recipe in your inventory and add to it the Coffee beans, Tobacco leaves, Fly Agaric, Absinthe and Dried Jimsonweed. You then collect the Ingredients.
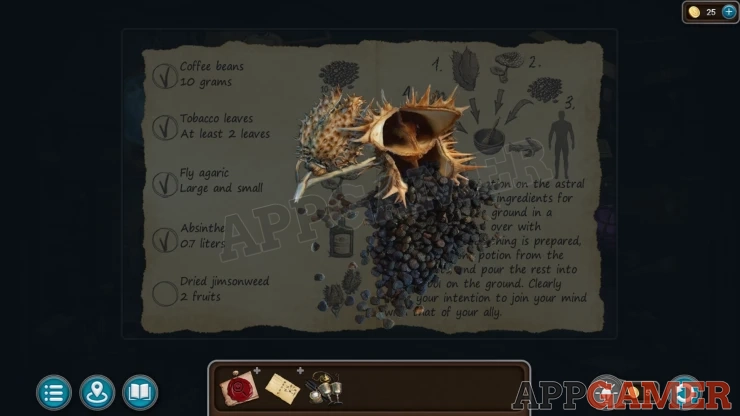
Add the Ingredients to the table as well. Then tap each ingredient to add it to the Mortar bowl.
Finally use the pestle on the mortar to crush the ingredients and collect the Potion.
Return to the far end of the beach with the Fisherman's Shack. Talk to Penelope here.
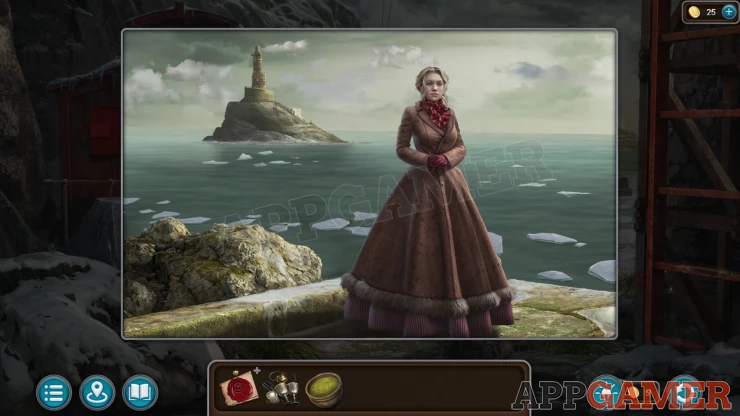
You then start the Ritual with Francis.
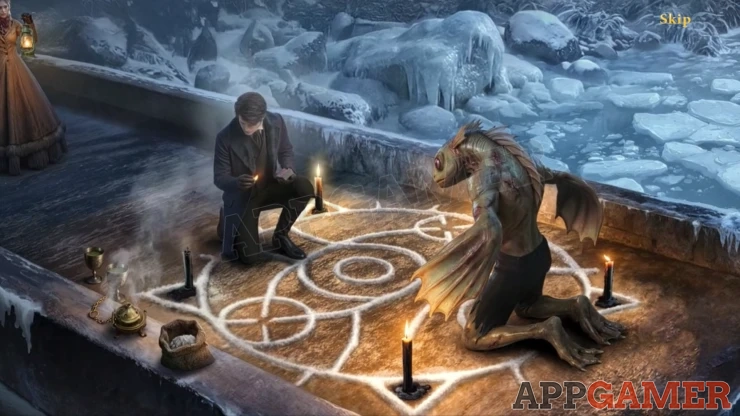
Astral Level Puzzle
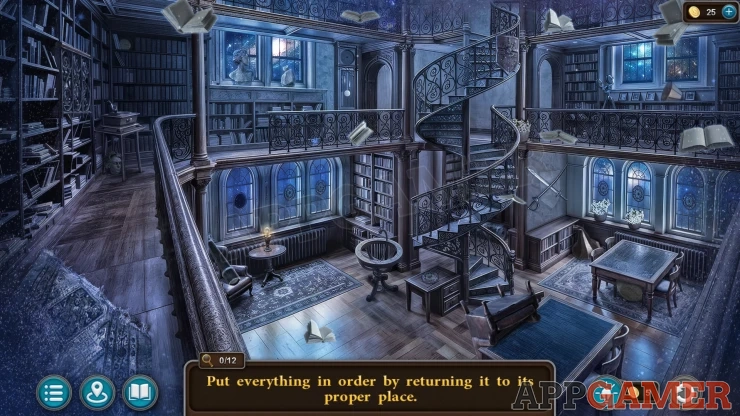
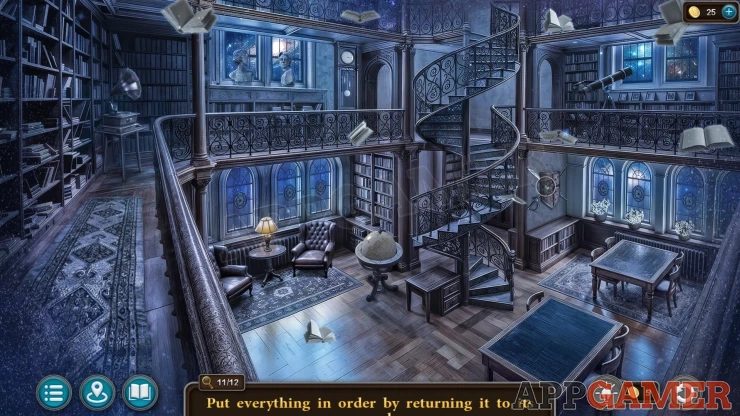
To meet with Francis you need to tidy up the room you are in. Find 12 items to return to their place.
The items are an Armchair, Globe, Gramophone Horn, Window Decoration, Telescope, Head from a Bust, Pot of Flowers, Clock Face, Railing, Shield, Rug, Lamp Shade.
Francis will appear. Talk to him. You will get Young Mans Disappearance - Evidence (7 of 7).
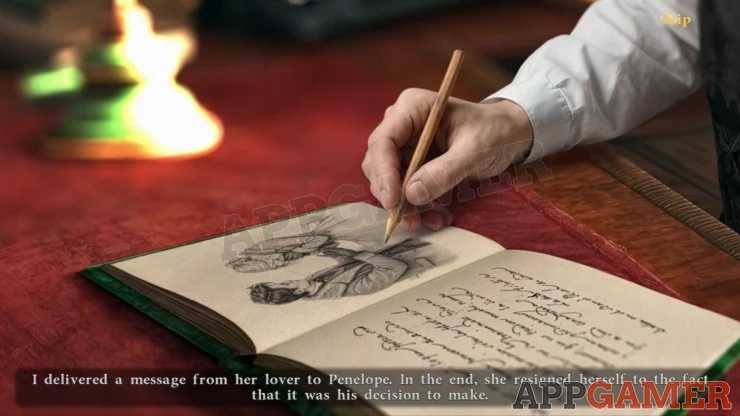
After the final scenes this is the end of Chapter 1. Move on the Chapter 2.
 With 20 years of experience in creating video game content for the internet and over 30 years as a gamer, Mark is now a passionate mobile App Gamer. Loving a challenge, he is always ready to get stuck in to both survival builders and puzzle solving games. He has been providing content for AppGamer since 2014.