
Chapter 3 - Victim Walkthrough
More Mystery Detective Adventure 2
This is our walkthrough for Chapter 3: Victim of Mystery Detective Adventure 2, second game featuring detective John Woodbrey from Five-BN games.
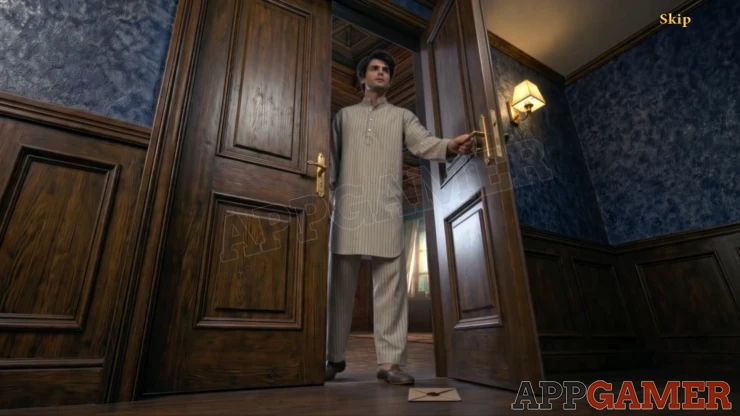
In chapter 3 you awake to find that your girlfreind has been kidnapped and a threatening letter has arrived for you with a puzzle to solve.
Follow the walkthrough below for help finding all the hidden objects and guides to all of the puzzles.
Chapter 3 Walkthrough - Victim
After receiveing the mystery letter you start the case in your own apartment
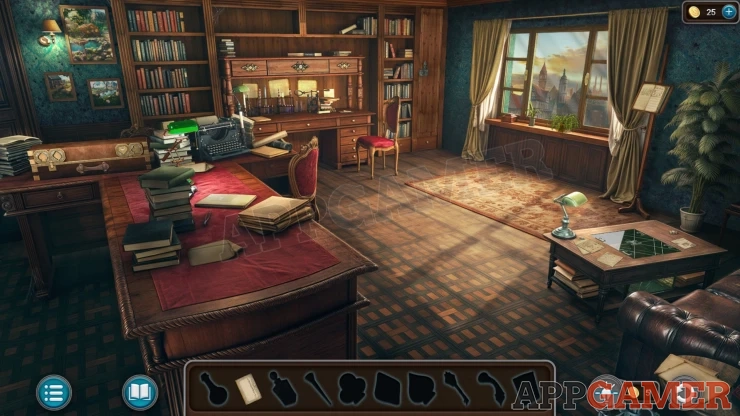
Task - Reveal the text of the letter
You need to find the items shown as shapes at the bottom. Explore the office to find them.
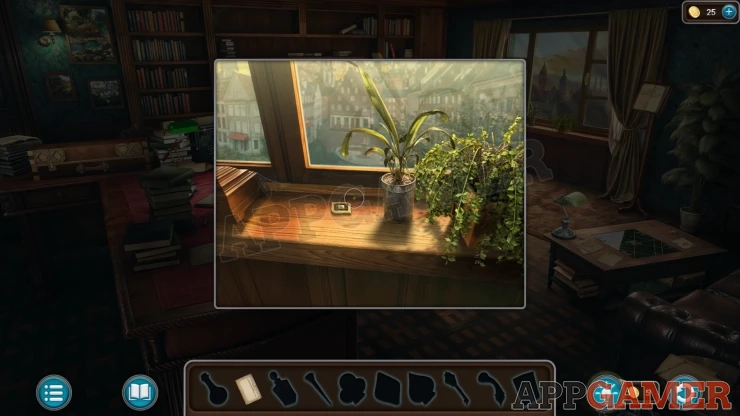
Look on the windowsil and move a plant pot to collect a Diamond token.
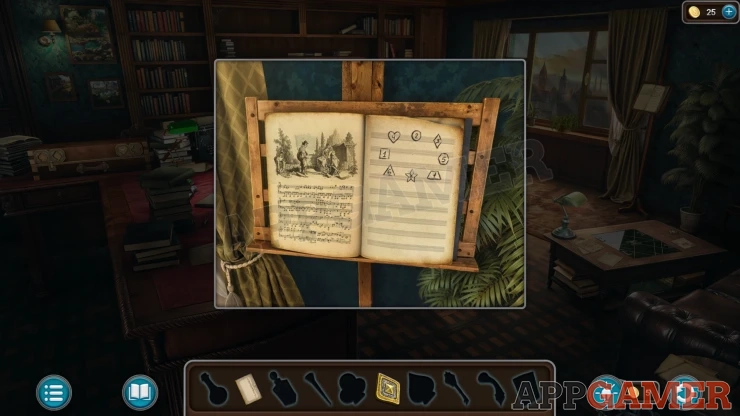
Then look at a book on the stand to the right of the window. Tap the page on the right to collect the Clue and then you can can also collect a Club Token
Look on the small table on the right and move some papers to collect a Key.
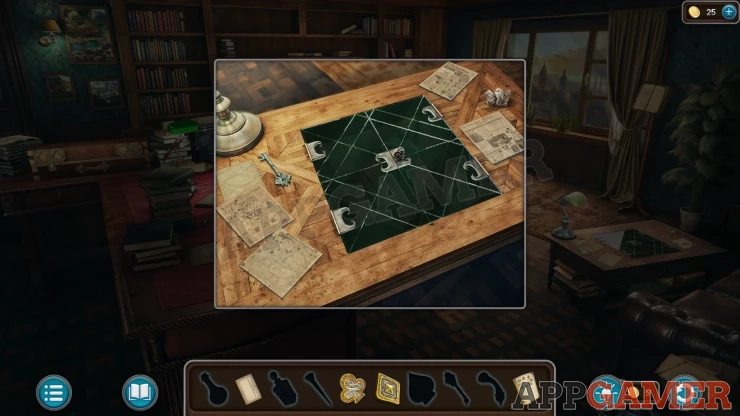
Then view a cabinet door in the back corner of the room near the window. Use the key to open this.
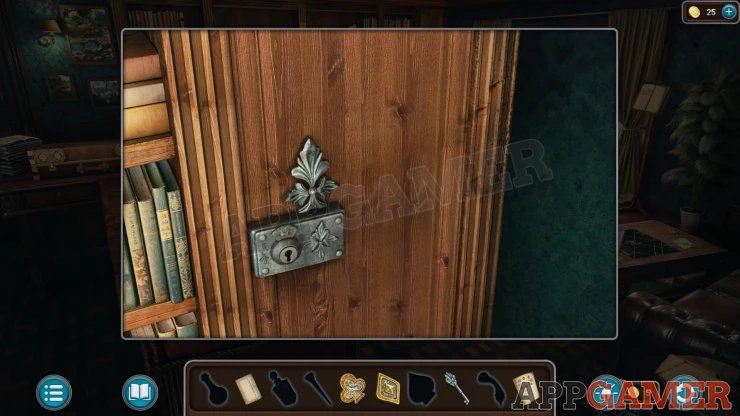
Collect a Spade token and then view the ornate box on the shelf below. Add the Clue to this to see the order to press the blue gem buttons.
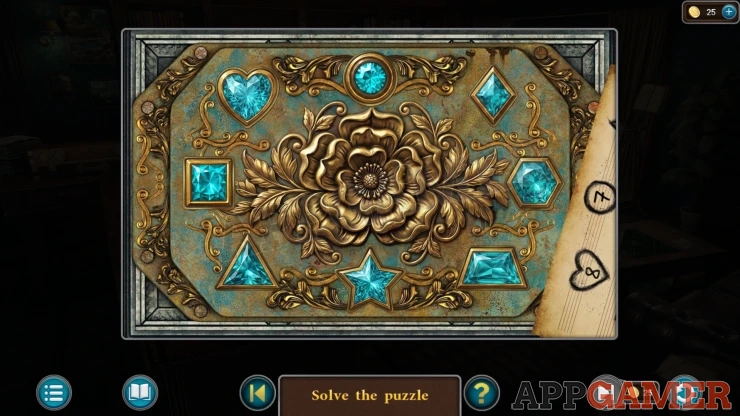
Press the gems in the correct order to open the box, then collect a Brush.
Next look at a case on the back of the desk on the top left. Add the Spade, Club and Diamiond to this to open it, then you can collect the Iodine and a Handle.
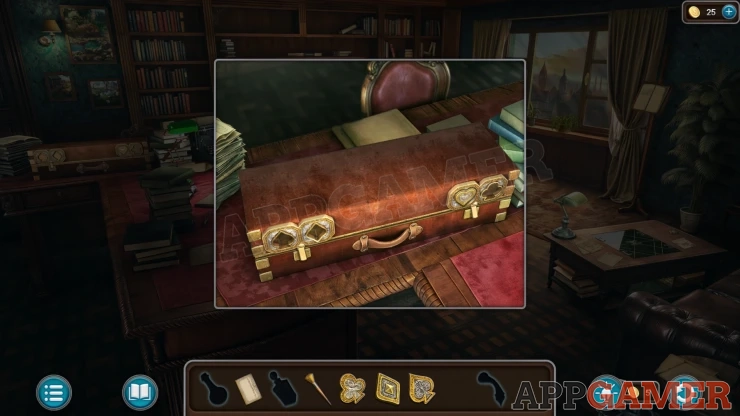
Look at the small table on the right again and add the handle to a panel in the center. Open the panel and collect a Decanter.
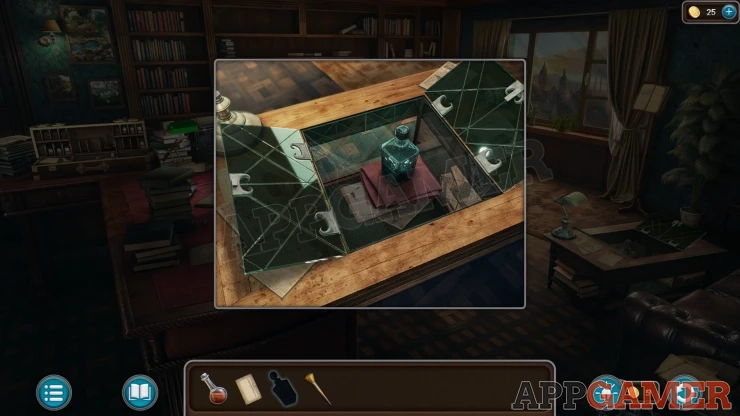
Now view another desk on the back wall. Add the Letter, the Decanter, the Iodine and the Brush here.
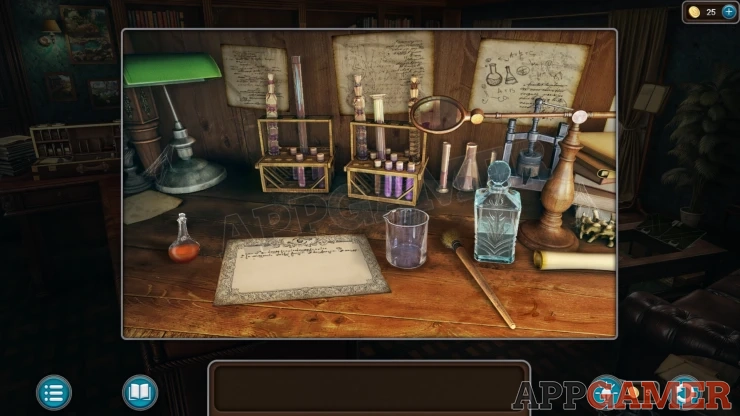
Tap the decanter to pur some liquid and then tap the Iodinw to add this to the beaker. Then tap on the brush to apply it to the letter.
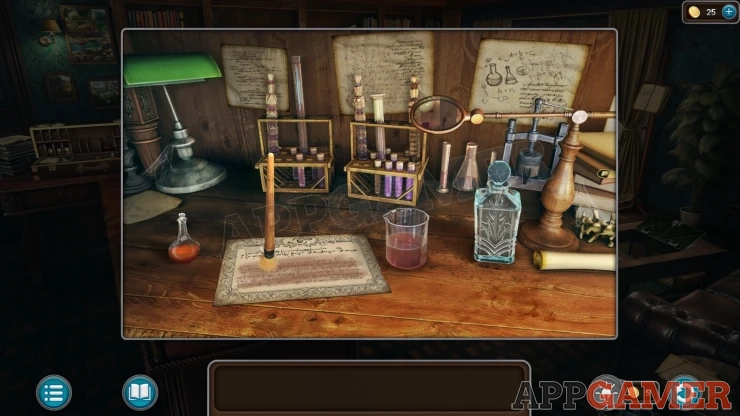
You can now read the rest of the letter to discover your new case to solve. You collect the Evidence - Margaret (1 of 4).
Task - Save Margaret
You travel to the village of the disappearance. Now you need to talk to the councillor.
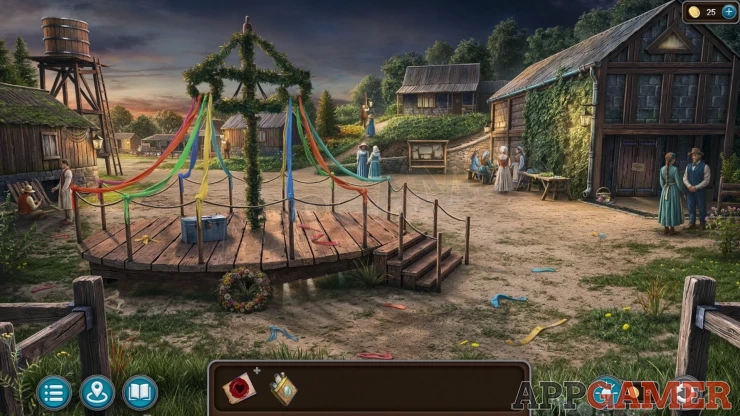
Task - Speak with the Councillor
Collection Item: Wooden Horse on the ground by the fence post on the lower left.
Morphing Object: Banner hanging on the small building on the top left.
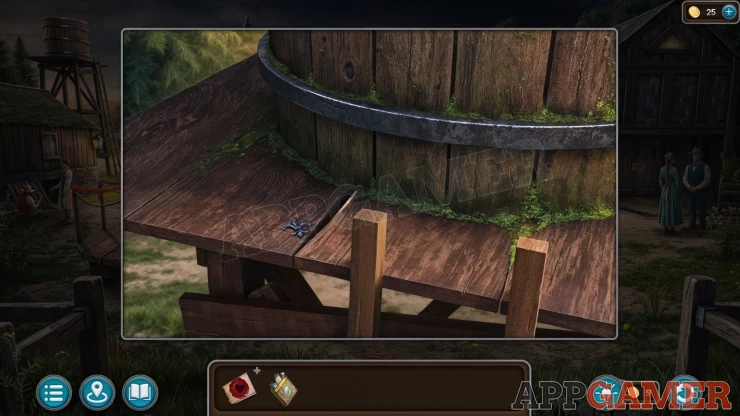
View a water tower on the top left of the scene and collect from there a Fleur-de-lis (1 of 4).
Then go to the house on the hill at the back. Open the door and go inside to talk to the coucillor.
Task - Speak with the Head of the Congregation
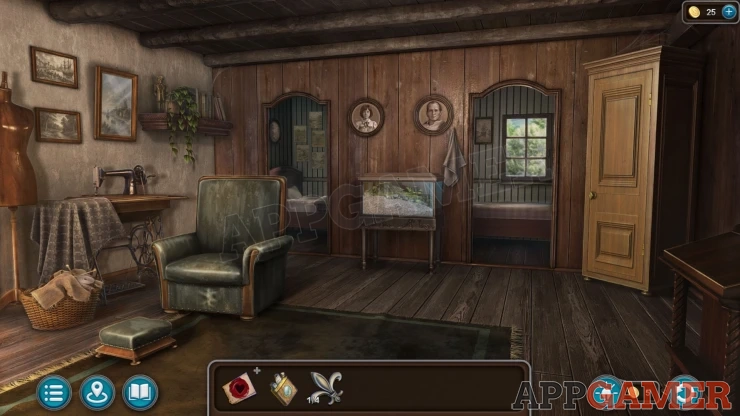
Morphing Object: Tape / Yarn on the basket on the lower left.
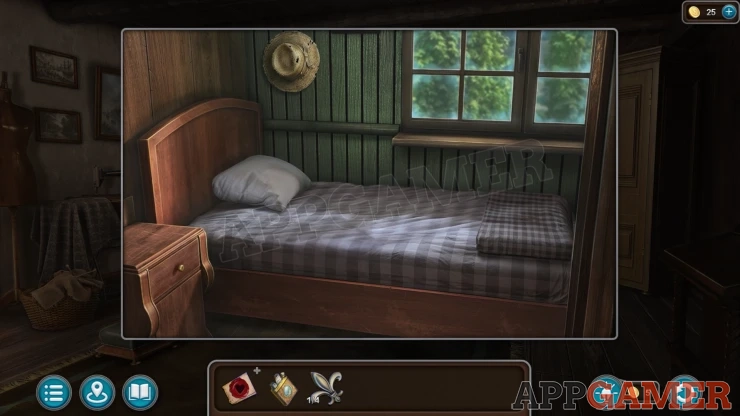
Collection Item: Straw Hat - Enter the bedroom on the right and find it on the wall.
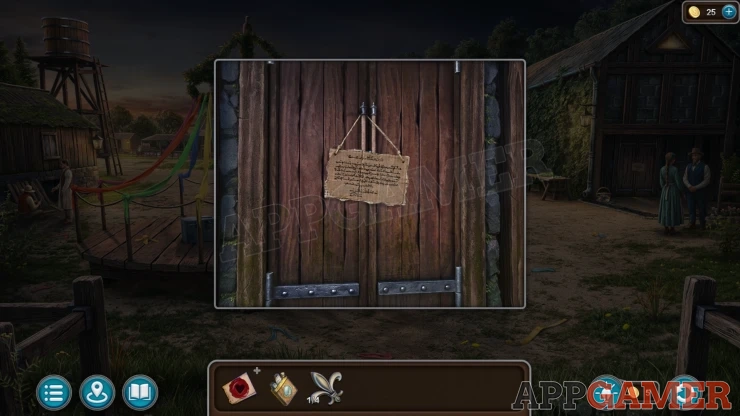
Back out and then view a door to the building on the far right, read the note on the foor from Luka. Then collect another Fleur-de-lis (2 of 4).
Follow a road to the left behind the water tower to move to another area, there is a locked Bridge on the top left and a dining hall (cefeteria) in the center.
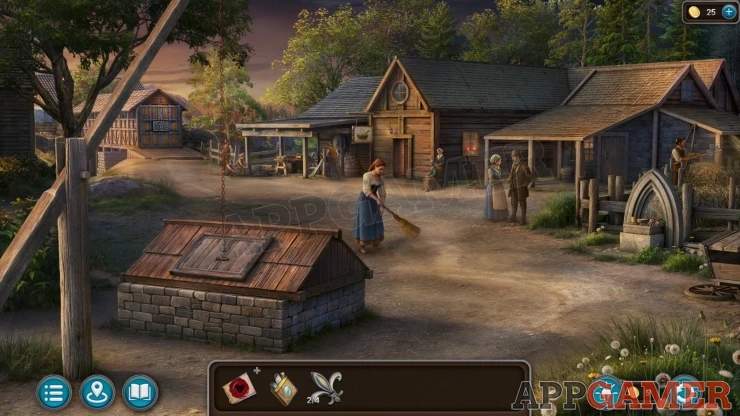
Morphing Object: Window on the dining hall building at the top center.
Enter the dining hall.
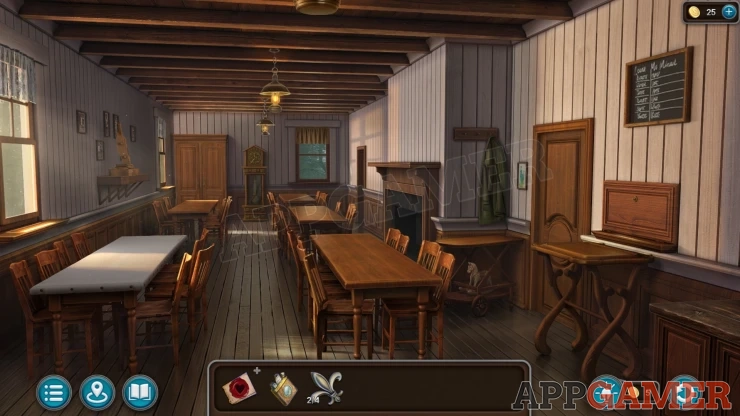
Collection Item: Wooden horse on a small trolley next to the door on the right.
Morphing Object: Pelmet curtain on the small window at the back.
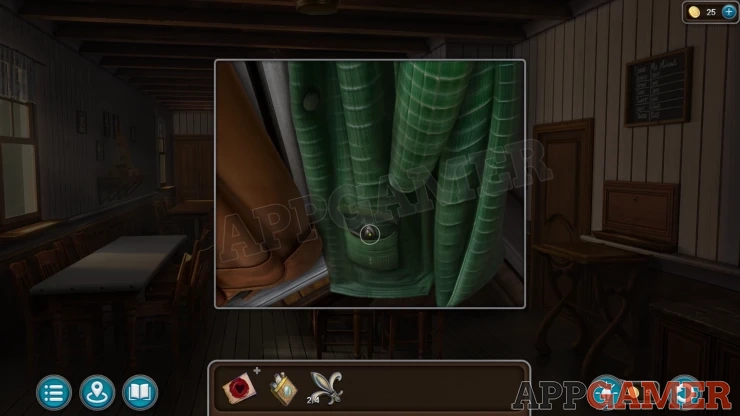
View a green coat hanging on the right. Look in the pocket to collect a Fleur-de-lis (3 of 4).
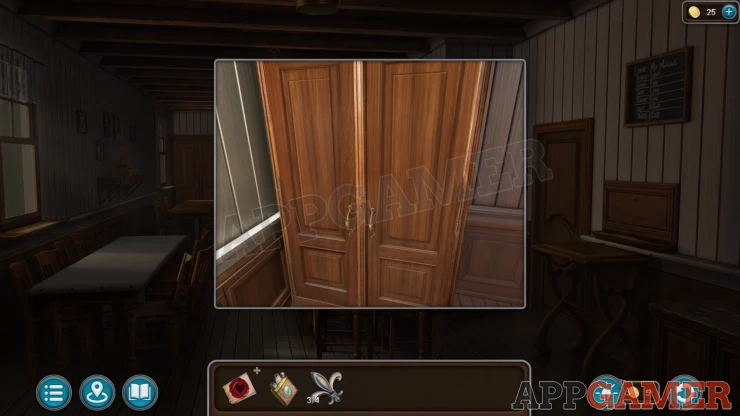
The look inside a tall cupboard on the back left. Collect a Handle (wooden).
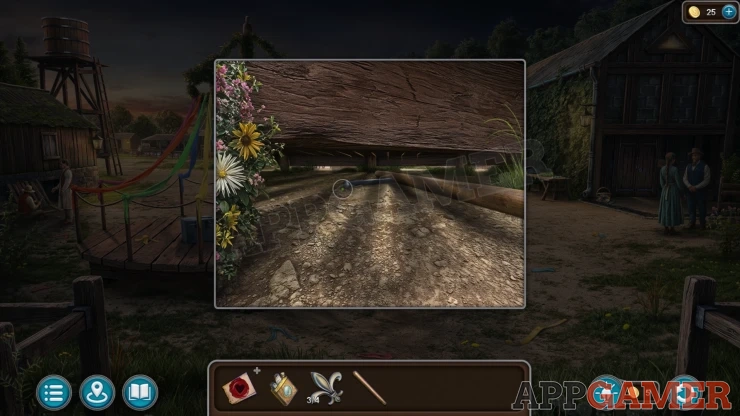
Back up to the town square where you started. Look under the center platform and use the handle here, you will collect another Handle (metal).
Move to the area with the bridge again and look next to the bridge, there is a workshop and inside is a workbench. Collect a Fleur-de-lis (4 of 4).
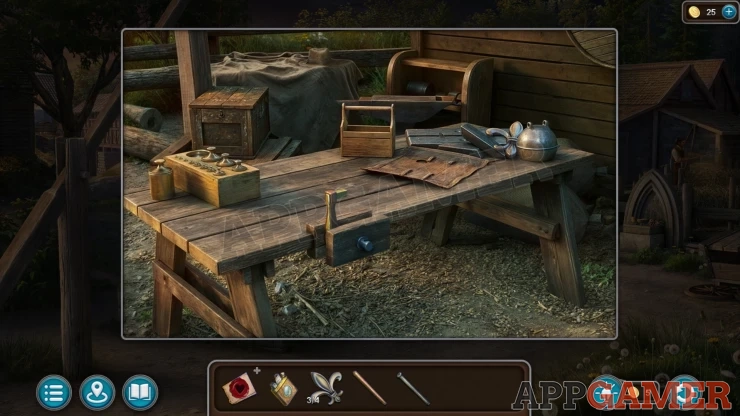
Collection Item: Straw Hat - on a cloth at the back behind the workbench.
Add the metal Handle to the vice on the workbench and then you can collect another Handle (door hande).
Enter the dining hall again and view a small flap next to the door on the right. Add the most recent handle to this to open the flap.
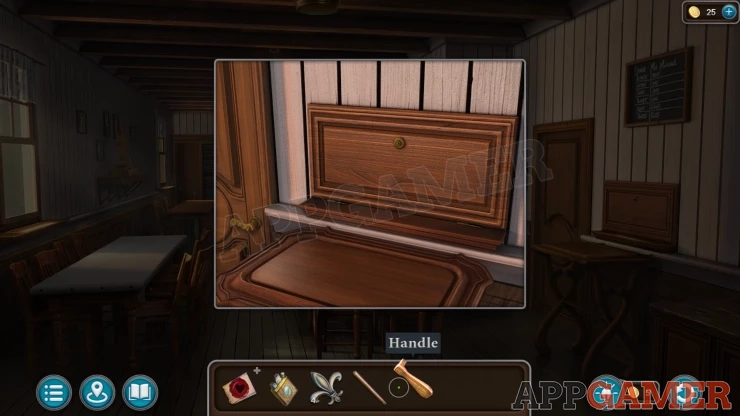
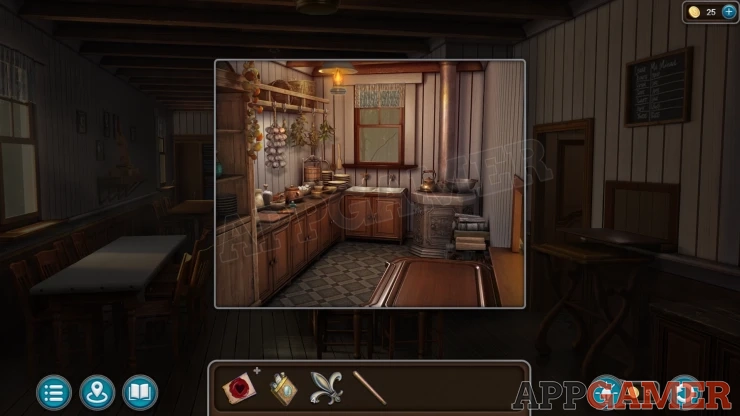
Look through into the kitchen and then move the bolt and unlock the kitchen door. Open the door and go into the kitchen. Collect a Knife from the Counter.
Back out to the dining hall and then view a table on the left, the cloth has some stiching.
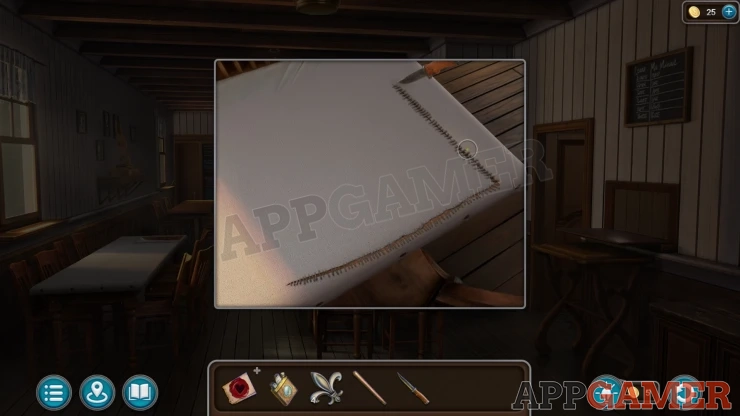
Use the knife on this to cut it and find a puzzle below.
Dining Hall Table Puzzle
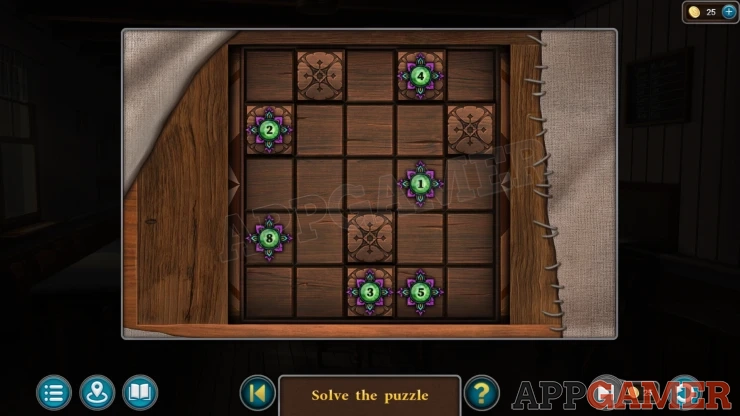
- The board has six green and purple tokens with numbers.
- There are also six marked squares with symbols.
- Choose a token and then move it to one of the marked suqares, you need to move each one the number of moves as shown by the number on the token.
- You can use a token to push other tokens.
- Each token must end up on one of the marked symbols with the number 0.
Solution: The layout and numbers can be different in each game.Show
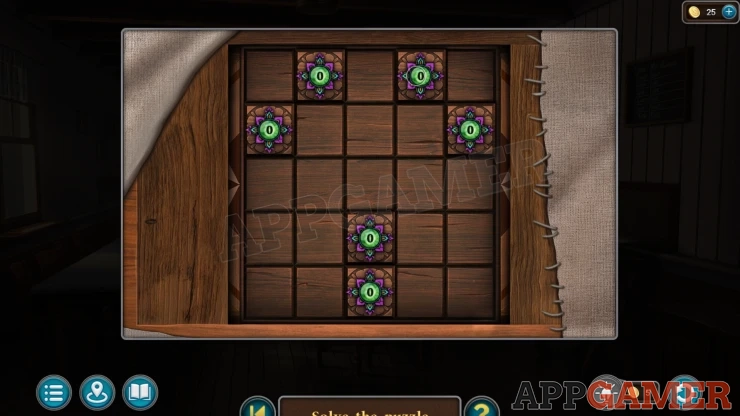
Collect a Leaf (1 of 3) and a Wheat Ear (1 of 3).
Back out and view the bridge doors. Add the four Fleur-de-lis to the panel to reveal a puzzle.
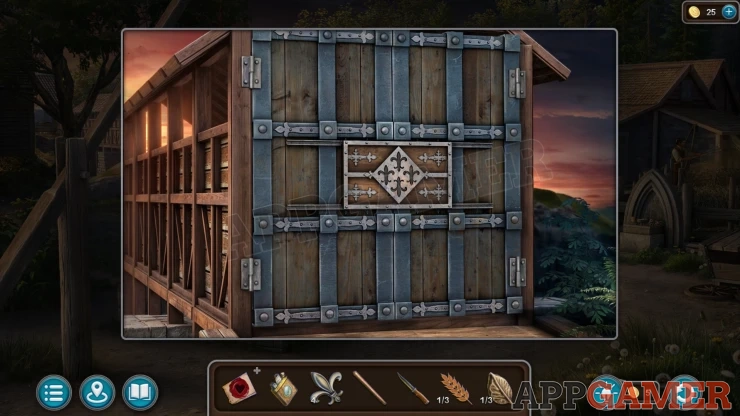
Bridge Doors Puzzle
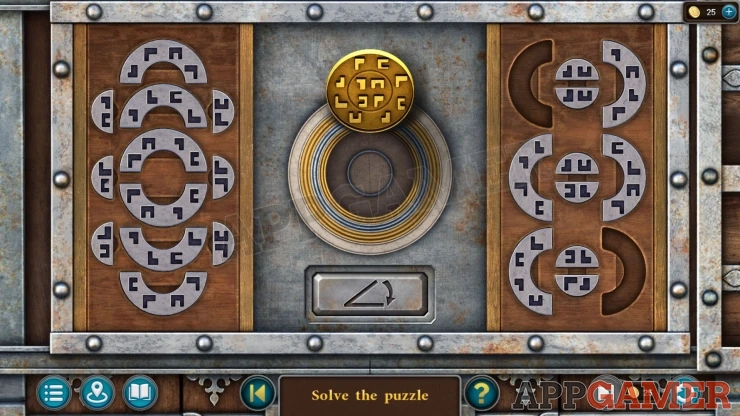
- In the center is a lock with a set of shapes on a lock cover.
- On the left and right are pieces with various shaped holes. These can be placed into the cetner into the out or inned circles.
- Tapping the button below will close the lock. Place the correct four pieces into the center clots so that they will fit the required shapes from the cover when the lock it closed.
Solution: Your game may be different.Show
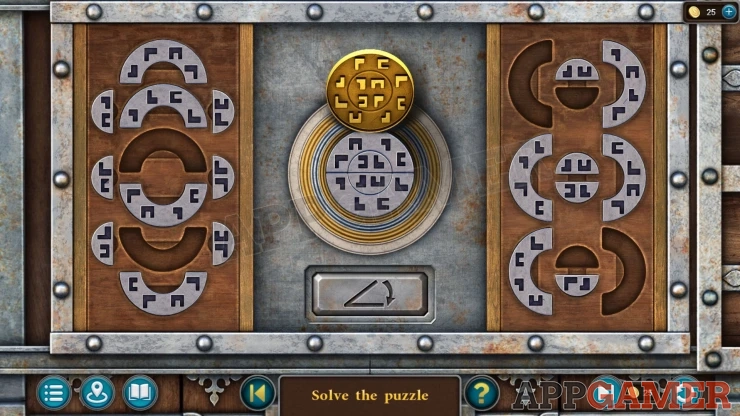
Once done the doors will open and you can cross over to an area with Beehives. The Apiary.
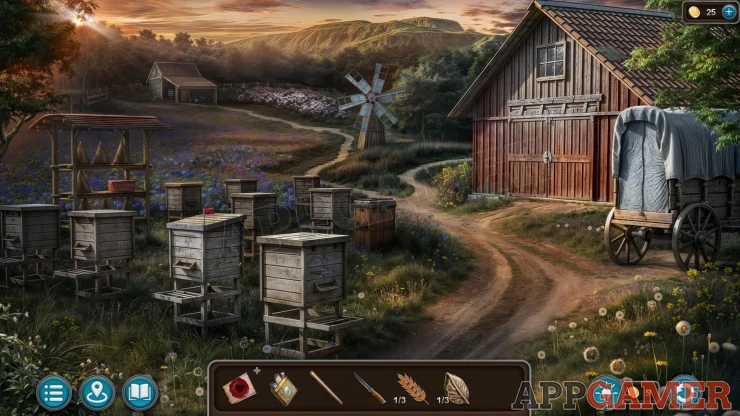
Morphing Object: Tiles/Hole in the roof of the barn on the right.
View the shelving on the left behind the beehives, collect a Golden Apple (1 of 3).
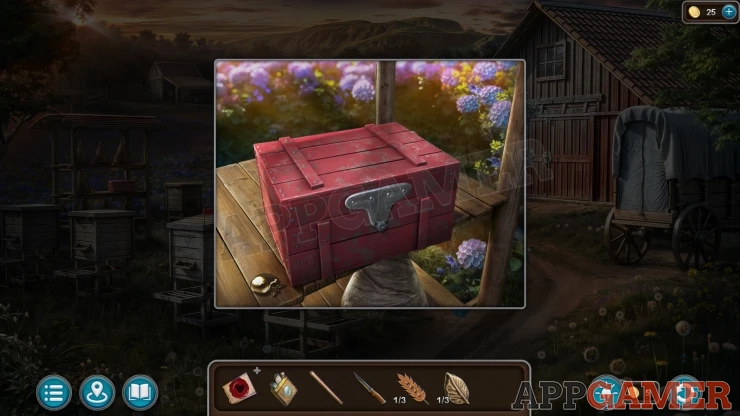
Next view the front of the house on the top left.
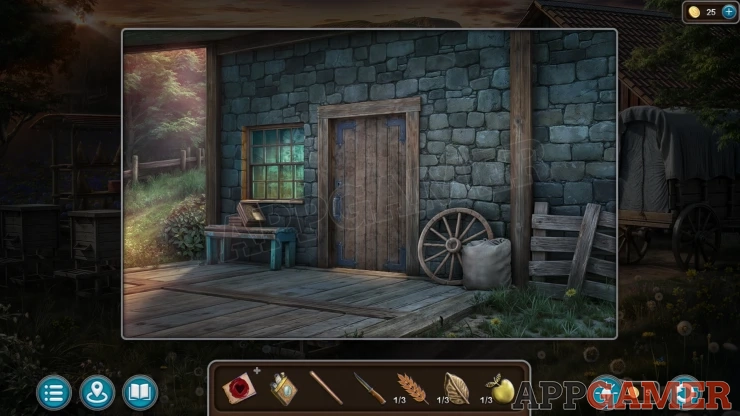
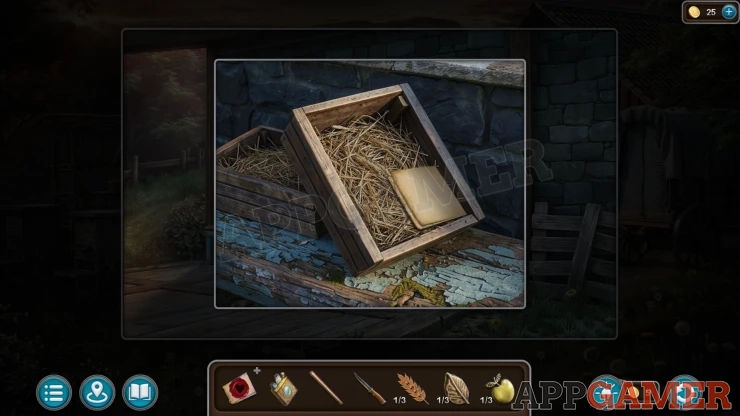
View some boxes by the door and read a note, then you can collect a Bee (1 of 3).
Follow the path to the right behind the barn. You reach a riverside. You will look in the small boat to see that it need fixing.
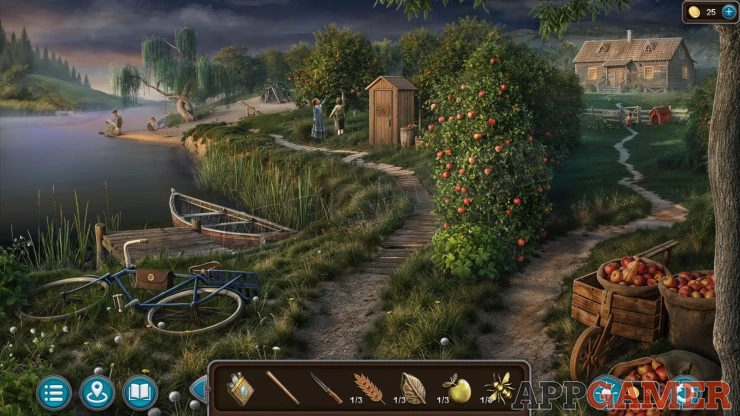
Morphing Object: Squash/Pear in the barrel of apples on the lower right.
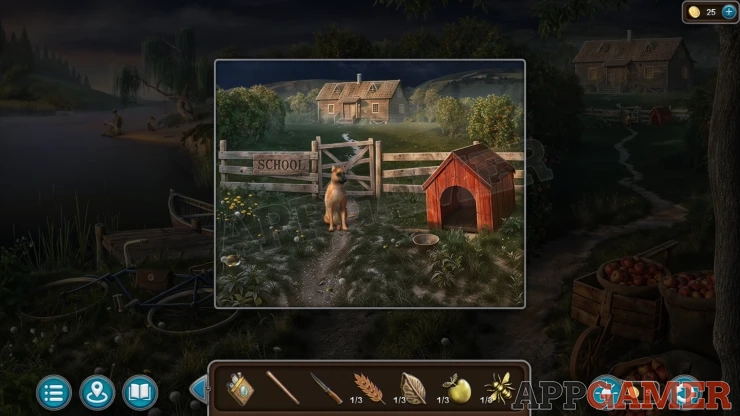
Then look at the school building on the upper right. Collect a Golden Apple (2 of 3) from the ground on the lower left.
Next view a rope swing by the river bank and use the Knife on this to collect the Rope.
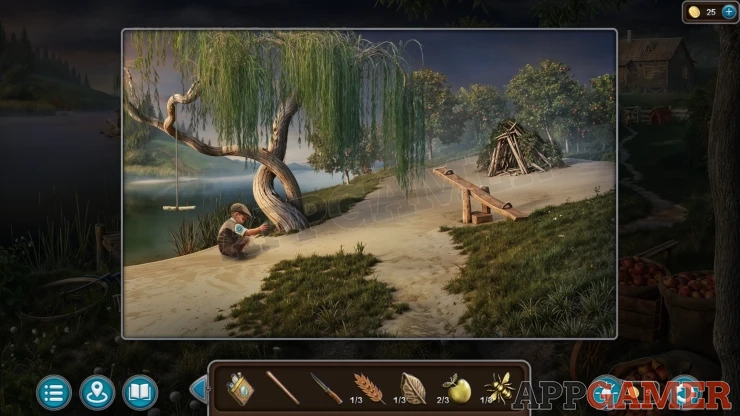
Collection Item: Wooden Horse. Look at the small tent of sticks on the right and find it in the leaves on the right.
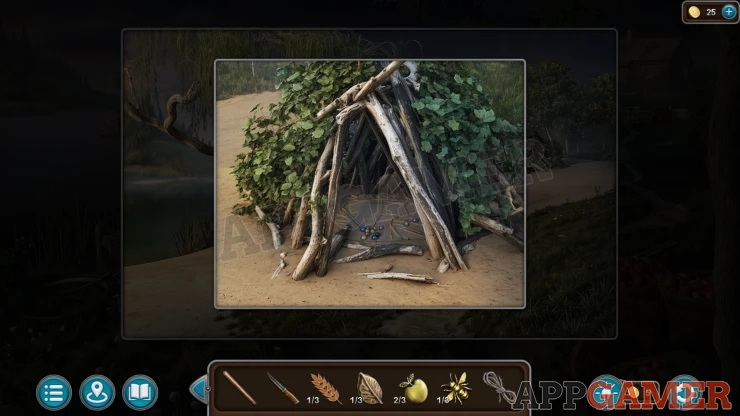
Go back to the field with the beehives and view the windmill. Use the Rope here to connect it to the hook by the door.
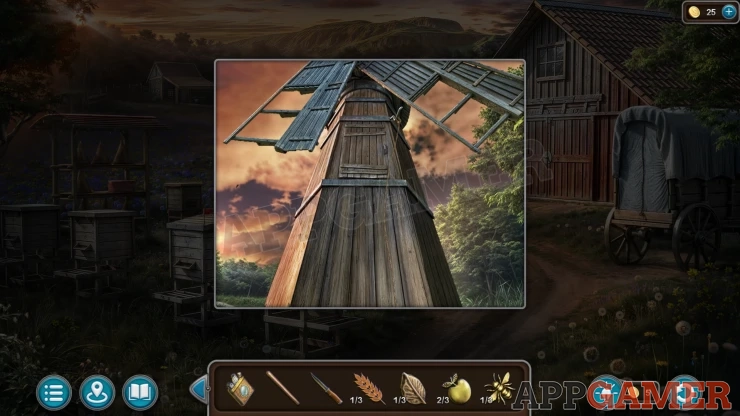
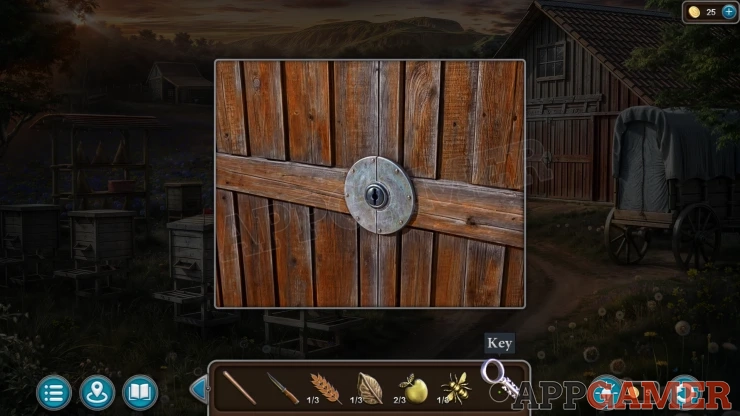
Now you can open the high door and look inside. Collect a Key.
View the barn doors and use the key to open then. Then go inside.
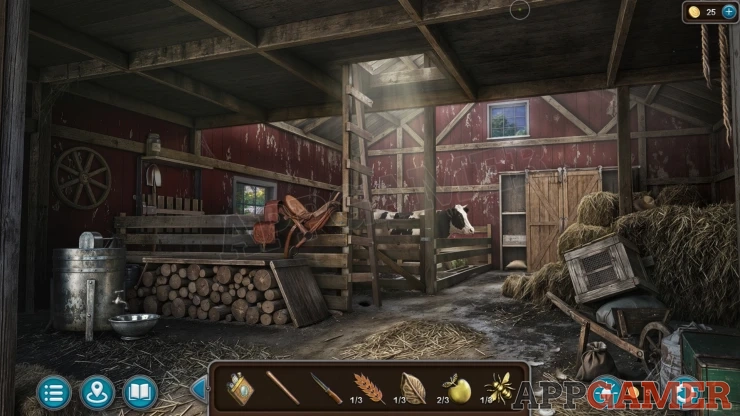
Collection Item: Straw Hat, on top of the hay bales on the right.
Morphing Object: Jug on a shelf on the wall of the barn to the left.
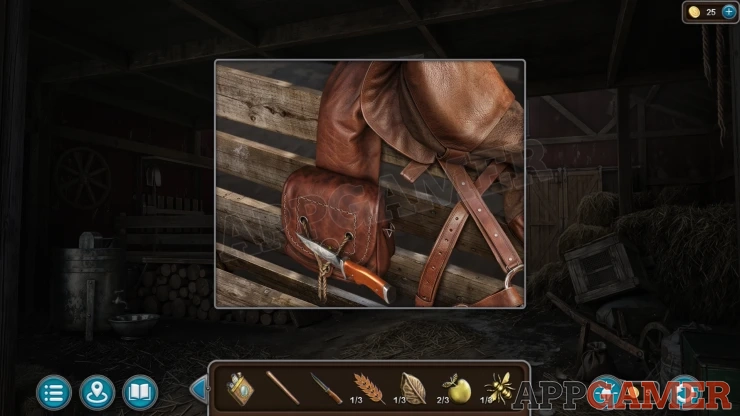
View the saddle on the fence on the left. Use the knife to cut open the saddle bag and collect a Golden Apple (3 of 3) and a Clasp.
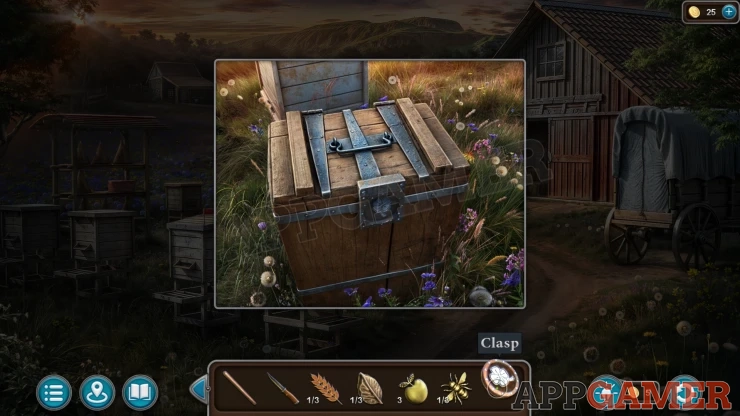
Now back up to the apiary field and view a brown box in the center below the windmill. Add the clasp to this to open it and collect a Wheat Ear (2 of 3) and the Beekeeper Suit.
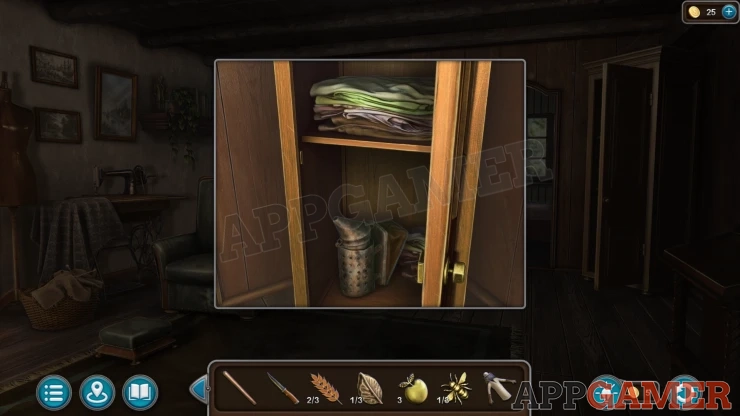
Return to the house of the Councillor and open a tall narrow cupboard on the right of the room. Collect a Bee Smoker.
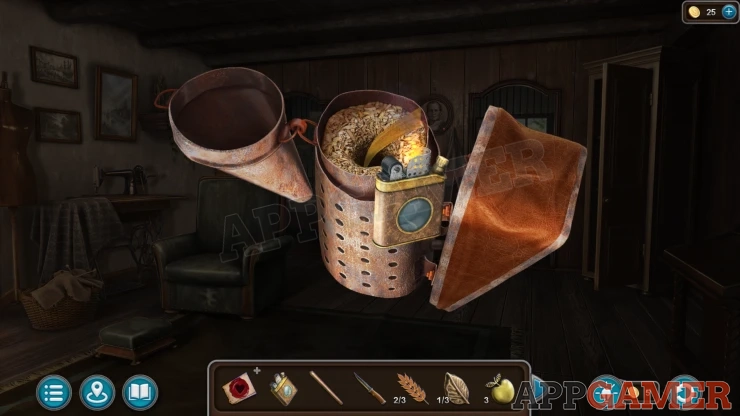
Now view the Bee Smoker in your inventory and open it, then use the Lighter on it. You will get the Lit Bee Smoker.
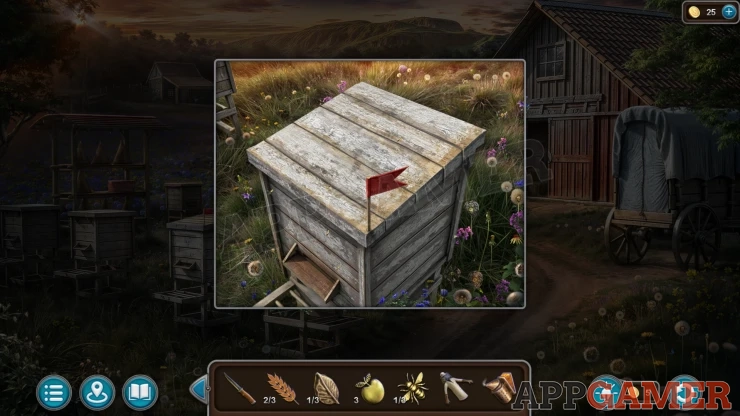
Go back to the Apiary fiend and view a beehive with a red flag on it and use the Beekkeeper suit on it to put it on. Then open the lid and use the Lit Bee Smoker on the hive. Collect the Honeycomb.
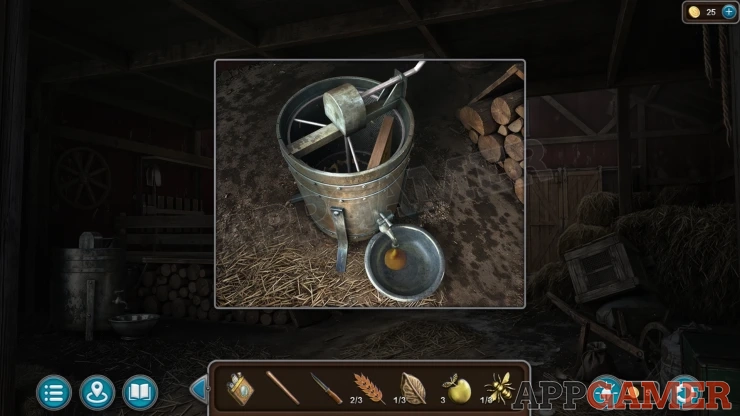
Go into the Barn and view a metal cylinder on the left. Add the Honeycomb here and turn the handle to extract the honey and then you can collect the Wax.
Go through to the riverbank again and view the small shed building, Add the three golden apples.
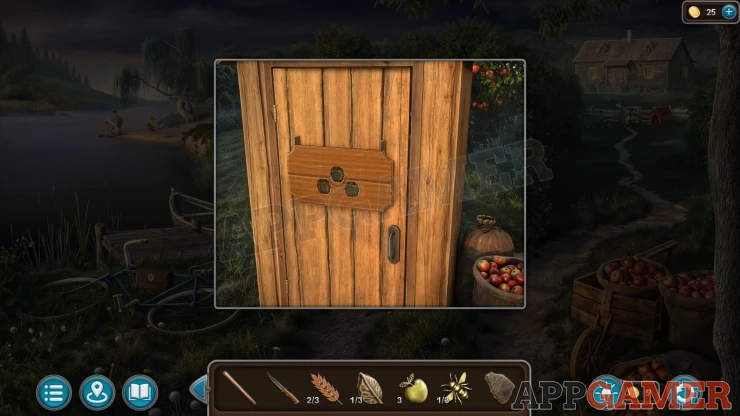
Golden Apple Puzzle
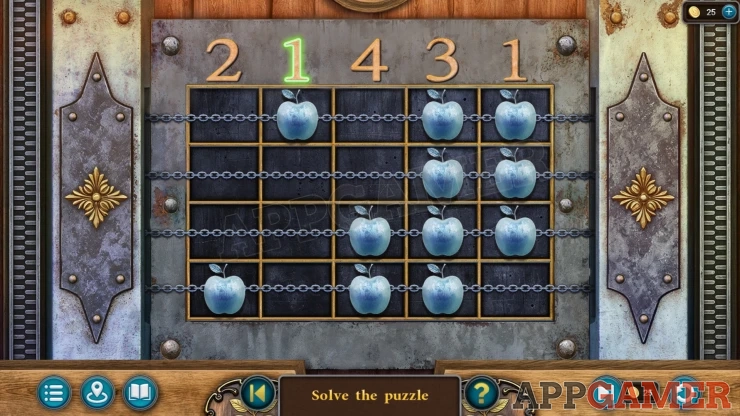
- There are four chains / rows with apples on them.
- Slide these left and right to arrange them so that the number of apples in each column matches the number at the top.
Solution: Your game may have a different set of numbers.Show
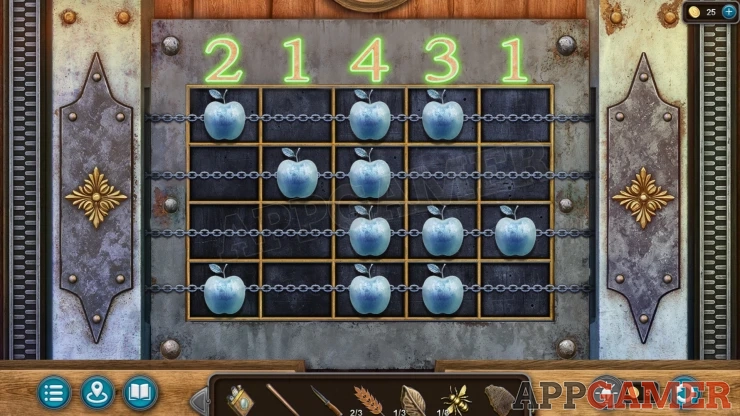
Once done collect an Oar from the shed.
View the small boat and add the Wax to it and the Oar.
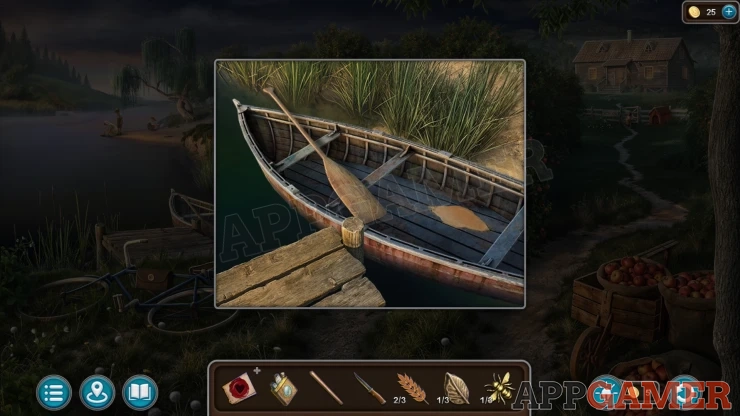
Then you can travel across the river to the cemetery. Talk to Luka. You will receive Evidence - Conflict (1 of 6)
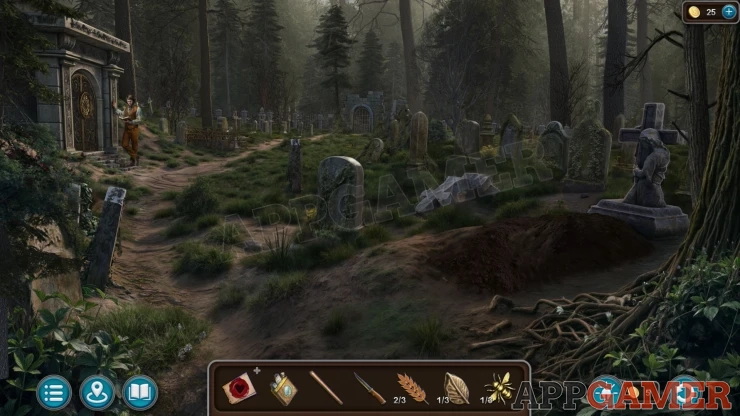
Task - Learn about the conflict
Collection Item: Wooden Horse - in the tree roots on the bottom right.
Morphing Object: small figure on top of a gravestone above the wooden horse.
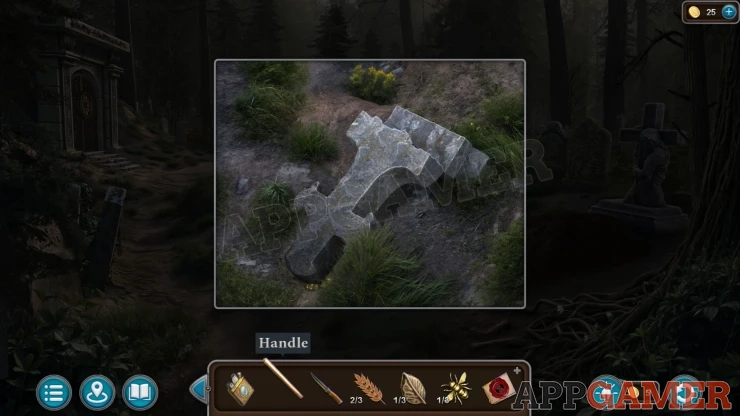
View a fallen cross shaped tomb stone near the center. Use the Handle (wooden) on this to turn the stone over and then collect a Lion's Head (1 of 2).
Now go back to the dining hall, you will meet the cook there, you ask her for meat and she asks you to help find some items. You receive a List and a Key.
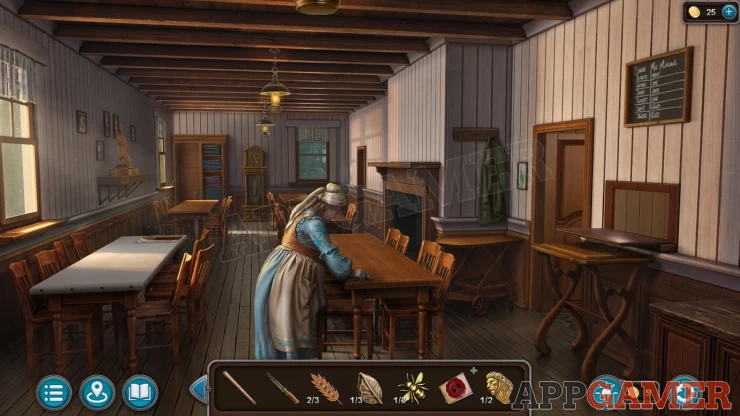
View a door at the back on the right and use the key to open it, go through to the Store Room.
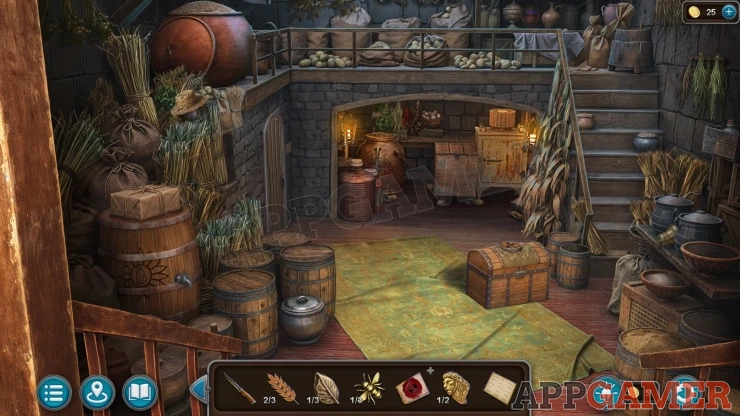
Collection Item: Straw Hat - on some canes on the top left.
Morphing Object: Bell / candlestick on a table on the bottom right.
View the Pantry area below the stairs to start the hidden object puzzle.
Pantry hidden object
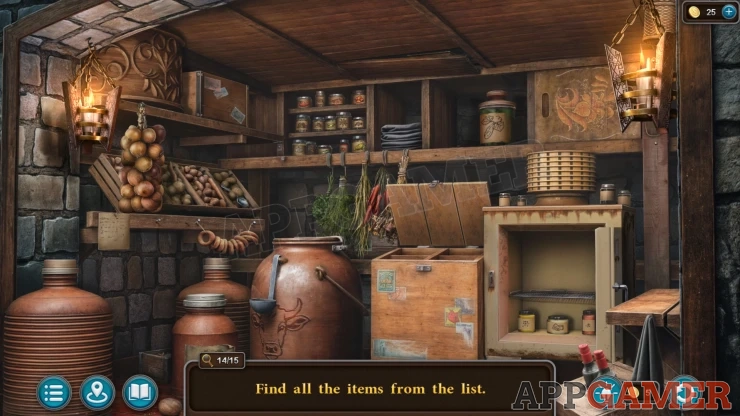
- View the List that you were given, you need to find the 15 itrems from the list.
- Some ites can be seen, others are hidden in boxes or under items.
- You many need to use tools such as a ladle to help you collect the items.
- Check the ceiling for a recipe book
Once done you have collected the Food Supplies.
Continue the guide in Part 2.
 With 20 years of experience in creating video game content for the internet and over 30 years as a gamer, Mark is now a passionate mobile App Gamer. Loving a challenge, he is always ready to get stuck in to both survival builders and puzzle solving games. He has been providing content for AppGamer since 2014.