
Chapter 3 - Victim Walkthrough - Part 3
More Mystery Detective Adventure 2
This is the third part of the walkthrough for the third chapter of Mystery Detective Adventure 2. The latest episodes from FiveBN of Detective John Woodbray featuring his occult investigations.
In part 2 you have started investigating Summer, the dauther of the beekeper, but now you suspect Luka, the head of the community, of involvement in the disappearance of Amber.
Chapter 3 Walkthrough - Victim - Part 2
After receiving the second letter amnd then finding the finger in the cemetery. You now need to get more information from Luka.
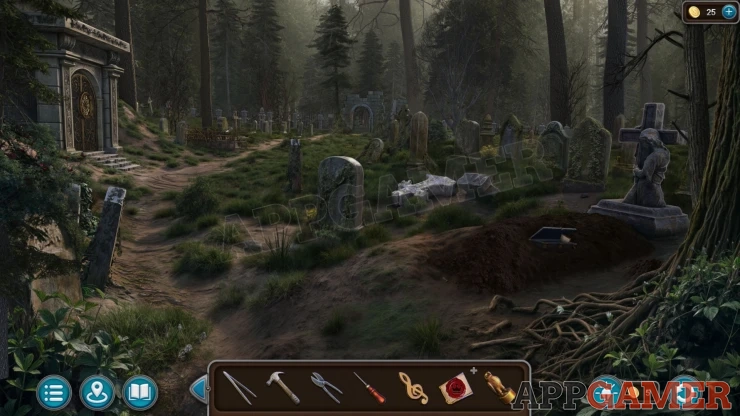
Go back to the area with the bridge and the dining hall and talk to Luka, he is standing by the house on the right.
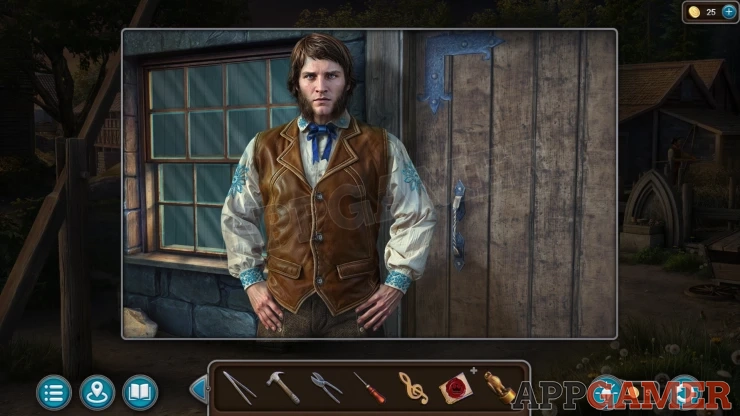
After the conversation you will receive a Key (temple).
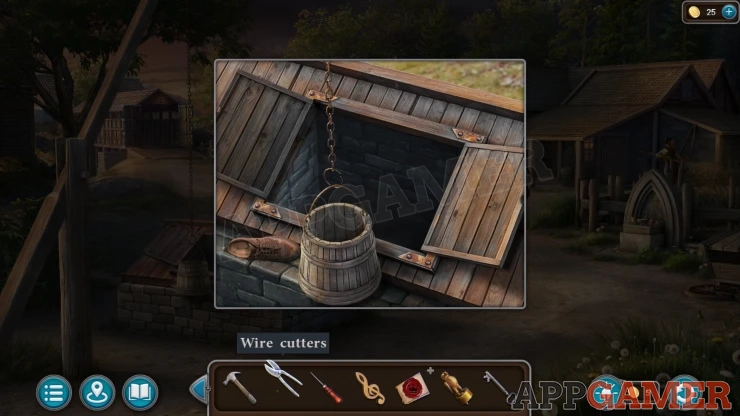
Look again at the bunker on the lower left where you found a shoe. Use the Wire cutters on the chain to collect the Bucket.
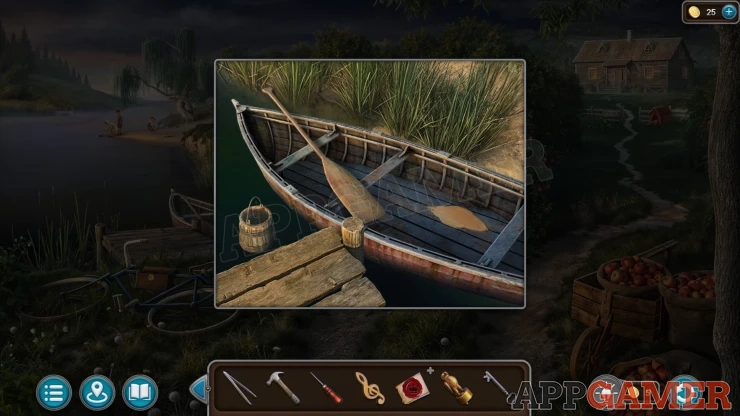
Then go to the riverside and view the boat. Use the bucket on the river to collect the Bucket of Water.
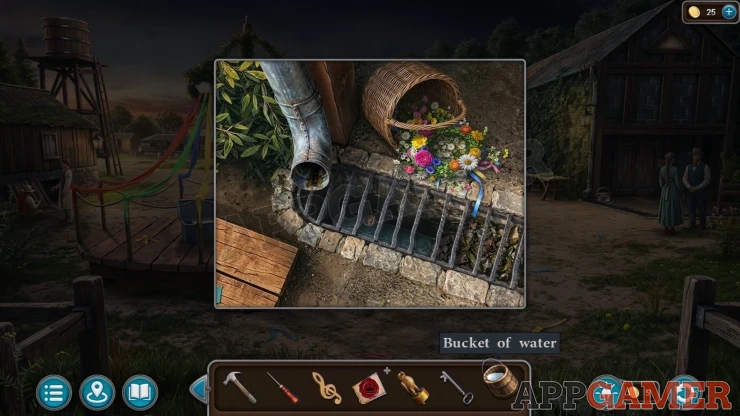
Return to the town square and first view a drain pipe on the side of the temple building on the right. Add the bucket of water to fill the drain and then you can use the tweezers on the drain to collect a Bas-relief.
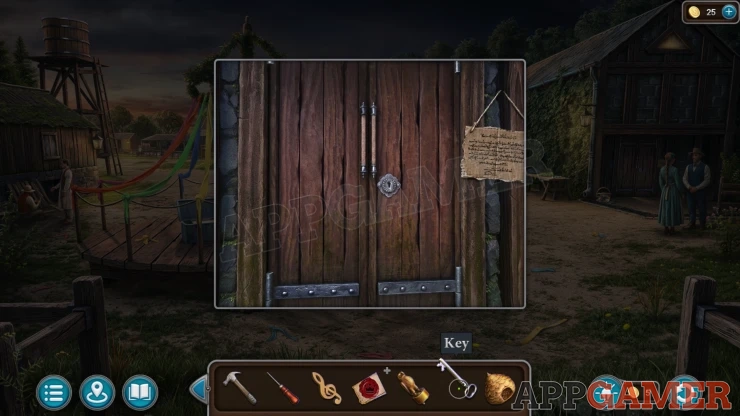
Then view the door to the temple on the right. Use the key to open it.
Enter the Temple.
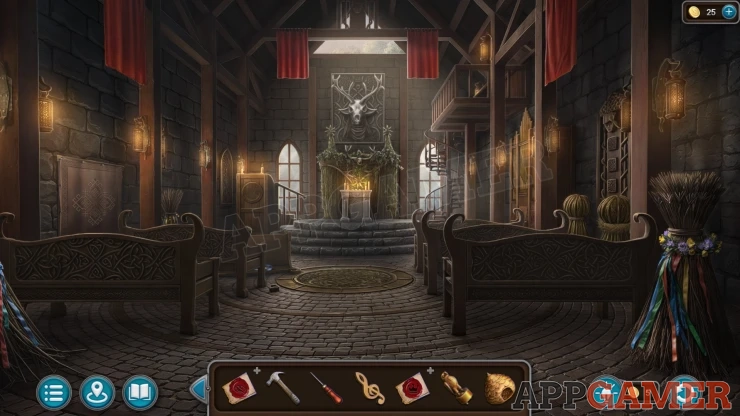
Task - Learn about the local God
Morphing Object: Wreath on the right, above the rear pew.
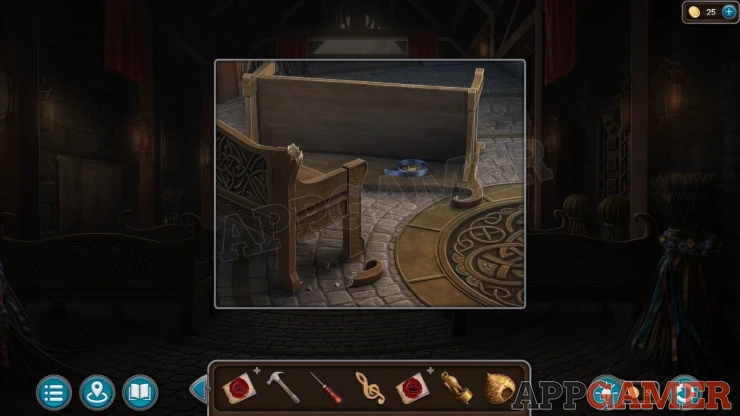
View some broken pews on the left to collect Evidence - The Councillors Daughter (4 of 6), then also tap on the blue ribbon to get Evidence - The Councillors Daughter (5 of 6).
Collect a Medallion.
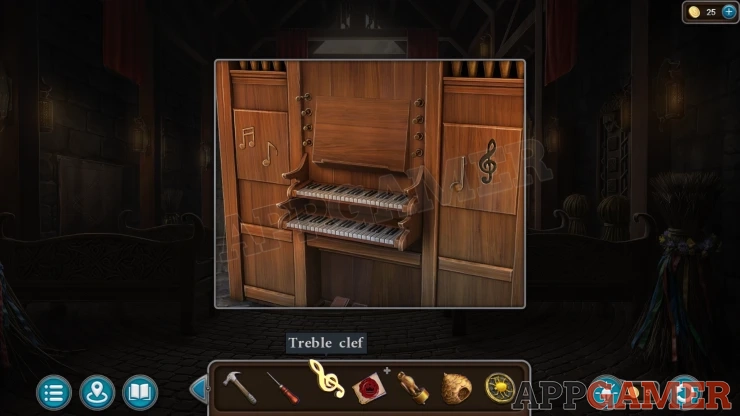
Look at an Organ on the right wall. Add the Treble Clef to this to open a panel and collect a Bull's Head (1 of 2).
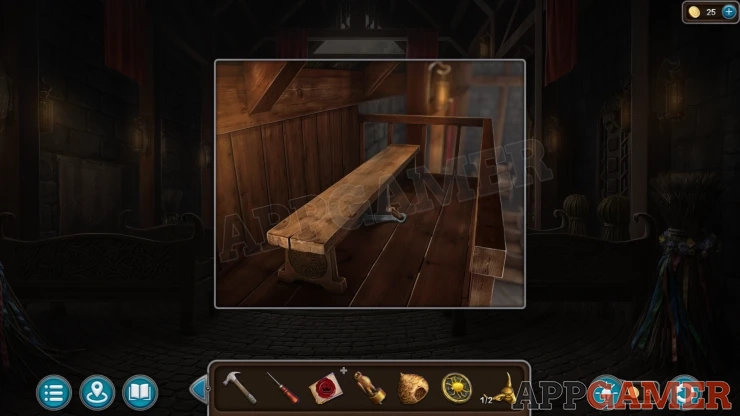
Then view a balcony above the organ and collect a Grip.
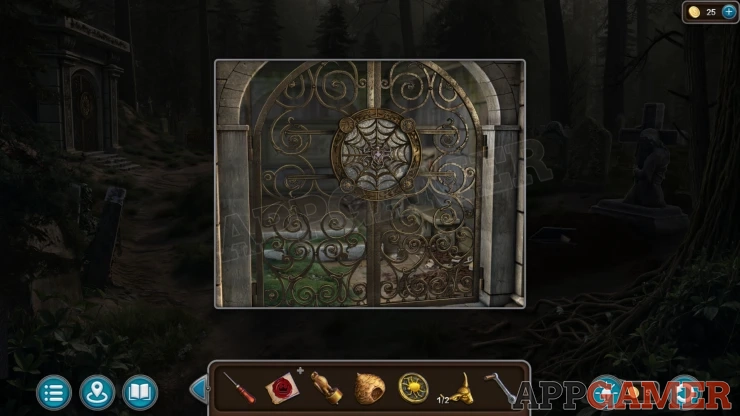
Go back to the cemetery. Look at the large crypt on the left. Add the Medallion here to start a puzzle.
Crypt Spider Puzzle
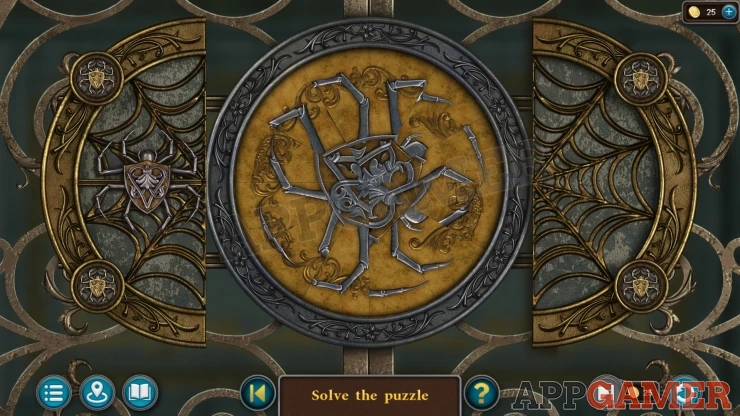
- The circle is divided into 12 segments, each with part of a spider image.
- The segments are jumbled up.
- Tap pairs of them to swap their positions and reconstruct the full image.
Solution: Show
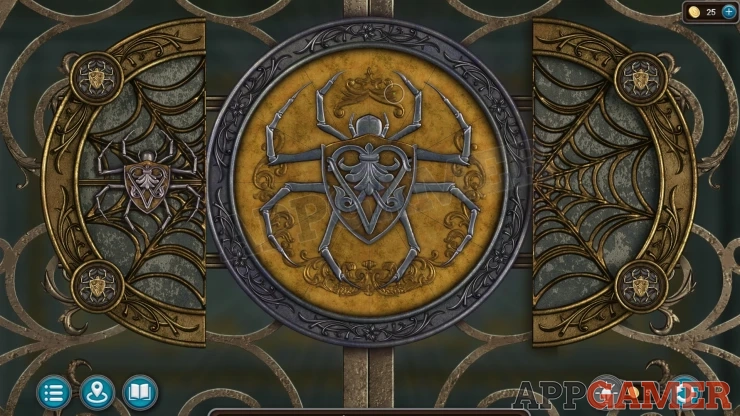
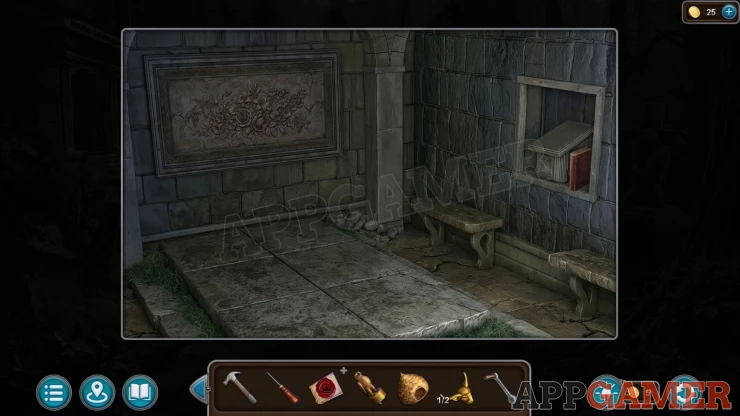
Once done look inside the crypt and view a book on a small shelf on the right wall. Evidence - Har-Vendr (1 of 6). Then collect a Flower.
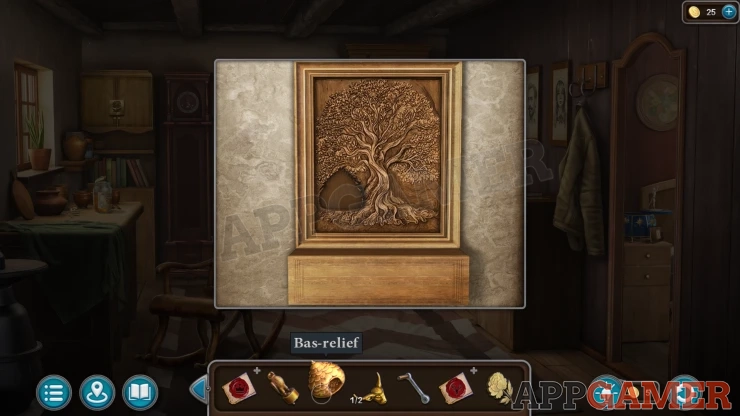
Go to the beekeepers house and view a picture of a Tree on the wall. Add the Bas-relief here and then you can collect a Magnifying Glass.
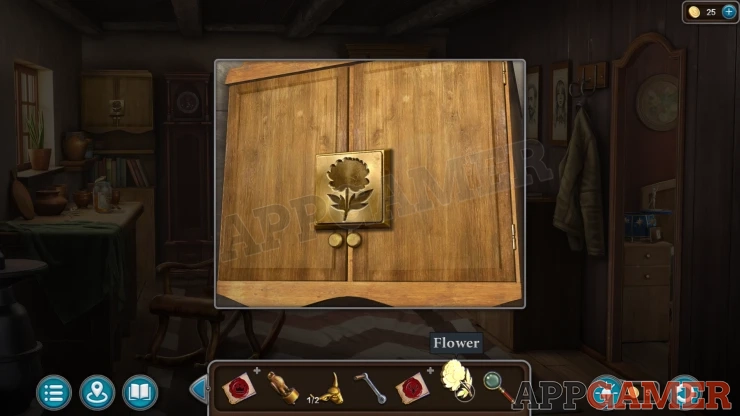
Then view the top of the tall cabinet on the left of the clock. Place the Flower here to open it and then view a book insode for Evidence - Har-Vendr (2 of 6).
Collect a Bull's Head (2 of 2).
Now go to the school classroom and view a door on the right wall. Add the three Leaves here to start a puzzle.
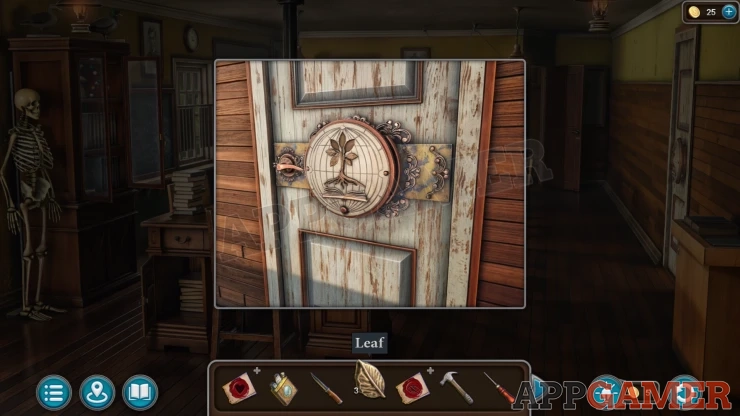
School room Leaf Puzzle
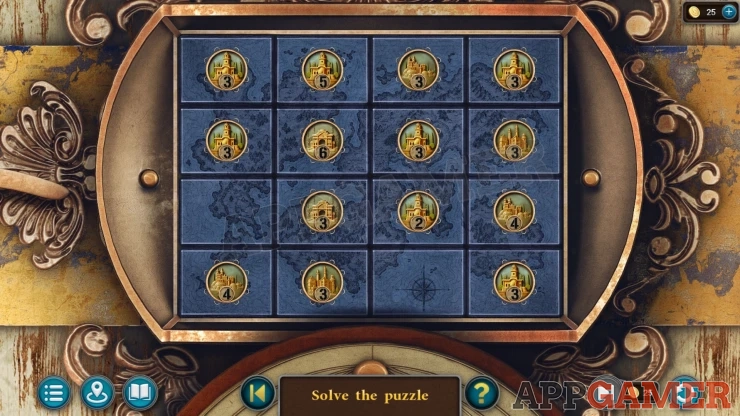
- The board has tokens on it each with a number on it.
- Tap pairs of tokens to connect a string between them, you can only connect tokens in a straight line that are not blocked by other tokens.
- Add the same number of strings to each token as the number on them.
Solution: Show
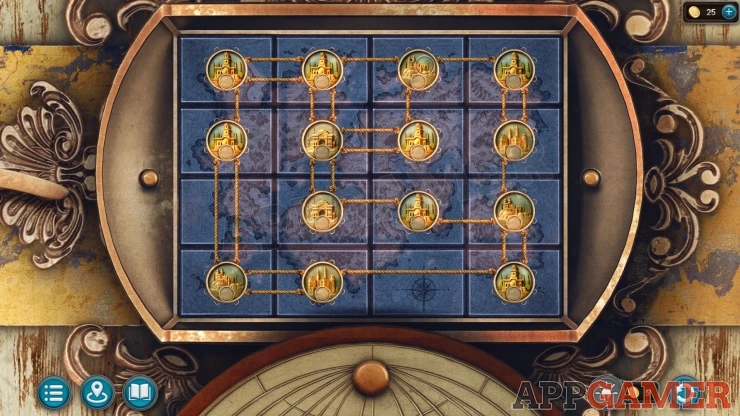
Once done you can enter the library room.
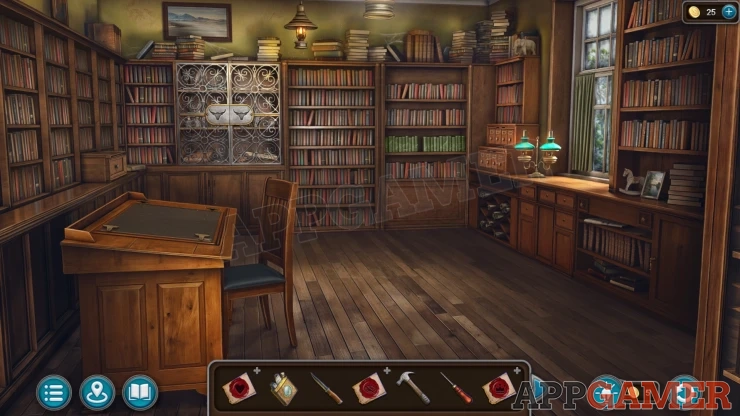
Morphing Object: vase / figurine on the high shelf on the right. Left of the window.
Collection Item: Wooden Horse on a low shelf on the right of the window.
Now view a locked cabinet on the back wall with ornate metal doors. Add the Two Bull Heads here to find a puzzle.
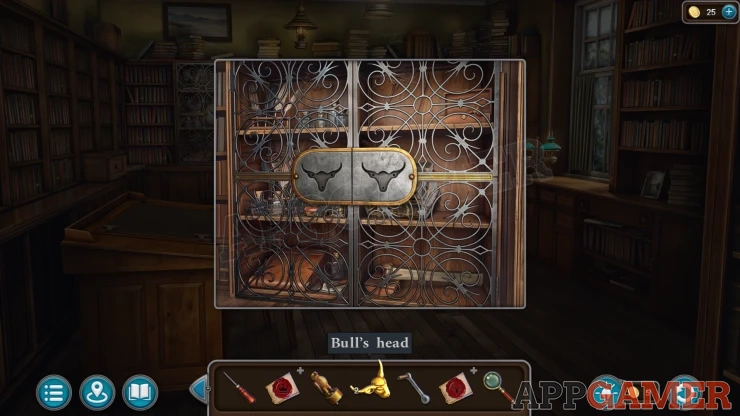
Bull's Heads Puzzle
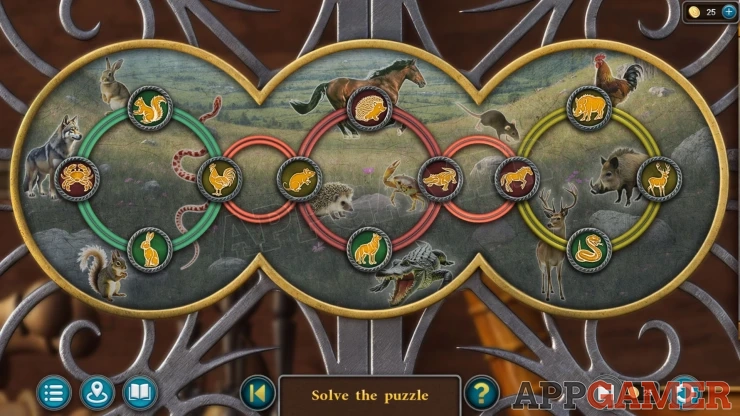
- The background has images of 12 animals.
- There are 12 animal tokens arranged on three large rings with two small ones that let you swap the tokens between them.
- Rotate the rings to move the animal trokens around. Arrange thme so that all of the tokens are next to the matching animal image.
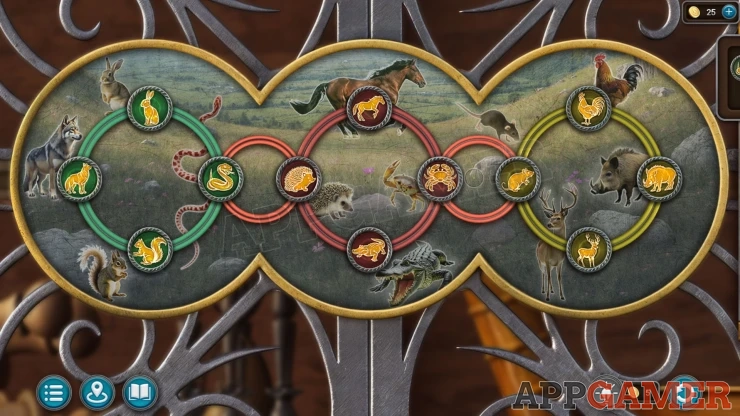
Once done look at a large book inside the cabinet to get Evidence - Har-Vendr (3 of 6).
Then collect a Figurine Part and a Scroll.
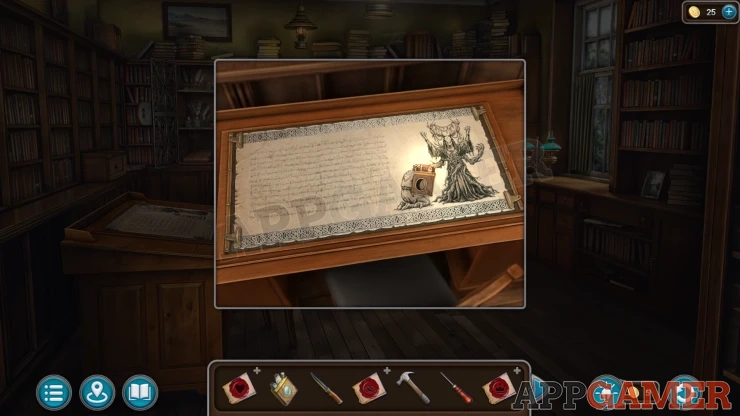
View the desk on the left and add the scroll to it. Then use the lighter on it to reveal the hidden writing.
Evidence - Har-Vendr (4 of 6).
Return to the dining hall and view a shelf on the left wall.
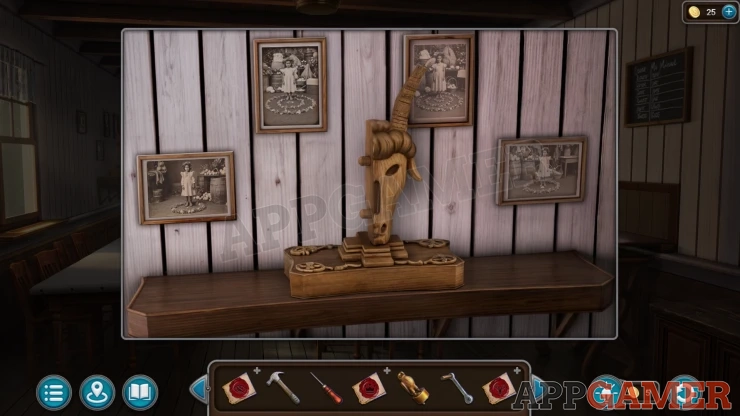
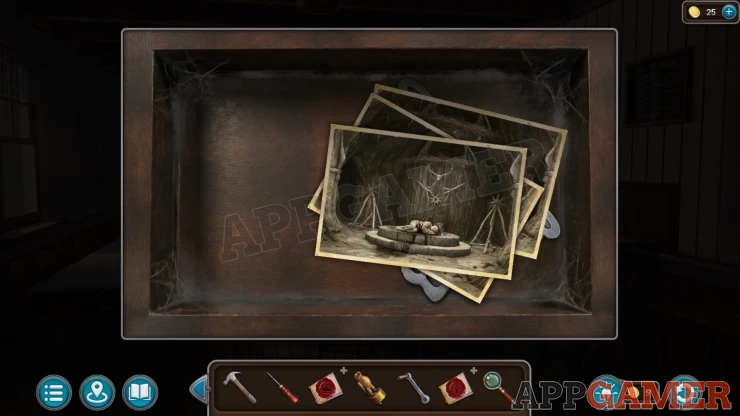
Add the Figurine Part here to open a secret compartment. Look at the Photos inside to get Evidence - Har-Vendr (5 of 6).
Then collect a Butterfly.
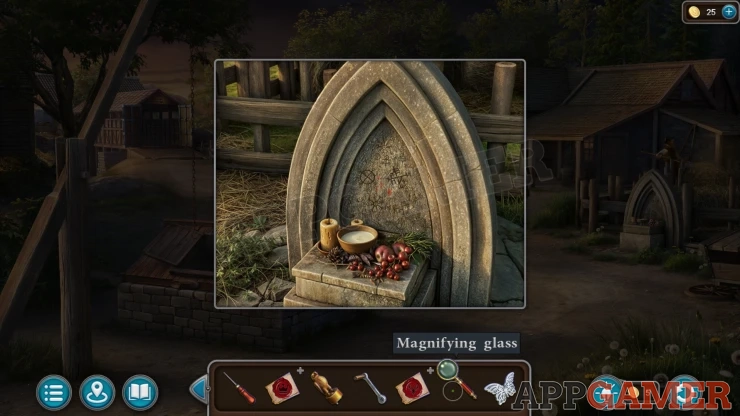
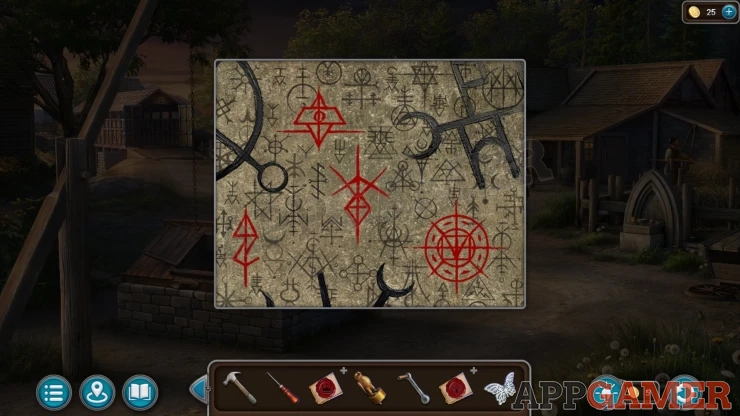
Exit the dining hall to the area with the bridge and then view a shrine on the right. Use the Magnifying glass here to examine the symbols. These are a clue.
Show
Enter the temple, then view a banner hanging on the left wall. Use the hammer here to remove the nails and find a panel behind.
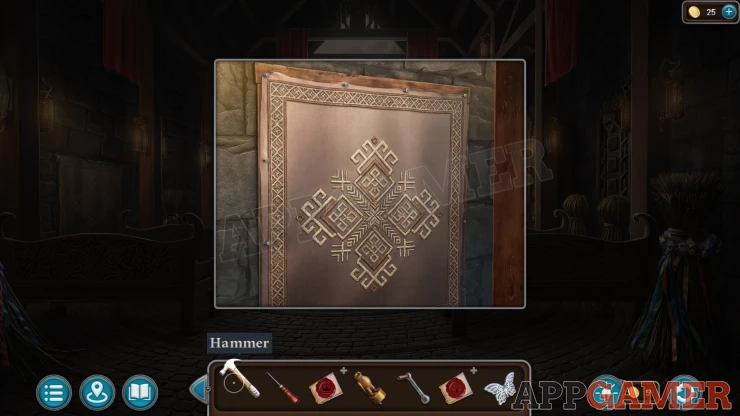
Temple Panel Puzzle
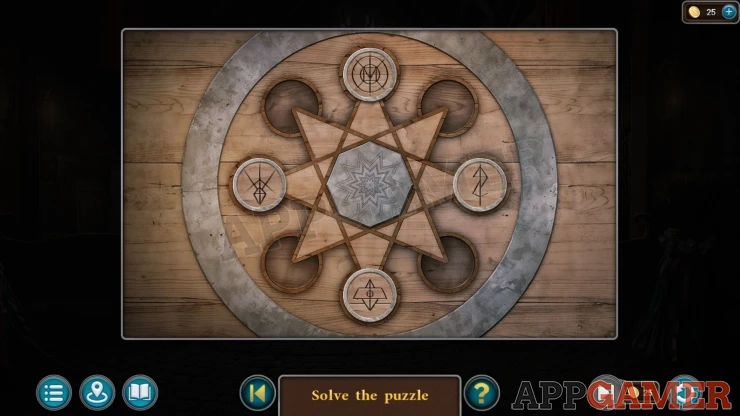
- Slide the four symbol tokens around to change their positions.
- Arrange them in the correct positions according to the clue seen on the shrine.
Solution: Show
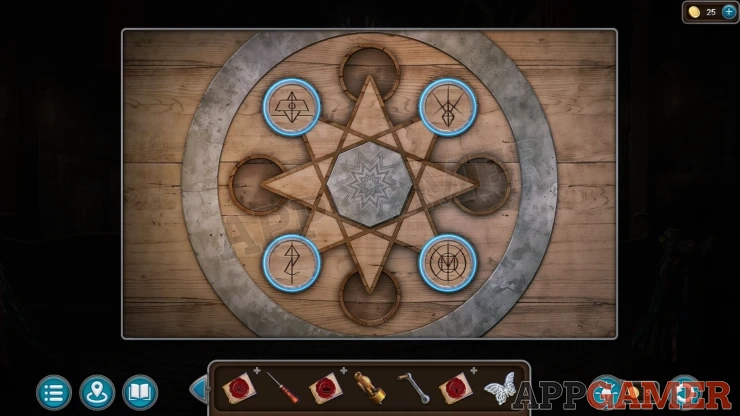
Look inside the secret room. Tap the fresco on the back wall to get Evidence - Har-Vendr (6 of 6).
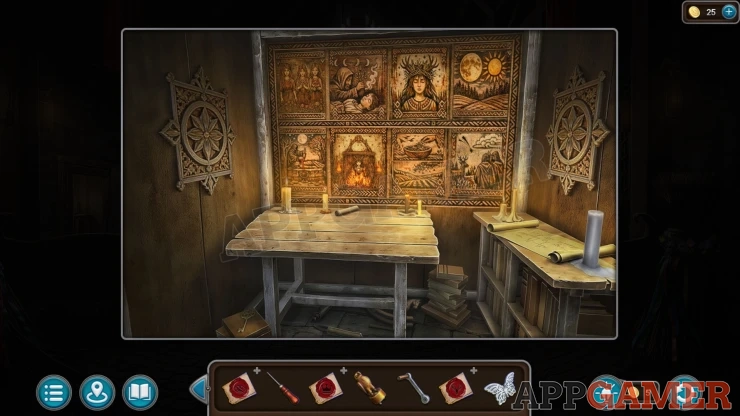
Then Collect a Small Key (1 of 3) from the lower left.
Collection Item: Wooden horse on the floor under the right leg of the table.
Task - Look for clues in the Head of the congregation's house
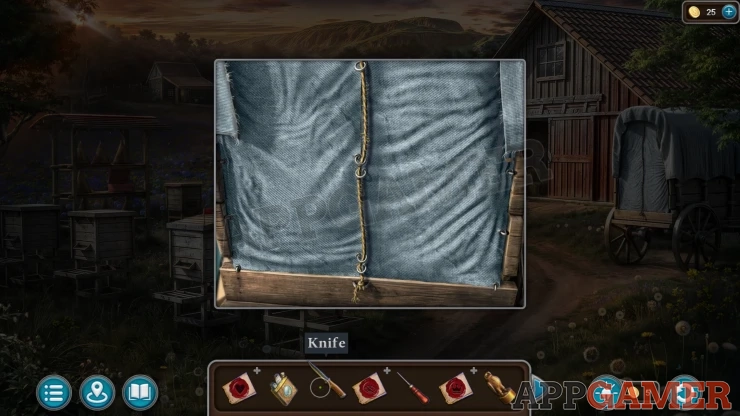
Go to the Apiary and then view a covered wagon on the right of the barn. Use the Knife to cut the rope and look inside.
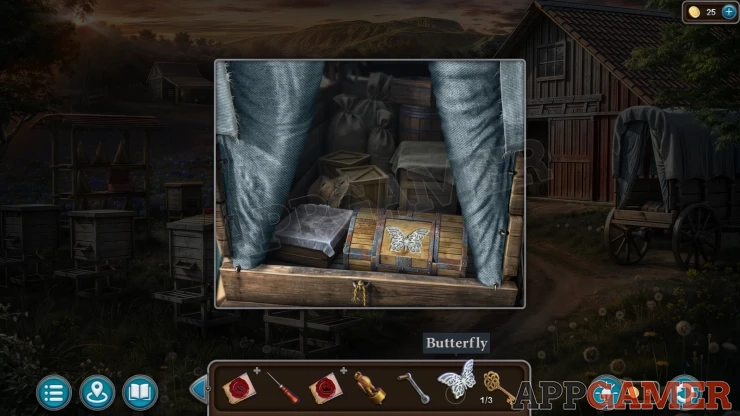
Add the butterfly to the box to open it and collect a Glass cutter.
Collection Item: Straw Hat in the back of the wagon.
Then go to the area with the bridge and view the front of the Luka's house.
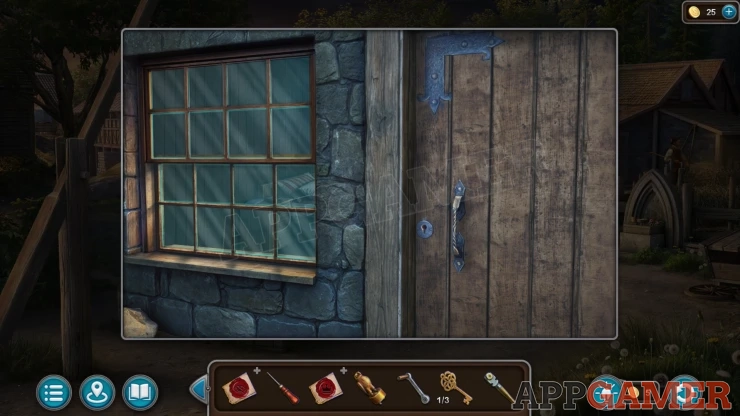
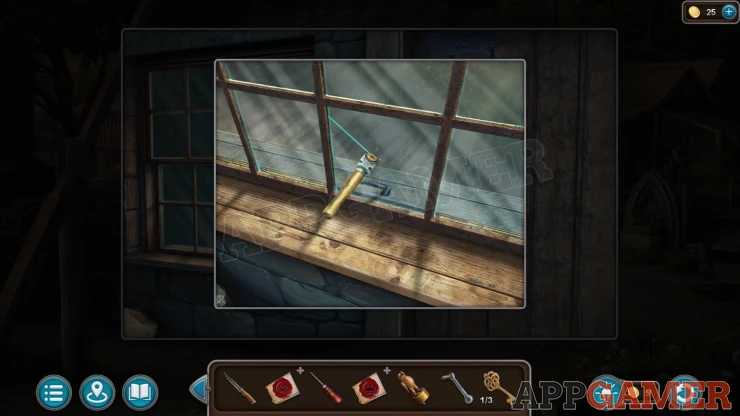
Look at the window and use the glass cutter here to make a hole in a pane. Then you can open the window.
Enter Luka's House.
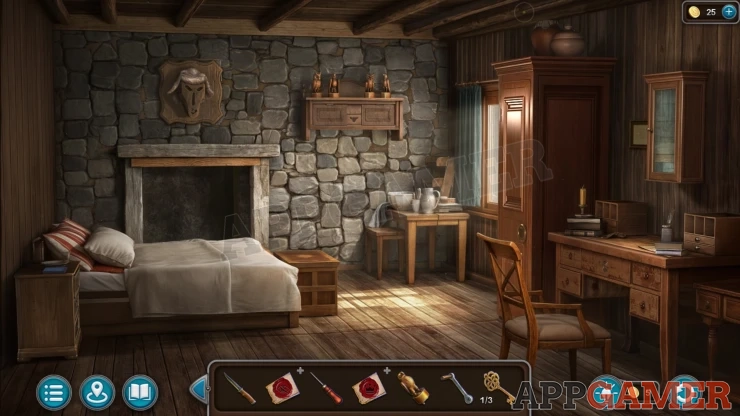
Morphing Object: changing shaped brick on the wall on the top left.
View a chest of drawers on the left next to the bed.
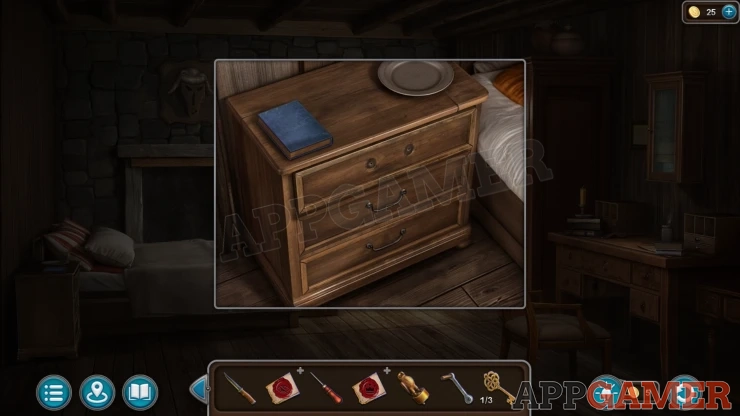
Collection Item: Wooden Horse - open the middle drawer to find it.
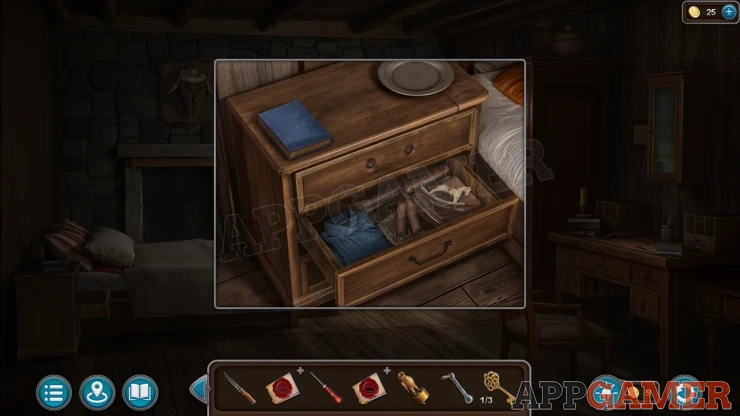
Use the knife on the top drawer to open it and then view the papers inside. Evidence - Head of the congregation (2 of 6).
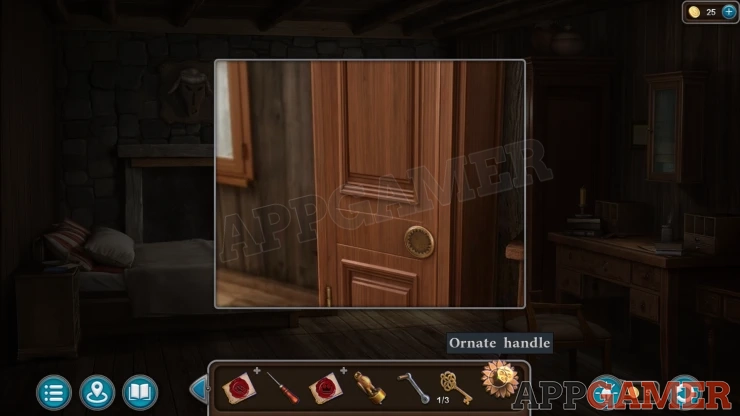
Then collect an Ornate Handle.
View the tall cubpoard on the right and add the ornate handle to open the door. Find inside a Cassock, Evidence - Head of the congregation (3 of 6). Then open a small box to collect a Ring.
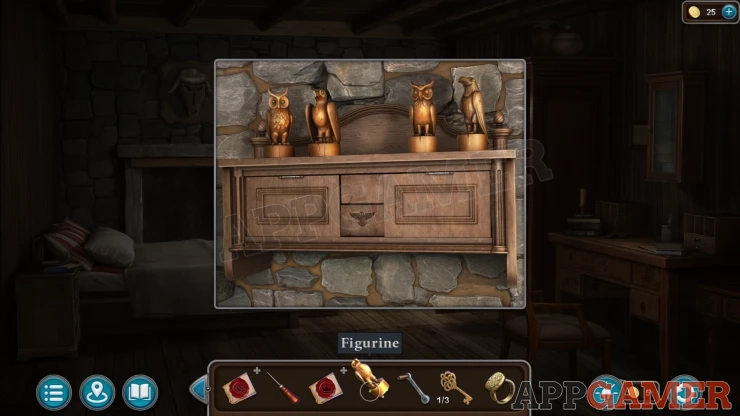
Next view a shelf on the wall, add the figurine here to open a panel.
Head of the congregation's Shelf Puzzle
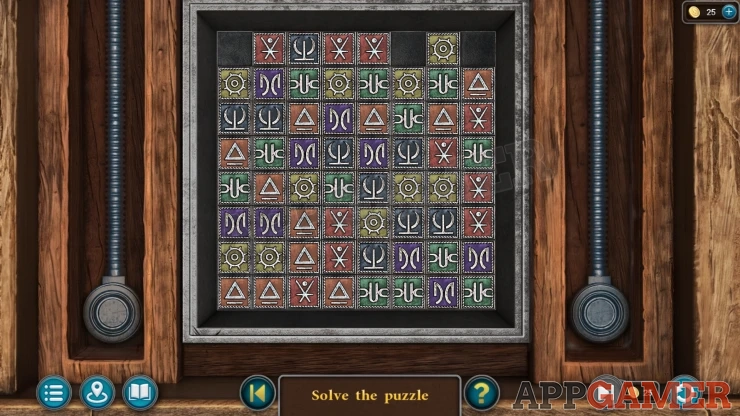
- The board is filled with blocks of differnt colors and symbols.
- Slde the blocks and swap their positions to line them up with matching blocks.
- When you match thre or more blocks of the same symbols in a line they will disappear from the board.
- Clear all of the blocks to complete the puzzle.
- Do not get stuck with less than three blocks of any symbol.
Look inside and find a wreath, Evidence - Head of the congregation (4 of 6). and then collect a Lever.
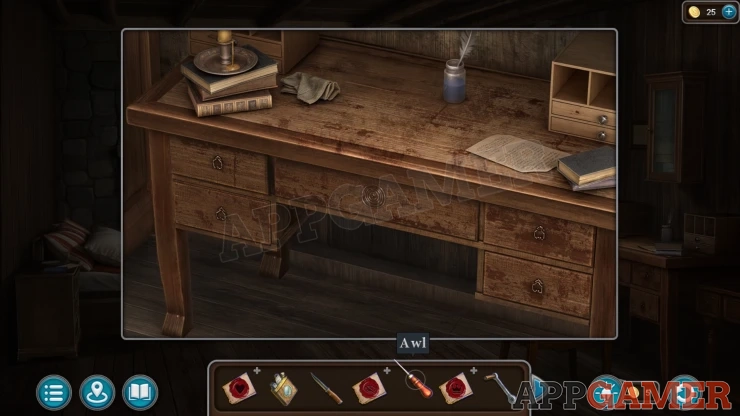
View the desk on the right of the room and use the Awl on the center drawer to open it. Collect a Horn (1 of 2) and the Graphite.
Go back to the temple and then view the dias to see a book.
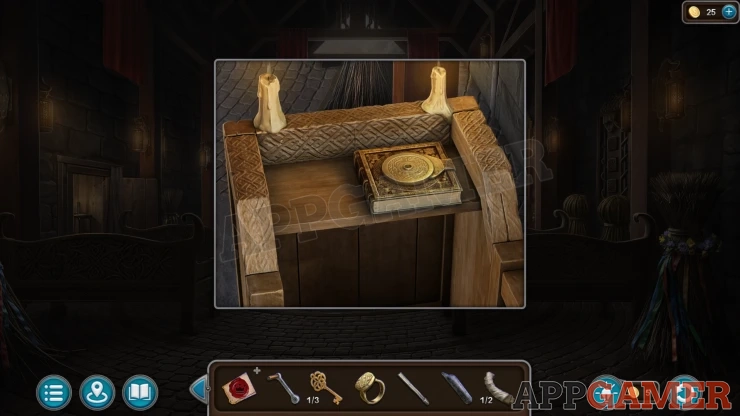
Use the ring to open the book and collect a Small Key (2 of 3) from inside.
Go to the store room at the dining hall and then look at a door on the left. Use the knife to remove the false brick on the right.
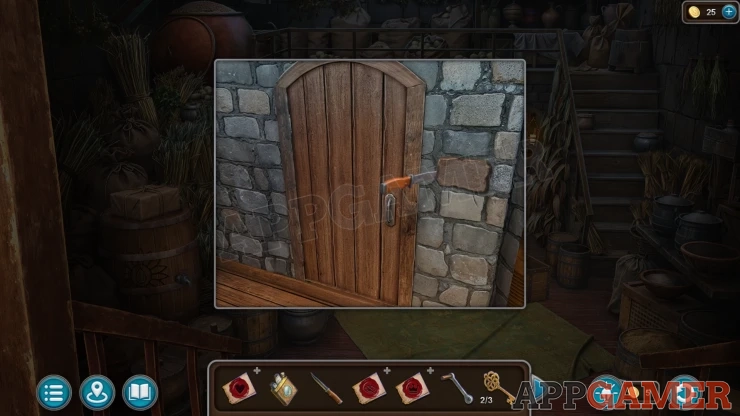
The add the lever to the slot on the right and then lower it to open the door. Look inside the room.
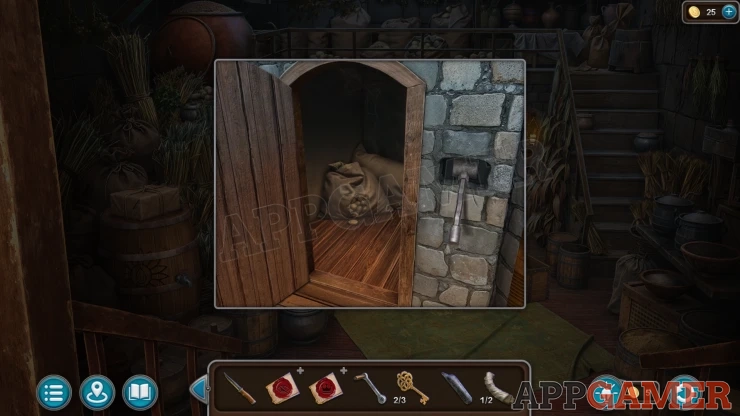
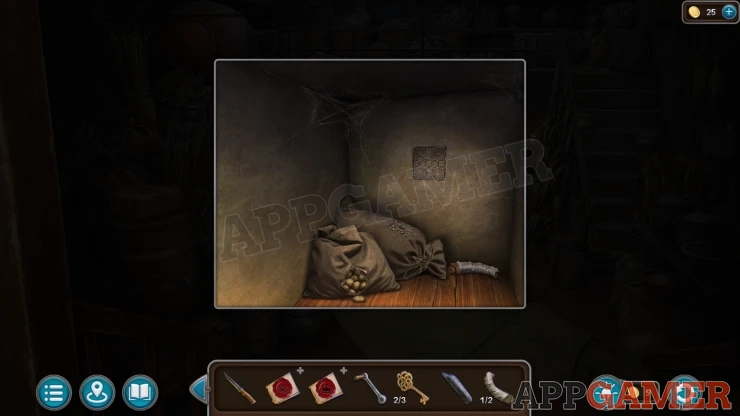
Collect a Horn (2 of 2) from the floor and then use the Graphite on the drawing on the back wall to collect the Sketch Drawing.
Go back to Luka's house and then view a carved head on the wall above the mantel.
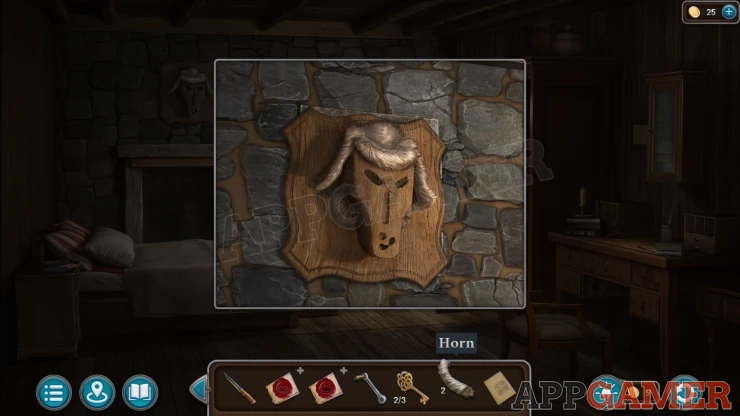
Add the two horns to this to open a panel and find a book. Read this for Evidence - Head of the congregation (5 of 6).
Collect a Small Key (3 of 3).
Next view a box at the foot of the bed. Use the Three small keys to open this.
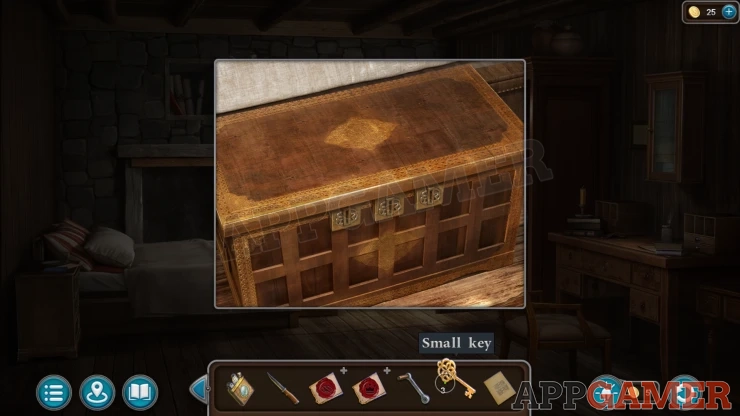
Look inside to find a knife - Evidence - Head of the congregation (6 of 6).
Then also collect a Skull.
Task - Find the Sacrificial Site
Return to the temple and then view the altar at the far end.
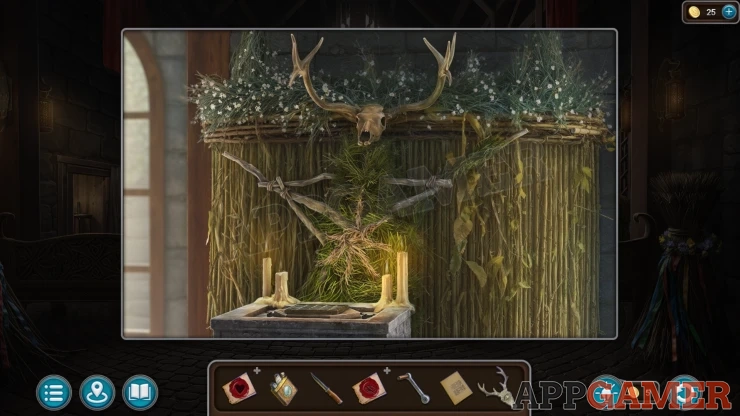
Add the Skull to this to start a puzzle.
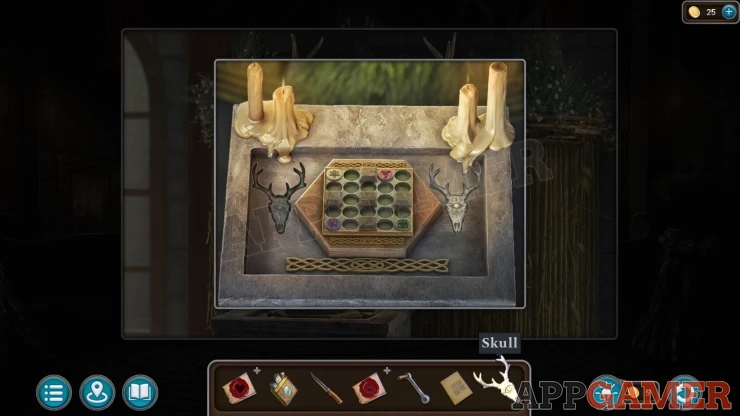
Temple Altar Puzzle
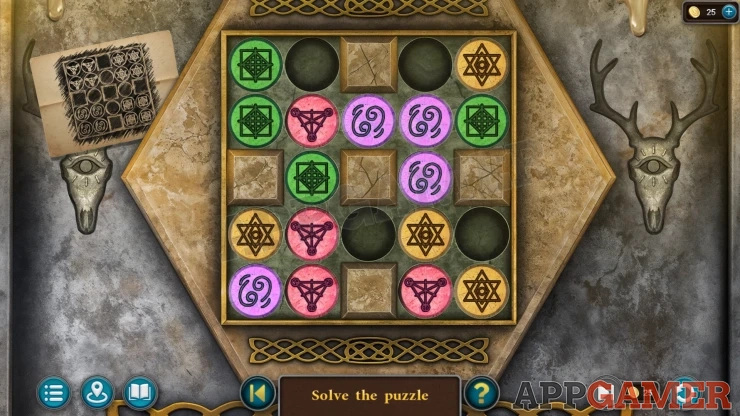
- Add the sketch drawing to the board to see the clue.
- There are four different colored tokens with symbols on the board.
- Slide the tokens to the empty space to arrange them into the correct positions.
- Look at the sketch drawing clue to see the placement of the symbols.
Solution: Show
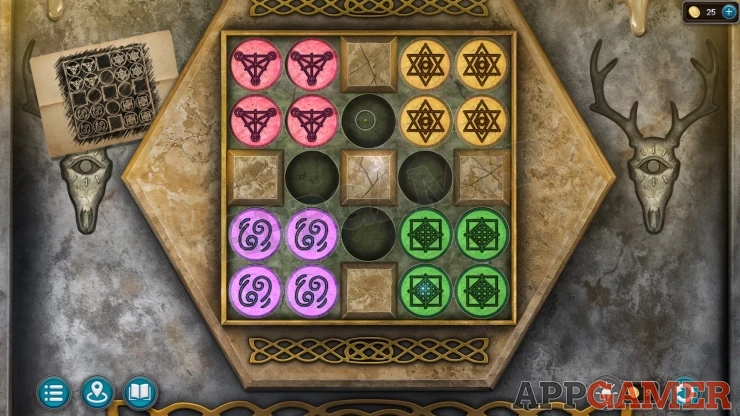
Once done a secret tunnel opens up in the floor. Go down.
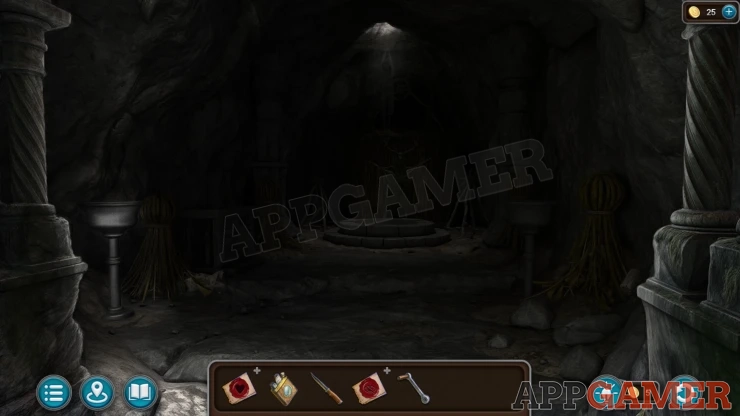
Use the lighter on the oil burners on the left and right side of the room to light them and light up the chamber.
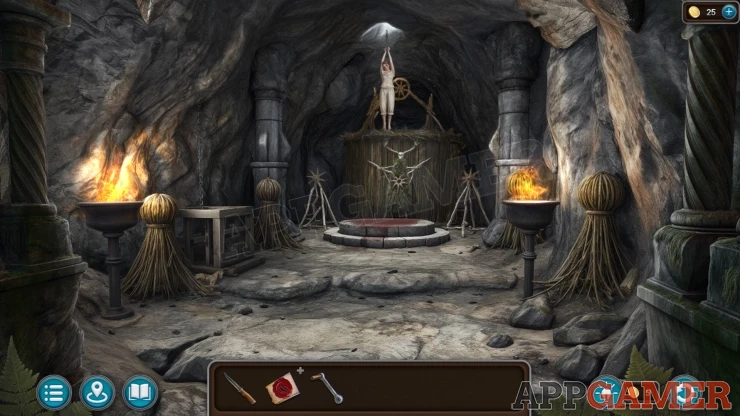
You find Margaret and get Evidence - Margaret (4 of 4).
Collection Item: Wooden Horse on the ground on the left
Morphing Object: Skull / log on the ground on the far right.
View the altar that the end of the chamber, collect a Gear from the floor on the left under some leaves.
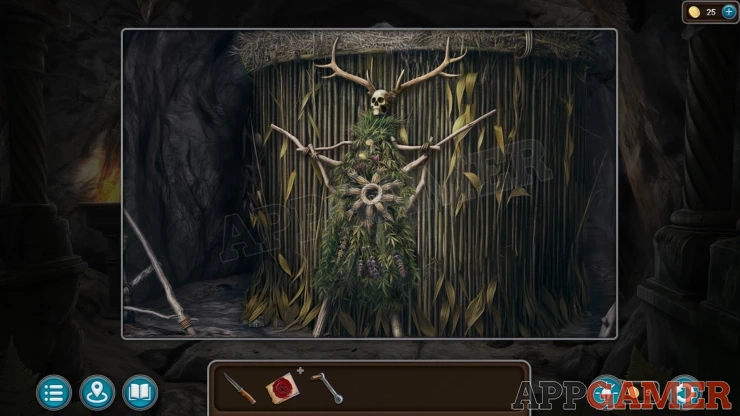
Next view a mechanism on the left side.
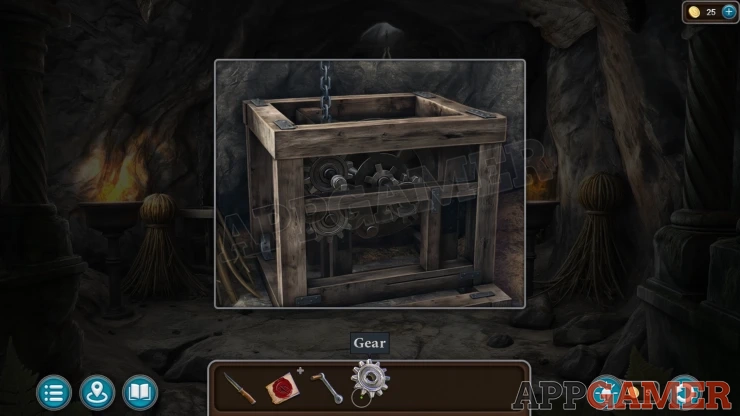
Add the Gear to this and also the Grip. Then you can use it too lower Margaret to the floor.
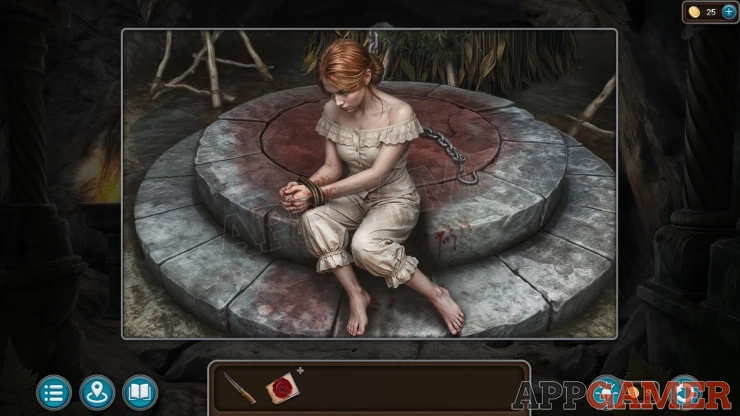
Use the knife to cut the ropes on Margaret. Then watch the final cut scene.
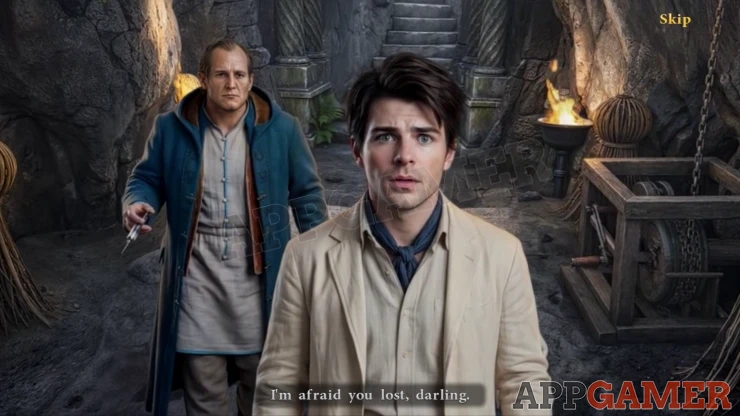
This completes Chapter 3 and the game so far.
We have questions and answers related to this topic which may also help you: Show all
 With 20 years of experience in creating video game content for the internet and over 30 years as a gamer, Mark is now a passionate mobile App Gamer. Loving a challenge, he is always ready to get stuck in to both survival builders and puzzle solving games. He has been providing content for AppGamer since 2014.