
Chapter 2 - Curse Walkthrough - Part 3
More Mystery Detective Adventure 2
This is the second part of the walkthrough for the second chapter of Mystery Detective Adventure 2. The latest episodes from FiveBN of Detective John Woodbray featuring his occult investigations.
In part 2 you have investigated the Sheppley mansion house and discovered the residence of the mistress.
Chapter 2 Walkthrough - Curse - Part 2
After locating and collecting the book of Egyptian writing in the Artifact room in the mansion you now need to talk to the archaeoligist again.
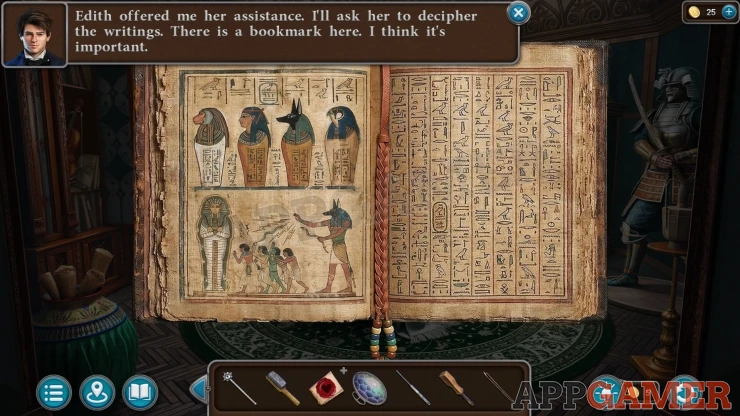
Go back to the road in front of Ediths House and then knock on the door. Give the book to Edith to talk to her.
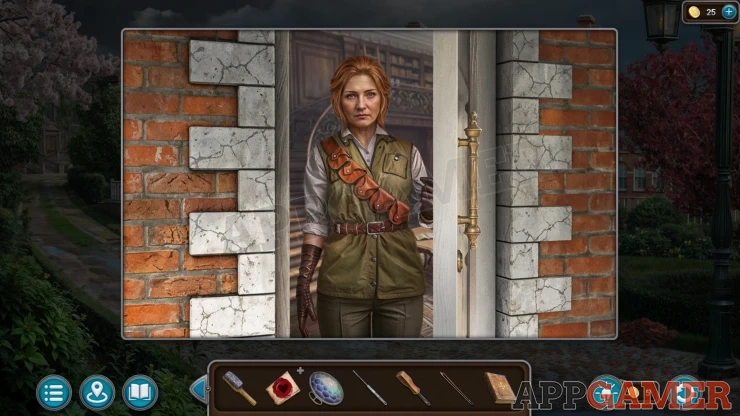
You recieve a Calling Card.
Now return to the appartment of the Mistress in the town. Look on a shelf to the left of the window to see a rectangular ornamental plate. Use the Mirror on the plate to position it and reflect an image with symbols, this is a clue.
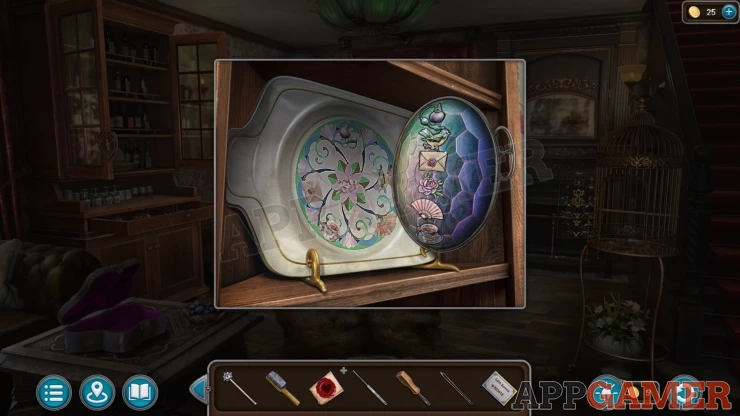
Then view the cello on the right, add the Bow to this to start a puzzle.
Cello Puzzle
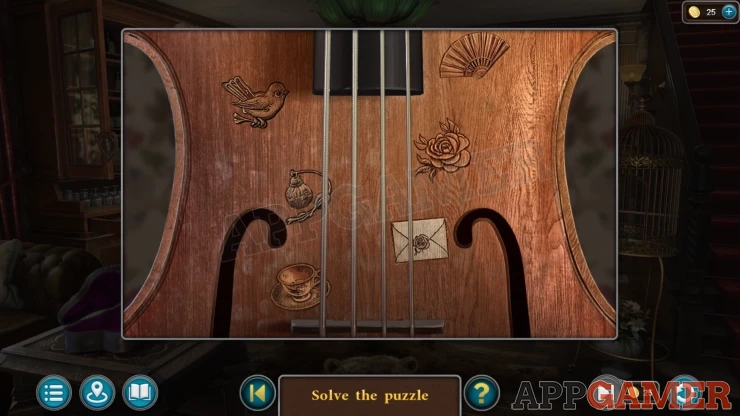
- To play the cello you need to tap on the six symbols on the sides.
- Play the notes by tapping the symbols in the correct order.
- The clue is seen in the mirror reflection of the plate.
Once done a panel opens and you can find a lertter: Evidence - Mistress (4 of 4). Then also collect a Lamp.
Task - Search Edith's House
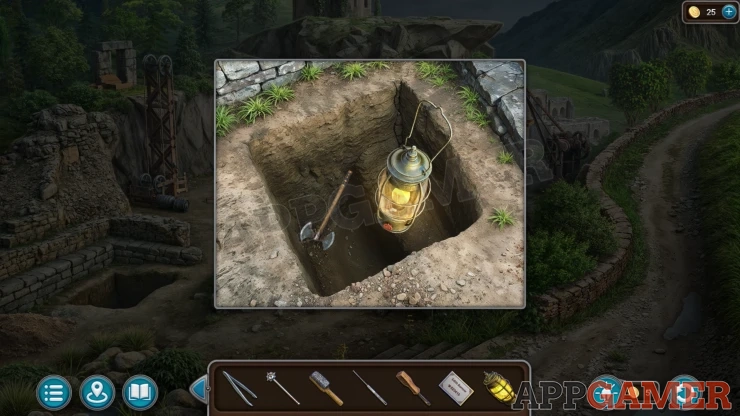
Return to the excavation site. Then look in a square pit on the left side. Use the Lamp here to let you see and then collect san Axe.
Now view a gate at the back of the site. Add the Axe, the Sword and the Mace to the lock and it will open.
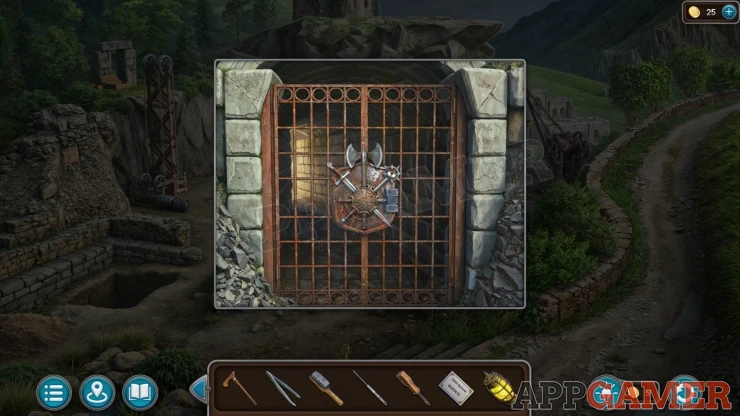
Go through to a chamber.
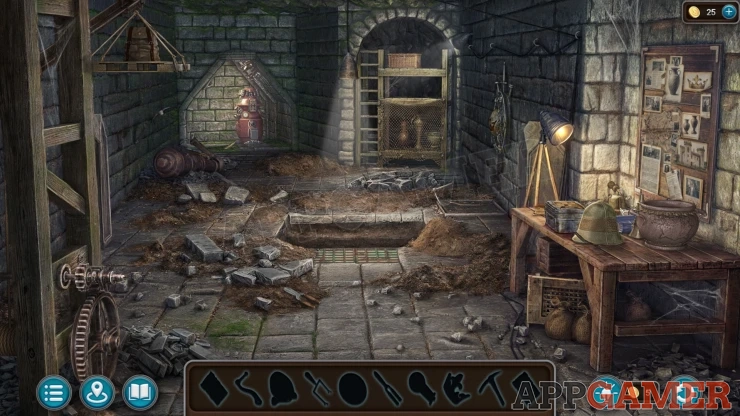
Excavation Site Hidden Object Puzzle
Find the objects that you need to fit the shapes at the bottom.
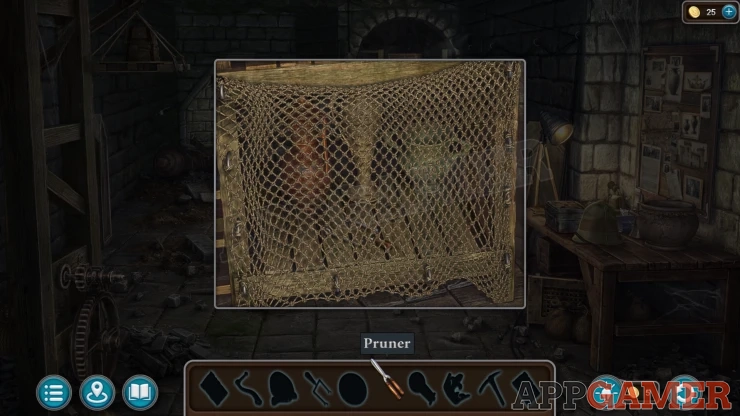
Collect a Pruner from the ground near the center.
Then look at a shelf rack at the back with netting over the bottom. Use the Pruner to cut a hole and then collect the Lever.
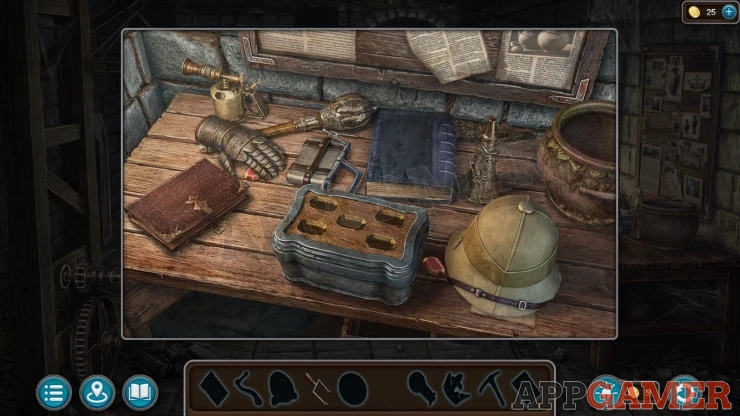
Next view the table on the right. Move items and open the book to find five red gems to add to the box in the center. The box will open and you can collect an Ancient Charm. Also collect a Paper and Graphite from the table.
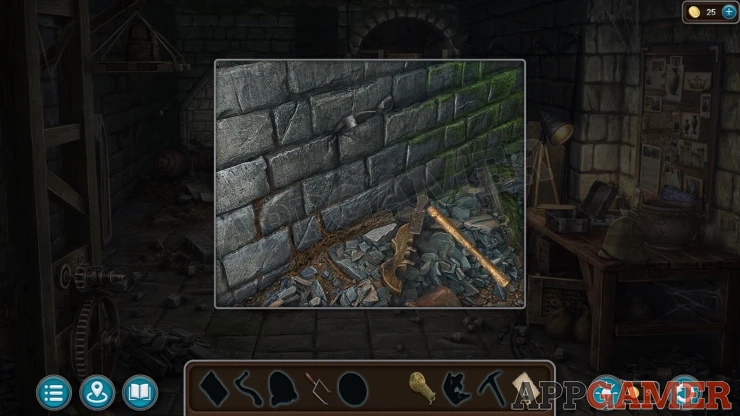
Look on the left wall, then select a handle and add it to the pickaxe head stuck in the wall to collect the Pickaxe.
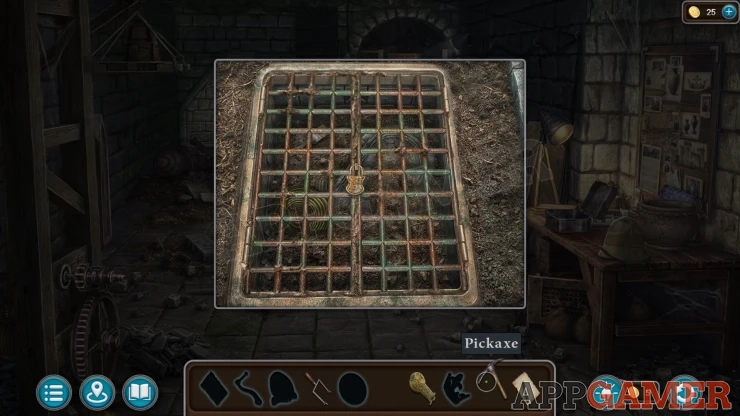
Look at a square grate in the center of the floor. Use the pickaxe on this to break it open.
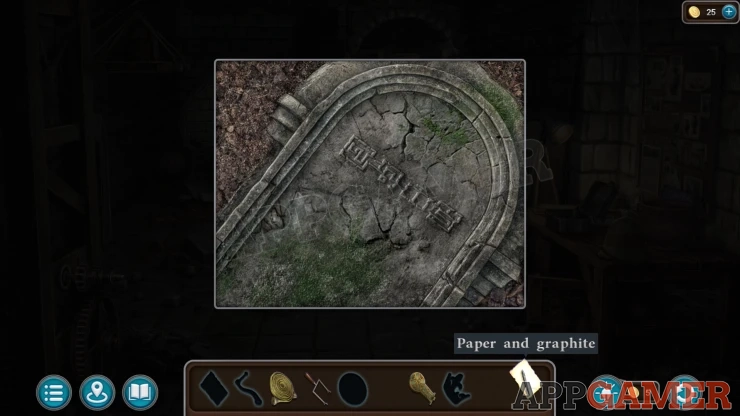
Use the brush inside to clean the grave stone. Then you can view this and use the Paper and graphite to copy the inscription as a Hint. Then collect a Hose.
View a box on the top of the shelf rack, there is a code lock. Add the Hint to this to help you solve it. Set the correct set of symbols to open it and collect a Bronze Mirror.
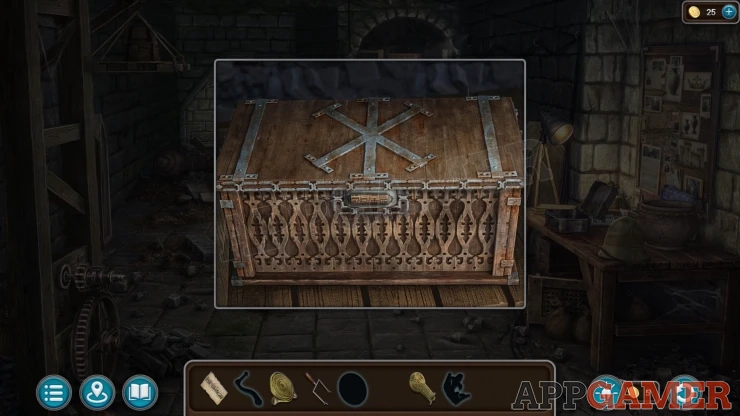
Now look in an alcove on the back left. Viiew a fitting on the sealing and add the bronze mirror to it.
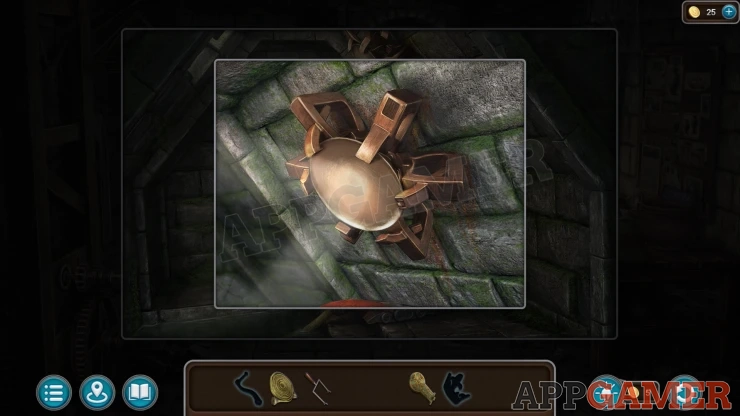
Then view the red pump. Add the Lever and the Hose to it, then you can turn it on. This drains the water from a lower chamber.
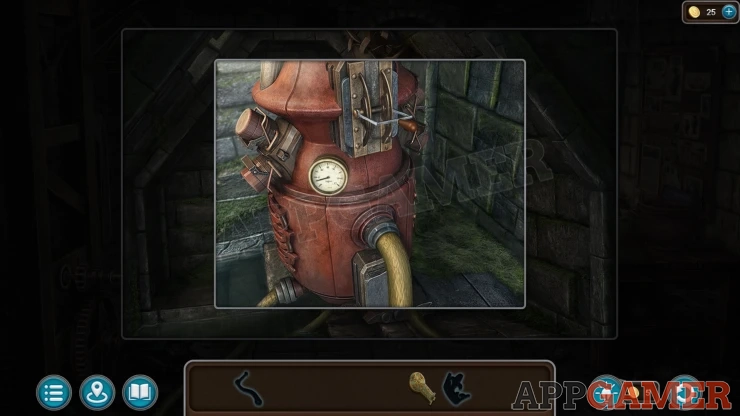
Go down to the lower chamber. Collect a Crown from the center pedestal.
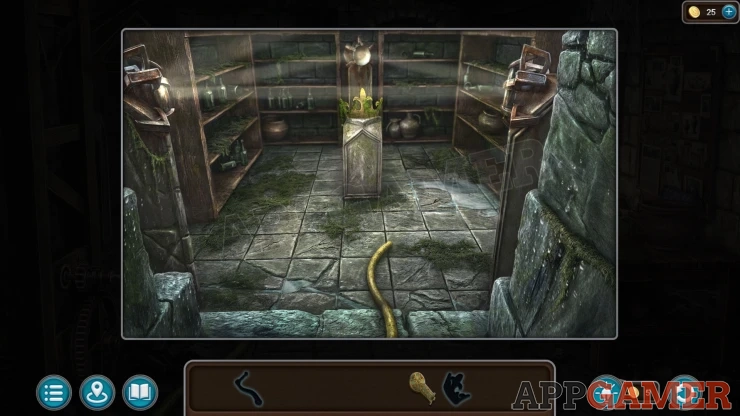
Now back up and look on the right wall to see a shield. Add the Crown to this to open a compatment.
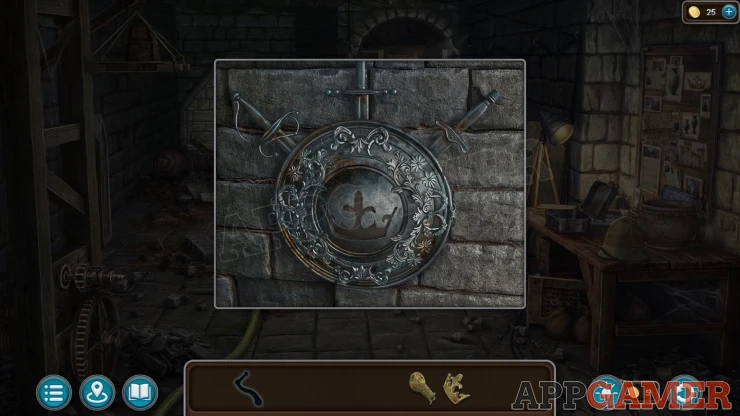
Place the Ancient Charm inside and a floor panel will open. Colledct a Handle.
Now add the handle to the winch mechanism on the left. This will lower a small platform and you can collect the Backpack.
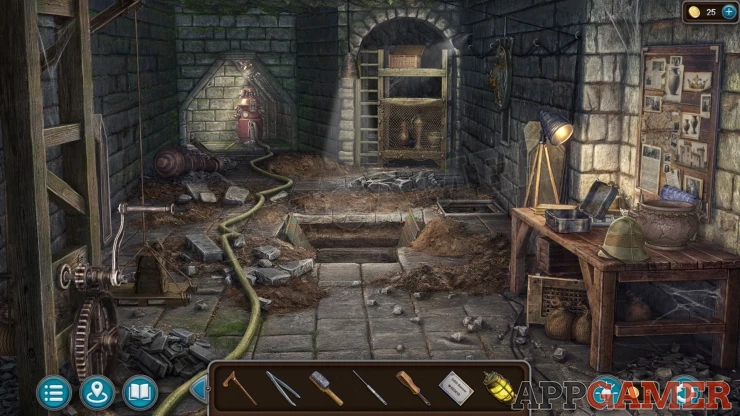
Now look inside the backpack, collect an Infantry Shovel, a Token and a Scarab.
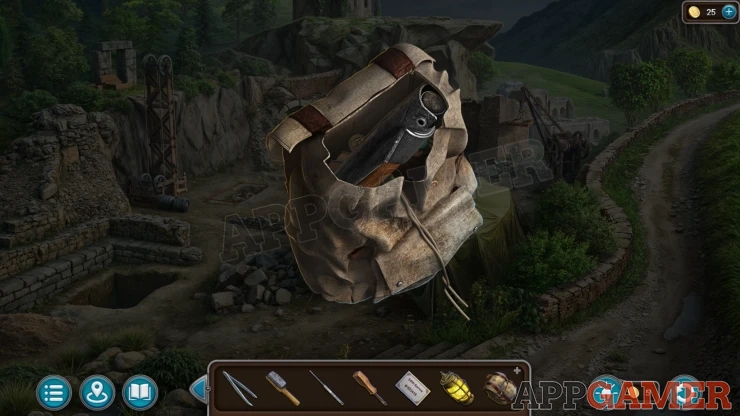
Next view the crane on the right of the excavation site. Use the screwdriver on it to remove some screws and disable it.
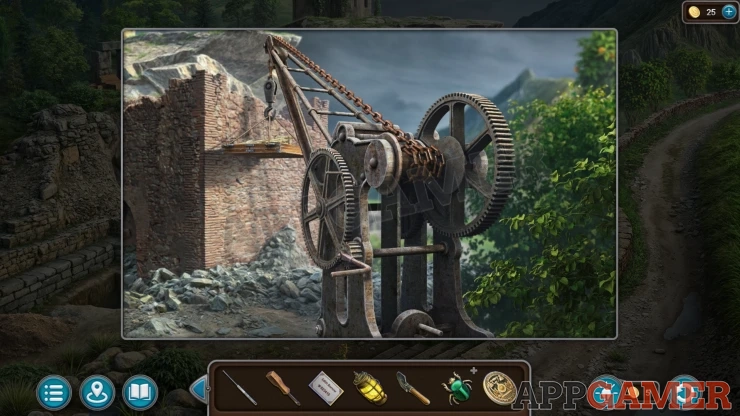
Then return to the town square and view a blue box on the wall to the right next to the passage. Open the small door to find a payphone. Add the Calling card and then add the Token. You can then make a phone call.
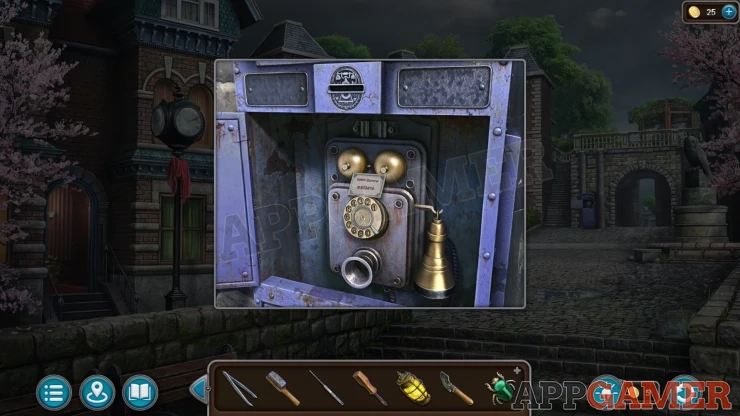
Dial the number on the card to call Edith. After the call you can go to Edith's house and go inside.
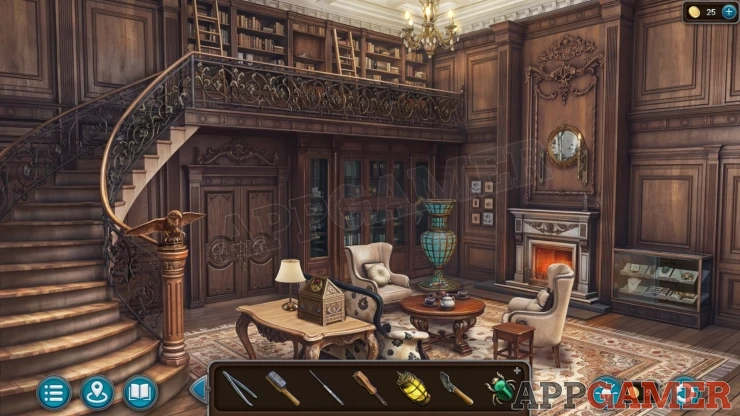
Morphing Object: Cushion on the armchair on the left.
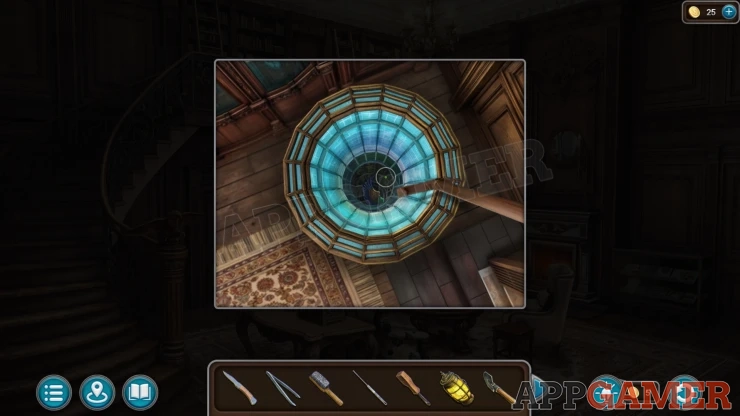
Look at the tall blue vase in the back corner. Use the Cane here to collect a Wing.
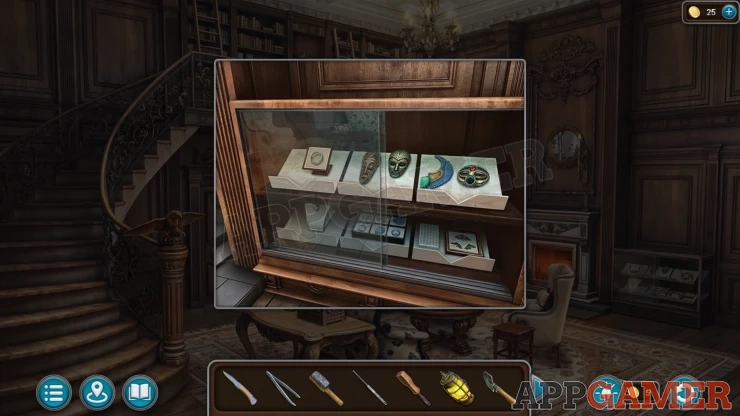
Then view a glass display case on the right of the room. Collect another Wing.
View the Scarab in your inventory and add the two Wings to it, you get the completed Scarab.
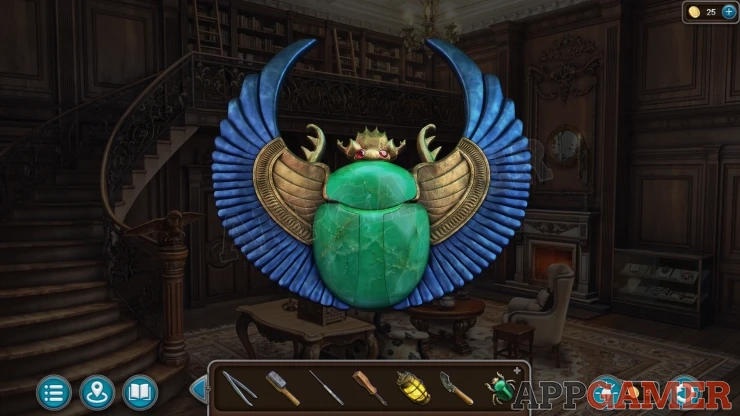
Now view a box on the larger table and add the scarb to the lock to open it, there is a puzzle.
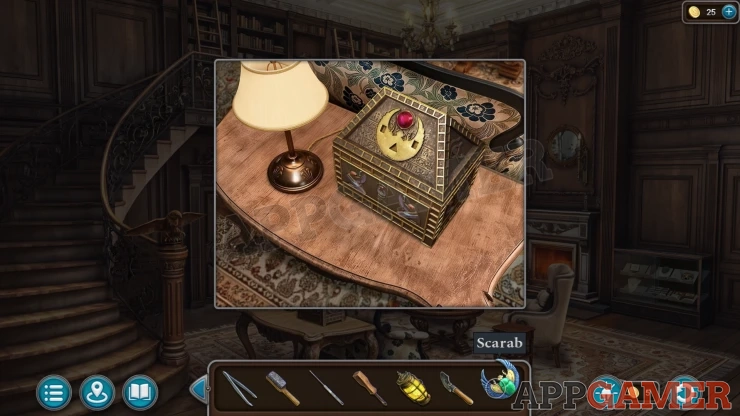
Scarab Box Puzzle
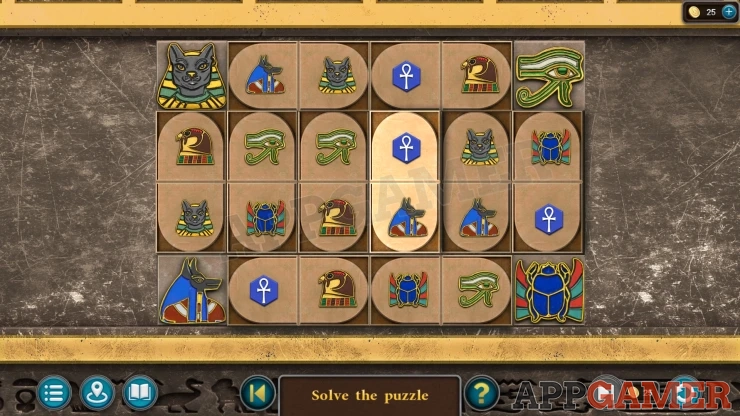
- The board has four fixed symbols in the corners.
- There are a number of domino pieces with two symbols on each. You can tap pairs of these to swap their positions.
- Arrange the pieces so that all of the symbols match all those adjacent to them.
Solution : Show
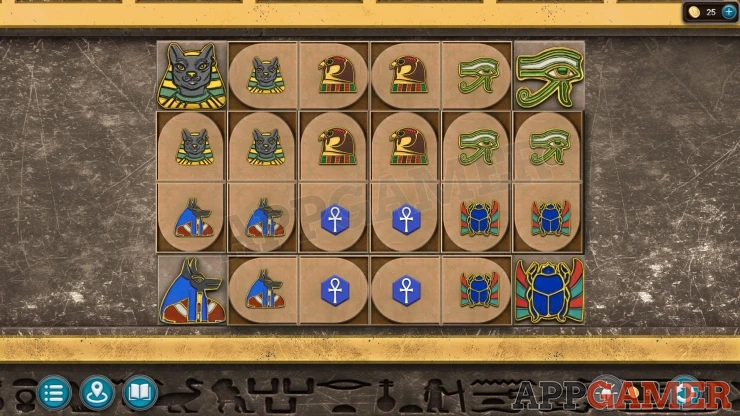
Collect a Key from the box.
Now view the door on the left of the room and use the Key to open it. Look inside the office room.
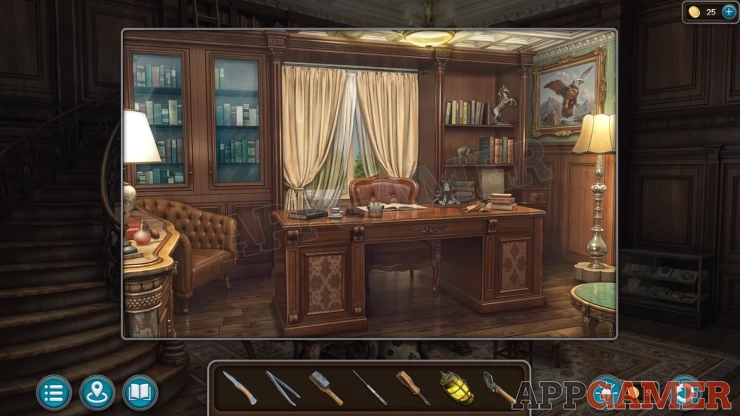
Collection Item: Perfume on a table on the far left.
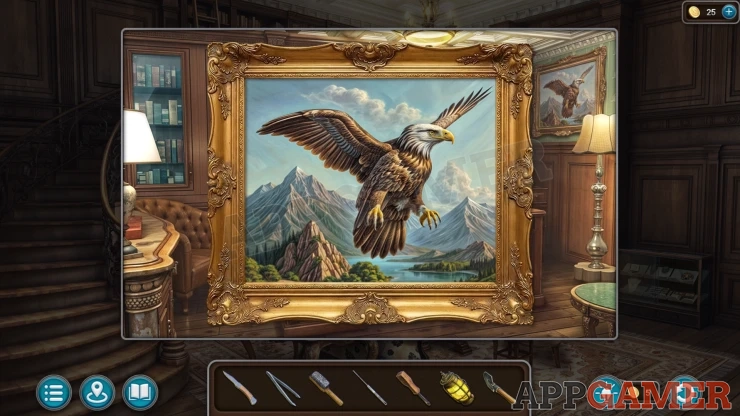
Notice the Eagle painting on the rop right.
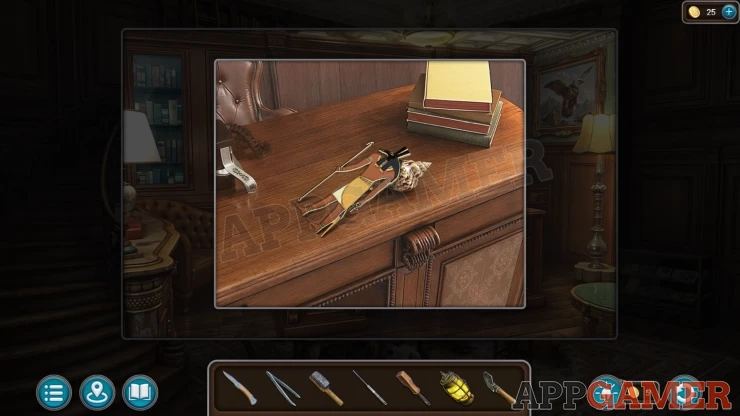
View the Desk and collect the Anubis figure, this also gives you Evidence - Archaeologist (1 of 5)
Return to the Aiship and view the large box on the left with four figure. Add the Anubis to the empty slot.
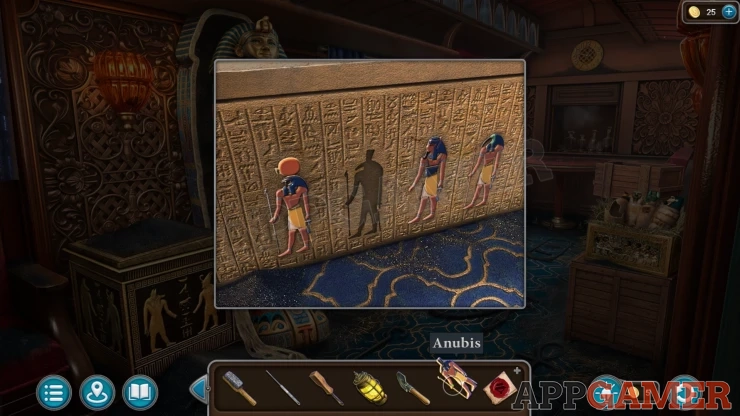
Look inside to find the secret passage. Evidence - Staging (1 of 7).
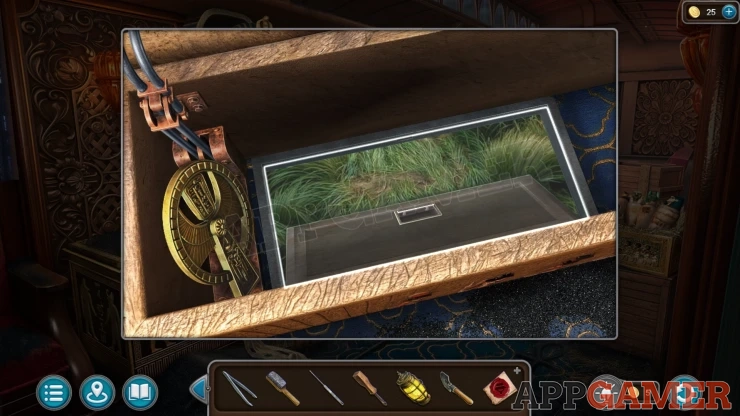
Task - Follow the Trail
Collect the Ankh (1 of 2).
Follow the trail to reach a field. Talk to the Farmer.
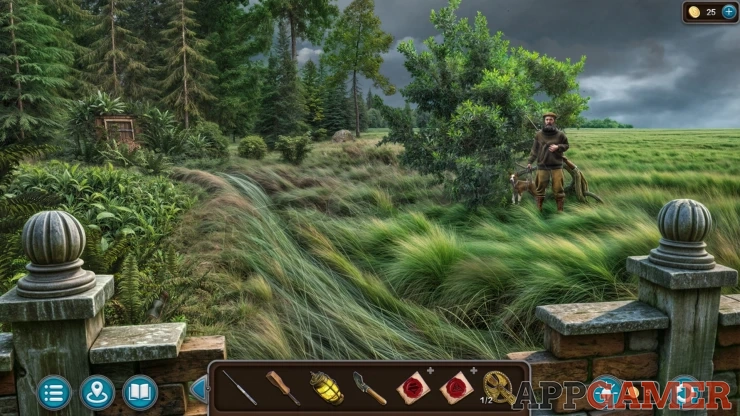
Collection Item: Hourglass - in the bushed jsut above the stone wall on the lower left.
Morphing Object: Boulder in the distance at the top center of the field.
View the small wooden shack on the left.
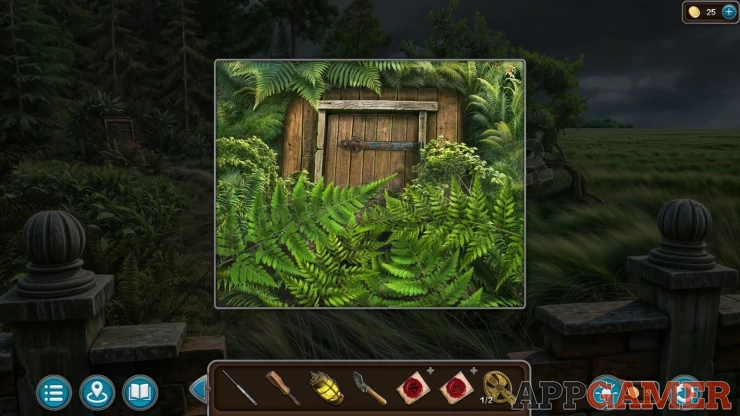
Clear away the ferns, and then use the Shovel to dig away the dirt to reveal a door.
Enter the bunker and then use the Lamp to light it.
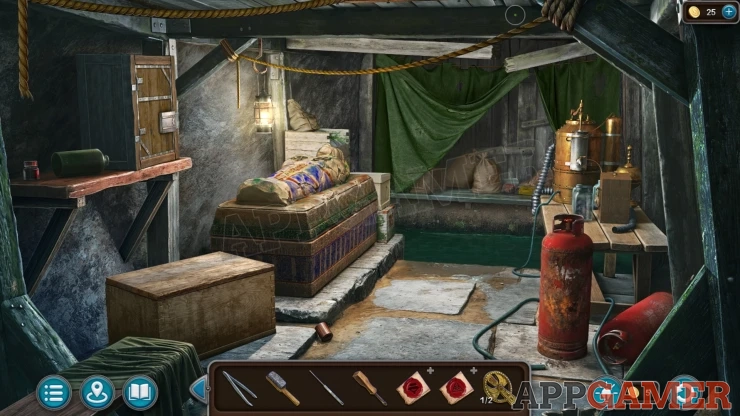
Morphing Object: Small cloth hanging on the top right.
View a locked box on the shelf on the left. Add the Lockpick to it to start a puzzle.
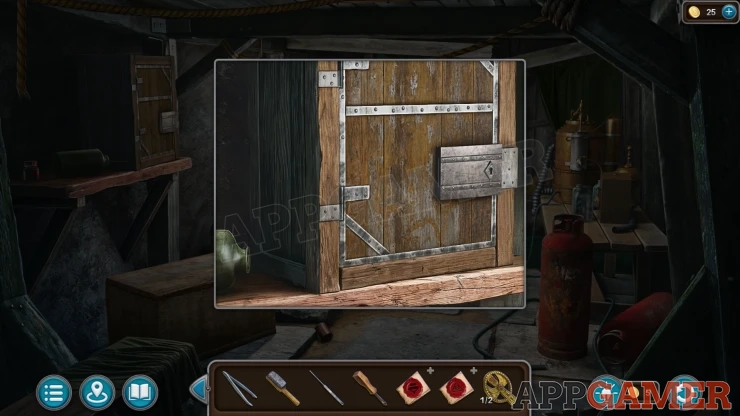
Lockpick Puzzle
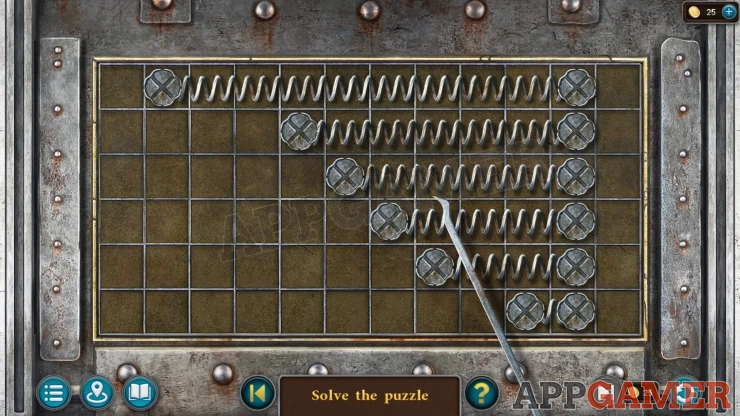
- There are six lock elements on the rows that you can move left and right.
- Each is a different length and has a block on each end.
- Arrange the six elements so that ther is only one end block in each of the 12 columns.
Solution: Show
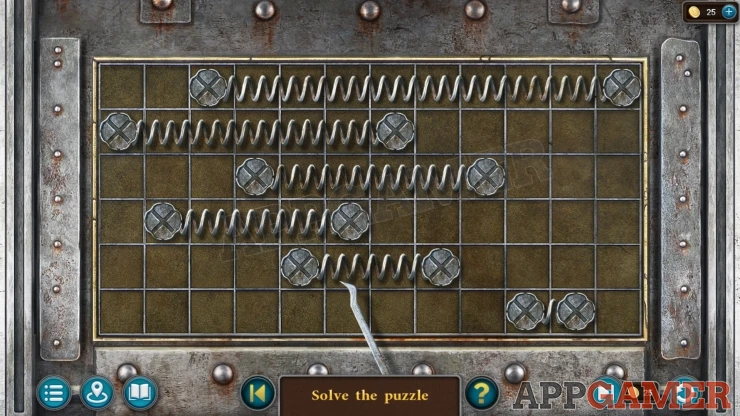
Once done view a jar to get Evidence - Staging (2 of 7).
Collect a Light Fixture.
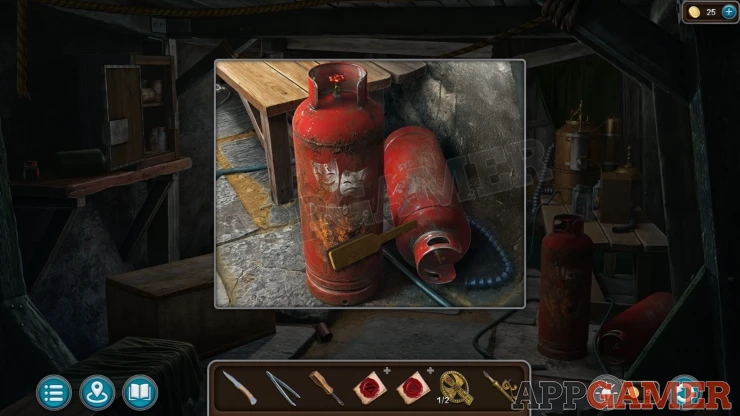
Then view the red gas cylinders on the floor. Use the Brush on these to clean one to then get Evidence - Staging (3 of 7). Notice the number on the cylinder.
Then view a table on the right side. View the jar of Scarabs to get Evidence - Staging (4 of 7).
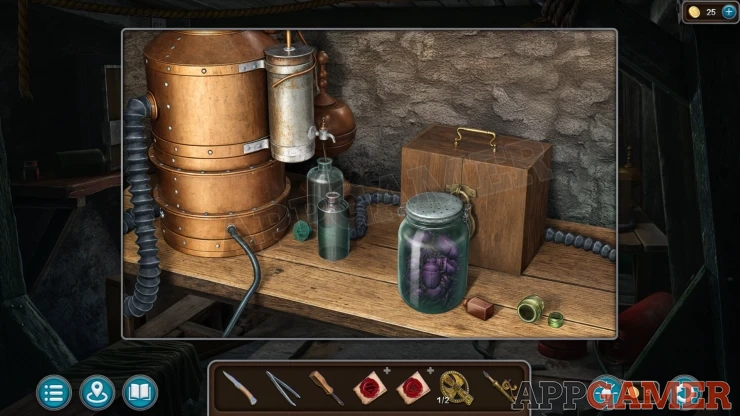
View the wooden box on the table, it has a padlock. This is a puzzle.
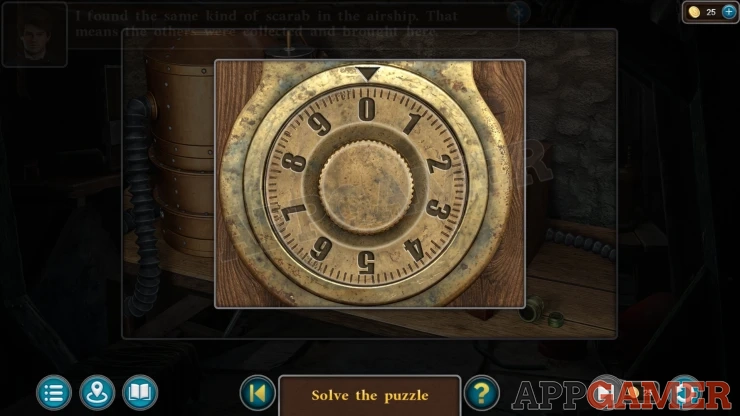
Enter the code from the cylinder, it will be different in each game.
View a bottle of Chloroform inside to get Evidence - Staging (5 of 7). Collect the Ankh (2 of 2).
Now view the Sarcophsgus on the left, add the two Ankh's to it to open the lid.
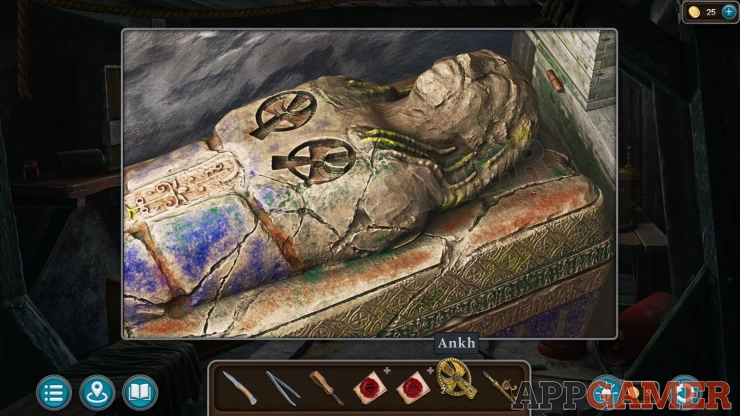
Tap on the loose gauze inside to get Evidence - Staging (6 of 7). Collect a Spider (1 of 3).
View the water filled gap at the back of the bunker, you cannot cross it yet.
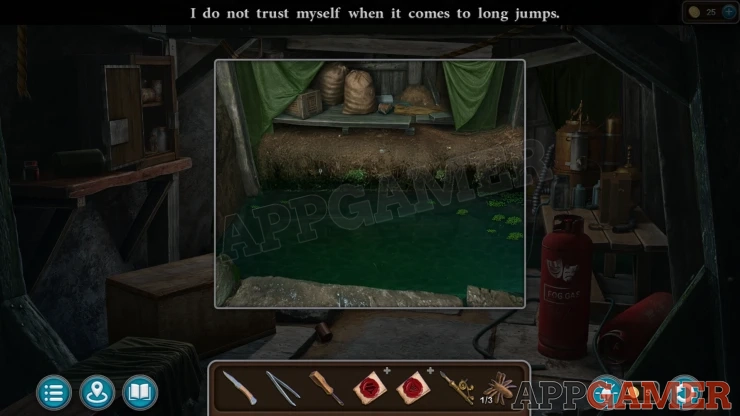
Go back to the front yard of the factory and look in the large crate on the left again. Collect the Planks.
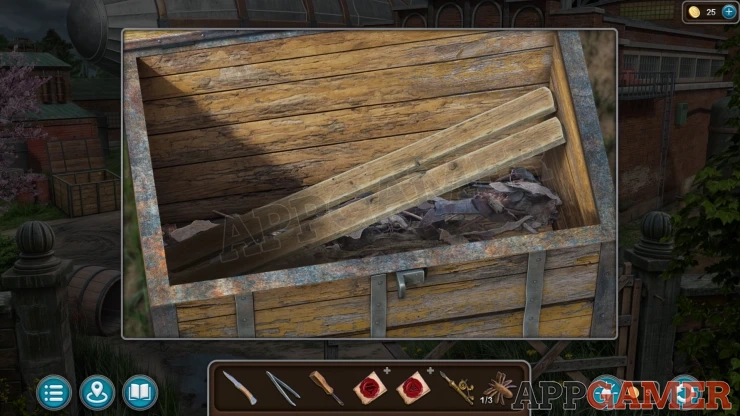
Then you can return to the bunker and use the planks to make a bridge over the gap. View the sacks on the other side.
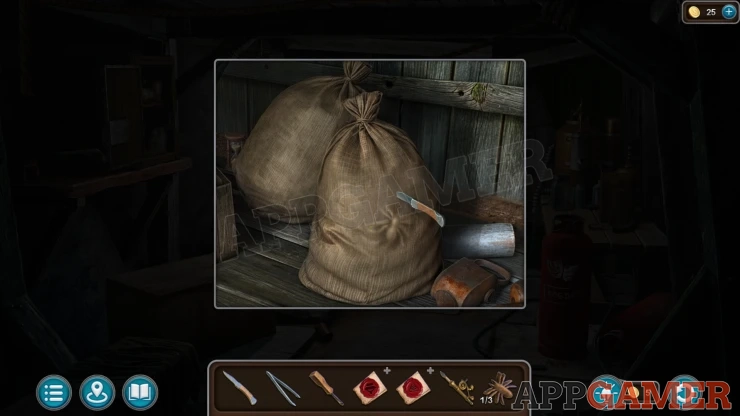
Collection Item: Hourglass on the left of the sacks.
Use the knife to open the sack, this gives you Evidence - Staging (7 of 7). Collelct a Spider (2 of 3).
Go to Edith's House and look at the mirror above the fireplace. Add the Light fitting here to open a secret cache. Collect a Feather.
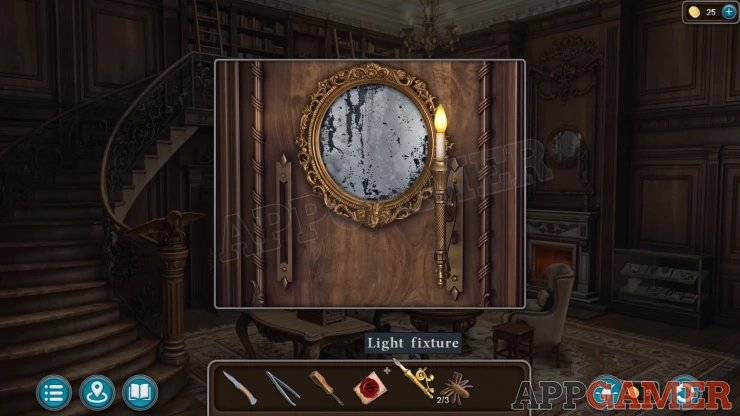
Next view an Eagle figure on the newel post at the bottom of the stairs. Add the Feather to it to start a puzzle.
Eagle Puzzle
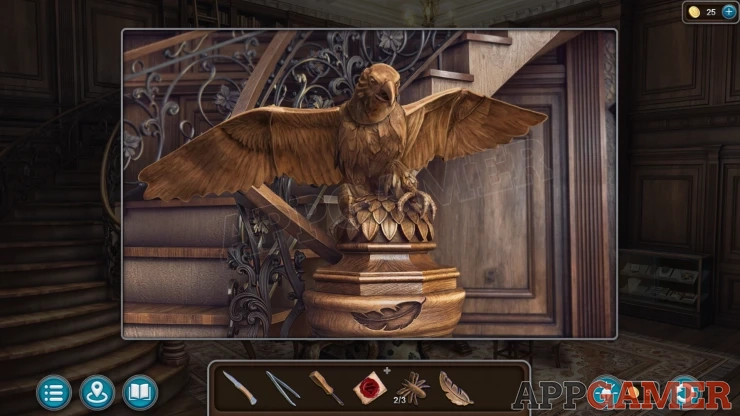
- Tap on the head and wings of the eagle to change their positions.
- Set them according to a clue seen in the archaeologists office.
Solution: Check if Show
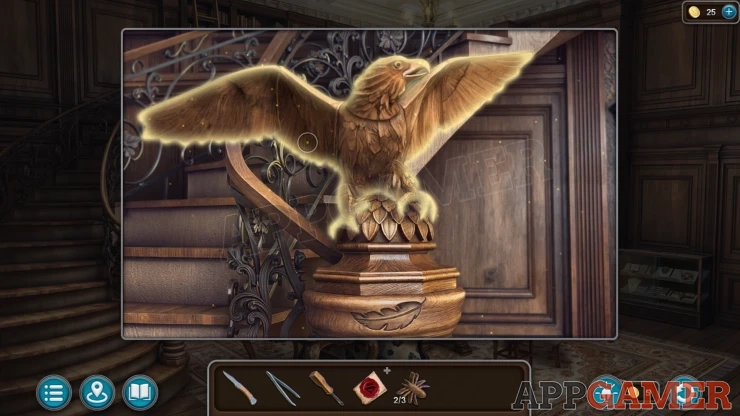
Another secret compartment opens. View a red diary to collect a Code and also get. Evidence - Archaeologist (2 of 5).
Return to the town square and then go through the passage to the left to find the boarded up building at the end.
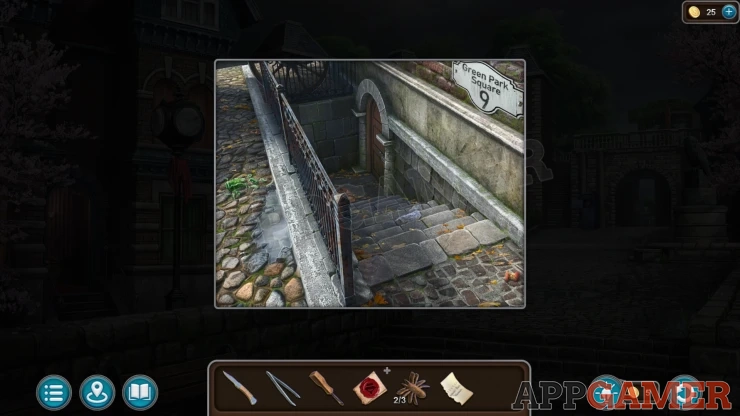
Go down the steps to a door, there is a code lock. Add the Code that you collected to the lock and then enter the code to open the door.
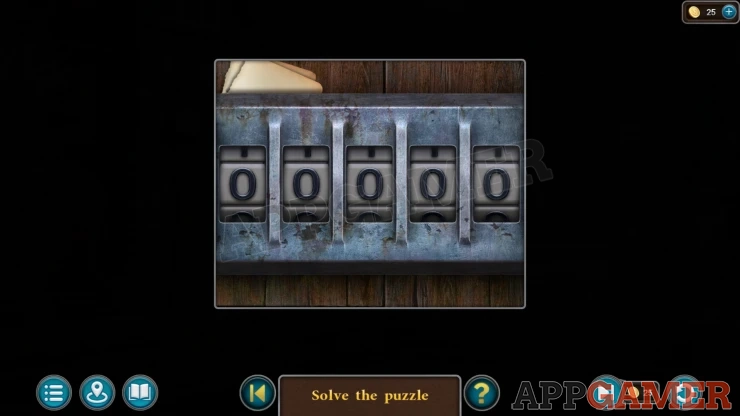
Enter the Basement apartment.
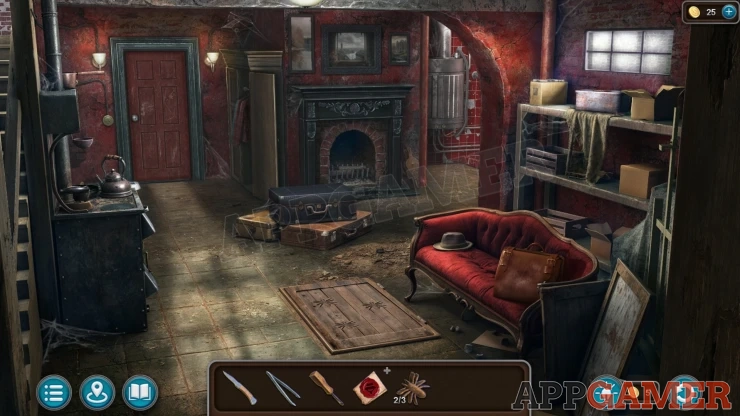
Morphing Object: Umbrella / bellows by the fireplace.
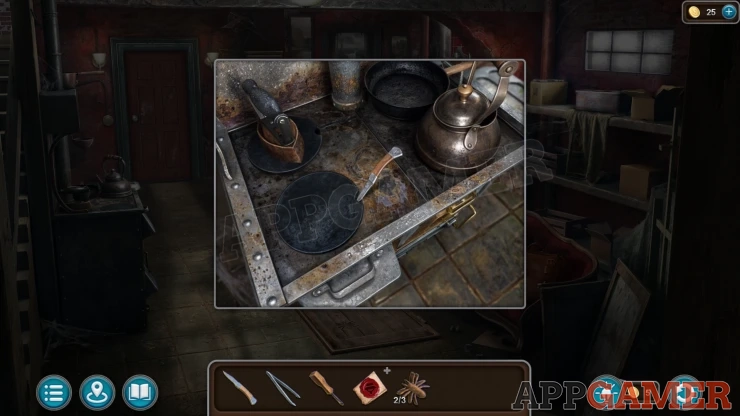
View the stove on the left and use the knife to lift a burner cover.
Use the tweezers to retrieve and view the paper inside to get Evidence - Archaeologist (3 of 5).
View a shower area at the back to the right of the fireplace.
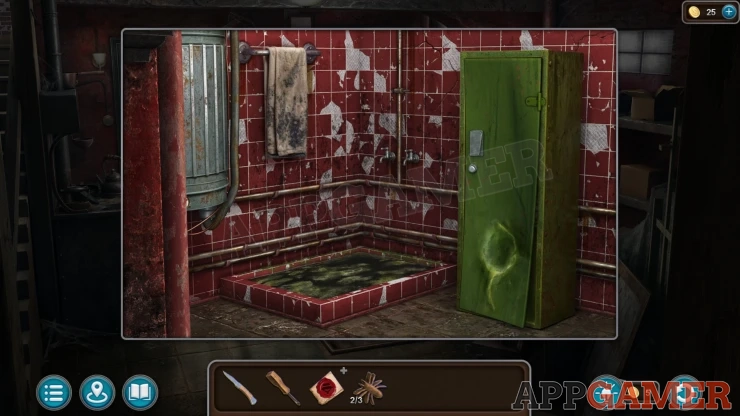
View the green locker and use the screwdriver to remove the hinge and open the door.
Collection Item: Perfume - inside the locker.
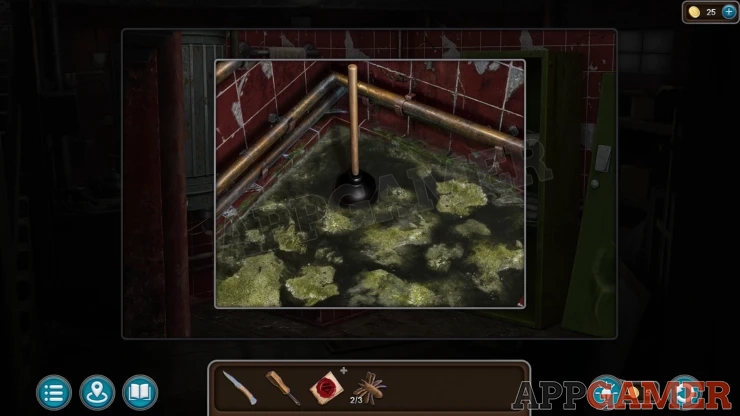
Collect the Plunger.
View the shower drain and use the plunger to unblock it, you can then collect a Key.
Then view a dark case on the floor infront of the fireplace. Use the Key to open it.
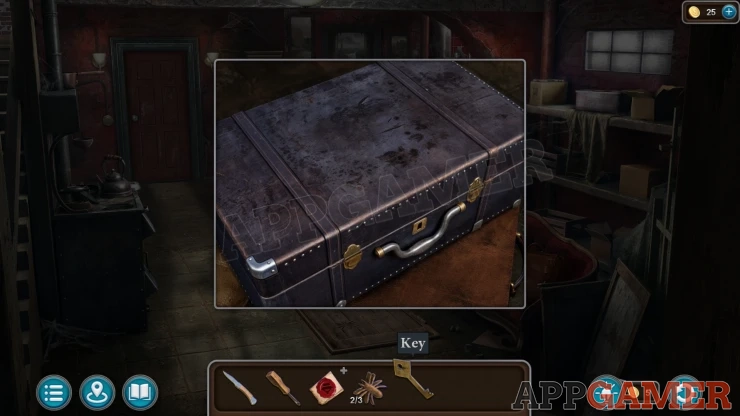
View the folder inside to get Evidence - Archaeologist (3 of 5). Then also collect the Spider (3 of 3).
View a trapdoor in the floor, add the three Spiders to this.
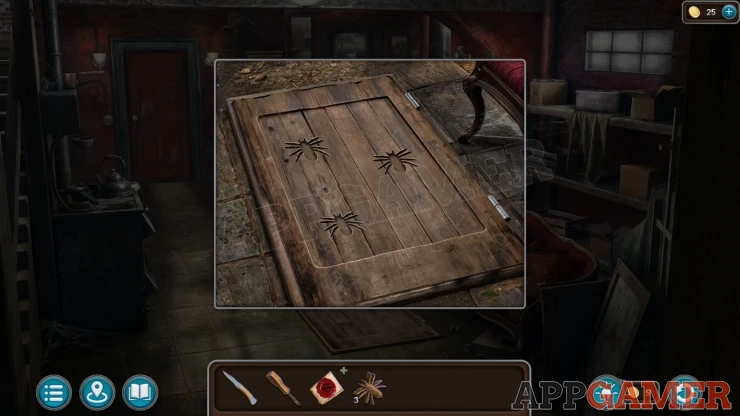
Trapdoor Spider Puzzle
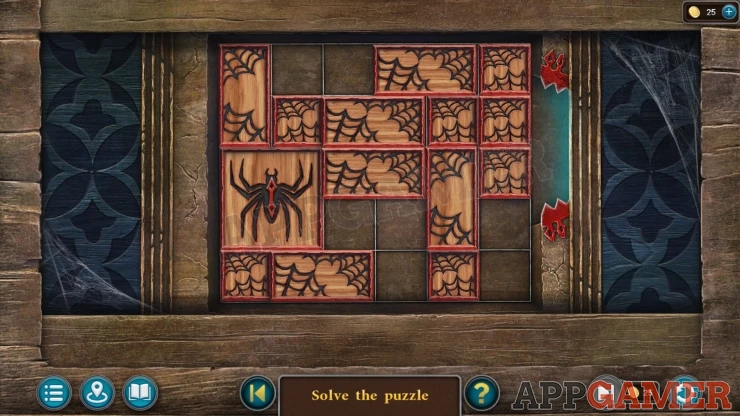
- The board has a number of blocks on it of different sizes.
- The small quare blocks can be moved in either direction. The rectangular blocks can only be moved in one direction.
- You need to move the Large square spider block to the exit on the right side.
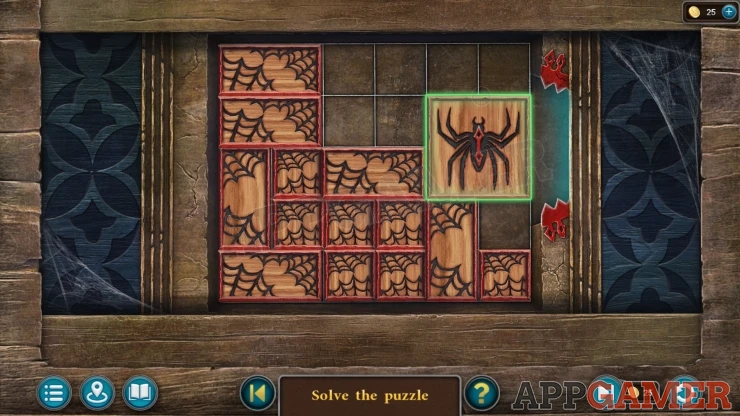
Once done the trap door opens and you can collect a Key.
View the Red door on the left and use the key to open it.
Look inside to find Noel - Evidence - Archaeologist (5 of 5).
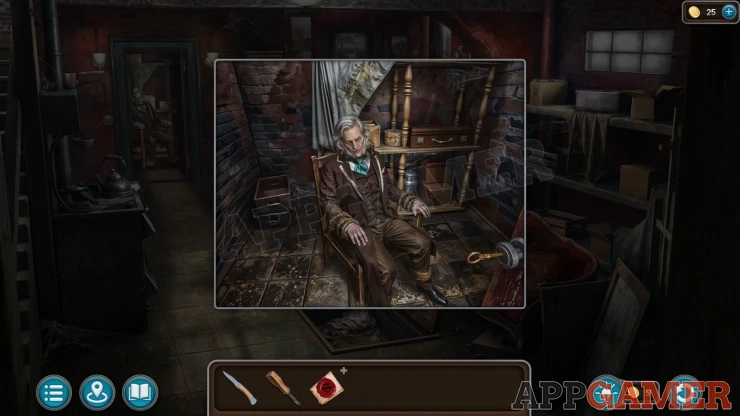
After the cutscene you have another puzzle to solve.
Play With Me Puzzle Box
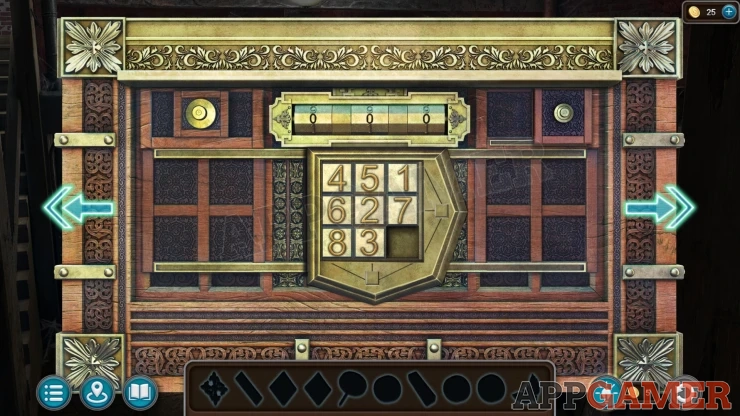
- This is a box with four sides that you can select by tapping the arrows on the left and right.
- On each side there are small doors and buttons as well as puzzles.
Side 1: View the center number square.
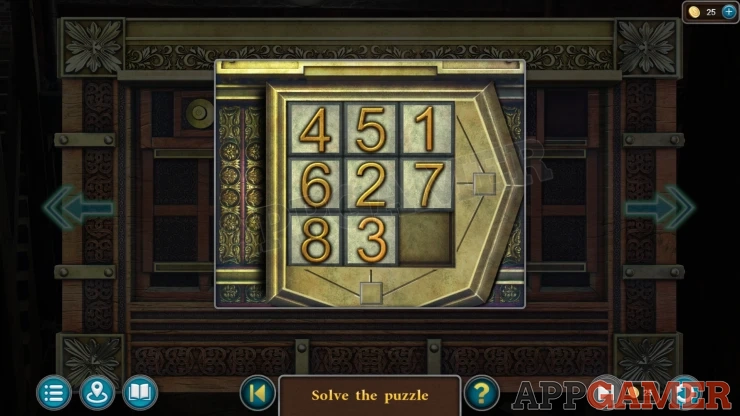
Slide the numbers around until they appear in the correct order form 1 to 8. You can then collect a Button.
Show
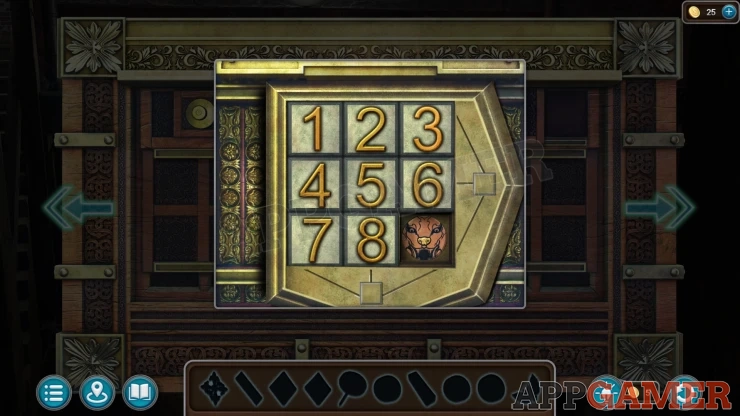
Tap the Right arrow to move to Side 2.
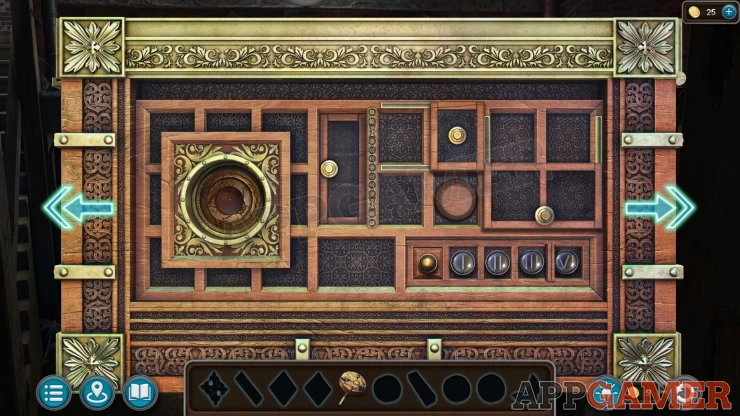
Add the button to the circle on the left. This is another puzzle.
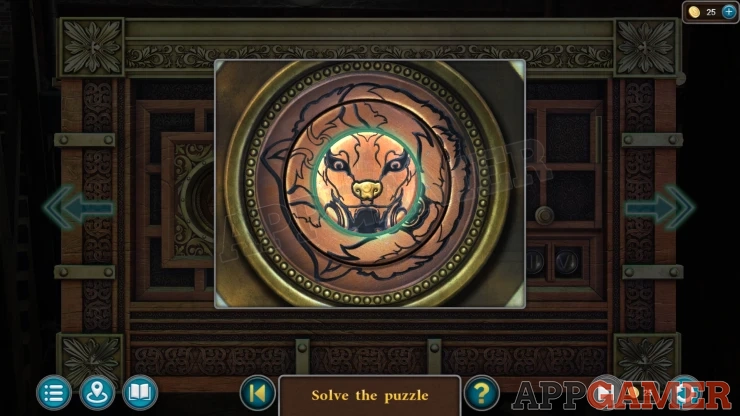
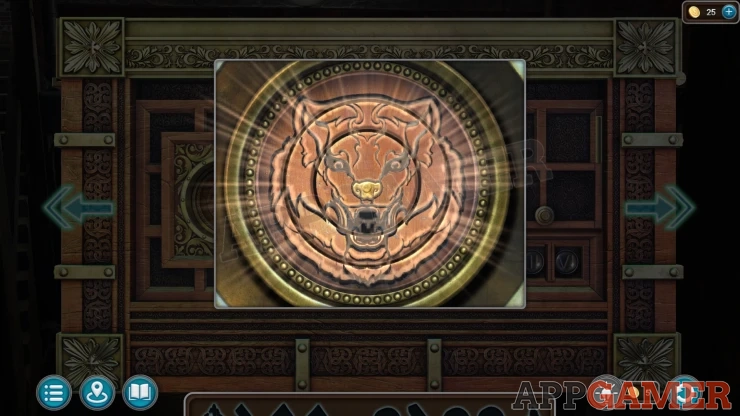
Turn the three rings to line them up and complete the image. Then collect a Monogram.
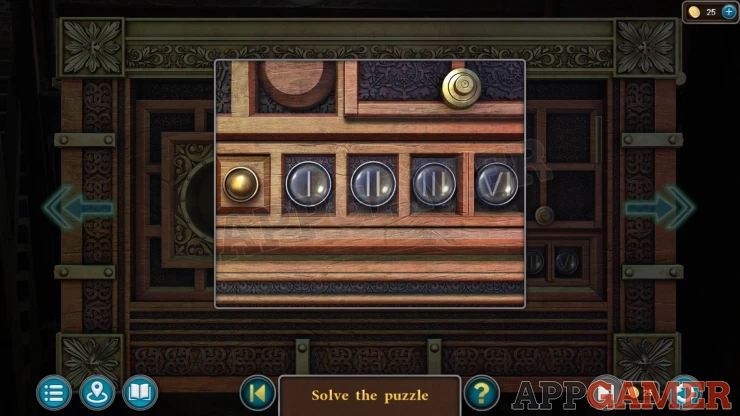
View a panel on the lower right with four number buttons. Tap the round button on the left to see the numbers light up in a sequence. Then tap the number buttons in the same sequence to solve this puzzle. Collect a Cross.
Turn right to Side 3.
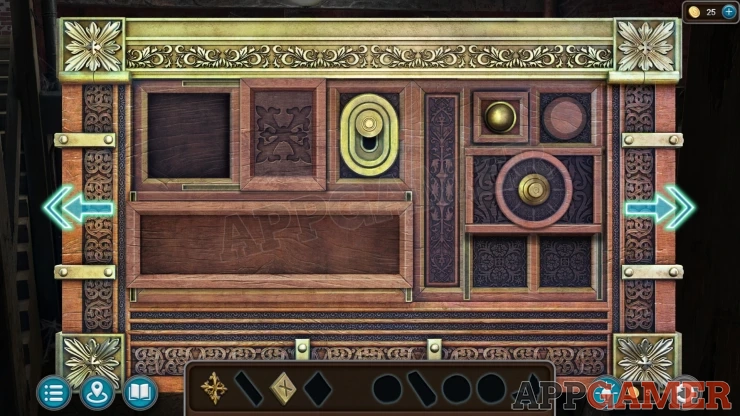
Add the Monogram to the panel with a slot in it at the top toward the left. This opens and you can collect a Crescent.
Then slide down the switch near the top center to open a panel and reveal a pattern. View this and add the Crescent to it. This is a puzzle.
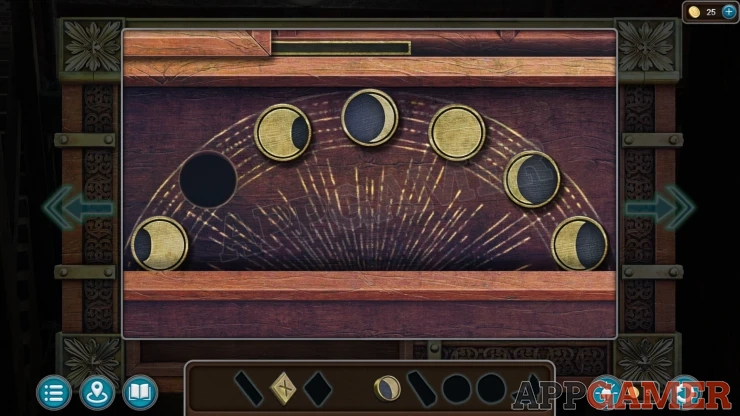
Tap pairs of moons to swap their positions and arrange them in the correct phase order.
Solution: Show
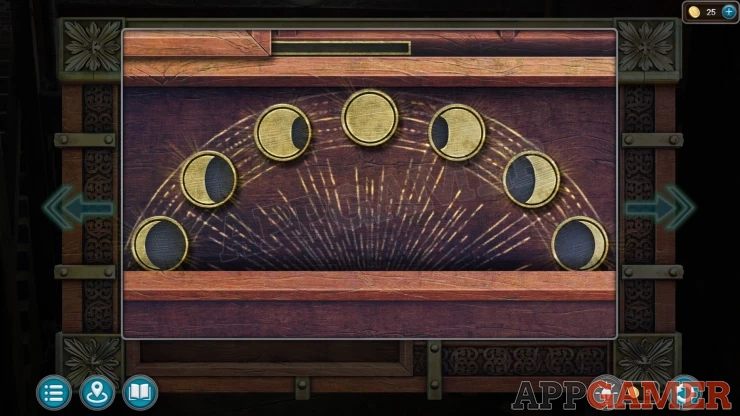
You can then collect a Magnet.
Open a panel on the center right and collect a Mouse.
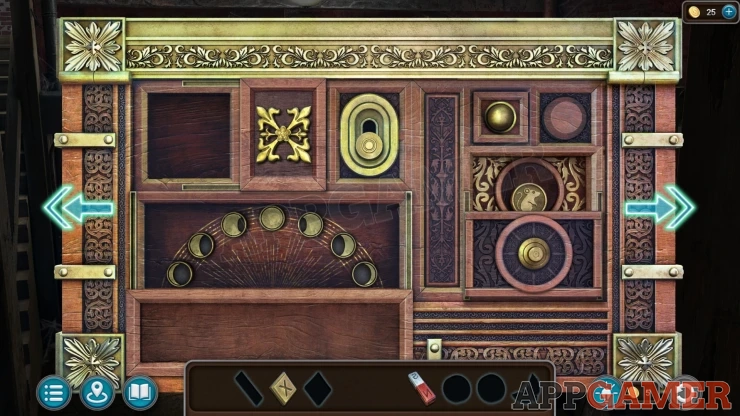
Turn right again to Side 4.
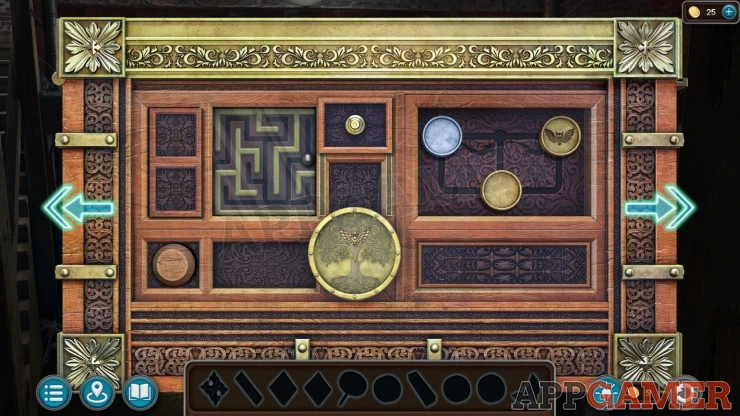
Press a button on the bottom left and you will collect an Owl.
View the small maze on the top left and use the magnet here. It drags ball to the left side and you will collect a number 9.
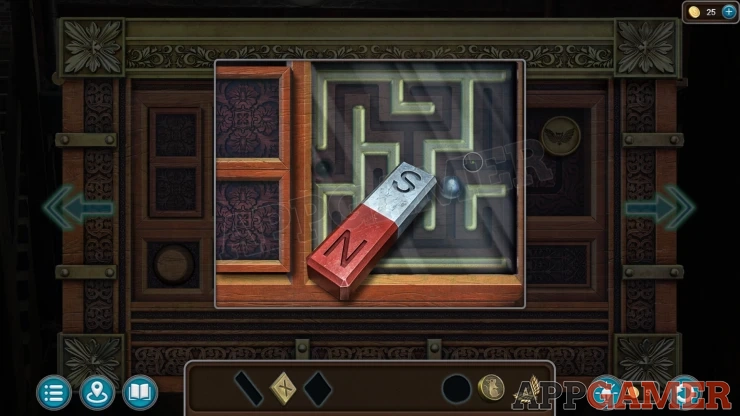
Turn right to Side 1 then view the number square agian. Add the number 9 to it for another puzzle.
Swap pairs of numbers to arrange them so that the sum of every row, column and diagonal is the same (15).
Solution: Show
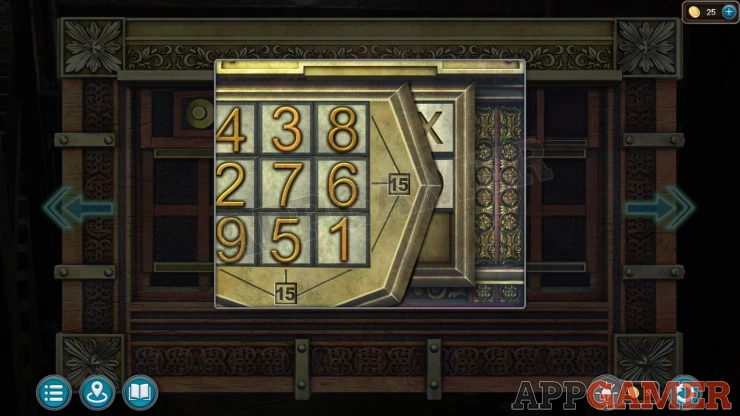
A new board is revealed with 0 and X. Add the Cross to it.
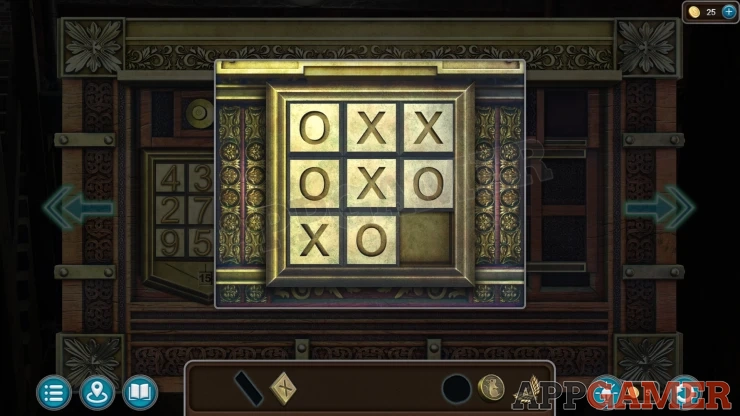
You can then collect a Wheat Ear.
Turn back to Side 4.
View the panel on the top right with three buttonrs. Add the Owl, the mouse and the Wheat Ear to it.
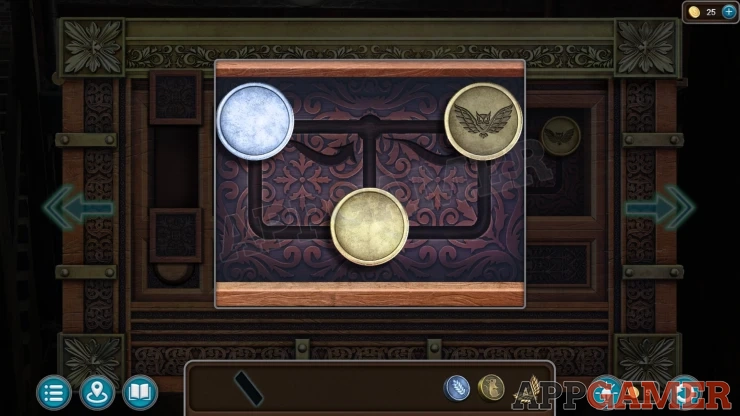
To solve this arrange the tokens on the top line in the order of Predator > Prey
Solution: Show
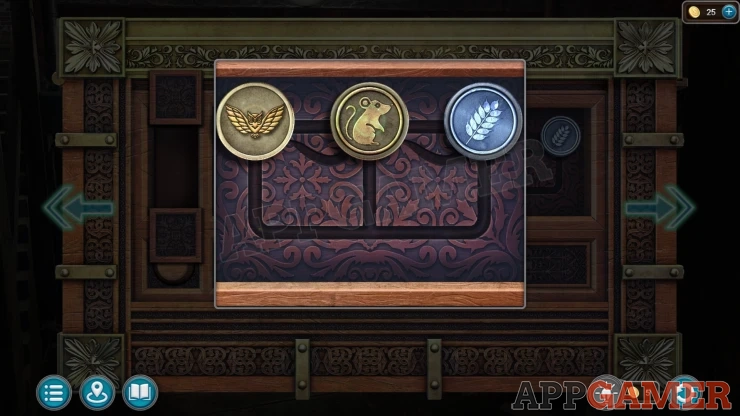
This will reveal a code.
Turn to Side 1 - Add the Code to the top.
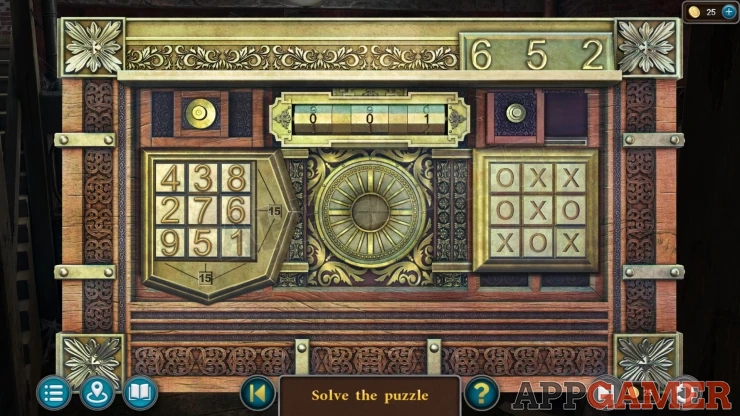
Now turn the dials at the top to set the code. You will reveal the secret message.
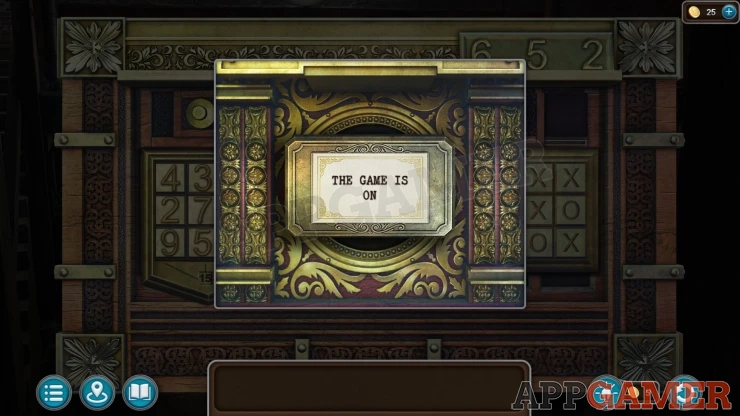
This completes Chapter 2 - Move on to Chapter 3.
We have questions and answers related to this topic which may also help you: Show all
 With 20 years of experience in creating video game content for the internet and over 30 years as a gamer, Mark is now a passionate mobile App Gamer. Loving a challenge, he is always ready to get stuck in to both survival builders and puzzle solving games. He has been providing content for AppGamer since 2014.