
Chapter 1 - Faithfulness Walkthrough - Part 2
More Mystery Detective Adventure 2
This is the second part of the walkthrough for the first chapter of Mystery Detective Adventure 2. The latest episodes from FiveBN of Detective John Woodbray featuring his occult investigations.
In part 1 you have started investigating the disappearance of Penelope Mortimer which has led you to the cade of the missing Frances Doyle. Having entered his rom at the hotel you now continue your investigation in town to find out more about Frances.
Chapter 1 Walkthrough - Faithfulness - Part 2
Return to the Back alley. View the door to the coach on the left. Add the single Handle to it.
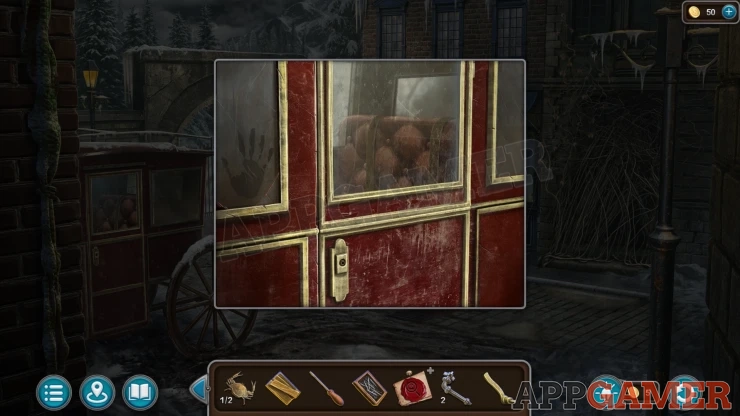
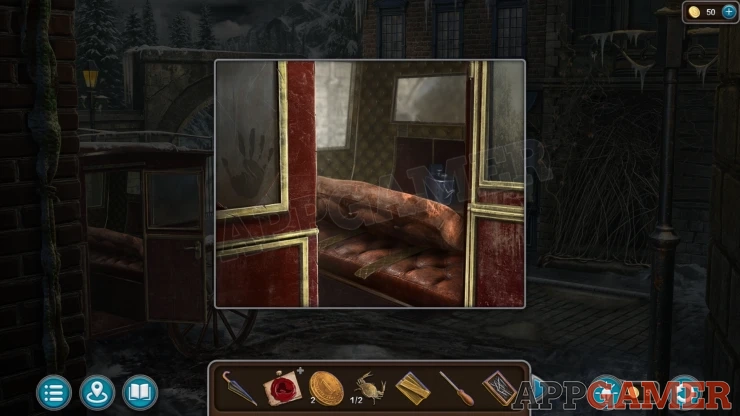
Open the door and then you can collect a Part of the Hand Fan.Then use the knife to cut the two straps on the back of the seat. You can then move the seat back and collect some Oil.
Go back to Frances' room and view the cupboard on the right. Use the oil on the bolt to loosen it.
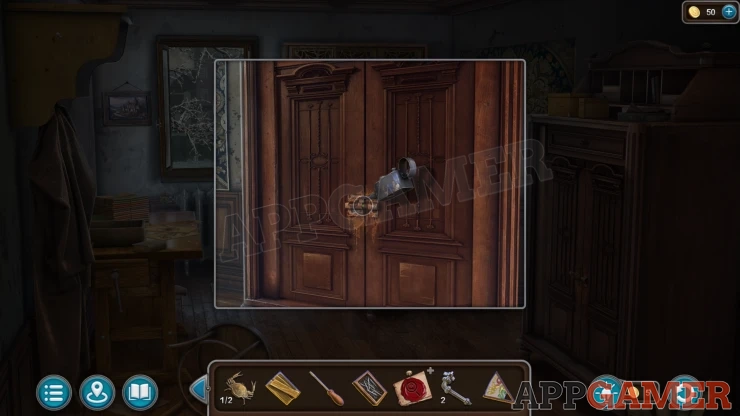
Open the cupboard and then you can find a bottle of pills Young Mans Disappearance - Evidence (4 of 7).
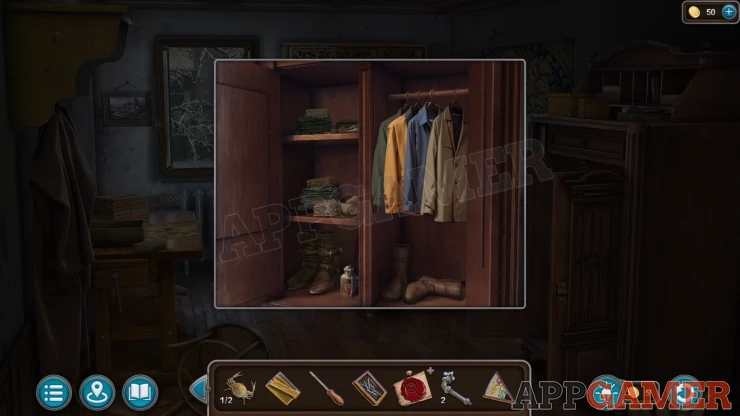
Move the shoes on the lower shelf to collect a Hammer.
Next view a tapestry on the wall next to the bed. Use the hammer on the top left corner to remove a nail and discover a hole behind.
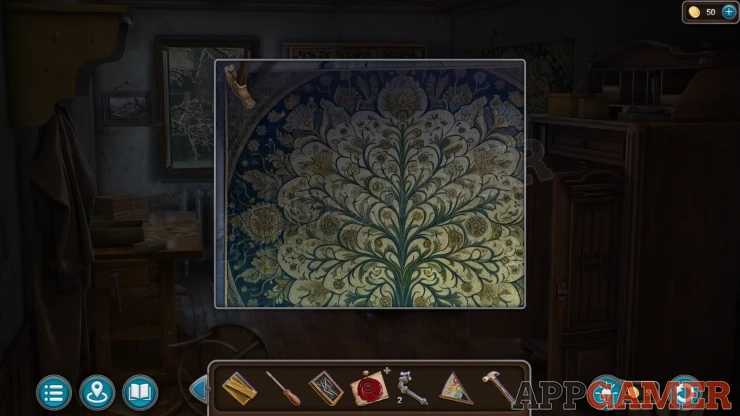
Collect the Butterfly (1 of 2) and a Leaf (1 of 2).
Next return to the clients house. Look on the wall by the stairs above a small painting to see a fan shape.
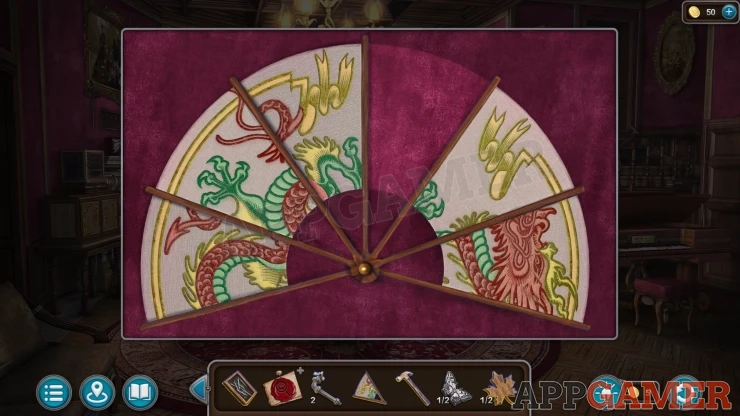
Add the Part of the Hand fan to it to start a puzzle
Hand Fan Puzzle
- The fan has six panels, they are jumbled up.
- Tap pairs of the panels to swap their positions.
- Re arrange them to complete the dragon image on the fan.
Solution: Show
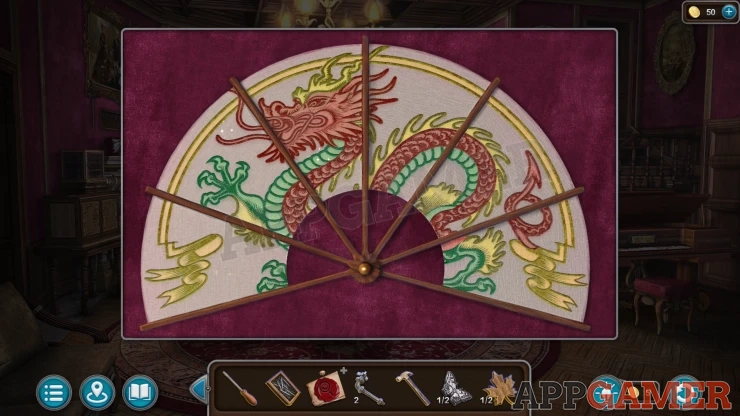
Collect another Leaf (2 of 2) from the panel that opens.
Go back to Frances' room and look at a wall cabinet above the bed.
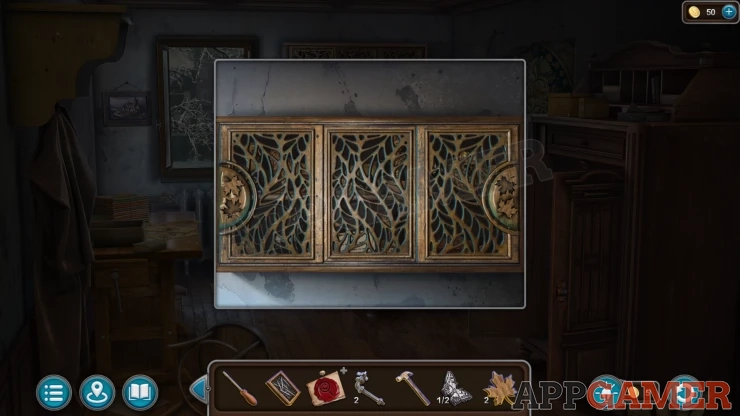
Add the two leaves to this and the doors can be opened. Check through the three sections to find another note Young Mans Disappearance - Evidence (5 of 7).
Also collect a Hint.
Now return to the beach scene, Tap on the platform at the top of the steps on the far left to find a locked door.
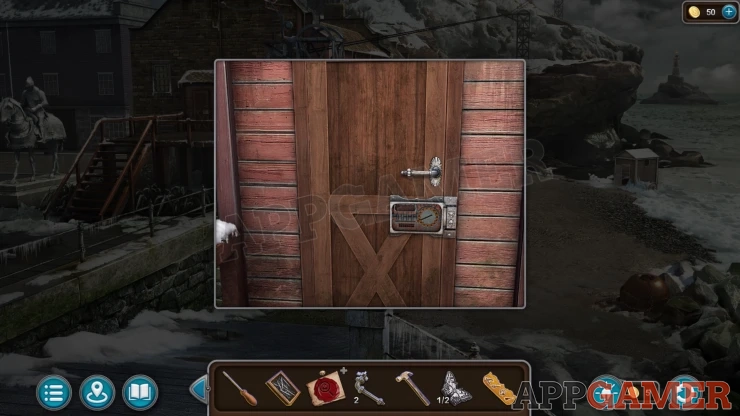
View the lock for a puzzle.
Ropeway engine room puzzle
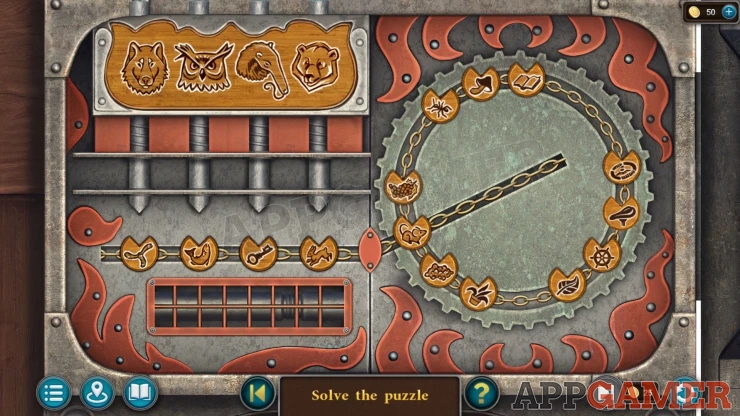
- Add the Hint to the top left to start the puzzle. The hint shows 4 symbols.
- Below and on the right are tokens with symbols on them. These are on 2 chains that can be rotated or slid back and forth.
- Four of the symbols on the chains are related to the ones on the hint.
- Using the chains move the symbols and arrange them so that the four related symbols are below the fours hints on the top left.
- Your Hint may be different
Solution: This was my solution, yours may be different.Show
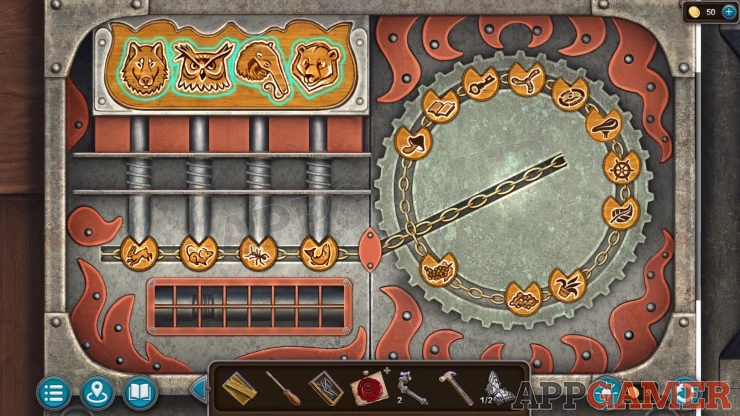
Once done you can open the door and look inside the ropeway engine room. It is missing a chain. Collect a Hacksaw from the floor.
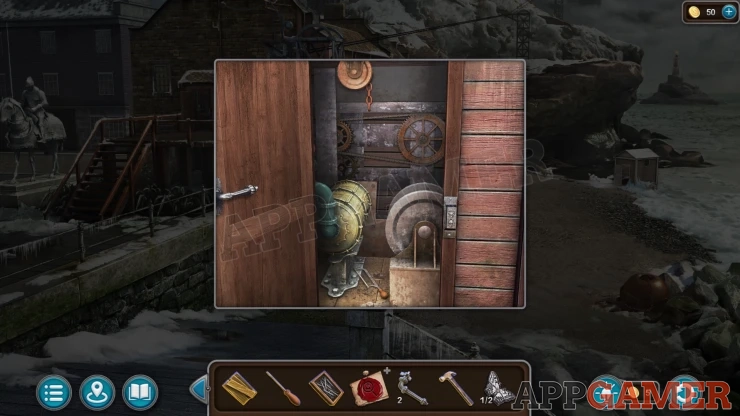
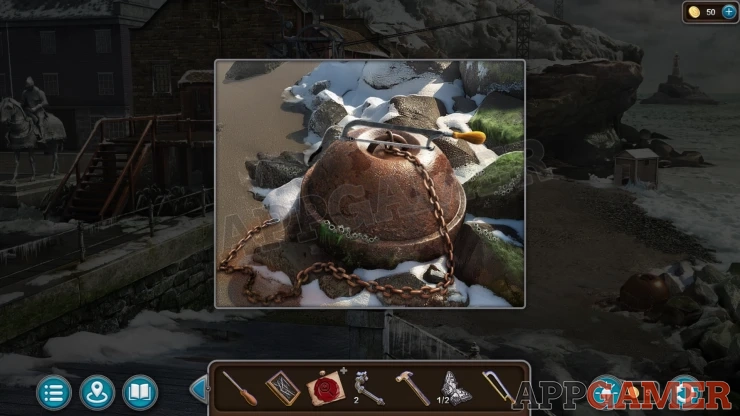
Now look on the beach again and view the buoy on the right. Use the Hacksaw here to cut and collect the Chain.
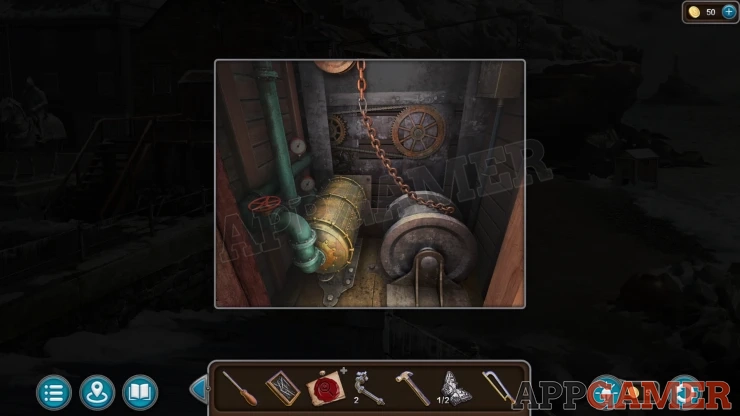
Go back to the engine room and add the chain to the mechanism. Then you can tap the red handle on the left to start the engine.
Next view a green ropeway car by the platform on the left.
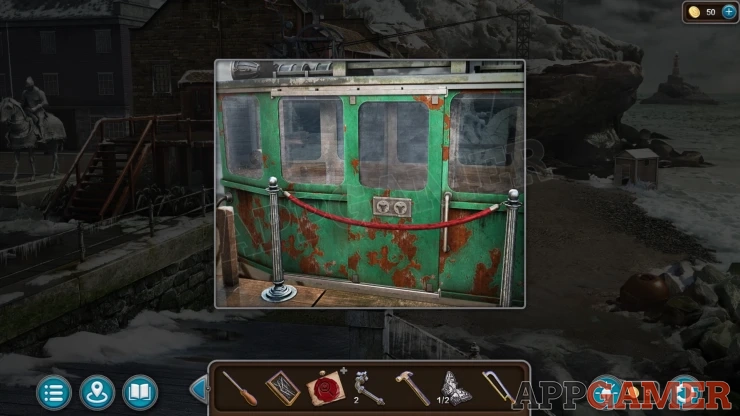
Tap to remove the red rope and then view the door. Use the two handles to open the door. Inside you will find Penelope's Hat. Search for the Girl - Evidence (7 of 8).
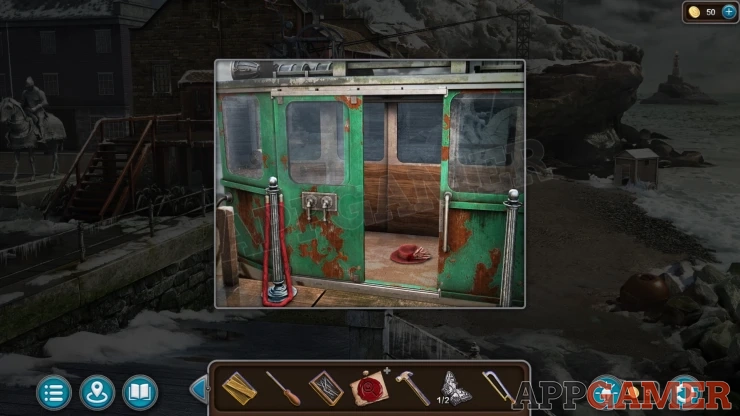
Move into the ropeway car to see the control handle. Tap this to start it moving.
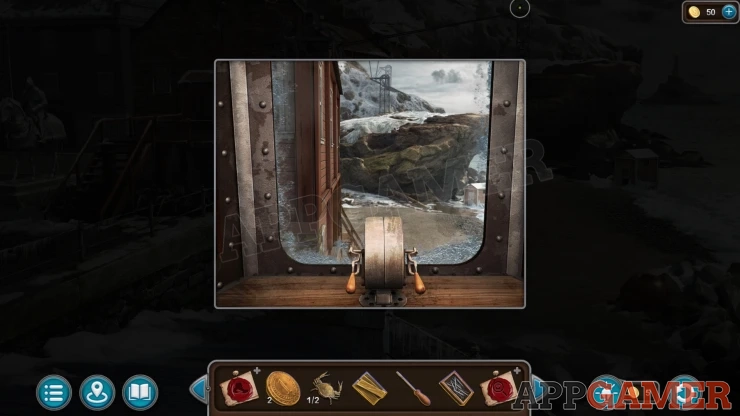
You will travel to the far end of the beach to find the Fisherman's Shack.
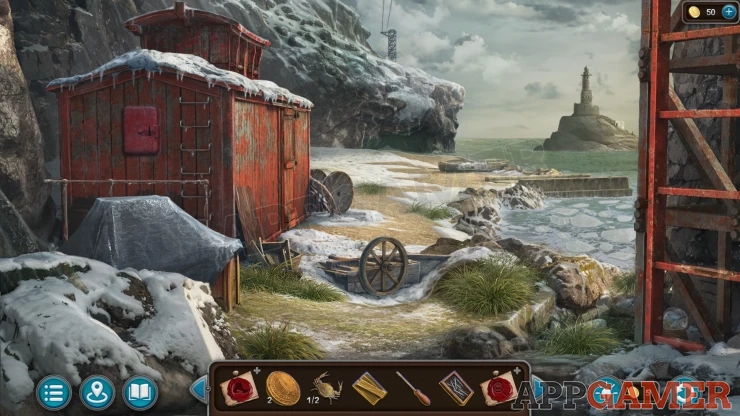
Morphing Object: Small object on the snowy rock on the bottom left.
Collection Item: Glass Ball on the metal ladder on the bottom right.
Tap on the hut to approach it and open the door. After the cutscene you will talk to Penelope.
Search for the Girl - Evidence (8 of 8).
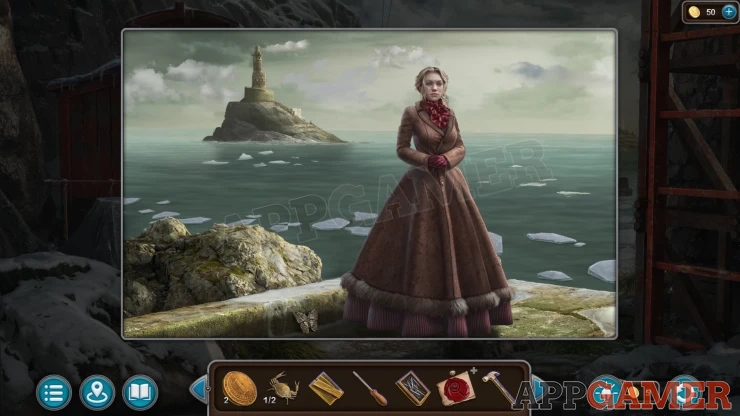
Task - Find the Mystic
Collect a Butterfly (2 of 2) from the ground next to Penelope.
Look inside the fishing hut again and collect a Lighthouse (1 of 3) from the seat.
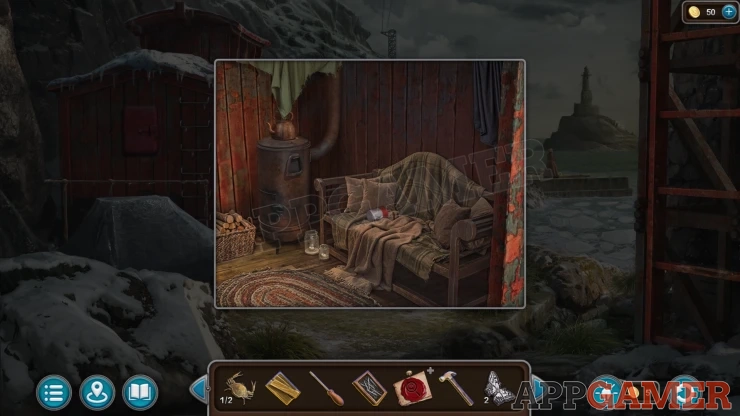
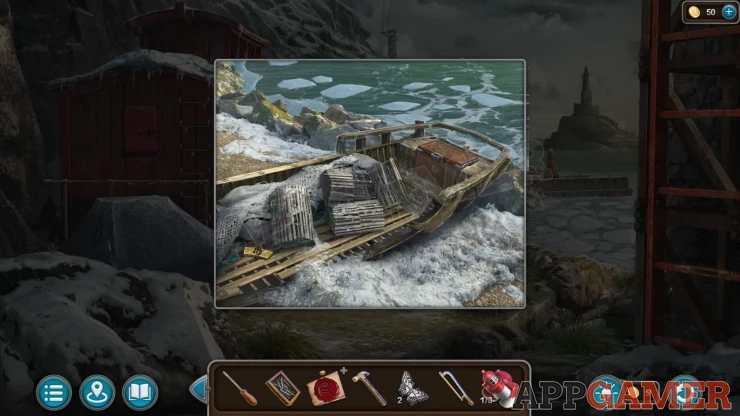
Then look in a small wrecked boat at the far end of the beach. Collect a Sign (1 of 3).
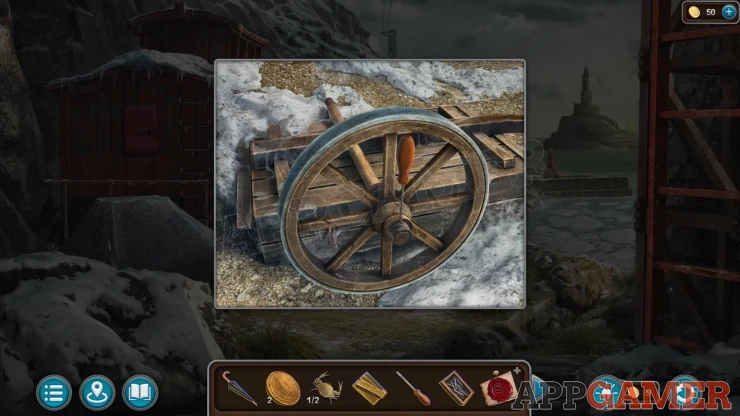
Finally look at a broken cart with one wheel in the sand. Use the screwdriver on this to collect the Wheel.
Back up to the beach and then tap on the steps to the left of the swing.
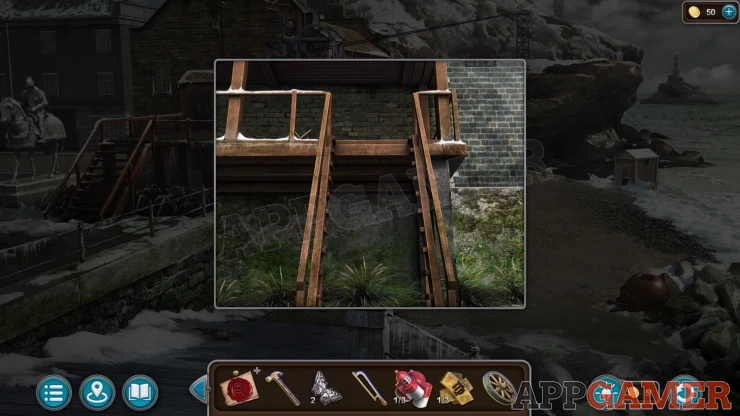
Add the Boards, the nails and then use the hammer to repair them.
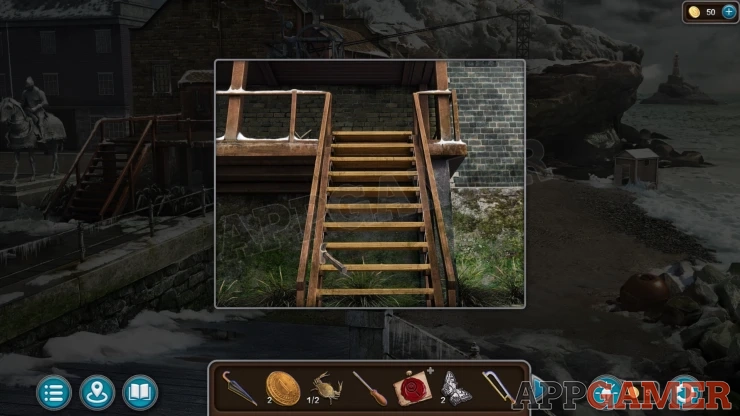
Then you can reach the platform above. Collect a Shovel and also a Lighthouse (1 of 3) from the table on the right.
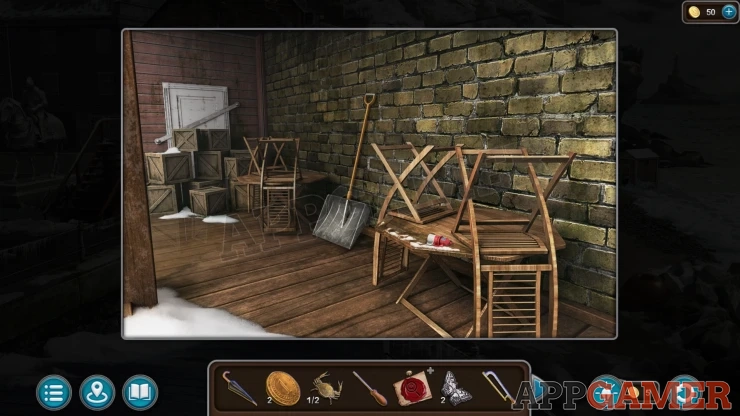
Next go to Penelope's room in the clients house. Look at a set of drawers on the left.
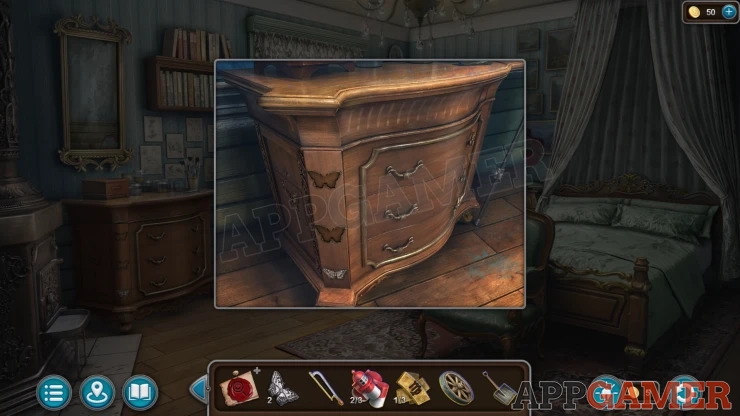
Add the two butterflies here to open the side panel, collect a Crab (2 of 2).
Next go to the Pub. View a pair of pictures over the fireplace.
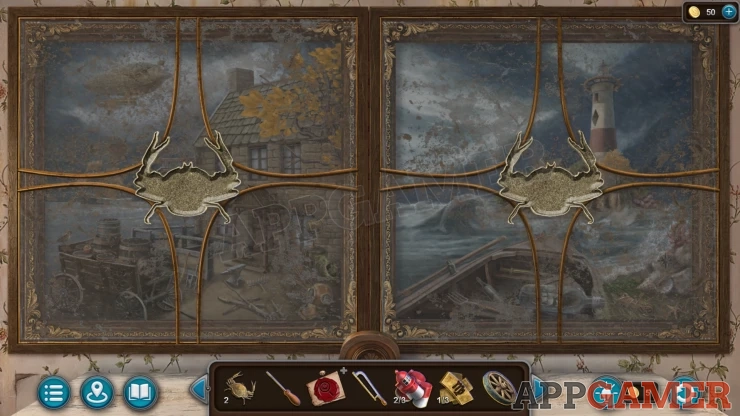
Add the two crabs to the slots to open the case door and view the paintings.
Pub Paintings Puzzle
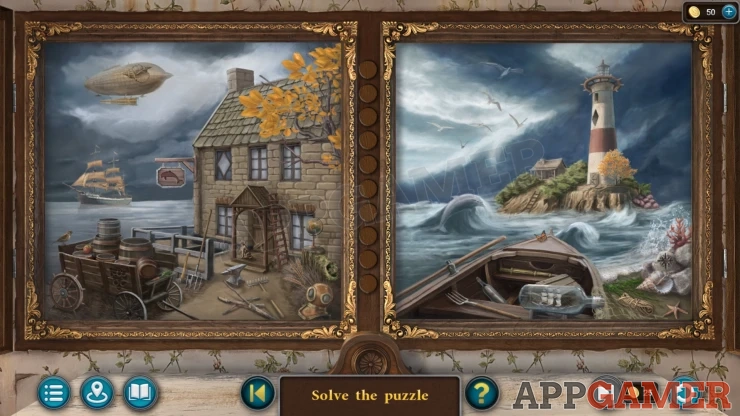
- There are two different paintings.
- You need to find 10 items that are seen in both paintings.
- The items will be the same but may not be the same size or position.
Solution: Show
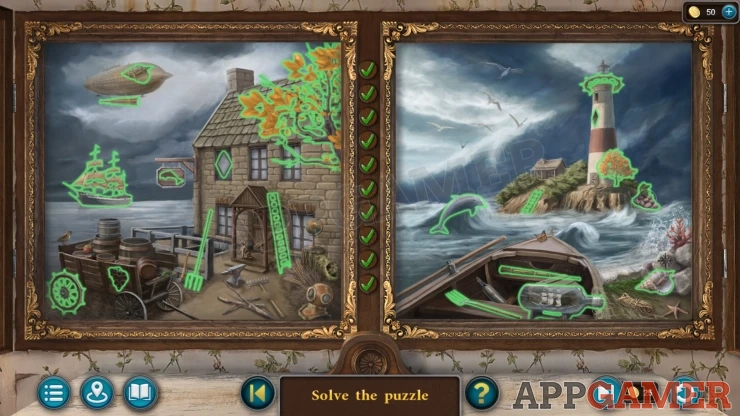
Collect the Ballerina and a Lamp.
Return to the clients house and view a glass case on the left.
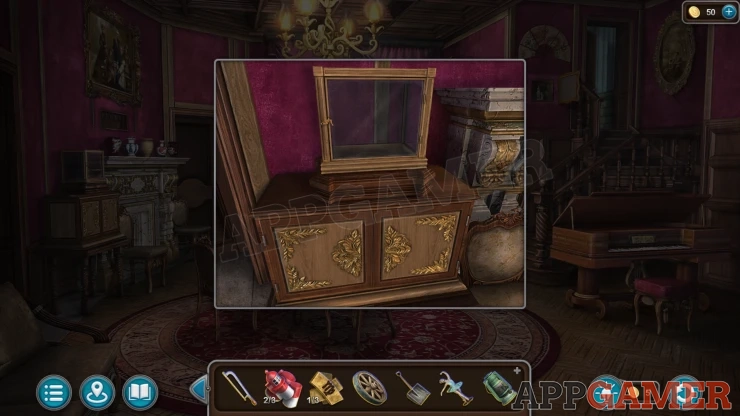
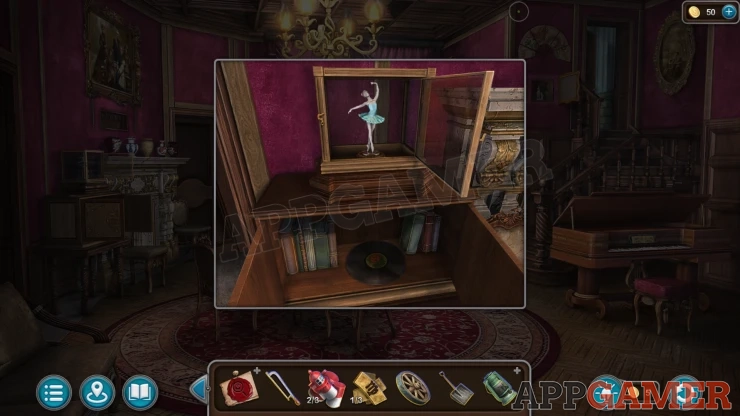
Open this and add the ballerina. This will then open a cabinet below, collect the Vinyl Record.
Now go to the Hotel lobby and view a record player on the reception desk. Add the record to this and turn the handle to play it.
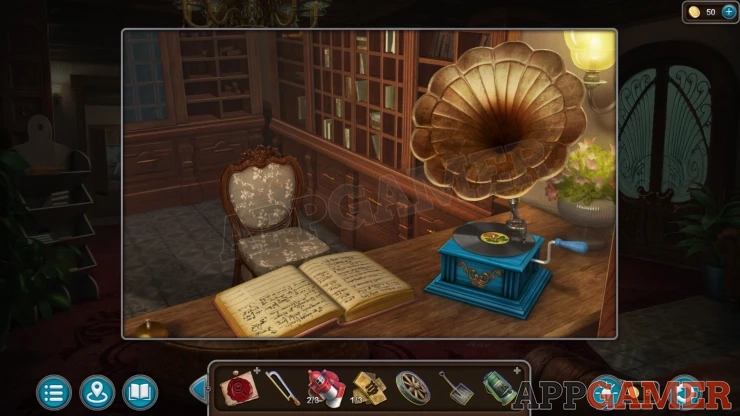
Collect a Seashell (1 of 2) and read and collect the Telephone Directory for a clue.
Return to your room and view the telephone on the right. Add the book to it to see the clue.
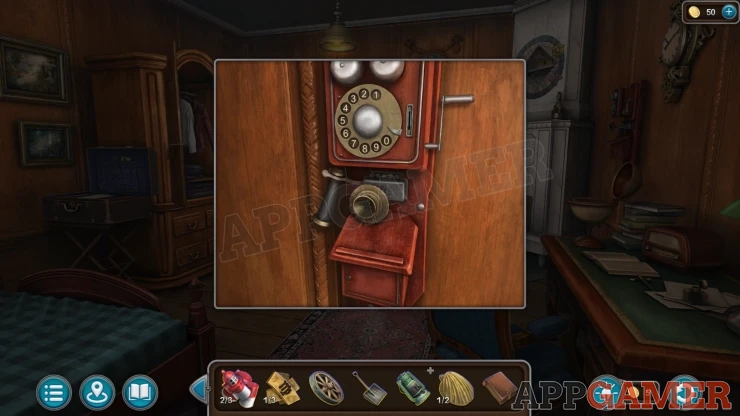
Dial the number on the rotary dial. You can then collect a Temper (3) and another Lighthouse (3 of 3).
Return to the far end of the beach with the fisherman's shack. Look at a small red box on the side of the hut.
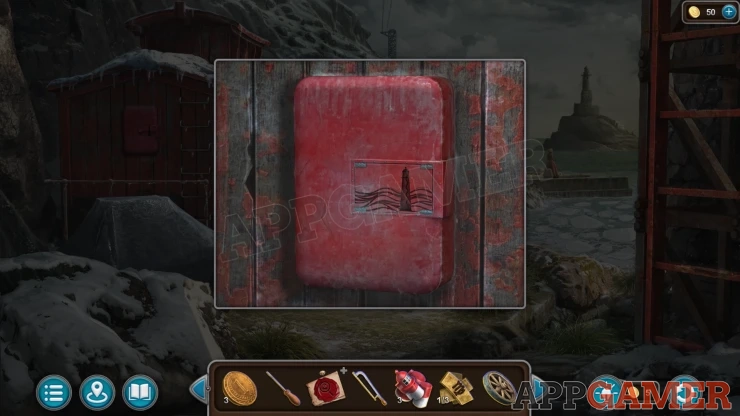
Add the three lighthouse pieces here to start a puzzle.
Lighthouse Puzzle
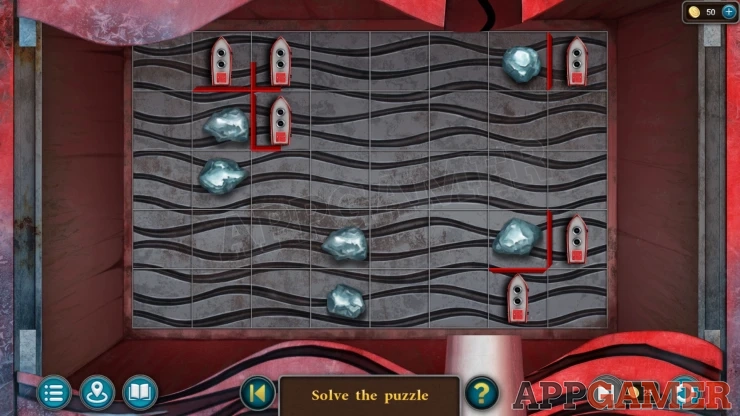
- The board has six ships on it that you can move as well as six fixed rocks.
- When a ship is next to a rock you will see a red line appear between it and the rock.
- Tap a ship and then a direction to move it in.
- Move all of the ships to locations on the board where they do not touch any of the rocks.
Solution: Your layout may be differentShow
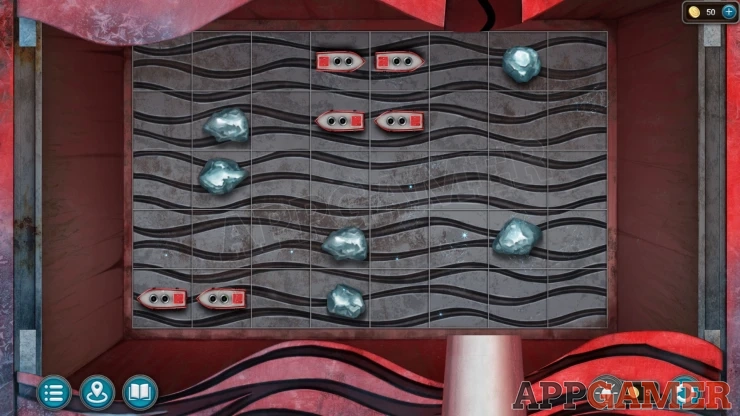
Collect a Lockpick.
Now go to the Back alley there is another broken cart here in front of a blue door.
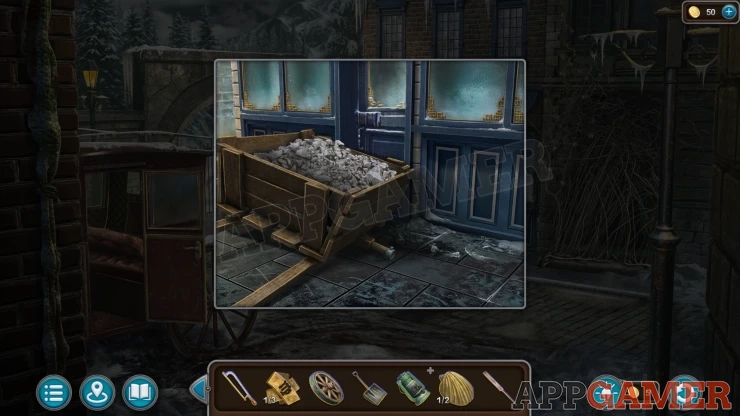
Add the Wheel to it and you can move the cart.
View the blue door and then you can use the Lock pick on the lock to start a puzzle.
Lock pick puzzle
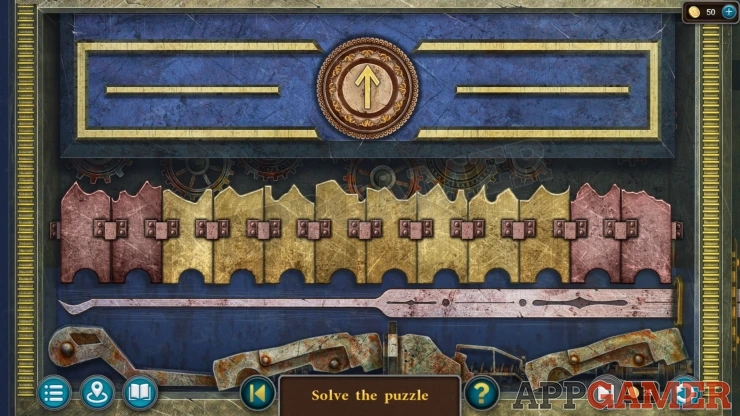
- There are 8 gold movable blocks on the lock bar, as well as fixed ones at either end.
- Tap the arrow at the top to raise the lock bar and see if the blocks fit with the pattern above.
- Then you can tap pairs of the blocks to swap their positions.
- Arrange them all so that they will fit the pattern at the top when you tap the arrow.
Solution: Your blocks may be different.Show
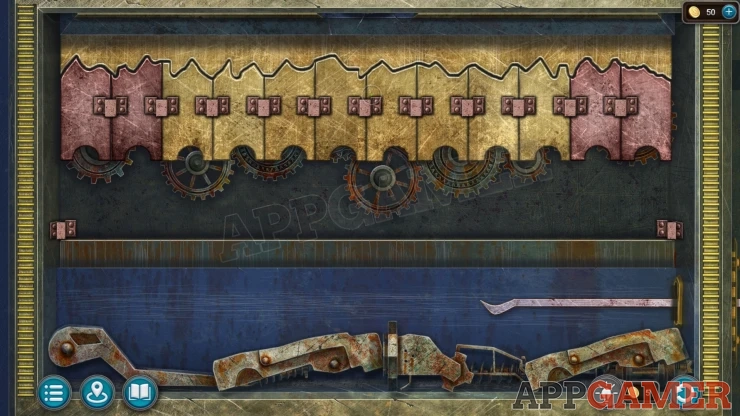
Once done the door is open and you can enter the Mystics house.
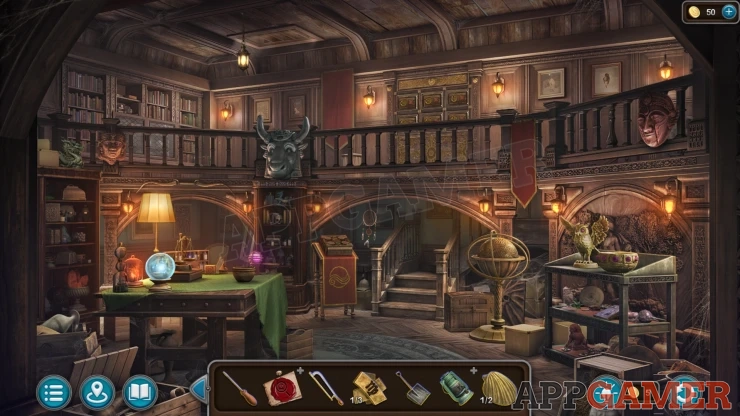
Morphing Object: changing shaped post on the balustrade on the right side of the balcony.
First view a small set of shelves on the right. View the purple science journal on the top shelf to read it and collect the Mystic - Evidence (1 of 4).
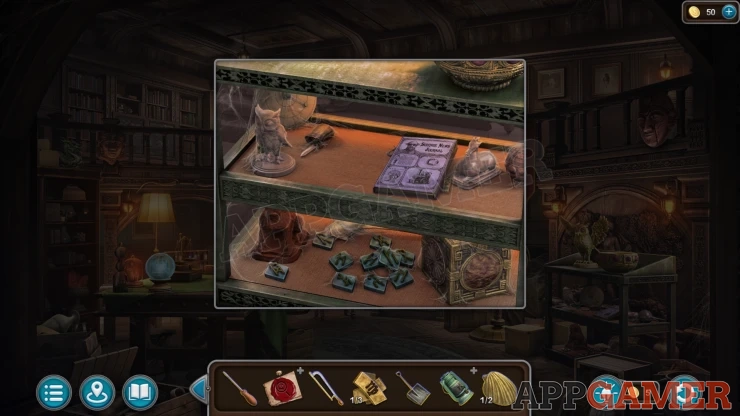
Also collect a Part of the Token (1 of 3).
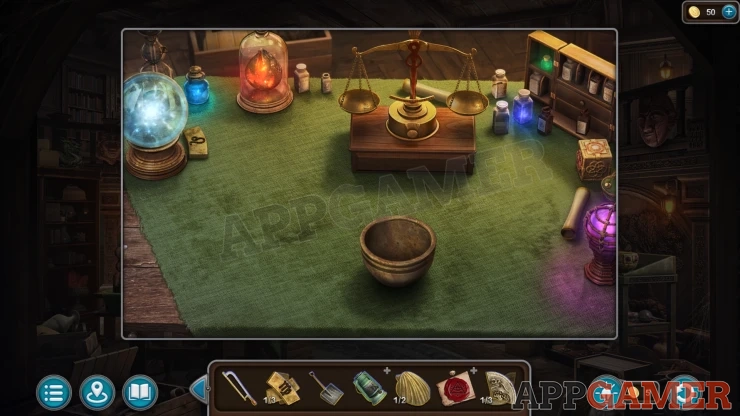
Look on the table with the green cloth on the left. Collect a Sign (2 of 2).
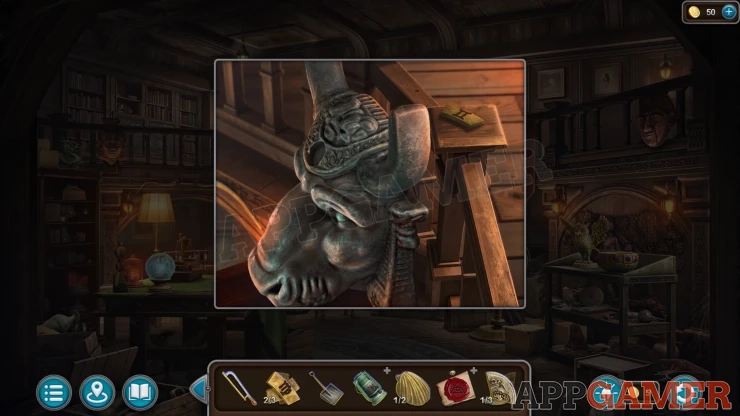
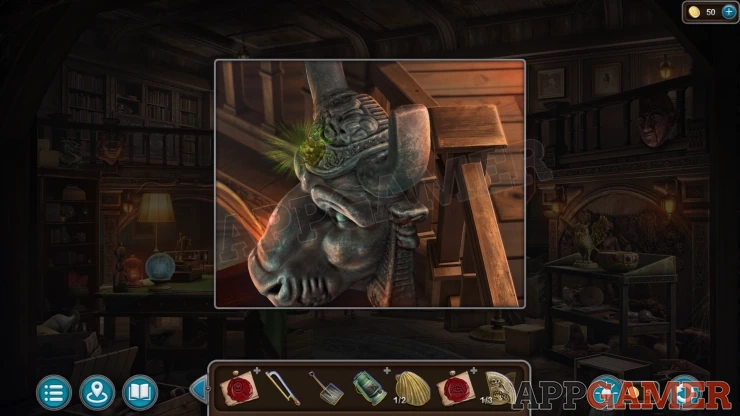
Then view a large bull head on the balustrade on the balcony on the left. Collect a Sign (2 of 2).
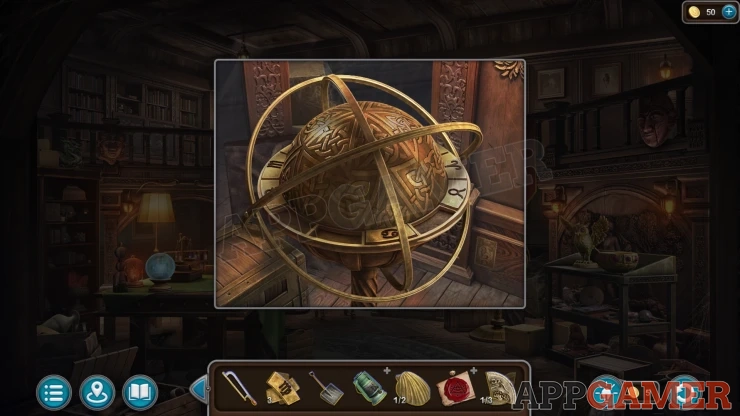
Next view the gold colored sphere on the right of the stairs.
Collection Item: Stamp on the wood wall panel on the lower right.
Add the three signs to the sphere to open it and collet a Lotus,
Now view the Bull's head again and add the Lotus to a slot on the top. It will open and you can collect a Part of the Token (2 of 3) and a Seashell (2 of 2).
Go to the Hotel lobby and view the mermaid figure in the center of the round seat. Add the two seashells here to open a compartment.
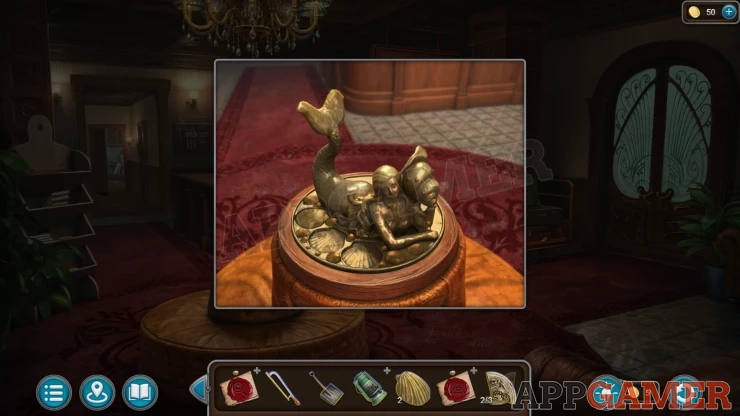
Collect a Handleand a Bird.
Go back to the Mystics house. Then view a panel on the balcony in the center. Add the Handle to this to start a puzzle.
Mystics Balcony Cabinet Puzzle
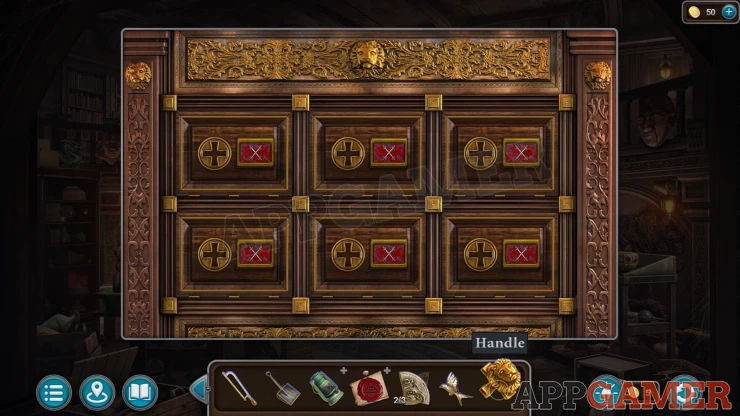
- There are six small panels with X symbols.
- Tap these in order to add the handle to each one and unlock it.
- If you choose the correct order then the X will change to a Tick. Get all six in the correct order to open them all and complete the puzzle.
Solution: This puzzle is trial and error. The order can change in each game.Show
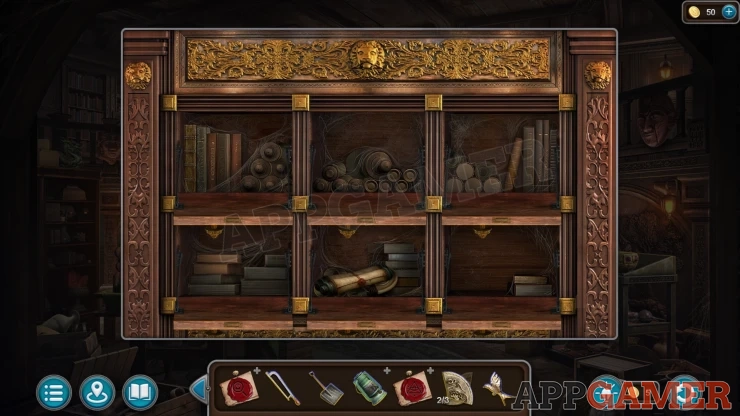
View a Scroll to then collect Mystic - Evidence (2 of 4). And also collect the Part of the token (3 of 3).
Now view a book on a small stand to the left of the stairs. Add the parts of the token to this to start a puzzle.
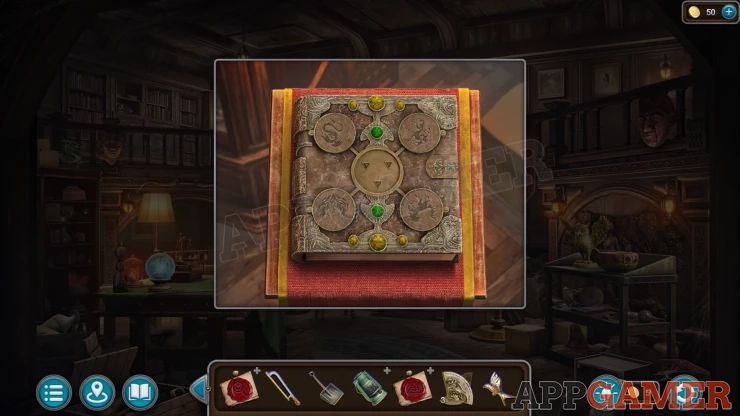
Parts of the Token Book Puzzle
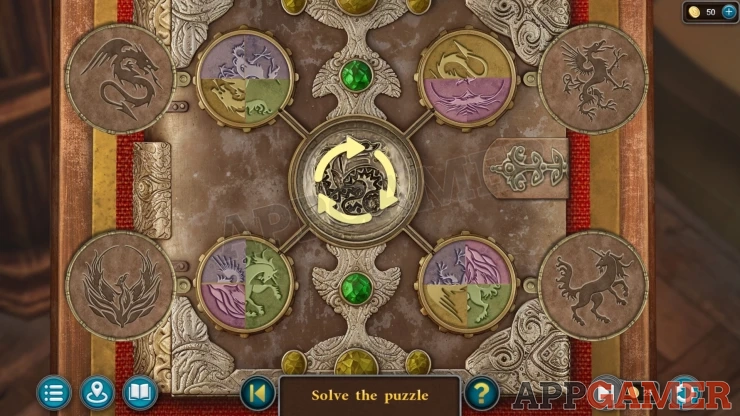
- There are four circles that each have a colored symbols in them. Each symbols it separated in fours parts and jumbled up.
- You can tap each of the four corner circles to rotate them.
- Then also tap the center arrow to swap the four connected parts around.
- Arrange all of the 16 pieces so that the correct symbols are in the correct corners.
Solution: Show
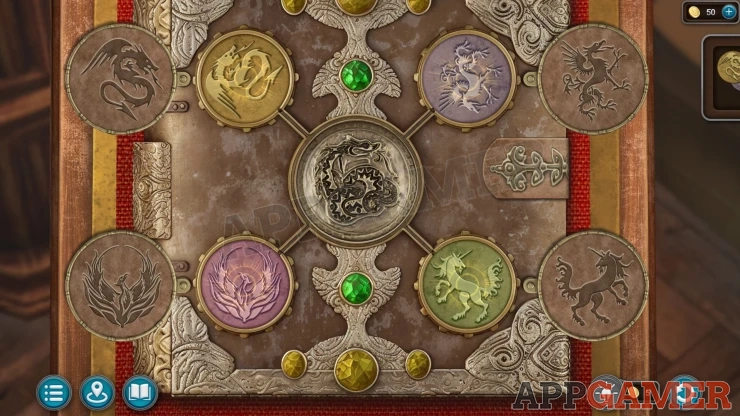
Open the book to read it and collect Mystic - Evidence (3 of 4).
Go back to the Police station and talk to your friend. You will receive the Figurine.
Then go to the back alley and view the pile of snow in front of the gates. Use the shovel here to clear it.
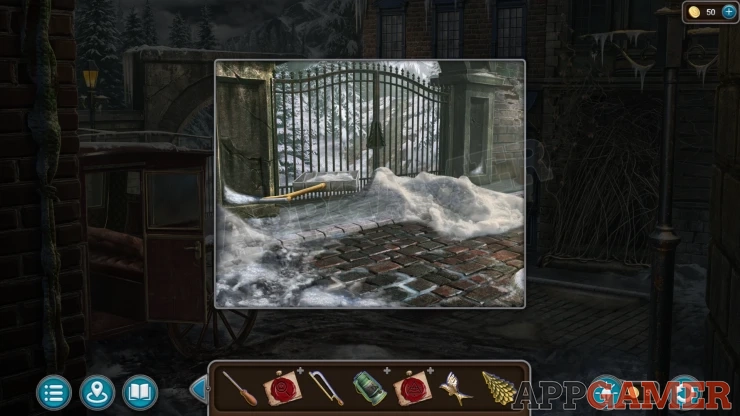
Add the Figurine to the gates to open them. Then go through to the path.
Path to the Scientist's House Puzzle
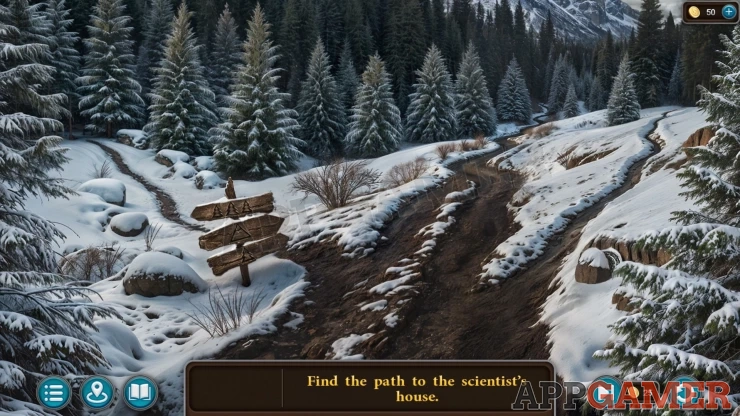
- Collect a Medallion from the ground on the right.
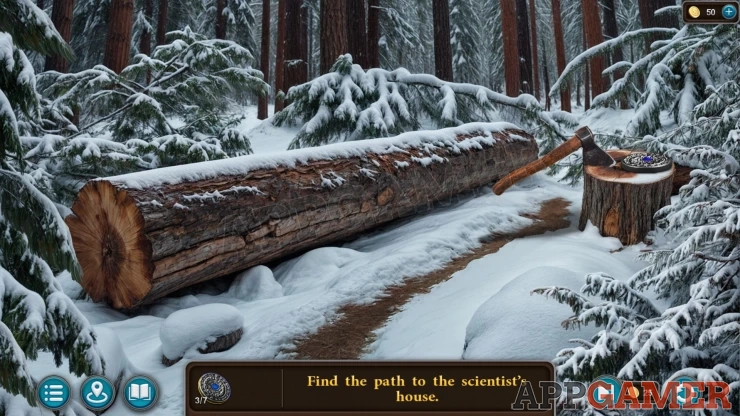
- Then you need to explore the paths that pass through the woods. Explore each location and check in each to look for more Medallions. There are seven to collect in total.
- These may be hidden under items or hidden in the snow.
- You will also need to collect other items as you explore. Collect an Axe, this will help you chop trees to clear another path.
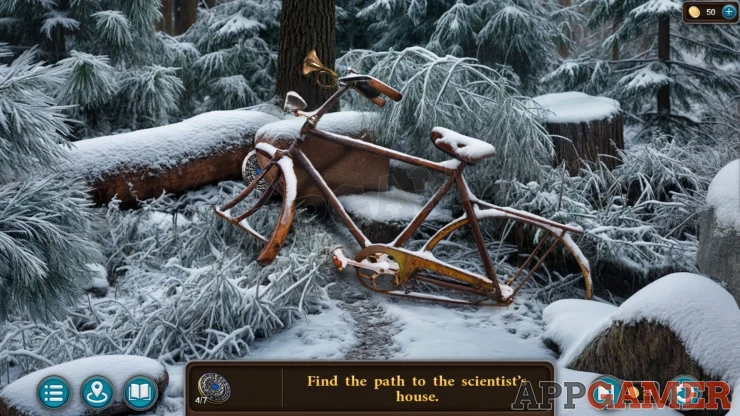
- Collect a Horn when you find a bicycle. You can use this to scare away a wild animal.
- Collect an Oar so that you can use a boat to reach several locations across the lake.
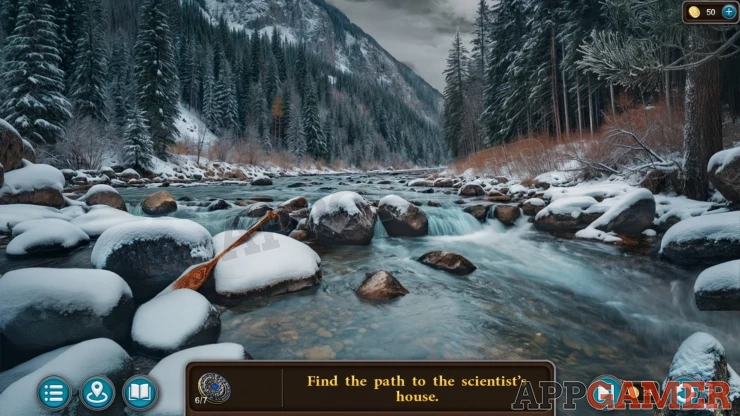
- Collect a Hook to fix a bridge.
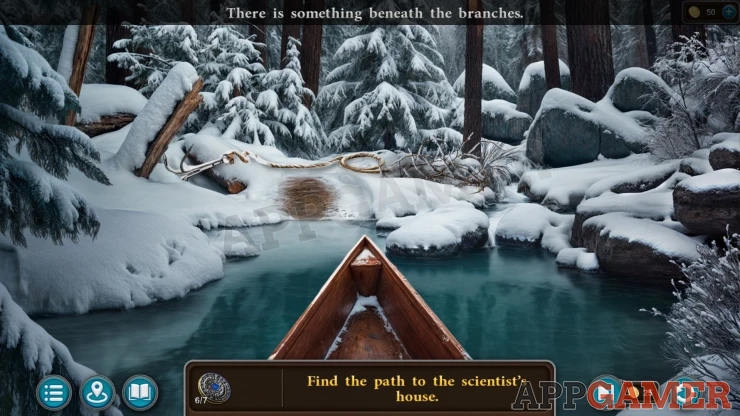
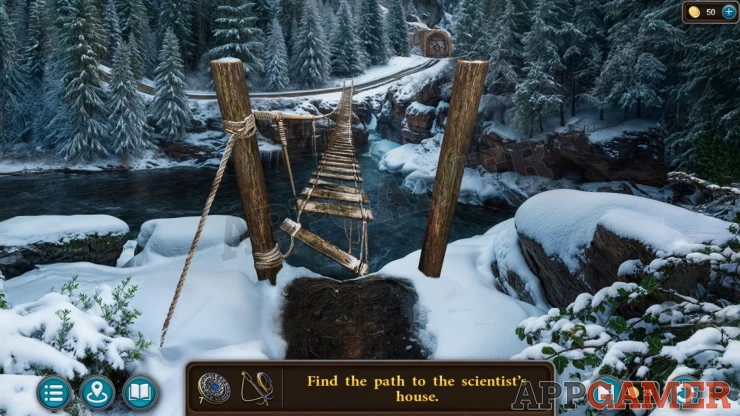
Once you have all seven medallions cross the center of the lake to find a broken rope bridge. Use the Hook here to help you fix it. Then you can cross to the gate to the house.
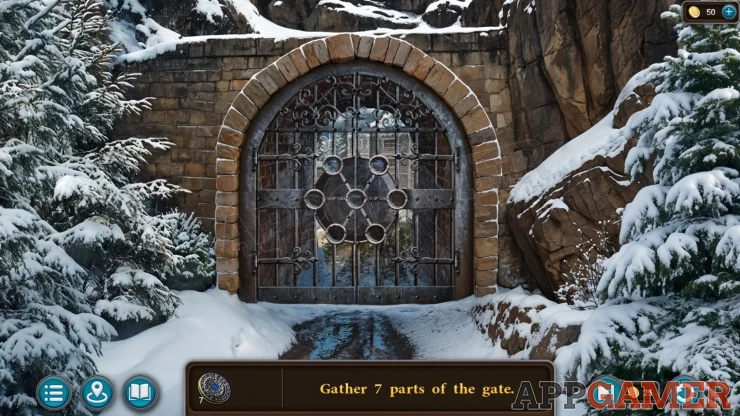
Add the seven medallions to open the gate. Then pass through to the grounds of the Scientist's house.
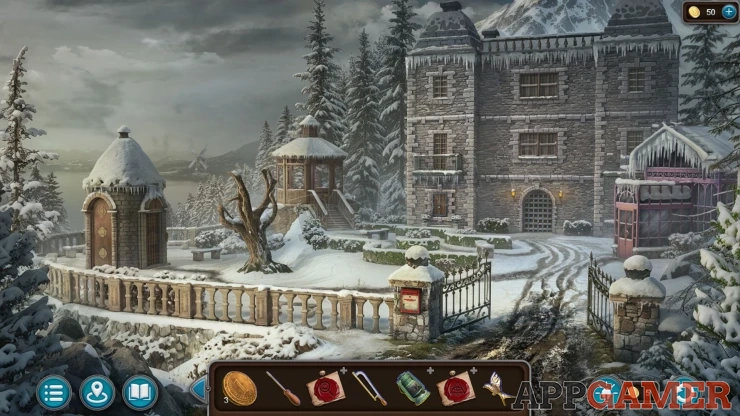
Morphing Object: Windmill/lighthouse in the distance on the left.
View the mailbox on the gate, use the screwdriver on this to remove the cover and then look inside.
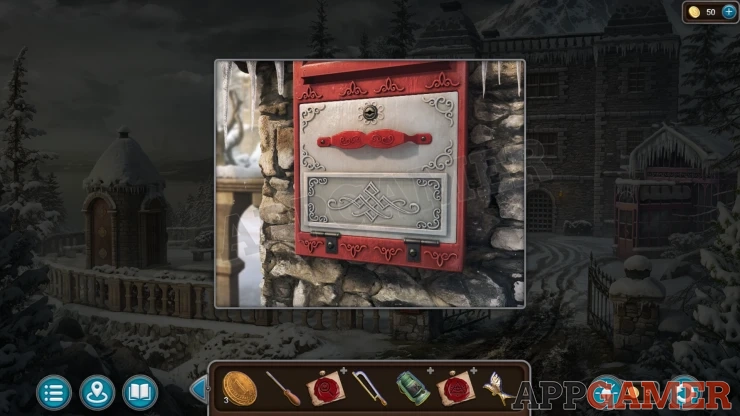
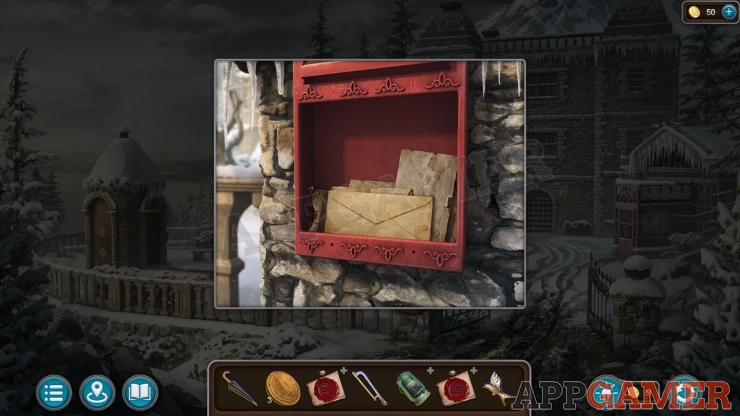
Collect a Punch card from the envelope, and also a Goblet (1 of 2).
Collection Item: Stamp, on a letter that was behind the Goblet.
View a window on the left of the door, it has shutters with a padlock.
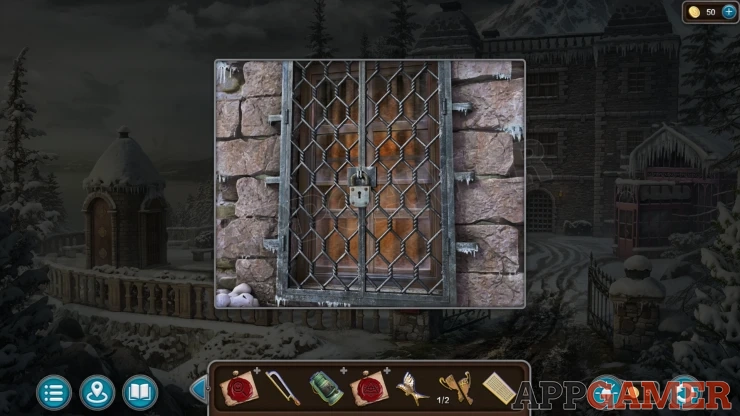
Use the hacksaw to cut the padlock and open the window. Enter the Scientist's house.
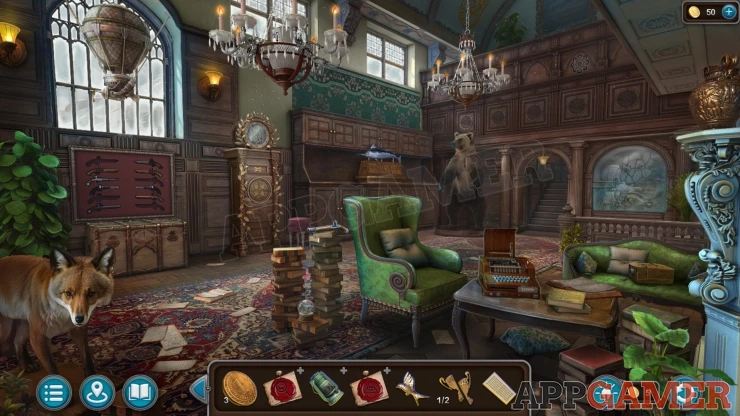
Collection Item: Glass ball on the floor between two stacks of books.
Morphing Object: Decorative shape on the wood panelling on the top right.
Collect a Pistol (1 of 4) from the stack of books to the left of the green chair.
Then collect another Pistol (2 of 4) from the floor on the bottom left, it is under some papers.
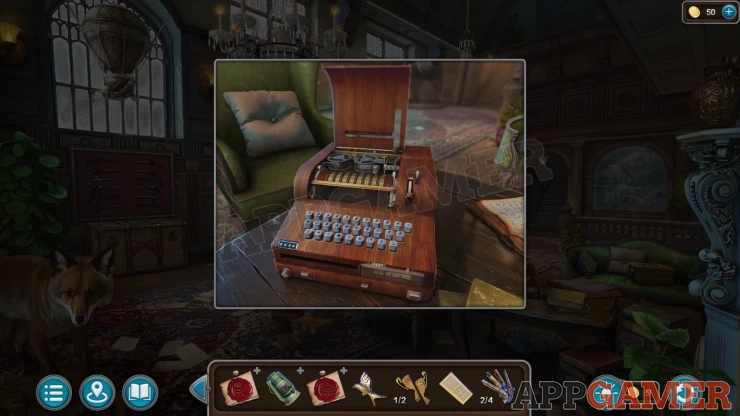
View the Typing machine on the coffee table. You can add the Punch card to this and you will then be able to read the decoded message.
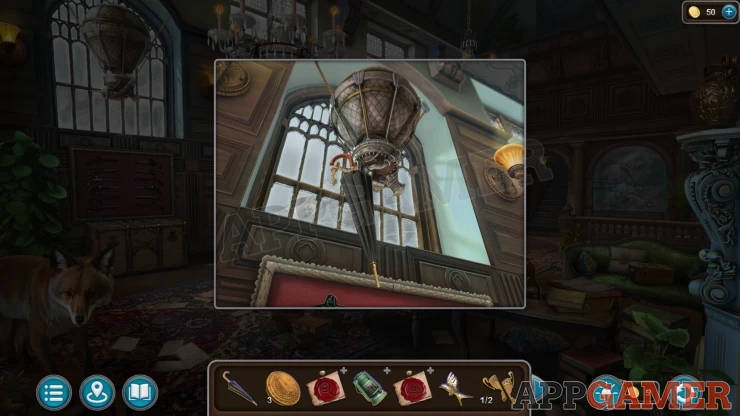
View the window on the top left to see a Balloon shaped object hanging. Use the Umbrella on this to collect a Goblet (2 of 2).
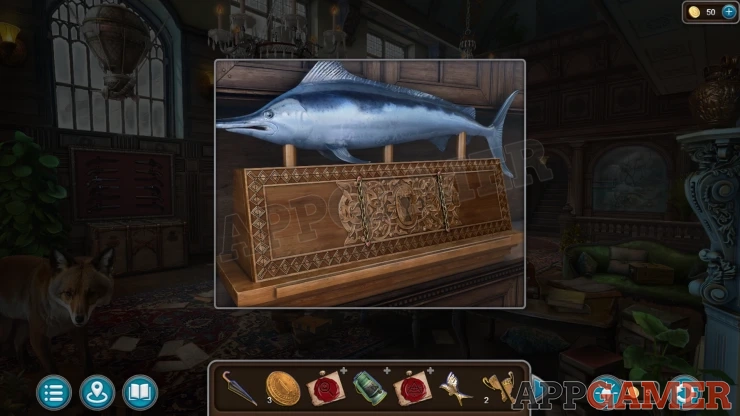
Next view a mounted fish on the cabinet at the back. Add the two Goblets here to open the front and then collect the Broken Wire Cutters and a Key.
Next view the green sofa to the right.
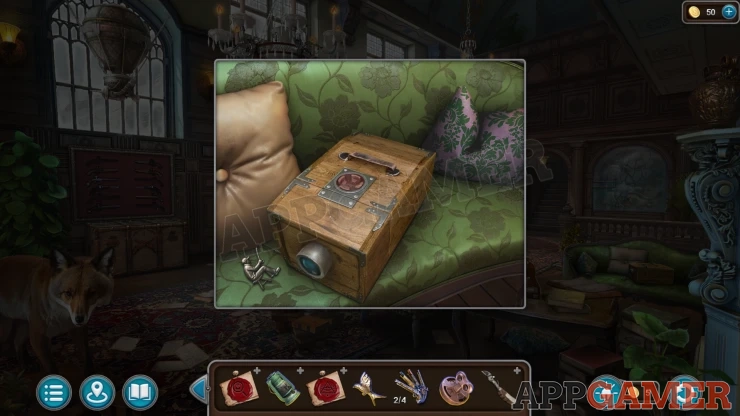
Collect a Fisherman, then use the Key on the projector box to open it. Collect a Hint from inside.
Go back to the main area of Beach. Then view the small hut at the far end.
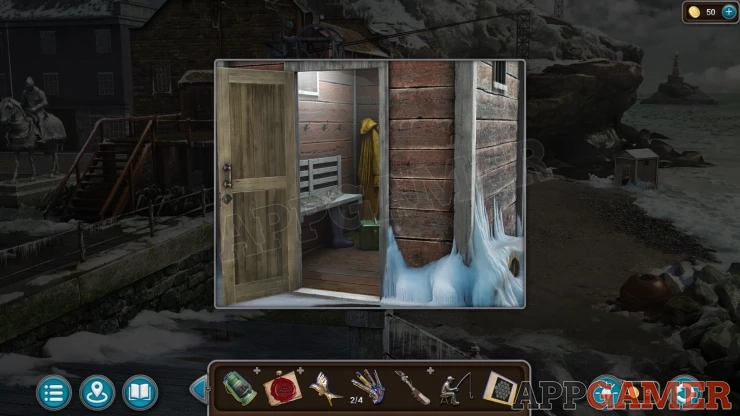
View the green case on the floor and add the Fisherman figure to the front to start a puzzle.
Fisherman Box Puzzle
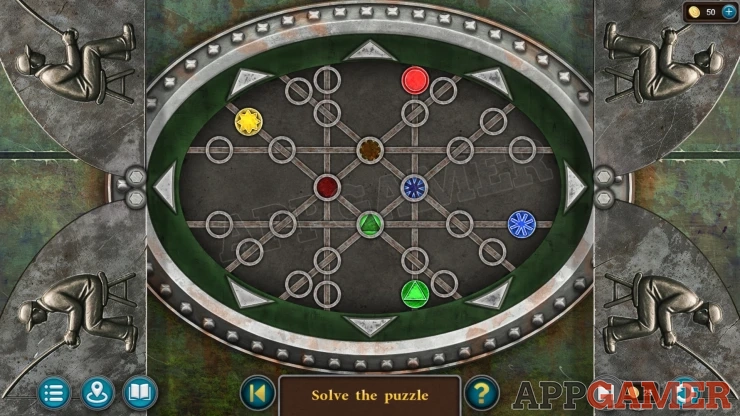
- There are four sets of tracks (in pairs) with circle nodes on them.
- In the center where the tracks cross are four notes with colored symbols on them.
- There are four tokens with the same colored symbols on the around the board.
- Use the arrows to move the nodes with the symbols around the board and arrange them so that the four tokens are placed on the matching slots in the center.
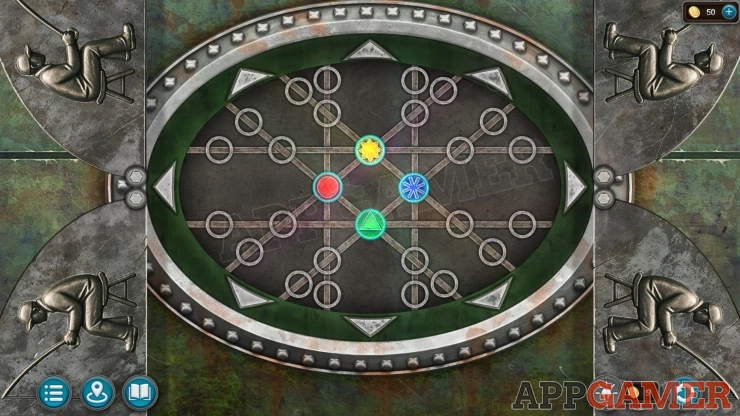
Once done collect the Fish Food.
Go back to the Clients house and view a fish tank by the window at the back. Add the fish food here and then after the fish eat you can collect a Key.
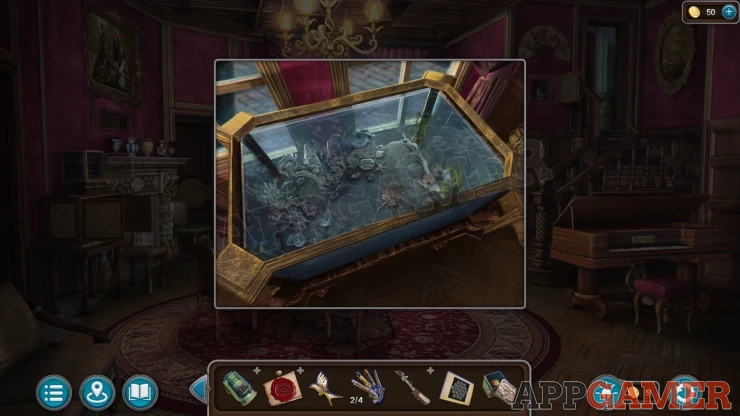
Then return to the Scientist's House and view a tall clock cabinet on the left wall.
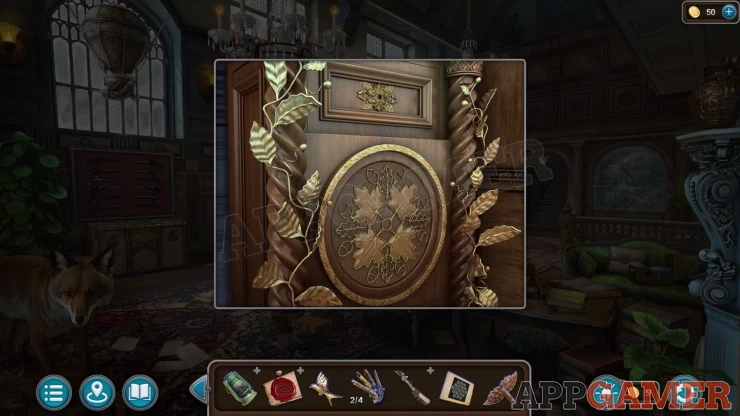
Use the key here to unlock it and you will find a puzzle.
Clock Cabinet Puzzle
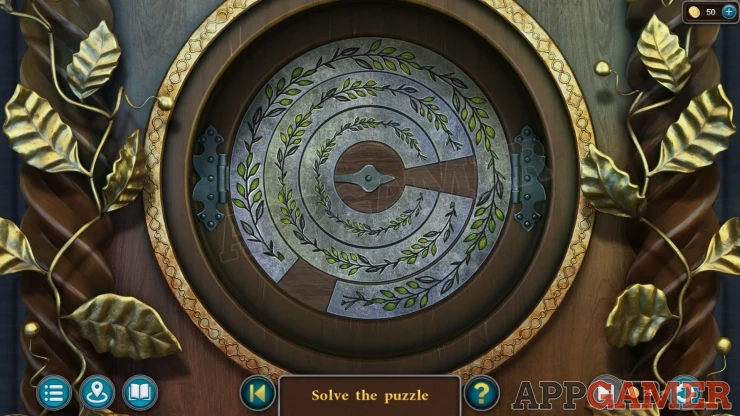
- There are three rings with small gaps in them.
- Turn the rings to line up the gaps on the left side to release a hinge.
- Turning one ring can also turn the other rings next to it.
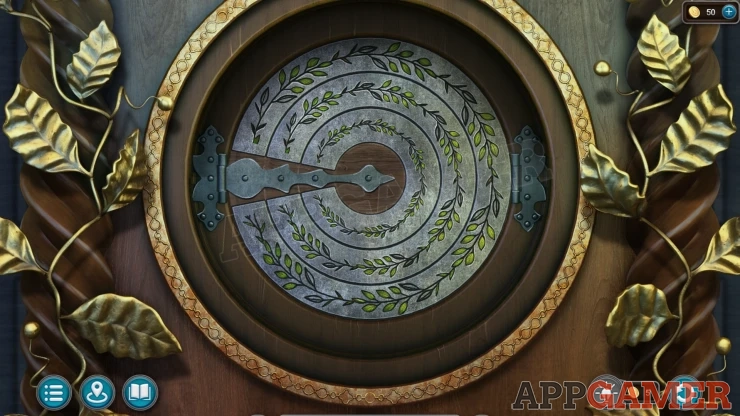
Once done you can collect a Handle.
Continue the walkthrough in Part 3.
 With 20 years of experience in creating video game content for the internet and over 30 years as a gamer, Mark is now a passionate mobile App Gamer. Loving a challenge, he is always ready to get stuck in to both survival builders and puzzle solving games. He has been providing content for AppGamer since 2014.