Part 8
Adventure Escape: Murder Inn Guide
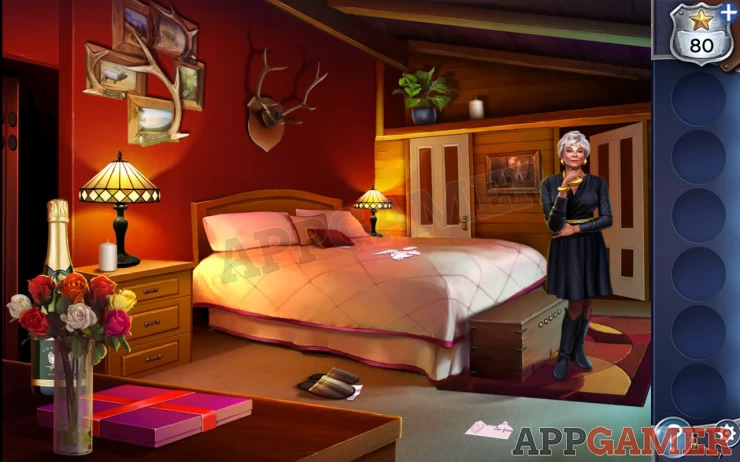
After finding Frank's body in Adventure Escape: Murder Inn you now need to investigate and find out why he died.
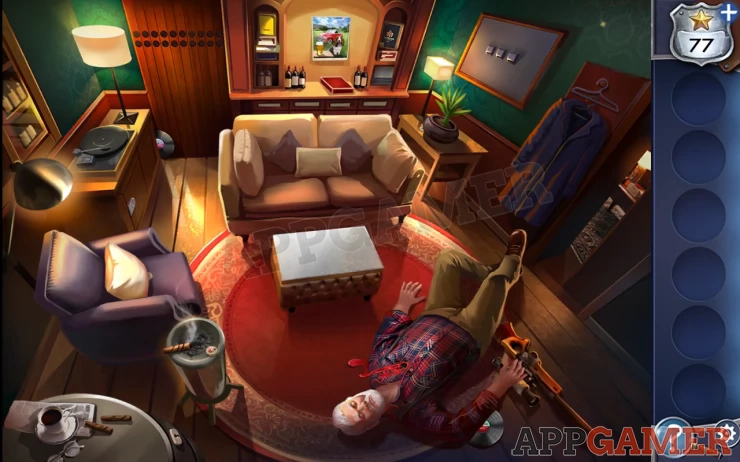
Star: On the wall in the top right.
Tap the body to view it and then collect a key from the shirt pocket.
Tap to collect the record under the body. Then tap to collect the rifle.
Use the key on the table in the bottom left to open the drawer, open the box in the drawer and collect the needle and thread.
Tap the stool in the center to open it and find a second record.
Tap to collect the coat hanger on the wall to the right. Then use this to find the third record in the far left corner of the room on the floor.
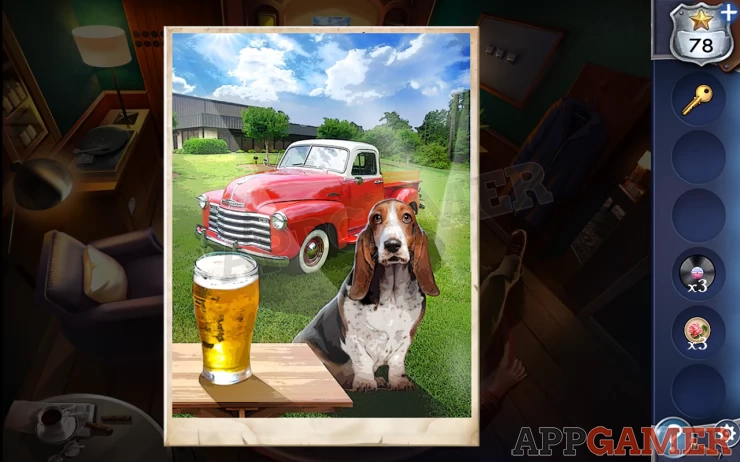
Tap the picture on the back wall in the center to view it. This is a clue.
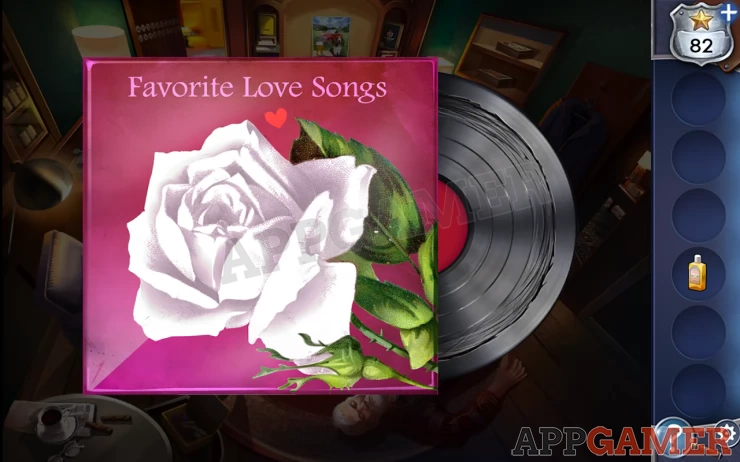
Next tap the record player on the left of the room to view it and place the 3 records beside it.
Use the need and thread on the arm to replace the stylus.
Drag in each record and then use the arrow controls to set the arm to each track and read the titles.
Hint: On each record find a track that matches one of the items in the picture above.Show
Hint: Tracks for hound dog, beer, red truckShow
Once you have checked all three back up and tap on the wall safe on the right with the 3 dials. Enter the code:
Solution: from the 3 records above the tracks are 3, 4, 2Show
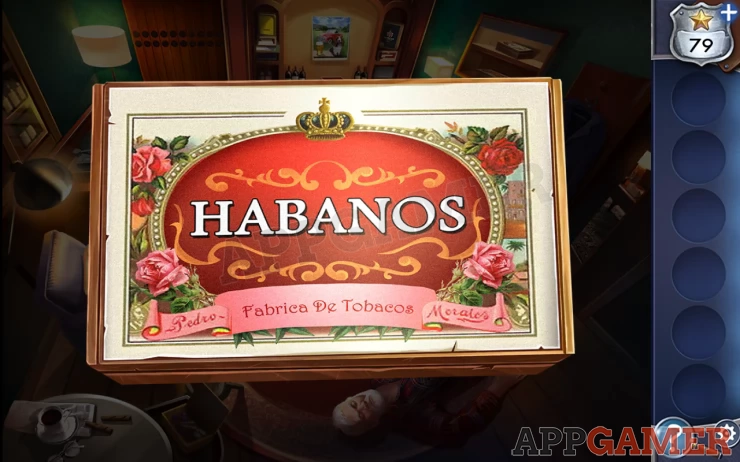
Tap each of the cigar boxes in the safe to view the images. 1 has a crown and roses, the other has a bird and leaves.
Tap on the ash tray to the left to collect a 'token'. Then tap the chair to the left to move the cushion and find a second token.
Tap the pot plant on the small table on the far right to move it and collect a third token.
Next tap the wood paneling in the back left with the 2 rows of holes.
Place the tokens you have collected with the others.
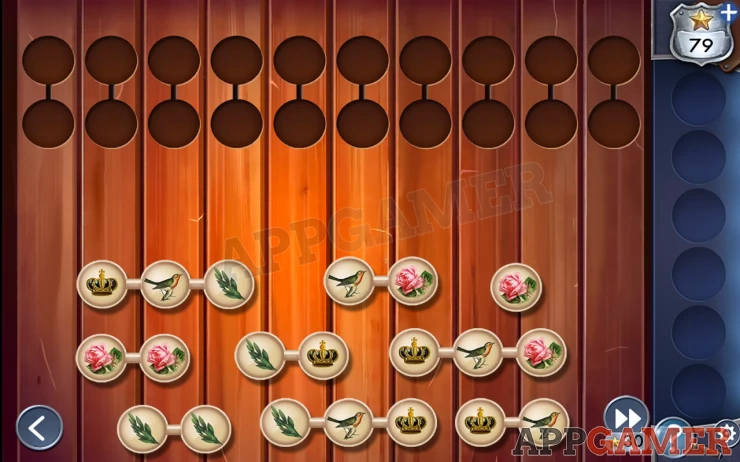
You now need to place all the tokens in the holes to make them fit a pattern.
Hint: To complete these each of the vertical pairs must be either a bird and leaves or a rose and a crown.Show
Solution: Show

This opens yet another secret door. move through to the hidden bedroom.
Open the bottom drawer on the left to collect a key.
Return to the previous room and use the key on the cabinet under the record p[layer. Tap the record that is sticking out to see 'Our favourite love songs' Notice that one track is heavily scratched from frequent playing.
Back to the bed room and collect the paper from the floor, move the slippers to find another and move the red pillow on the bed for a third.
Then tap on the open door to the right to move into the bathroom.
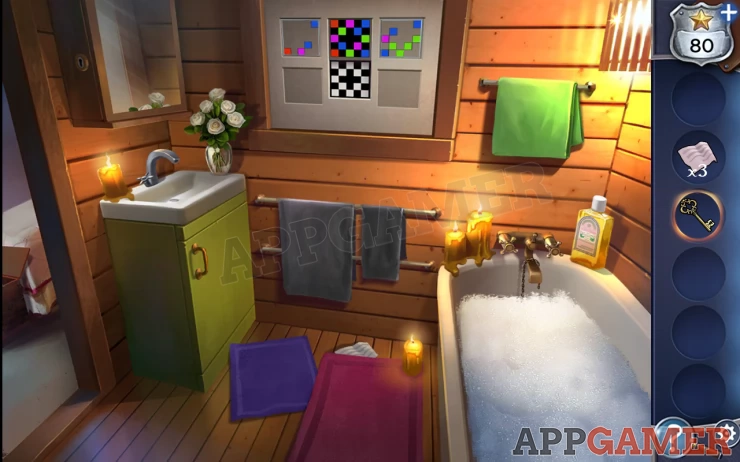
Star: light in the top right.
Collect another paper from under the bathmat, and tap the plug in the bath to drain it and find one more paper.
Collect the yellow bath oil from the bath. Tap the cupboard under the sink to open it and use the oil on the rusted pipe. You can now collect a key.
Use this small key to open the top cabinet. Collect the nail scissors. Also collect a glass tile.
Go back to the bed and tap on the scraps of paper on the bed to view them .. add the extra ones you have collected.

You can now arrange these to reassemble the message. This is a clue
Show

Tap on the trunk at the end of the bed. This required a 4 digit code. Get the code from the clue above.
Hint: the clue tells us to find the number of 6 items in the rooms., some need to be added together.
eg, Check the bedroom and the bathroom for white roses.
Solution: 9 white roses, Use the nail scissors on the box of chocolates to open it and count 6 + 1 bottle of champagne 6 candles + the number 3 on the bubble bath in the cupboard. Track 2 on the record for the favourite song.Show
Code: 9792Show
Open the box and collect a second glass tile.
Return to the bathroom and tap on the tiles on the wall. Place the 2 extra tiles.
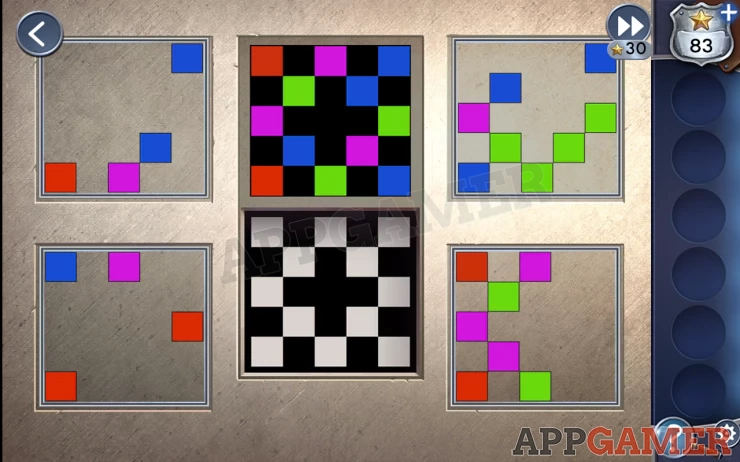
This puzzle required you to move and rotate the 4 outer tiles to the bottom slot to replicate the image in the center top tile. You can only rotate them before moving them into position. Over laying squares will show the last one added.
Solution: Bottom left, rotate once and move in . Bottom right rotate 3 times and move in. Top right, rotate once and move in. Top left, rotate once and move in. You can now collect the final key. Return to the bedroom and use the key on the closed door to enter the bar. After confronting the killer he makes his escape, this completes part 8 and you can move on to Part 9. If you have any questions please head to the Answers Page to ask there.Show
We have questions and answers related to this topic which may also help you: Show all