
Chapter 2 - Dream Walkthrough
More Tiny Room Stories Eclipse
This is our guide to the second chapter of Tiny Room Stories - Eclipse. You reach chapter 2 after completing the tasks at the cabin in the woods in Chapter 1. You have found the Diary and clues to activity in the old mine. Not you are back at the tower and having a dream. Follow the walkthrough below for help finding your way and solving the puzzles that you will encounter.
Chapter 2 Walkthrough - Dream
You begin as a soldier breaking into a warehouse. You move forward through the fence to the locked door. Try the door to see that it is locked.
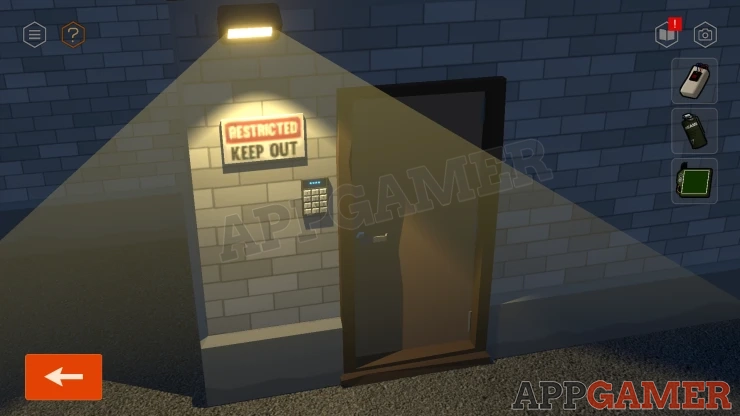
Use the green Wireless Hacking Device from your inventroy on the code lock. This will open a puzzle.
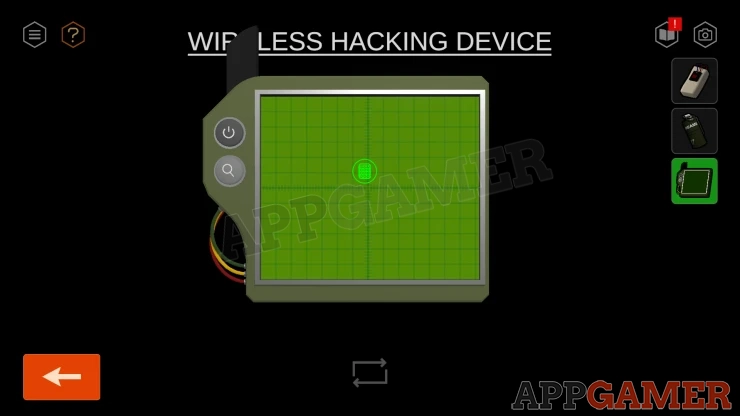
Hacking Puzzle 1
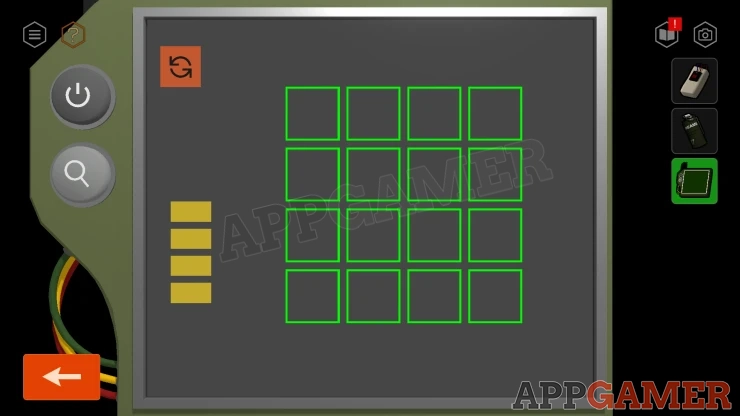
- This is a lights out/on puzzle.
- Tap a quare to turn the green light on or off.
- Doing this will also change the state (on / off) of any touching square.
- Set all of the suqares to be on (green) to complete this puzzle.
Once done press the Unlock button and a code will be found and the door will be unlocked.
Enter a store room of the warehouse. It is dark.
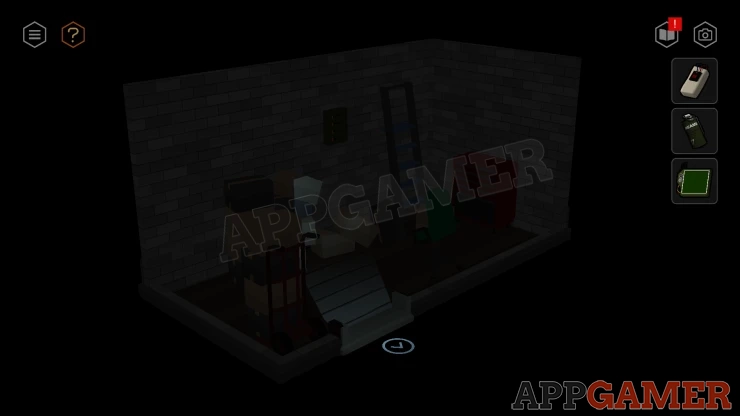
Turn to see a red light and tap there to tun on the lights.
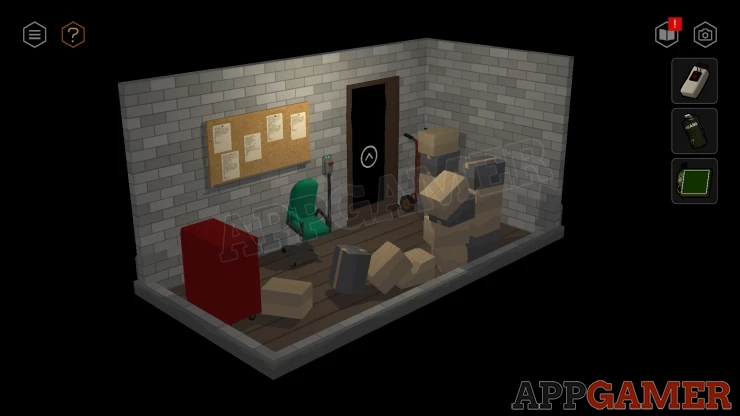
Turn back to the other wall and collect a Ladder.
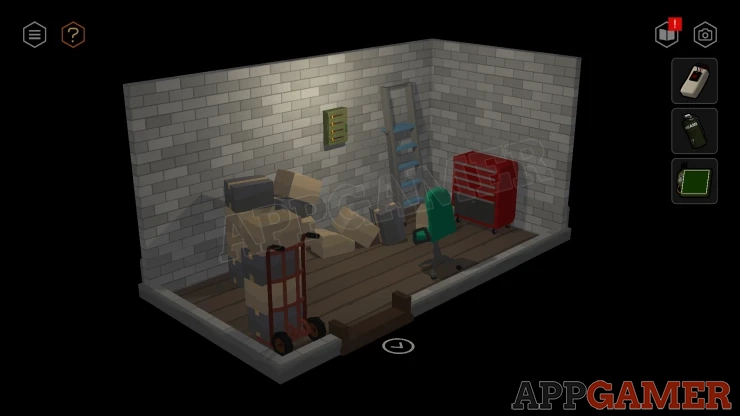
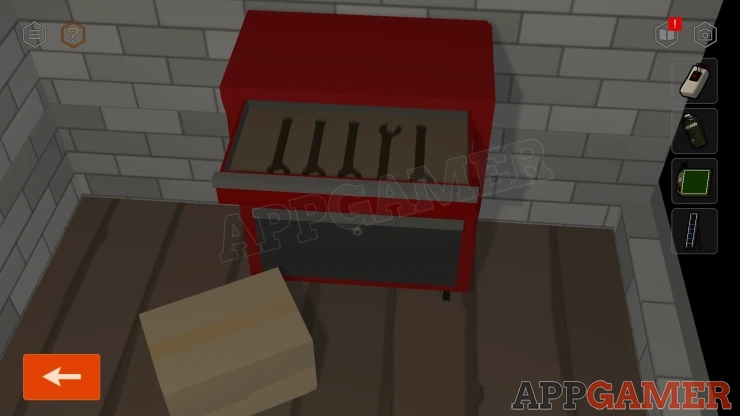
Then view the red tool cabinet on the right. Open each of the top four drawers to see wrench shapes. In each drawer one if inverted. This is a clue
Then view a wall box to the left of this.
Store Room Wall Box
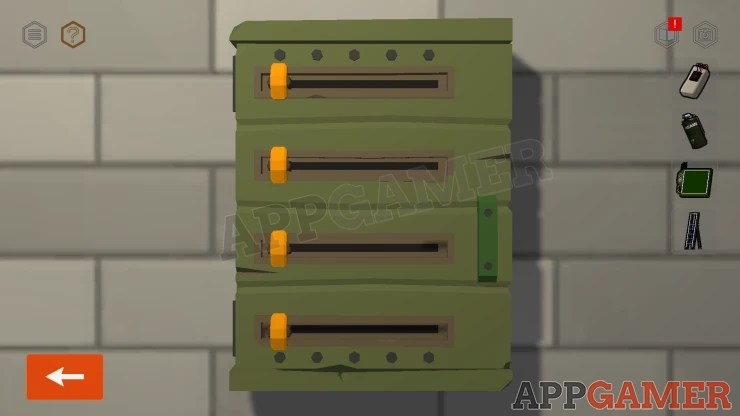
- There are four sliders that you can set to one of five positions.
- Set these according to the clues in the tool box drawers.
Solution: Show
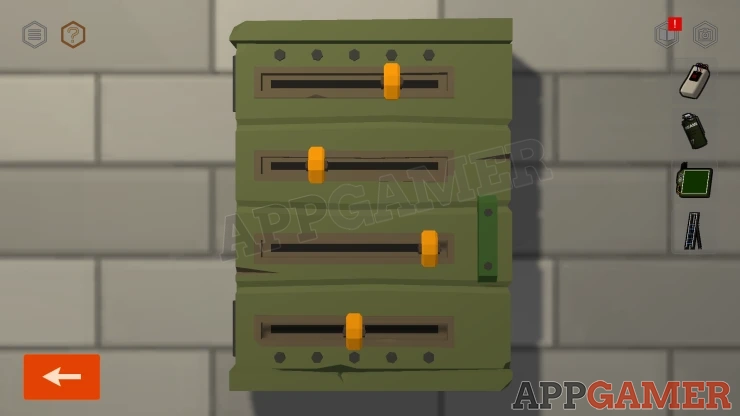
Collect the Key from the cabinet.
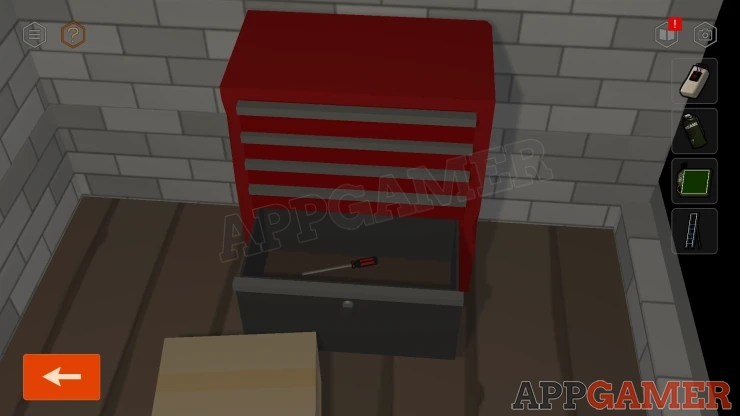
Now view the red tool box again. Use the key to unlock the bottom drawer. Collect a Screwdriver.
Now look to other side of the room and tap the trolley with boxes on it, It will move to the wall with the other boxes.
Notice the piles of boxes have light and dark colors. The pile on the right has fallen over. This is a clue.
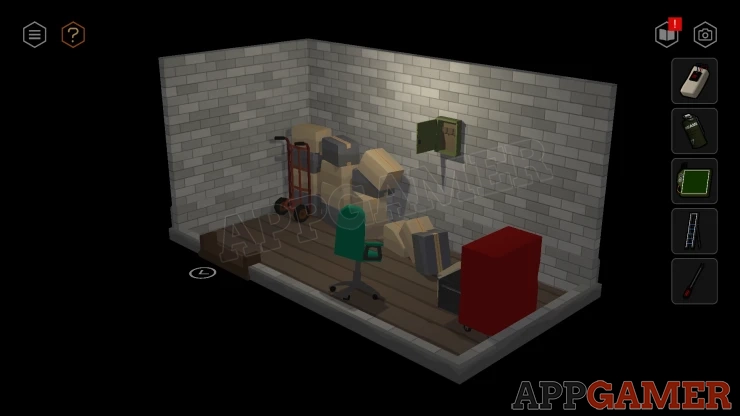
Back out of the store room and then look to the left. Place the ladder under the fire escape so that you can reach it.
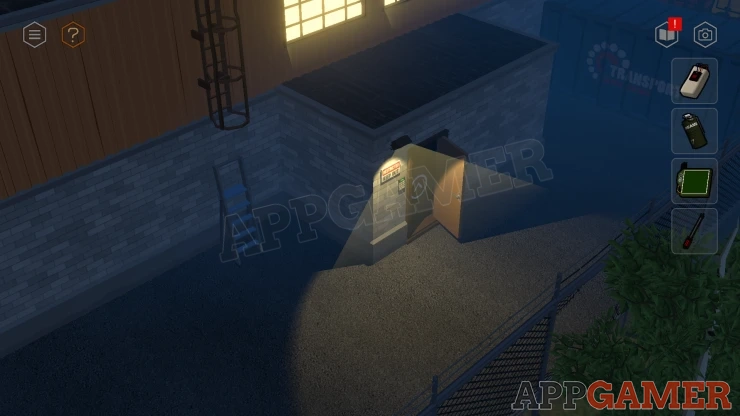
Tap the steps to move up so that you can see the area above. There is a security camera there.
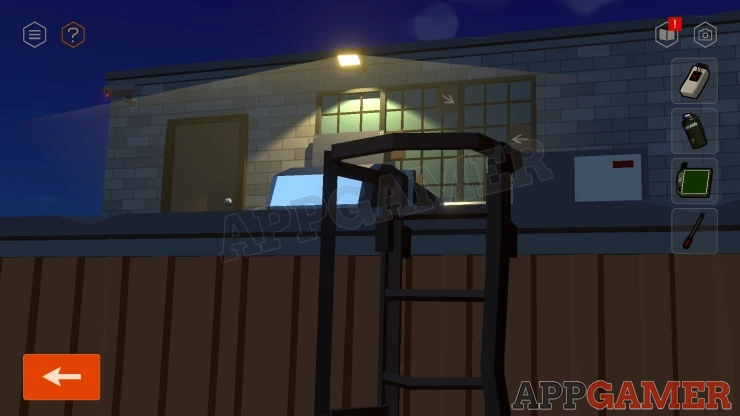
Use the hancking device on the camera to start anther puzzle.
Hacking Puzzle 2
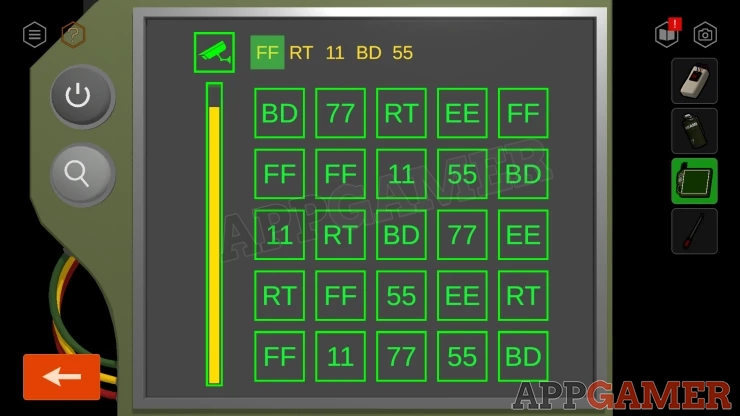
- There is a 5x5 grid of two digit codes.
- At the top you will see five codes that you need to find in the grid in order.
- When you tap each code square the row and column that the square appears in will dissapear.
- Choose the squares carefully so that you can find all of the codes in the time limit.
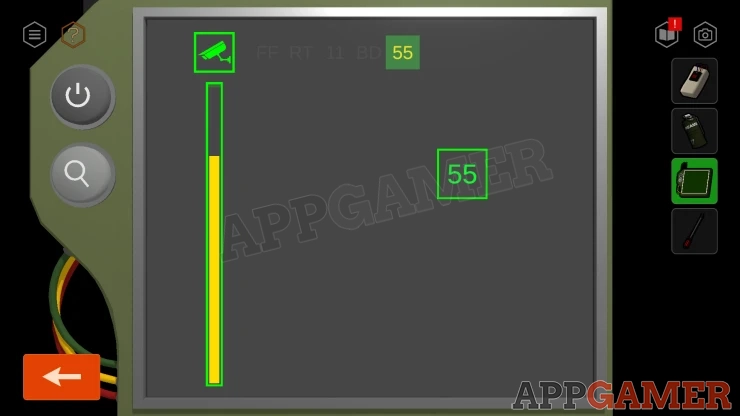
You now see a diagram of the security camera system. Thre are various nodes with connections between the camera and the other devices.
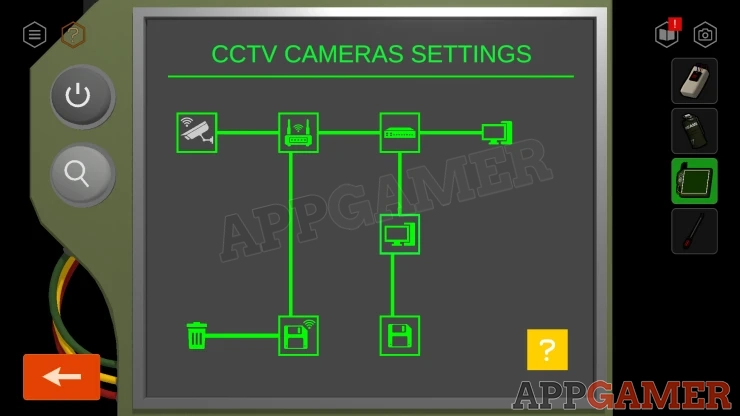
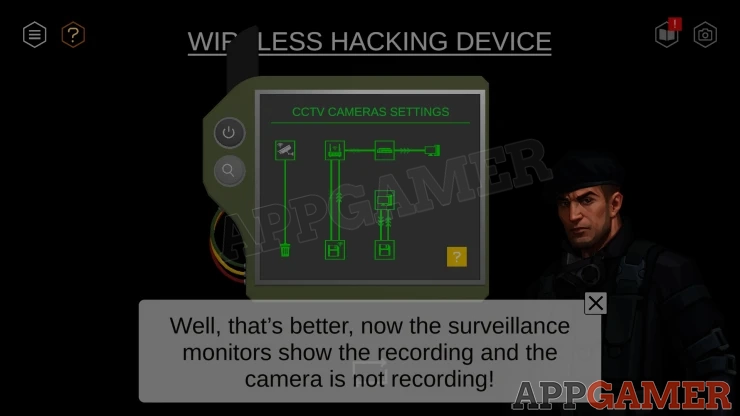
You need to tap the nodes to change the connections. You cannot leave any of them unconnected (red). They must all be in the green state. Arrange them so that the camera data is deleted and the computer sees a recording.
Solution: Show
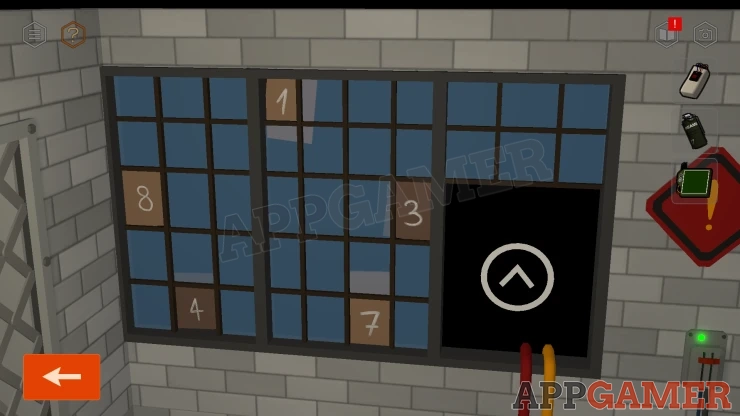
Next view the window, there is a panel to the left. Notice the five small boards with arrows.
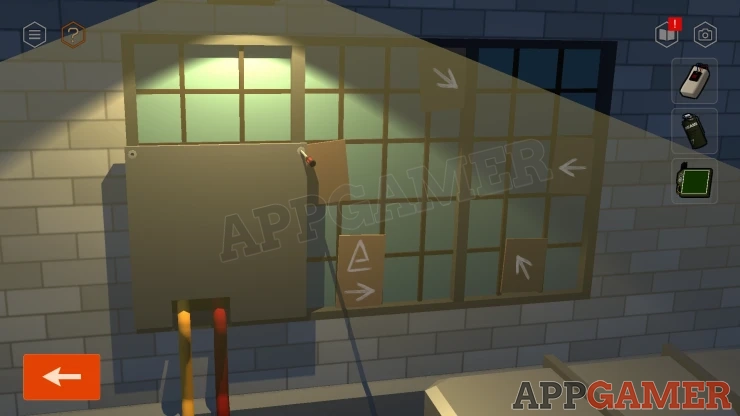
Use the screwdriver on the panel to open it (twice), then you can climb through to enter a room with a pool table.
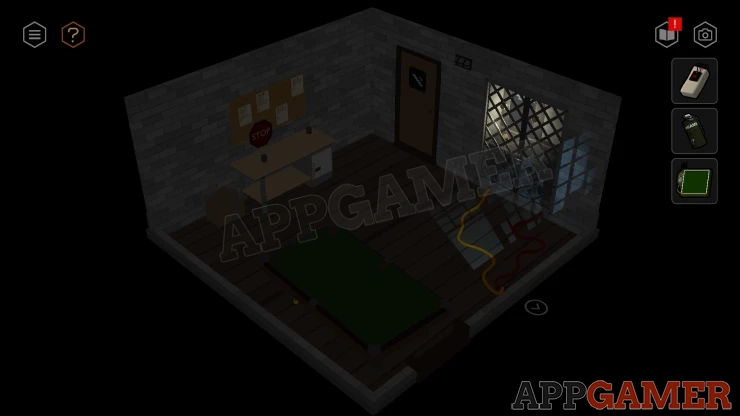
Turn to face the window again and tap the light switch to tun on the lights.
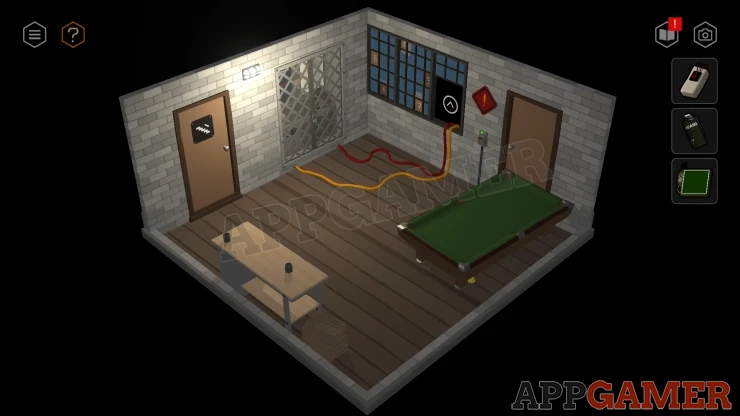
Then view the inside of the windowm, you will see that the five boards have numbers on them. These are a clue.
Go back out the window and then down to the store room again. Turn to face a notice board.,
Notice Board Code Puzzle
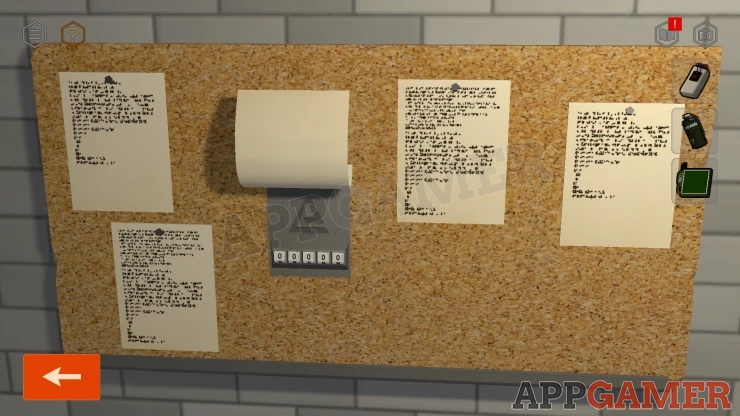
- Move the middle paper to find a combnation code entry behind it.
- Notice the symbol on the panel.
- Enter the code from the clue seen in the top room.
Soluition: Follow the arrows on the five boards, starting with the matching symbol on the board on the lower left. This give the order of thge five numbers on the other side of the window.Show
Code: 74183Show
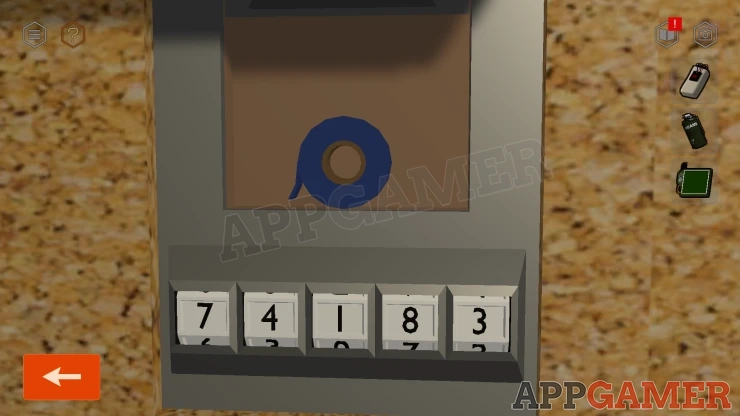
Collect the Insulation Tape.
Go back up to the room with the pool table. View the desk on the back wall.
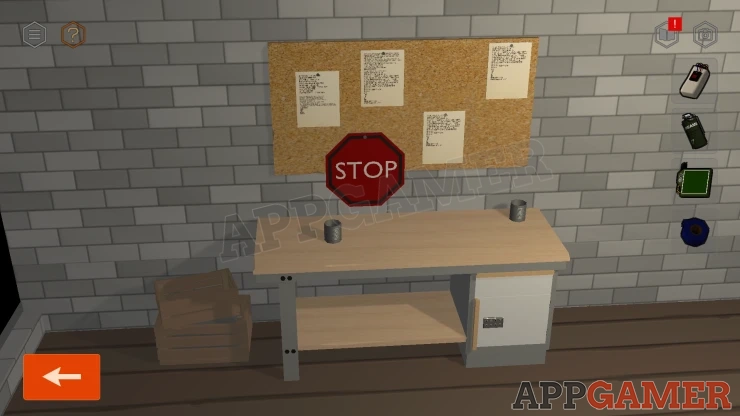
First tap on the boxes on the left to move one and then find a Safe box underneath.
Top Room Safe Box
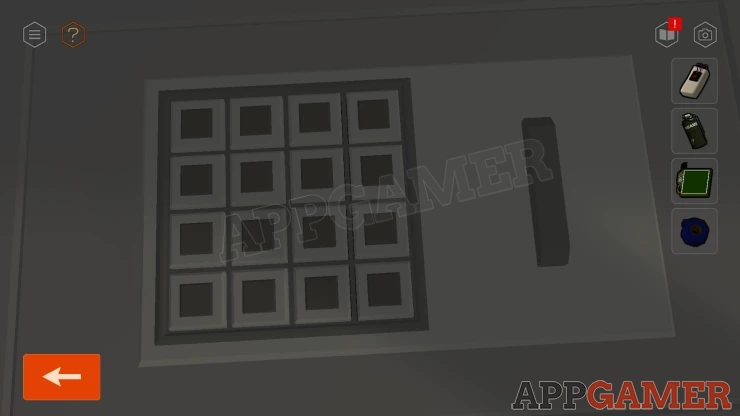
- The box has a grid of 4x4 buttoins that will light up when you tap them.
- Set the correct combination of light and dark squares on the grid to solve the puzzle.
- The clue was seen in the store room
Solution: Look at the piles of boxes in the store room. Some are light and some are dark. The piles on the right have fallen over so you need to imagine how they were originally stacked.Show
Code: Show
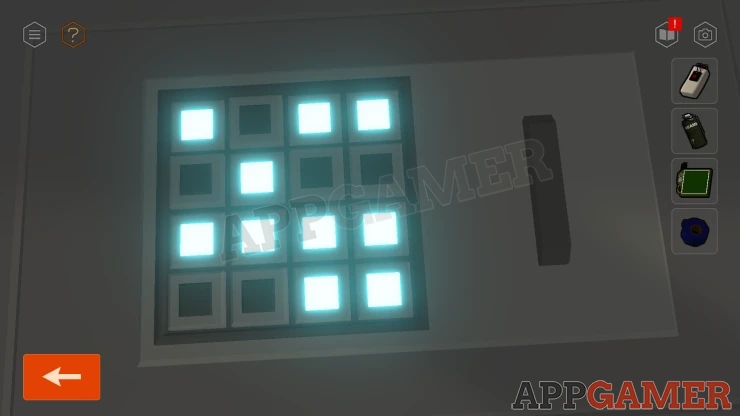
Open the safe box and collect a Key.
Next look at the desk again and lift a paper on the right of the notice board to collect a Floor Plan.
Then view the can on the right of the desk. Look inside to collect a Coin.
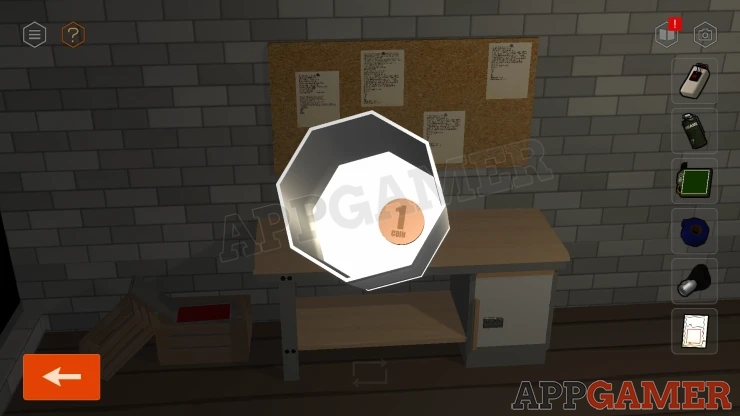
Now you can view the small cabinet door on the desk. It has a code entry with shapes.
Top Room Desk Puzzle
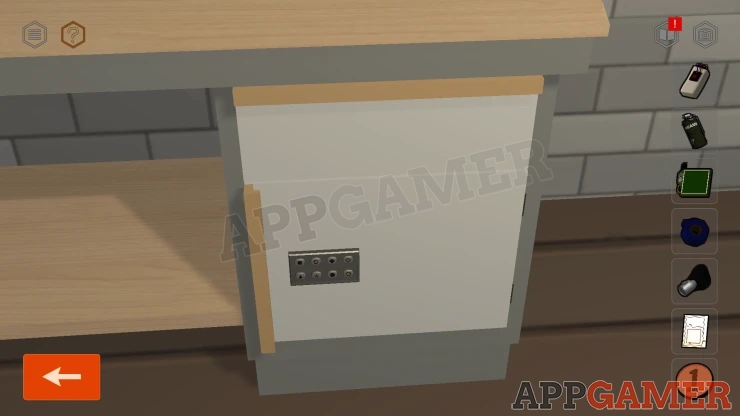
- Find clues in the room to five you the correct sequence of shapes.
- Look at the Floor Plan for a clue.
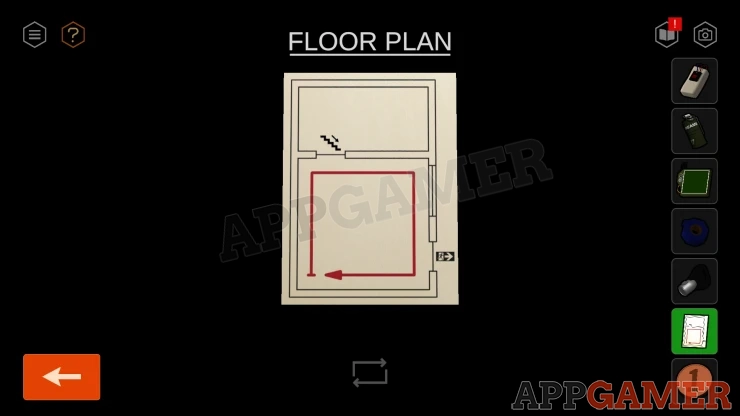
Solution: To find the correct combination of shapes look at the Floor Plan in your inventory. This shows a plan of the room with a large arrow giving a direction to look around the room. Look at each wall of the room to find a clue with a shape. THe first wall is with the desk, the Can on the desk has an octagon shape.Show
Code: Octagon (Stop Sign), Black Square (stairs sign), Diamond outline (warning sign next to the window), Triangle outline (on the wall with the pool cues).Show
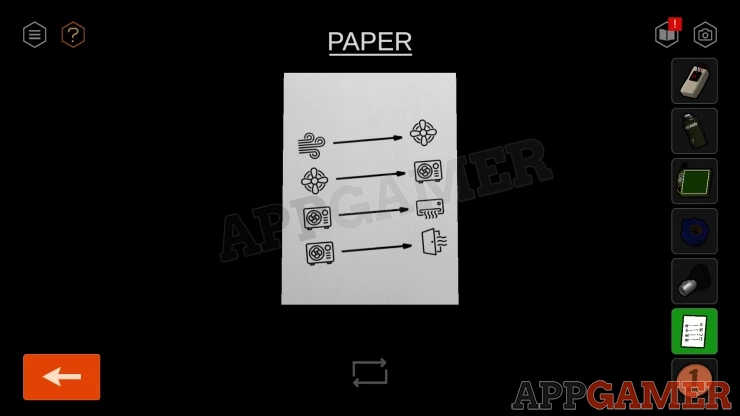
Open the cabinet and collect a Paper.
Now view the pool table and look on the side to see the coin slot. Use the coin here to release the balls. You can then collect a Handle.
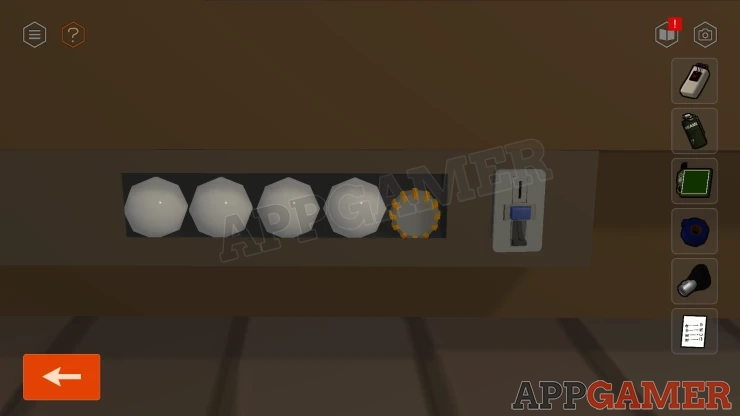
Next turn to the other side of the room to see a locked gate.
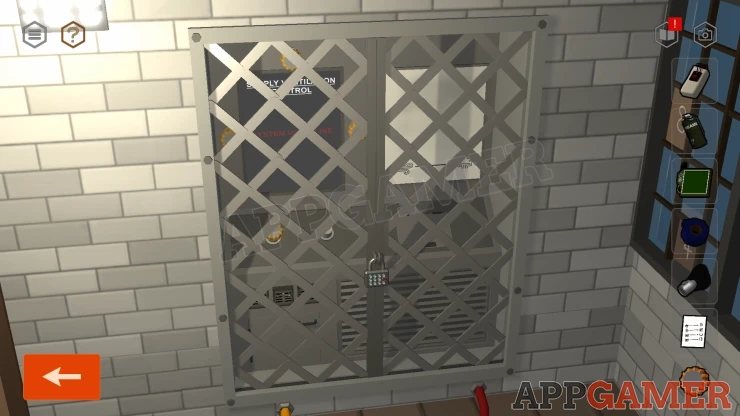
Gate Lock puzzle
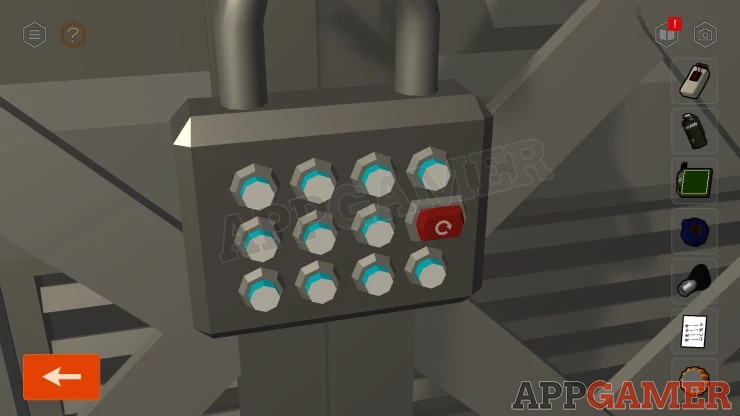
- View the lock, and tap it to start.
- One button wil be lit and there will then be more buttons that will be available to be pressed.
- Choose a button to press and it will ight up and show 1 or more buttons to be pressed.
- Continue until all of the buttons are lit up. If you make the wrong choice you need to try agian.
Hint: Start on the top right.Show
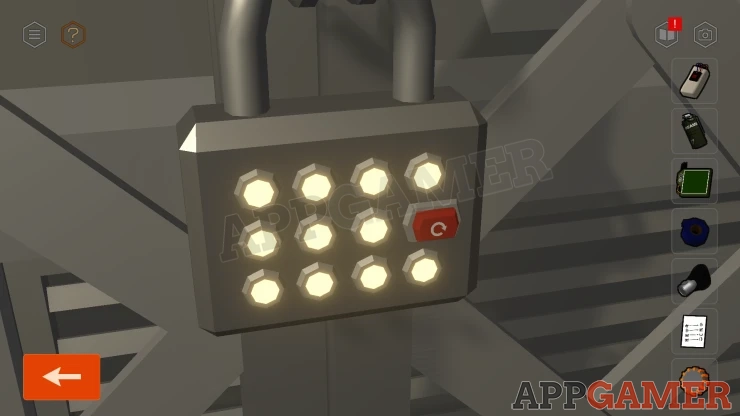
This opens the access to the Supply Ventilation Control.
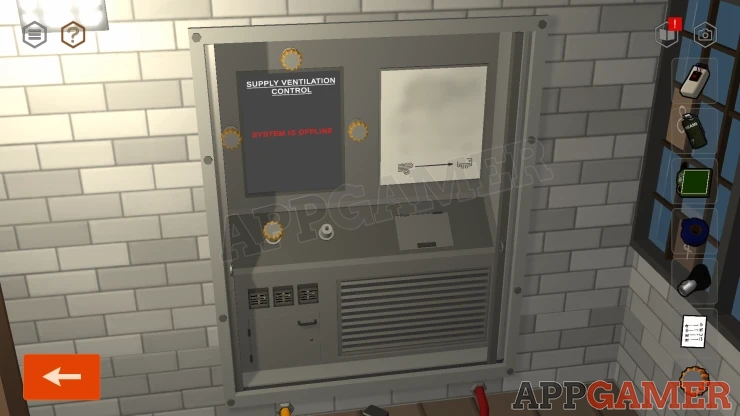
Open a panel on the right to see that a wire is broken. Use the Tape here to fix it.
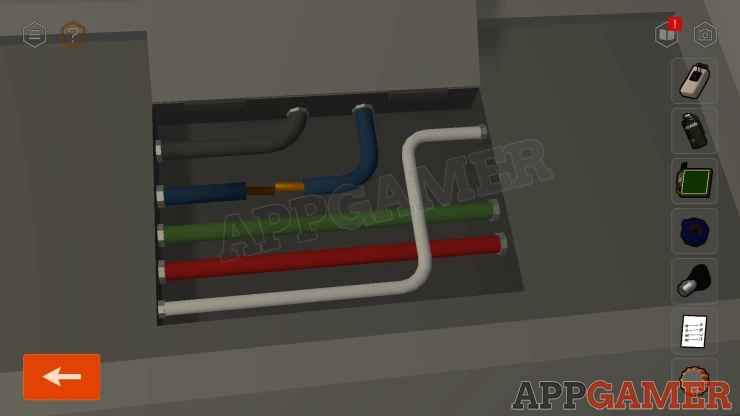
Then look to the left of the panel and place the Handle that you have collected.
Now look at a panel below in the base of the control panel, there is a small key hole.
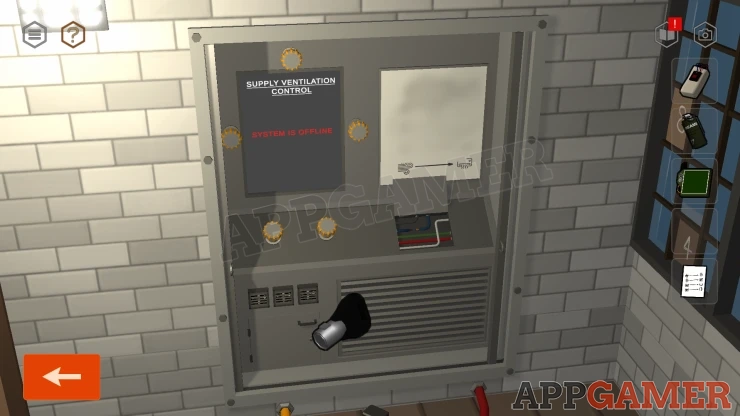
Use the key to open it to find another puzzle.
Control Panel Wiring Puzzle
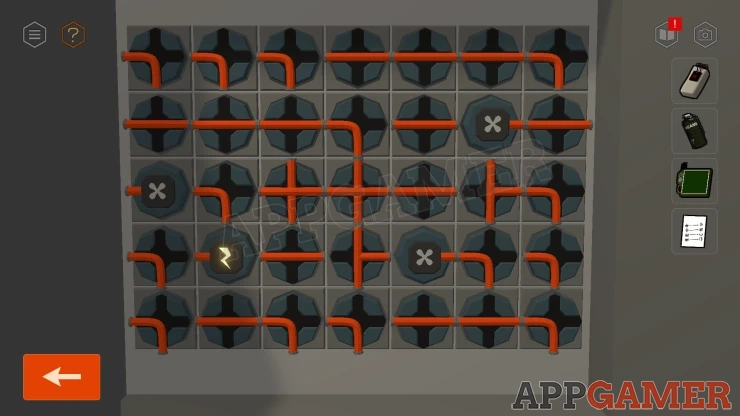
- There is a 7x5 grid of wire segments.
- Tap a square to turn it and change the positon of the wire.
- Arrange all of th wires so that the power symbol is connected to all of the fan symbols.
Solution: Show
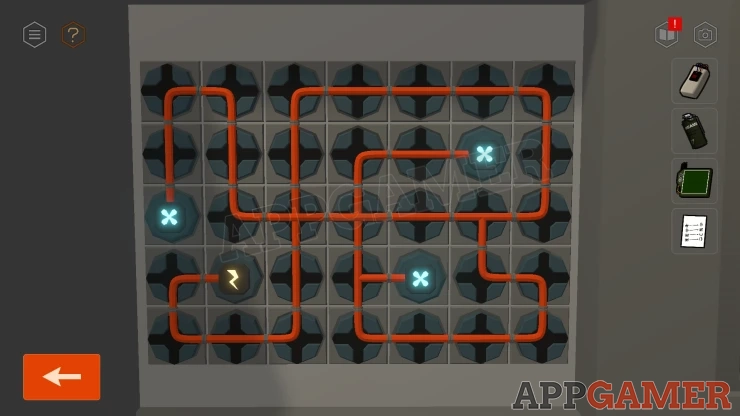
Once done the screen at the top will be powered on.
Supply Ventilation Control Puzzle
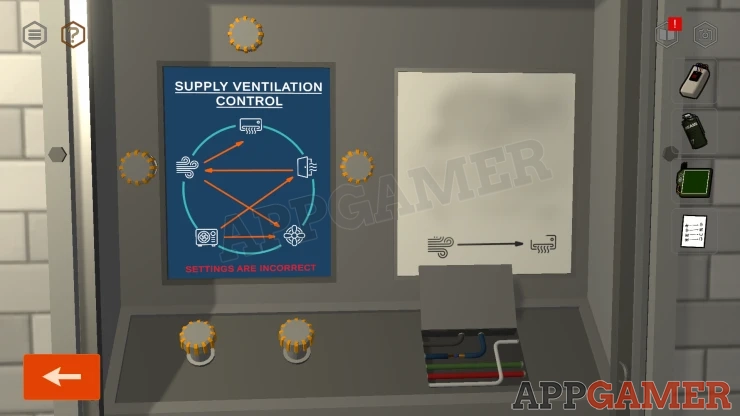
- There is a circle with five symbols related to the ventilation system. These have arrows between them.
- View the paper in your inventory to see instructions on how the system need to be set up. Eg. the 'Air' symbol needs to be connected with an arrow to the 'Fan' symbol. THere is also one move instruction on the white panel to the right.
- Tap the five buttons arouind the screen to change the sybmol next to it.
- Set them all so that the symbols and arrows match those in the instructions
Solution: Show
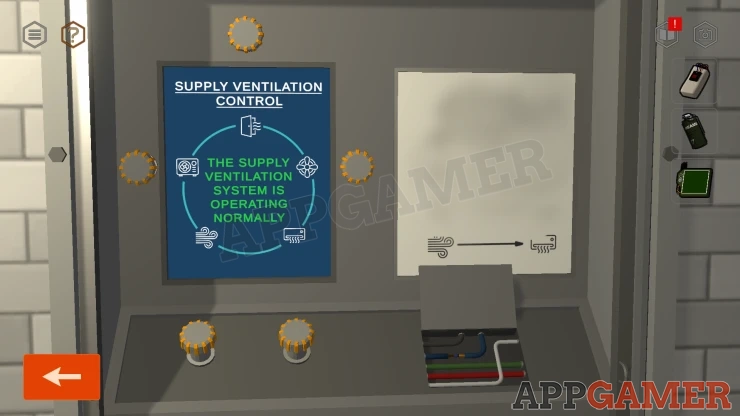
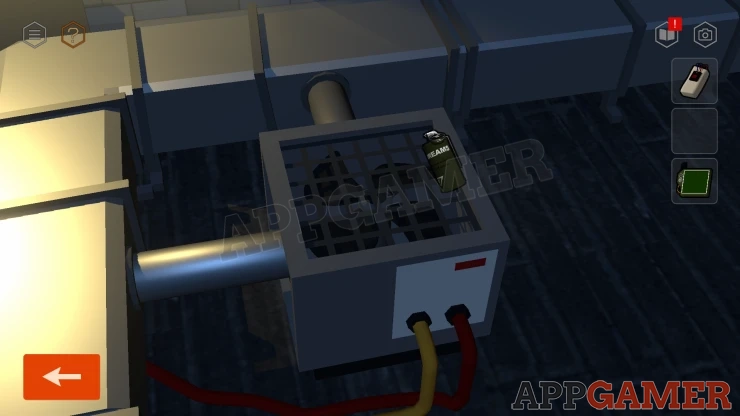
This will activate the ventilation system. Go back outside to the foor and view the intake fan next to the ducts. Use the Sweet Dreams Gas canister on the fan to send the sleeping gas into the warehouse.
Go back into the top room and then add the C4 explosive to the door to the stairs.
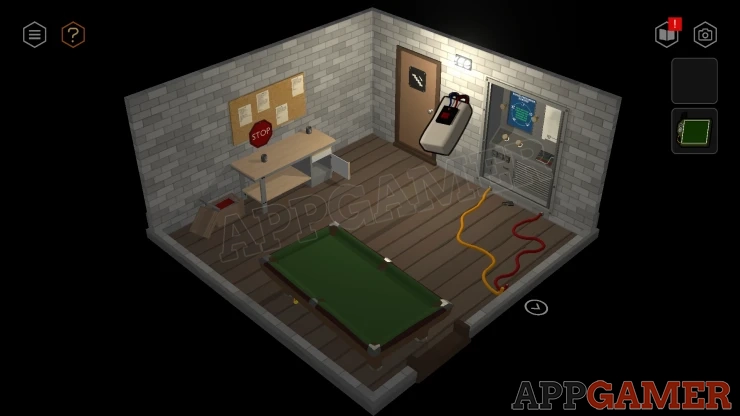
The door is blown open, tap to go through the door and this completes Chapter 2. Move on to Chapter 3.
We have questions and answers related to this topic which may also help you: Show all
 With 20 years of experience in creating video game content for the internet and over 30 years as a gamer, Mark is now a passionate mobile App Gamer. Loving a challenge, he is always ready to get stuck in to both survival builders and puzzle solving games. He has been providing content for AppGamer since 2014.