
Chapter 3 - Campground Walkthrough
More Tiny Room Stories Eclipse
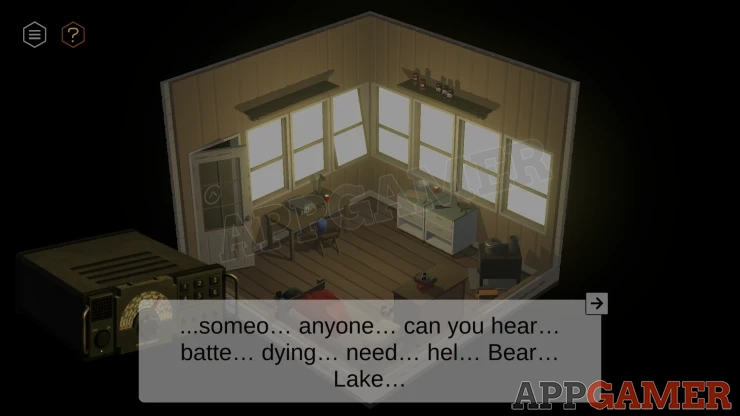
This is our guide to the third chapter of Tiny Room Stories - Eclipse. You reach chapter 3 after completing the tasks in the dream of chapter 2. You have started to remember details from your past before an accident. Now you are awake and have heard an urgent call for help on the radio. Follow the walkthrough below for help finding your way and solving the puzzles that you will encounter.
Chapter 3 Walkthrough - Campground
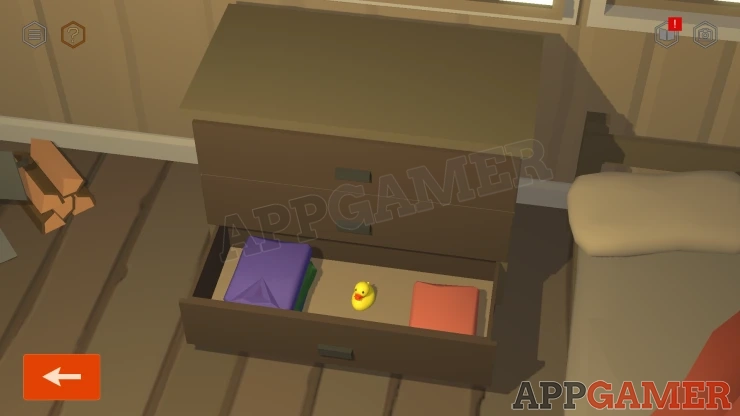
Collect two shoes from the floor and the clothes from the chest of drawers by the bed.
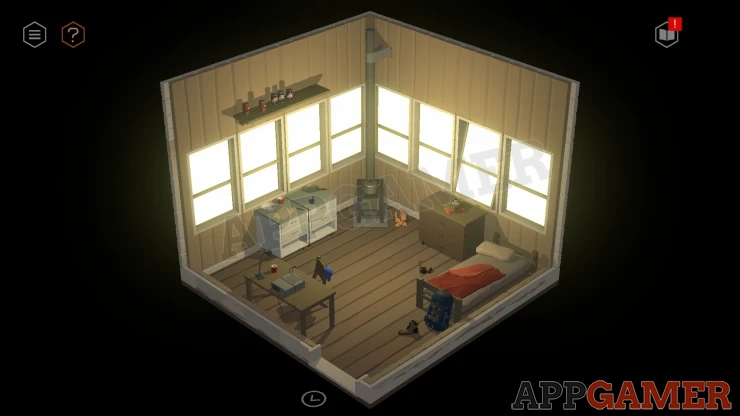
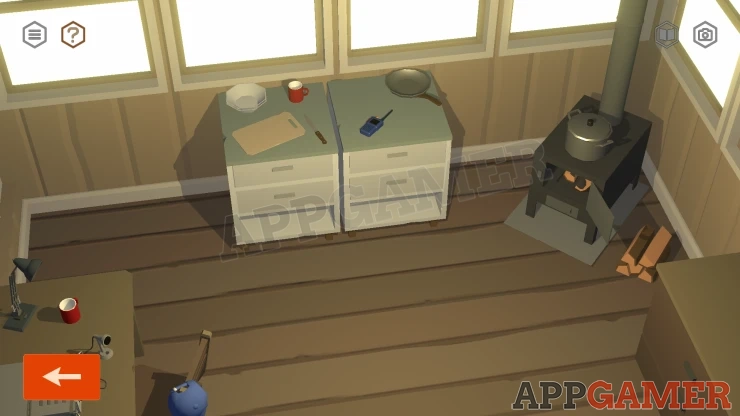
Then collect a Walkie Talkie from the cabinets by the stove and finally the Hat from the chair by the table. .
Exit the tower room and then head off on the path to reach Bear's Lake Campground. You start by the bins.
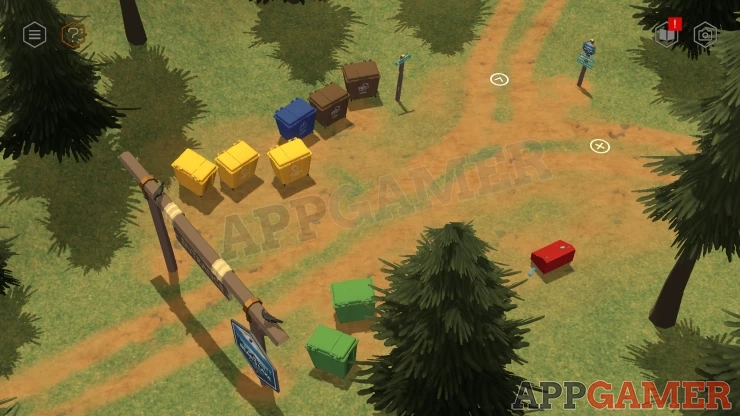
There are a number of areas in the campground connected by paths.
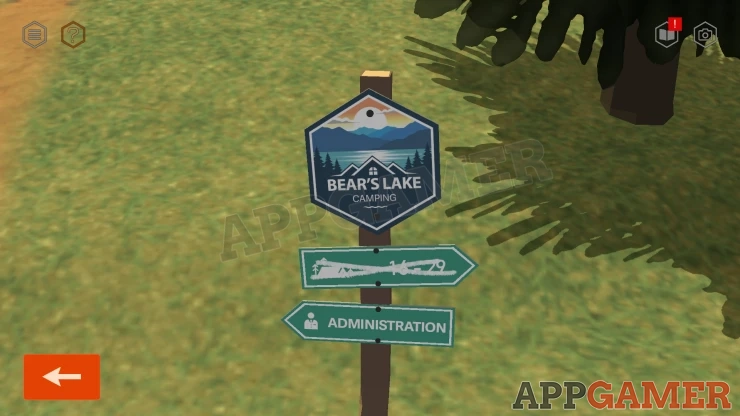
Take the left path first to the administration building. Notice the signs in the area.
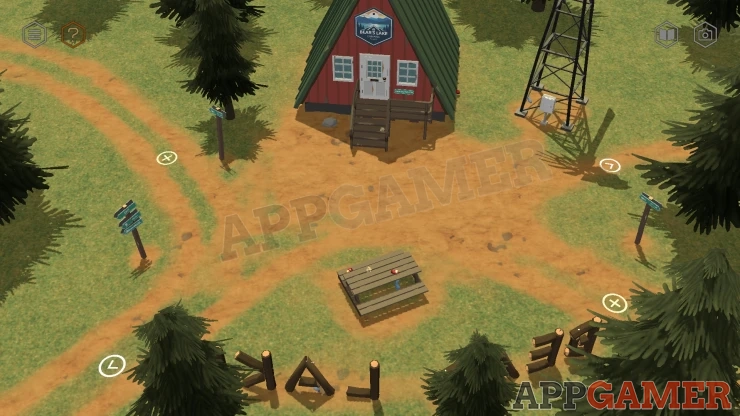
There is an optional task to collect the trash from the campground and put it in the bin.
To do this look arounds each area for plastic bottles (5) , soda cans (5) and paper (4).
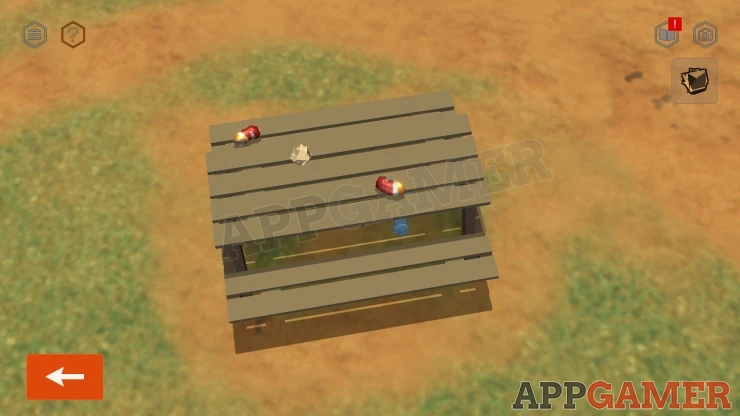
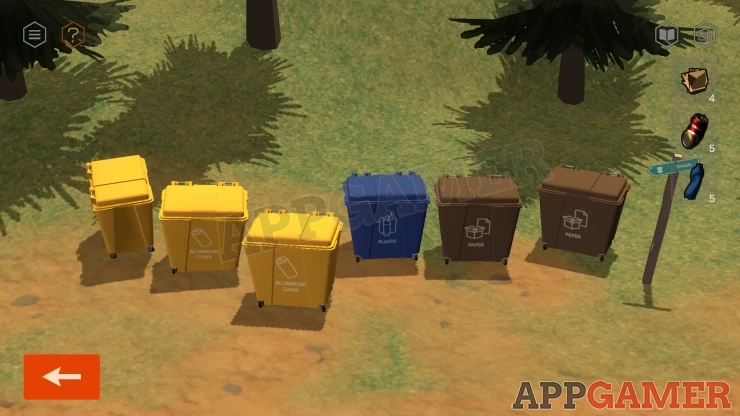
When you have them all goto an area with large bin and find the correct bin for each. Soda Cans - Yellow, Paper - Brown , Plastic Bottles - Blue.
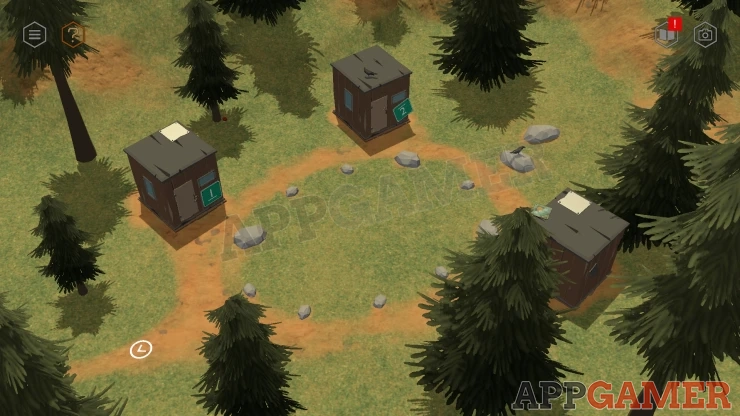
Find the location with the three small huts. These are arranged around a circle. Notice the rocks in front of them.
Each hut has a number sign, notice that these have lines above or below the numbers. Another Clue.
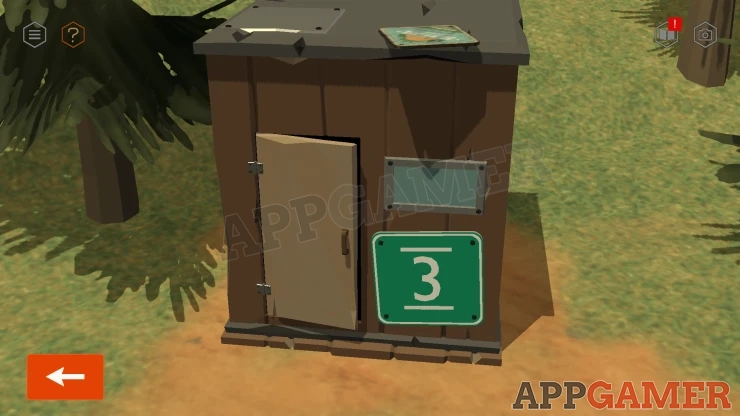
Look at Hut 3 to see that the door is open. Go inside.
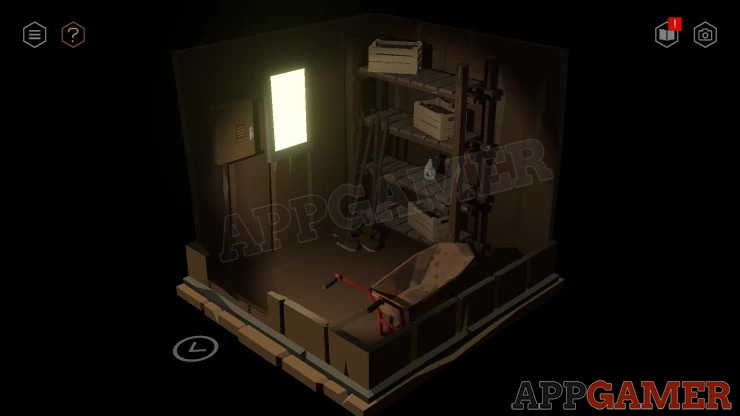
View the shelves at the back and collect the Paper Disolver Spray and also a Broom.
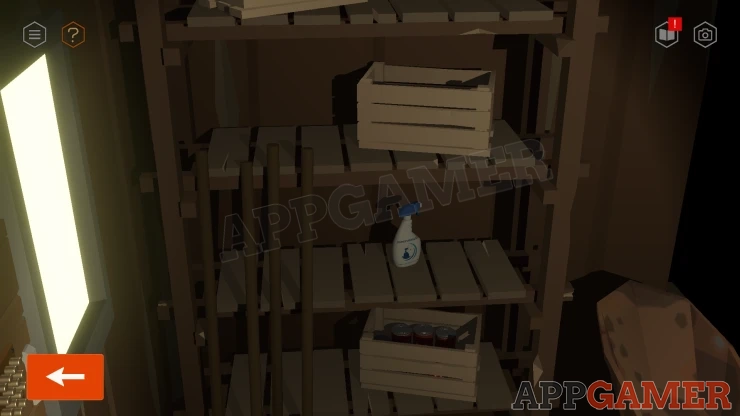
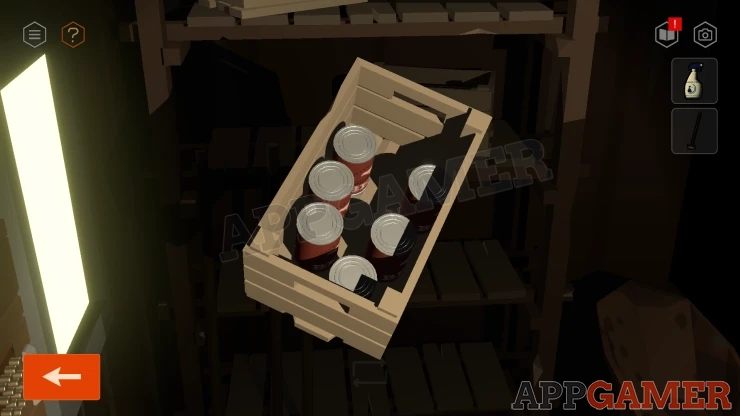
Then look in the crate on the bottom shelf and collect a tin of Canned Beef.
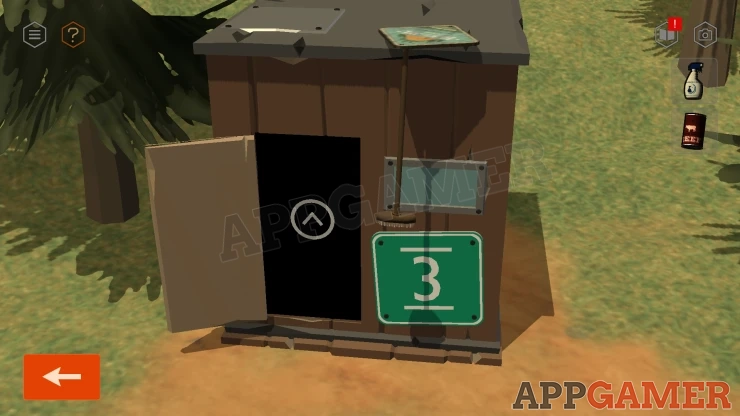
Back out and then you can use the broom to knock down a sign that is on the roof of Hut 3. Videw this to see a phone number. A Clue.
Next look at Hut 2. Notice the number sign is loose.
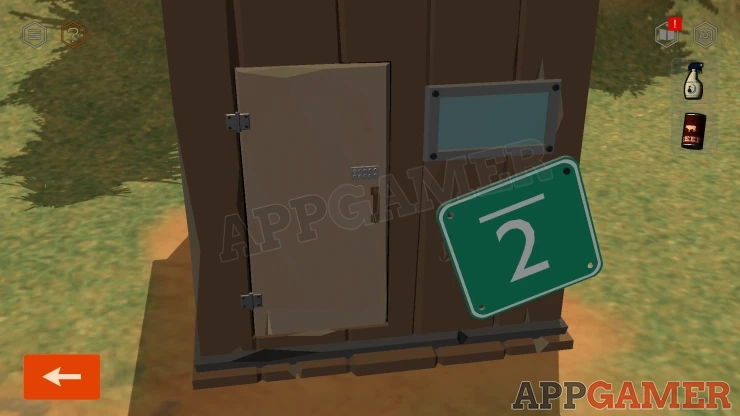
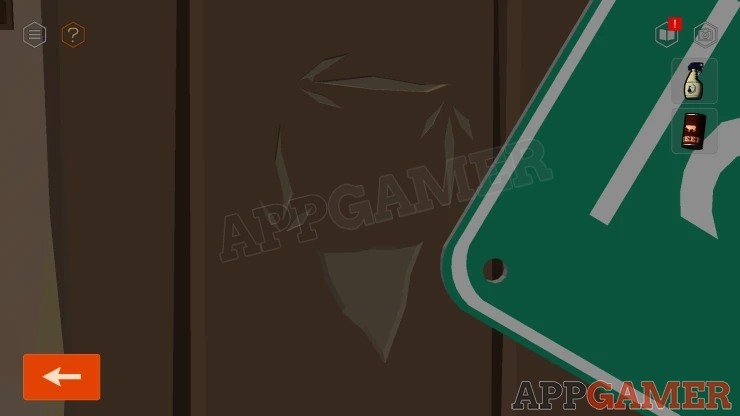
If you tap this it will move and you can see a clue behind it. A triangle shape and three arrows. Another clue.
Show
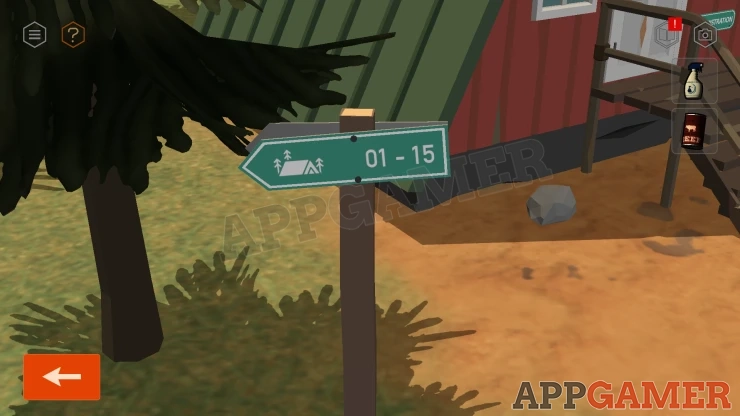
Follow the path back and find the Administration Building. Notice the signs around the area. There are two green direction signs. As well a a large BEAR LAKE sign.
Move a rock on the floor to the left of the door and collect a Key.
Then you can use this key to unlock the door. Go inside.
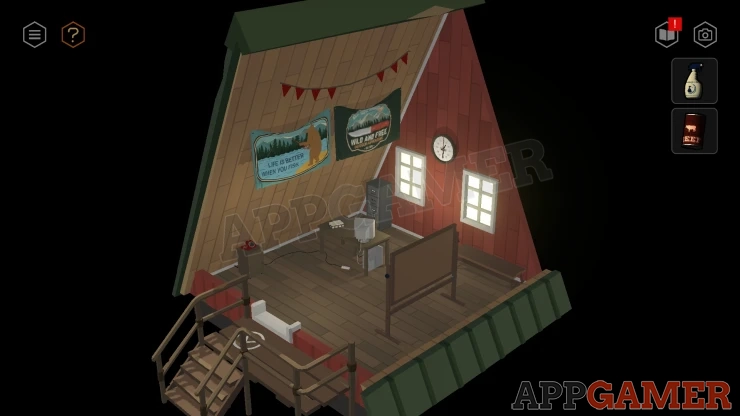
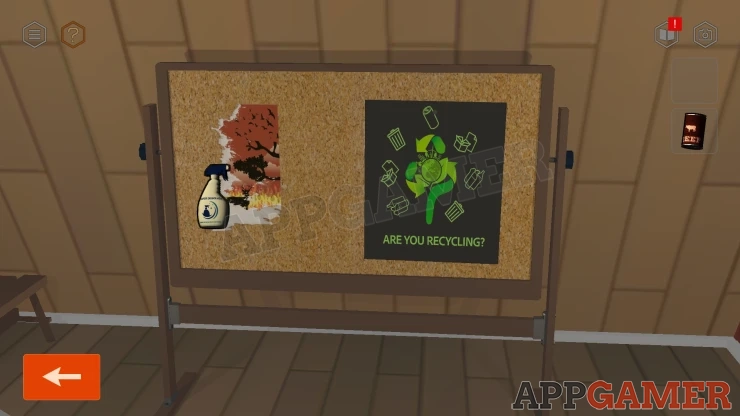
Turn to face a notice board. You can use the paper disolver spray on the torn poster on the left, this will reveal a clue. Then also notice the poster on the right for Recyling. This is another clue.
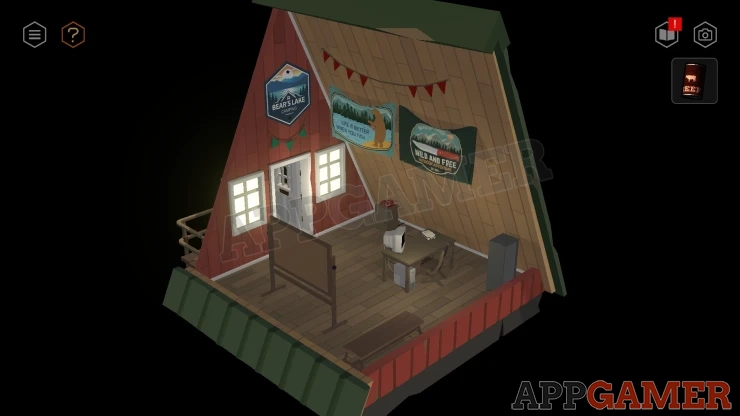
Look around the walls of the building. On three of the walls there are triangle flags. Another clue to remember.
Back out and return to the area with the trash bins. Then view the red supply box on the ground.
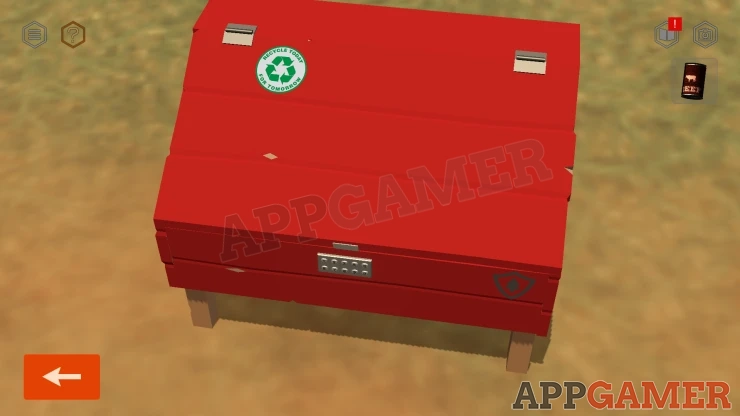
Recyling Supply Box Puzzle
- The box required a numbre code to open it. There is a recycling symbol on it.
- Check the recyling poster clue and the bins in the area to determine the code.
Solution: count the number of each type of bin. General waste, Plastic, Paper, Cans. Then look at the poster to see there are six symbols with the center arrow logo pointing in an anti clockwise direction. Start from the lower right and replace the symbols with the number of related bins.Show
Code: 4123421Show
Open the Box and collect the Bolt Cutters.
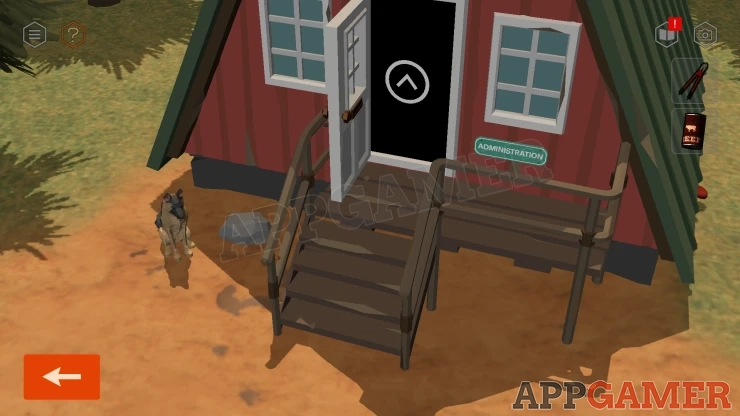
Moving back to the admin biulding a dog will appear, you need to feed it.
Move to the area with the huts and look at Hut 1.
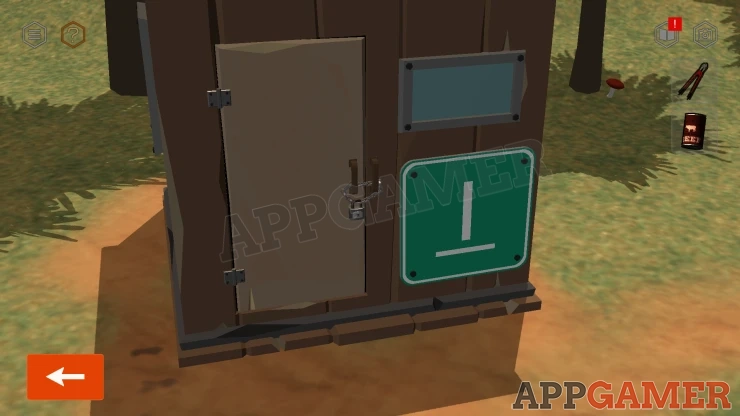
Use the Bolt Cutters to break the chain and open the door.
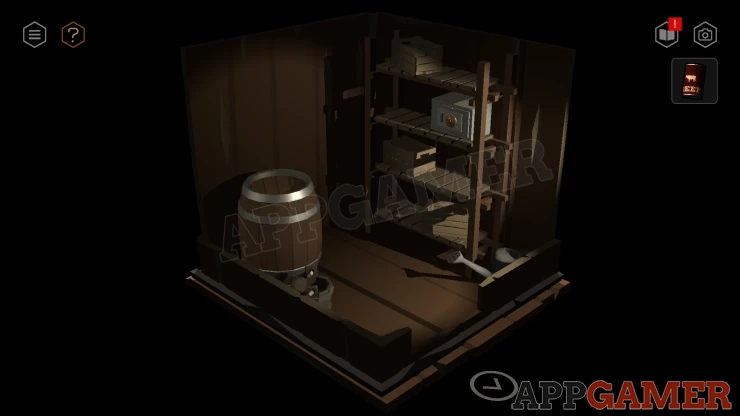
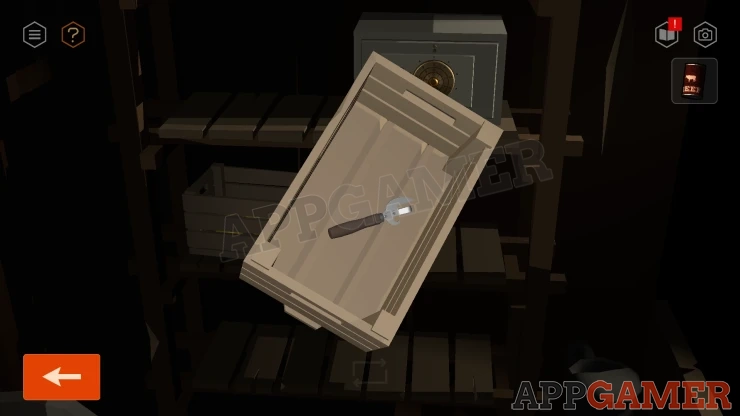
View the shelves inside and look inside a crate to collect a Can Opener.
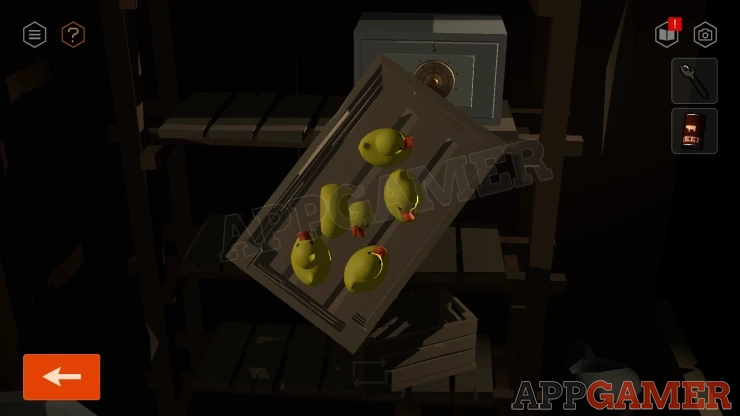
Check the other crate for rubber ducks.
Then view the safe on the top shelf.
Hut 1 Safe Puzzle
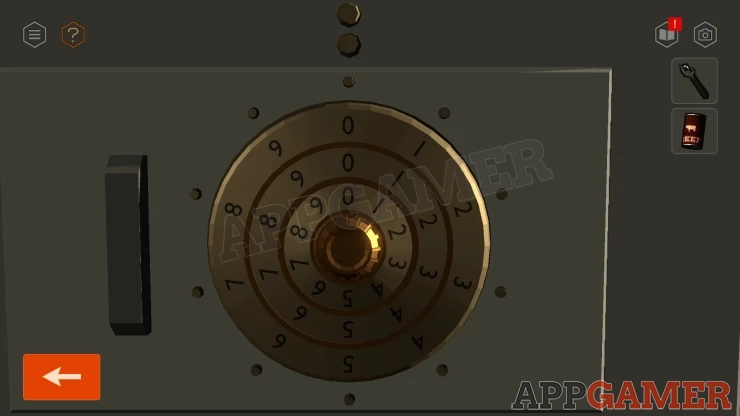
- The safe has three rings with numbers. Ther are also 10 dots around the edge.
- There are darker lines between each ring.
- Use the clues from the huts to solve this.
Solution: Look at the positions of the three huts, the ten rocks in the circle and the signs on the huts. Hut 1 sign has one line under the number. This points to the outer ring of the safe. Turn this so that the 1 on the dial is in the lower left dot. Hut 2 has one line above it so this related to the inner dial, set this to the hut 2 position. Hut 3 has two lines. Set the middle dial to the hut 3 position.Show
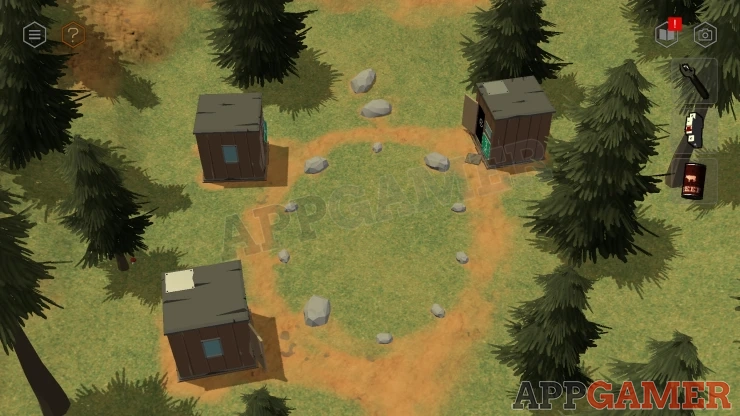
Code: Show
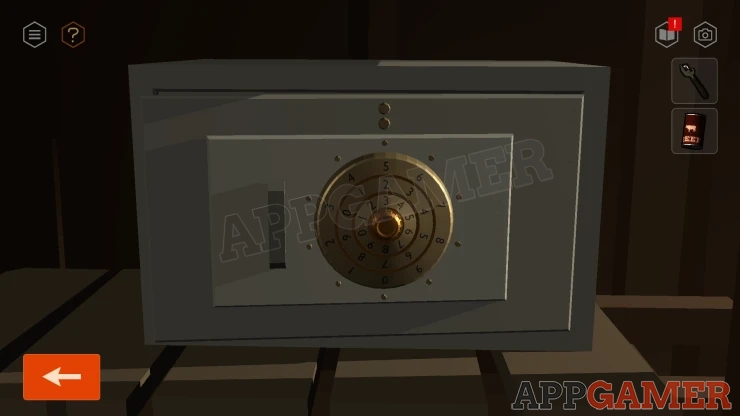
Collect a Circuit Breaker.
Now move to Hut 2. This door has a code lock.
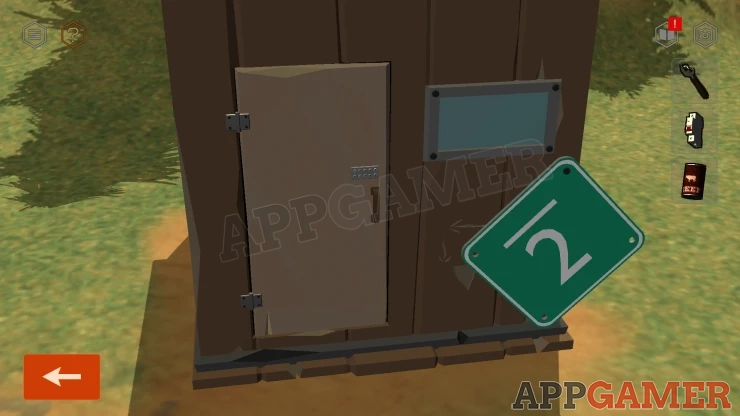
Hut 2 Lock Puzzle
- This door has a code lock.
- Use the clues seen on the hut behind the sign and in the Admin building.
Solution: The clue on the hut wall shows a triangle with three arrows. These run anti-clockwise from right to left. In the admin building there are groups of flags on three walls. Count the flags in each grouping to get a five digit code from right to left.Show
Code: 34352Show
Enter Hut 2 and then look in a crate on the floor, colect a Handle.
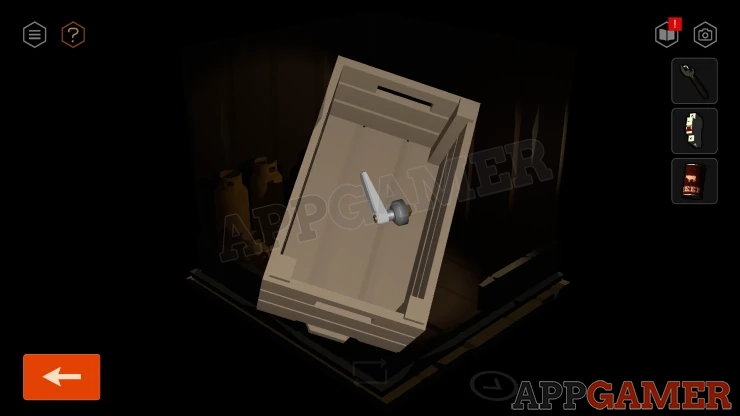
Notice the group of yellow cylinders, some tall and some short. This is another clue.
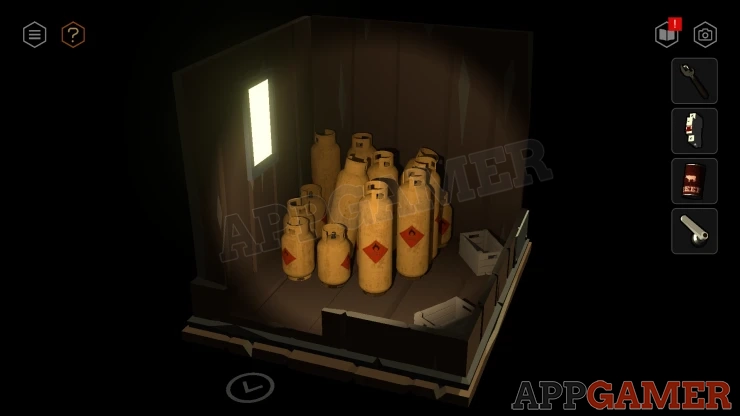
Go back to Hut 3. Then look on the wall next to a window to find a wall box.
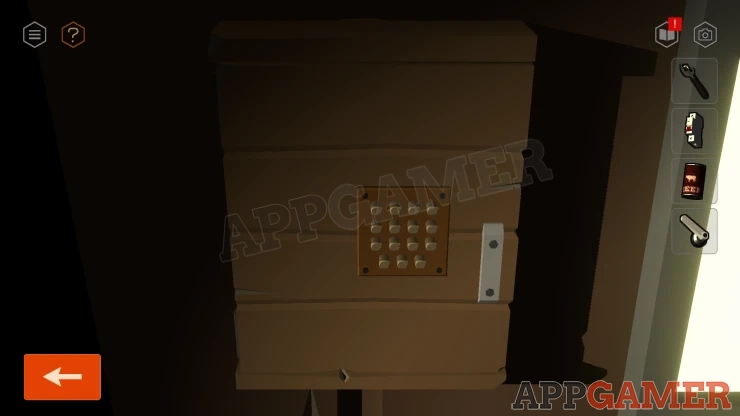
Hut 3 Wall Box Puzzle
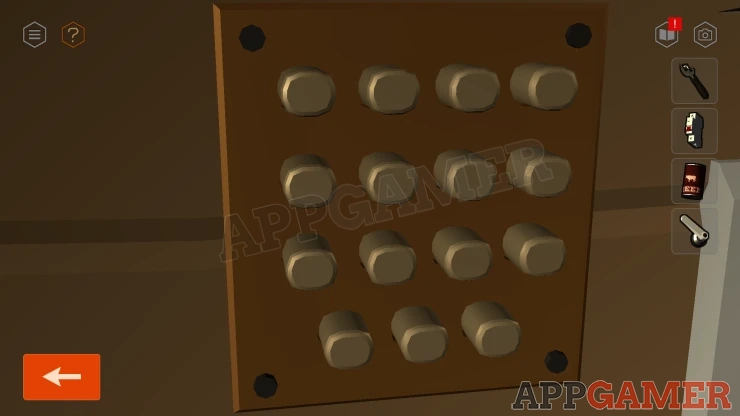
- This has a lock with 15 buttons.
- Each button can be pressed in or out.
- Set the pattern of buttons in or out according to a clue
Solution: Copy the arrangement of the yellow cylinders in Hut 2. Press in the buttons that match the positions of the short cylinders.Show
Code: Show
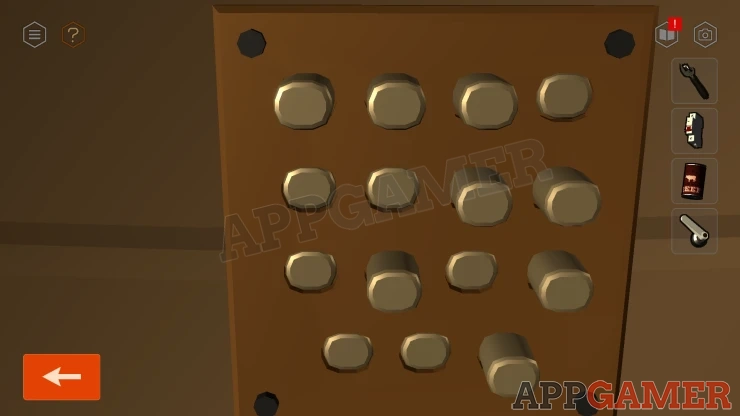
Collect some Pliers.
Return to the admin building and then view the tin of Canned Beef in your inventory. Use the tin opener on this to open it.
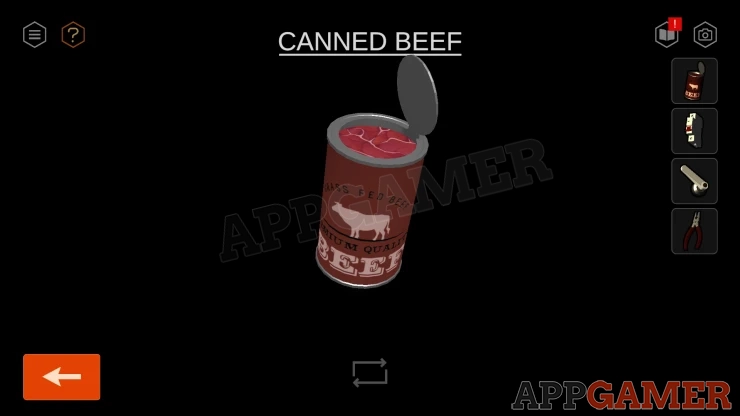
Give the tin to the dog and it will be fed.
You can then tap the dog to issue commands, such as Sit.
Now look at the base of the tower to the right of the building. There is a white cabinet.
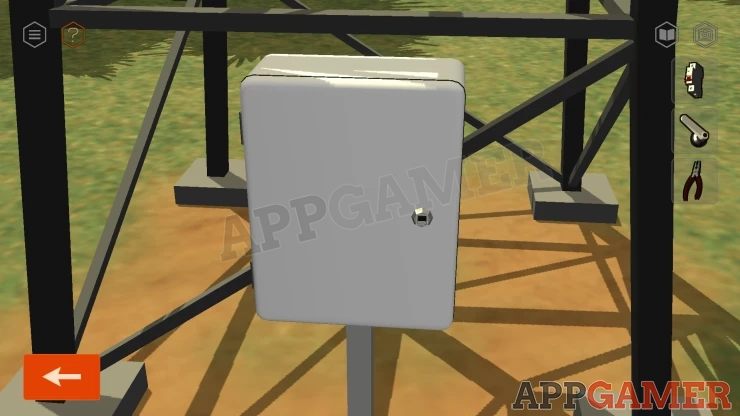
Add the handle to this then you can open it to find a puzzle.
White Power Box Puzzle
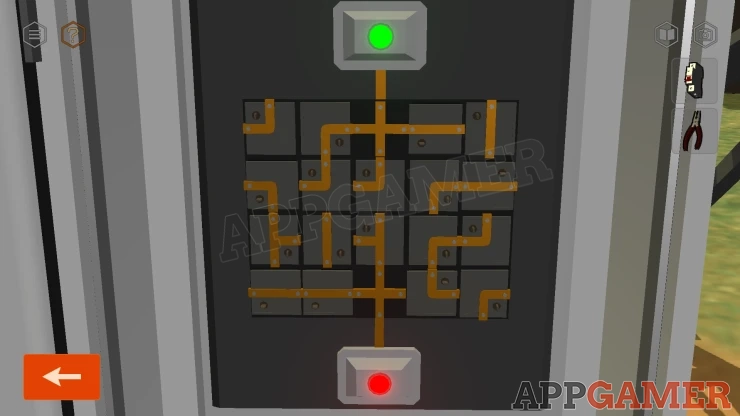
- Tap pairs of the squares on the board to swap their places.
- Connect all of the lines together into one full circuit.
Solution: Show
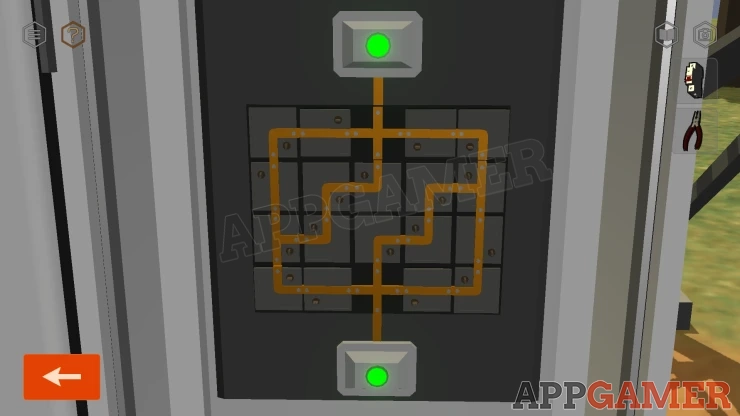
Once done the power is restored.
Enter the Admin Building and look on the side to find a red phone. View this.
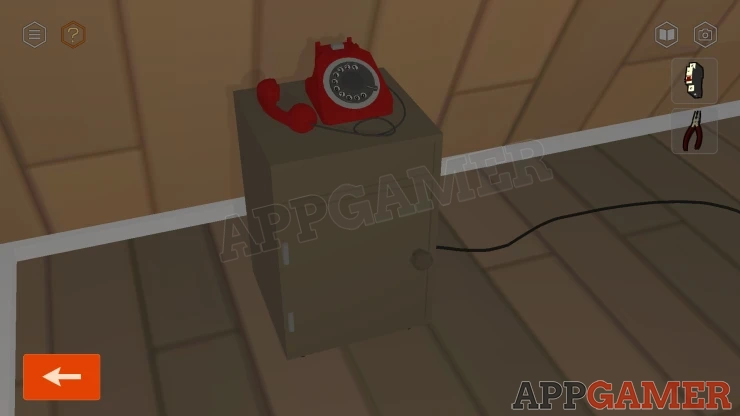
Dial the phone number seen on the campground sign. You can then collect a Power Cord from the drawer.
24-93-61Show
Then look in the cabinet below. There is a blown circuit breaker.
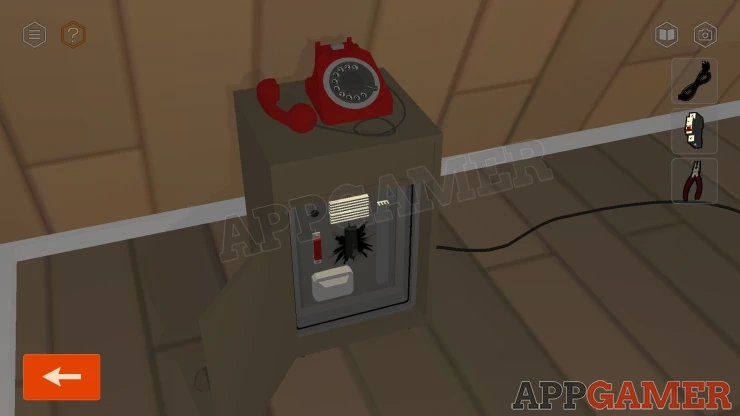
Use the pliers to remove the broken circuit breaker and then add the new one that you have.
Next view the back of the table with the computer.
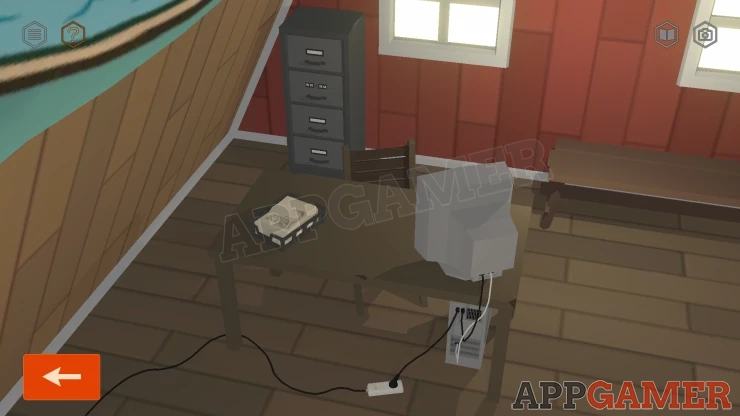
Add the Power Cord to the computer to plug it in.
Next view a filing cabinet on the back wall of the room behid the desk. Notice there is a locked drawer that requires a code.
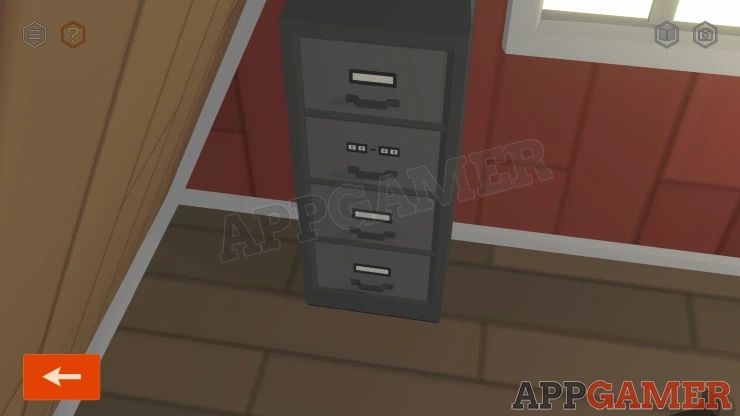
Filing Cabinet Code
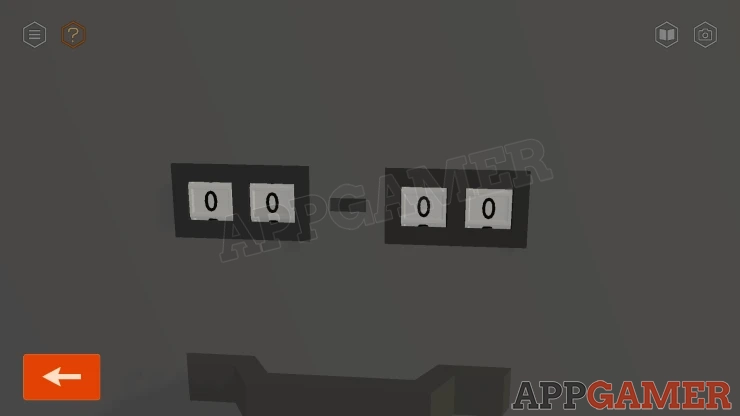
The code required is two numbers with a Dash in between
To find this code look at the signs by the paths outside the Admin Building.
Solution: Look at the two green direction signs. These say 01-15 and 30-48Show
Code: 15-48Show
Collect a Boot Disk from the drawer.
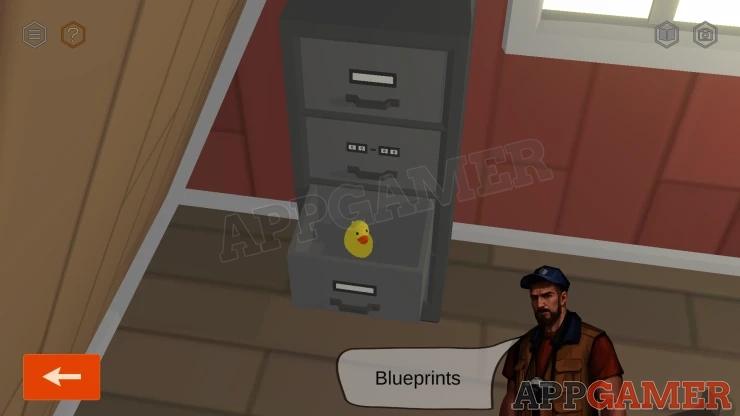
Now change the view to see the fort of the computer.
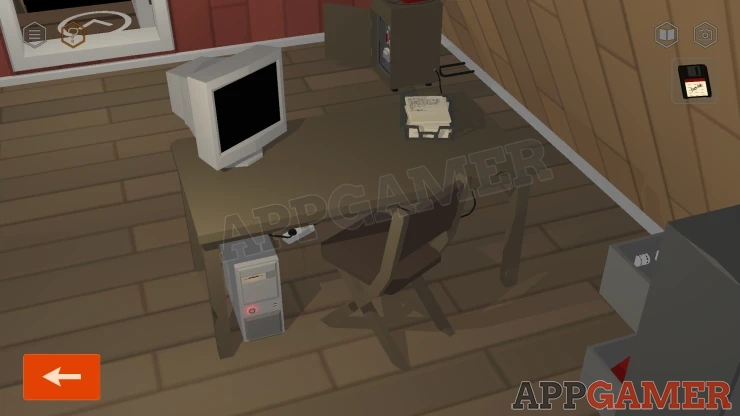
Tap the button to turn it on and add the Boot Disk to it.
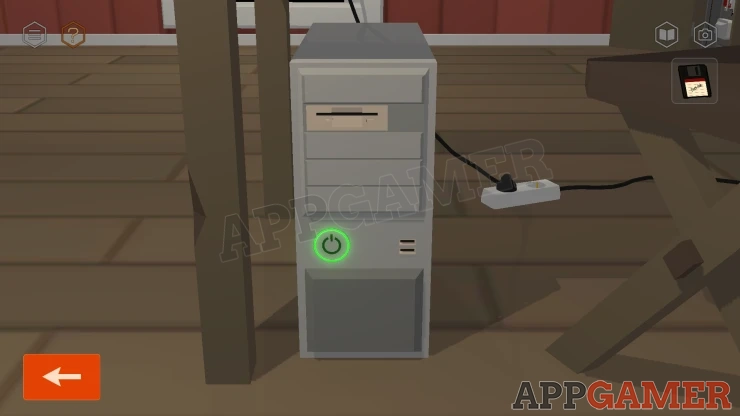
You will now see a pass code entry on the screen on the desk.
Computer Passcode
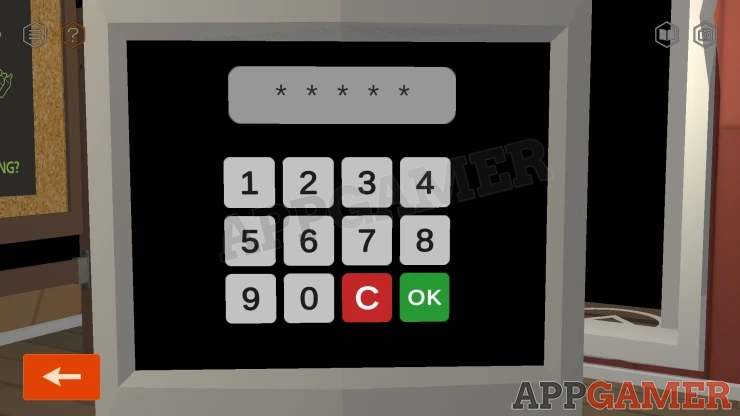
There are two clues to the computer pass code. These are found inside and outside the Admin building.
Solution: The first is on the notice board. If you have removed the poster on the left with the spray then you will see a clue with 5 letters. Then look outside the building at the large Bear's Lake sign made of logs. Find the letters from the notice baord and count the number of logs in each of the letters.Show
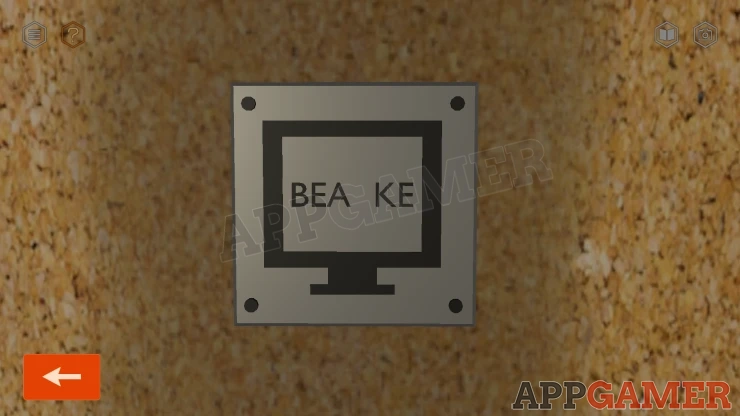
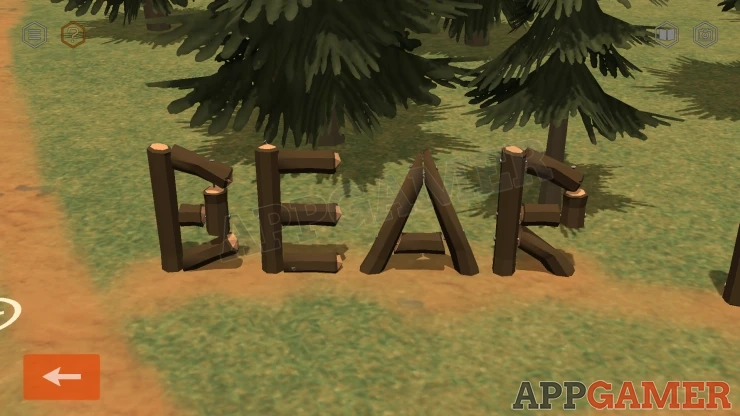
Code: 54334Show
Next you need to confirm you are human. With a puzzle.
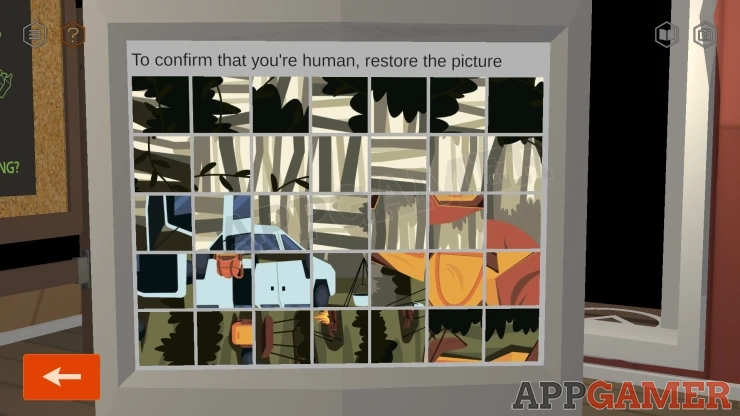
In this image puzzle the pieces are in the correct places but you need to tap them to rotate them.
Solution: Show
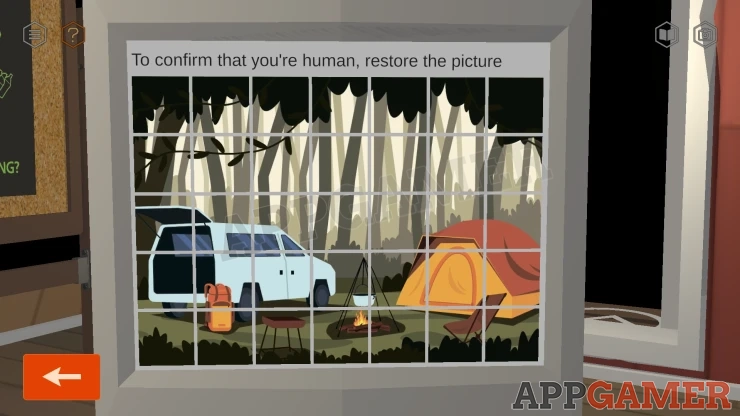
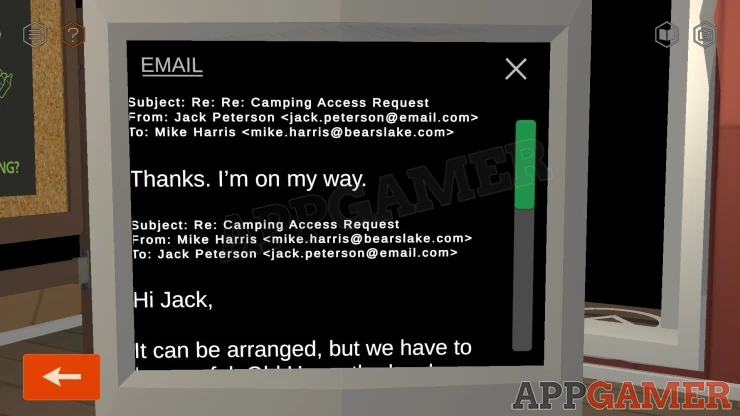
Once done you can use the computer.
Read the 'Mail' to find a message about the Camping Access Request.
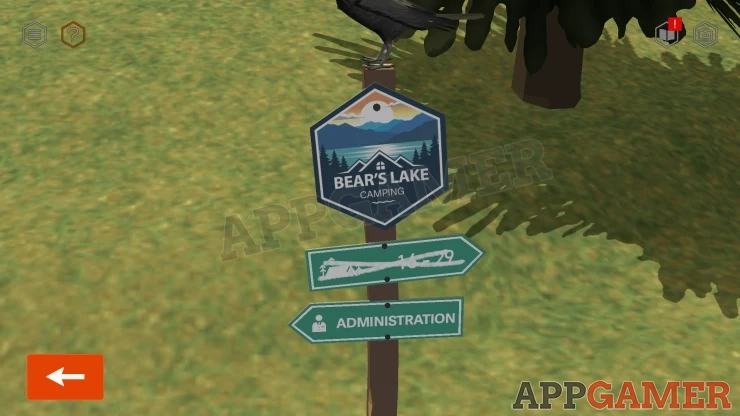
Back out to the area with the Bins and then follow the path with the sign post that is crossed out. This will take you to the camp area and complete the tasks for Chapter 3.
Move on to Chpater 4.
We have questions and answers related to this topic which may also help you: Show all
 With 20 years of experience in creating video game content for the internet and over 30 years as a gamer, Mark is now a passionate mobile App Gamer. Loving a challenge, he is always ready to get stuck in to both survival builders and puzzle solving games. He has been providing content for AppGamer since 2014.