
Chapter 5 - Deeper in the Dream Walkthrough
More Tiny Room Stories Eclipse
This is our guide to the fifth chapter of Tiny Room Stories - Eclipse. You reach chapter 5 after completing the rescue of the rtourist in chapter 4. You have dsicovered details about a secret bunker near the old min. Now you are continuing your dream from your past. Follow the walkthrough below for help finding your way and solving the puzzles that you will encounter.

Chapter 5 Walkthrough - Deeper in the Dream
You begin after the previous dream of chapter 2. You have access the warehouse and descend the staris to reach a metal walkway with two rooms and a ladder.
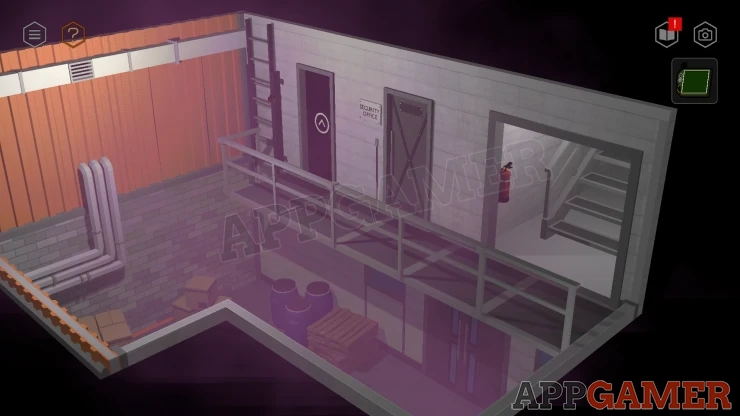
Enter the open doorway to a stairwell.
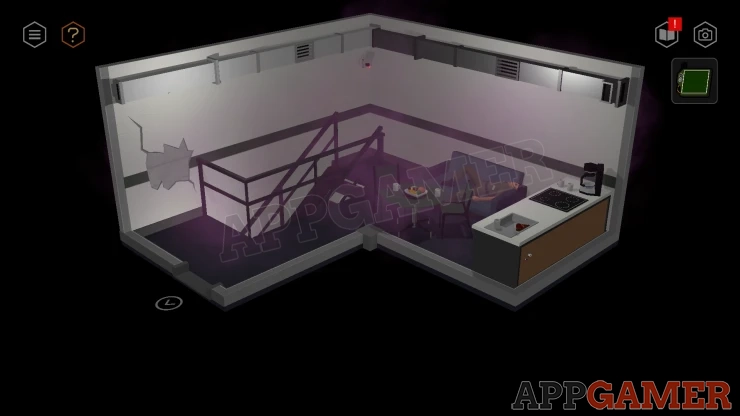
Then look around the corner to see a break area with a passed out guard.
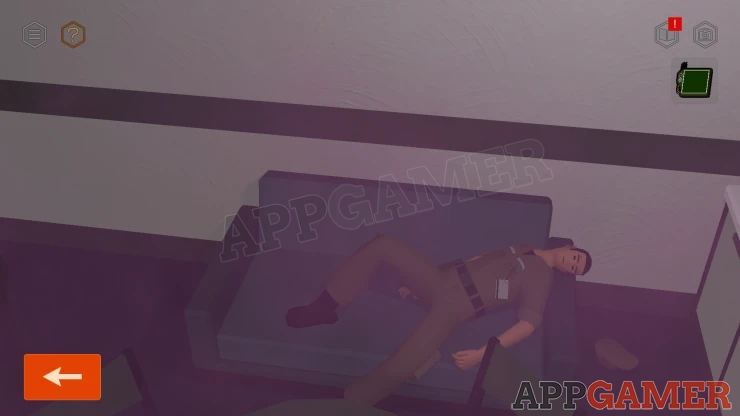
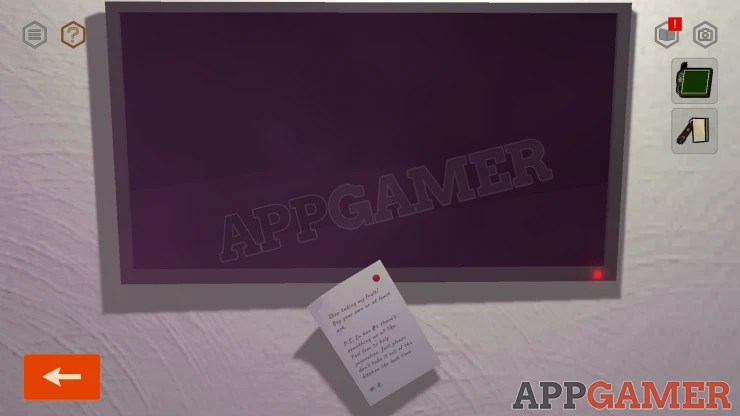
Collect the Access Card from the guard. Notice the food on the table, Fruit. This is a clue. There is also a note on the TV from M.R. that is a clue.
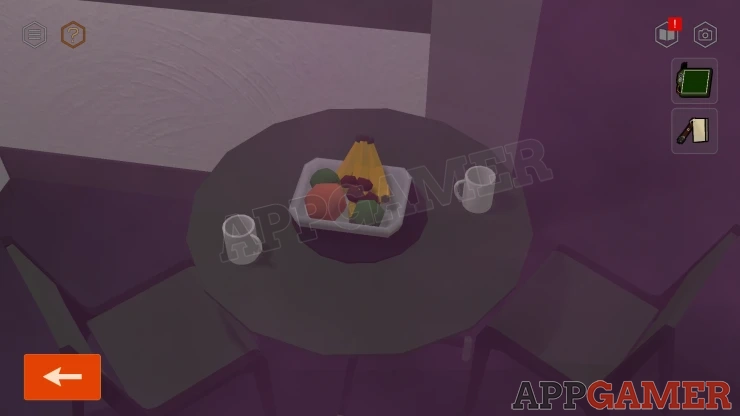
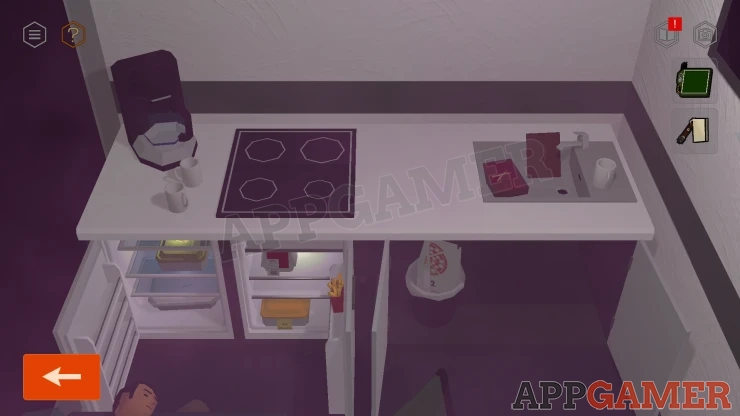
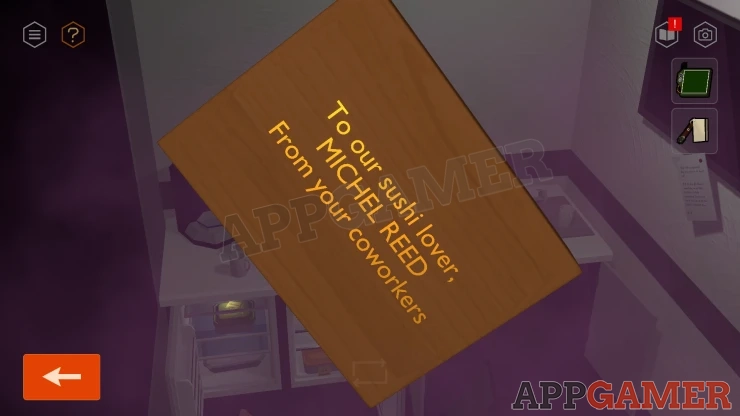
In the kitchen are there are a number of other food items including a box in the sink. Each of these has a name of an employee. Another clue.
Back out to the walkway and then view the locked door to the security office.
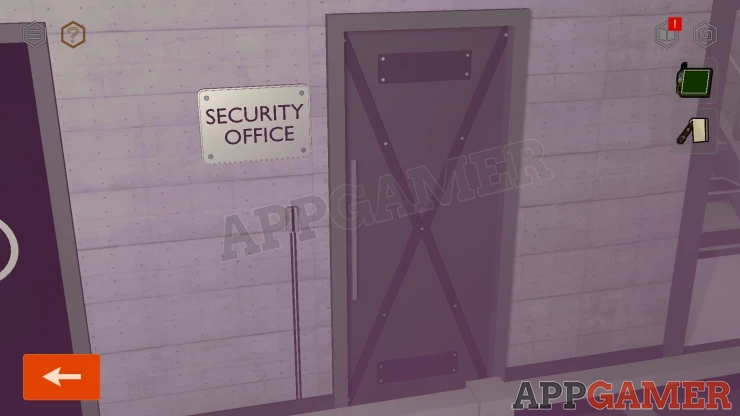
Use the key card here to open the door and go in.
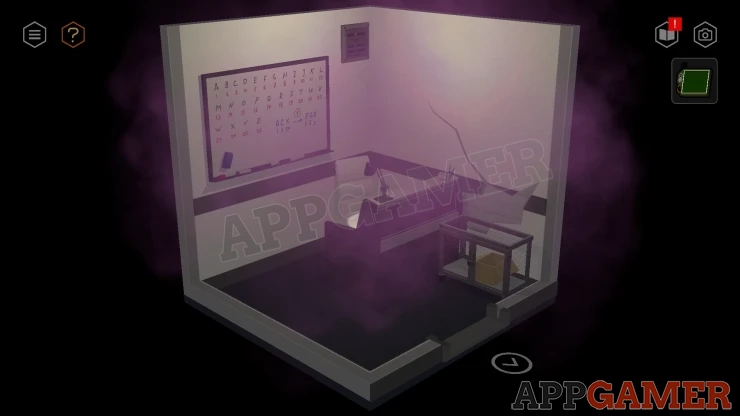
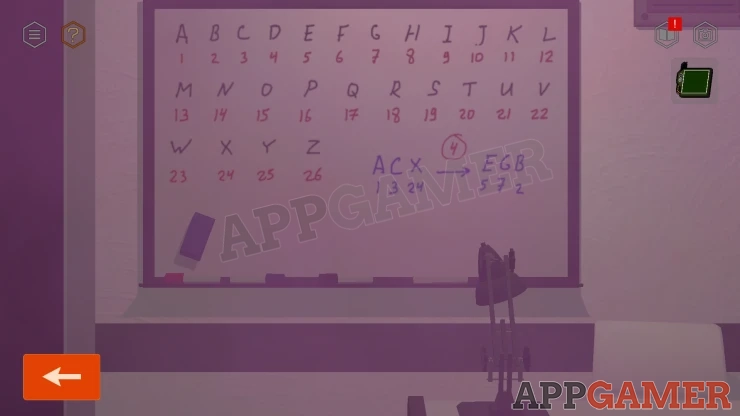
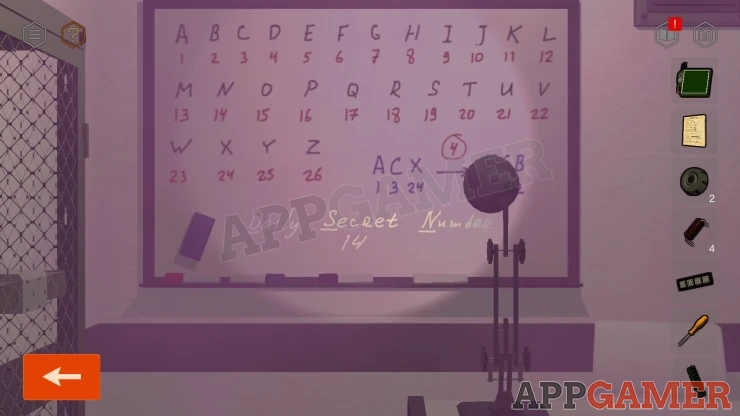
Look around the office, notice the numbers and letters on the whiteboard.
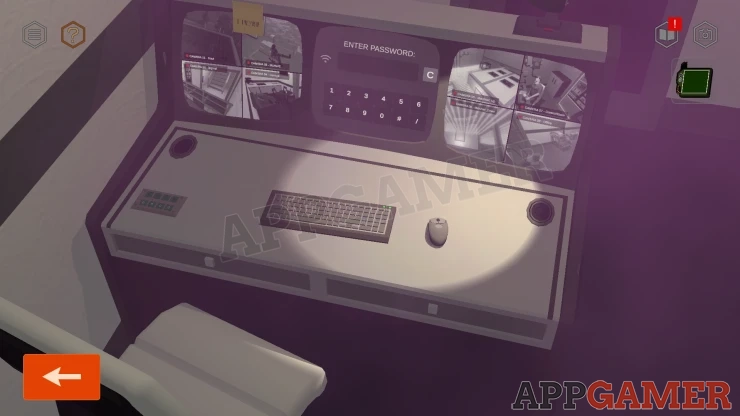
Then view the desk. There is a password but you can use the wireless hacking device again to break this.
Hacking Device Puzzle 1
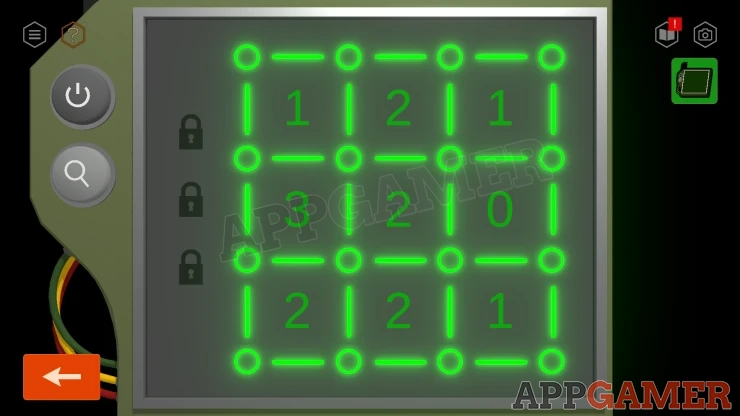
- There is a 3x3 grid of numbers with nodes on each corner that you can tap.
- Tap the circle nodes to turn them on or off.
- Set the correct pattern of nodes on around each suqare so that the number matches the number in the square.
- There are three levels to complete for this puzzle.
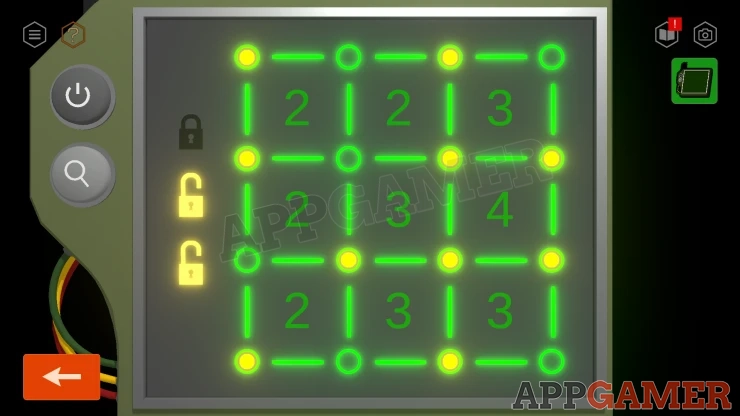
Once done the security system is unlocked.
Select the Camere Control option.
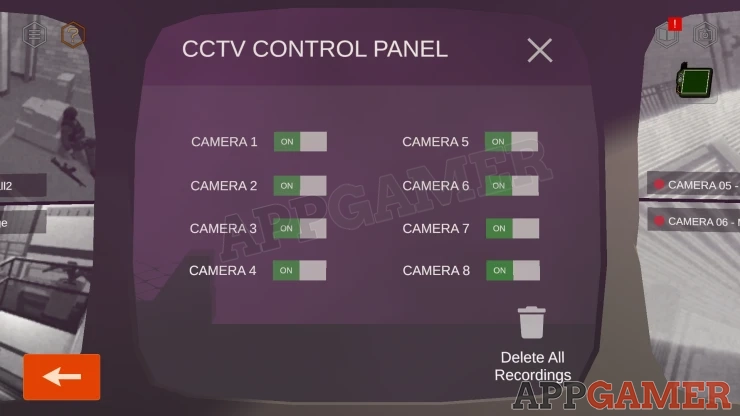
Turn all of the cameras to OFF and then 'Delete All Recordings'.
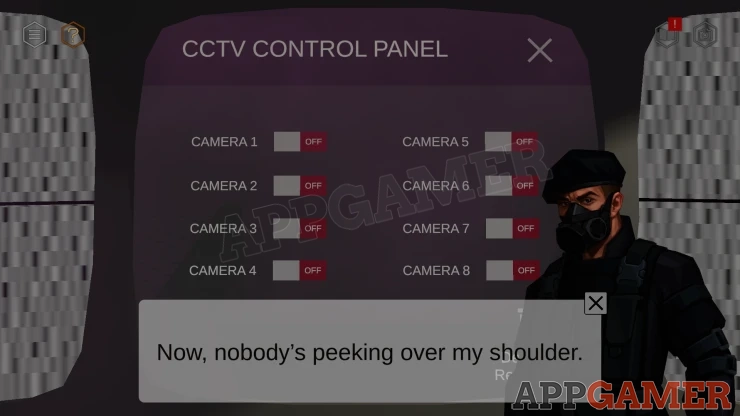
Open the right drawer of the desk and collect a Key.
Look on the other side of the desk to find a locked cage. Use the Key to open this. Then look inside the box to collect a Hammer.
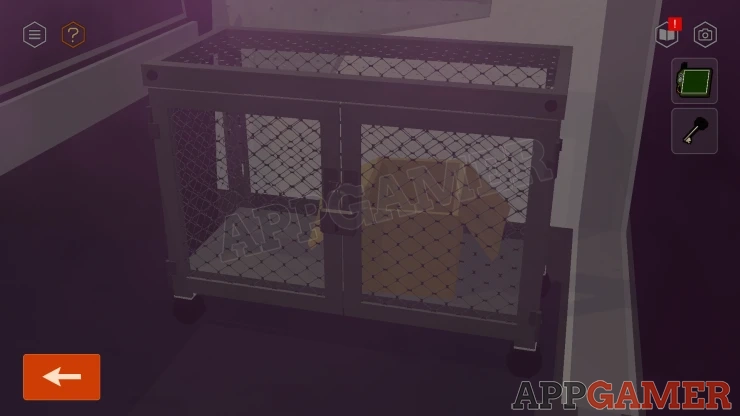
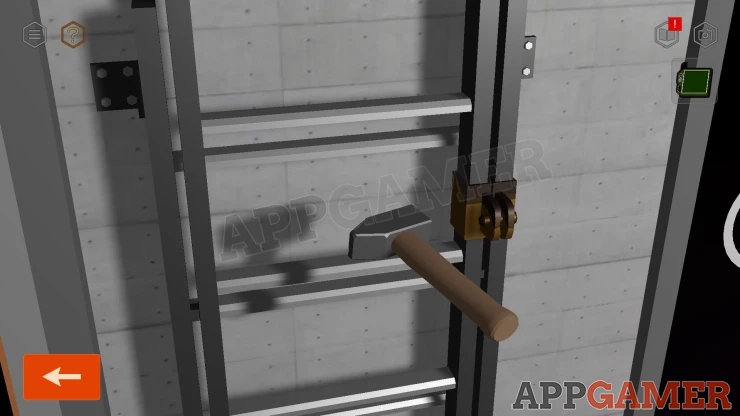
Exit the room and then view the Ladder at the end of the walkway. Use the hammer on the pin securing it and it will drop. You can then access the lower level.
There is a gate at the end of the room that is blocked. Notice the guard on the floor in a Yellow square with piles of boxes. This is a clue.
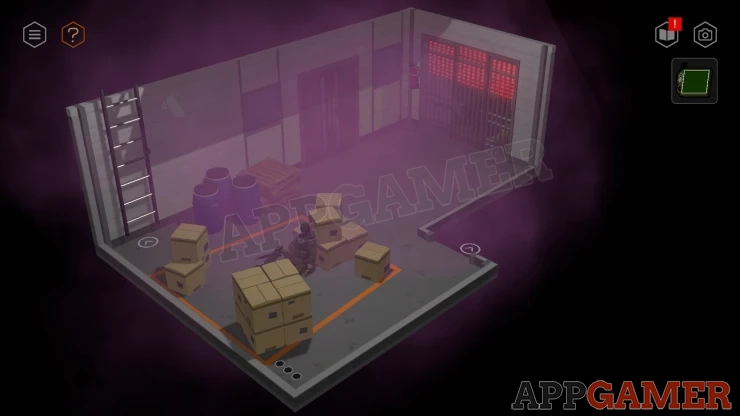

Look on the wall next to the ladder to find a set of doors.
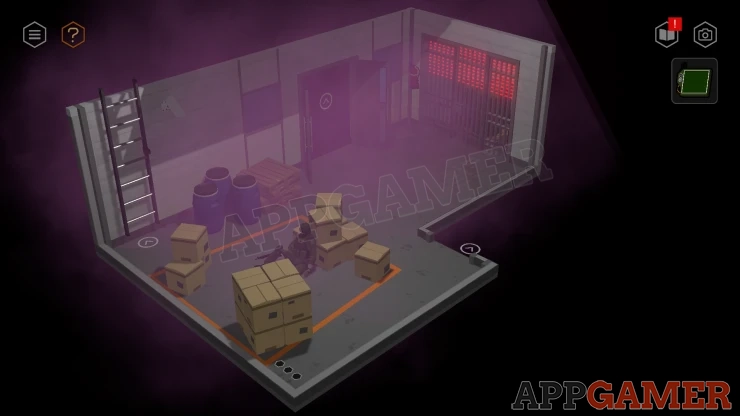
Open these and go through to an Office room.
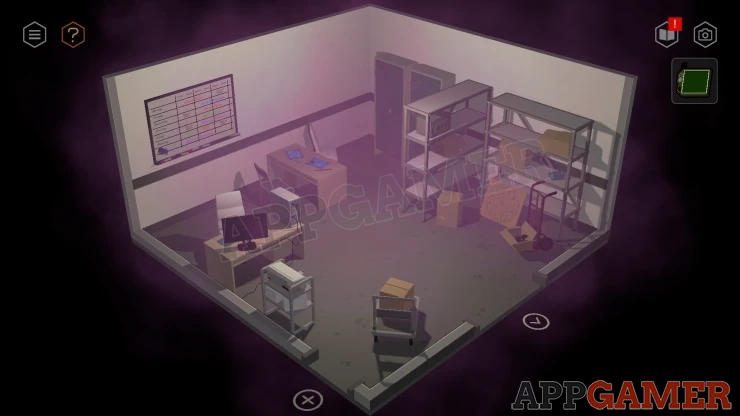
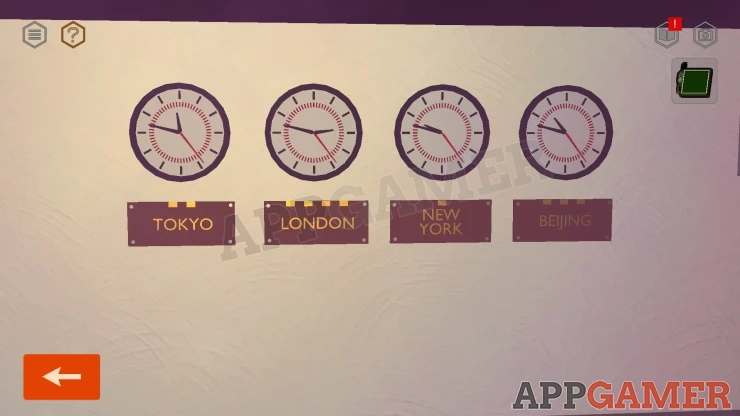
Turn to the left and notice the four international clocks on the wall. This is a clue.
View the computer desk on the back left, open the top drawer and collect a Paper (Anonymous Survey).
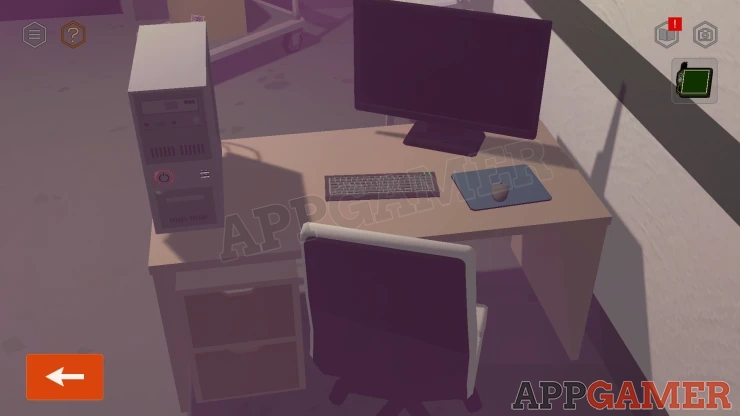
You can turn on the computer but it is missing a Ram Chip.
Then view the other desk Look at the blueprints on top. Collect a Rotary Knob (1).
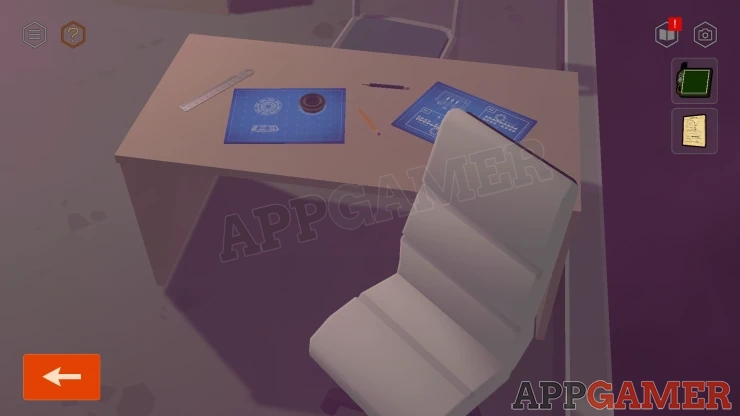
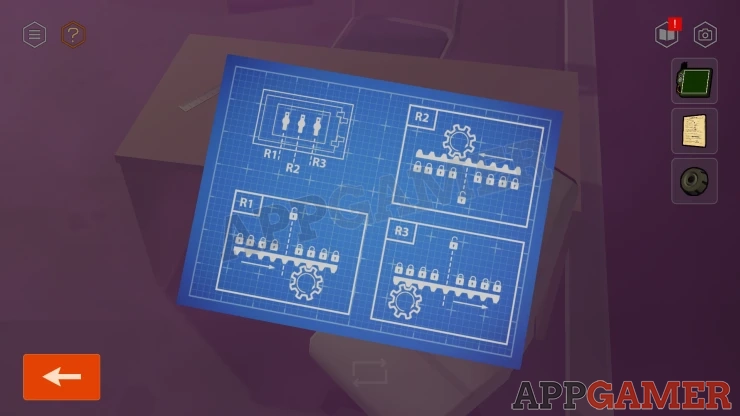
View one of the blueprints to see details on switches R1, R2 and R3. This is another clue.
Then move the chair and open the drawers of the desk and collect two Resistors.
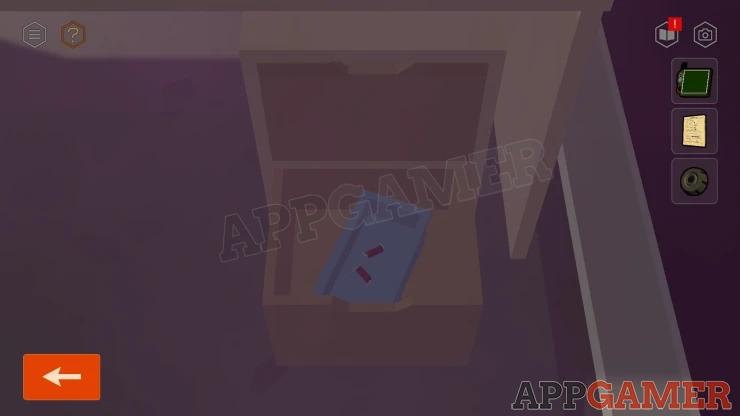
Next look at the shelves in the room.
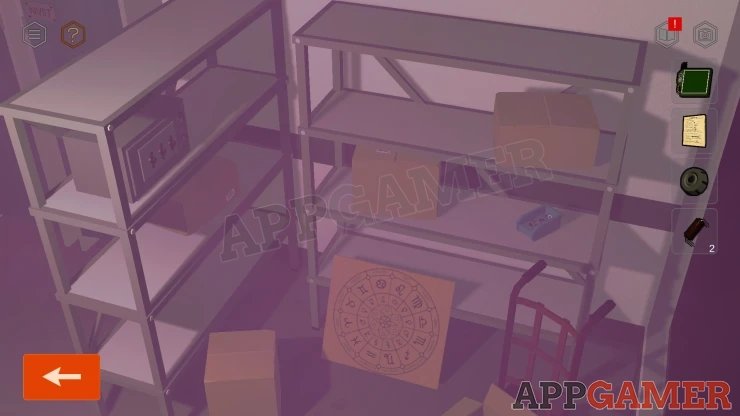
View a safe box on the top left.
Office Room Shelf Box Code
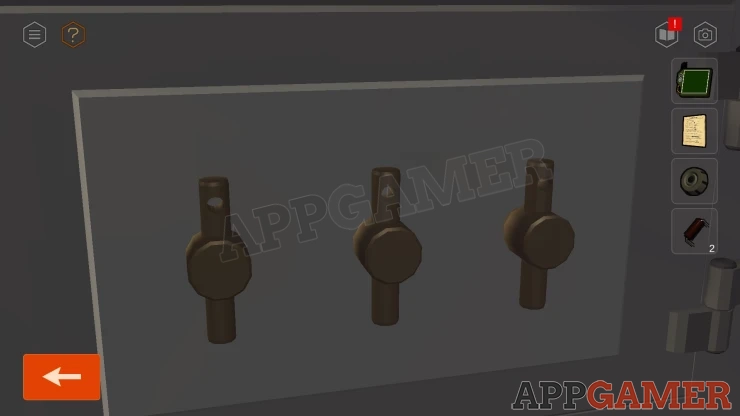
- There are three handles.
- Tap these to turn each the correct number of times to unlock the box.
- The clue is on the blue print.
Solution: Tapping the handle moves the teeth on the blueprint diagrams in the direction of the arrow. Count the number of teeth that need to move the unlock symbol to the cog position. For Handle 3/R3 the count will go off the right side and back on the left.Show
Code: Handle 1 / R1 - Turn 2 times Handle 2 / R2 - Turn 1 time Handle 3 / R3 - Turn 6 timesShow
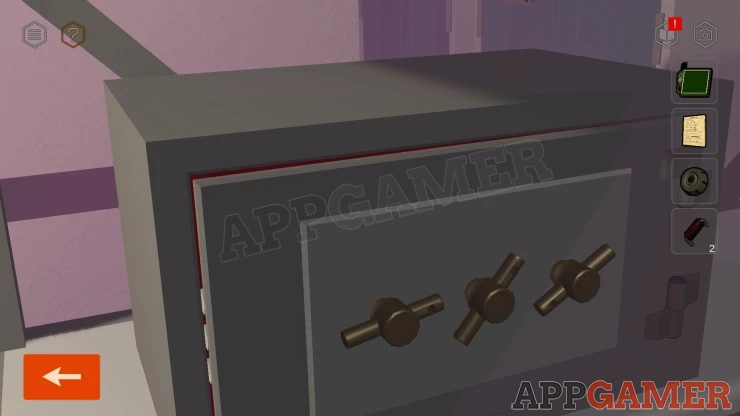
When the box opens collect a Buttons Panel.
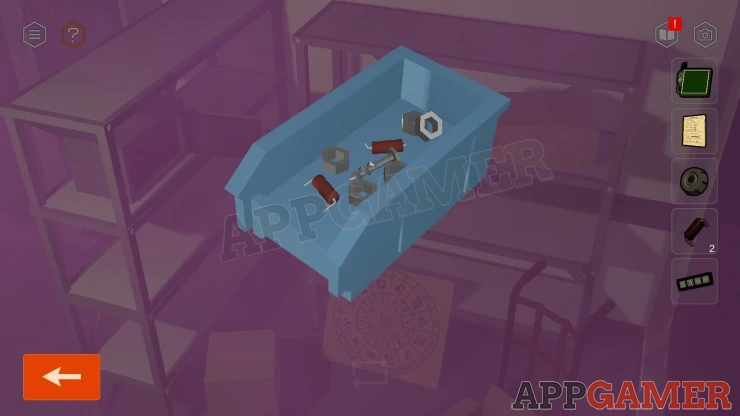
Then look on the other shelf and look in a blue container to collect some Resistors.
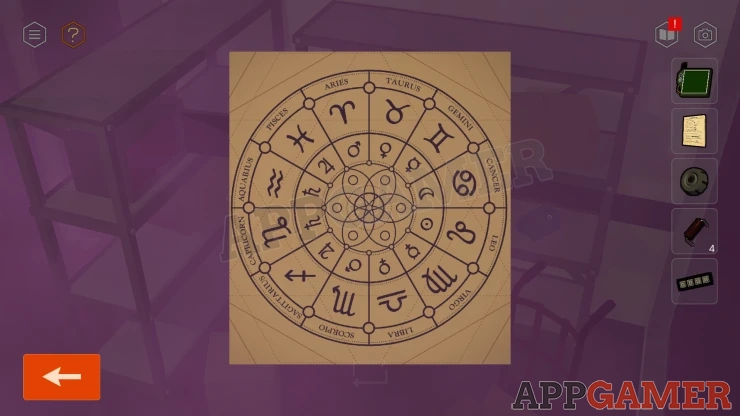
You can also examine a board with zodiac signs on it and dates on thje back. This is a clue.
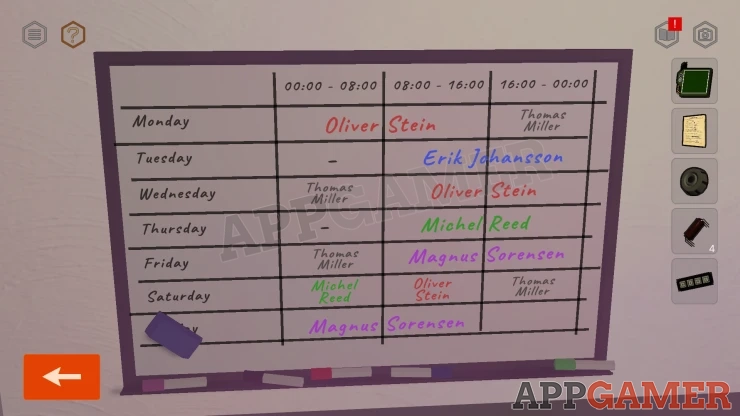
On the back wall is a white board with days and names. This is a clue for later.
Then also look at the two cabinets behind the shelves. Notice that each one has a set of letters on it.
There is another door in the opposite corner that is locked this can be unbolted to give access to the stairwell.
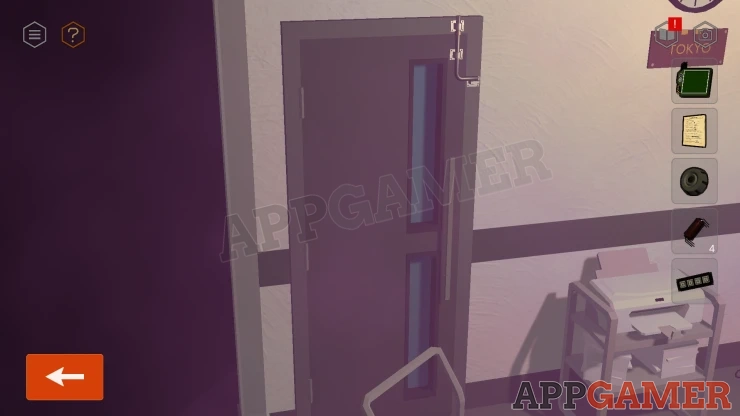
Back out to the large room with the gate and then move through the passage to the right with some stairs up to another walkway.
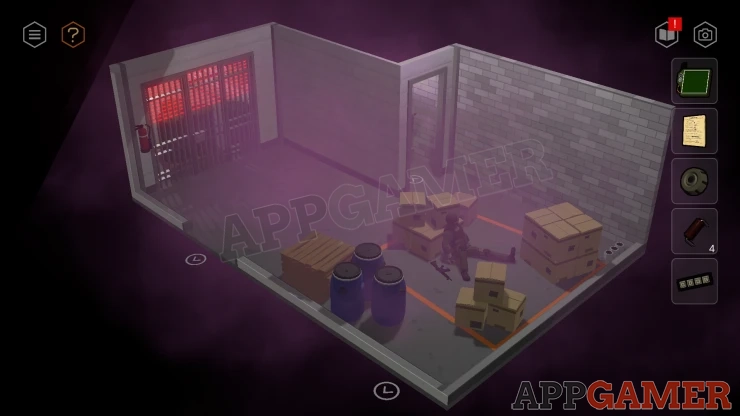
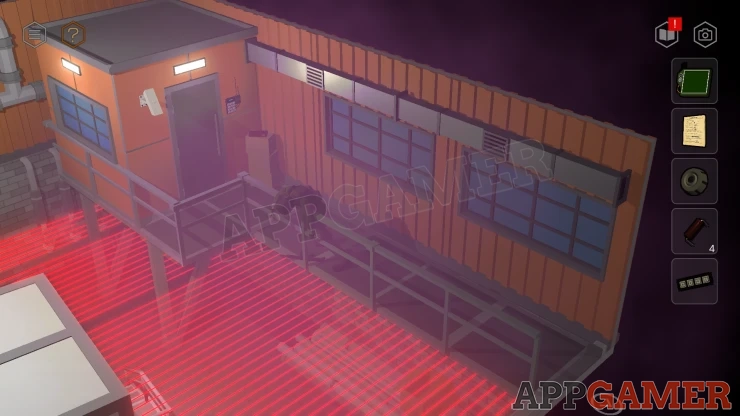
View a red case on the boxes by the next locked office door. Open it to collect a Screwdriver.
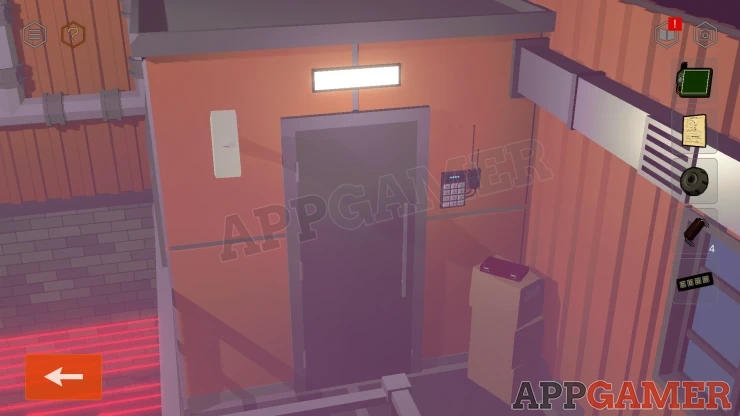
Then use the hacking device on the door keypad.
Hacking Device Puzzle 2
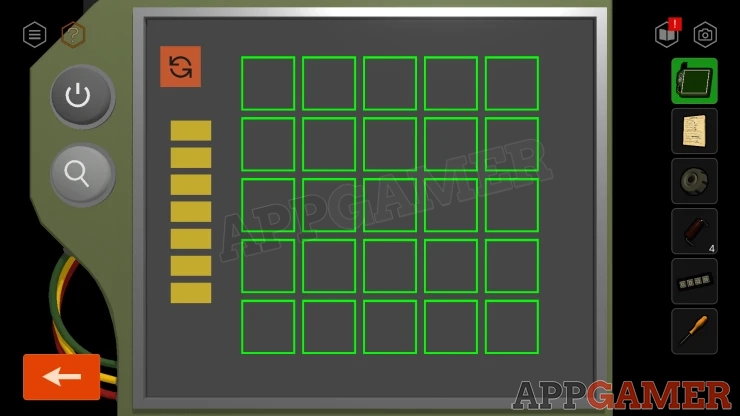
- Tap a square to tun on the green light and also turn on any adjacent squares.
- You have a maximum of seven moves to fill in all of the squares.
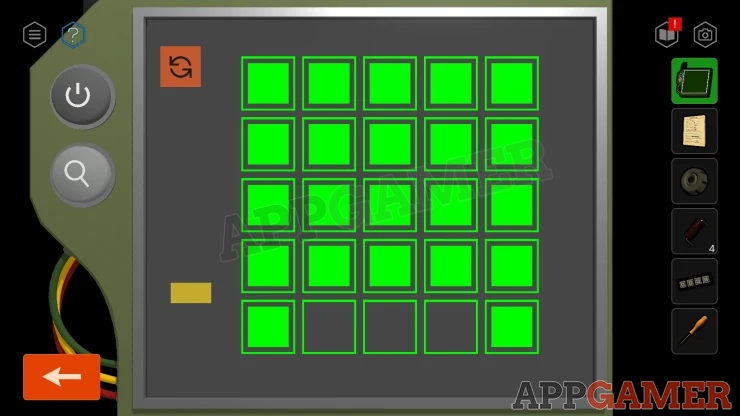
Once the door is unlocked you can enter a small control room. There is another guard asleep.
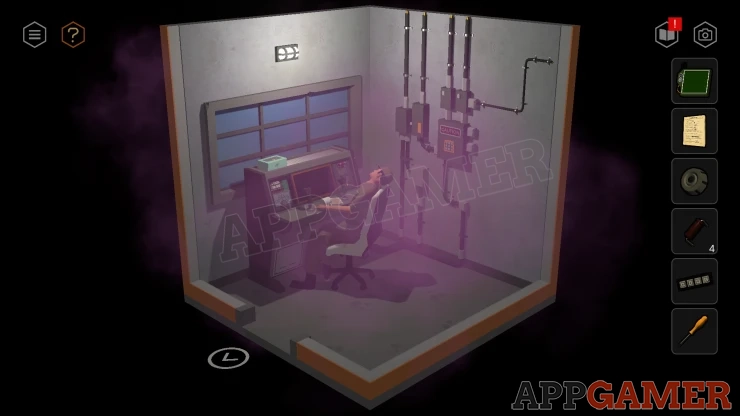
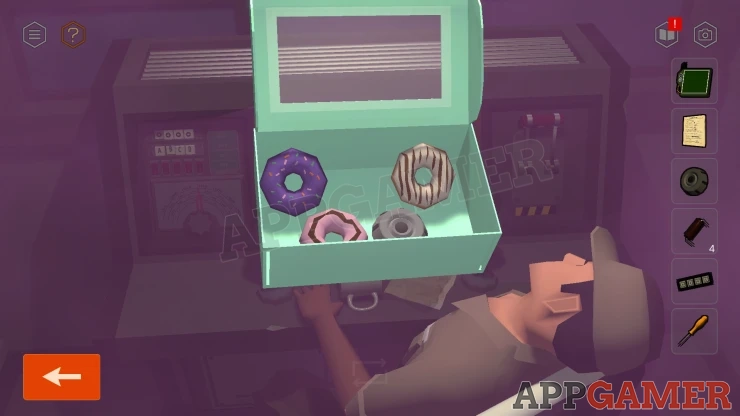
Look on top of the console to see a box of Donuts. this is a clue. Open the box and collect a Rotary Knob (2) from inside.
Then look on the control panel. There is a paper with coffee spilled on it. View it for a clue.
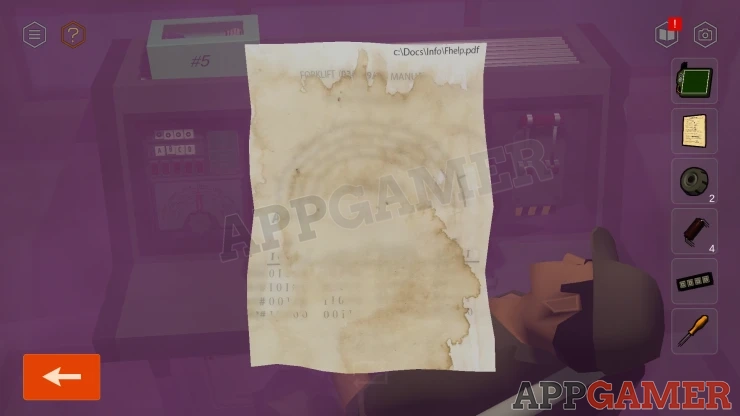
The paper is unreadable, we will need another copy.
Then look on the wall with the power cables and boxes. Notice one has a keypad with a Yellow square. This is a puzzle
Control room Keypad Puzzle
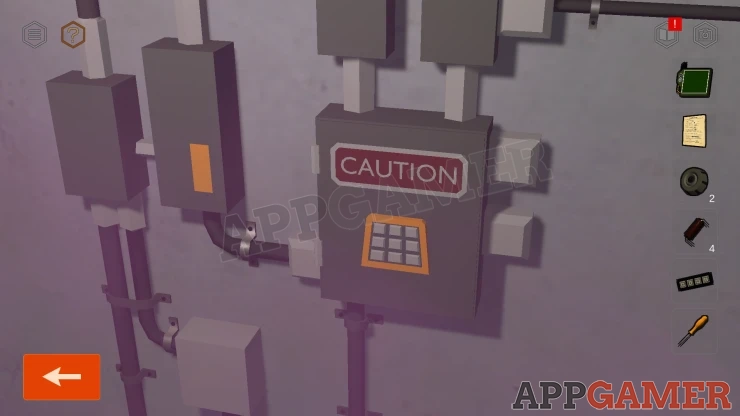
- The buttons are unmarked but are arranges in a yellow square (trapezoid) shape where the top is narrower that the bottom.
- This matches a yellow square on the floor in the previous room.
- The previous room has boxes arranges in the square.
Solution: Look at the boxes on the floor and note the locations of each pile of boxes. Then check the number of each pile and order them according to these number. On the key pad tap the buttons that match the positions, inthe order of the number of boxes, (1 box first).Show
Code: Top right, Bottom left, Top Middle. Bottom right.Show
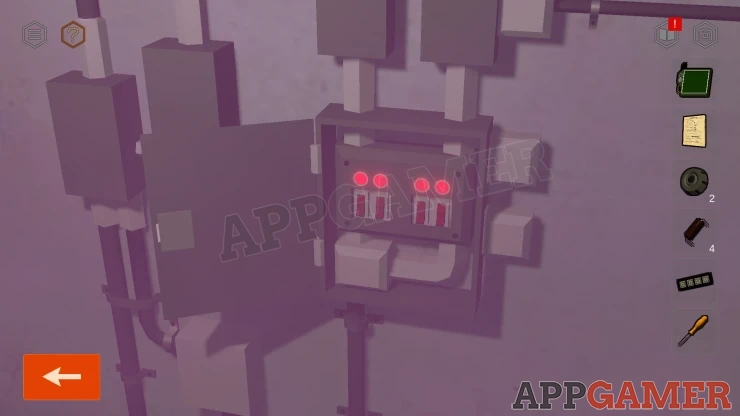
Once done the box opens and you can turn on the four power switches.
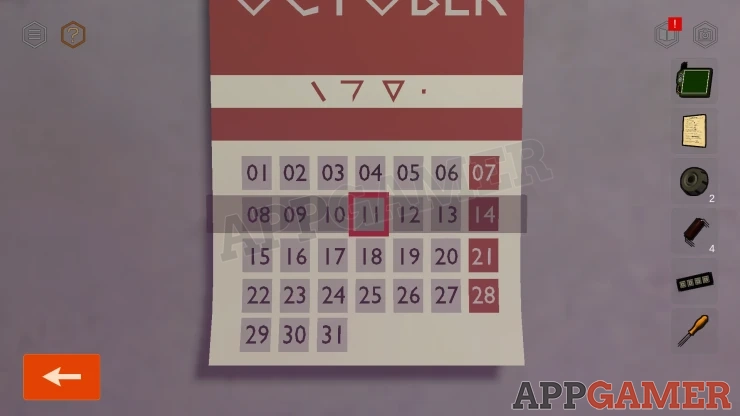
Next look to the right. View the Calendar to see the day/date. Notice the shapes as well for a clue.
Next open the cabinet below the calendar. There is a safe inside.
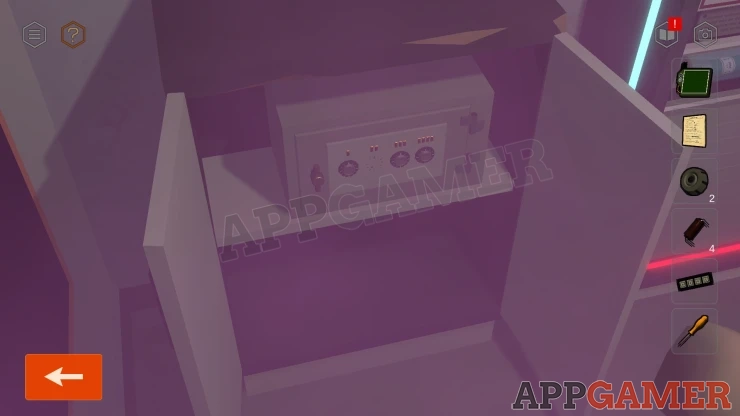
Control Room Safe Lock Puzzle
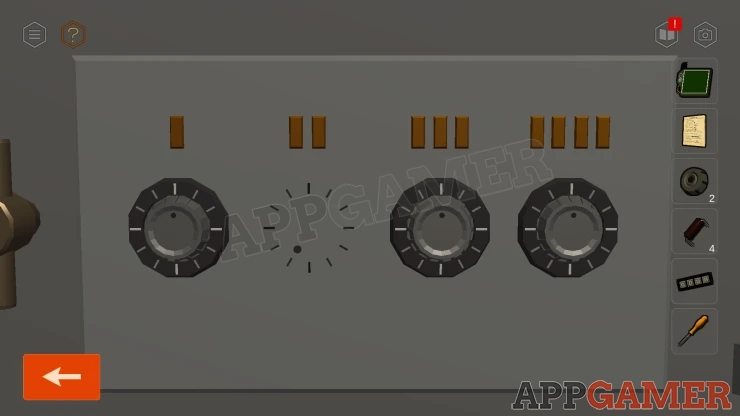
- The safe has four dials. Thes have 12 positions like a clock.
- Dial 2 (II) is missing but has a marked position at 7 o'clock.
- Set the other dials to the correct positions
Solution: Look at the clue with the four international clocks. Notice the signs below them have line markings. Tokyo is 2 (II). The dial for Tokyo is at 7 o'clock. Turn the other dials to match the time that would be on those clocks when Tokyo is at 7 o'clock.Show
Code: 5 [7] 6 10Show
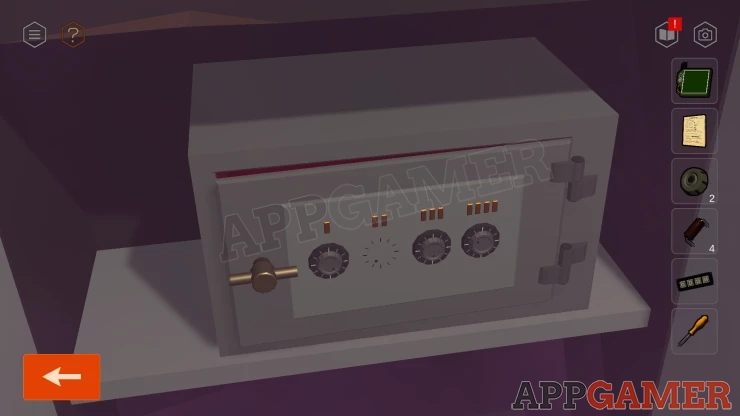
Collect a Barcode Scanner.
Go back to the Office room, downstairs. Look at the shelves again. There are 4 boxes here that you can pick up and turn around to find a bar code. Scan each one that you find.
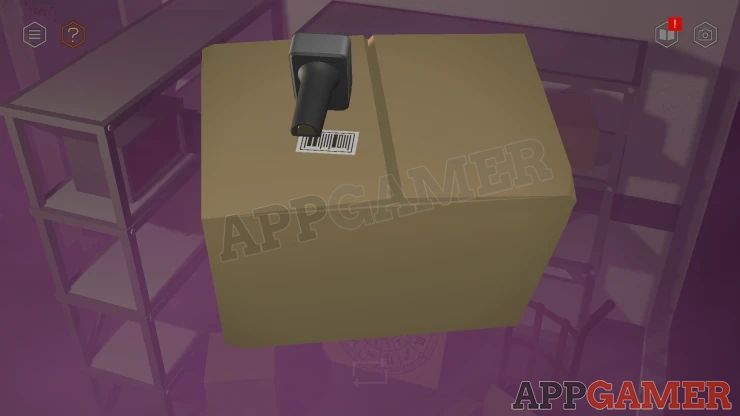
Then you can also find one more box on a small trolly on the other side of the room.
Now you can view the Scanner in your inventroy and look at the screen. Use the arrows to look through all of the barcodes that have been scanned. This will show you numbers that relate to the different sets of lines in the bar codes.
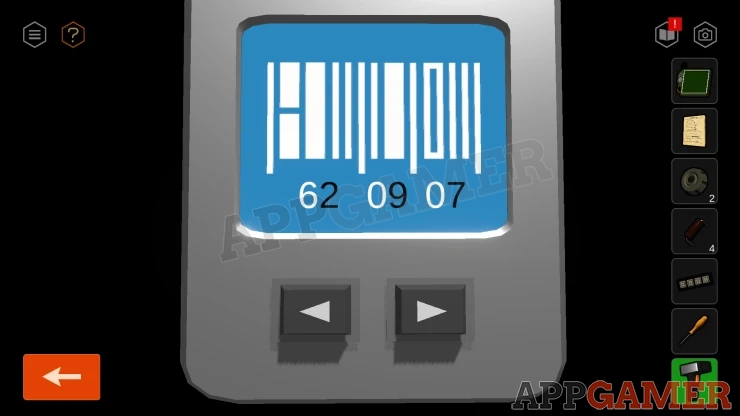
Each set is separated by a longer line.
Notice that in two digit numbers the tens is a white number and the units is a black number.
Go back upstairs to the security office and look at the desk again. On the top left is a sticky note with lines drawn. View this.
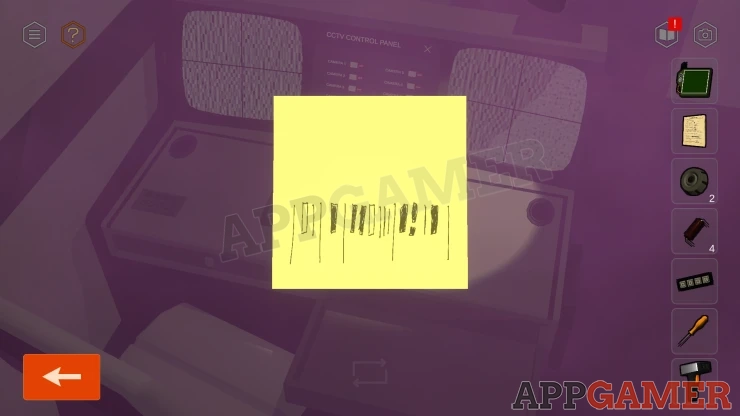
Barcode Puzzle
- This is a barcode, use the clues from the scanner to work out the value that is shows.
- The code has four sections separated by longer lines.
Once you have the code look on the left side of thge desk to see a green panel with a code entry. Enter the numbers from the note here. The lower dials have white mumbers so enter the tens there.
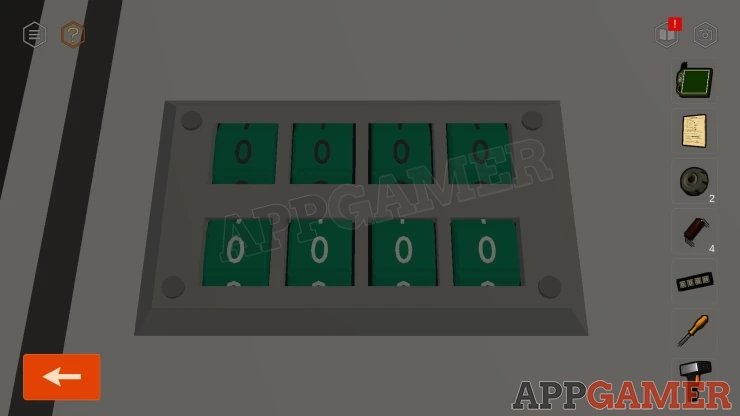
Code: 06 - 10 - 28 - 49Show
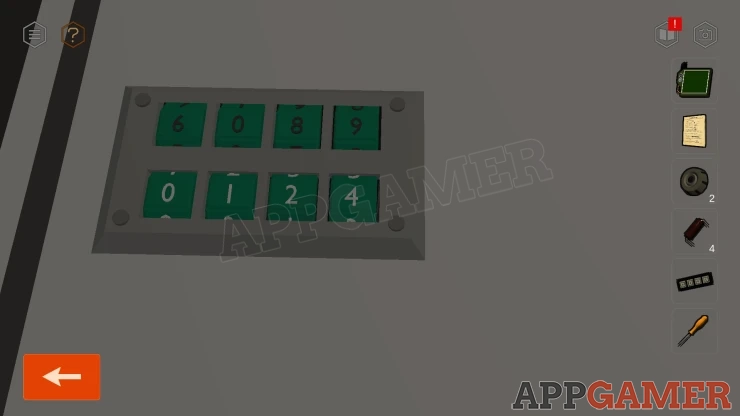
Collect the RAM.
Next look at the lamp on the desk. This is pointing down.
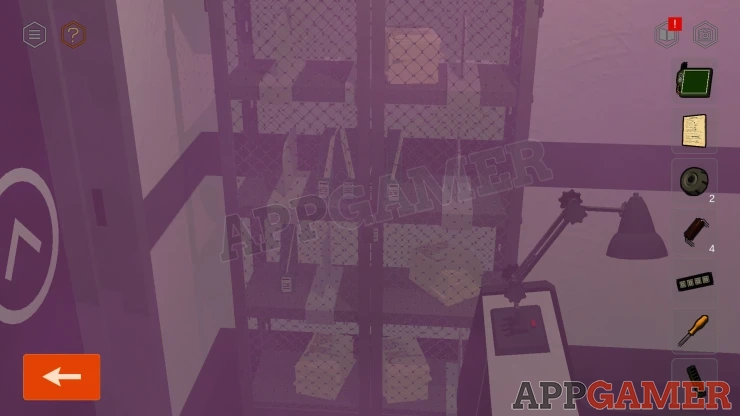
Tap the joints of the lamp to change the position. Keep moving it until it it pointing at the white board.
When you do this it will reveal a secret message on the board. The 'Daily Secret Number'. Remember this.
Show
Next turn to the left to see a tall locked cabinet, view the padlock.
Security Office Cabinet Padlock
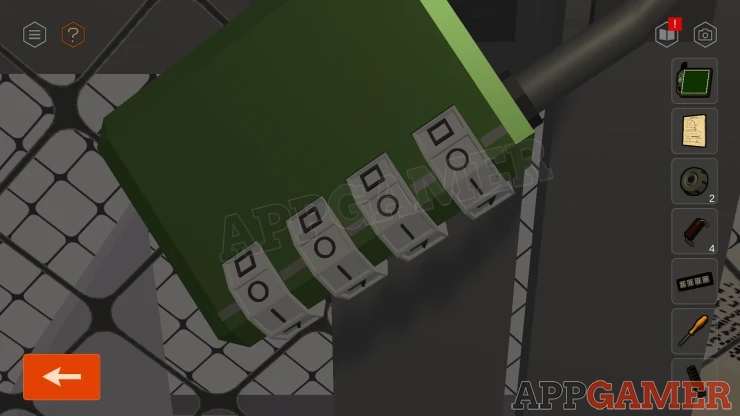
- Notice the padlock has shapes / lines on the dials.
- Use the clue from the calendar in the control room to solve this.
Solution: There are four shapes on the calendarShow
Code: Show
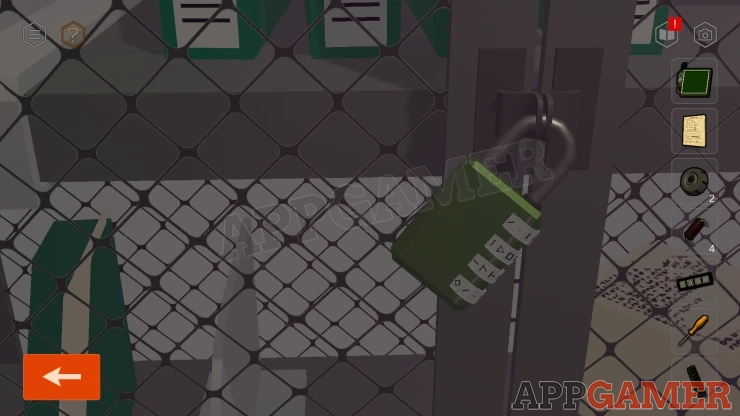
Open the doors and collect five Papers (Employee Details).
Go back to the Office room and view the side of the computer. Use the screwdriver here to open the case. Then you can add the RAM to it.
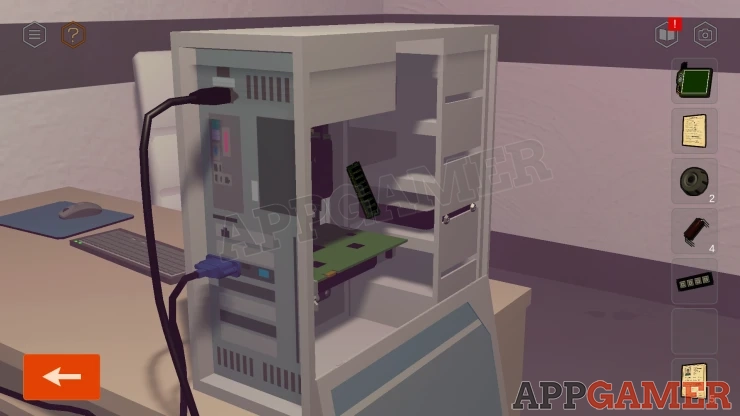
Turn the comuter on if it is not already. Then view the computer screen. There is a password entry.
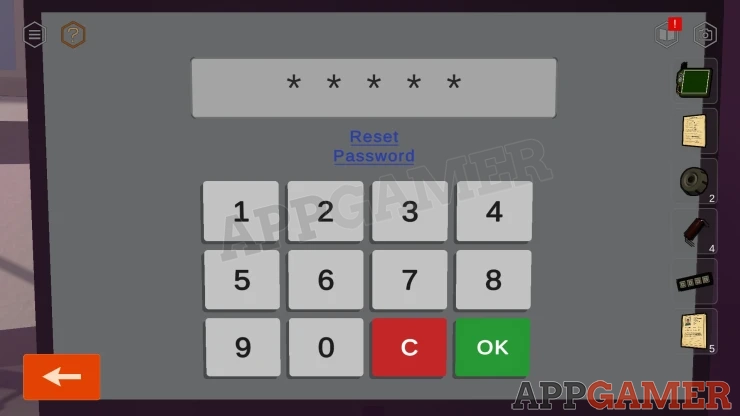
Select the Reset Password option. You now have a series of security checks.
Reset Password Checks
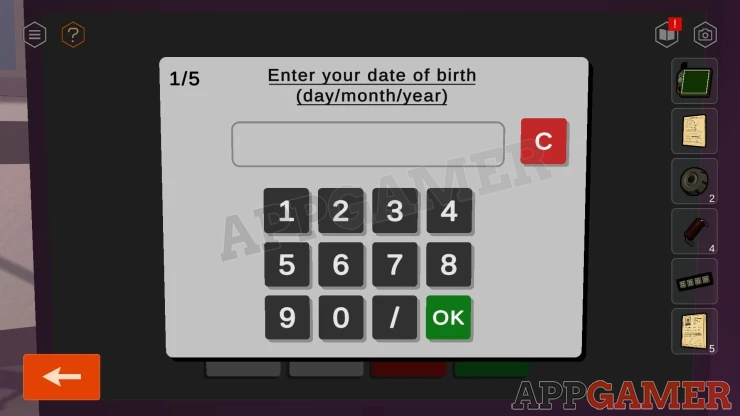
Date of Birth: From the calendar we know that is it thursday. Look on the white board in the room to see that Micheal Reed works on Thursdays. Then view the employee details Papers that you have and find the one for Michael Reed to see his date of birth.
Answer: 19 / 01 / 1985Show
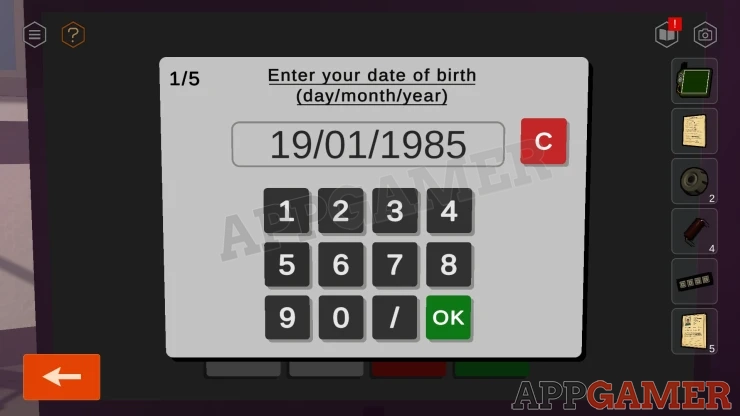
Favourite Food: You have see clues to three types of food in the building. Select these.
Answer: Fruit, Sushi, DonutsShow

Zodiac Sign: You can use the Board by the shelves with the zodiac signs on it. On the back are the dates that cover each sign. Match the Date of Birth to this.
Answer: Capricorn

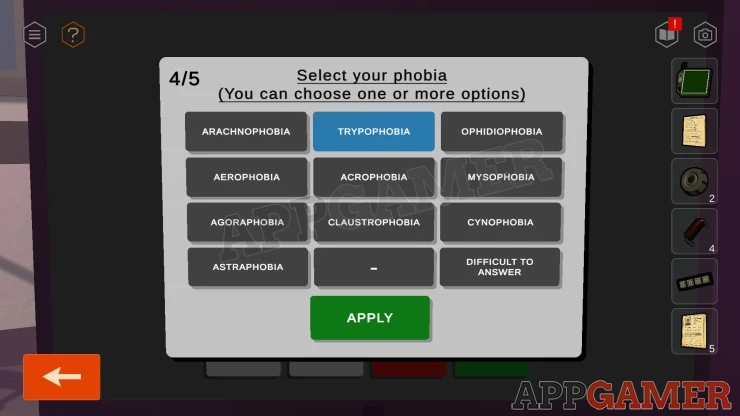
Phobia: Chewck the ewmployee detaila again to see Michaels blood type and weight. Then view the other set of papers (Anonymous Survey) to find one that matches, this lists a Phobia.
Answer: TrypophobiaShow
Enter DSN: This is the Daily Secret Number that you have seen on the white boad in the security office.
Answer: 14Show
You can now use the computer. Use the Search option and look for a file that we need. The paper that was in the control room ruined by a coffee spill.
Search for 'fhelp.pdf'
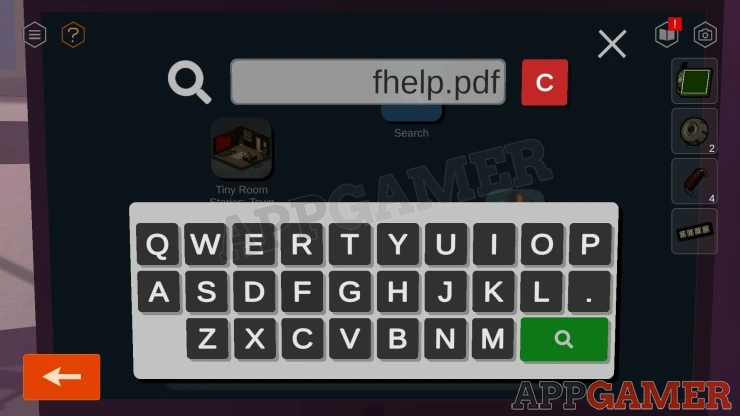
We now have the option to print this but the printer is out of paper. View the printer on the other side of the desk. Collect a papaer from the lower shelf and then add it to the printer.
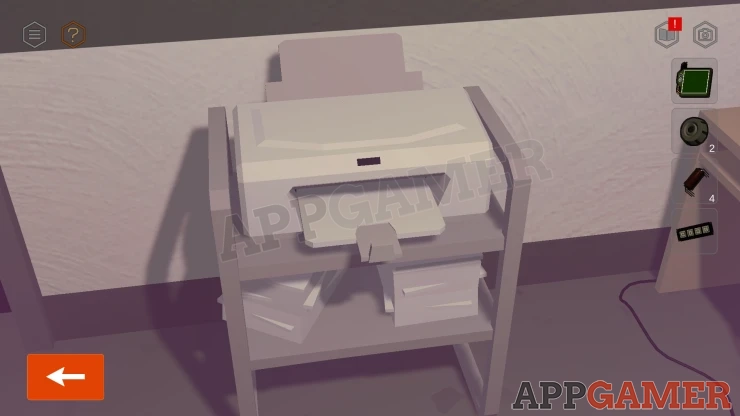
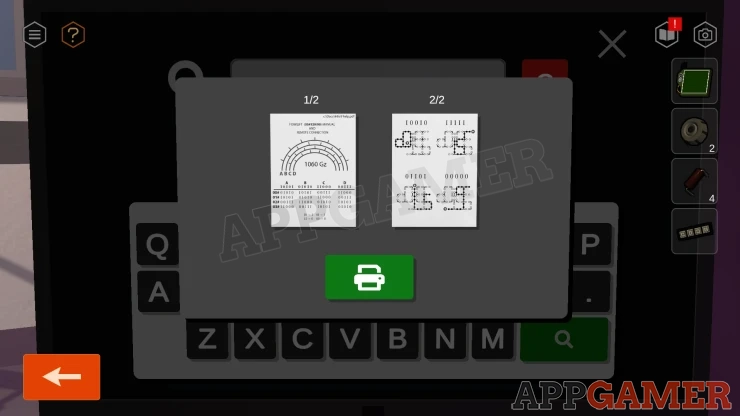
Now print the document and take the Paper from the printer.
Next look at the two cabinets in the corner of the room. Each one needs a code entry to open them.
Office Room Cabinet Codes
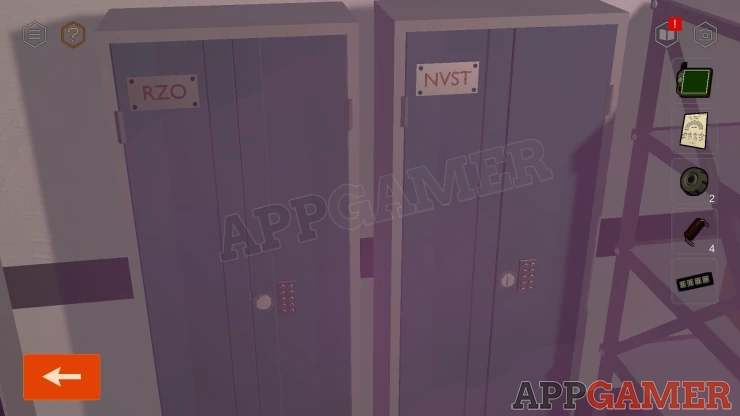
- Each cabinet has a 3/4 letter code on them.
- From the white board in the security room we can ee the letters represent numbers.
- There is also an example of transitioning the letters 4 spaces through the alphabet to get to a new set of letters (and numbers).
- We have also found the Daily Secret Number.
Solution: Take the letter codes and trasition them through 14 letters (DSN) then get the numbers from these.Show
Codes: RZO > FCN = 6 14 3 NVST > BJGH = 2 10 7 8Show
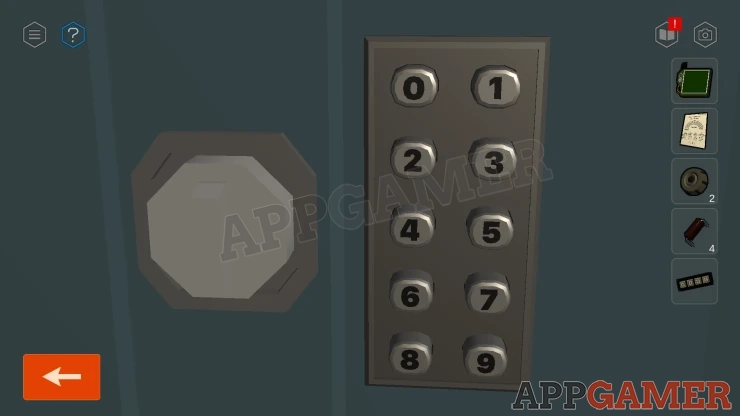
Enter the code in the cabinet keypad and tap the handle to open the doors.
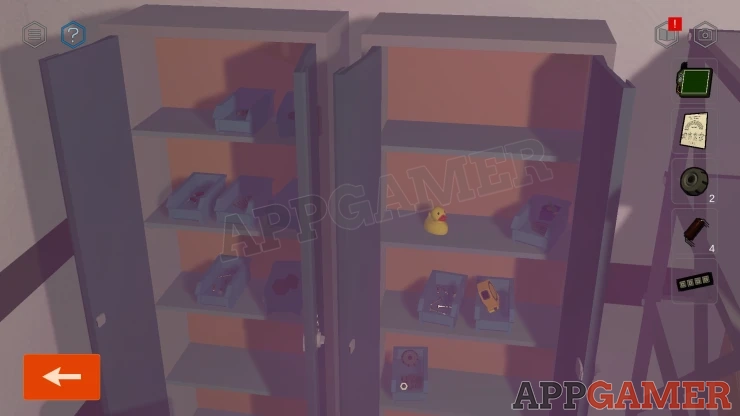
Open the two cabinets and collect two more Resistors and a Rotary Knob (3)
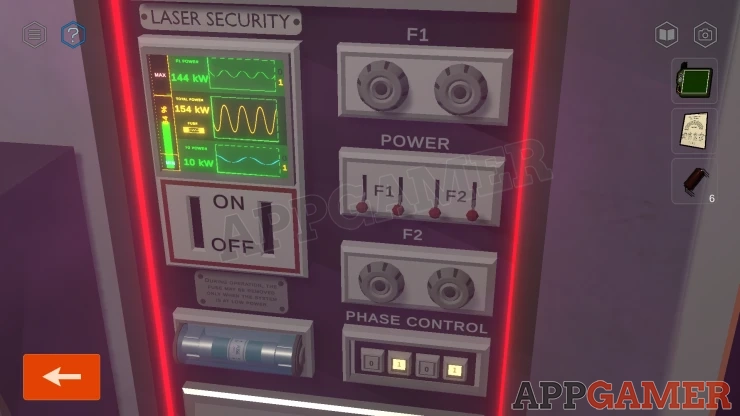
Now go back to the Control Room. Look at a large Laser Security panel. Add the three rotary knobs to the missing slots in F1 and F2. Then also add the Buttons to the Phase Control Panel.
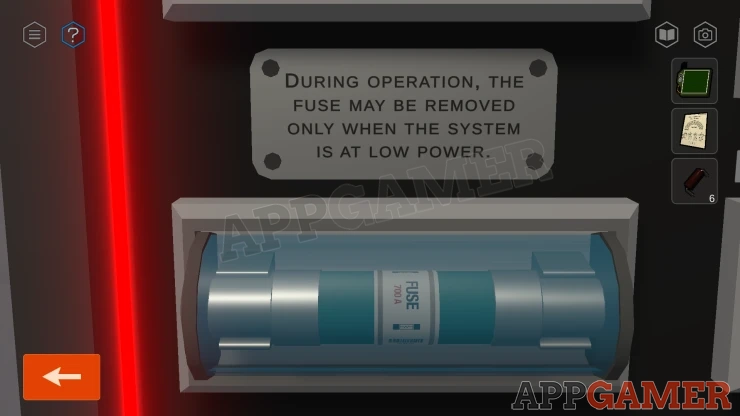
Notice the Fuse, we need to remove this when the power is low.
Use the buttons and knobs to adjust the settings. As you do a green display bar for the the Laser Security power on the left side will go up and down. Adjust the settings to get it below the line at the bottom.
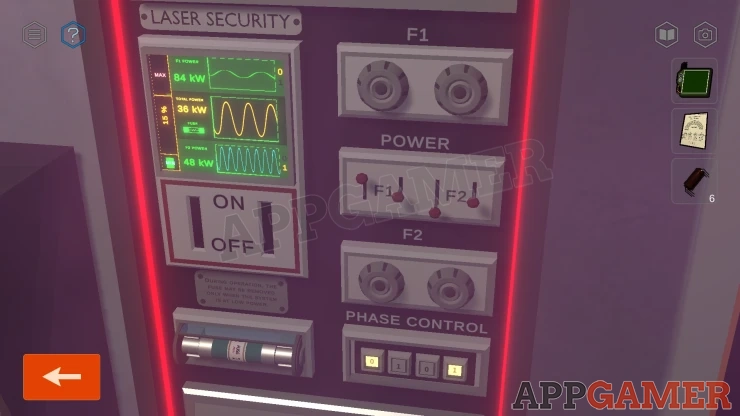
When you do the fuse compartment will open and you can collect the Fuse.
Now re adjust all of the switches dials and buttons to raise the power level. Keep changing the settings to fill the green bar to 100%.
When you reach full power the machine will explode and the laser security system will deactivate.
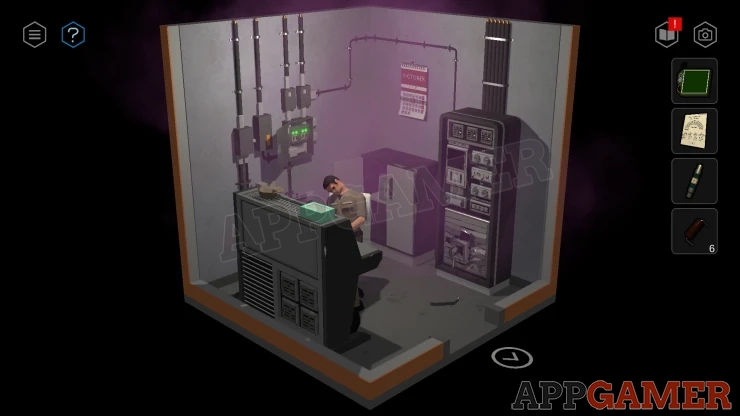
Collect a Metal Strip from the floor.
Now look on the right side of the control console, there is a slot for a fuse here.
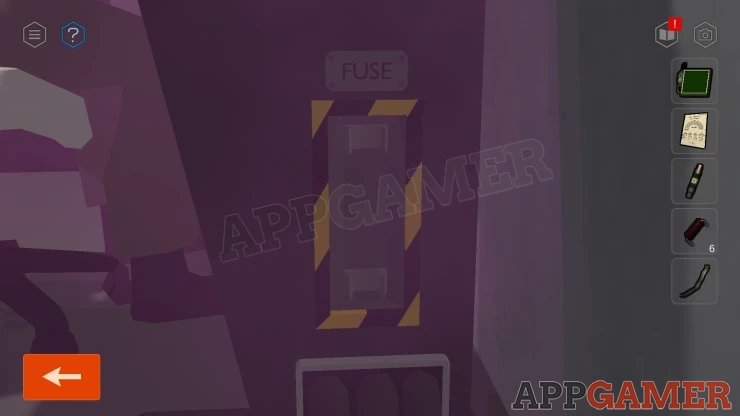
Add the fuse, then view the front of the console and move the large power switch to turn the console on.
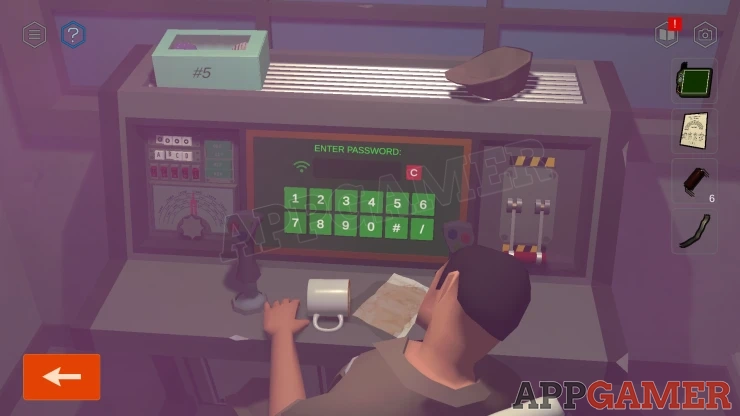
Use the Hacking Device to get past the password.
Hacking Device Puzzle 3
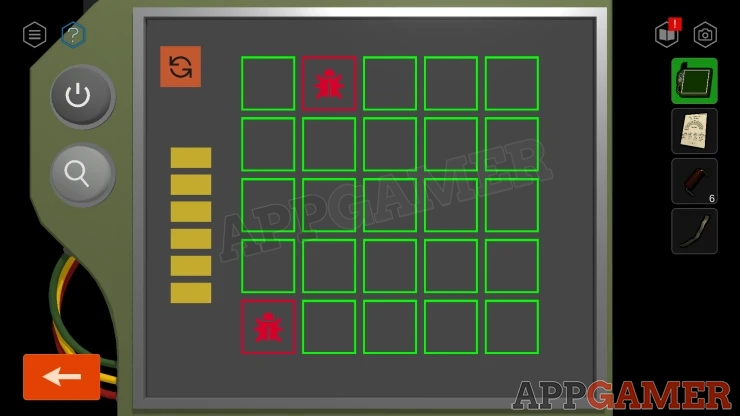
- This first section is another pauzzle where you need to turn all of the squares green within the 6 moves allowed.
- You cannot make a move that touches one of the reg Bug squares.
Once it is done the password hack failes and you need to proceed in manual mode.
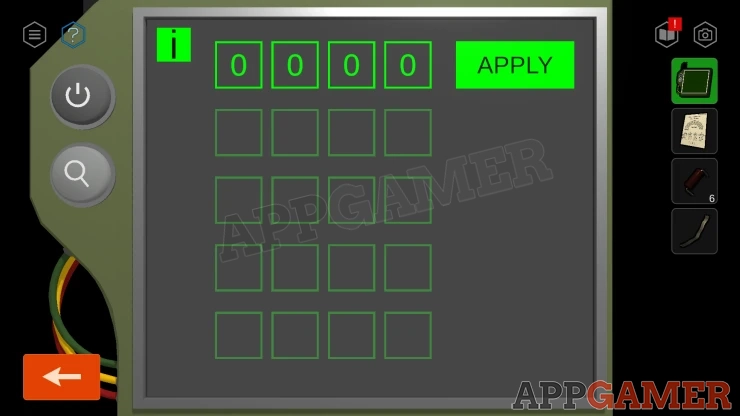
This is now a mastermind style puzzle where you need to use trial and error to fins the four digit code.
- Enter four numbers from 0 to 9 in the first row. Then 'Apply'
- Crossed out numbers are wrong. Clear numbers are correct but in the wrong place. Numbers with a green background are fully correct.
- A safe strategy is to try all numbers until you have four that you know are correct. Then change the position of any that are in the worong place.
Code: 6432 - You may find a different code in your game.Show
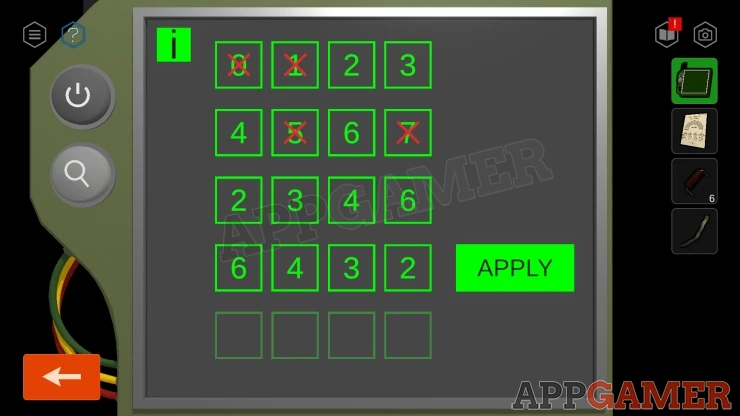
Once unlocked click on the Forklift Remote Control option.
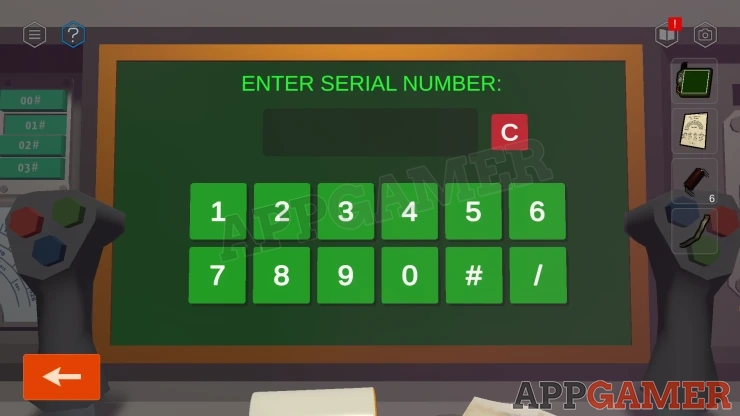
Look at the paper you printed to find the Forklift Serial Number.
03#529/90Show
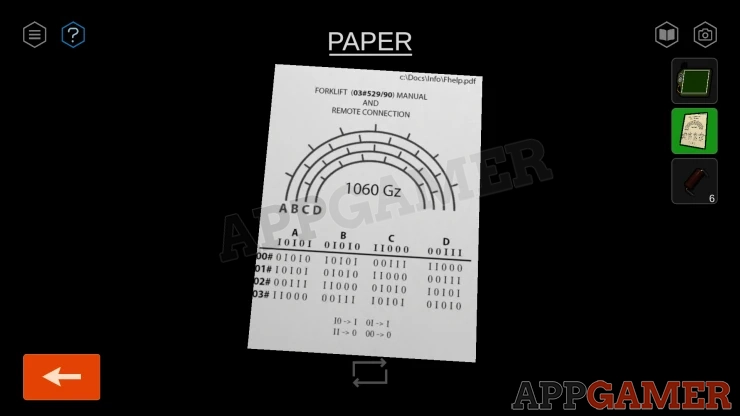
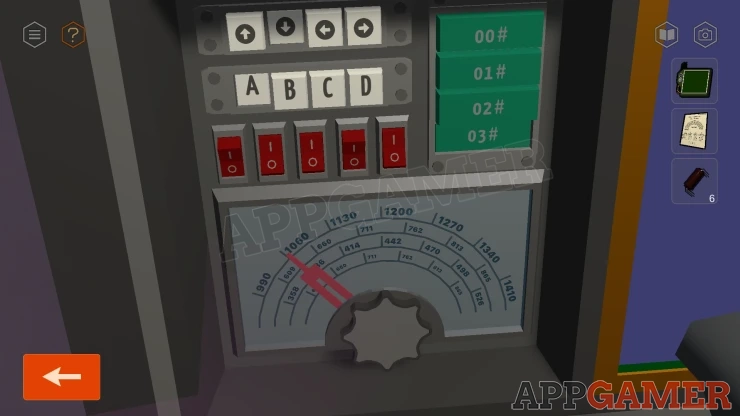
There is no signal.
Look at the panel to the left. You need to set this correctly.
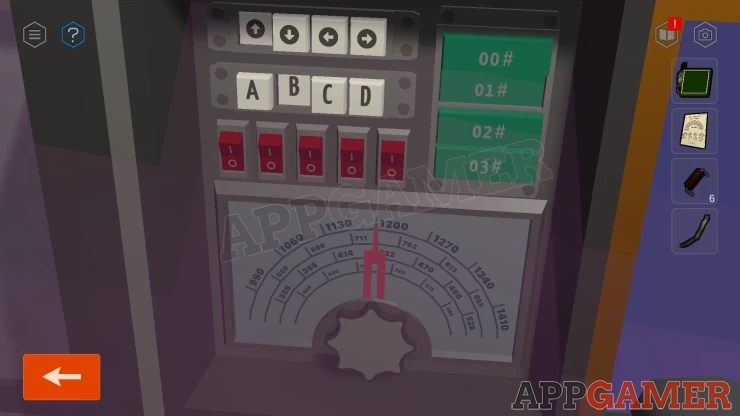
First select the green button 03# to match the serial number.
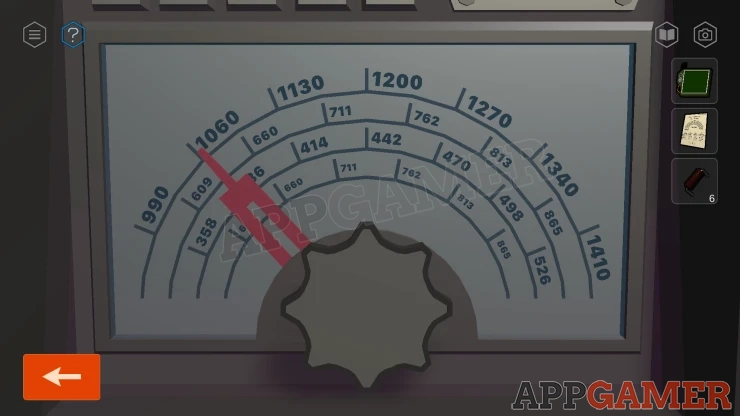
Then from the paper you can find the Frequency - 1060 Gz
Set this on the dial and select button A for the outer ring of the dial.
Next look at the lists of binary numbers below. Under the list for A lokk at the entry for 03# = 11000
Combine this using the ruiles at the bottom of the paper with the nuber at the top of column A - 10101
This combines to give => 01101
Look on the back of the paper at the circuit diagrams. The bottom left one has the same code number.
This has a down arrow and a layour of connections.
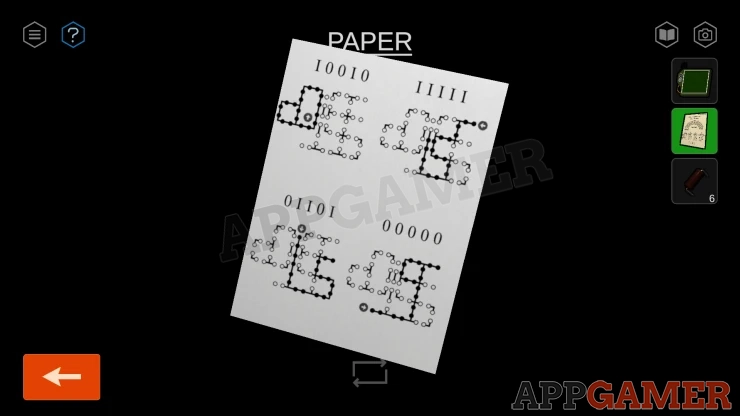
Select the Down arrow on the top left set of buttons. Then also set the red switches to this number.
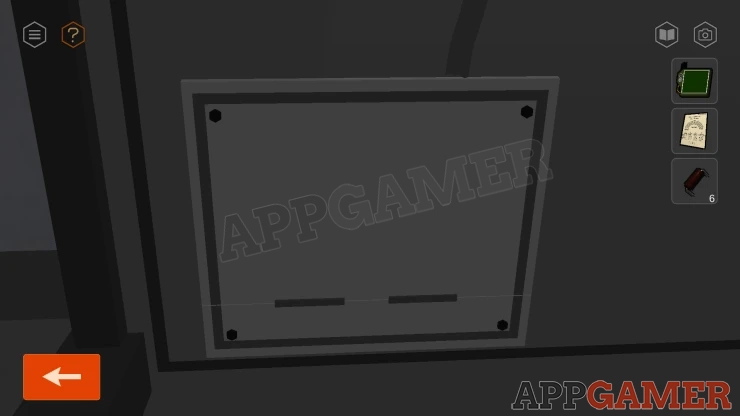
Now look at the base of the console on the left. There is a panel. Use the metal bar here to pry it open.
Inside is a circuit board. View this and collect the three Resistors from it. You should now have 9.
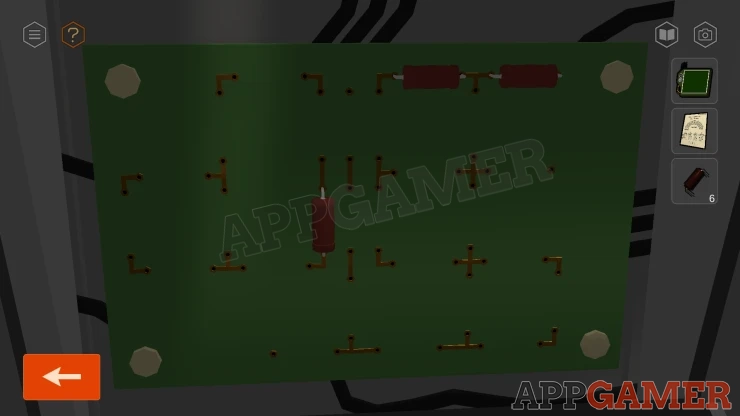
Look at the back of the paper to see the circuit diagrams. Copy the layout of the connections on the lower left diagram with the down arrow.
Solution: Show
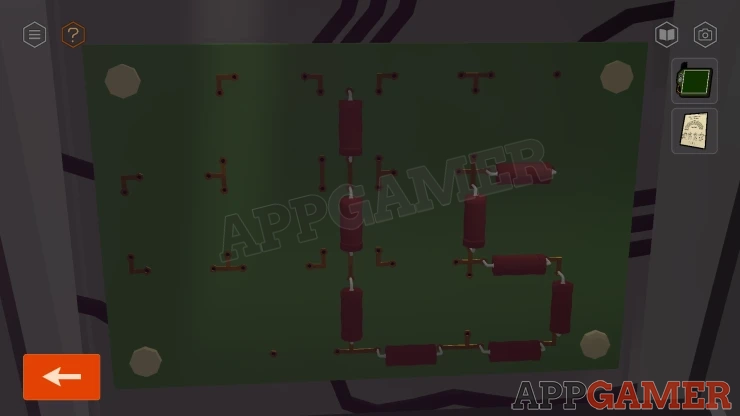
Now you should have a connection to the forklift. View the screen and tap on 'Start'.
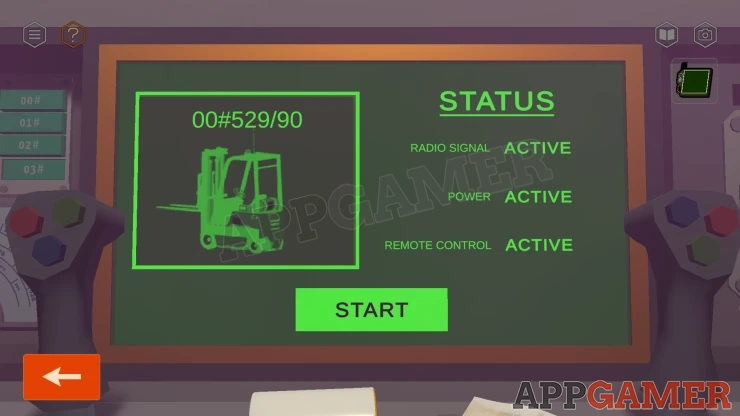
Use the buttons on the right to move the forklift forward twice. Then raise the forks to lift the obstruction.
Then back up so that it is clear from the gate.
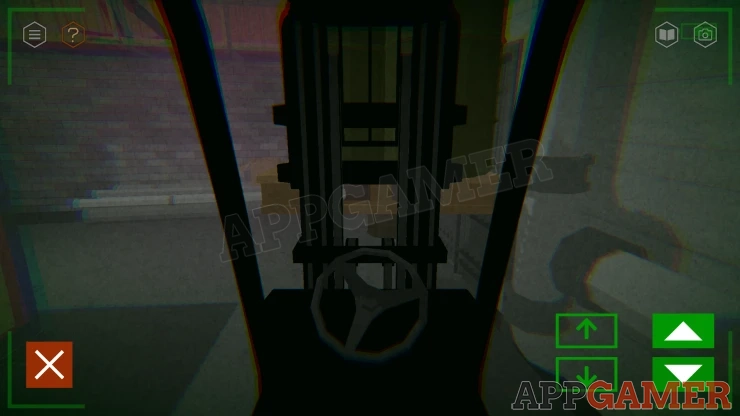
Now you can back out and go down to the large room with the gate.
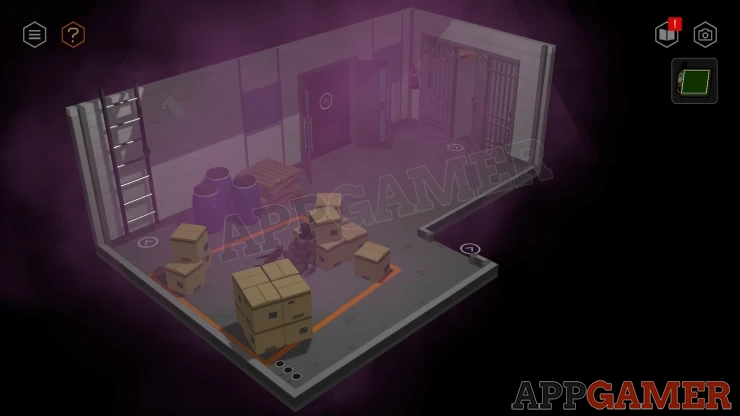
Open the gate and go through to the main room with the lab in the center.
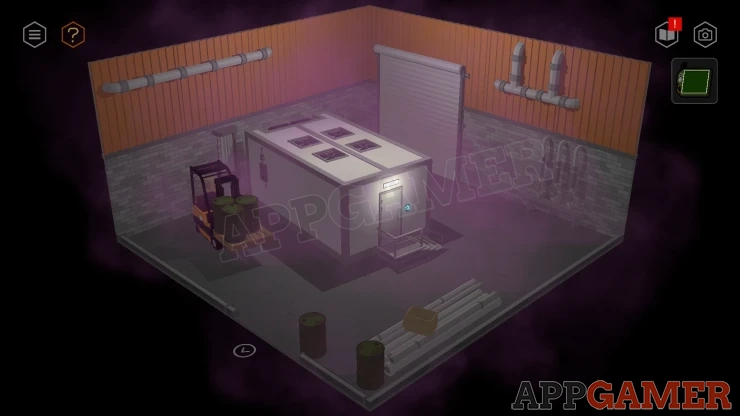
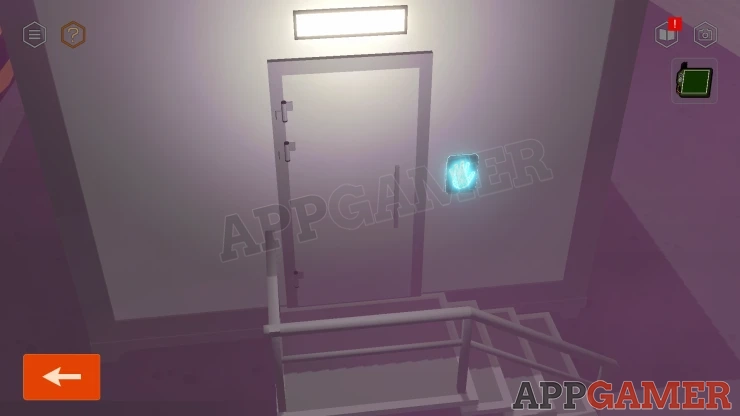
View the door to the lab and then use the hacking device on the hand print scanner.
Hacking Device Puzzle - Hand Print
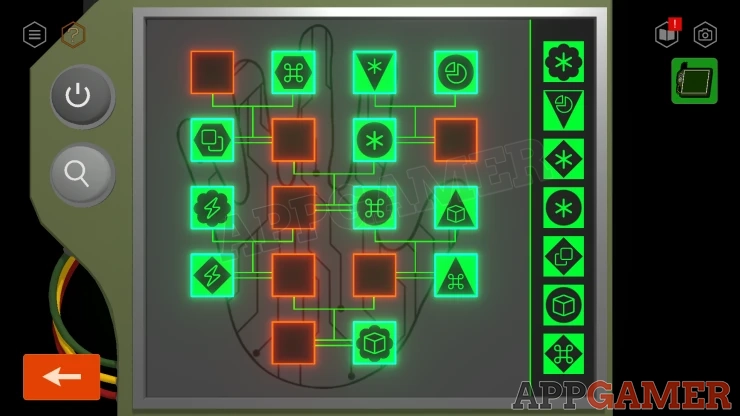
- You will see a grid of symbols with some missing.
- On the right are spare symbols that you can use.
- Tap any two sqaures to swap their positions.
- Fill all of the square on the hand print with the correct arrangement of symbols.
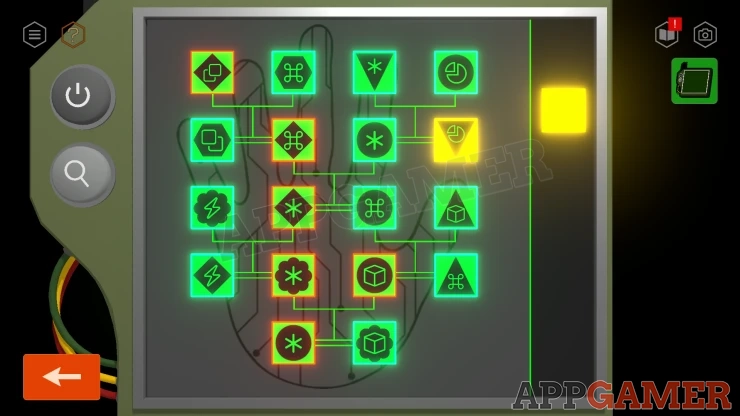
Solution: Each square has a large shape (hegagon, diamond, circle, triangle, flower. and and inner symbol. The suares are connected by lines with two top squares flowing to a joined pair below. Set the quares so that the top two in each group of four then flow to a matching pair below with the symbol and shape swapped.Show
Code: Show
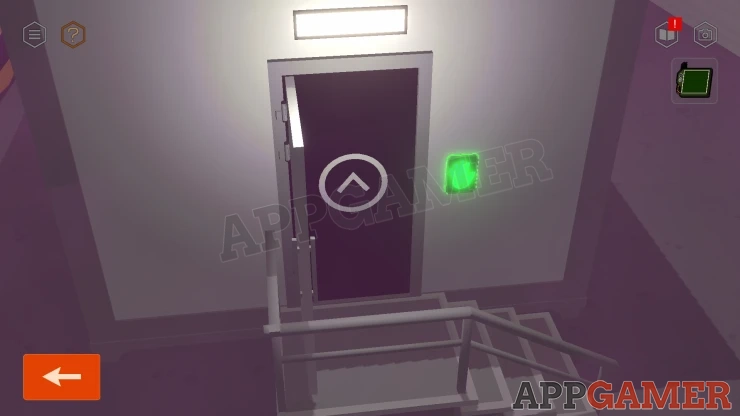
This will open the door. Going through will complete the chapter.
Move on to Chapter 6.
We have questions and answers related to this topic which may also help you: Show all
 With 20 years of experience in creating video game content for the internet and over 30 years as a gamer, Mark is now a passionate mobile App Gamer. Loving a challenge, he is always ready to get stuck in to both survival builders and puzzle solving games. He has been providing content for AppGamer since 2014.