
Chapter 1 - Cabin in the Woods Walkthrough
More Tiny Room Stories Eclipse
This is our guide to the first chapter of Tiny Room Stories - Eclipse. You reach chapter 1 after completing the tasks of the Prologue level. Follow the walkthrough below for help finding your way and solving the puzzles that you will encounter.
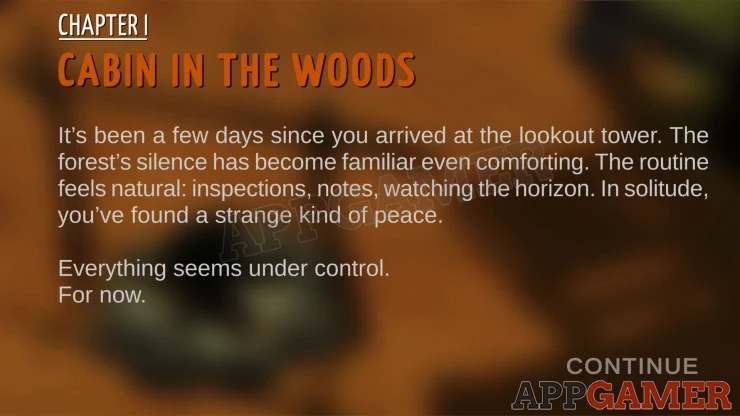
Chapter 1 Walkthrough - Cabin in the Woods
"It has been a few days since your arrival at the lookout tower.... Everything seems under control. For now."
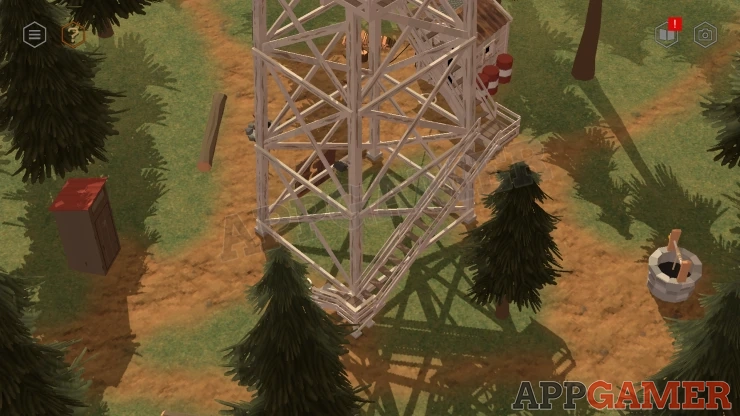
You need to find the binoculars. View the base of the tower and find the small outhouse with the red roof to one side. Turn the view to see the door to it.
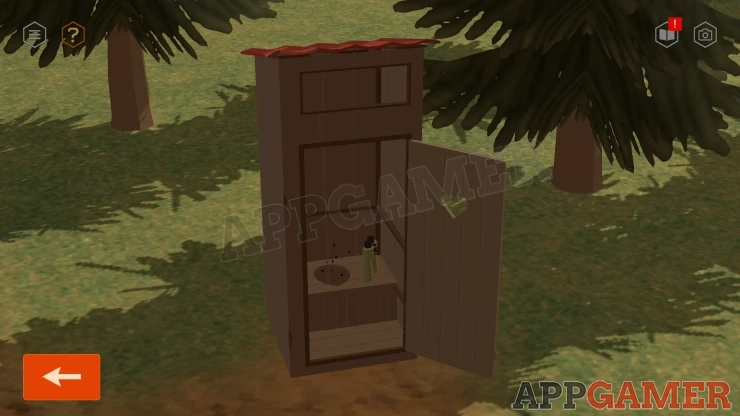
Open the door and collect the Binoculars from inside.
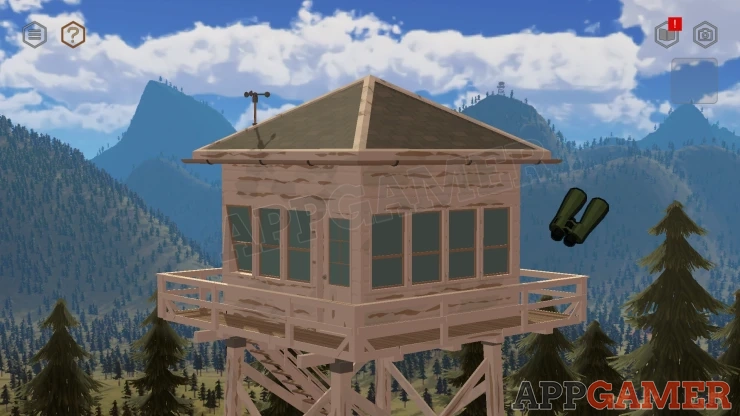
View the top of the tower and use the binoculars here to start scanning the forest. You may need to try each of the directions from the tower top until you find something.
You will find a cabin with a camp fire burning.
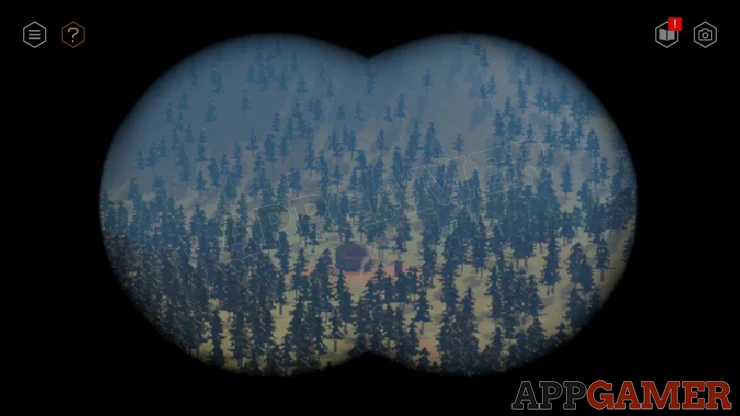
After the radio call head out on the path to reach the cabin in the woods. There is a bear on the path.
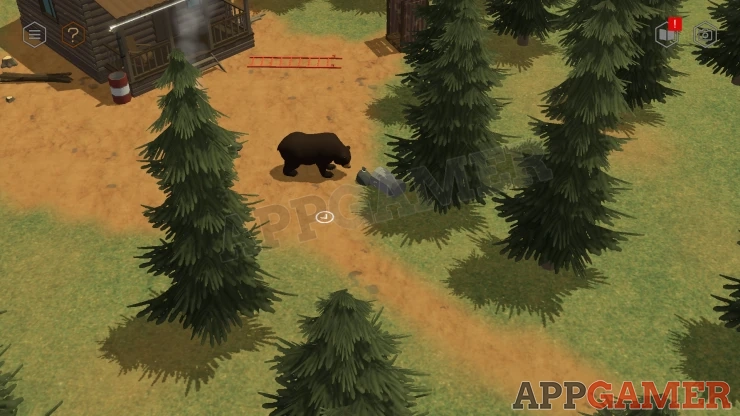
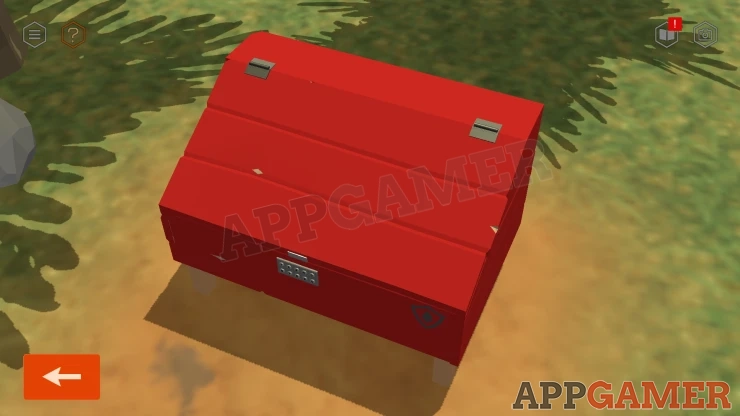
Back up on the path to find another red storage box. It is also locked with a code required.
Notice the signpost that has a Bear warning on it. Turn to see the back and view it to see a clue.
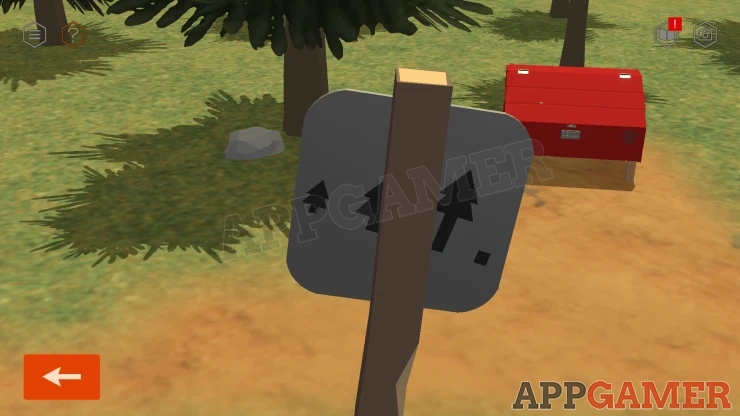
Then look around the area to see the various trees.
Solution: The sign has trees, from small to large and then a stump. There are three trees next to the path that have rocks under them. As well as a tree stump that has rocks on it. Count the rocks under each tree (or on the stump) and then put these numbers in order of the height of the trees they are with. This will give you a four digit code.Show
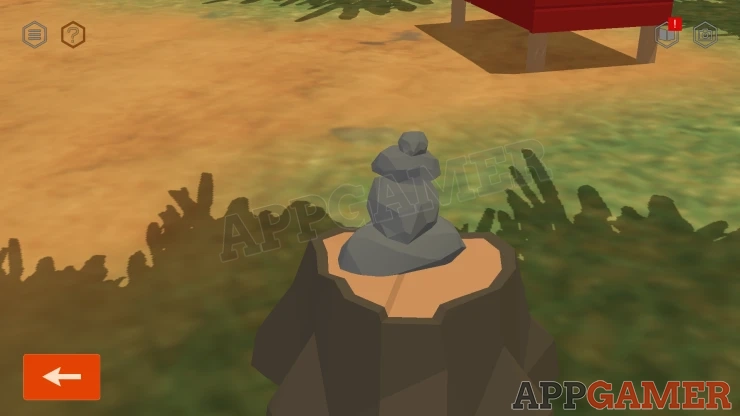
Code: 5234Show
Collect a Bear Deterrent Air Horn from the box.
Return to the cabin with the bear. Use the airhorn on the bear and it will leave.
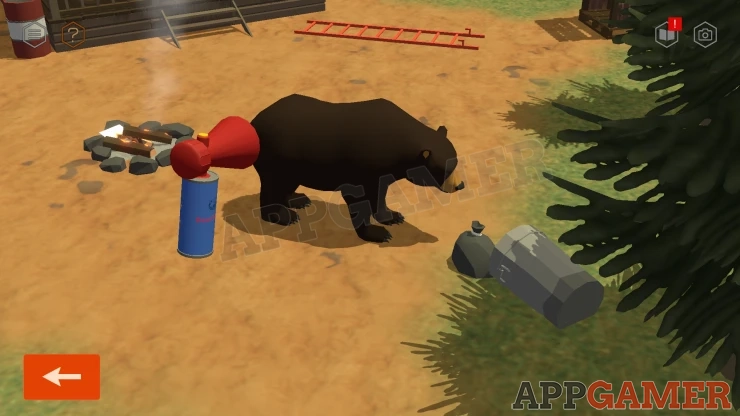
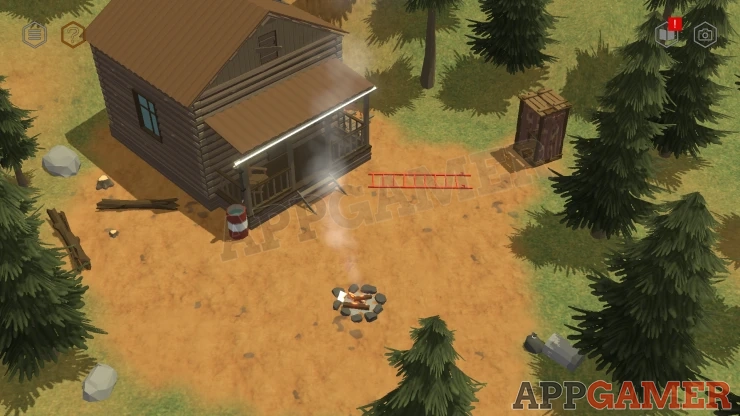
Look at the outhouse on the right of the cabin. Collect a Bucket.
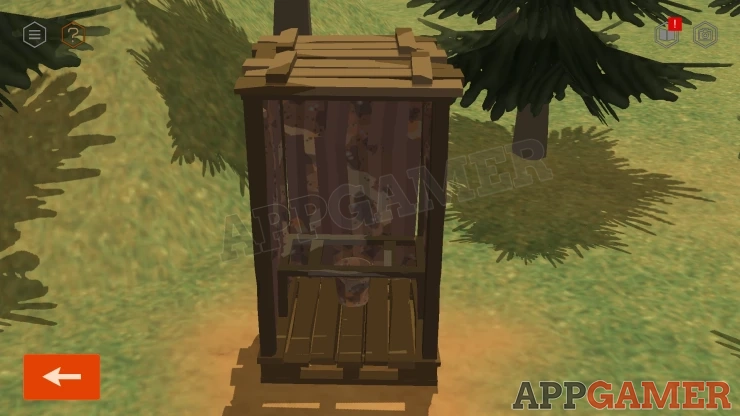
View a barrel to the left of the cabin porch. Use the bucket on this to collect water.
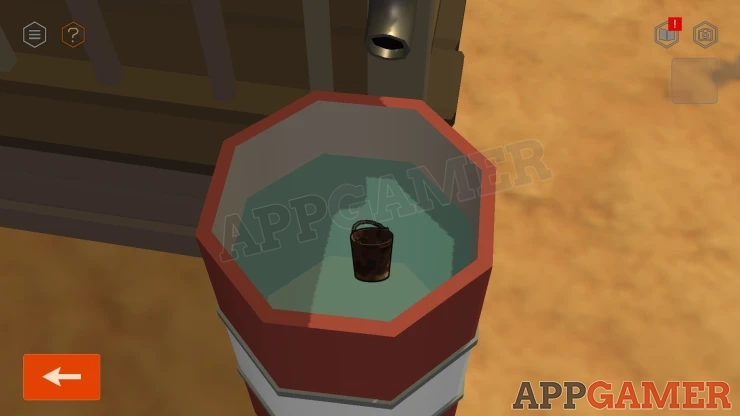
Use the bucket of water on the fire to put it out.
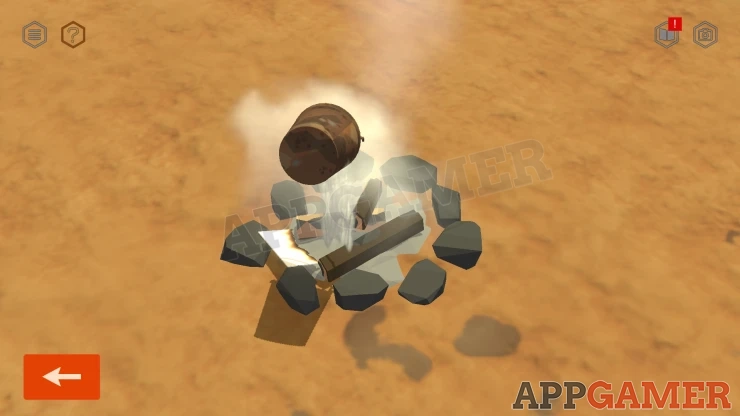
Look in the embers of the fire, you will see there are burned classified papers there.
Next view the crates on the right saide of the cabin. Tip the one on the left over and you can collect a Wooden Detail (Log) (1).
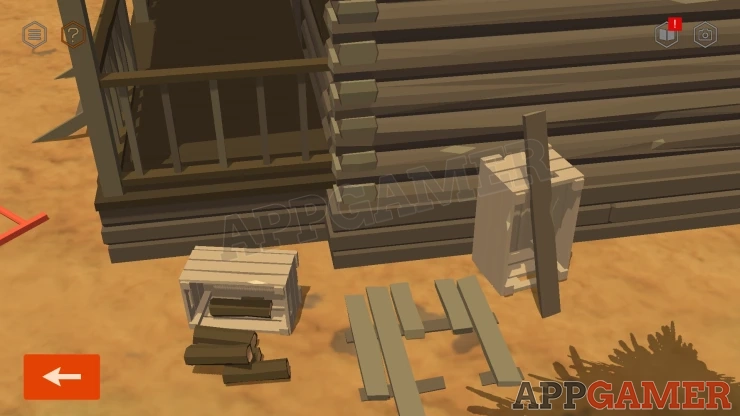
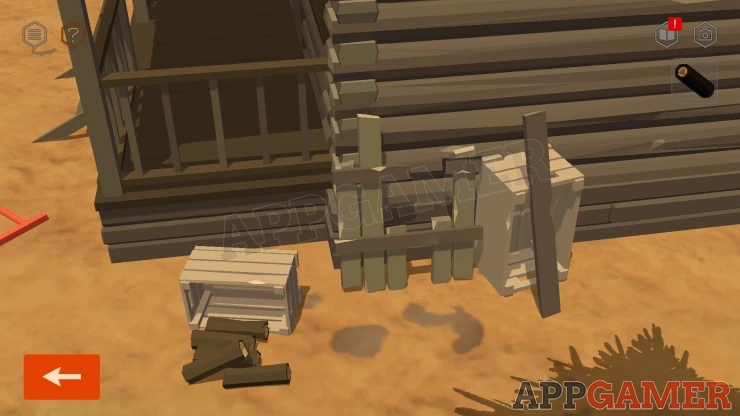
Tap the broken set of boards to stand it up. Remember this arrangement of planks as a clue. Take photo.
Now view the front door to the cabin.
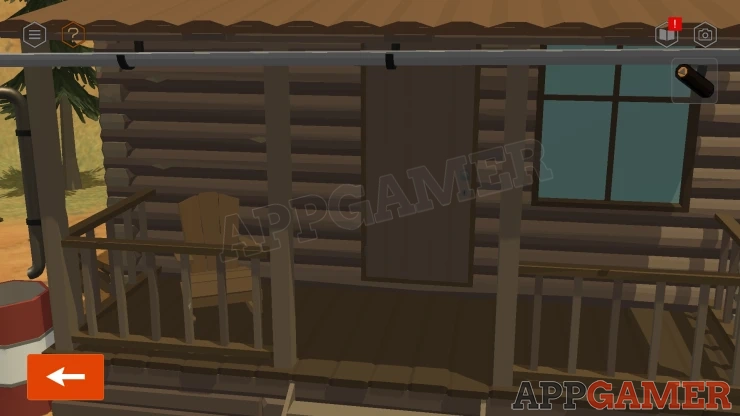
Open it and you can go inside.
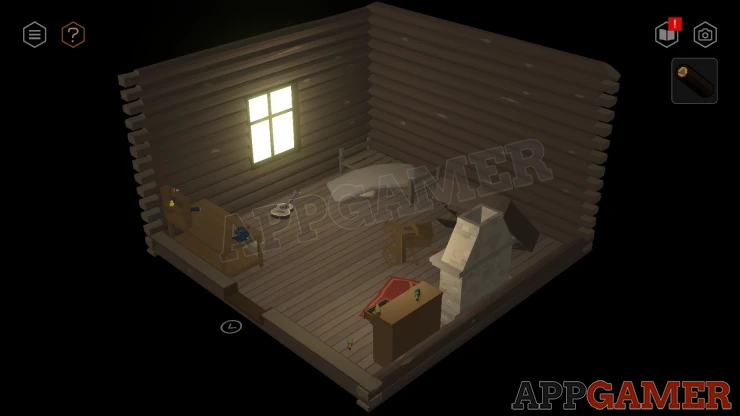
Optional Task - Clean Up
To complete this you need to replace 17 items back into the correct places. This includes a guitar, drawers on the floor. the bed mattress, bottles, items on the desk and a decoration above the door. Look around to find them all.
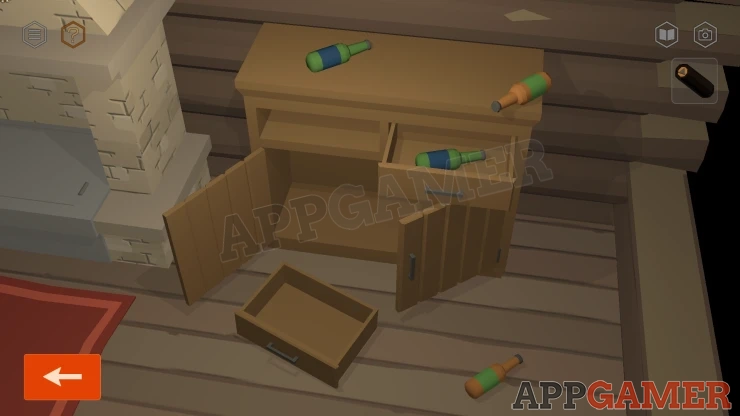
While you are tidying up you will be able to collect a Hammer from the floor to the right of the fireplace.
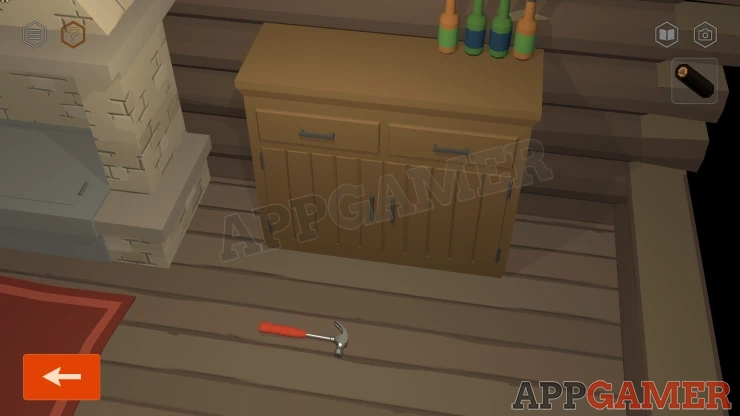
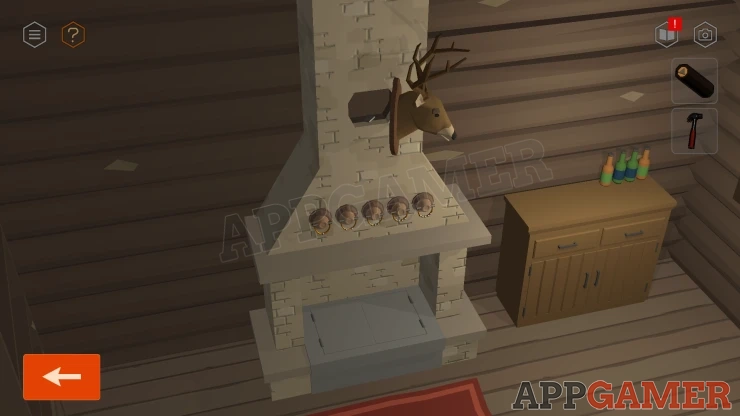
Then view the mounted deer head on the chimney. Tap to move this and then collect a Lighter.
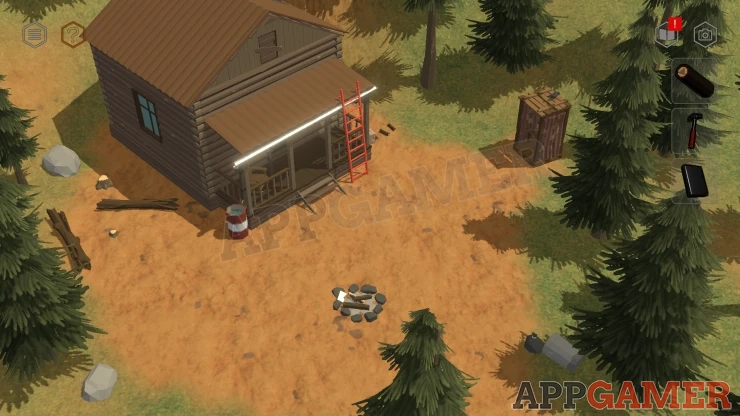
Go back out side and tap on the ladder to place it up against the front of the cabin.
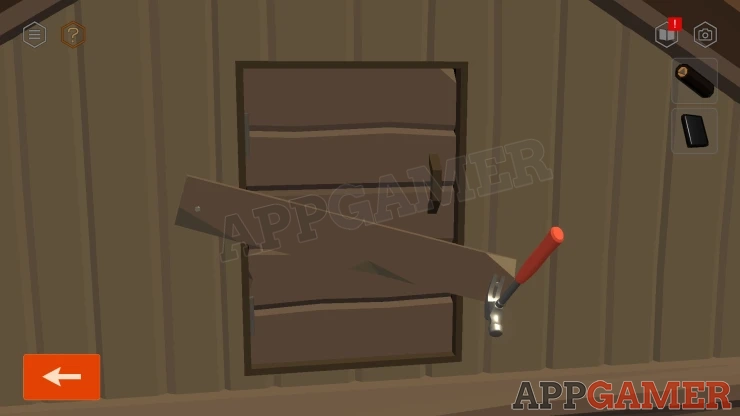
You can now reach the top window that is boarded up. Use the hammer to remove the board so that you can open it.
Then enter the roof space.
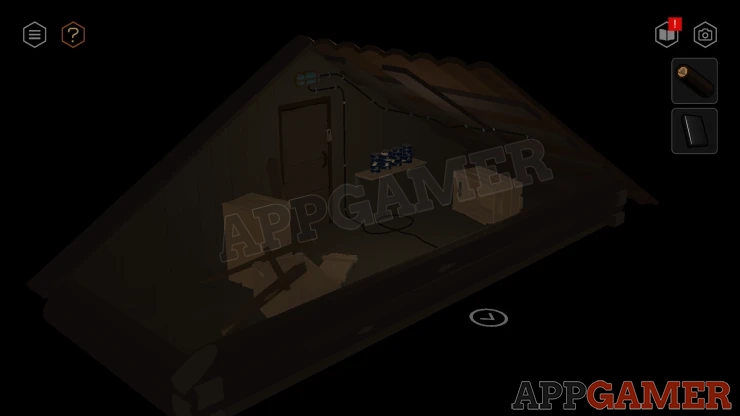
Tuen to the opposite direction to find a light switch, turn the lights on.
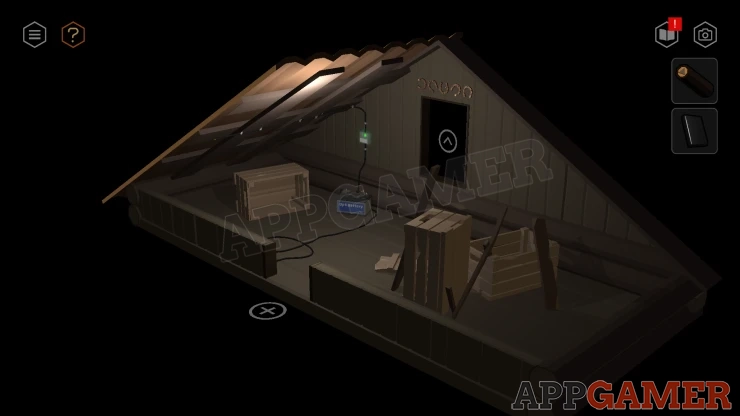
Notice the five horseshoes over the window, this is a clue. Take a photo if required.
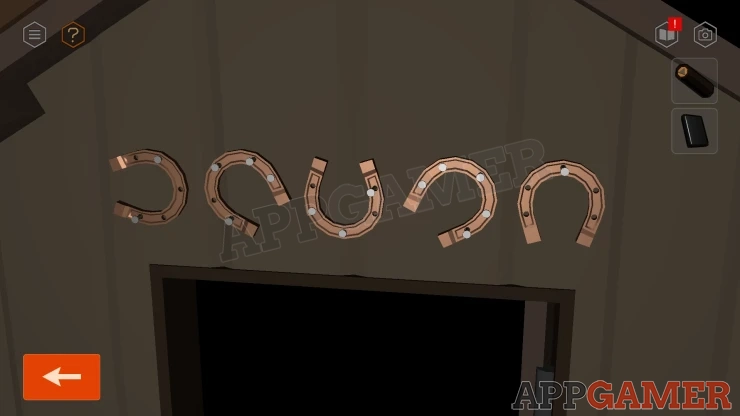
Then turn back to the door. It is locked with a code.
Attic Door Padlock Code
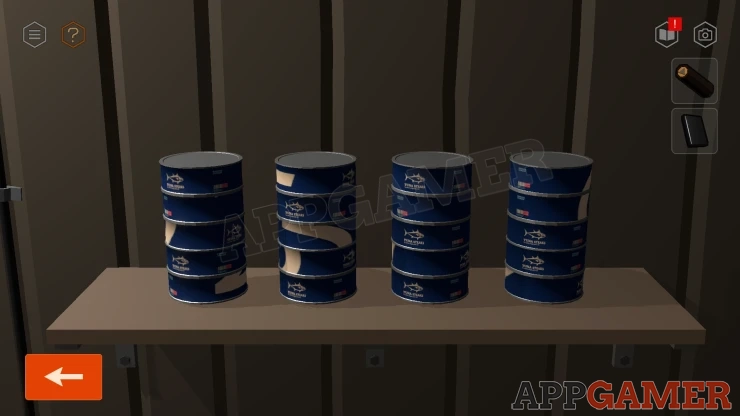
- Look on the shelf to the right of the door. There are four piles of five cans each.
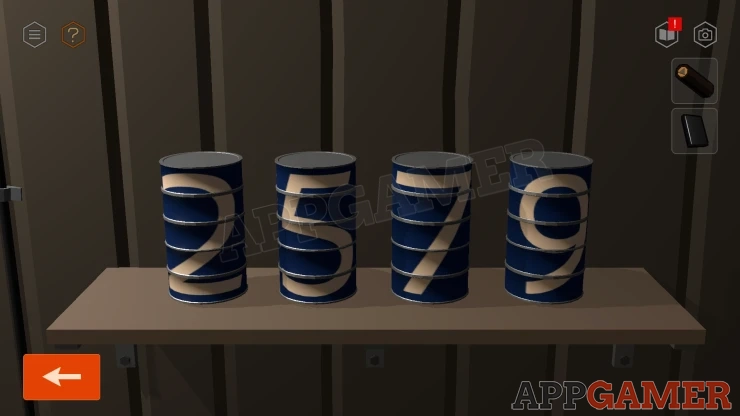
- Tap these to turn each can one at a time. Start at the bottom to make it easier. When the cans are lined up correctly you will see four numbers.
Now use this code on the door to open it.
Solution: Show
Collect a Plan from the inside of the door when it opens.
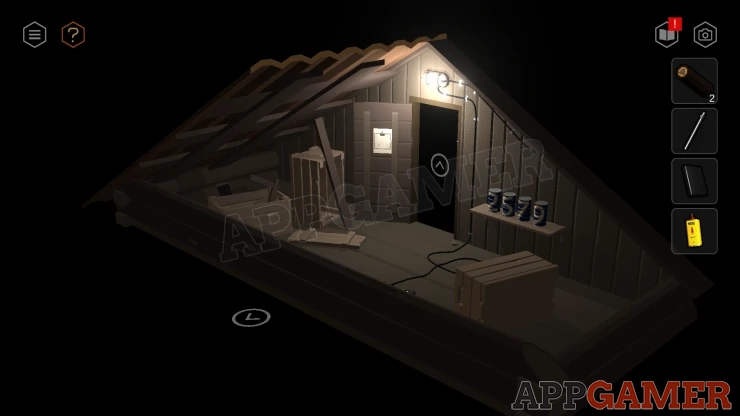
Then go through to the next room.
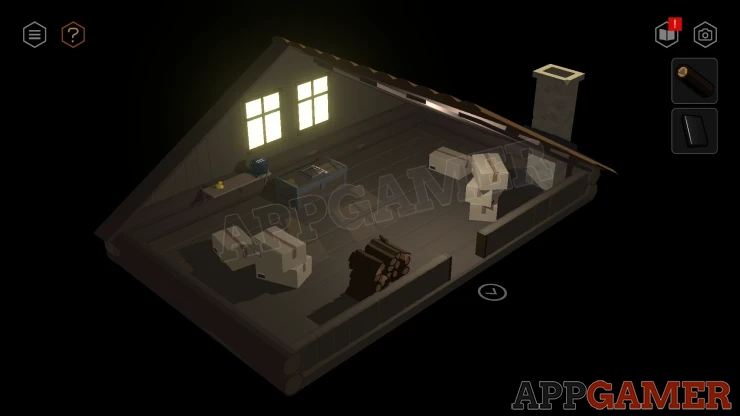
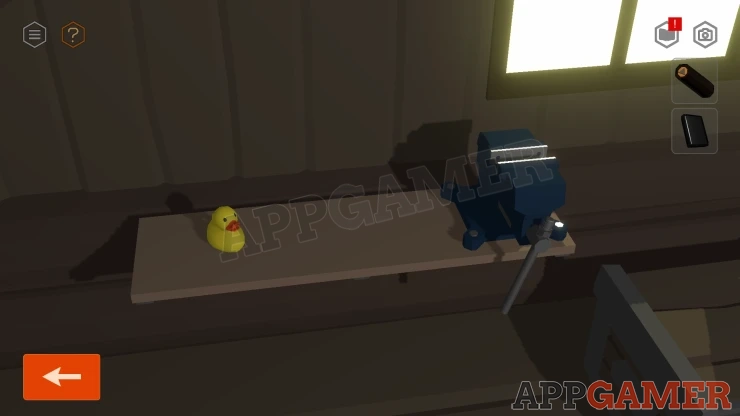
View the workbench to the left of the windows and collect a Vice Handle from the blue vice.
Then look on the box under the window, there is a puzzle on top.
Attic box puzzle
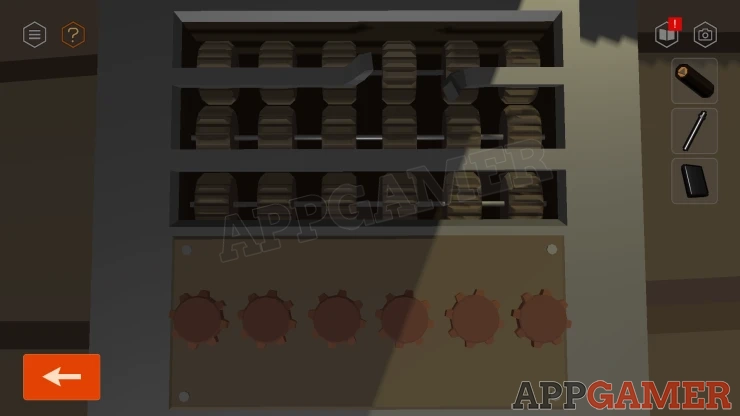
- There are 6 dials with gears above them.
- Tapping each dial will raise or lower a brown board.
- Set the six boards to the correct heights to match a clue.
Solution: The clue is the broken set of boards that you propped up agains the side of the cabin earlier. 3 2 1 0 1 2Show
Once done the box opens and you can collect the Lighter Fluid.
Turn to the opposide side and view the pile of logs. Collect from the top left a Wooden Detail (2).
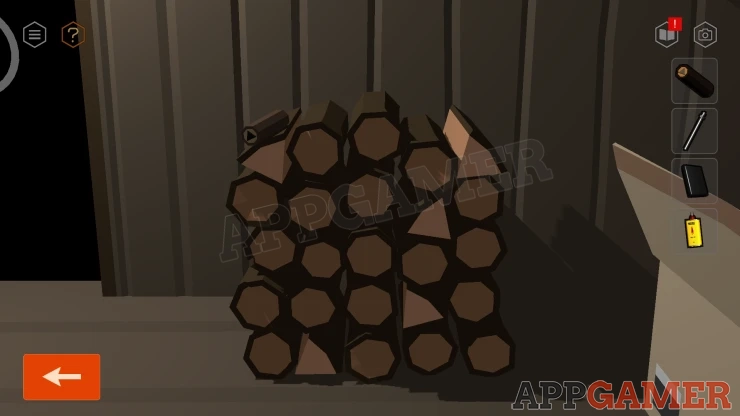
Notice also the arrangement of the pile of logs this is a clue. Take a photo.
Go back down to the lower floor of the cabin. First view the blue vice on the workbench here.
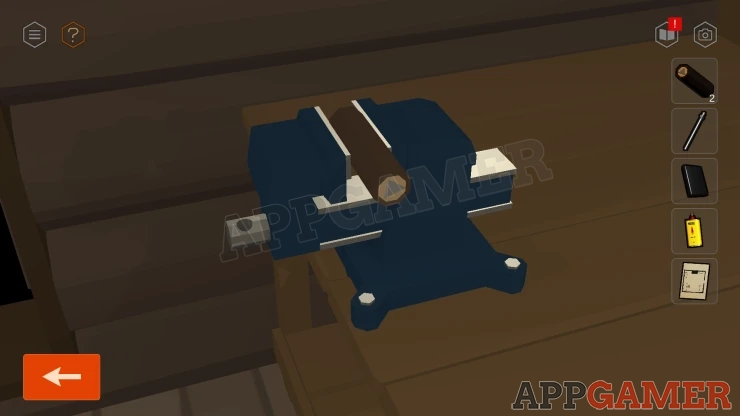
Add the Handle to it and then you can collect another Wooden Detail (3)
Then look at the Plan in your inventory. It matches this room. Notice a red X on the floor near the bed.
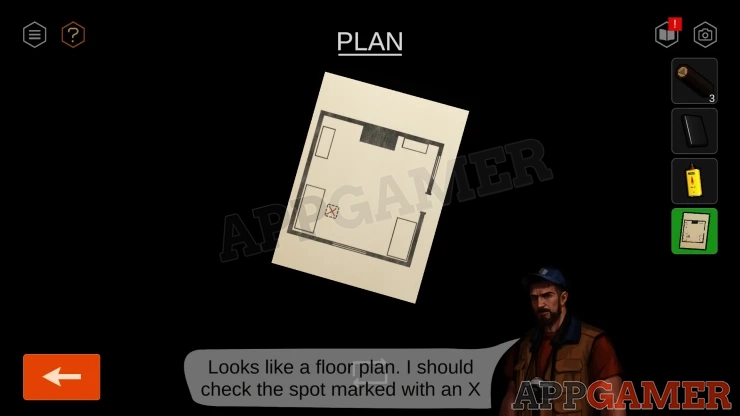
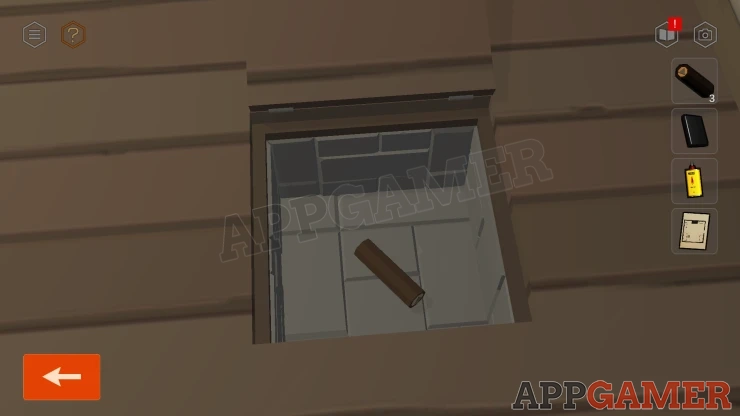
View the floor near the bed to see a small trap door. Open this and collect another Wooden Detail (4).
Next view the chimney above the fireplace.
Chimney Handles Puzzle
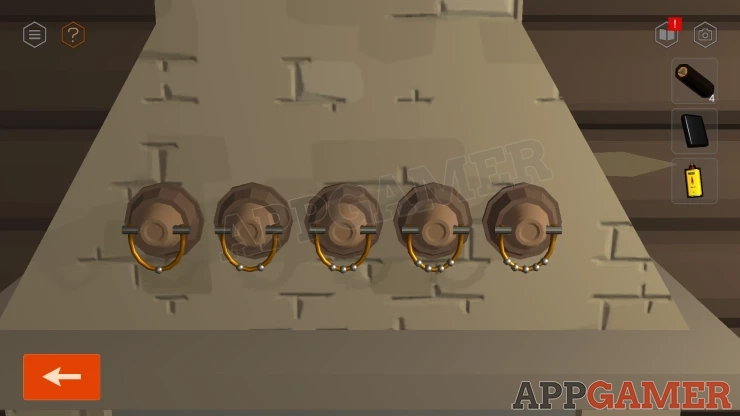
- There are five handles here and each handle is a horseshoe shape.
- You can tap the handles to turn them this will change the direction of the horseshoe shape.
- Use a clue to set these correctly.
Solution: The clue is the five horsehoes seen in the roof area of the cabin. But you need to count the number of nails in each of the horseshoes to get the correct order. Set the handle on the left to the position of the horseshoe with one nail it in. etc.Show
Code: Show
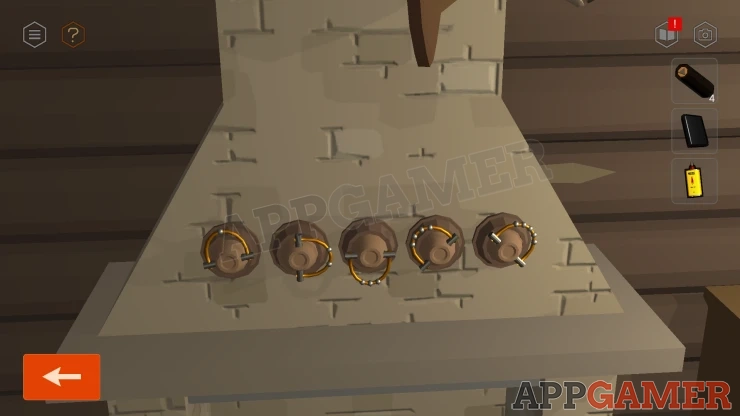
Once done a secret passage opens up under the hearth.
View the lighter in your inventory and add the lighter fluid to it. Then tap to light it.
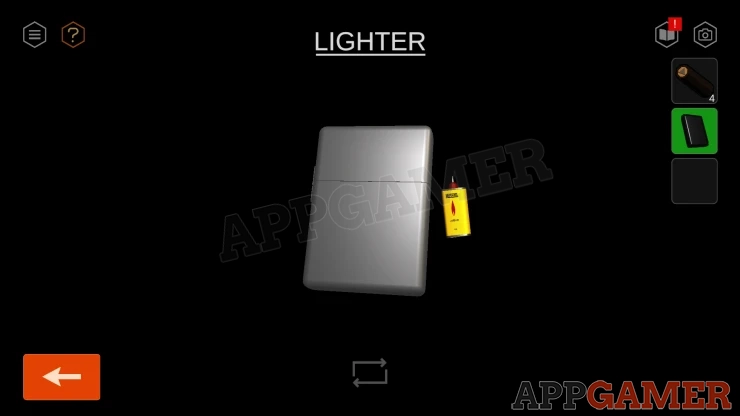
Now you can use it opn the opened passage to allow you to go down to the bunker.
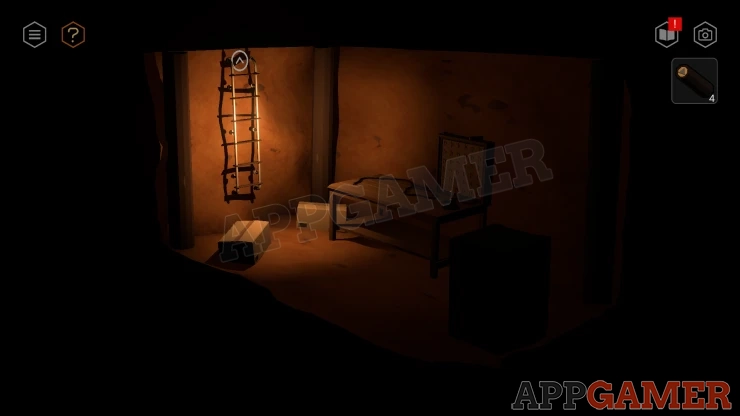
Look around to find a table, then view a switch board on it. Collect a Wooden Detail (5) from the top.
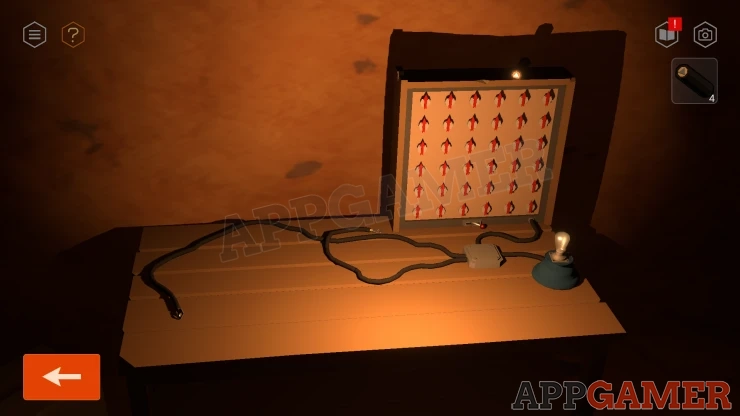
Now go back up into the cabin and view the workbench. There is a peg board with a 5x5 grid of holes.
Peg Board Puzzle
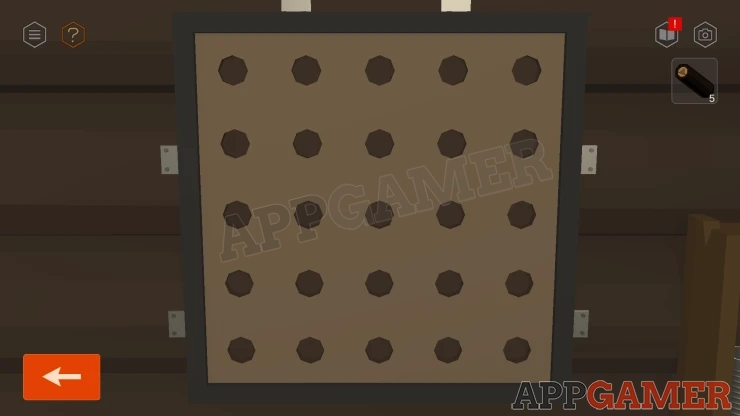
- Use the 5 wooden details that you have collected, each one has a triangle on the end.
- Place the 5 logs into the correct holes to solve the puzzle.
- The clue was seen in the attic.
Solution: Notice the position of five logs in the pile in the attic that are triangle shaped.Show
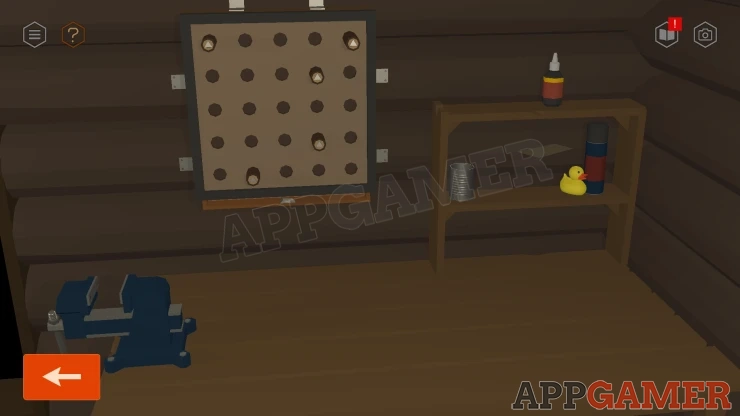
Collect an L Wrench.
Go up to the first room of the attic and move a box by the light switch to find a battery on the floor.
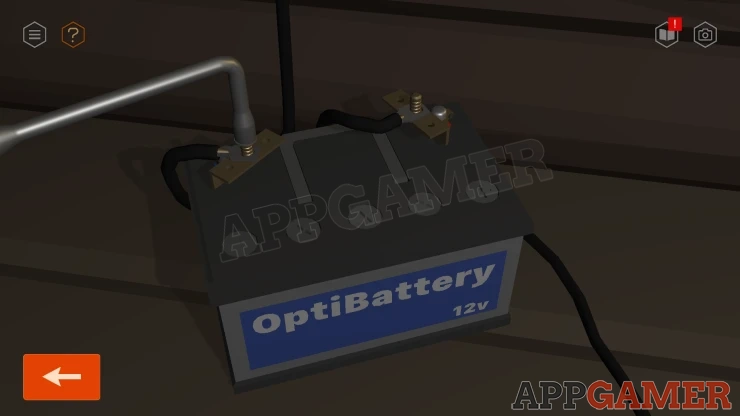
Use the Wrench on this to tremove the nut and take off the contacts, then collect the Battery.
Go back down to the bunker. Then view the table again and place the battery on it. Connect the wires and the light will turn on.
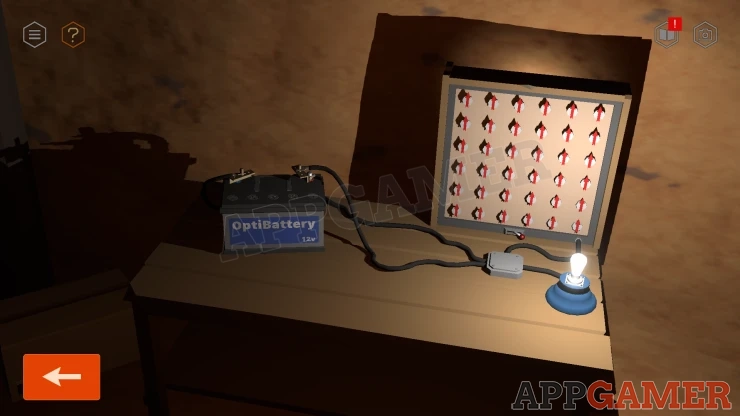
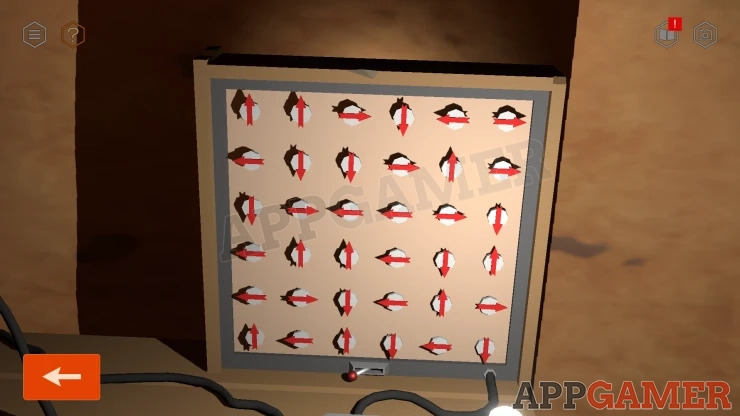
Then you can view the board with the arrows and press the switch at the bottom. You will now see the arrows set and point in different directions.
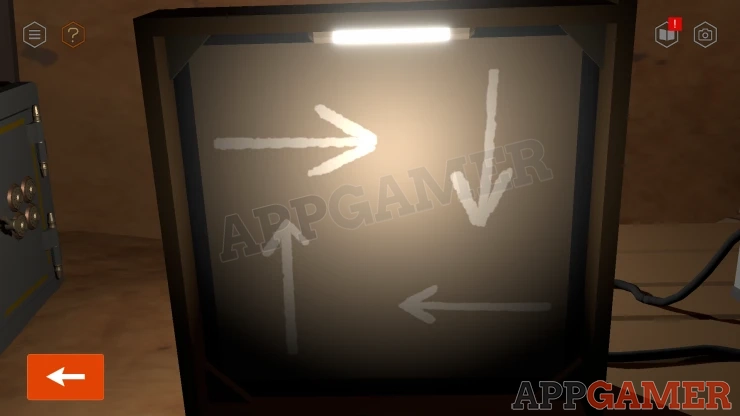
Change the view so that you can see the back of this arrow board. Here you can see there are four arrows arranged, top left, top right, bottom left, bottom right. This is part of the clue.
Now view the safe that is in the bunker next to the table.
Safe Puzzle
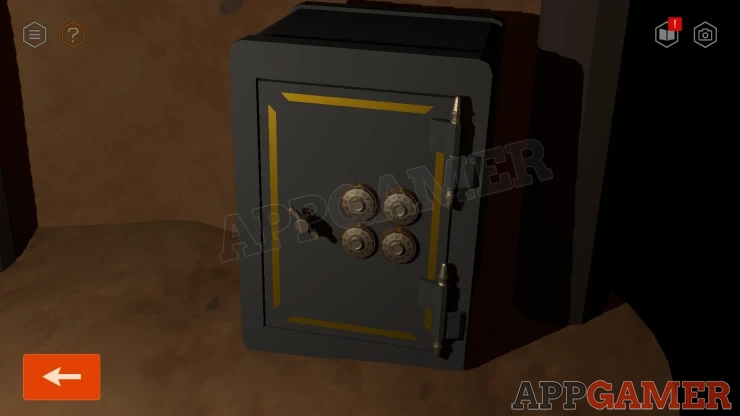
- There are four dials to set to the correct numbers.
- Use the clues from the arrow baord to get the correct combination.
Solution: From the arrow board count the number of arrows point in each direction. Then use these number in the positions shown on the back of the arrow board.Show
Code: 8 9 9 10Show
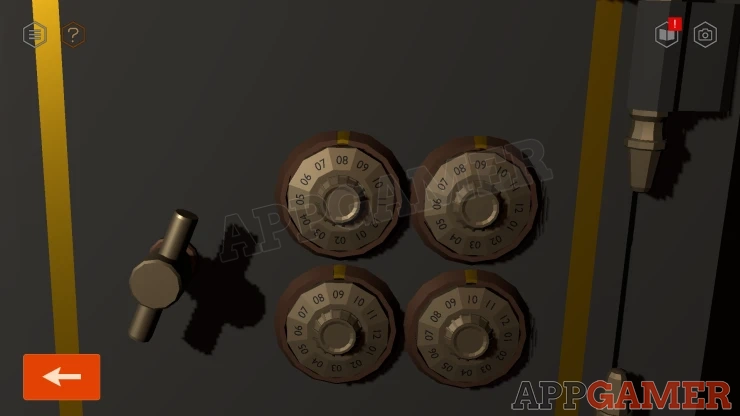
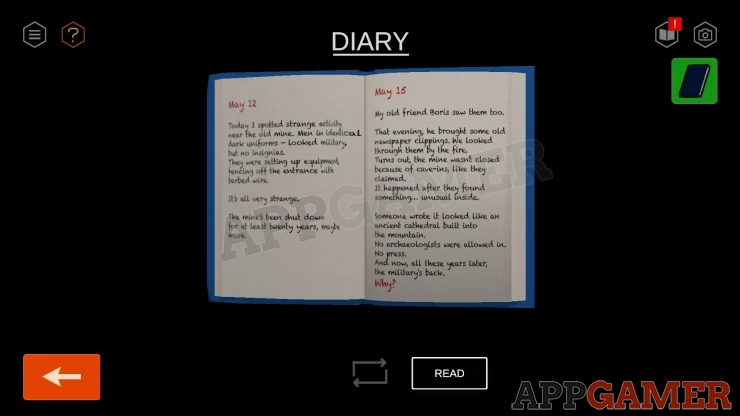
Open the safe and collect the Diary. You can then open this to read it.
Exit the cabin and you will make a radio call. Go back to the Tower to complete this chapter and start Chapter 2.
We have questions and answers related to this topic which may also help you: Show all
 With 20 years of experience in creating video game content for the internet and over 30 years as a gamer, Mark is now a passionate mobile App Gamer. Loving a challenge, he is always ready to get stuck in to both survival builders and puzzle solving games. He has been providing content for AppGamer since 2014.