
Chapter 6 - Investigation Walkthrough
More Tiny Room Stories Eclipse
This is our guide to the sixth chapter of Tiny Room Stories - Eclipse. You reach chapter 6 after completing the second of the dream missions in chapter 5. After access in the secret lag in the dream you now awake again in the watch tower and continue with your investigation of the hidden bunker. Follow the walkthrough below for help finding your way and solving the puzzles that you will encounter.
Chapter 6 Walkthrough - Investigation
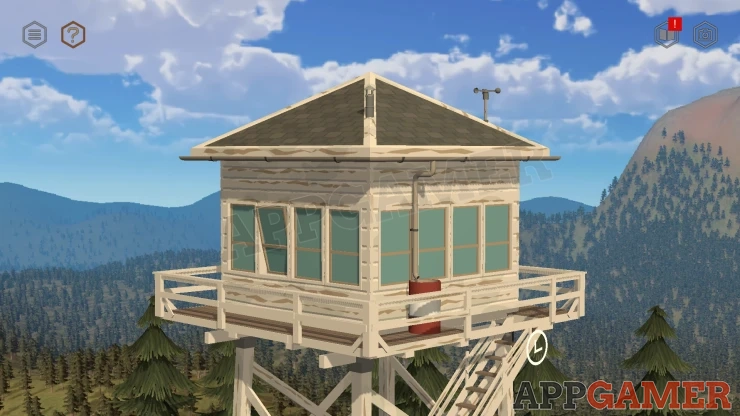
First go back inside the tower. Your room is a mess after being searched through the previous night.
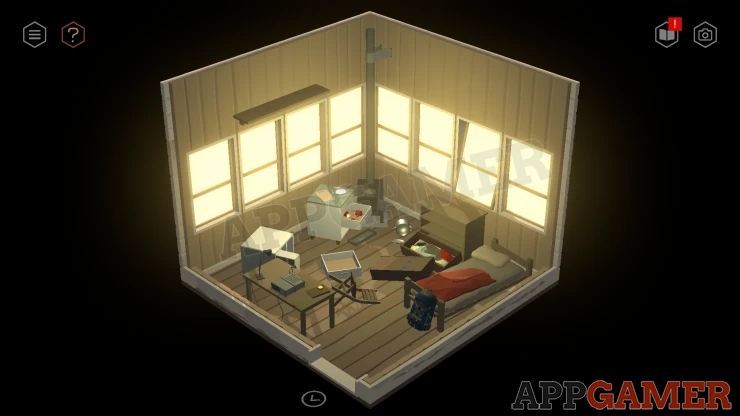
Optional Task - Clean Up
Restore all of the furniture and items back to the corect locations.
Tidy the stove and the drawer unbits to the left. Then tidy the clothes drawers. and finally pick up the chain for the table.
Look on the table and collect the Compass and the Diary.
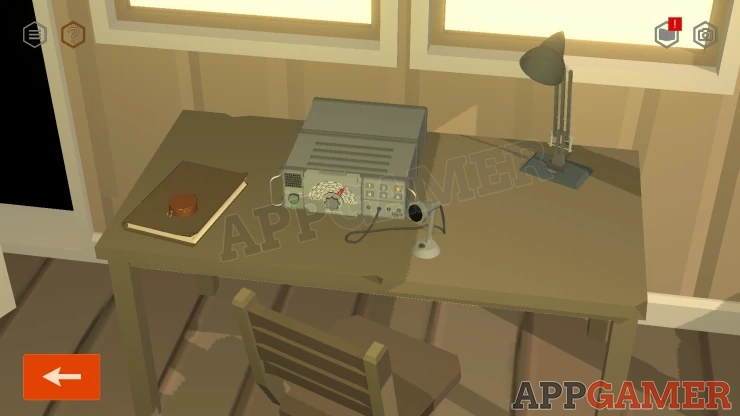
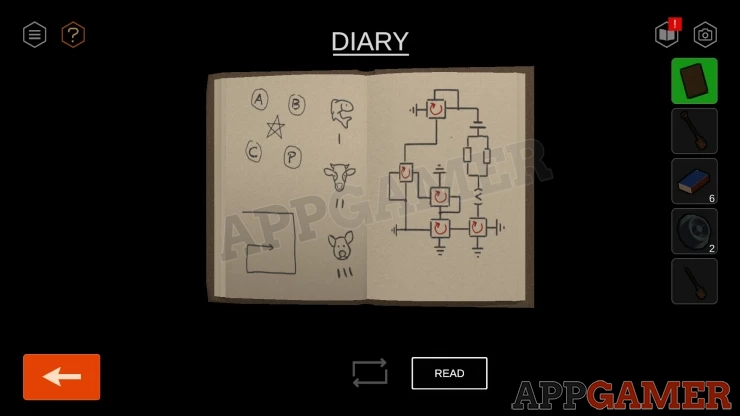
The diary contains a page of details on finding the bunker. Also on the next page is a set of clues for later puzzles.
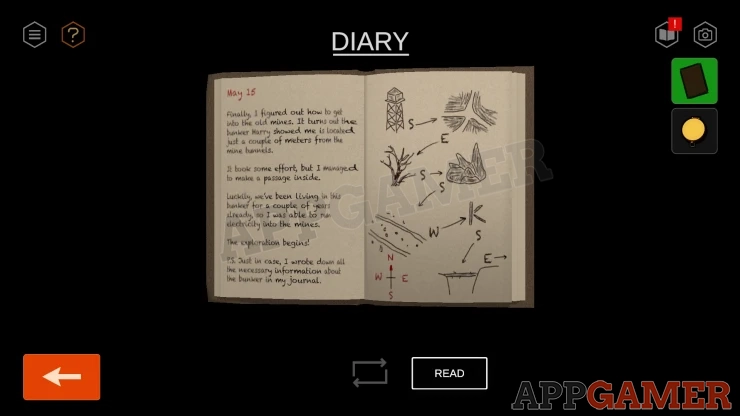
Exit the tower to the ground and then look in the diary. On the right is a set of directions to follow to get to the bunker.
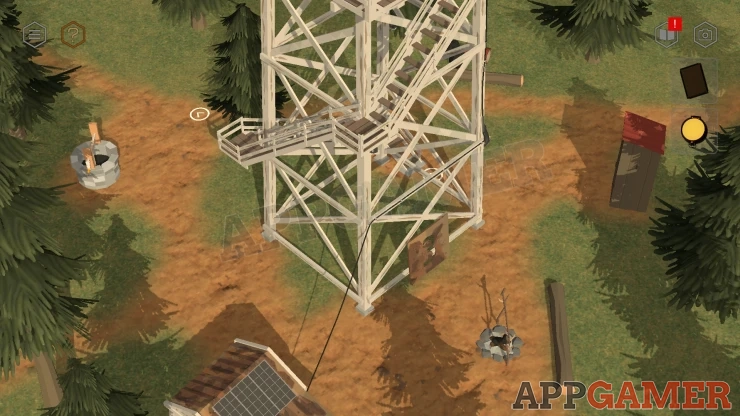
First use the compass and decide the path to take to go South. (Only path available).
Then at the cross roads you need to take the East direction.
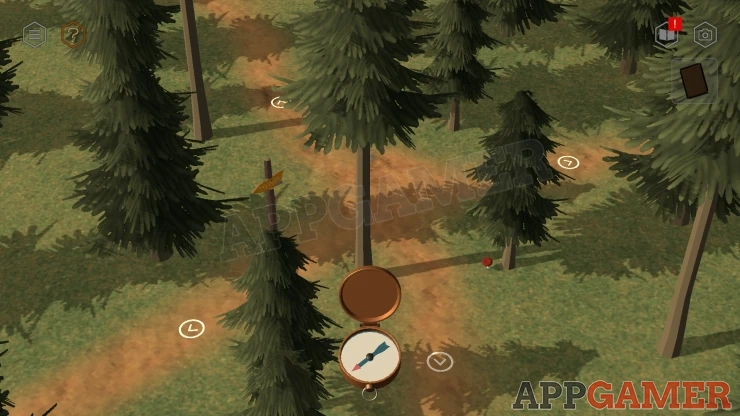
Follow the rest of the directions in the diary until you reach the destination.
Look in the pit and you can tap the ground to open a secret door.
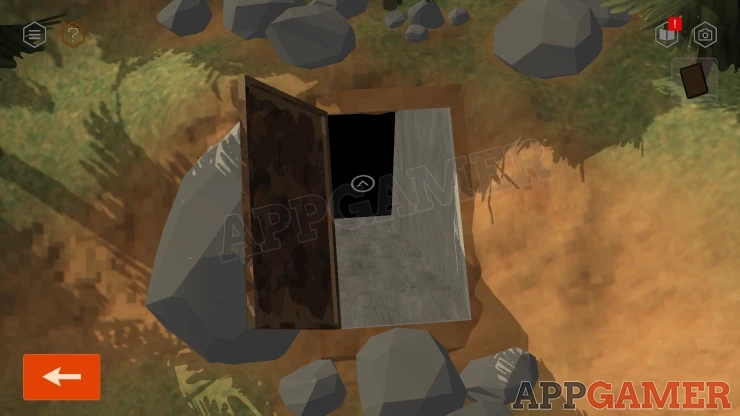
Go down to the Bunker. It is dark. View a panel on the wall with five red switches.
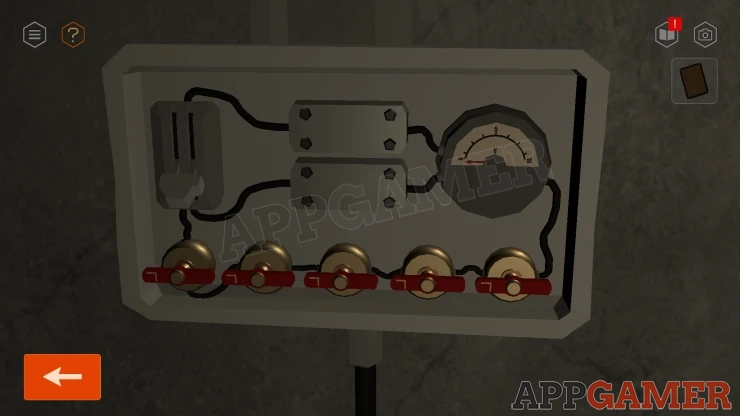
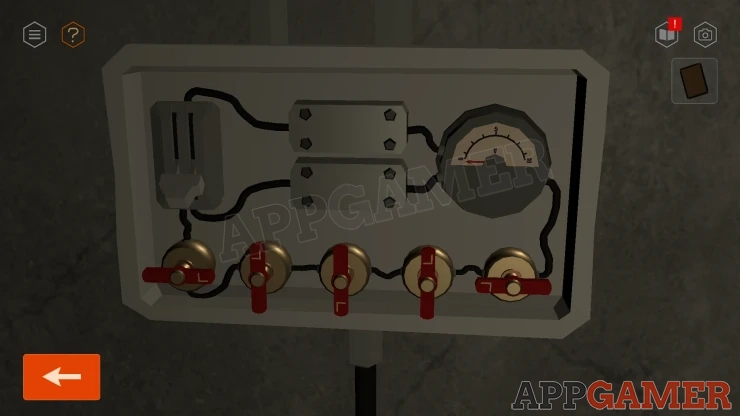
Solution: Look in the diary secod page to see a circuit diagram. Between the switch symbol (top left and the Volt meter (V symbol) ther are five red arrows that represent the switches. Notice the direcion of the lines into and then away from the swiatch boxes in the diagram. Turn the switches on the wall so that the L shaped lines on the switch match the direction or input and output.Show
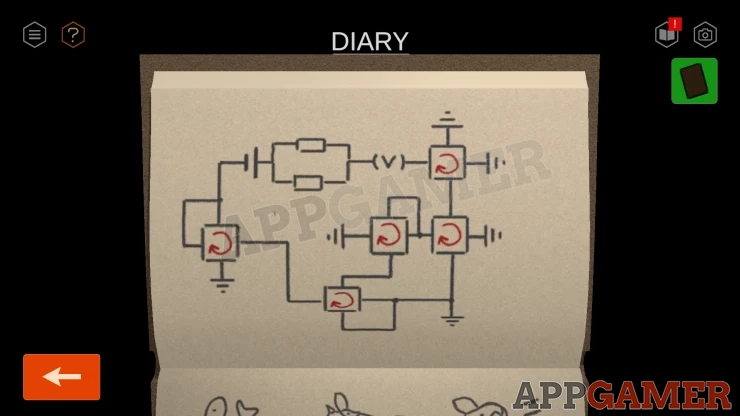
Answer: Show
Tap the switch on the left to tun on the lights.
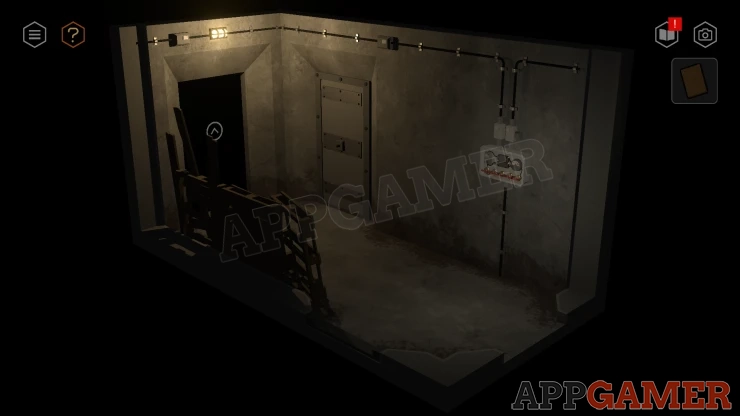
Turn to the opposite wall and collect a Bucket from the floor.
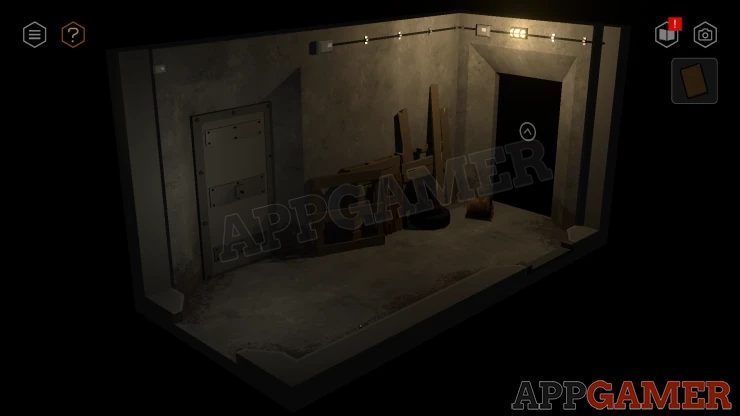
Then tap on the piles of wood there to move them until you find a number. This is a clue. 0308
Show
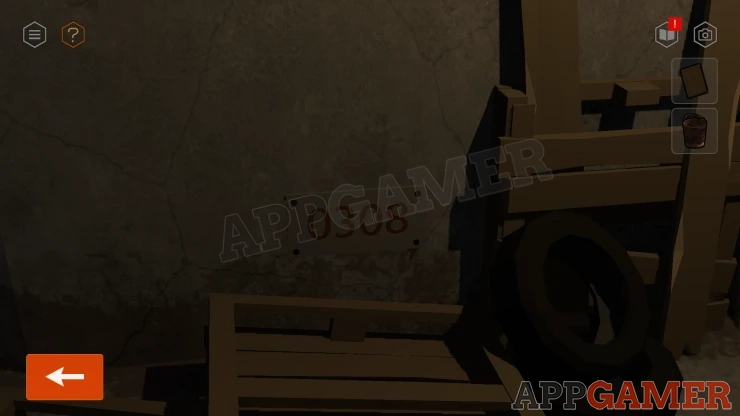
Then move through the door on the right to a room with a Bed.
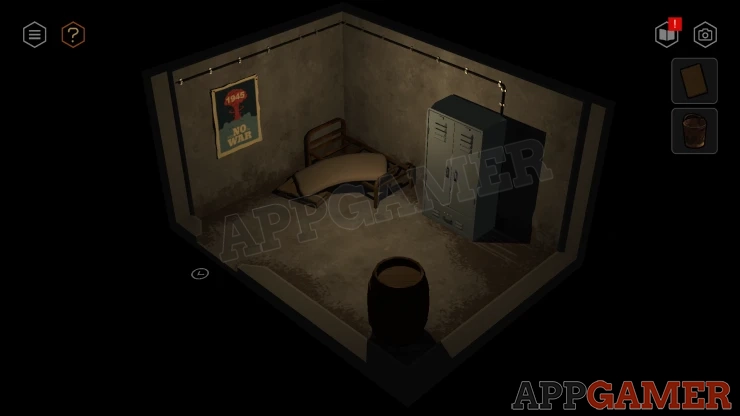
Look around and notice the Poster with the year 1945. This is also a clue.
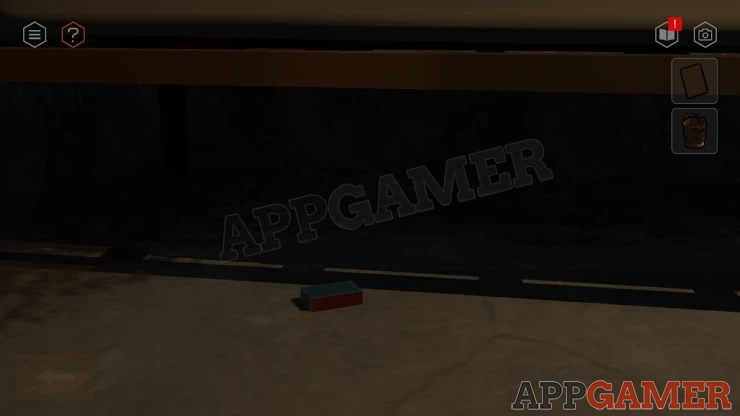
Look at the bed and tidy the mattress and pallet. Then you can collect a box of Matches from underneath.
View the tall cupboard on the right. You can open the doors to see bookshelves. This is a puzzle but you cannot complete it yet.
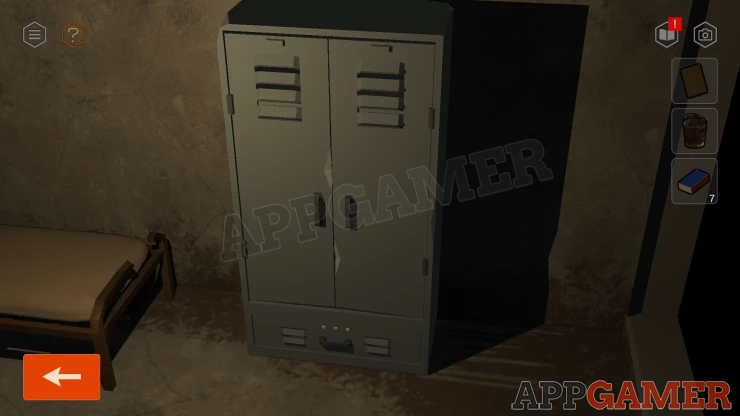
Close the doors if they are open and tap the top of the cupboard to slide it to the side to reveal a hole in the wall. Go through to the mine. It is dark.
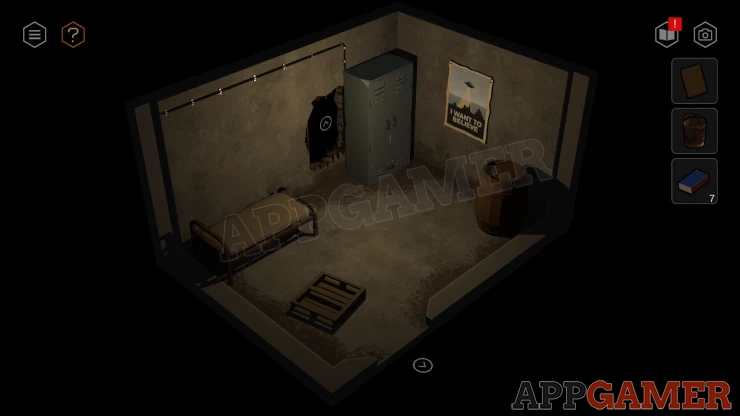
Turn the view back to the hole in the wall and then you can collect a Hook from the wall by the hole.
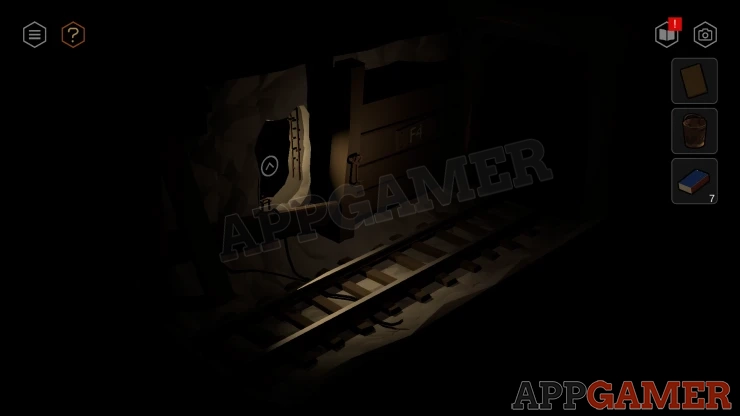
Then go back into the bunker.
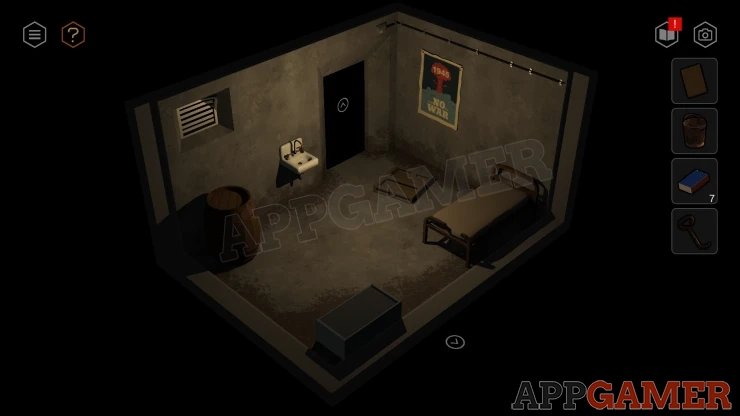
View the sink in the room and place the bucket in it. Turn on the tap and then you can collect the Bucket of Water.
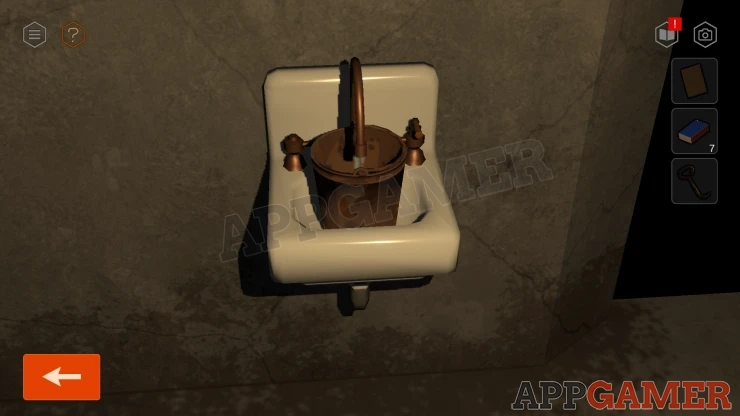
There is a vent cover on the wall above a barrel. View this. Use the Hook to open the vent cover.
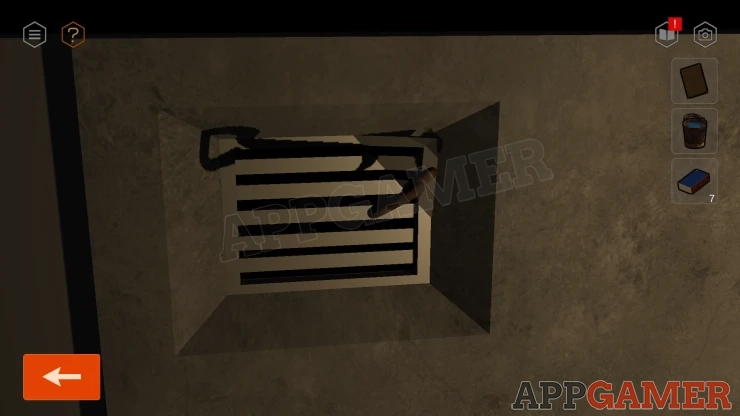
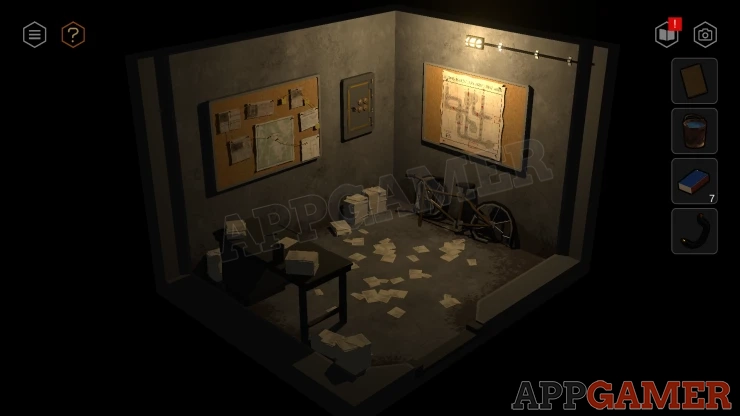
Then go through to a room with a Desk. Notice the Bells on the wall and also the map at the back.
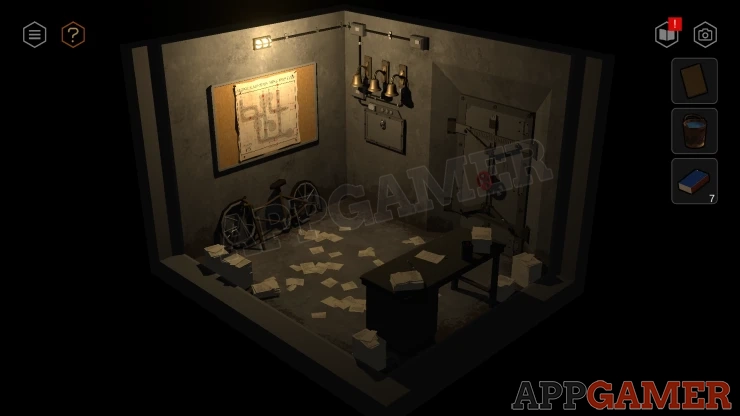
View the Desk and then look in a can on the desk to collect a Key.
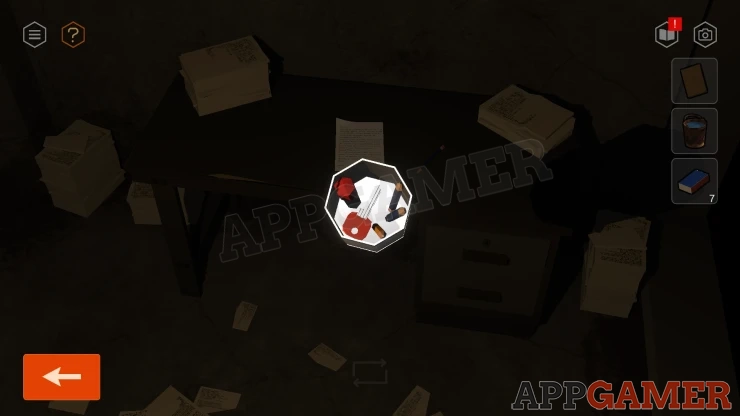
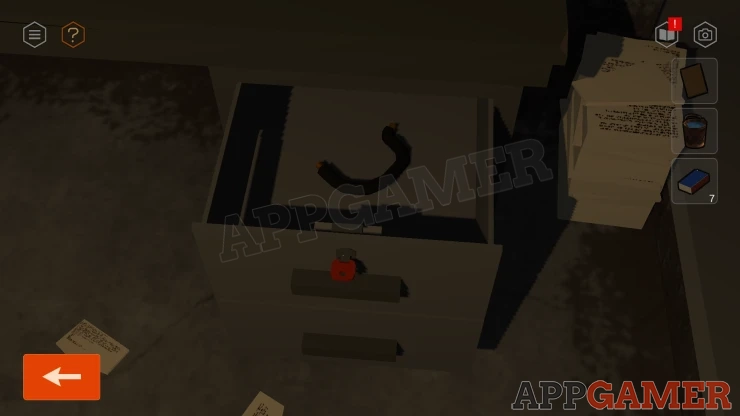
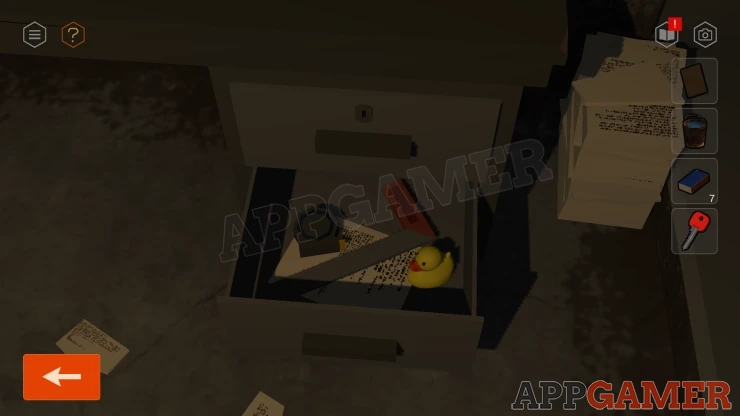
Use the key on the top drawer of the desk, open it to collect a Wire.
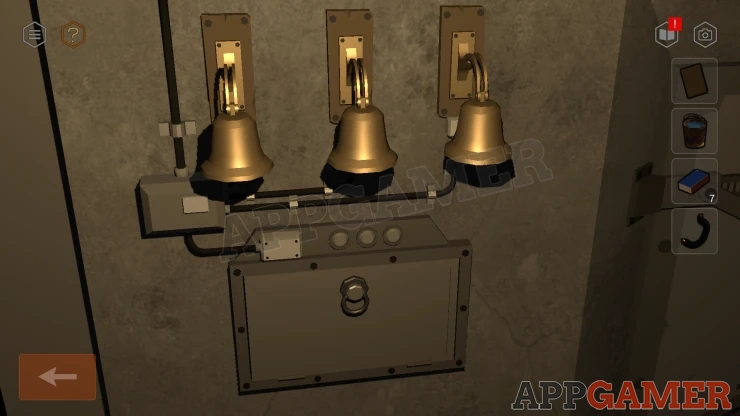
Turn around and notice the Bells on the wall.
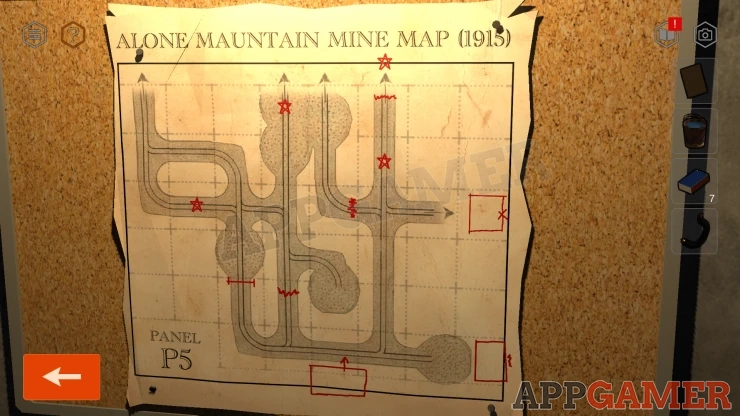
Then examine the map on the wall of the mine. This give a layout of the tunnels, some are blocked. Notice the red Stars on the map.
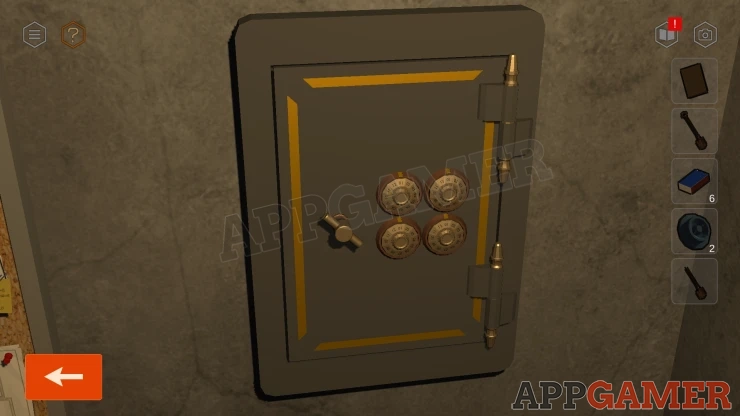
On the wall to the left of this is a safe with four dials.
Then turn the red handle to unlock the large door, this takes you back to the corridor.
Go though to the mine again and view the switch box on the wall.
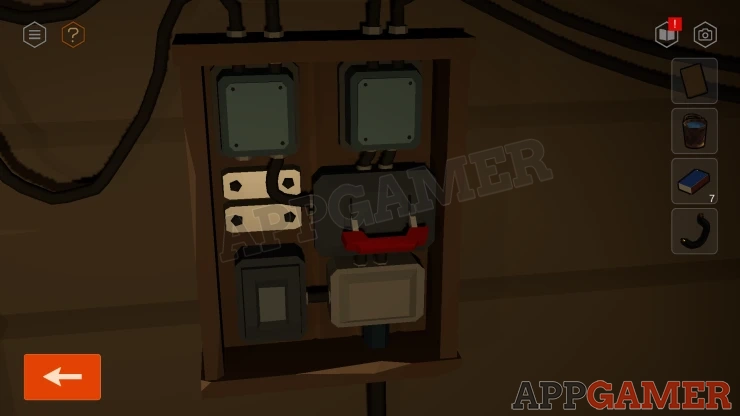
Add the wire to this and flip the switch to turn on the lights.
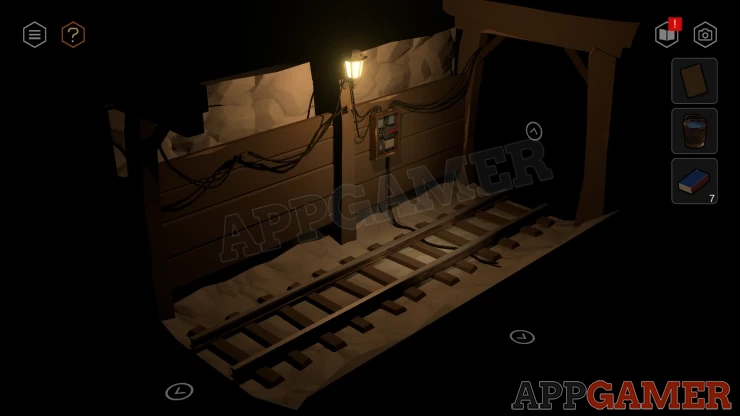
Now you can move around the mine tunnels. There are various tunnels to explore.
If you look around you will see that this is section F4.
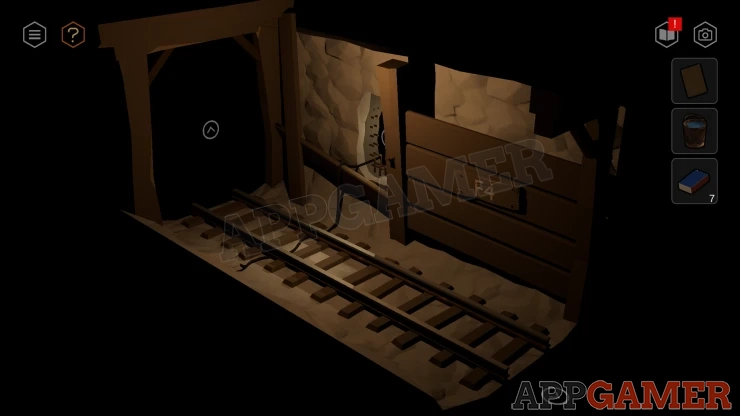
First move to the left of the switch. You will come to a junction. This is F5.
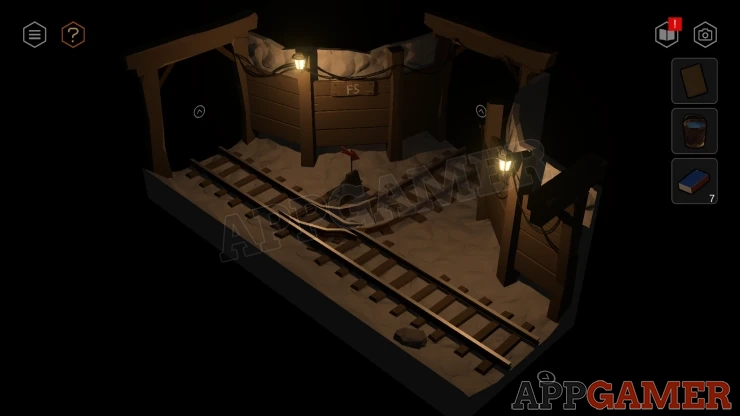
Then move left again to reach a corner. (F6)
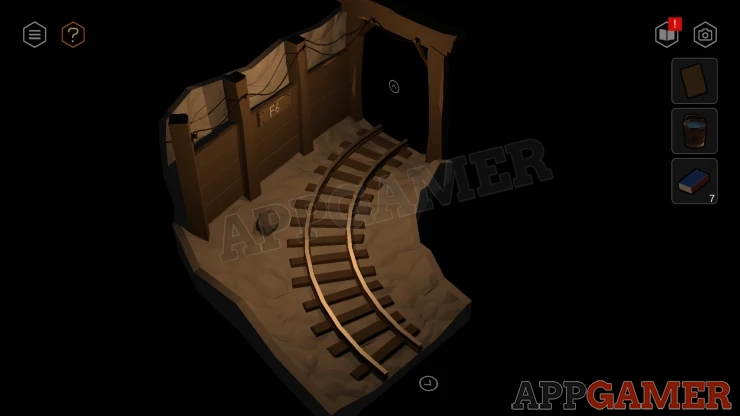
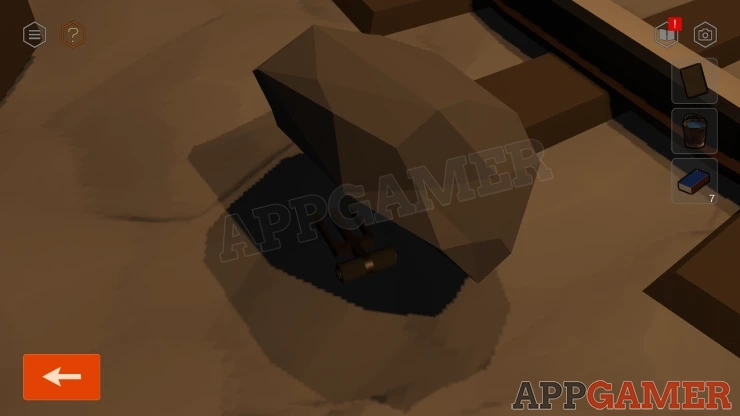
View the rock on the floor and lift it. You can collect a Lever.
Move back to the right to the junction (F5) and then turn the view to the wall. There are three bells here.
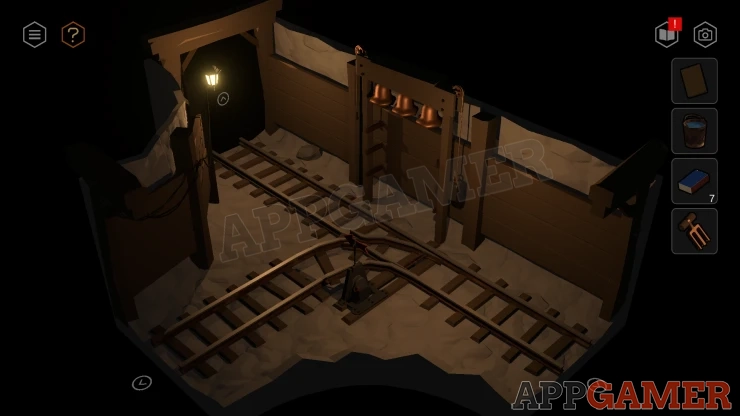
Three Bells Puzzle
Tap a weight on the right side of the bells to lift it and then the bells will ring. Take note of the order that the bells ring in, this is a clue.
Go back to the bunker now and move to the room with the desk and the three bells. Tap the three bells in the same sequence
Solution: Left, Right, Left, Middle, Right, Left, Middle.Show
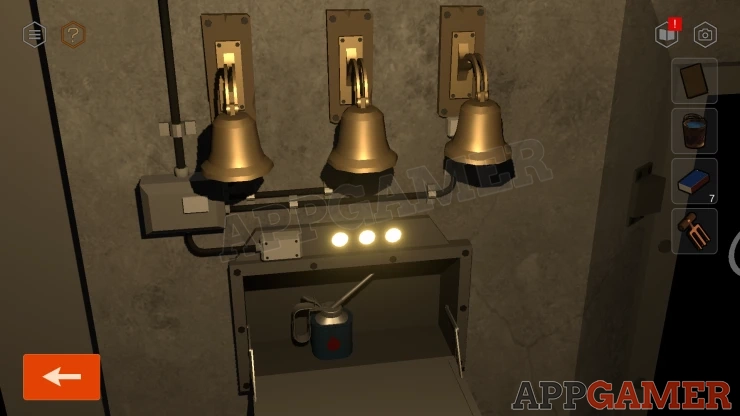
You can then collect a Flame Oil Can.
Go back to the mine. Then move to the right of the switch to find another junction, this is F3.
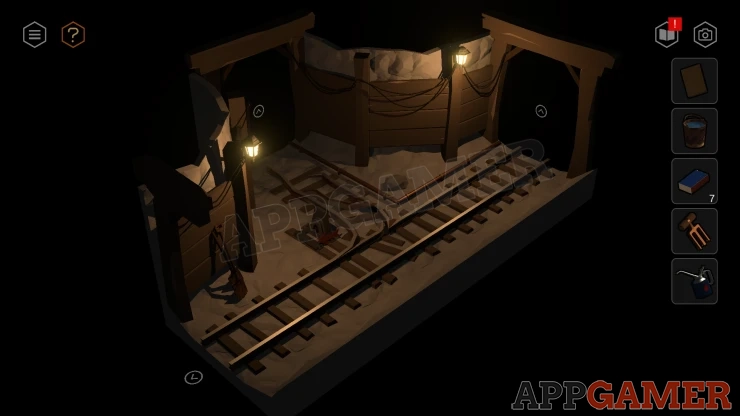
Collect two Shovels.
Then to the right again to F2. There is a door here and a Steam Engine.
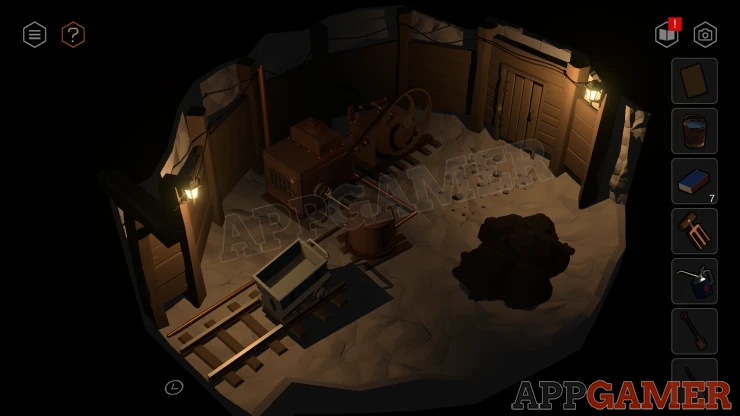
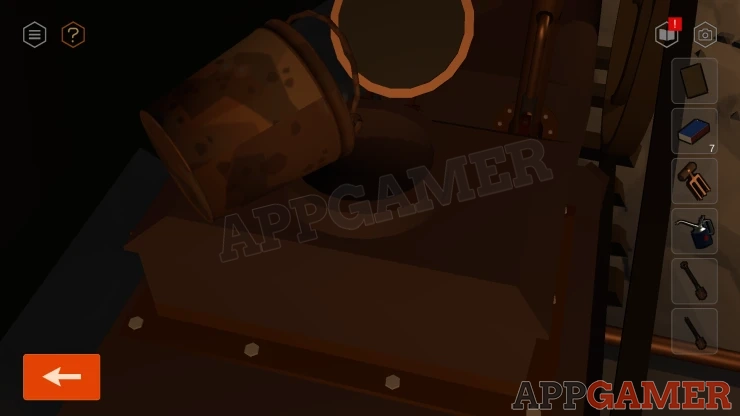
View the top of the steam engine and open the top boiler cover. Add the Water to the boiler.
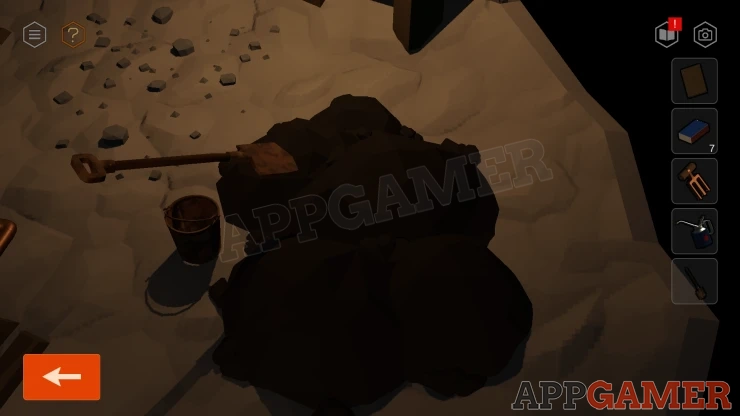
Then view a pile of coal on the floor on the right. Place the bucket down and then use the shovel on the coal to collect it in the bucket. Take the Bucket of Coal.
Next look at the front of the steam engine fire box. Open the door.
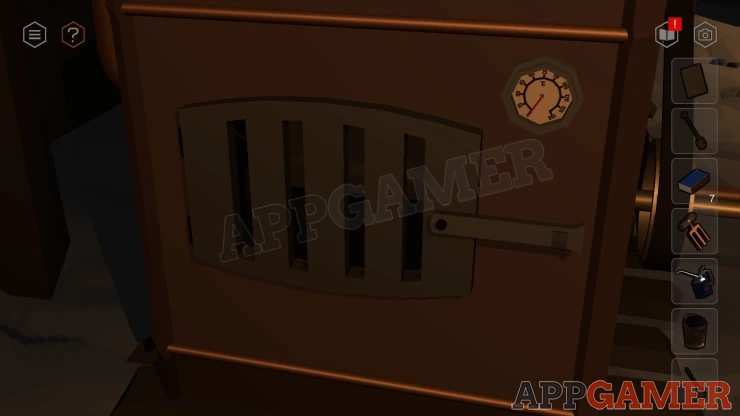
Add the Coal to the fire box, then use the flame oil on this. Finally use rthe matches to light it.
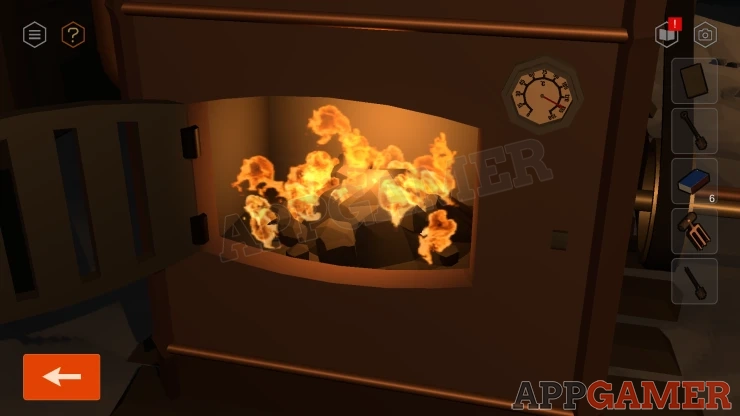
Next look at a pipe that connects the fire box to the pump on the right. Add the handle to this and then tap it to start the pump working.
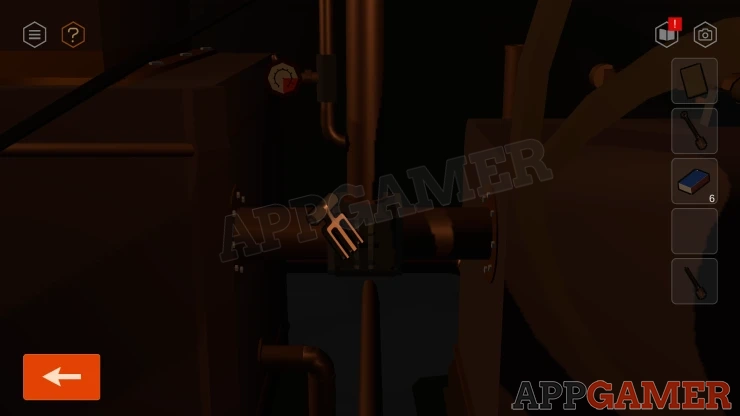
Back up to F3 and then take the other path following the pipe on the ground through to E3.
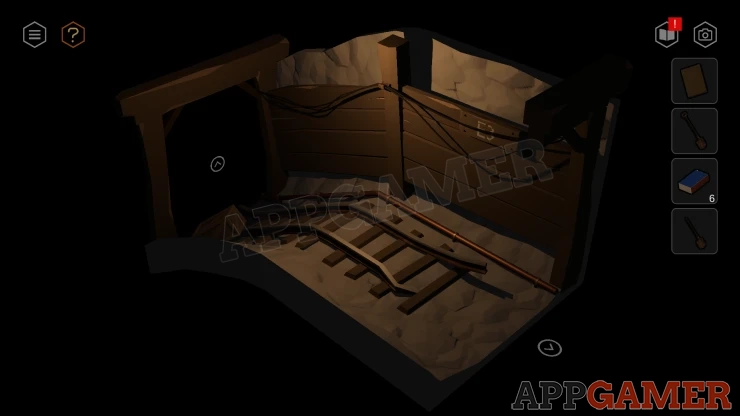
Then move on again to D3 and then C3. There is a large hole here.
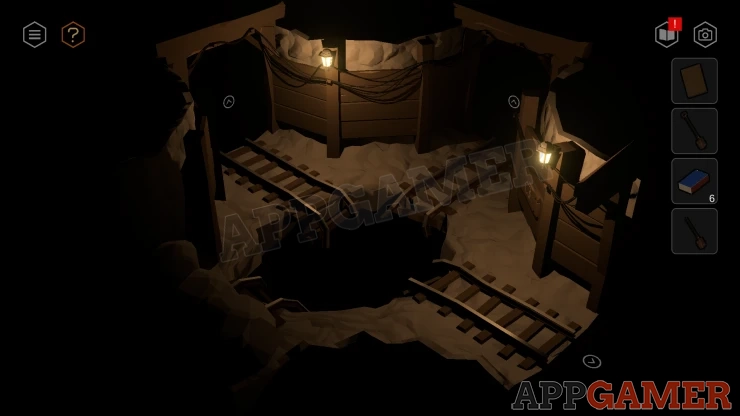
Continue on in the straight line to reach A3. There is a rock fall here at PANEL 8.
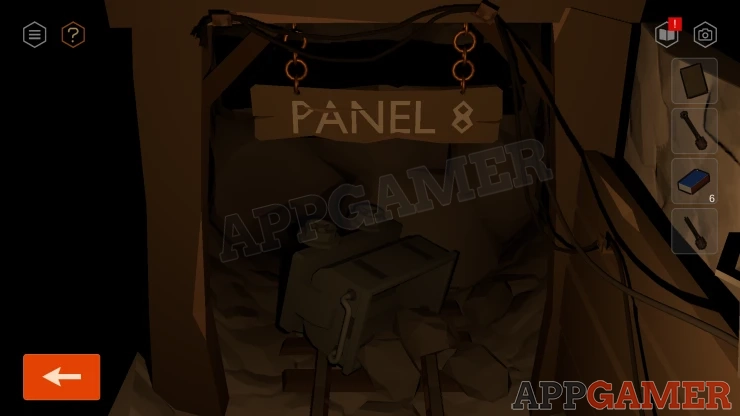
View the mine cart in the rocks and collect from it two Mine Cart Wheels (2).
Now make your way back to the bunker and go to the room with the bells and the map. Turn to find the safe on the wall.
Safe Puzzle
- Look in the diary to see a clue with four letters around a star. A, B, C, P
- On the Map there are four stars that are placed at points oin the map. From exploring the tunnels you will know the map refences for these locations.
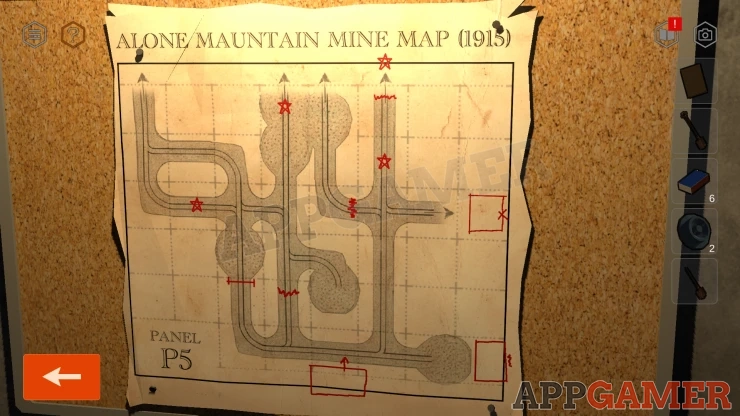
Solution: The stars on the map are at points. A5, B3, C7 and the Panel 8. using the layout from the clue in the diary set the safe dials. Show
Code: Show
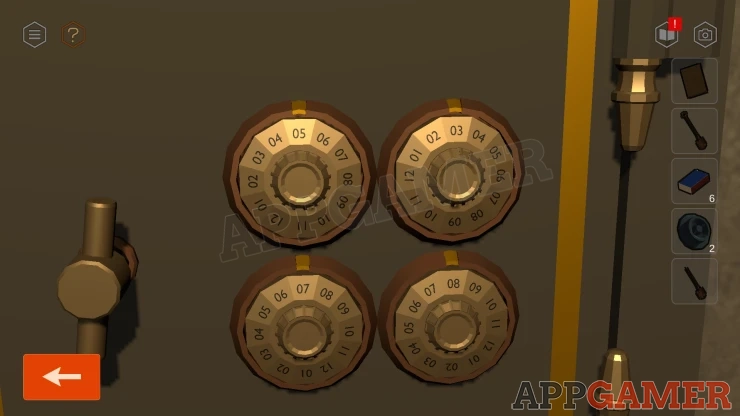
Collect a Crystal.
Next move out to the starting corridor. There is a door here that has not been opened.
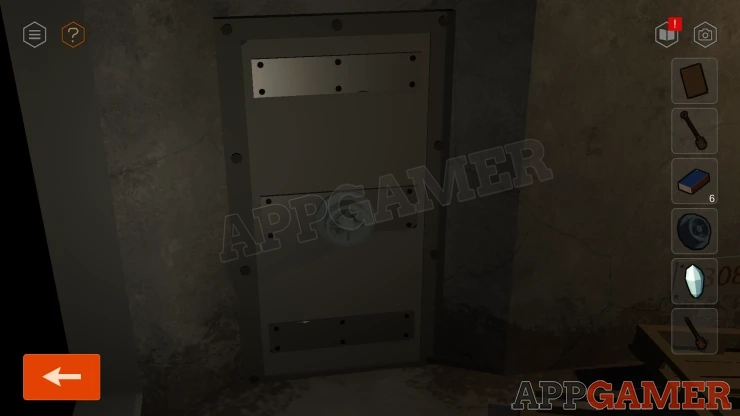
Add one of the Wheels to the door to let you open it and then go through to a room with TV screens.
TV Screens puzzle
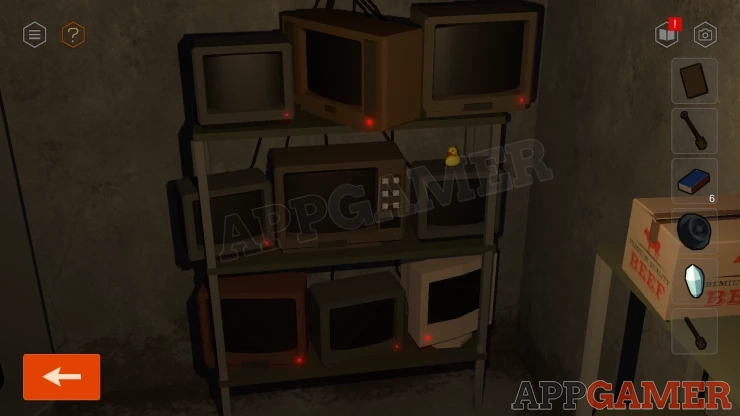
You can tap each screen to turn it on and see a No signal image.
On each screen the image will slide in one direction, you can tap the screen again to change the direction it moves in.
Look in the diary for a clue to solve this.
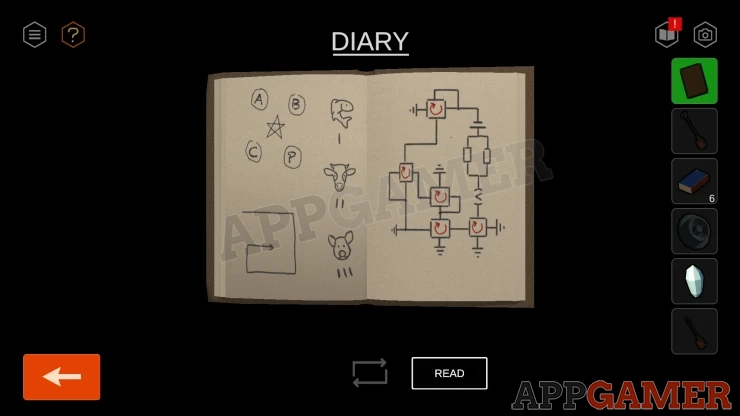
Soluition: In the diary is an arrow that moves in a square shape spiral in a clock wise direction. Starting from the top left make the images slide in the same rotational direction. Left, Left, Down, Down, Right, Right, Up, Right.Show
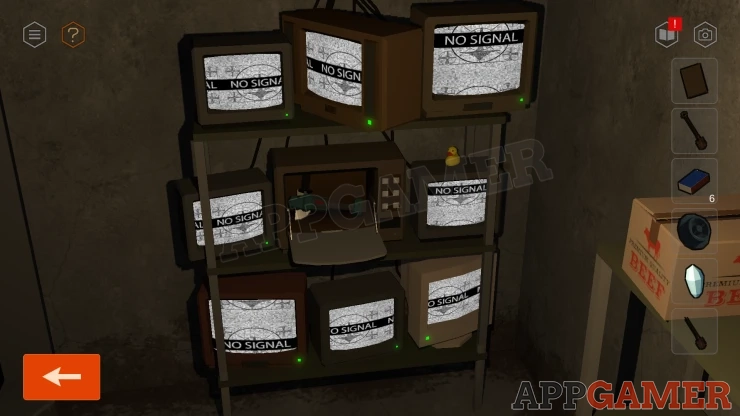
Once dont the center TV will open and you can collect an Angle Grinder.
Next look on the walls to the left and right. One each side there are shelves with boxes on them, these are arranged in a grid and contain either Tuna, Beef or Bacon. This is a clue.
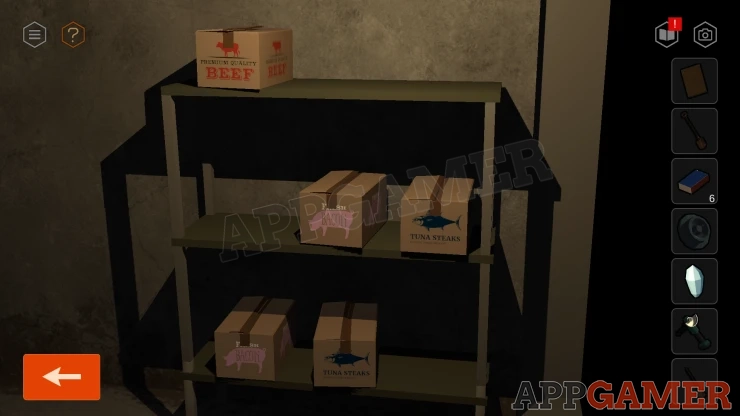
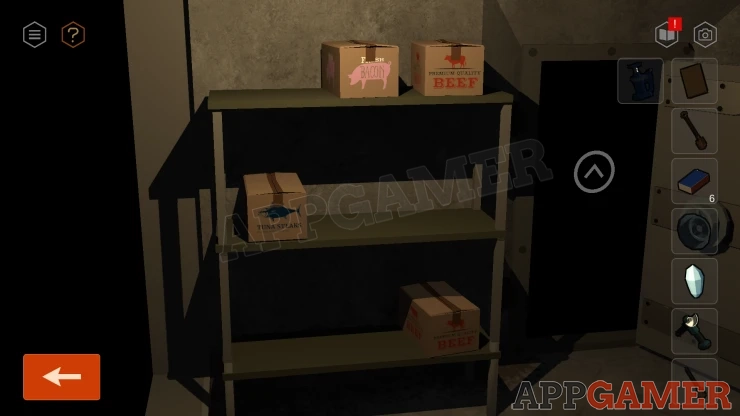
Also, on the shelf next to the door look at the Tuna box on the middle shelf and open it. Collect a Jack.
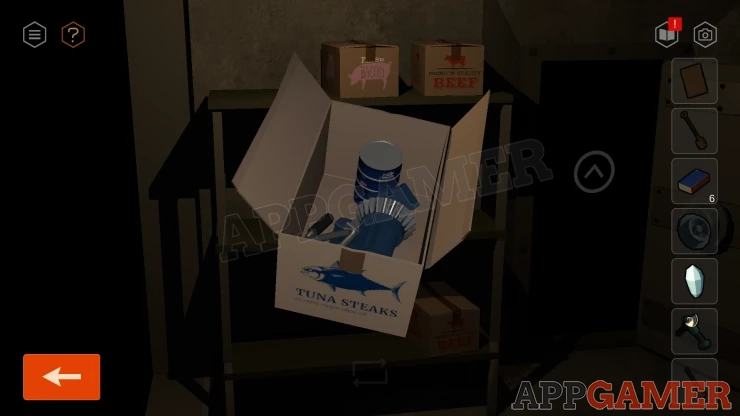
Finally look on the back wall of the room to see another number written here. 3215.
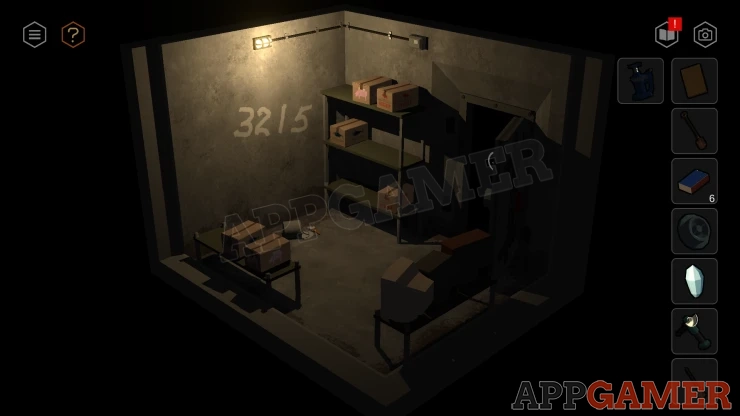
Go to the room with the bed and open the cupboard in the corner again.
Book Cupbaord Puzzle
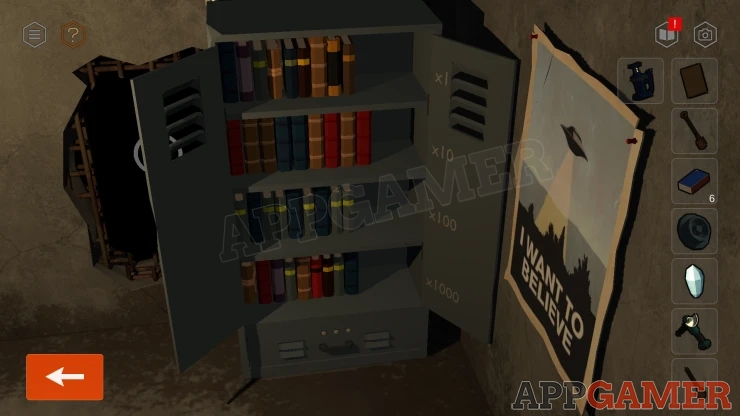
- There are four shelves with books on them.
- On the right you will see that each shelf represents units (x1), tens (x10), hundreds (x100) or thousands (x1000).
- You have found three 4 digit numbers.
Solution: Tap the books on each shelf to move them one at a time to the right (or left). Set the correct number of books on the right side to match the first number. You should then see a light come on below. Then repeat this with the other two numbers to turn on all of the lights.Show
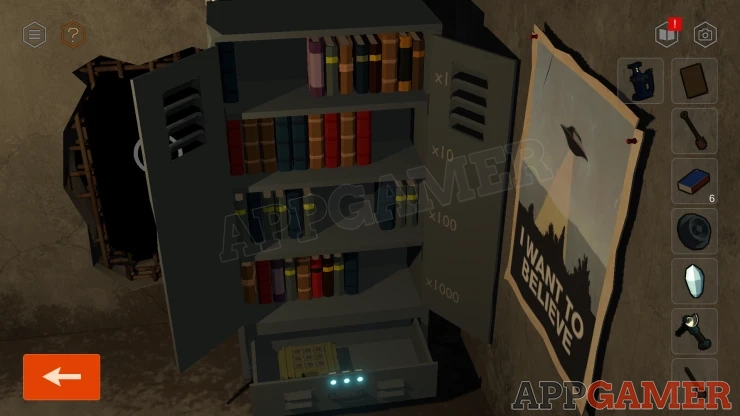
Once done a drawer opens and you can find a locked box
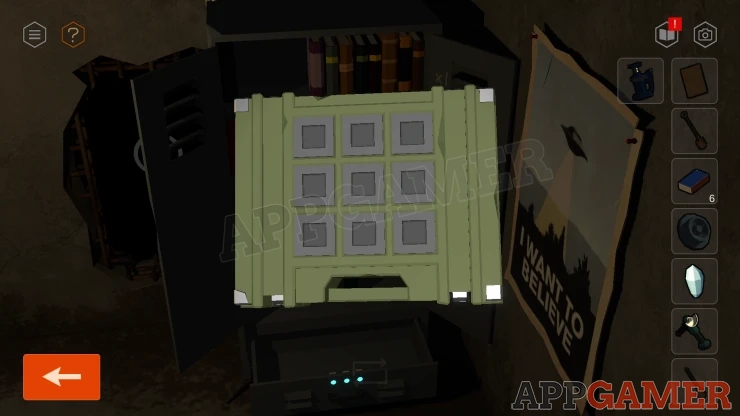
- The box has a 3x 3 grid of buttons.
- Tapping the buttons will set a number of lines on it from 1 to 3.
- Set the correct combination of lines according the the clues.
Solution: Look in the diary to see three sketches of a fish, a cow and a pig. These have lines of them for 1, 2 and 3. Remember the shelves of boxes in the room with the TV screens. Combines these will have a box in all 9 grid locations. The boxes represent one of the animals. Get the correct number of lines from each for this.Show
Code:
Show
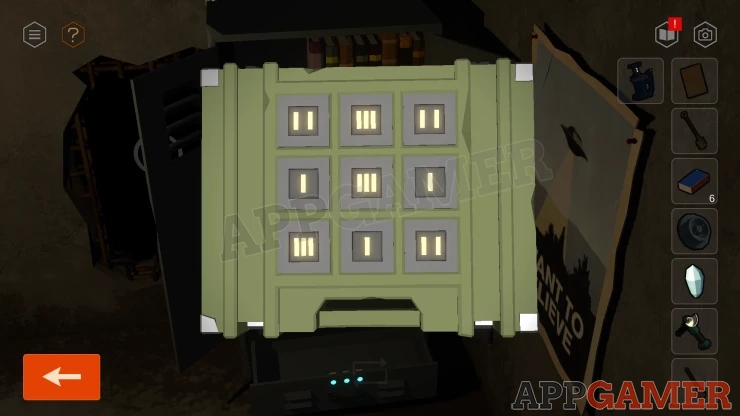
Collect a Cutting Wheel.
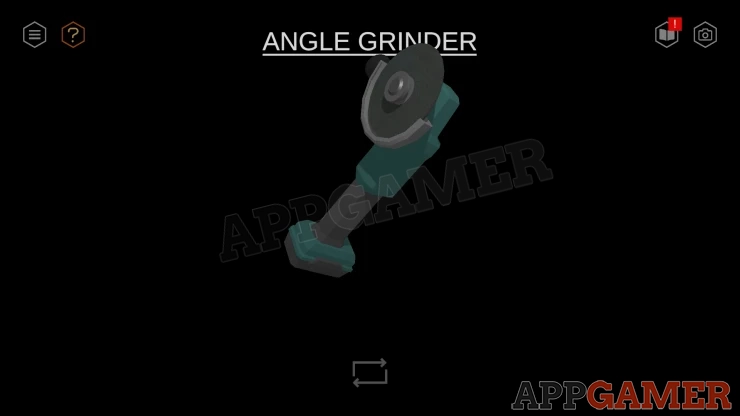
View the Angle Grinder in your inventory and add the disk to it.
Go back to the mine and move to the right to F2. View the broken cart next to the steam engine.
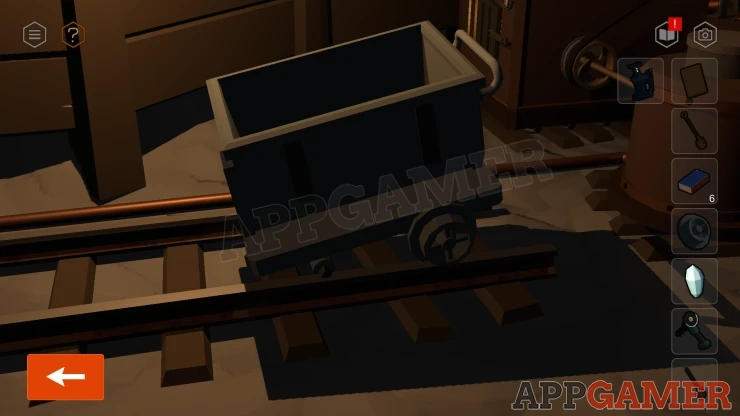
Add the Jack here to lift it up and then you can add the Wheel to fix the cart.
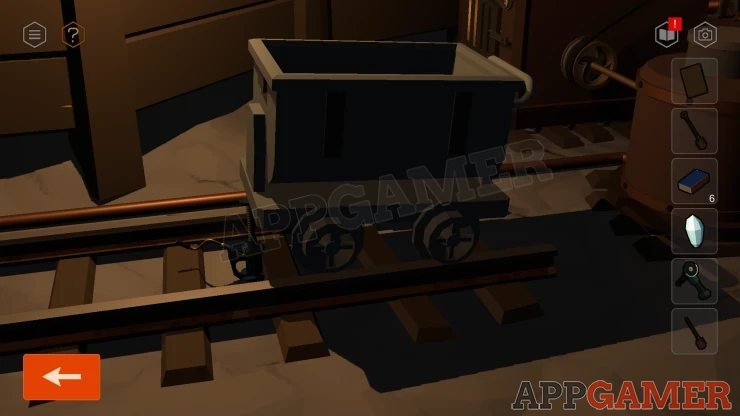
Remove the Jack and then you can tap the cart and instruct it to move left or right.
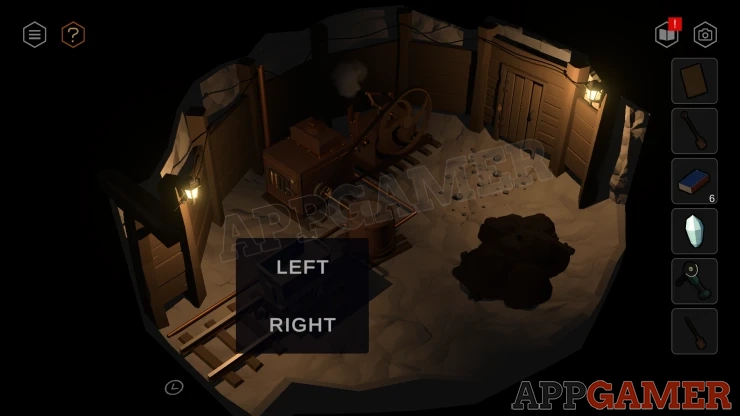
Move to F3. Then tap a rock on the floor to place it in the cart.
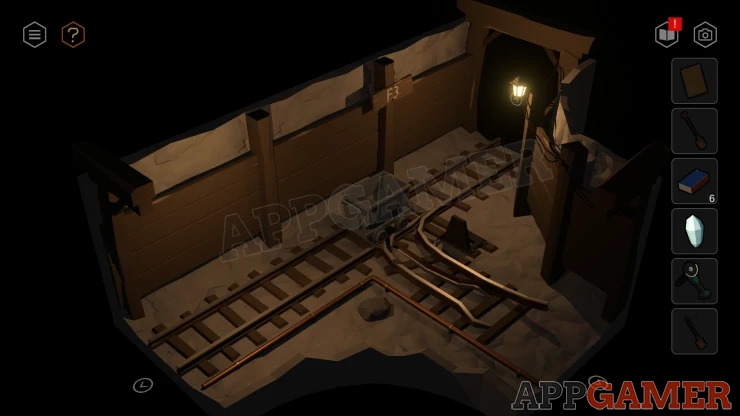
Move on to F5 and then collect another rock from the floor.
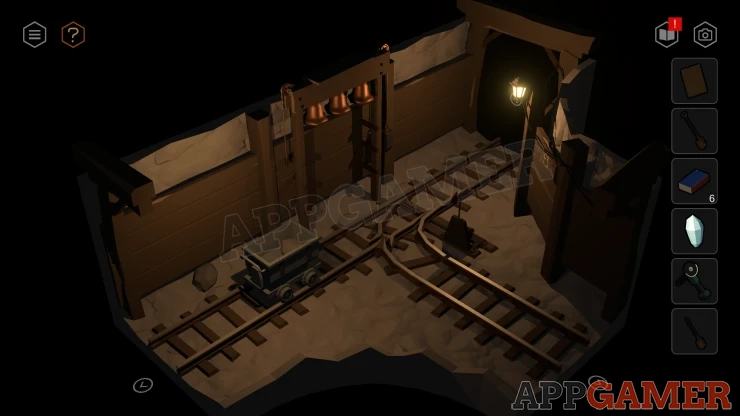
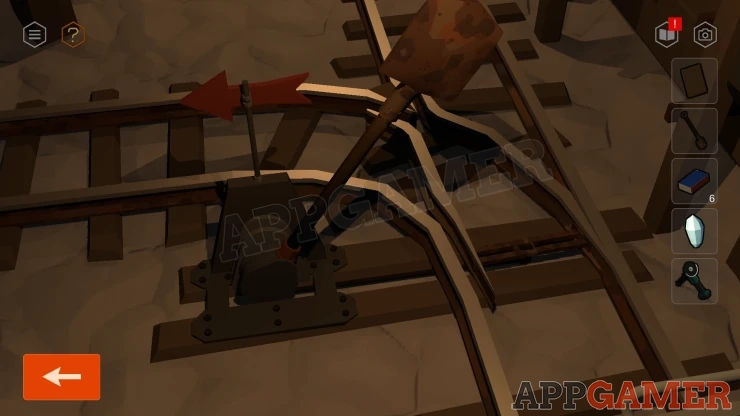
Move the cart past the junction point and then add the other shovel to the points. You can tap the shovel to switch the track.
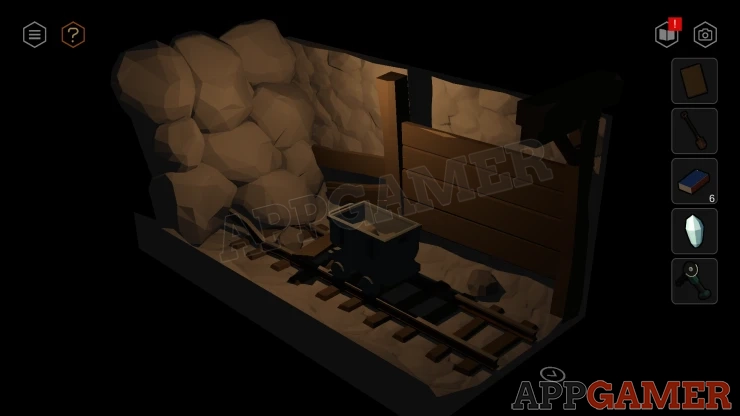
Move the cart back so that it moves around the bend in into E5. Collect two more rocks from here.
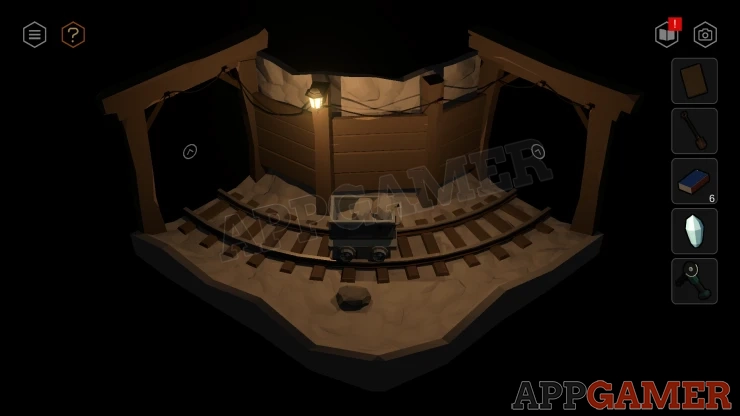
Now move the cart again to F5 and then on to F6. Collect the rock from the corner.
Move the cart on to E6 and then down the slope to crash through a barrier.
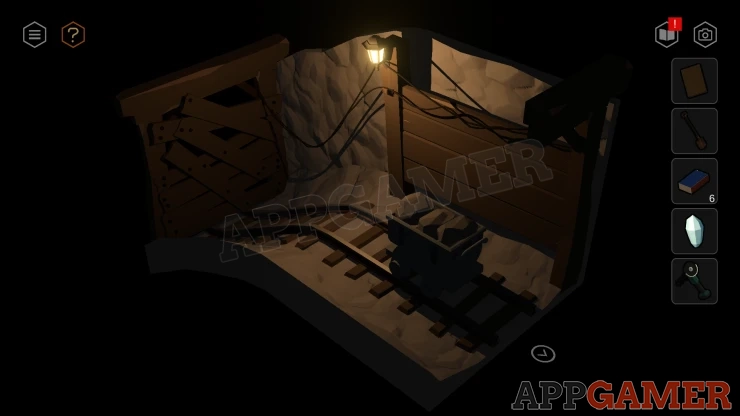
Go though to the rock fall and collect a Pickaxe.
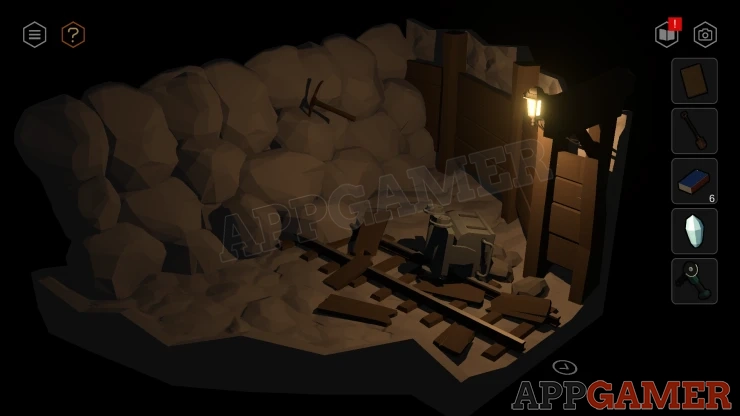
Move back along the track to the Steam engine and then view the door at the end.
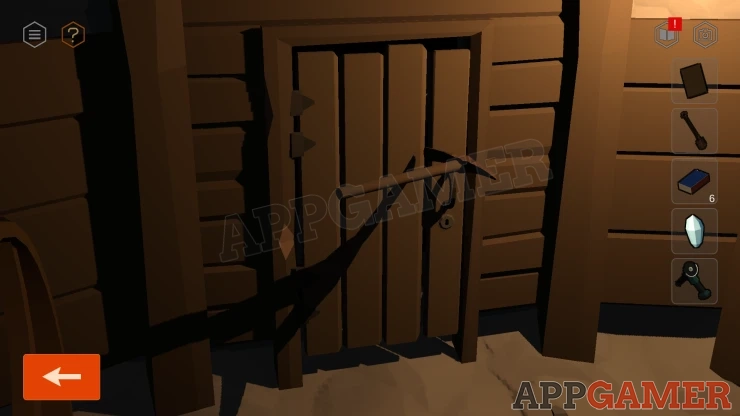
Use the pickaxe on the door and then you can open it.
Go through to a large Stone walled room with crystals on plinths.
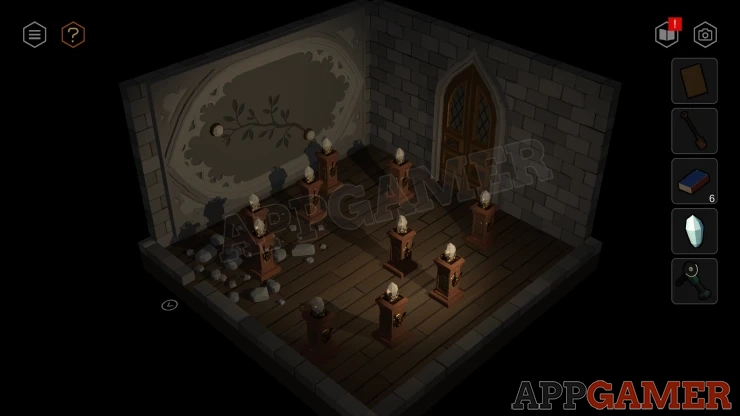
Turn to face a large window. View the center of the window and place the Crystal here. This will project a light beam into the room.
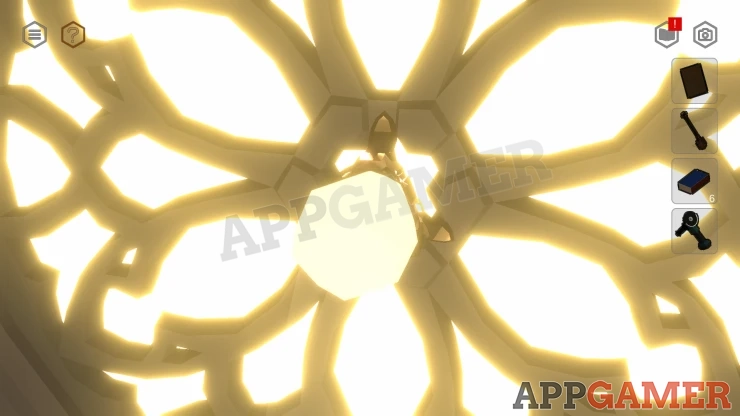
The beam will refract through another crystal. you can turn this to direct the beam around the room.
Direct the beam and turn each of the crsytals to link them up so that the beam passes through them all.
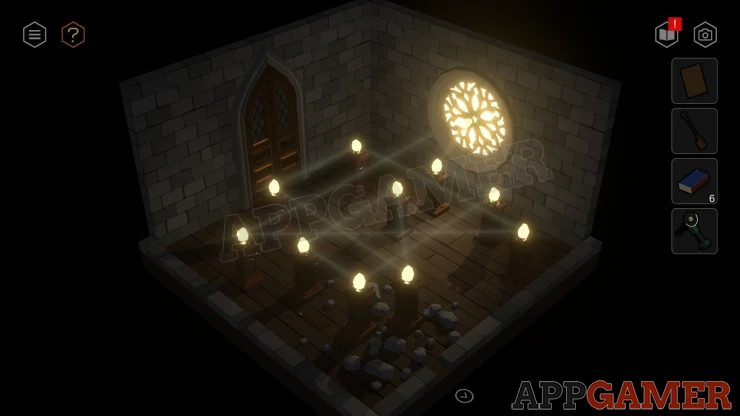
Once done turn to face the opposite wall and turn the final crystal so that the light beam hits the wall and lights up the branch motif.
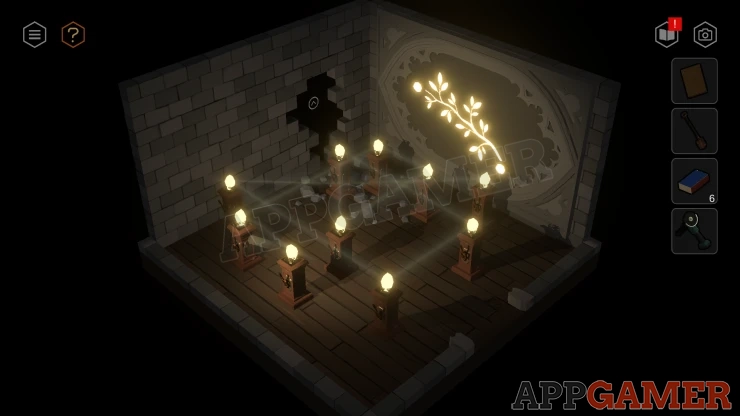
Once done back up through the hole into the mine again. Follow the paths back to the junction. at F3, then move along the side path to C3 (Large hole).
Then turn amd move to C2 where there is a barrier and a metal grate.
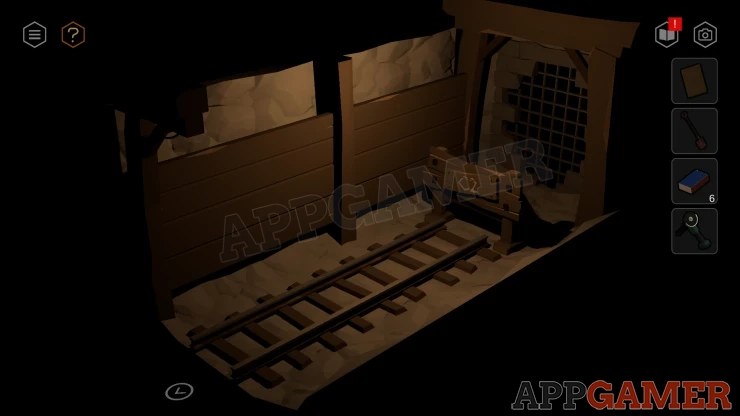
View the grate and then use the angle grinder on it to cut a hole.
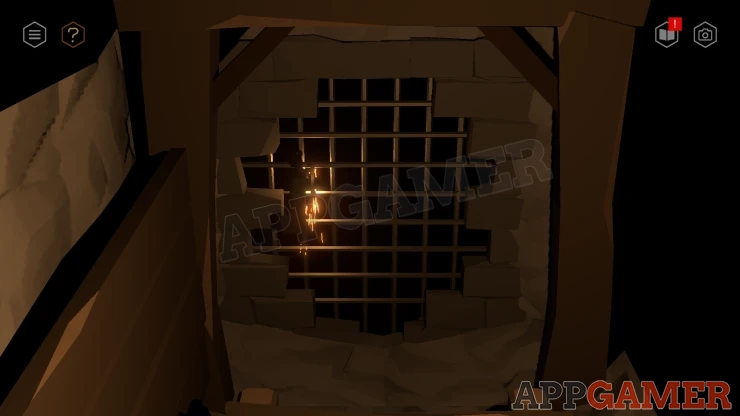
Go through to another stone walled room. There is another crystal on a plinth.
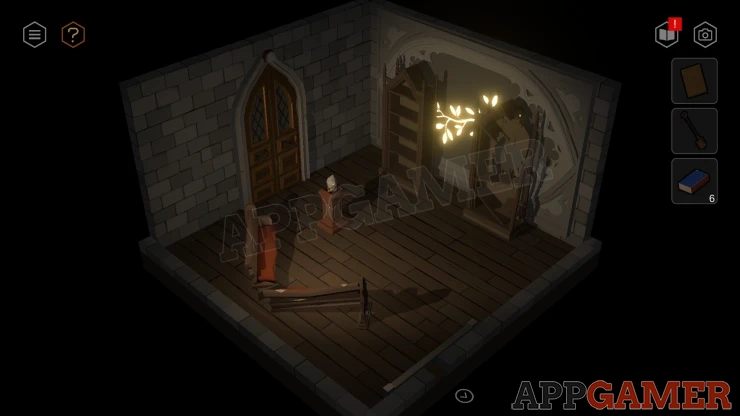
Turn to see two sets of shelves. Move these to see the opposite side of the wall with the branch motif. The light will reach the crystal.
Tap the crystal to redirect the light beam until it opens the doors.
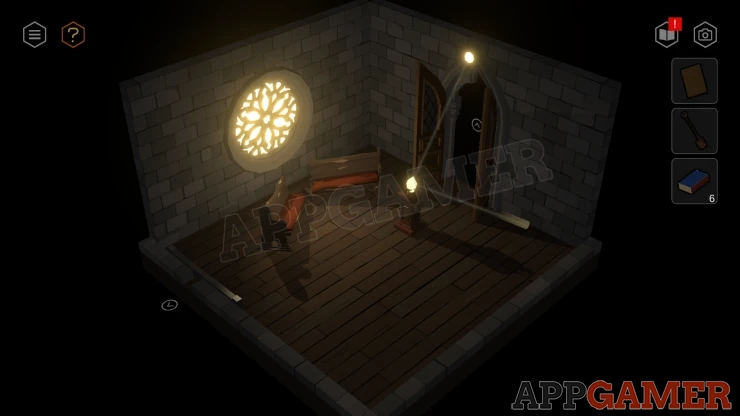
Go through to a hall with stairs.
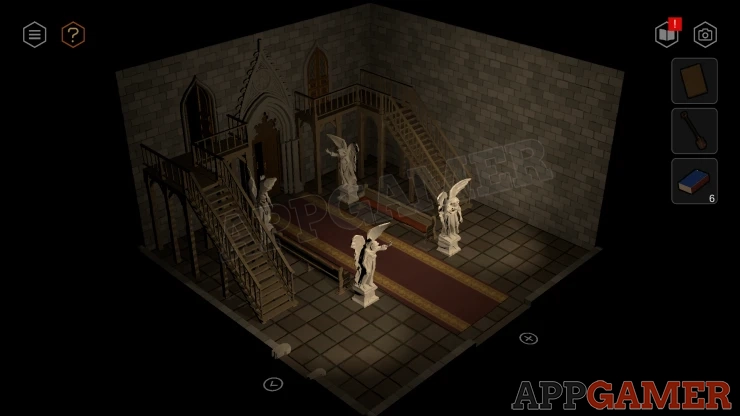
View the large doors at the end to hear voices.
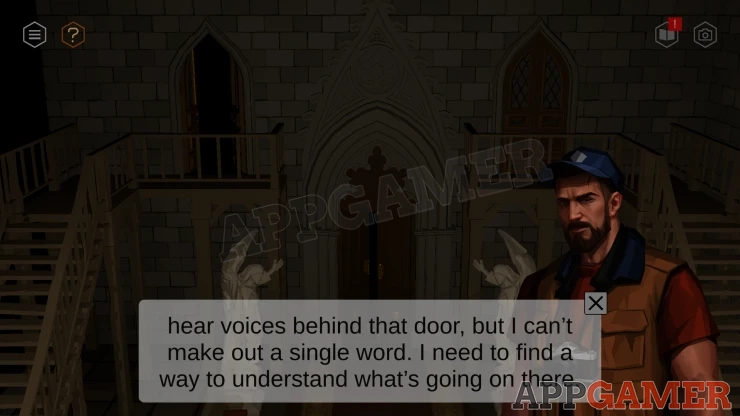
Then go to the small door on the top left. Watch the scene of the cult meeting.
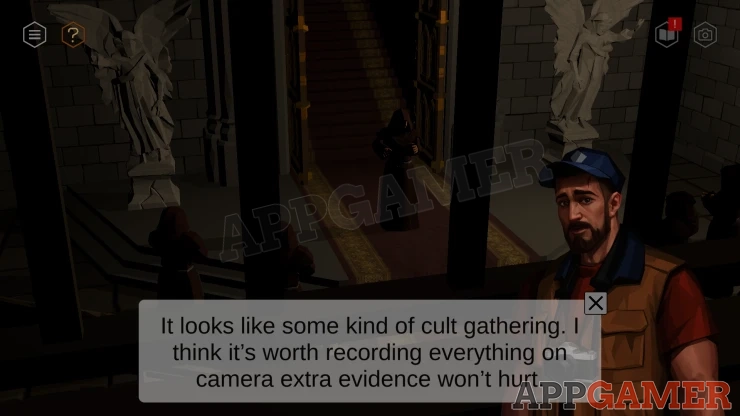
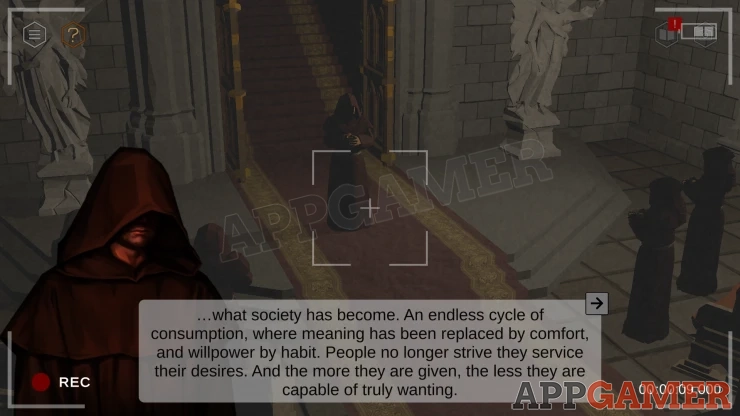
Once the cultists leave you can go through the large doors to the meeting room.
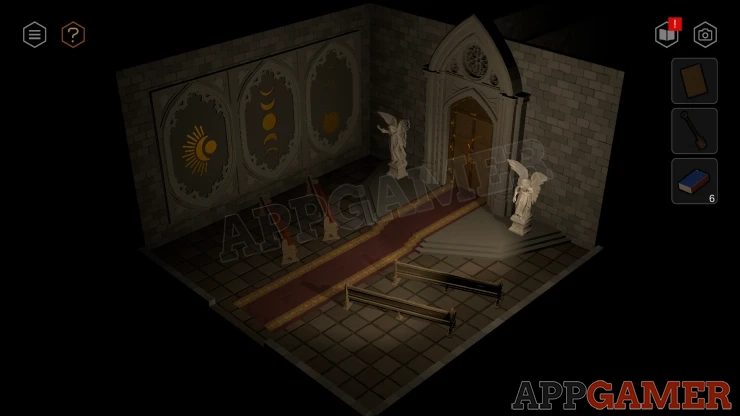
View the next set of doors with the large symbol on them.
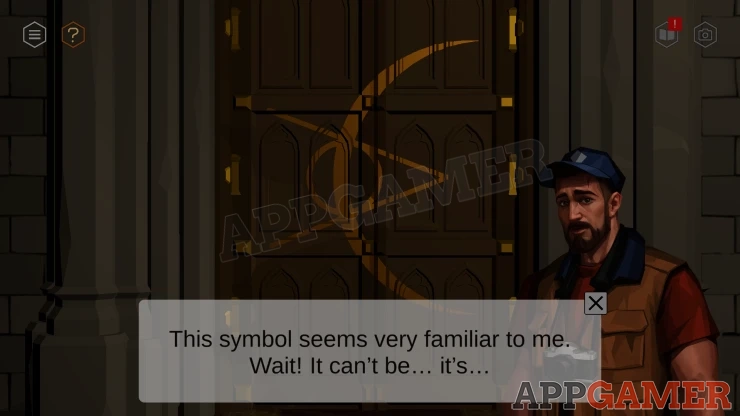
This competes chapter 6, and the inital release of the game.
Now we wait for the release of chapter 7.
We have questions and answers related to this topic which may also help you: Show all
 With 20 years of experience in creating video game content for the internet and over 30 years as a gamer, Mark is now a passionate mobile App Gamer. Loving a challenge, he is always ready to get stuck in to both survival builders and puzzle solving games. He has been providing content for AppGamer since 2014.