Scary Horror 2 - Chapter 3 - Liberation Walkthrough
More Scary Horror 2: Escape Games
This is our full walkthrough of Chapter 3 - Liberation of Scary Horror 2: Escape Games. A second Scary escape room game from developer Escape Adventure Games.
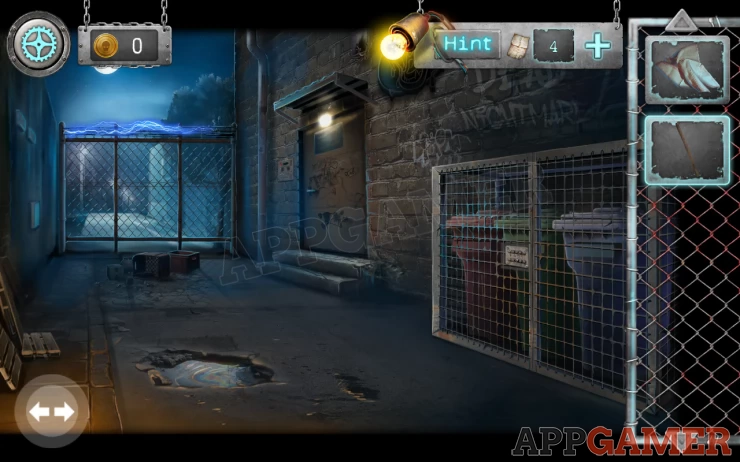
After making your way through the Horror House of Chapter 2 and finding a way down from the rooftop you seem to have managed to escape. Now you are in an alleyway and you still need to escape.
Chapter 3 - Liberation Walkthrough - Part 1
You will start with a Dirty Neckerchief in your inventory. First collect a Stick that is leaning on the left wall of the alley. Then tap on the arrow button on the bottom left corner to move to the other view of the alley.
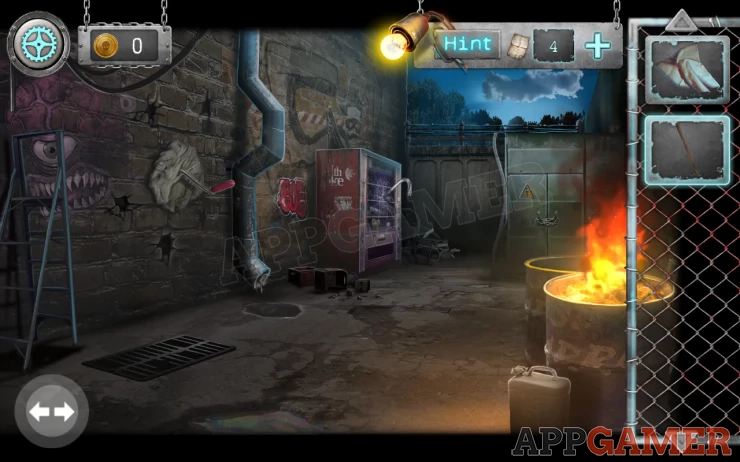
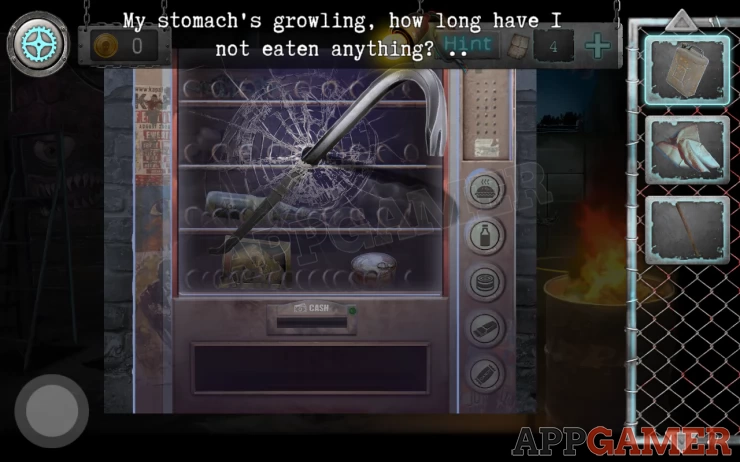
Collect the Jerrycan with fuel from the bottom right corner and then view the vending machine at the far end of the alley with the crowbar sticking out of it. Then collect the crowbar from it.
Back up and now tap on the ladder on the left side. After the spooky scene collect the ladder. Then view the white patch on the wall to the left to see a handle sticking out.
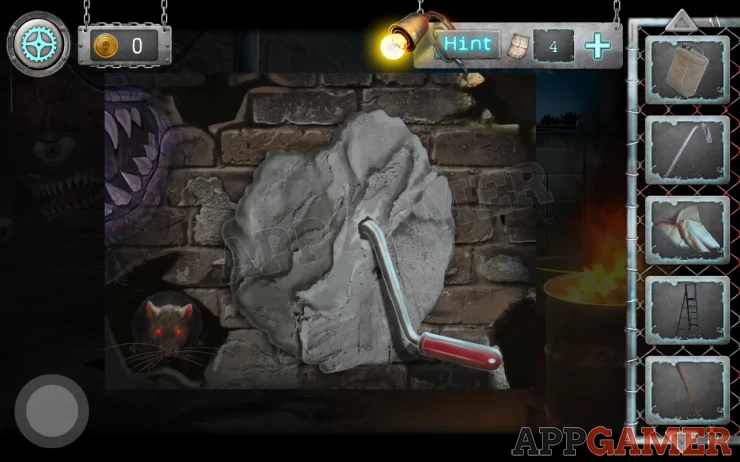
Use the crowbar on the white patch to break it open then collect the Lever. Next look at the drain cover on the ground beneath this. Use the crowbar here to remove the cover to look inside.
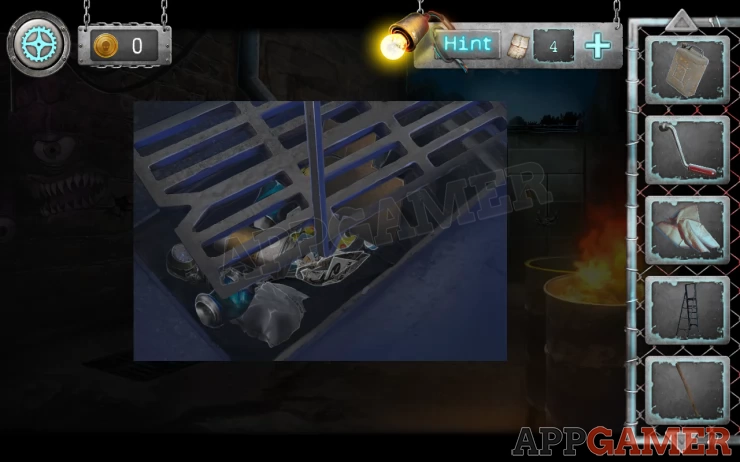
Move the items away until you collect the Wallet with Money. There is also a red button but we cannot get that yet.
Now return to the vending machine. Select the wallet in your inventory and use it on the cash slot to add money to the machine.
You can now press any one of the first 3 buttons to collect an item. Take the item and then repeat this 2 more times to collect a Rotten Pie, a Dirty Soda and Expired canned food.
Return to the alley view and now combine the stick that you have in your inventory with the dirty neckerchief, you can do this by dragging one item onto the other. This gives you a wrapped stick. Now use the wrapped stick on the burning barrel on the right side. This gives you a torch.
Next view the bottom end of the drain pipe on the left wall. You need to use the Torch on the bugs inside quickly to clear them away. Select it and move it around inside the pipe to do this.
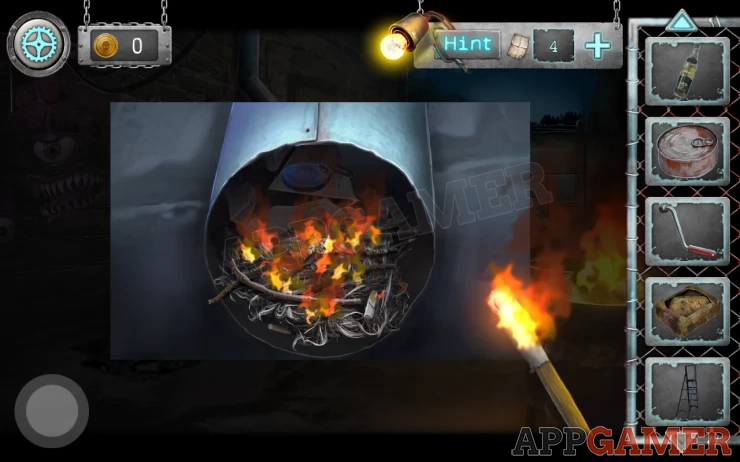
Once it has been cleared you can collect a blue Chip. Tap the arrows to move back to the first view of the alley. On the right side is a door. Tap on this. Notice the numbers on the door.
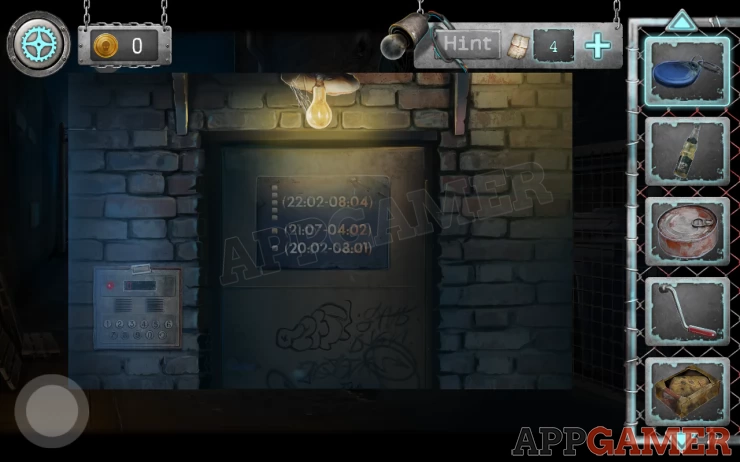
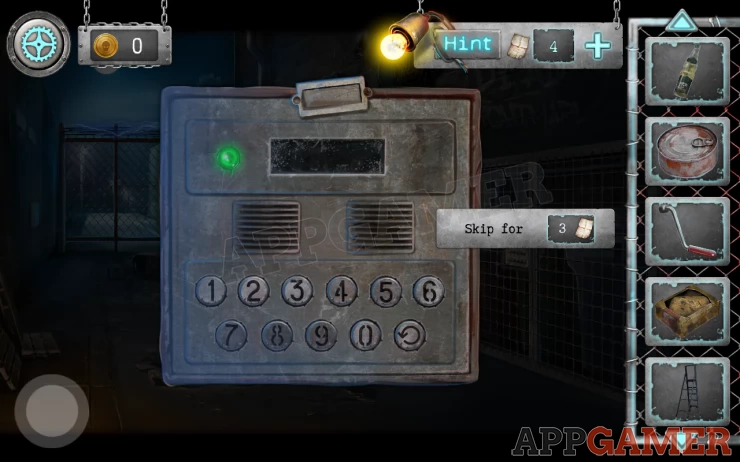
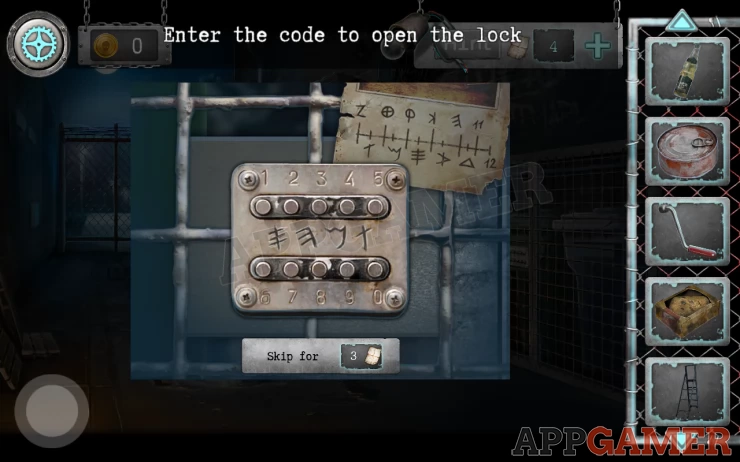
Now view the panel on the wall to the left, view this and use the blue chip on it to activate it. You now need a code to enter.
Hint: the numbers on the door need to be seen a 3 equations to solve to get 3 numbers.
Solution: These are complicated: 22:02 - 08:04 => 22/2 - 8/4 => 11 - 2 = 9 21:07 - 04:02 => 21/7 - 4/2 => 3 - 2 = 1 20:02 - 08:01 => 20/2 - 8/1 => 10 -8 = 2Show
Code: 912Show
Enter the code and the door opens, you can then collect a Flyer (paper clue). There is also a puzzle but we cannot do it yet.
Back up and view the cage surrounding the bins on the right. There is a lock that we need another code for. The Flyer will be added to help you.
Solution: Notice the 4 symbols on the keypad. Look for these on the flyer and count from the leftShow
Code: 6942Show
You now have access to the 3 bins. Use the 3 items you have from the vending machine here.
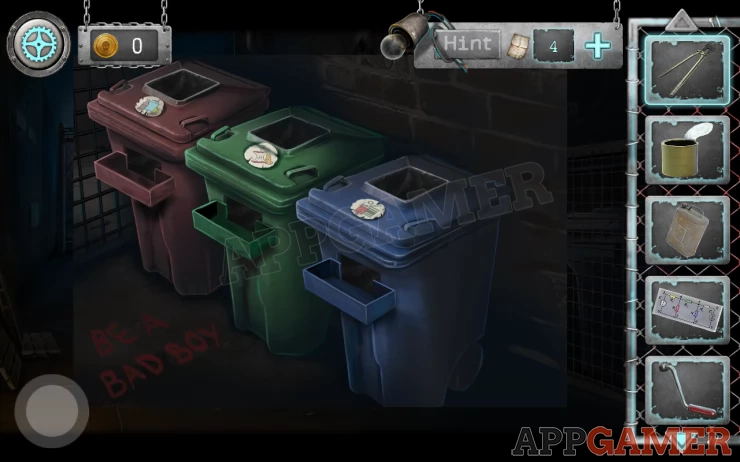
- Add the bottle of soda to the red bin. You will get a can.
- Add the Rotten pie to the green bin, you will get a circuit diagram.
- Add the Expired canned food to the blue bin, you will get a bolt cutter.
Turn to the other end of the alley and then view the green cabinet at the far end.
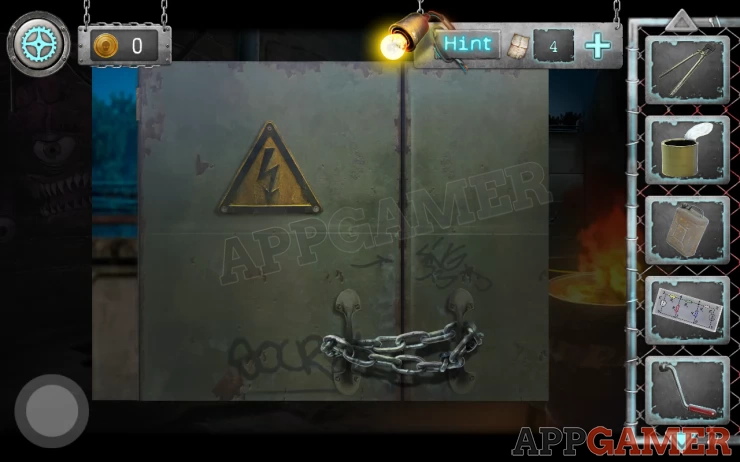
Use the bolt cutters on the chain to remove it.
With the cabinet open collect the T shaped Magnet from the bottom center. Then you need to return to the opened door on the other side of the alley. Add the magnet to the other shapes to start a puzzle.
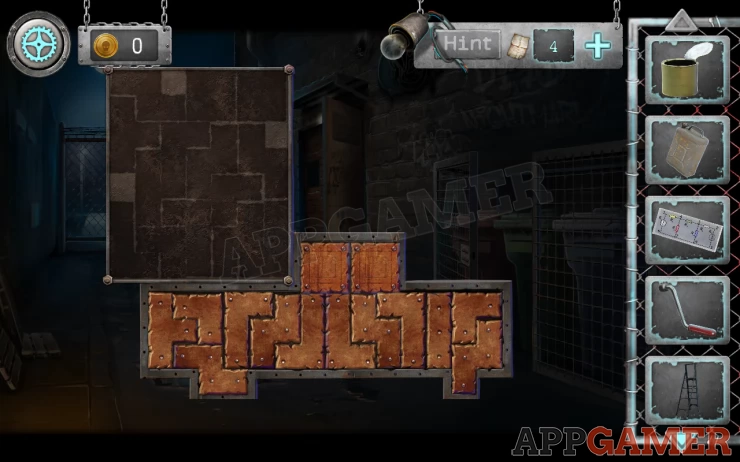
Magnet Puzzle
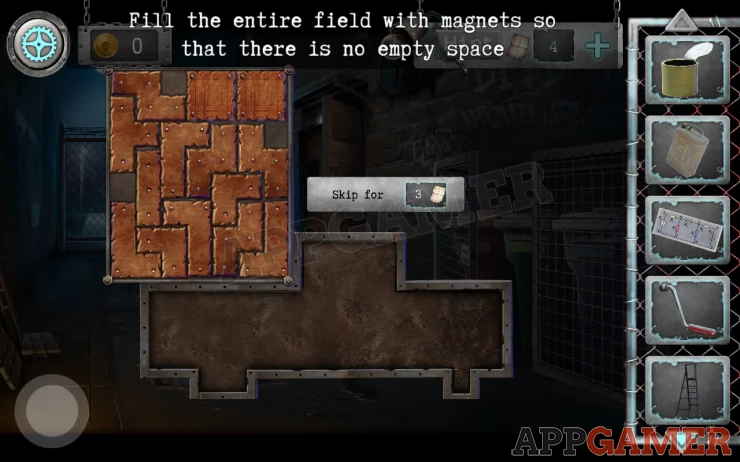
- Drag and place all of the shaped magnets into the space at the bottom, they should all fit with no gaps.
- There is more than one way to fit them.
- Check a solution below
Solution: Show
Tap the empty panel on the left to open it and then collect some Wire Cutters and a Scheme paper.
Back up and then use the ladder on the right wall next to the bins to place it.
You can then tap on the ladder to look at some loose wires above the small roof over the door.
Collect the 'wet wipes' that are on the roof and then use the wire cutters on the loose wires to trim them, you can then look inside the case that the wires are coming from.
Wiring Puzzle
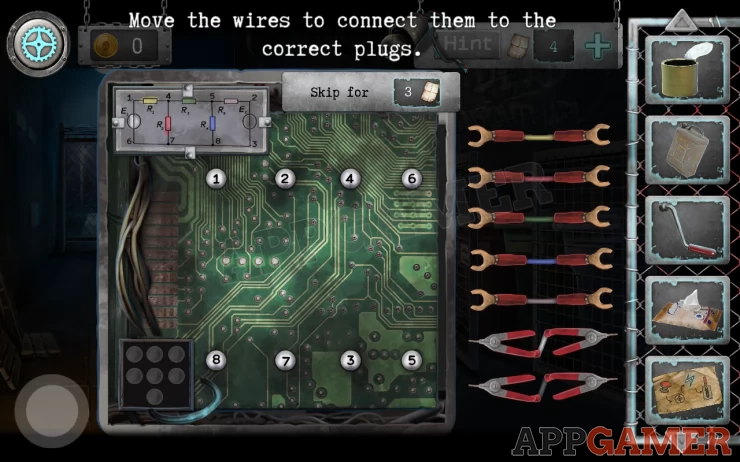
- The circuit diagram will be added and you can look at this to get the clue for the wiring.
- Connect the ends of the wires on the right to the correct terminals.
- Match the color of the wire to the colors on the diagram to help you.
The Neon light will now be on. Tap the ladder to look on the small roof again and you can now collect a Pike Pole and also view a locked box.
Box Padlock
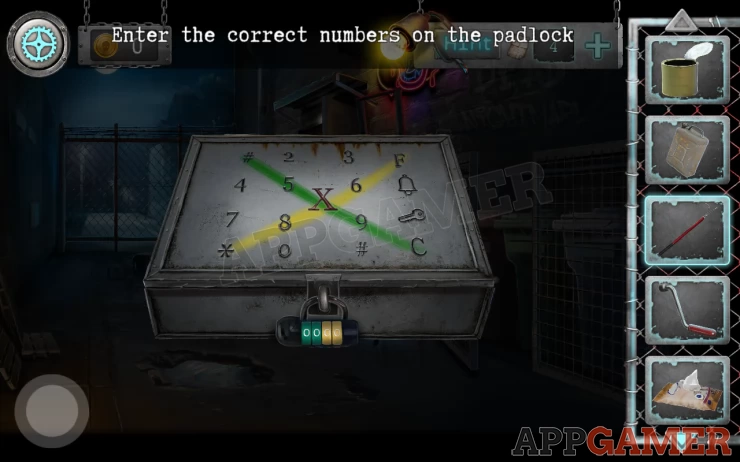
To get the code for this notice the colored on the padlock and the same on the box lid.
The colors on the box go through numbers
Solution: Green line goes through 5 X 9 = 45, yellow line goes through 8 X 6 = 48Show
Code: 4548Show
Collect the Lighter and the Key for transformer.
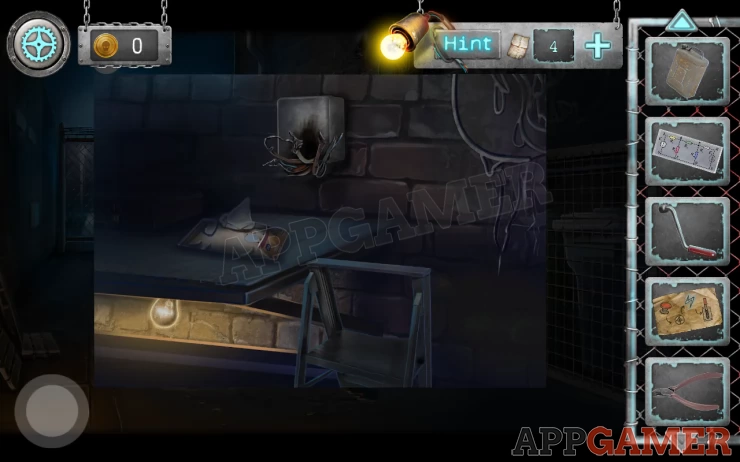
Now return to the other side of the alley, look in the opened drain again and use the pike pole to retrieve the Red Button.
Then view the opened green cabinet again. Use the key to open the box on the top right. Note the 4 lines on the paper on the inside of the door and then tap to view the puzzle inside.
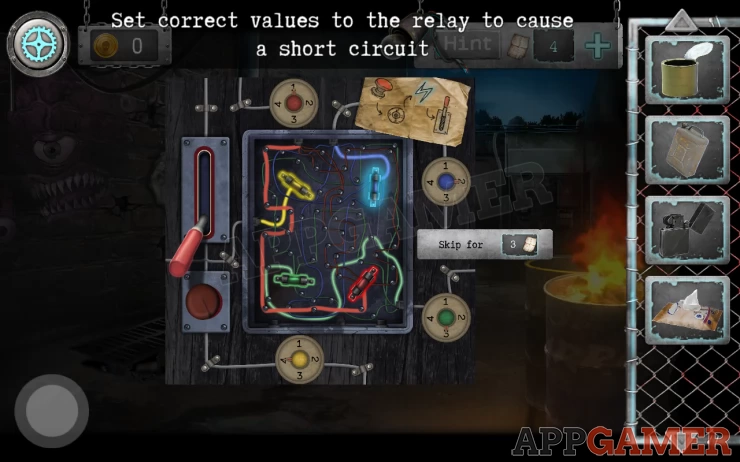
Transformer puzzle
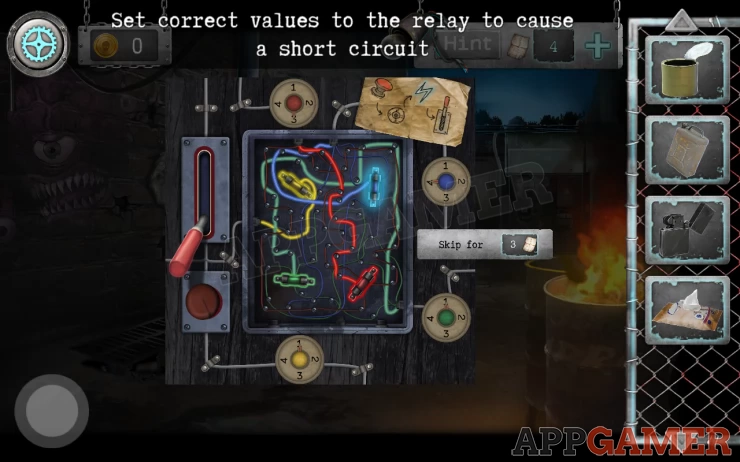
- Add the red button to the panel and then also add the Lever.
- Tap the red button to start the power.
- You then need to tap the 2 colored dials to change the wired used for each fuse.
- Find the correct configuration so that when you tap the lever it will short circuit.
Solution: Show
The power to the fence is now off. Return to the other side of the alley and move the ladder to the fence. You can then tap it to climb over.
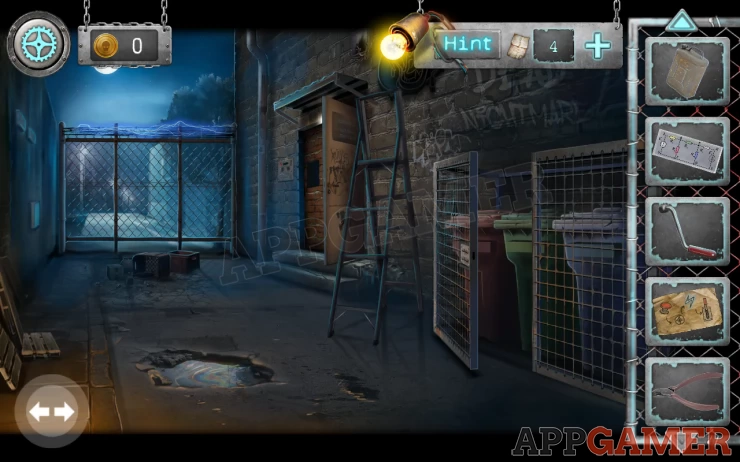
After you are chased by the masked figure you end up in a new area. A dark overgrown path.
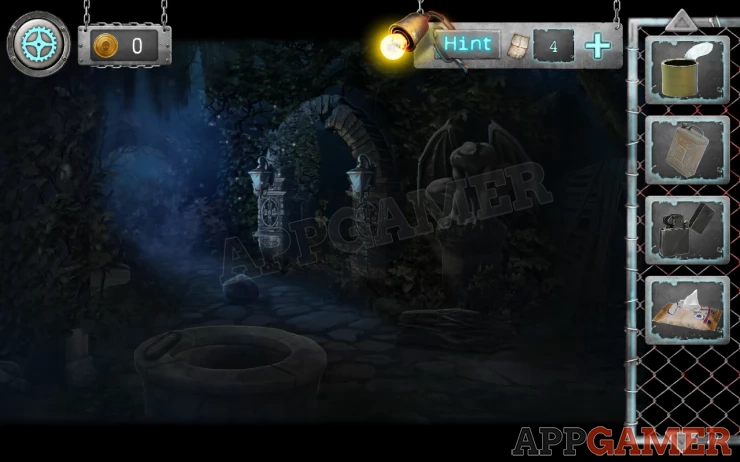
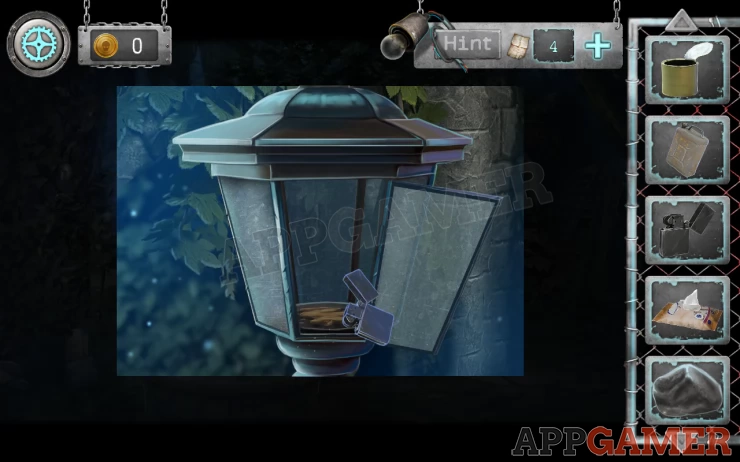
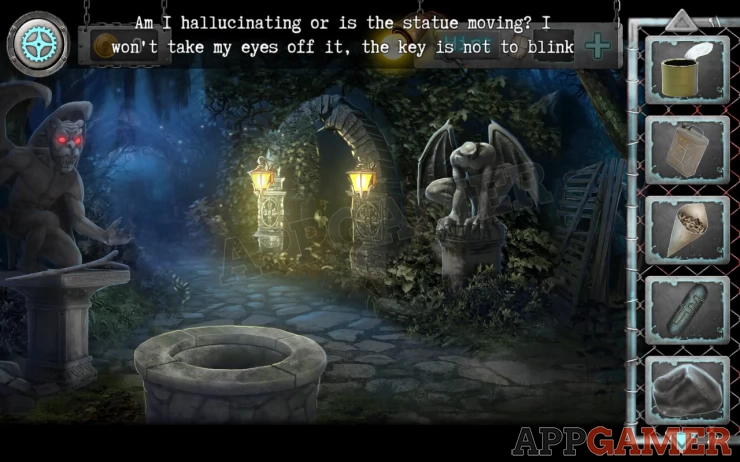
Tap on one of the lanterns to view it. Then open the front. Use the Jerry can with fuel on it and then the lighter to light it.
Collect a Stone from the path and a bundle of Dry branches. Then also take the Part of a lock from the rim of the well.
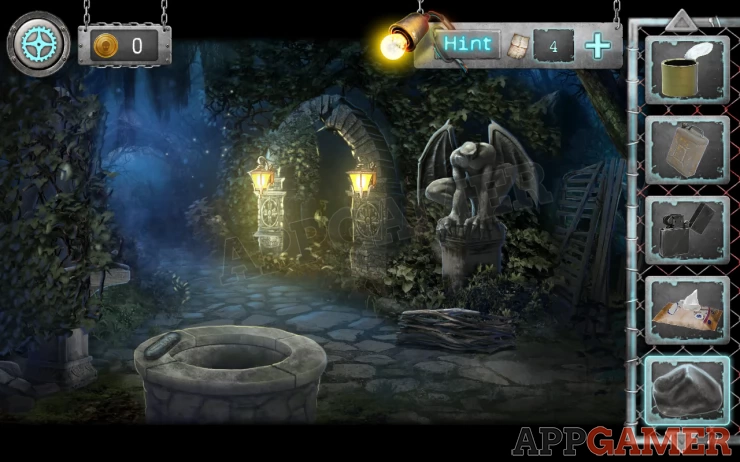
Next tap on the path to the left of the archway to move to the edge of a lake.
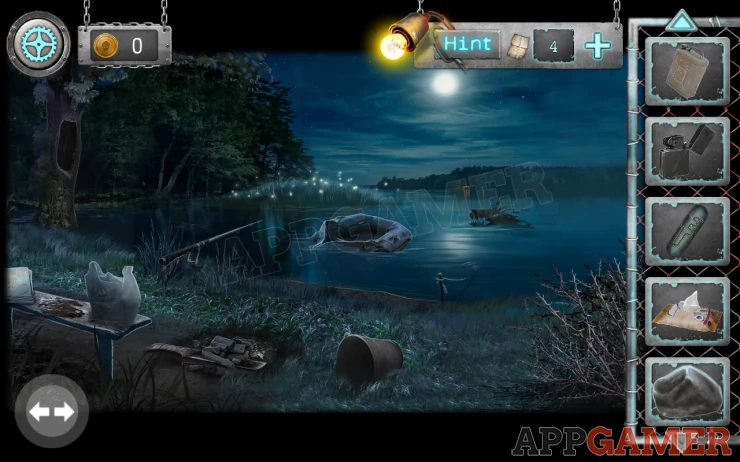
First view the bench on the left.
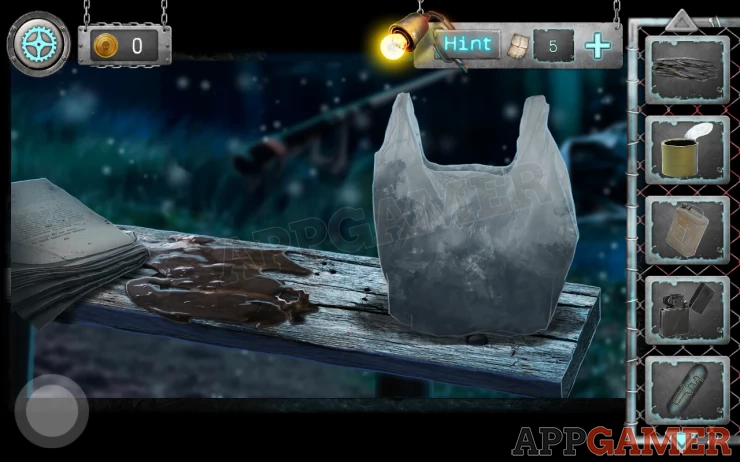
Collect the Paper (book) on the left of it and then use the wet wipes on the spill in the center to clean it. This will reveal a clue.
Tap the plastic bag over an then collect a boat repair manual (paper) from behind it.
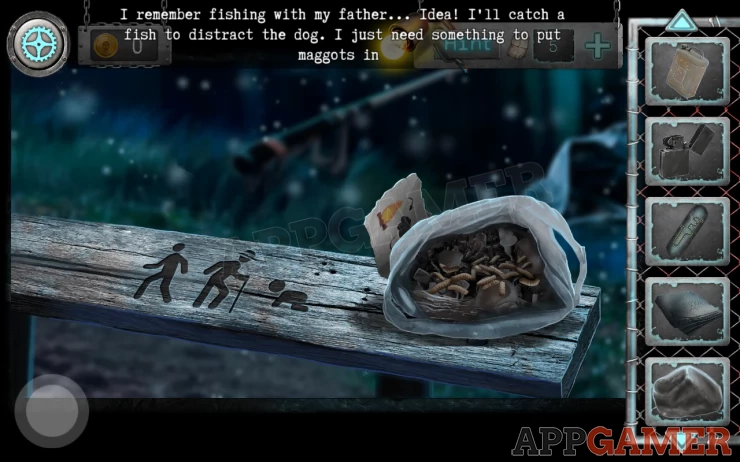
Select the paper (book) in your inventory and use it on the plastic bag to collect some maggots in a paper cone. You will also then have a balled up paper in the inventory.
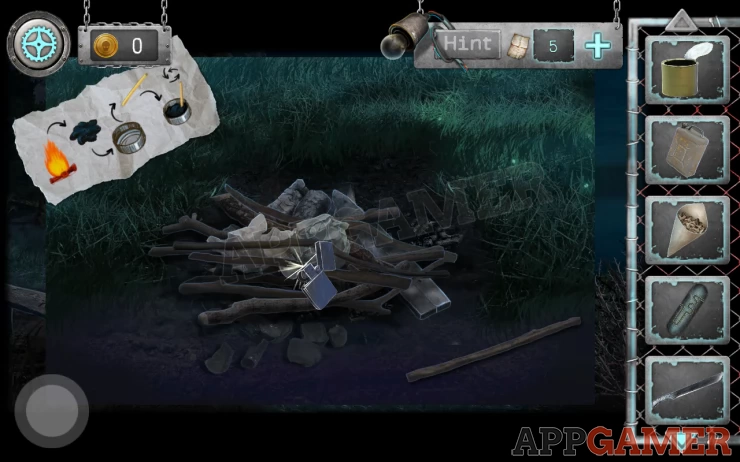
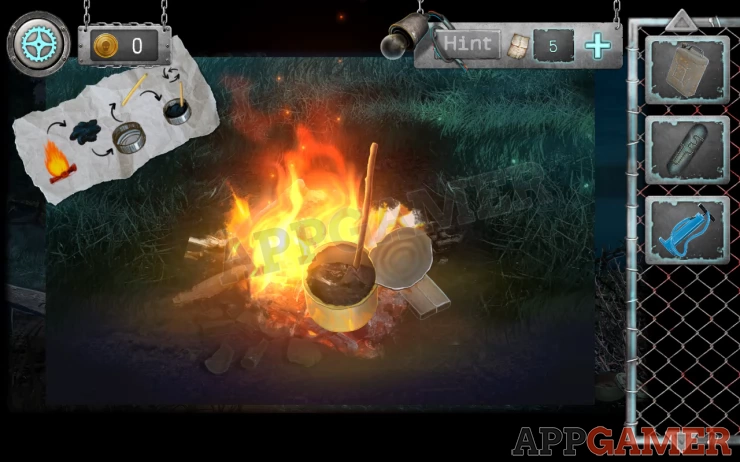
Next view the burnt out fire on the ground by the bench. Collect a Machete from it and then add the branches and the ball of paper to the coals.
You can then use the lighter on it to start a fire.
Now close this view and tap the arrows button to back up to the overgrown path with the lanterns. Use the Machete on the vines on the left side to reveal a statue.
Collect the Forked Stick from the statue. Return to the lake and then tap on the tree on the left side with the hole in it. When the snake appears you need to use the forked stick to clear it away.
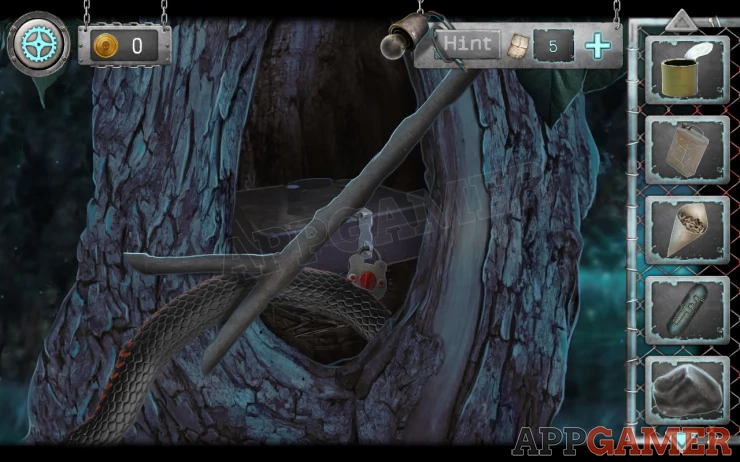
Now tap on the box inside and then on the paper note at the top for another clue. Use the clue to open the lock.
Tree Lock box Puzzle
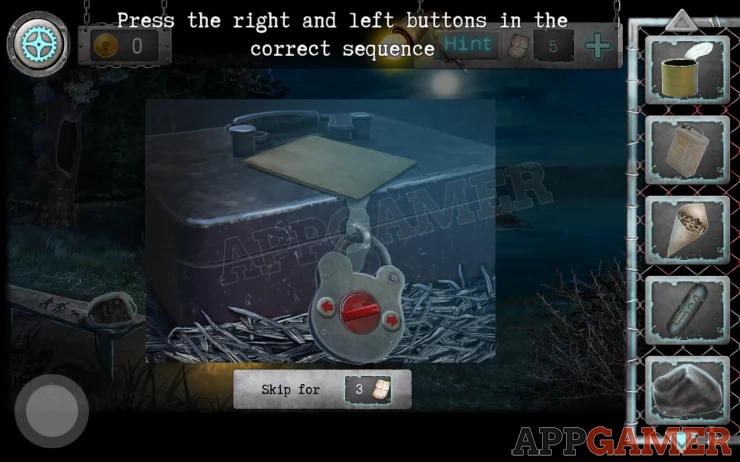
The paper clue is related to the clue you found on the bench.
Solution: The answer to the riddle is a person. 4 legs in the morning (baby crawling) legs at noon (middle aged man walking), 3 legs in the evening (old man with cane). Look on the bench for the order and direction. Then tap the left or right red buttons in the correct sequence.Show
Code: Tap left 2 times, right 3 times left 4 times.Show
Collect the Pruning shears and the Bitumen from the box.
Next view the thorn covered bush on the right side of the lake scene. Use the Pruning shears here to cut away the branches. You will need to do this 3 times.
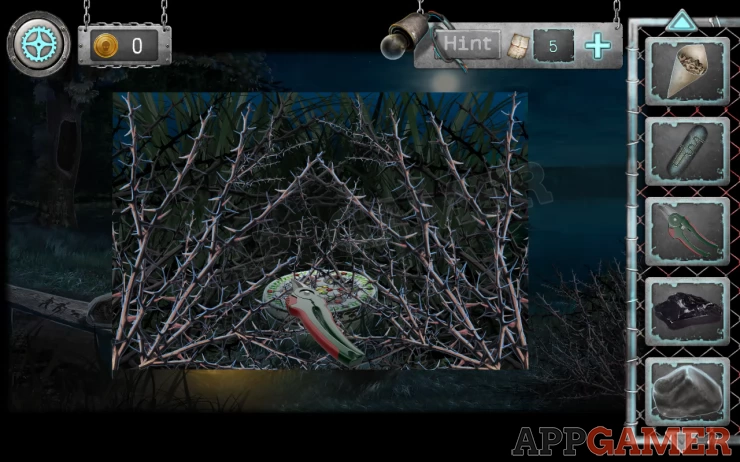
Tap on the round tin to see the puzzle.
Round Tin Puzzle

- Slide the colored balls and rotate the circle elements to arrange them in the correct places.
- Follow the colored emblems on the tine for the color locations.
- The green balls go around the outer edge. Then black balls, red ball sand yellow in the center.
Once done you can collect a hook from the tin.
Use the stone on the lake to throw it in, this will disturb the strange creature shaped shadow and it turns out to be a tangled net.
Tap it again to pull it in and start a puzzle.
Net Puzzle
- Untangle the net by moving the red and blue floats from the left side to the matching colored rope sections on the right.
- Some section of the rope have knots that you cannot pass and other sections will break, also blocking you.
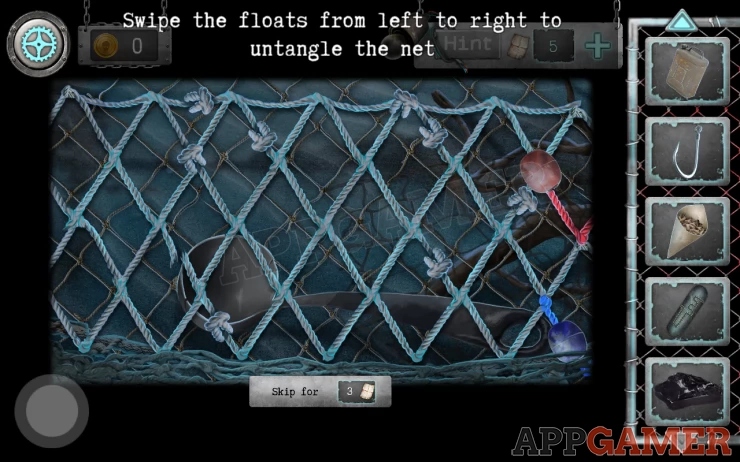
Once done you will collect a Net and a Ladle. Next collect the bucket from the ground by the fire and then use it on the lake to collect some water.
Go back to the overgrown path and tap on the well to look inside. Use the bucket of water here to fill the well with water. You will then need to return to the lake to collect a second bucket of water and add it also to the well.
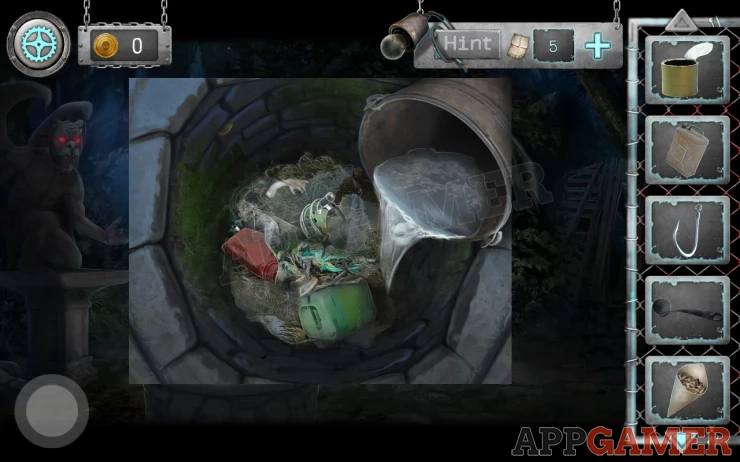
After this you can use the ladle to collect the Reel from the well water.
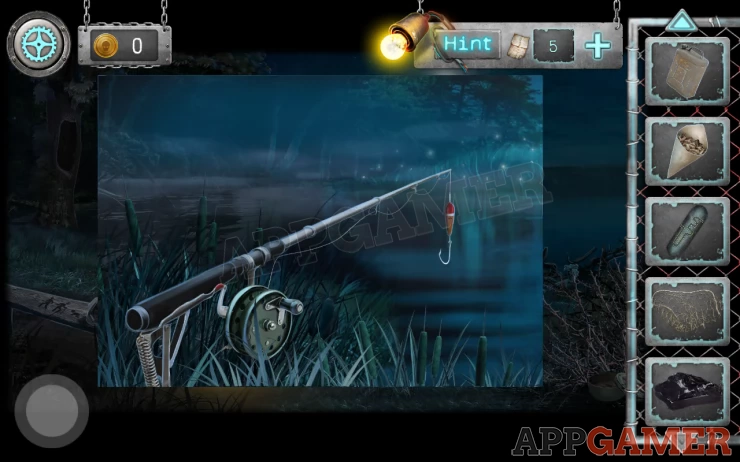
Return to the lake and view the fishing rod on the shore. Add the reel and the hook, and finally the maggots to the hook.
This starts a fishing mini game.
Fishing Game
- On the left is a green bad with a fish icon.
- When it is still you can tap the reel of the rod as fast as you can to reel it in.
- When it starts moving you must stop tapping until it is still again.
- If you tap when the fish is moving then you will lose it and have to start again.
- Continue until the fish is at the top and you have caught it.
Go back to the overgrown path and then tap on the broken fence on the far right side. There is a vicious dog there.
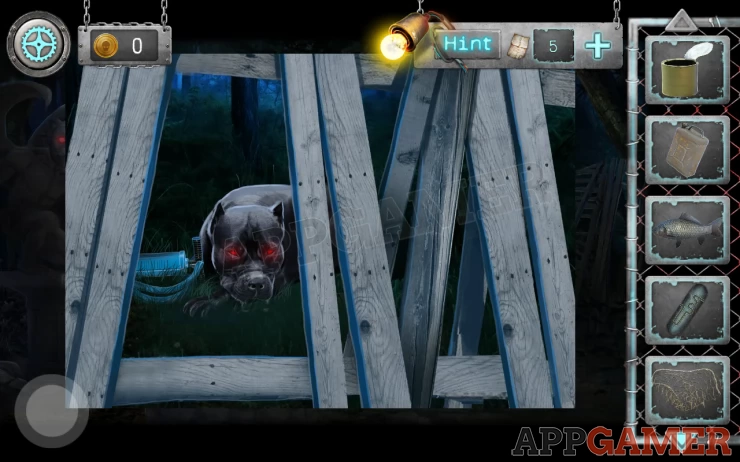
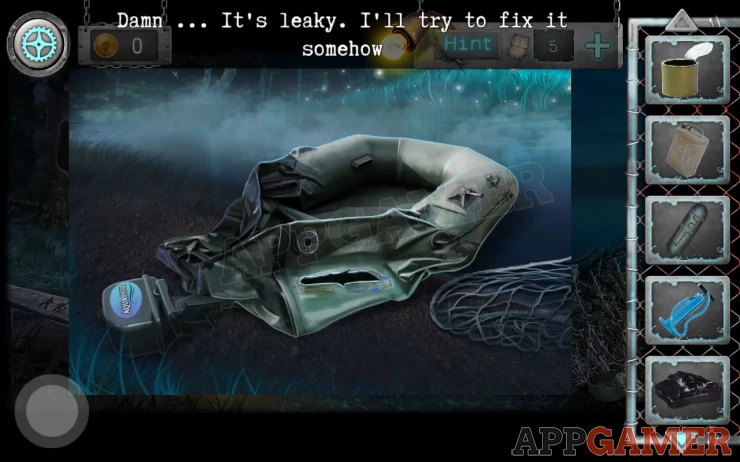
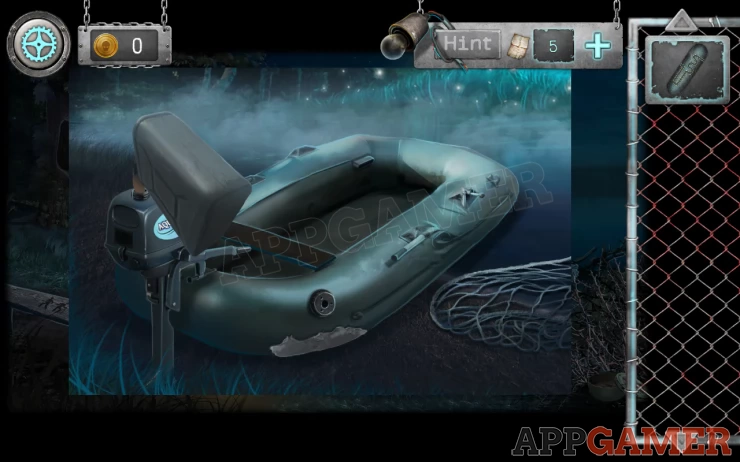
Use the fish on the dog to feed it and then you can collect a blue Pump. Return to the lake now and use the net on the boat int he water. This will bring it to shore, but you can see it has a hole.
View the fire and add the tin can to it, then place the bitumen in the can to melt it. Tap the stick from the ground to stir it and you will collect the 'Grout for holes'.
View the boat again and add the Grout to the hole. This will patch it.
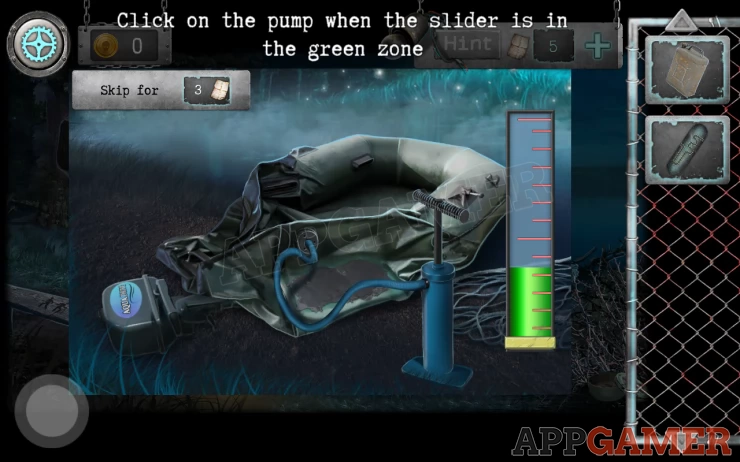
Use the pump on the boat now to inflate it. This is a mini game. Tap the handle of the pump to start and then tap it again each time if returns to the green zone.After a few taps the boat will be ready.
Then use the jerrycan with fuel on the motor to fill it. You can then tap the boat to escape across the water.
Continue the the guide in Chapter 3 part 2.
We have questions and answers related to this topic which may also help you: Show all