Chapter 2 - Horror House - Part 3
More Scary Horror 2: Escape Games
This is part 3 of our full walkthrough of chapter 2 - Horror House of Scary Horror 2: Escape Games. A second Scary escape room game from developer Escape Adventure Games.
You have found a secret room behind the napoleon bust in the study.
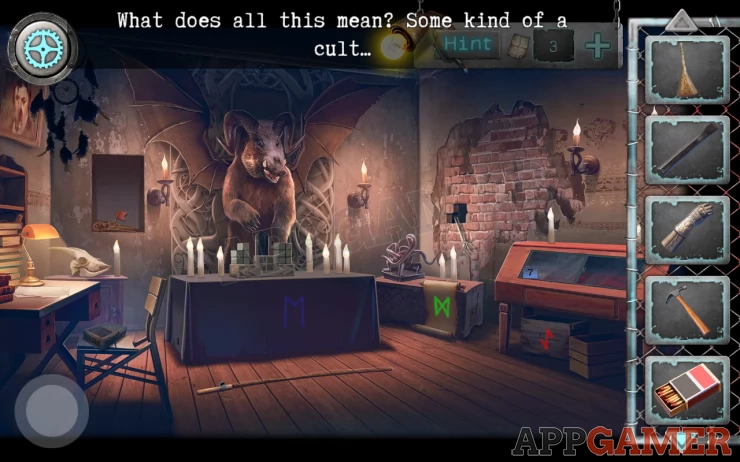
First collect the fishing rod (no hook) from the floor.
Combine the hammer and chisel in your inventory then tap to view the exposed wall on the right.
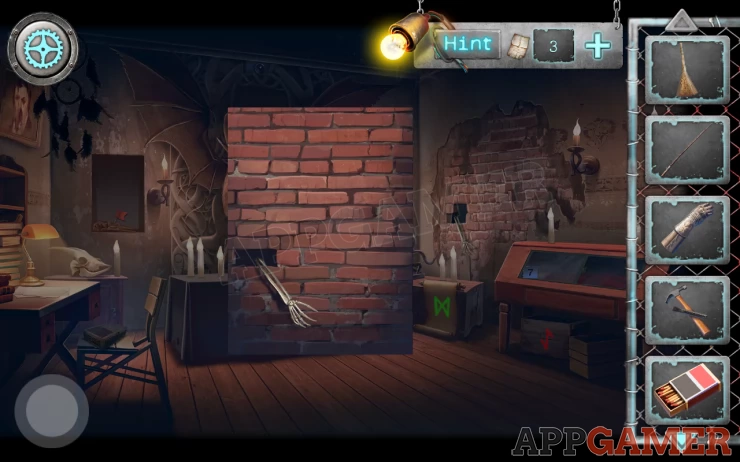
Use the hammer and chisel on this to break it open (3 hits).
Collect a pendant from the skeleton.
Note the 3 colored runes shapes on in the room, Blues, green and red. Then tap on the box on the chair on the left to see a puzzle.
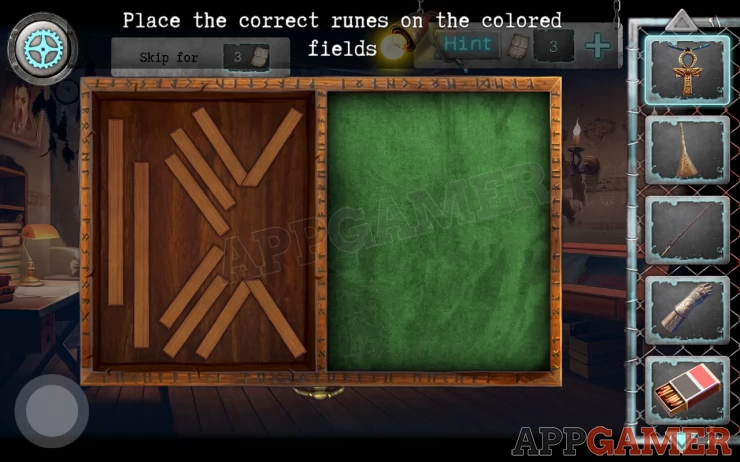
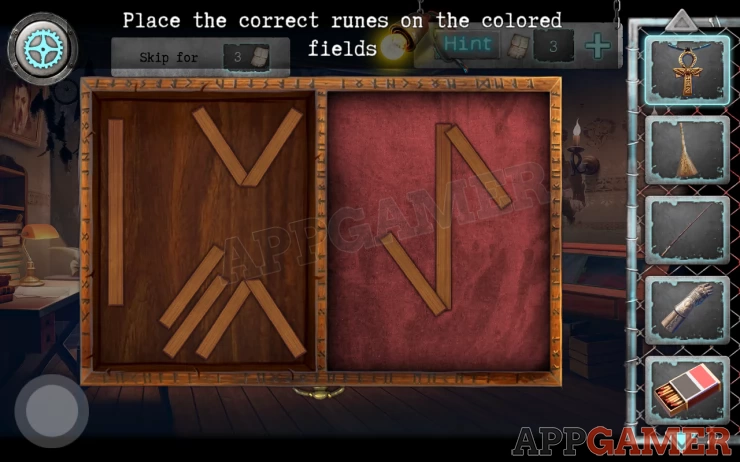
Use the shapes on the left to form runes on the right, select the rune to make depending on the background color. After making 3 you will collect a sheet with number 3.
Show
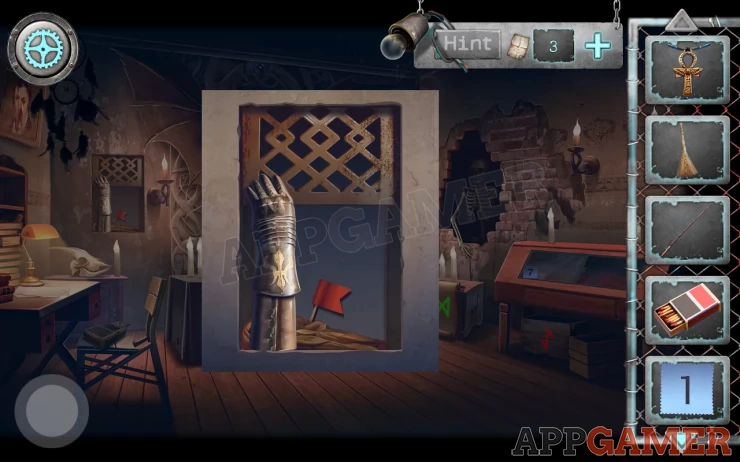
View the alcove on the left with a small red flag.
To collect the flag you need to add the metal gauntlet to the opening to stop the door closing on you. Take the red flag.
Show
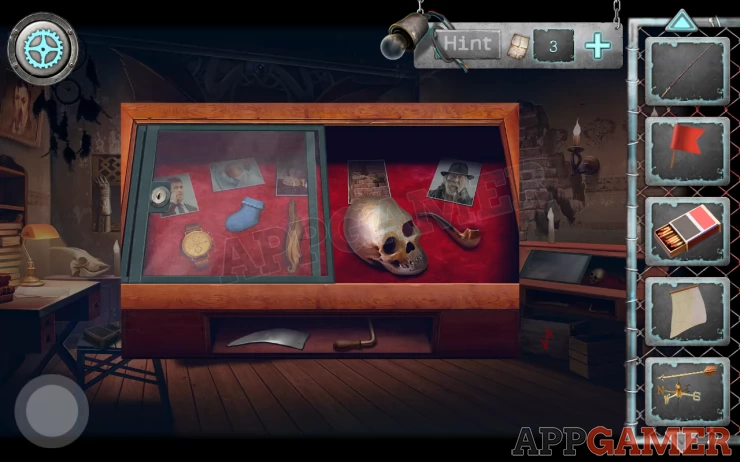
Now view the glass cabinet on the right. Take the number 7 sheet.
Exit out to the study and tap to view the pin board / map on the back wall.
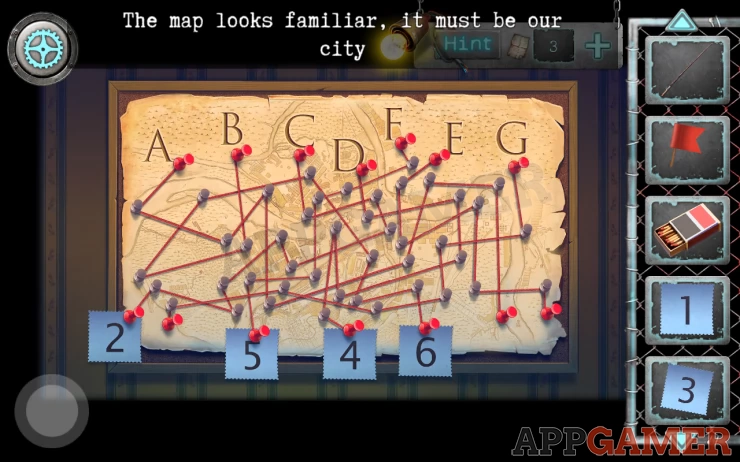
Add the 3 number sheets that you have. Solve the puzzle by arranging the numbers to match the appropriate letter in the alphabet. A=1, B=2 etc. Follow the strings.
Solution: (note that the F and E are reversed) - 3 7 6 4 2 1 5Show
Collect the small key and a bone saw.
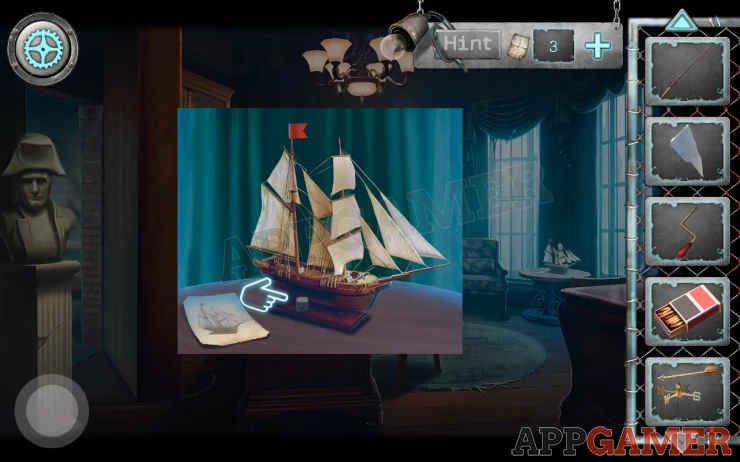
Next view the table with the model ship again. View the paper on the left with instructions on assembling it.
Drag the 2 pieces from the table to add to the model and then use the red flag and sail from your inventory to complete it.
Collect the rune.
Go back into the secret room and view the skeleton again. Use the bone saw on it and you will collect the skeleton’s head. Then view the glass cabinet again.
Use the small key to unlock it, then add the skull and the smoking pipe to the display. You can then collect a mirror shard and a gramophone handle.
Now view the central altar table.
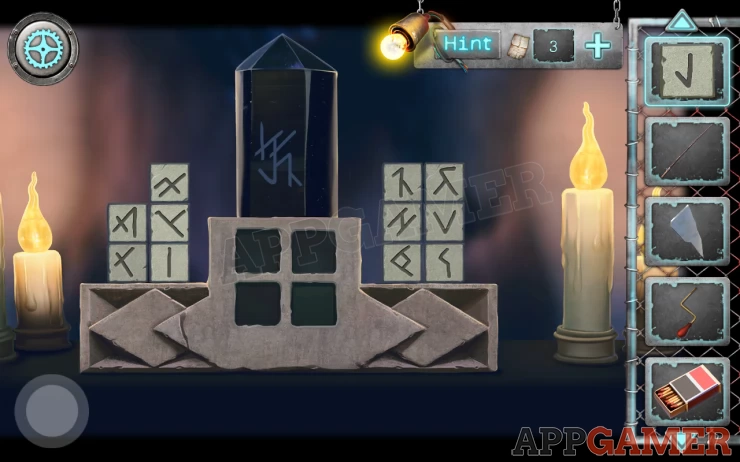
Add the rune block to the pile on the left. Then solve the puzzle.
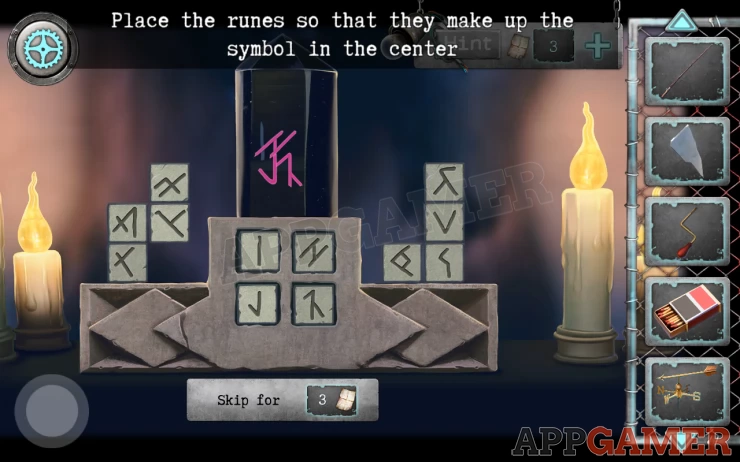
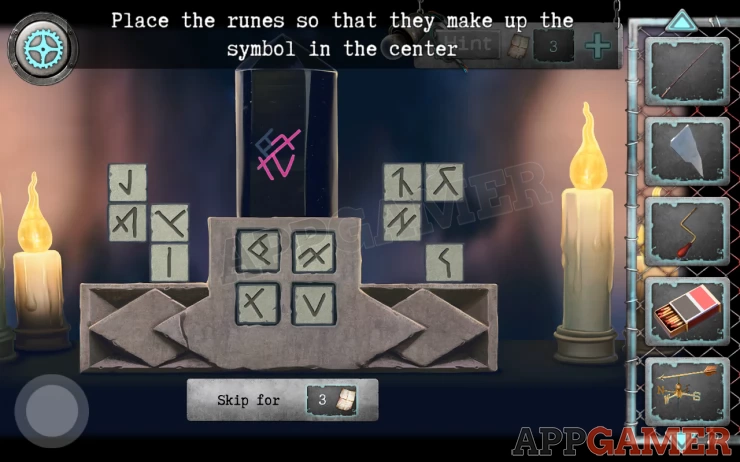
Hint: place 4 runes into the center slots so that the shapes match the symbol above it. You need to do this 3 times.
Show
Show
Show

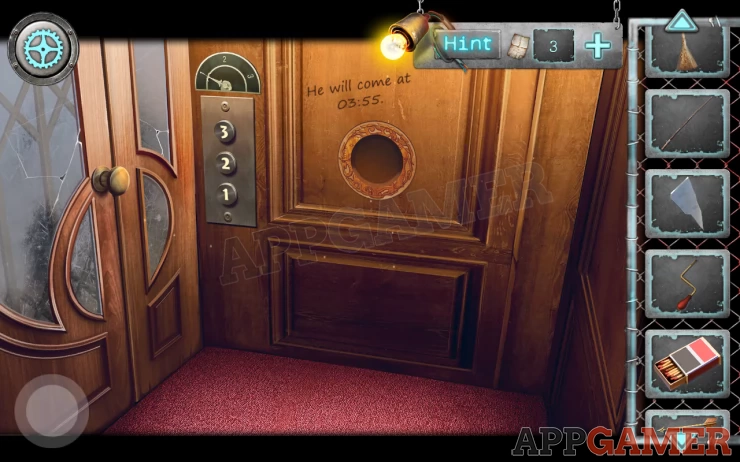
You can now collect a button for the elevator.
Back out until you reach the elevator. Add the new button to the panel and press it to take you up to the 3rd floor.
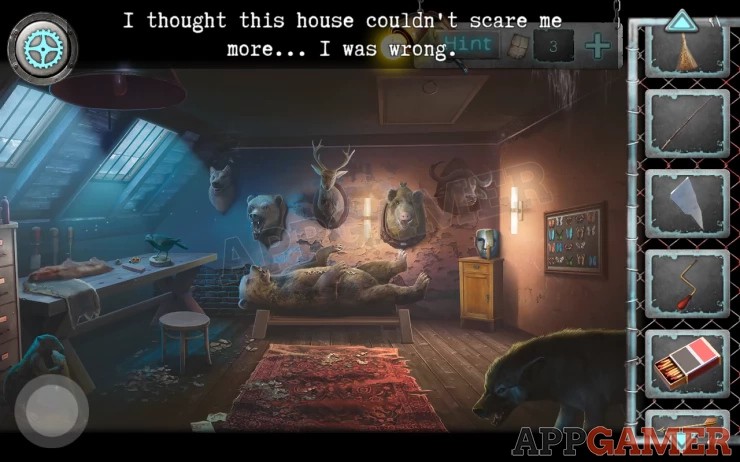
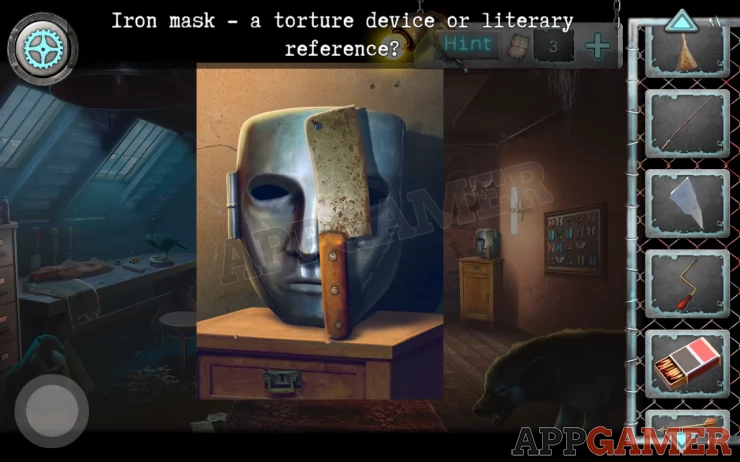
First view the mask on top of the small cabinet in the back right corner.
Collect the rusty Cleaver.
Next tap to view the table on the left to see a bird figure and a sharpening block.
Use the cleaver on the block to sharpen it.
Now view the bear laying down to see stitching.
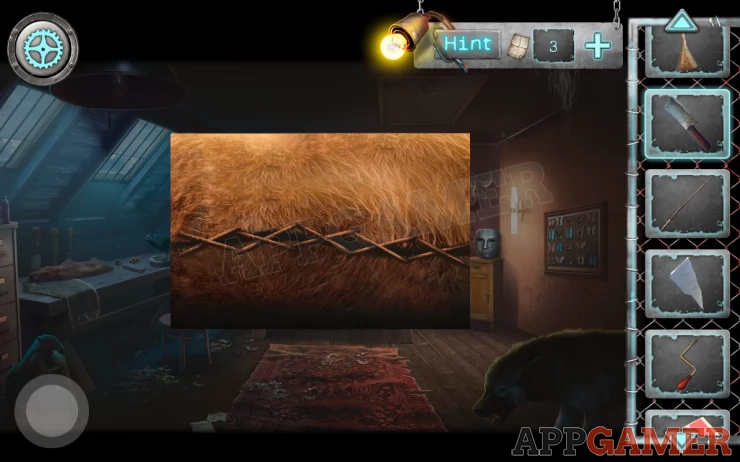
Use the cleaver to open it up. Tap to find and collect a fishing hook and a hammer.
Combine the fishing rod and the fishing hook then use this item on the ceiling trap door to pull it open.
Go up into the attic.
View the broken mirror on the bottom left and collect a record.
Then view the gramophone payer on the right.
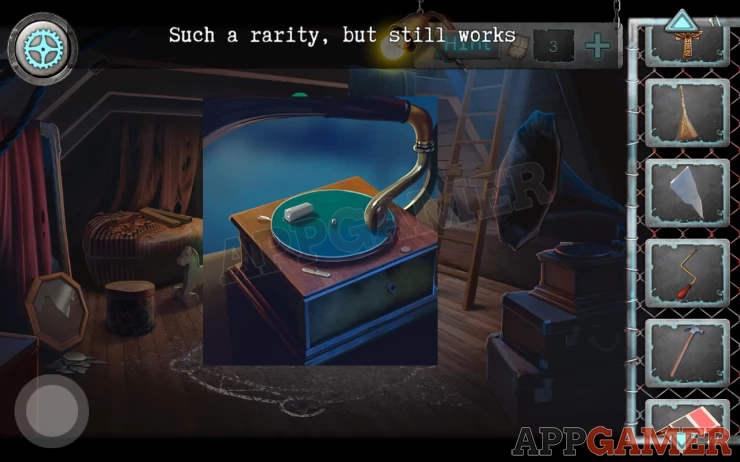
Collect the chalk.
Add the record to it and then the handle. Tap to turn the handle and a drawer opens. Collect black candles.
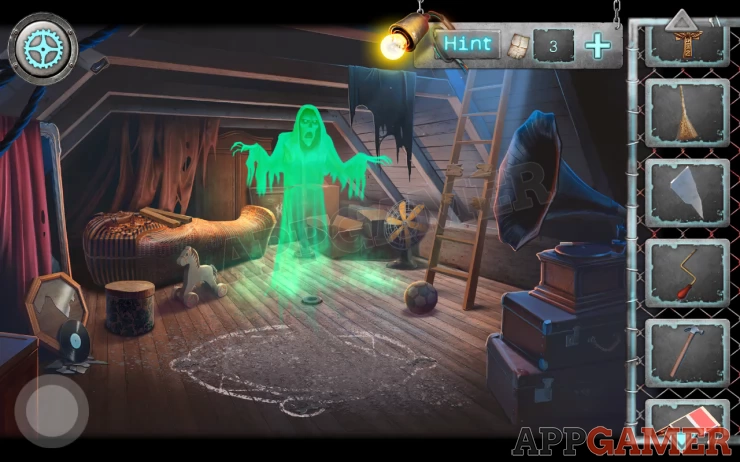
Next use the broom on the floor to clean it and then add the black candles to the symbol. Once done light then with the matches.
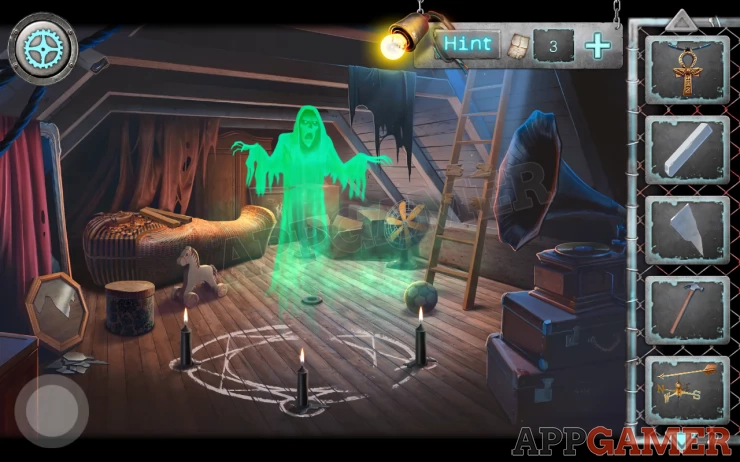
Finally use the chalk on the floor symbol to complete it and the ritual will start the fan and remove the ghost.
View the sarcophagus at the back.
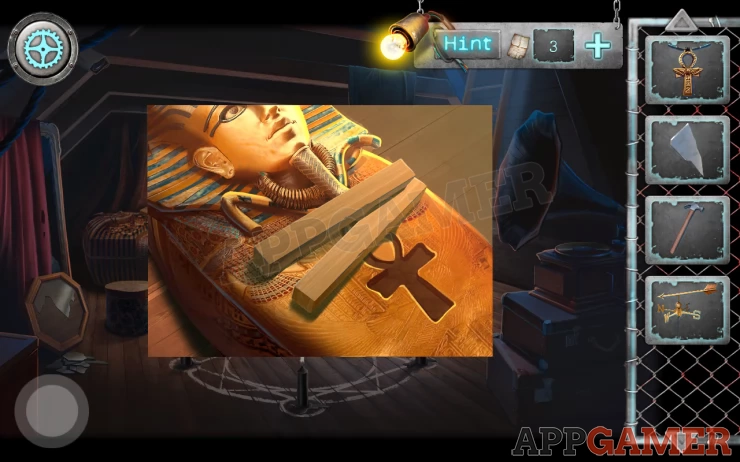
Collect the 2 planks of wood, then add the Pendant to the slot in the top to open the lid.
Collect a plasma cutter.
Now view the broken ladder on the right. Collect for it a Silver key.
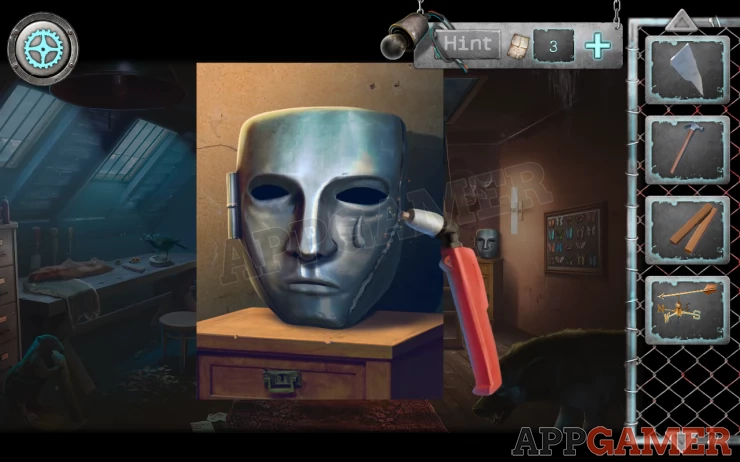
Go back down to the room with the bear and view the mask on the cabinet in the corner again.
Use the plasma cutter on this to open it and collect 4 nails.
Next view the bird model on the table again and use the silver key on the base. You can then collect a second mirror shard.
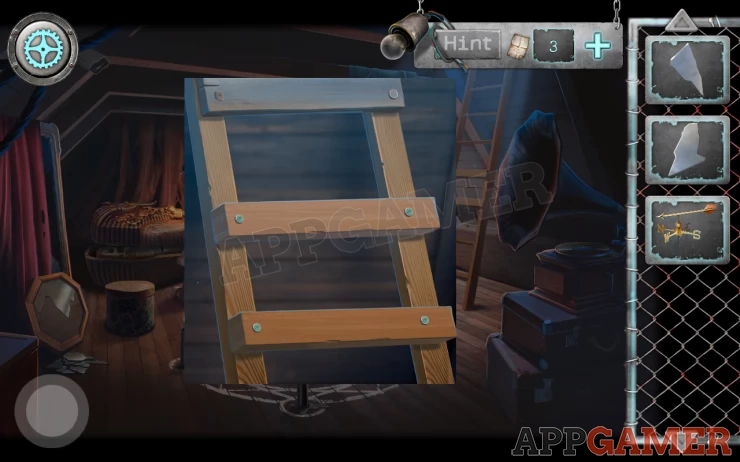
Go back up to the attic and view the broken ladder again. Use the hammer to remove the broken pieces, then add the 2 planks and the nails, and use the hammer again to secure them.
You can now go up to the roof.
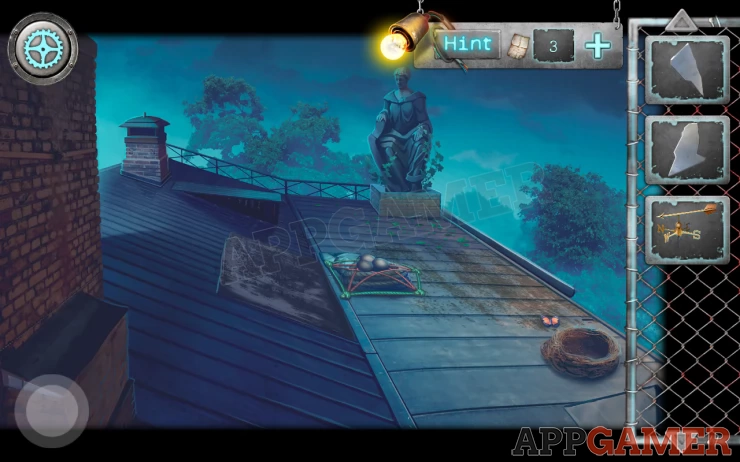
View the chimney on the back left.
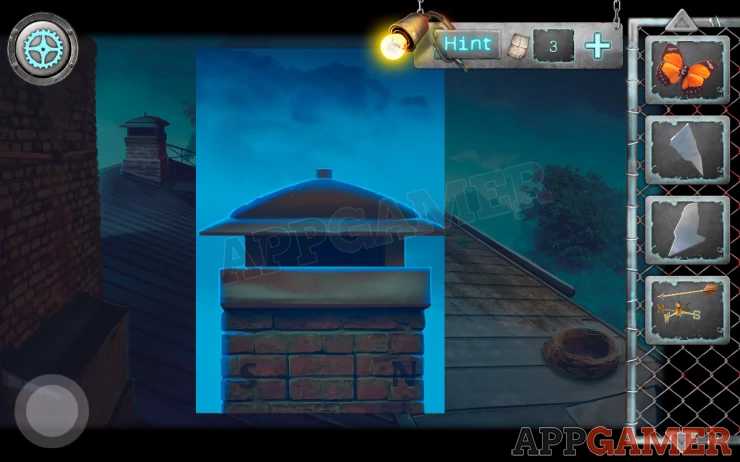
Add the vane to it. Tap it to turn it so that the directions match those on the chimney. You can then collect a clue. Latin inscription.
Click on the statue on the right to view the base, Collect the medical scissors.
Then view the nest on the right to see a ladder and collect a butterfly.
Now go back down to the 3rd floor. (room with the bear)
On the right a a board with butterflies. View this.
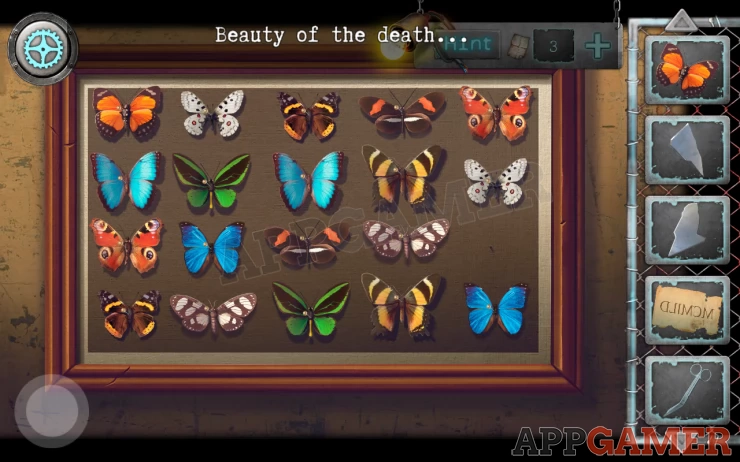
Add the one you have collected to it to start a puzzle.
Hint: tap the matching pairs
Once done collect the basket.
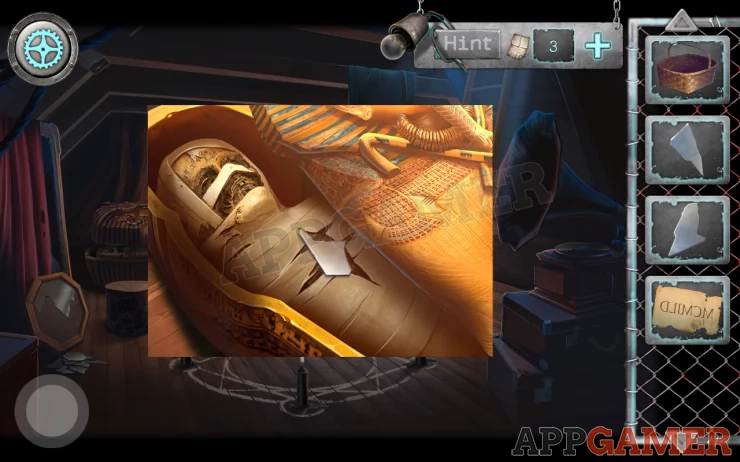
Go back up to the attic and view the mummy in the sarcophagus.
Use the scissors to cut the bandages and collect another mirror shard.
Now view the broken mirror again.
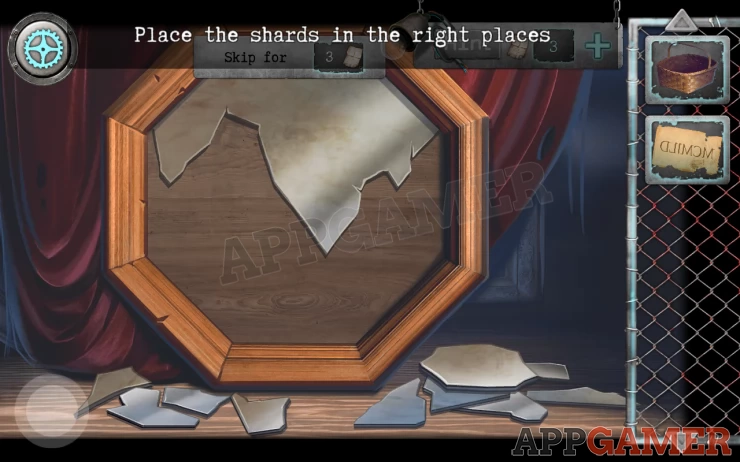
Add the 3 shards you have to the floor then arrange them to complete the puzzle.
Show

Once done use the Latin inscription paper on the mirror to reverse it.
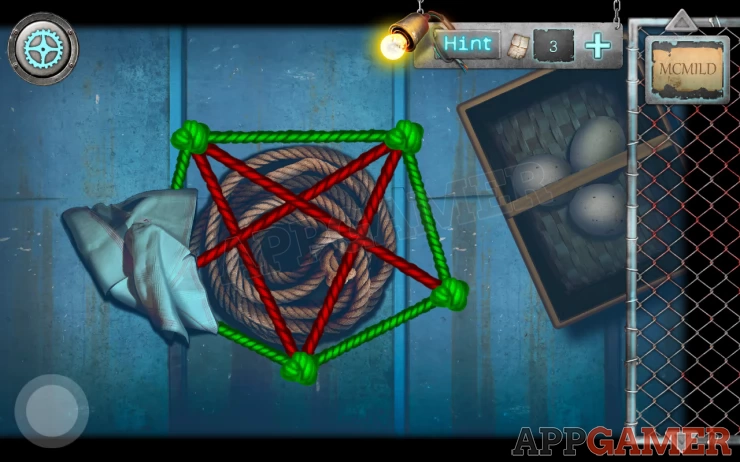
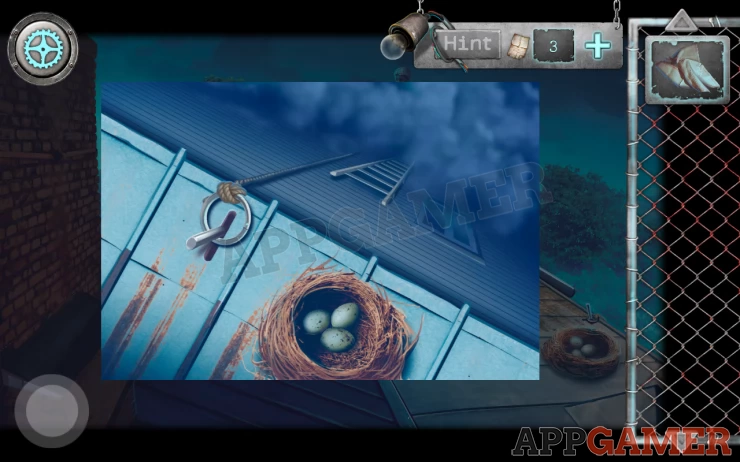
Go back up to the roof. In the center is a tangle of ropes with some eggs.
Place the basket on the right then move the eggs to it.
Collect the basket of eggs and also Collect the white cloth.
Now solve the rope puzzle by moving the knots to uncross the ropes and turn them all green.
Collect the rope.
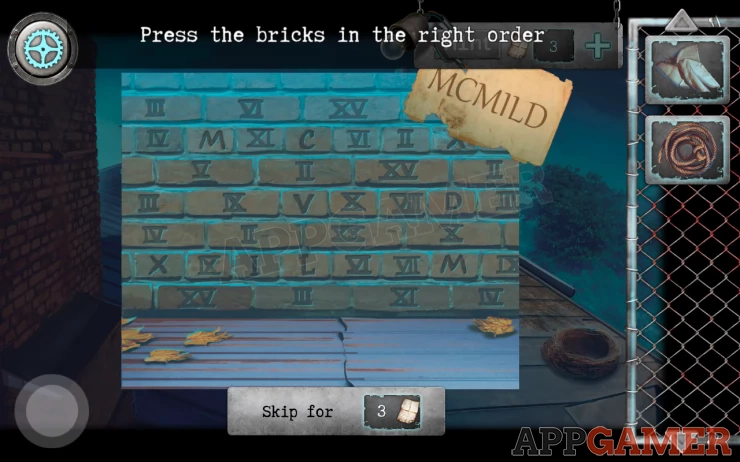
View the base of the statue again and now solve this by selecting the correct numerals on the bricks. Collect a metal ring.
Now view the empty nest on the roof again. Place the eggs into the nest and a metal pole will appear on the left.
Combine the rope and the metal ring together and then use this item on the pole to attach it.
You can now climb down. But do you make it?
That is the end of Chapter 2. We now wait for Chapter 3 to be released to find out what happens next.

We have questions and answers related to this topic which may also help you: Show all