
Chapter 2 Walkthrough - Part 2
More Legendary Tales 4
This is our full walkthrough for Legendary Tales 4 - Map of Hope. The latest in the series of games from Five BN. This guide includes all collectible item locations as well and hints and solutions for puzzles.
This is the second part of the guide for Chapter 2, In Chapter 1 you went in search of a werewolf camp to help your brother and met with Nimble who is helping you track them down.
Chapter 2 - Strange Coincidence - Part 2
In Part 1 you explored the forest and the mountain to find the birder. After using the Truth elixir he has told you how to reach the tower. Now you need to find a way through the portal.
Task - Find the Rune Stones
View the birder again and collect from him a Key and also the Rope.

Back out and now head up the mountain path to the garden area. Look on the ground to the left to see a hatch covered with snow.

Use the Key on the key hole and it will open. The rune stone is not here but you can collect another Chip (4 of 4)
Now view the gate on the left, you can place the four chips here.
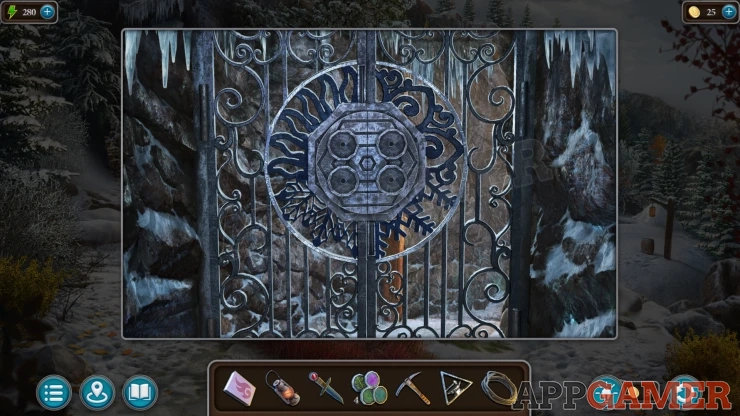
Cave Gate Puzzle
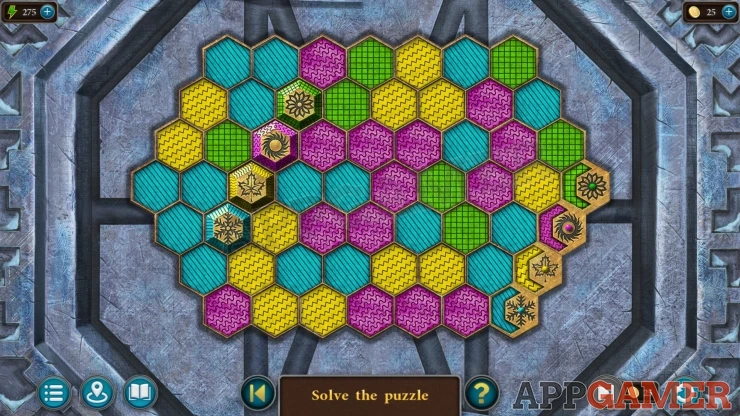
- On the left are four colored tokens with symbols on them.
- You need to move them to the four matching slots on the lower right.
- Tokens can only move onto the tiles with the same background color.
- As you move a chip it will change the background color of the tiles it passes to a different color.
- Green > Pink, Pink > Yellow, Yellow > Blue, Blue > Green
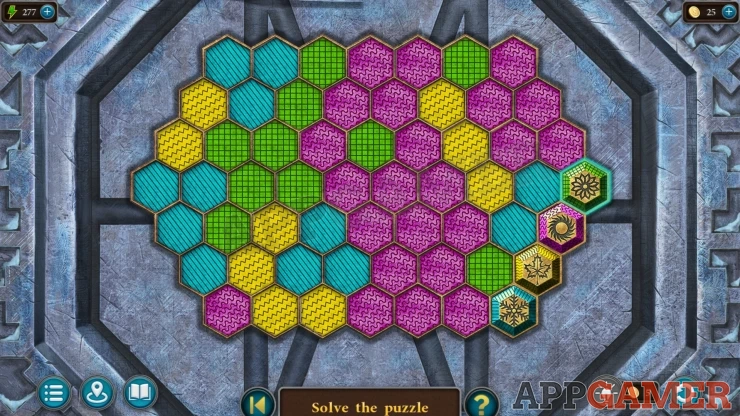
Enter the Cave
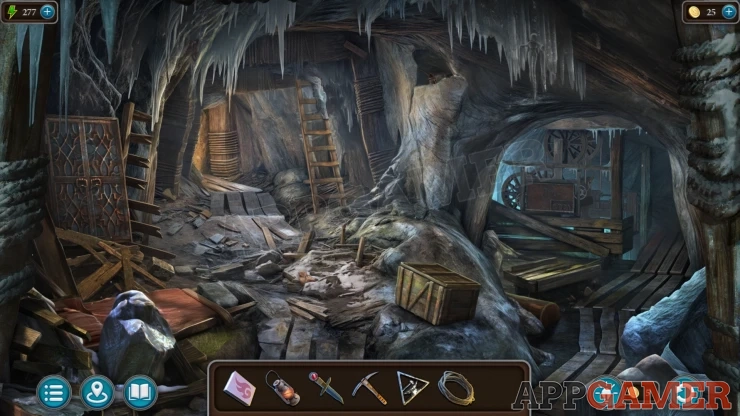
Collection Item: Bird,on the ground to the left of the wooden crate. (5 of 7)
Morphing Object: Figure in the icicles hanging from the ceiling on the right.
Tap on the ladder to view the top, it is stuck in the ice. Use the Pickaxe on this to break the ice.
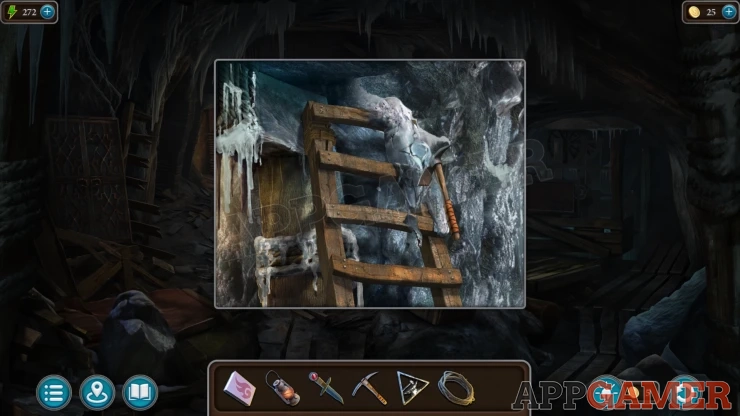
Then tap the ladder again and it will move. You can then look in a small recess at the top of the ladder, collect some Oil.
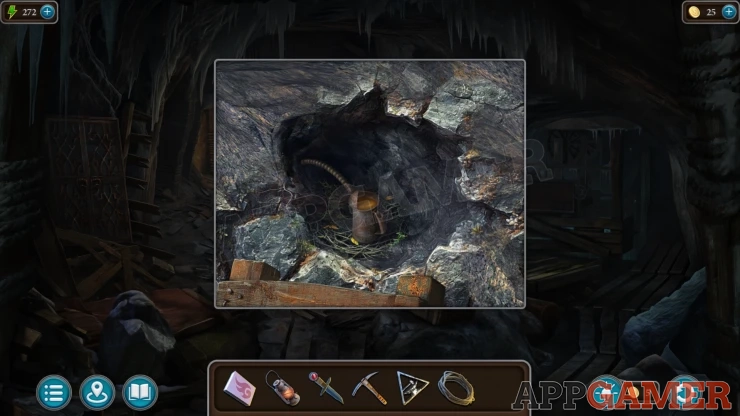
Now tap the back of the cave on the left where the ladder was to move deeper into the cave.

Collection Item: Compass, on some rock on the ground below the Anvil (3 of 8)
Morphing Object: Bottom link of the large chain on the right.
First view the workbench on the left. There is a wooden box on top.
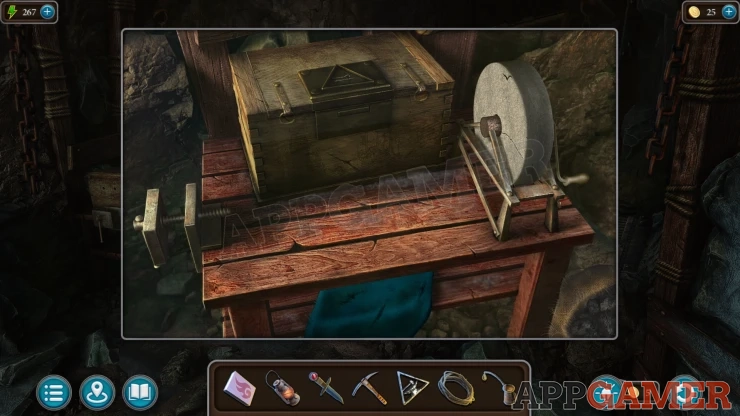
Use the figurine on the box to open it. Collect a Crowbar.
Look on top of the scaffold on the back right, Collect from here a Brush and a Hacksaw.
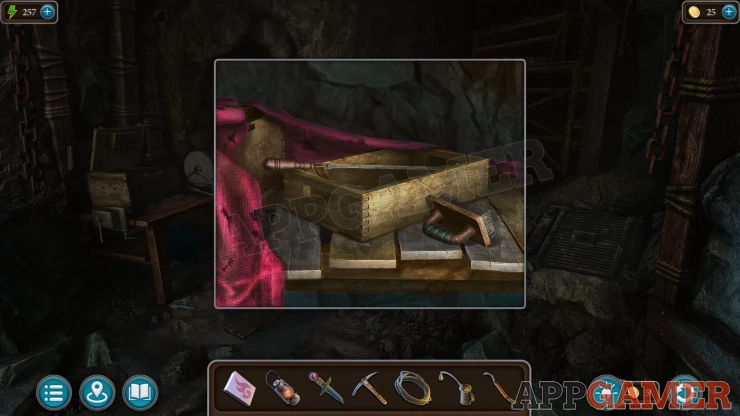
Now view a recess in the rock wall to the right of the workbench. Tap the rocks here to remove some and reveal a panel behind.
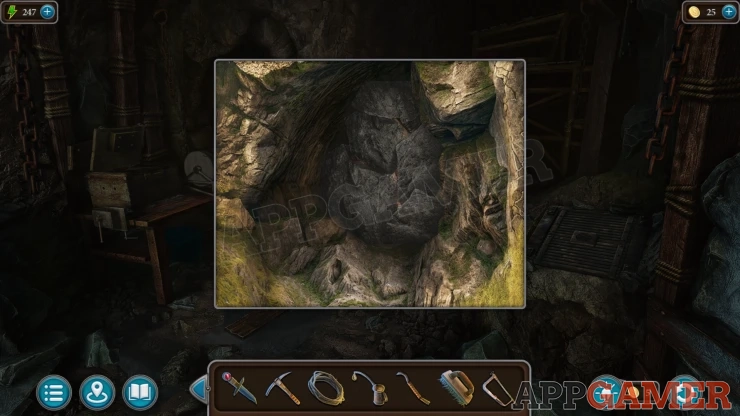
A cave spirit will appear on the wall and talk to you.
Task - Get Rid of the Slug
Look inside the rock recess again to see a puzzle.
Cave Puzzle
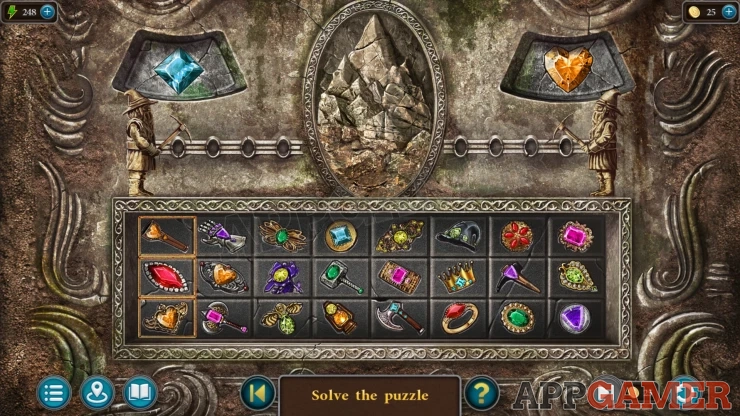
- Open the panel at the bottom to see three rows of items with colored gem stones.
- Above this there are two miner figures, and above them you will see different gem stones displayed.
- Move the sliders on the three rows at the bottom to the positions of three gemstones that match one of the ones shown above. This will move that miner forward one space.
- Move both miners to the center to break open the center rock.Then you can press a button to open a panel.
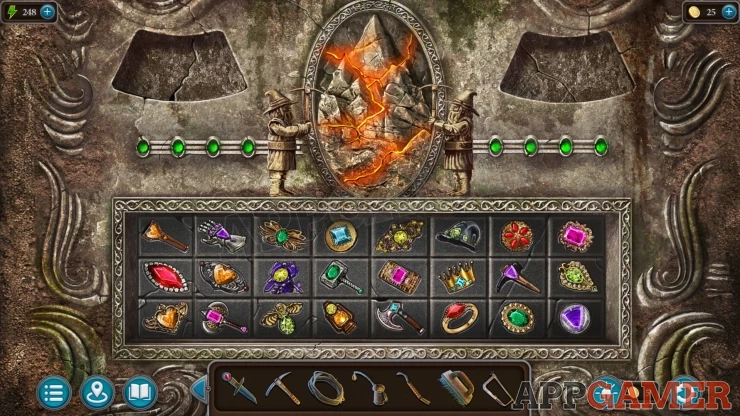
Collect the Hammer, the Rhombus (rune stone) and a Handle (1 of 2).
Back up to the main part of the cave. Then view the wooden crate on the ground. Use the crowbar to open it and you can collect a Corkscrew.
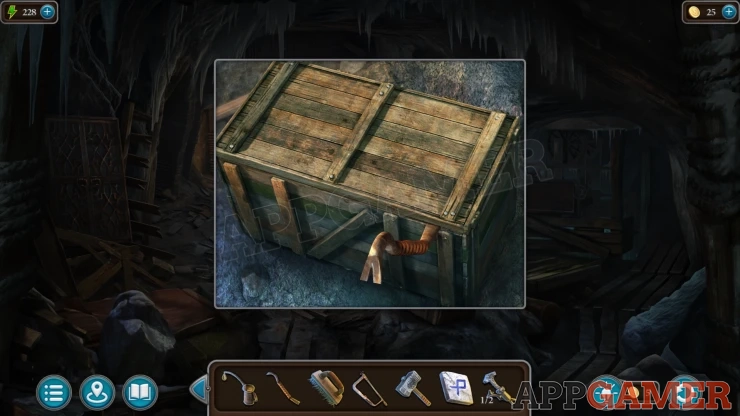
Next view a pile of wooden planks on the left, use the crowbar on these as well to remove them
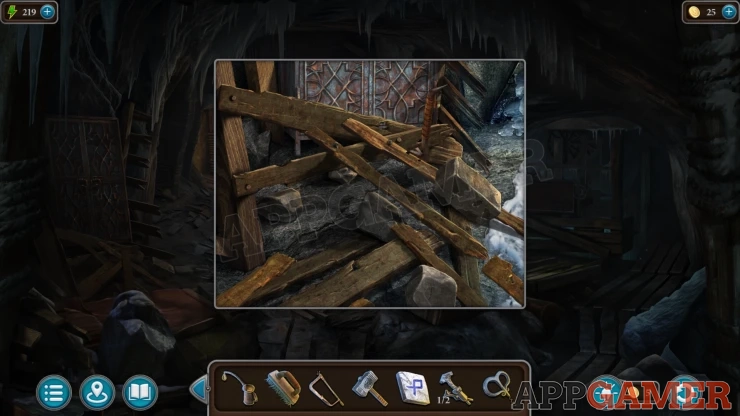
Then you can view a cabinet on the left side. Try the doors but they are stuck. Then use the Oil on the hinges.
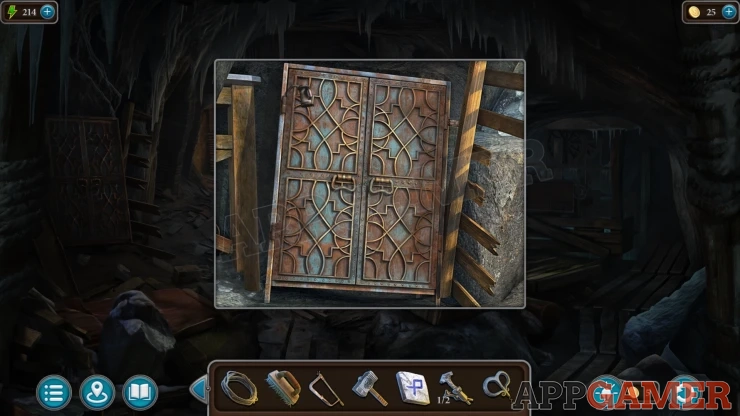
Open the cabinet and then you can collect a Wrench and a Net.
Now view the back right of the cave, there is a mechanism here that is not working.
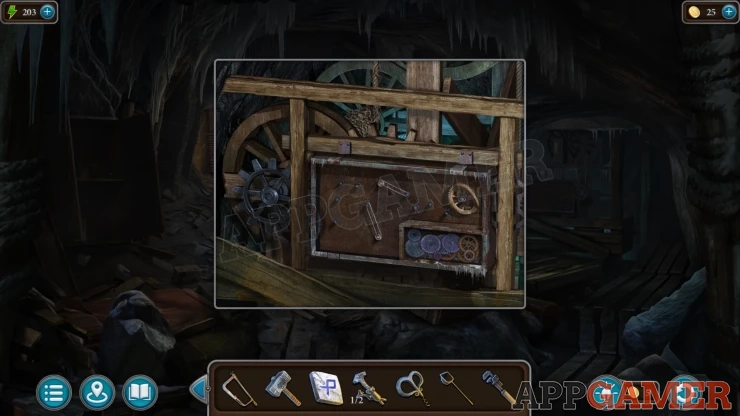
Use the wrench on a gear on the top right of the mechanism. You will collect the Bent Gear.
Now go through to the back left area of the cave and view the Anvil. Place the bent gear here.
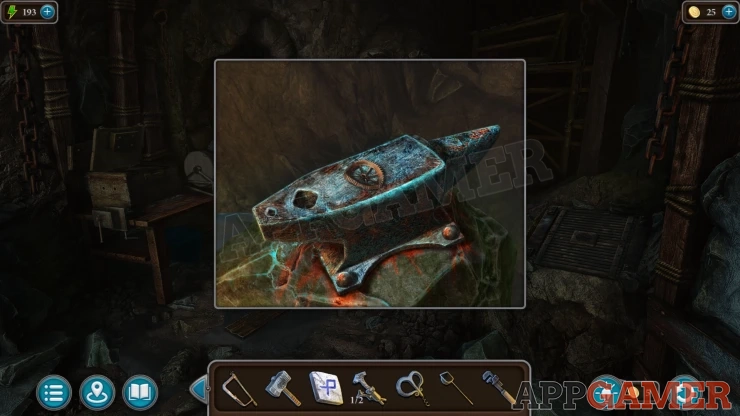
Use the Hammer on this to fix it, then you can collect the Gear.
Go back to the mechanism and use the gear on it, you can then view a puzzle.
Gears puzzle
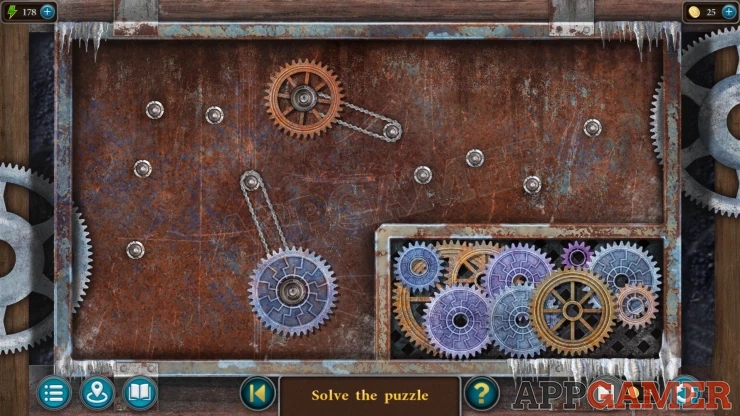
- There are a set of gears on the lower right that you need to place onto the spots on the mechanism.
- You need to use all of the gears and place them to make a complete chain to connect the large gears from the left to the right.
Solution: Show
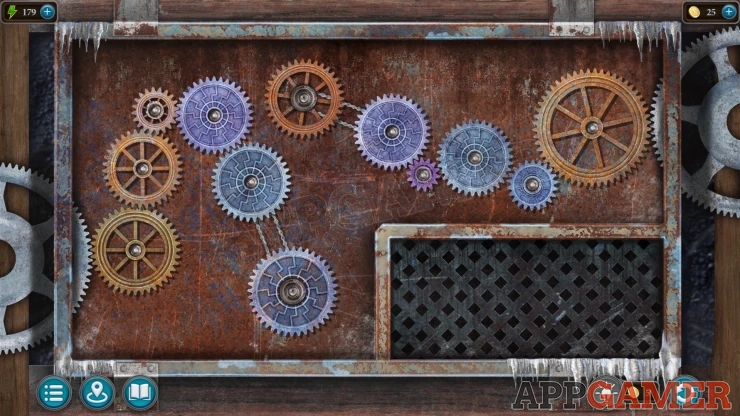
This activates an elevator that you can now use to go down to the lower level. The slug is here.
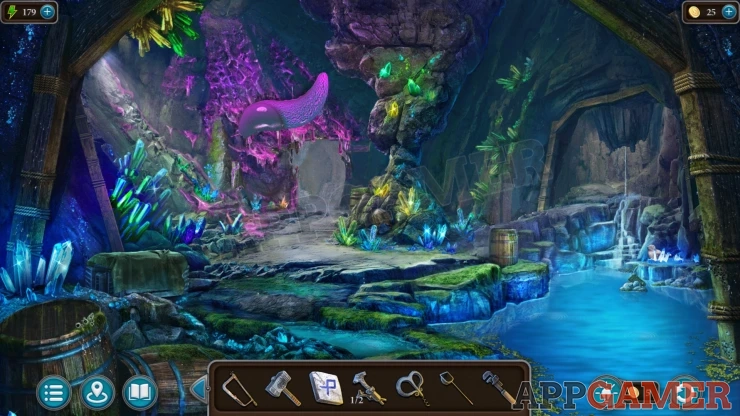
Collection Item: Bird, on the rocks to the right of the water on the right. (6 of 7)
Morphing Object: at the base of the center rock column.
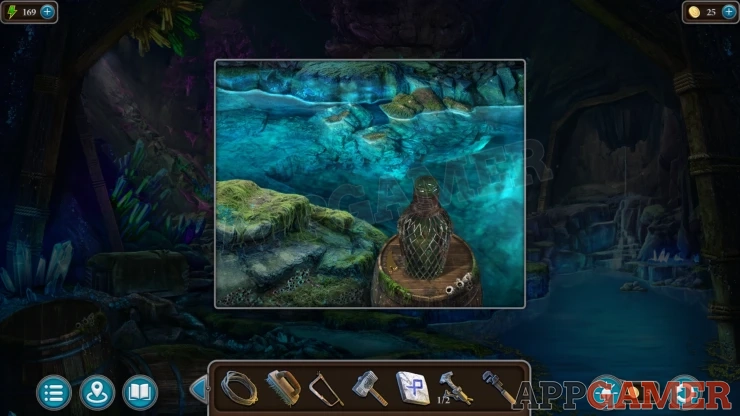
Look in the water on the right. Use the Net here to get a bottle out.
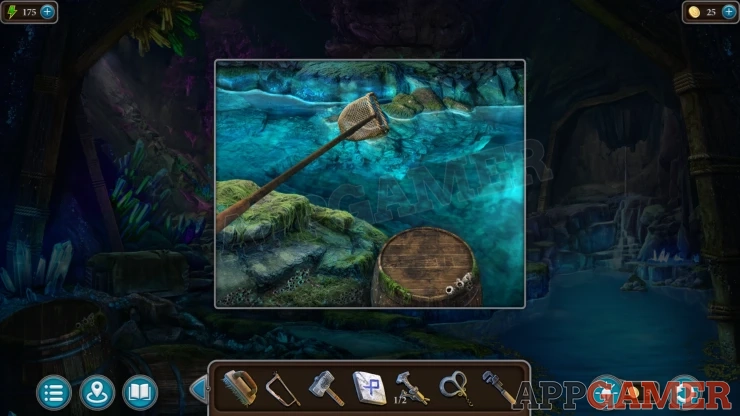
Use the Corkscrew on the bottle to open it and you will then collect some Claws (1 of 2).
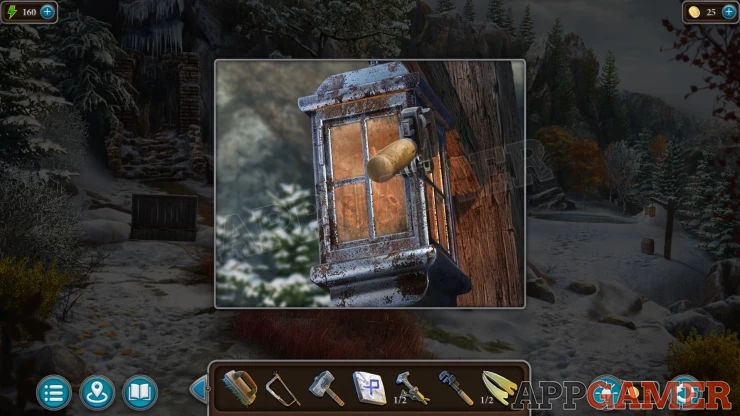
Travel back to the snowy garden area and then view a lantern on a pole on the right. Use the wrench to open this. Collect another Handle (2 of 2).
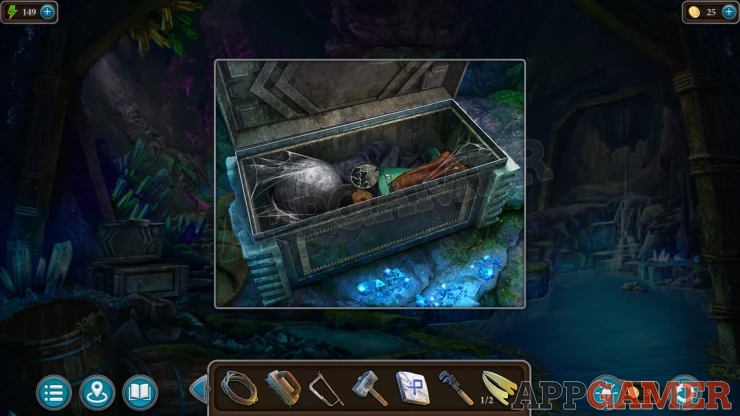
Then return to the lower part of the cave with the slug. On the left is a chest covered with a green cloth. View this and remove it to find the chest.

Use the two handles on the Chest to open it. You can then collect a Medallion.
Back up and enter the back left of the cave with the Cave Spirit. Look on the rock on the right to see a hatch.
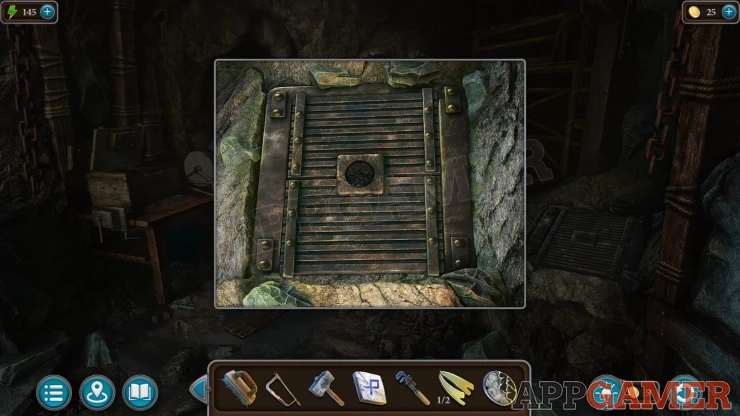
Use the medallion on the hatch to open it.
Collect the Triangle (rune stone), a Horn and a Censer . Then you can also find a note about the Slug repellent incense.
Go back down to the lower level and view the slug.
Use the Censer here and open it. Use the matches on it to light it.
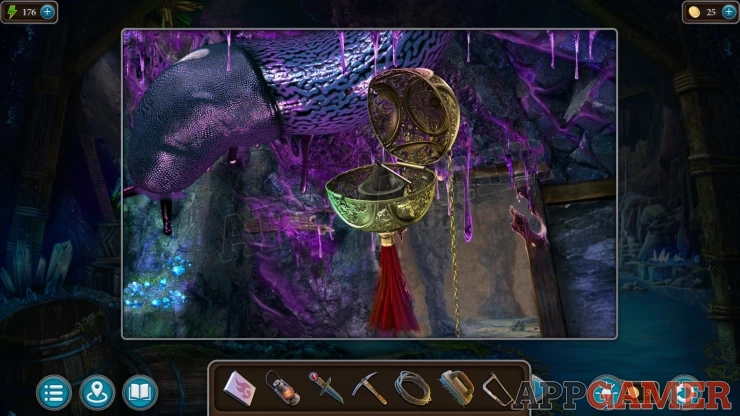
The slug will leave.
After talking to the Cave spirit again you will be able to collect the Circle (rune stone).
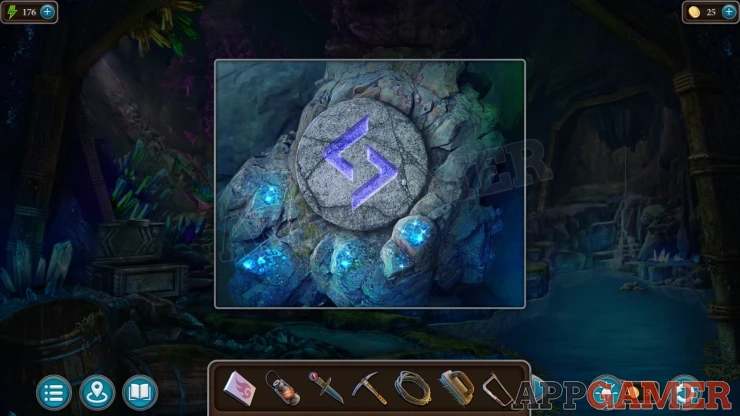
Then tap the doorway where the slug was to pass though to a room with colored crystals.
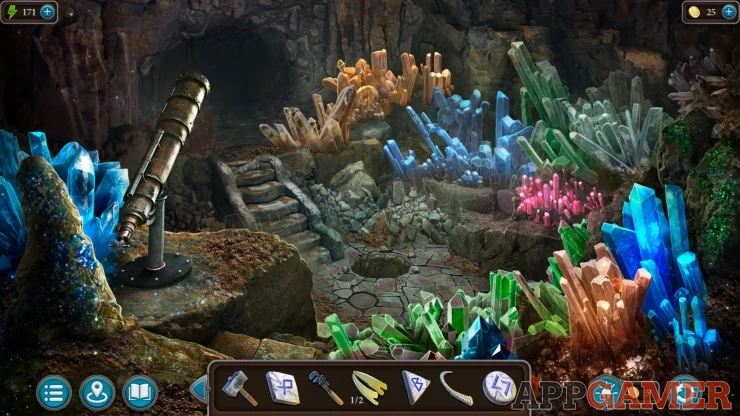
You will see that there is a spyglass that is pointing up through the ceiling.
Collection Item: Compass, in the orange colored crystals at the back (4 of 8)
Morphing Object: changing shaped floor tile hear the hole in the center.
View the dark area of the cave on the left. Then use the Lantern here to let you see. You find a magnetic ore.
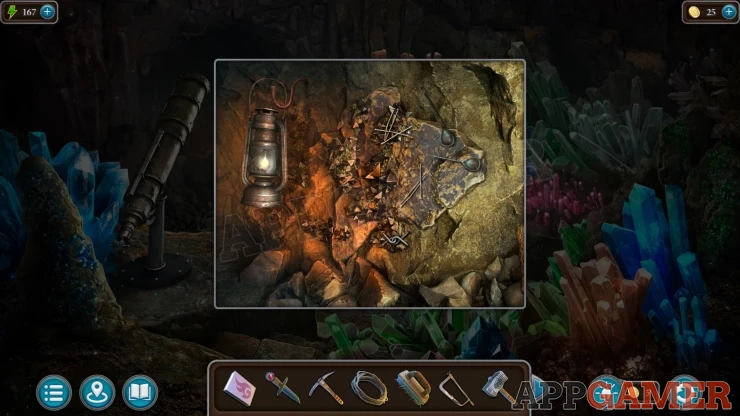
Use the Pickaxe on the wall to break and collect some Magnetic Ore.
Then view this in your inventory and add the rope to it. You get the Rope with Ore.
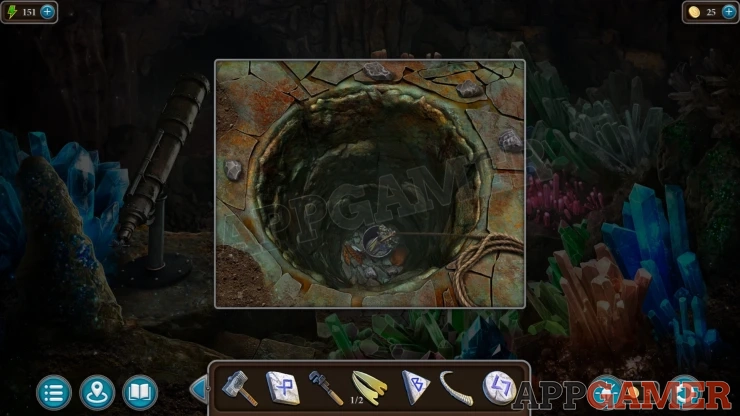
Now look in the hole in the floor. Use the rope with ore here to let you collect a bucket from the bottom.
Then collect a Magnifying Glass and another Claw (2 of 2) from the bucket.
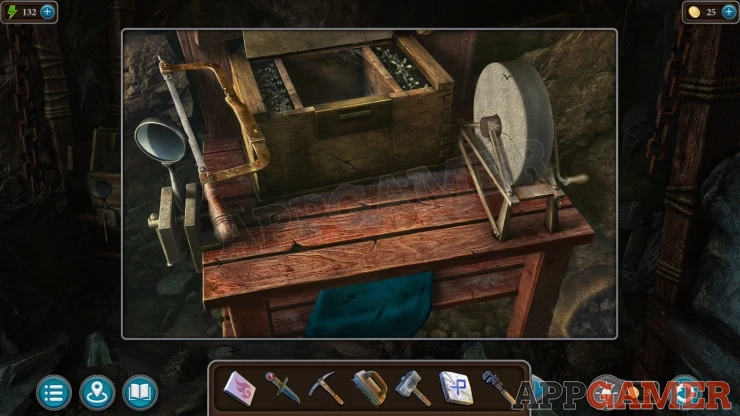
Go back to the area of the cave with the workbench. Place the magnifying glass in the clamp on the left. Use the Hacksaw on the magnifying glass t cut it and then collect the Lens.
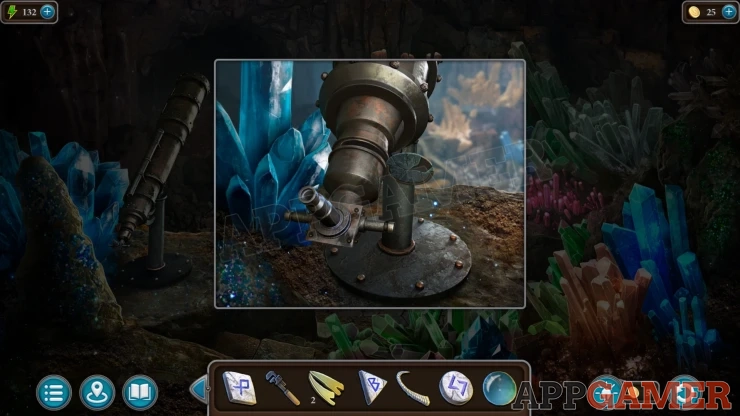
Go back to the cave room with the crystals and view the spy glass. Tap the lower are to open up a lens holder, then you can add the new one to replace it.
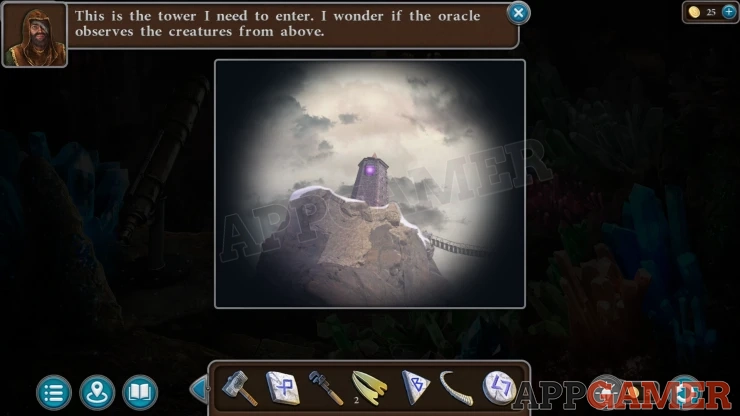
Now you can tap the spyglass to look through. You will see the tower, the portal and a symbol. This is a clue.
Show
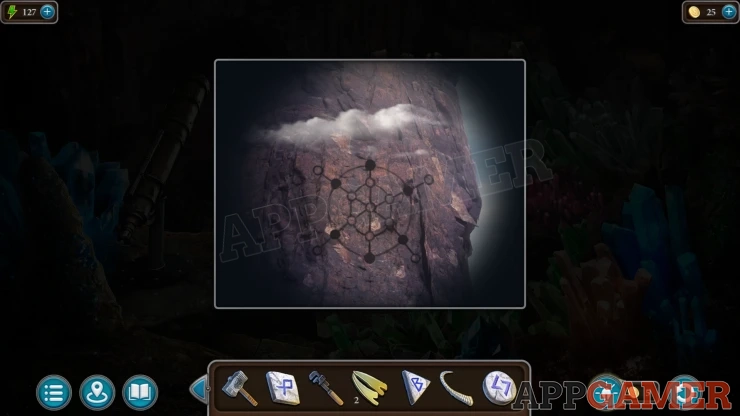
Back up to the base of the mountain, below the birders house. Look on the right to see a doorway covered with vines.
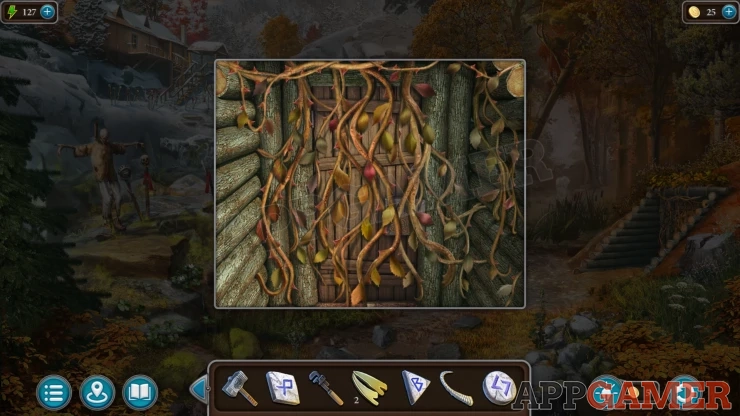
Use the knife to cut these away and then you can view the door lock.
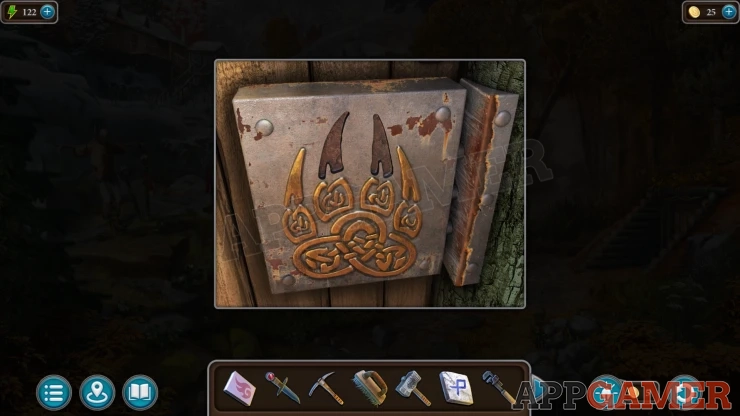
Add the two claws to the lock to open the door.
Collect the Hexagon (rune stone) and a book.
Task - Enter the Tower
Go back now to the snowy garden, view the goat statue in the center.
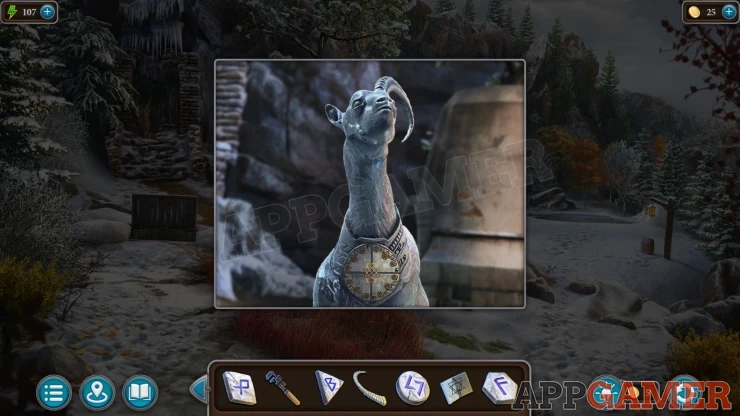
Add the horn to the head and this will activate a puzzle.
Goat Puzzle
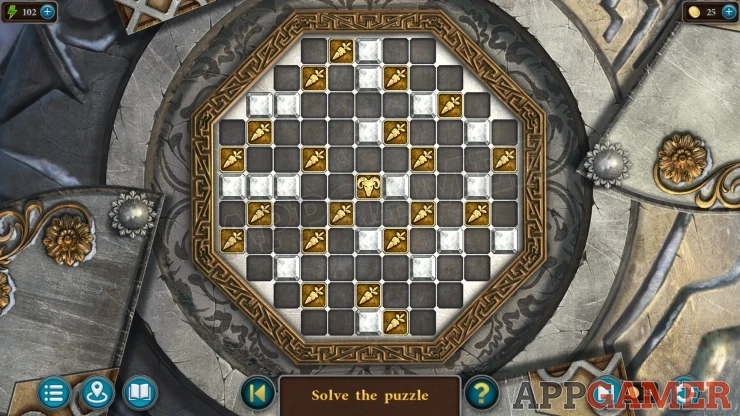
- In the center of the board is a Goat tile, and spaced around the board are some Carrot tiles.
- Tap a square for the goat to move to, one at a time. You need to move the goat around the board to make it reach and eat all of the carrots.
- After passing over a square you cannot move there again, so you need to plan the path carefully to make sure you can reach all of the carrots.
Solution: The layout of the carrots can be different in each gameShow
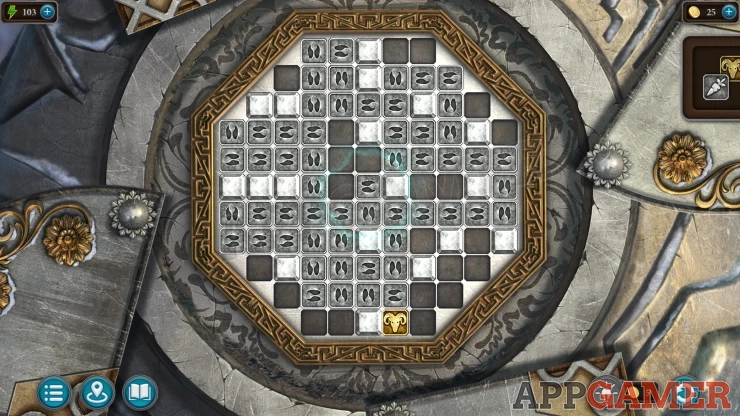
This uncovers a secret area of the garden. Look inside.
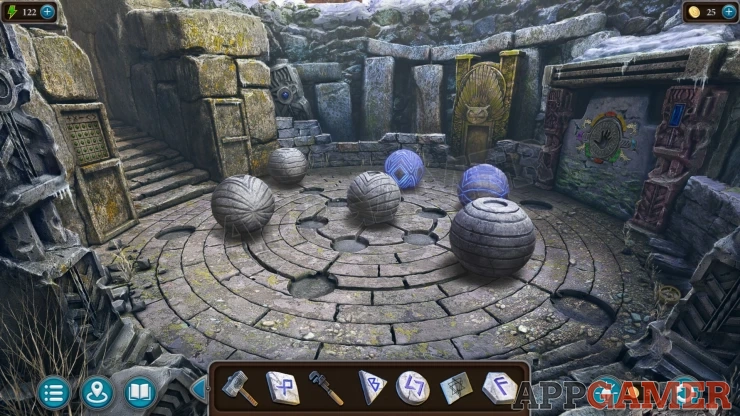
Collection Item: Compass, on the ground by the wall on the far right. (5 of 8)
Morphing Object: Large Blue gem on the wall to the right.
Now view each of the spheres that are grey in color. Each one will have a shaped slot for a specific rune stone.
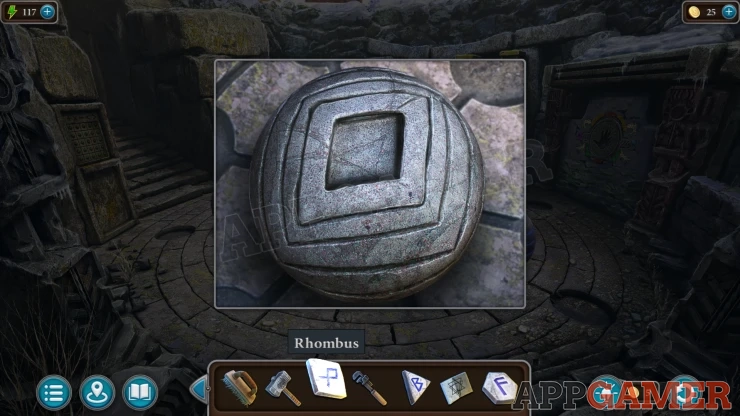
Place all of the four rune stones that you have to activate all of the spheres.
Rune Spheres Puzzle

- Now you need to arrange the spheres to match the clue that you saw.
- The spheres can be moves along the straight lines. Or around the circle lines.
- All of the spheres on a line will move together.
Solution:
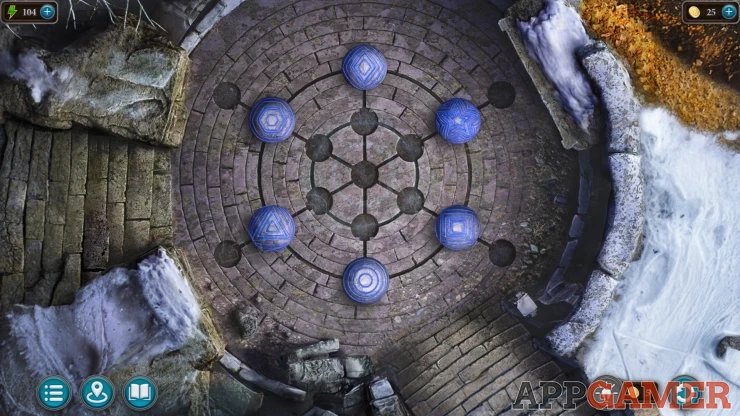
This activates the portal, you can now go through to find the tower.
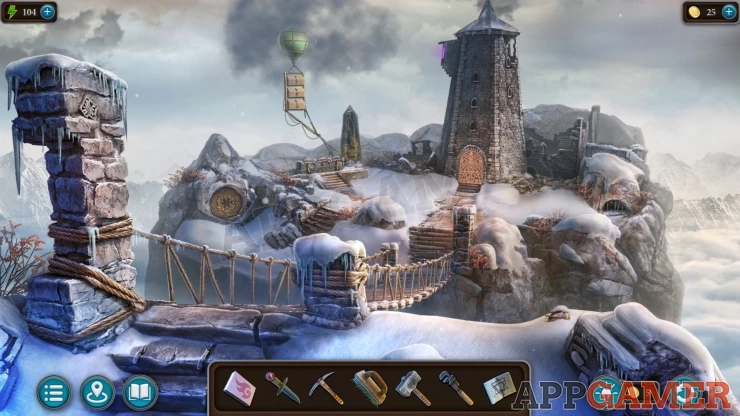
Collection Item: Compass, on the ground in the snow on the bottom right. (6 of 8)
Morphing Object: Symbol on the stone pillar on the far left.
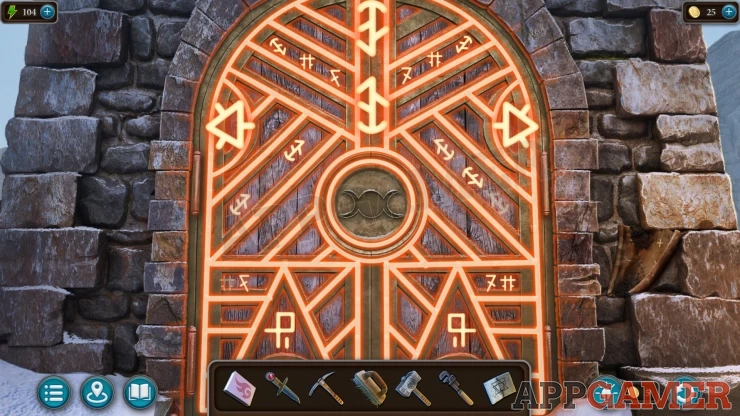
View the door to the tower to see that it is sealed. Collect a Dirty Tablet from the right side.
Return to the lower area of the cave, look on the right where the water is to see water falling.
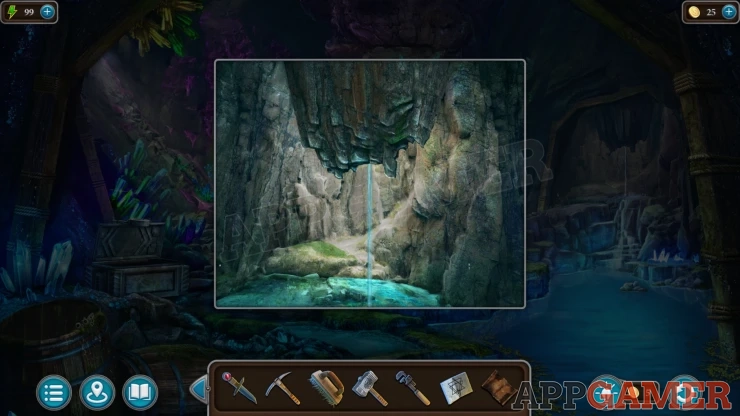
Use the dirty tablet on the water to clean it and collect the Clue.
Go to the portal area of the garden. look on the wall to the left of the steps to see a puzzle. Place the clue here to start.
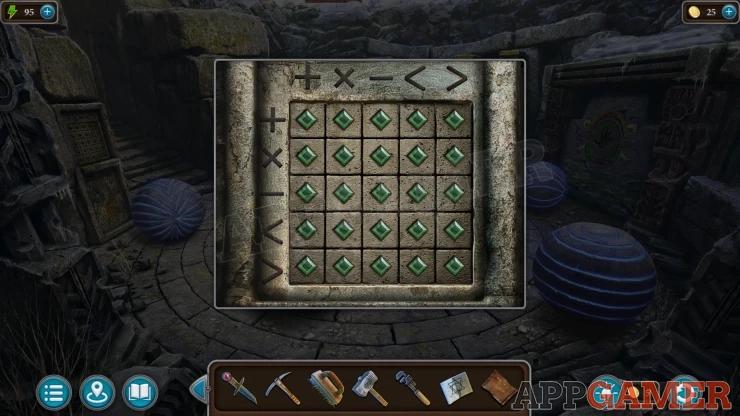
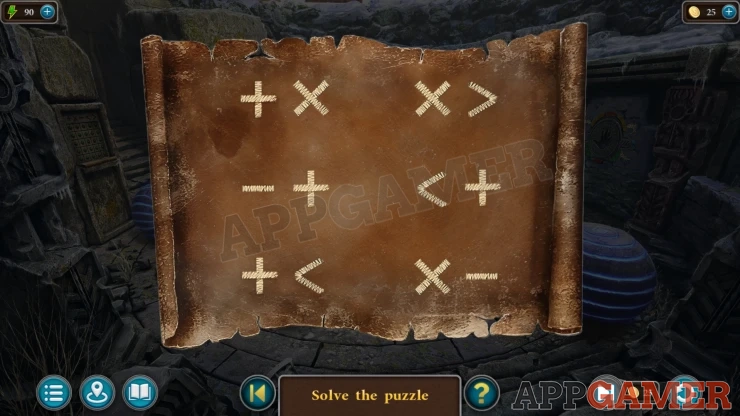
Mathematical symbols Puzzle
The clue shows six pairs of symbols.
Use these as coordinates to select the correct six buttons on the grid.
Solution: The clue may be different in your game.Show
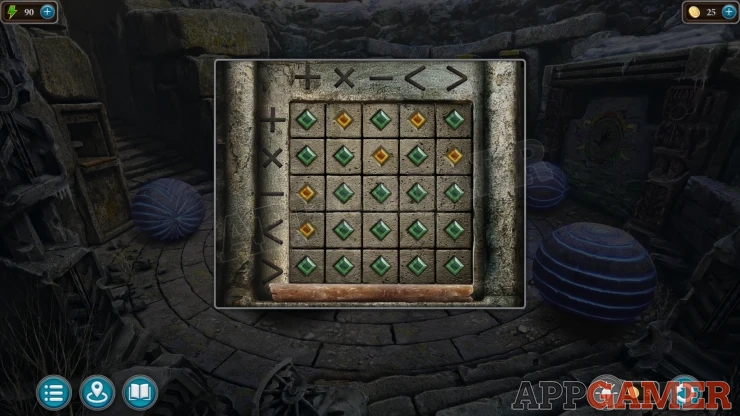
Collect some Binoculars and a stone Flower.
Go back up to the tower and view a round stone on the left side over the bridge.
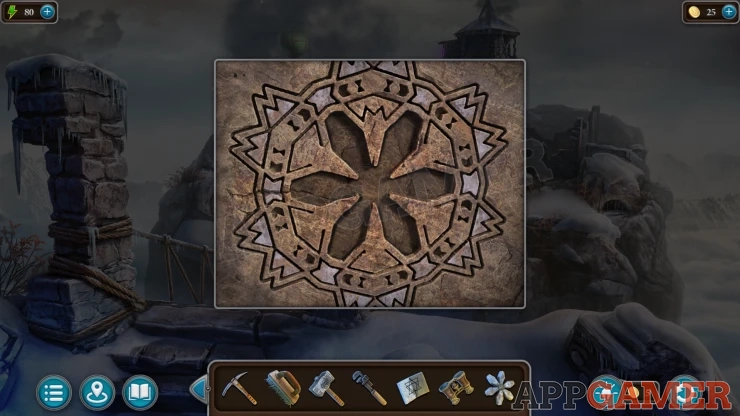
Place the flower here to open the cache and then collect a Cast and a Handle.
Back up to the portal in the garden and view the wall on the right with a Hand slot in it.
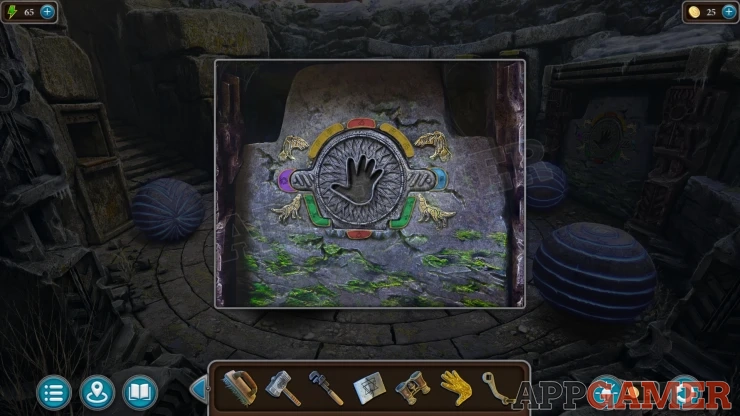
Place the Cast here to activate another puzzle.
Hand Cast Puzzle
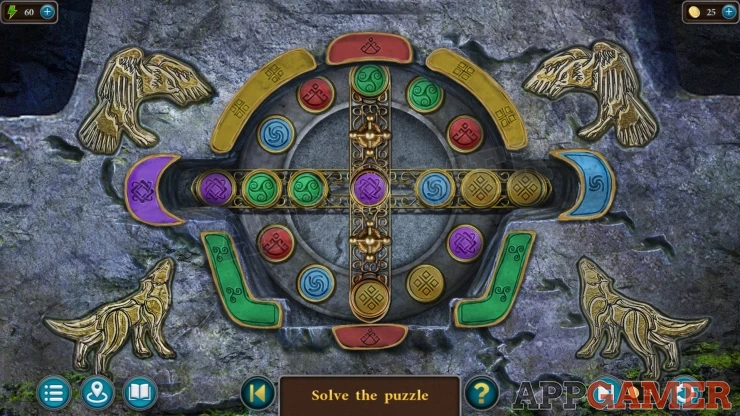
- There are colored chips arranges around the circle.
- These can be moved around by moving the circle, by sliding the bar across the middle, and by swapping them with the center using the vertical handles.
- Arrange all of the chips so that the colors match the colored sections around the outside.
Solution: Show
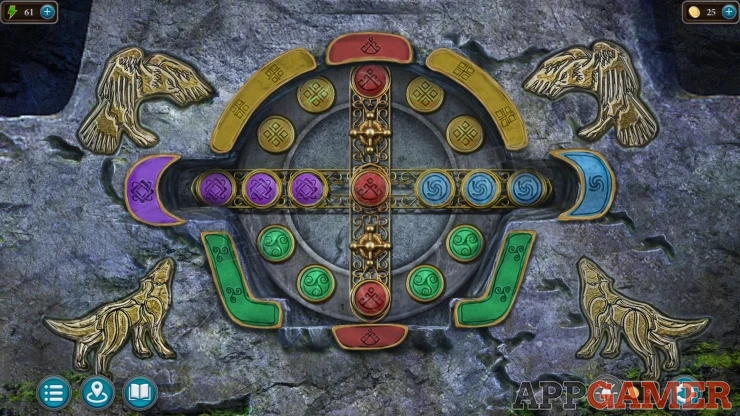
Collect the Triple Moon, a Petal (1 of 7) and a scroll of Constellations.
Go back up to the tower and view a barred window on the right side of the tower.
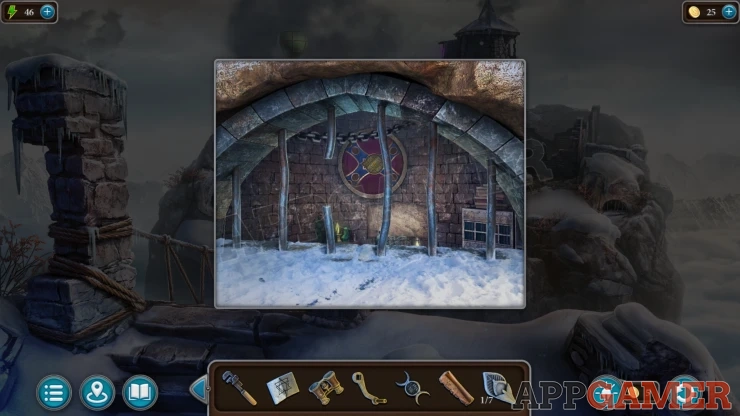
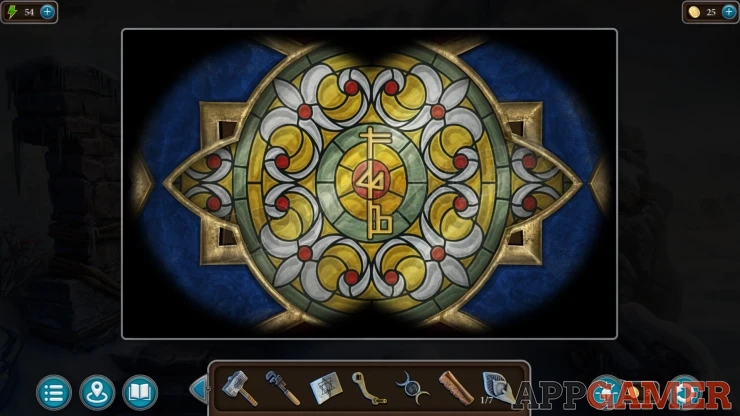
Use the binoculars here and you will be able to examine a plaque on the back wall, you will see three rune symbols.
The symbols can be different for you.Show
Now look on the left side of the tower, there is a balloon holding up a stack of boxes. Below this is a set of wheels with some handles and a large obelisk on the right.
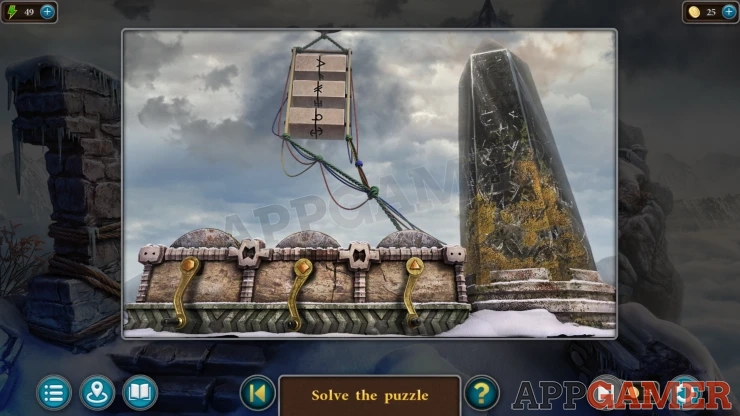
Add the handle that you have to the center wheel.
Runes Puzzle
- Turn the handles to change the rune shown on the three boxes above.
- Set these to the runes you saw in the clue.
Solution: The runes you need may be different.Show
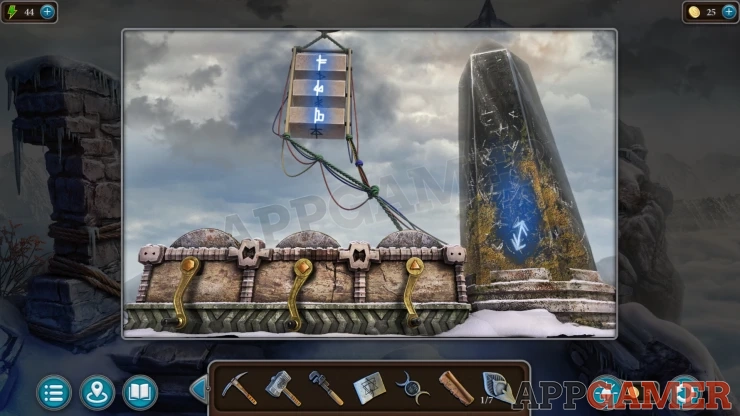
Once done the obelisk will be glowing. Use the Brush to clean the front and you will see another Rune symbol.
Now view the door to the tower again and place the Triple Moon into the center.
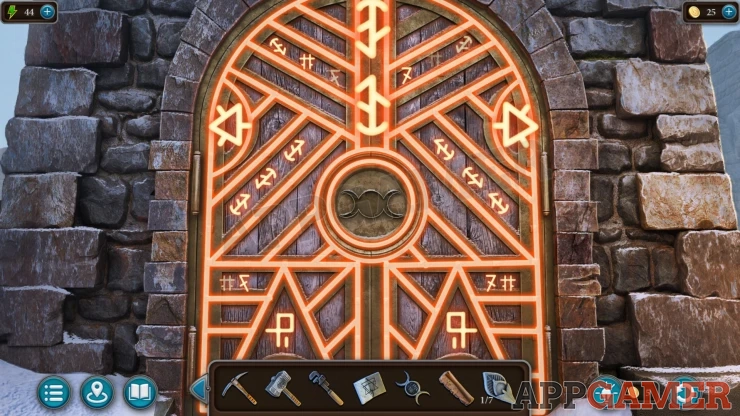
Tower Door Rune Puzzle
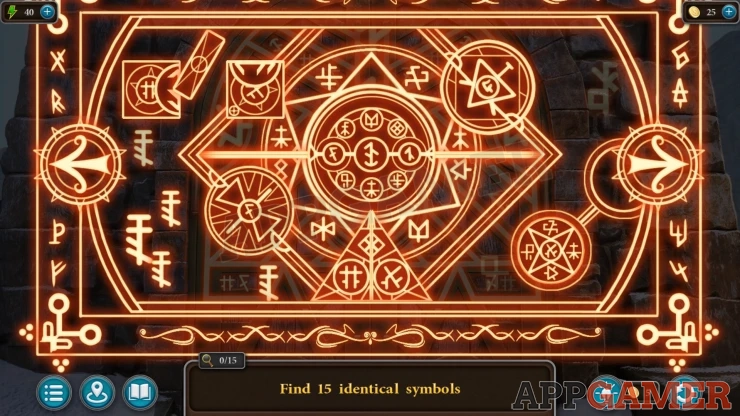
- You need to find the hidden rune symbol that you saw as a clue in the obelisk.
- You will see a display with found sides that yo can switch between withe the arrows.
- On each side you can move parts of the image, slide others, and also rotate some.
- In some cases the symbols you need will be easy to find or hidden under other parts.
- In other cases you need to assemble the full rune by sliding two parts together.
- Find all 15 of the runes to let you open the door.
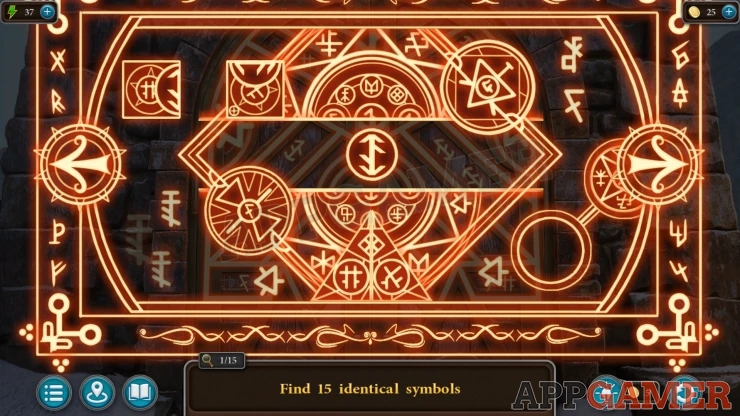
Enter the tower.
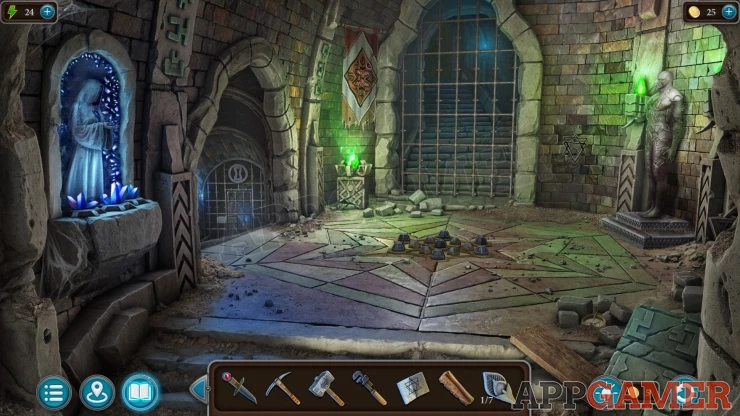
Task - Kill the Oracle
Collection Item: Compass, on the ground in some ruble on the bottom right. (7 of 8)
Morphing Object: Symbol on the wall on the top left.
View the statue on the left wall. Add the Book to the hands.
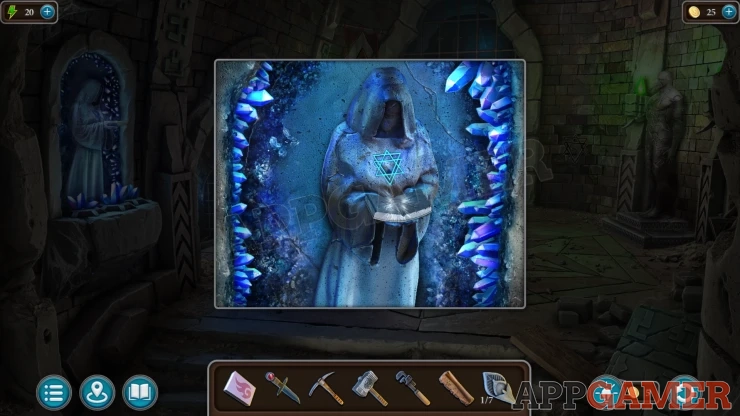
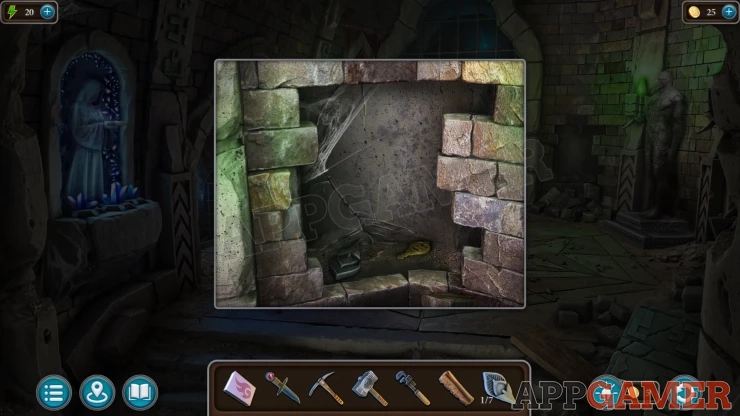
This breaks open a section of wall on the right. Look inside and collect a Key and a Petal (2 of 7).
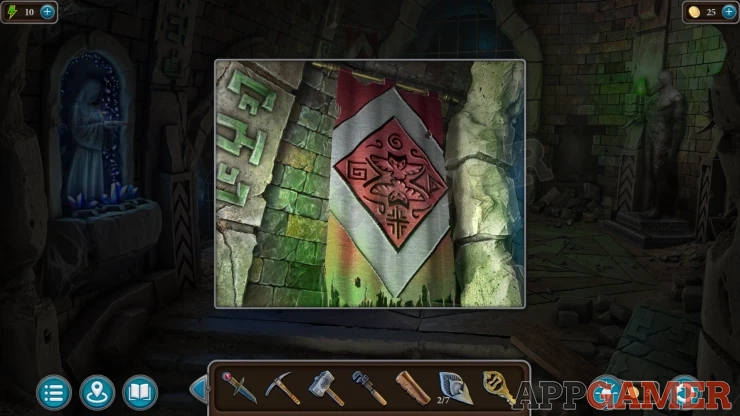
Notice the banner hanging on the wall to the right of the large gate. This is a clue.
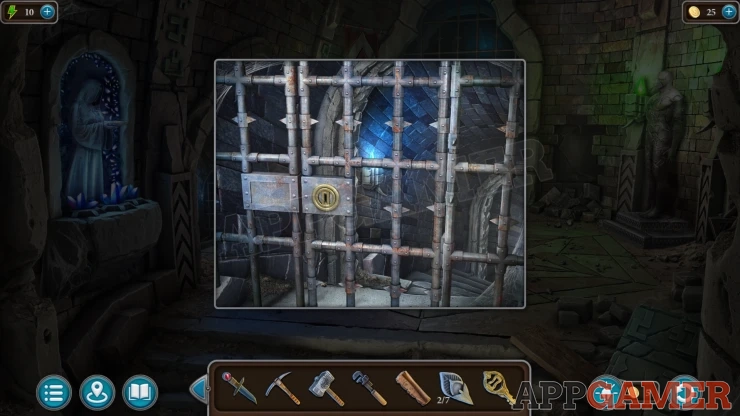
Next tap the steps on the left to find a gate, use the key to open it and then go down to a storeroom / laboratory.
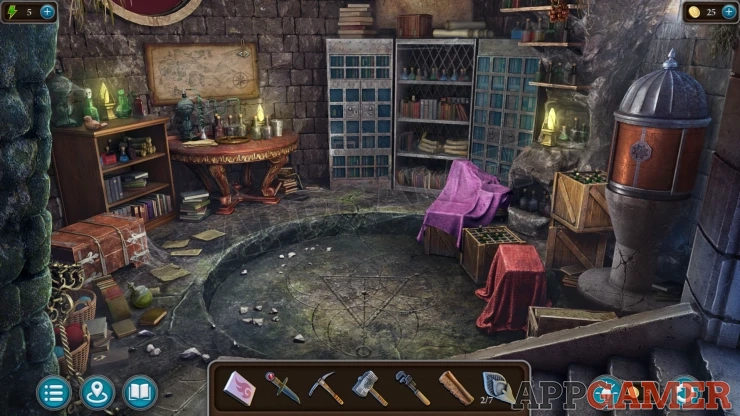
Collection Item: Bird, on the small bookshelf on the left. (7 of 7)
Morphing Object: ball / flask on the floor by the books on the lower left.
View the chest on the floor on the left. Then use the knife to cut the ropes and open it.
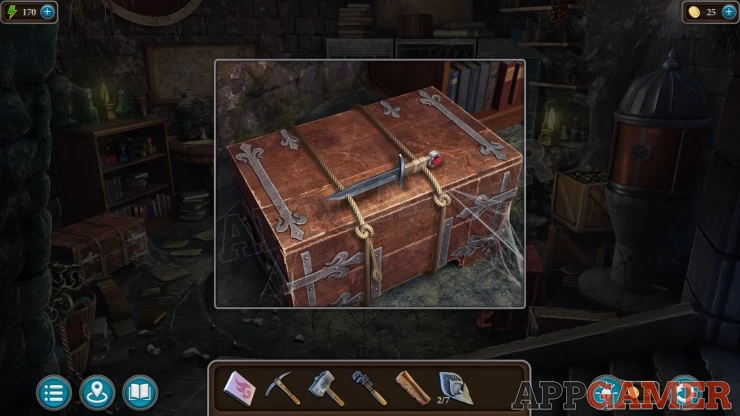
Collect a Detail.
Next view the map on the wall on the left.
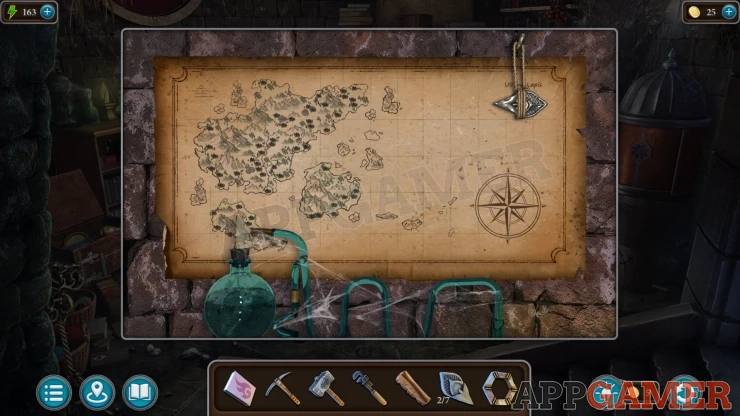
Collect a Petal (3 of 67) hanging on the right, then you will view the small island on the map.
Then view the table on the left wall under the map, collect a Valve wheel.
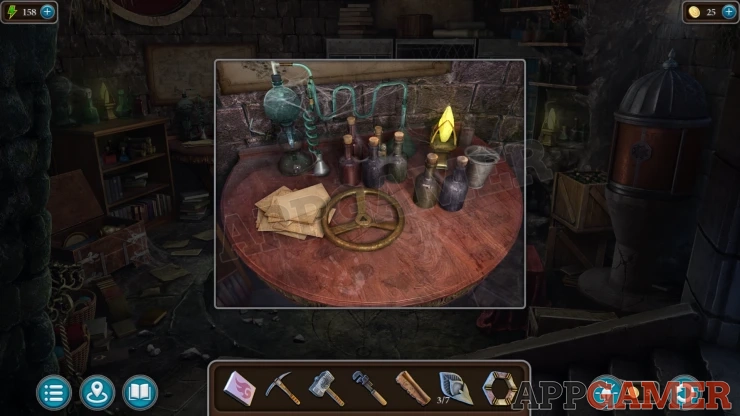
Back up to the top room of the tower and view the center of the floor. Place the Detail here to start a puzzle.
Tower Floor Puzzle
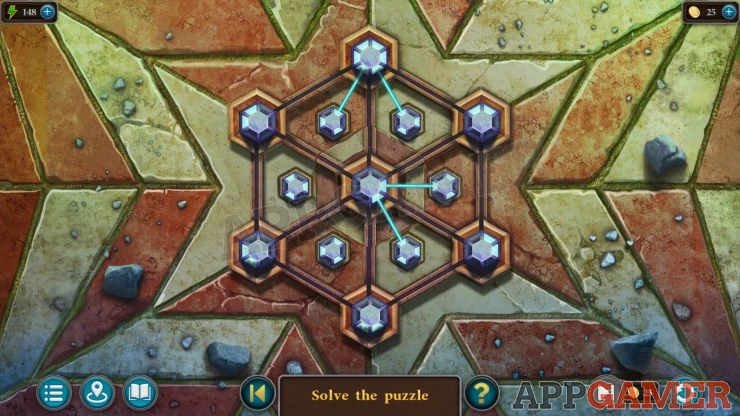
- There is a hexagonal grid with gemstones around it.
- Tap the smaller gems to rotate the larger ones around the grid.
- Each of the gems has light sections that can have laser beams connect it to adjacent ones.
- Arrange all of the gems so that they all connect together with the beams.
Solution: Show
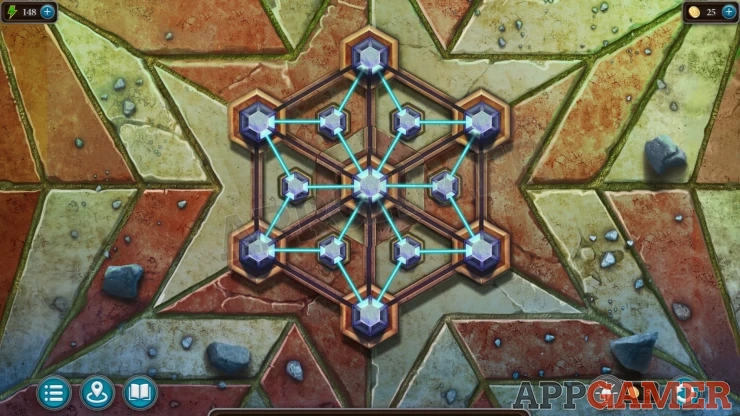
The floor opens and you can collect a Key and another Petal (4 of 7)
Go back down to the laboratory and view the tall cabinet at the back to the left of the book case.
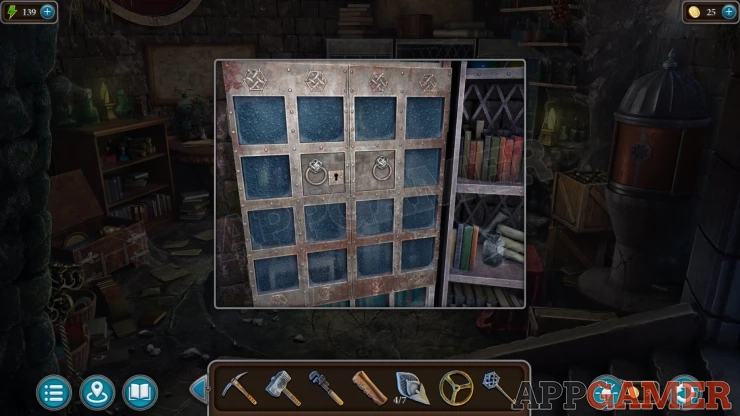
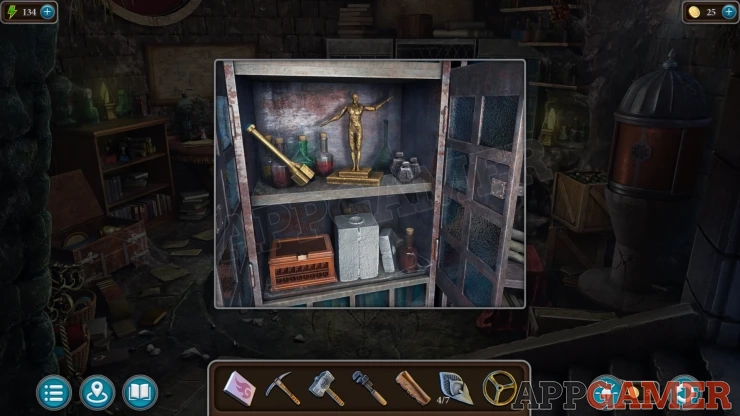
Use the key to open it. Collect a Lever (1 of 3) from inside and notice the Artists figurine.
Go back up to the upper room and view a large statue on the right side.
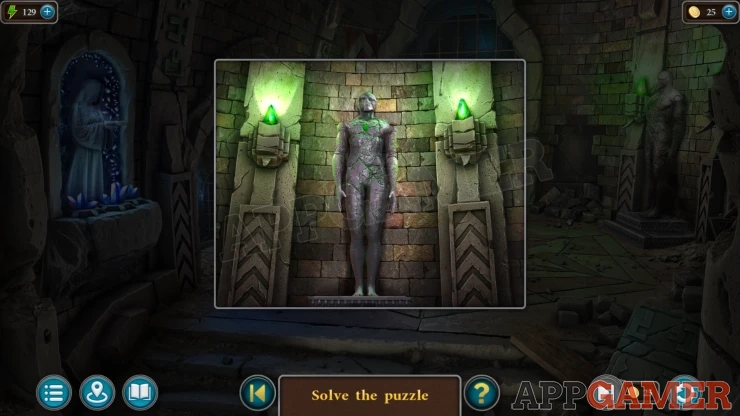
You can tap the arms of the statue to reposition them.
Arrange them to copy the figure in the cabinet.
Solution: Show
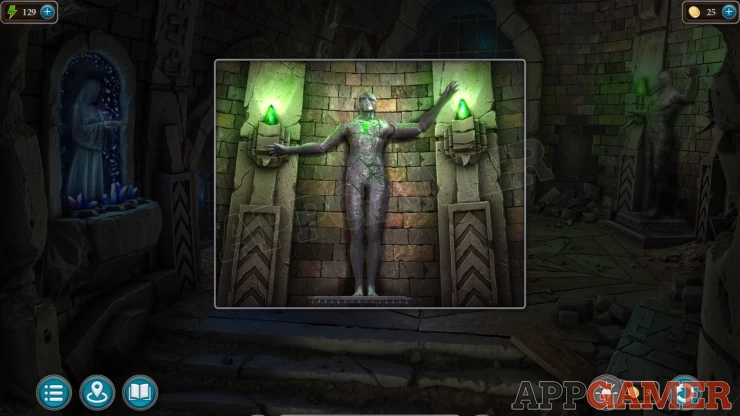
This opens the gate to the stairs. Go though to find another door. Tap on this to see the lock
Oracles Door Lock
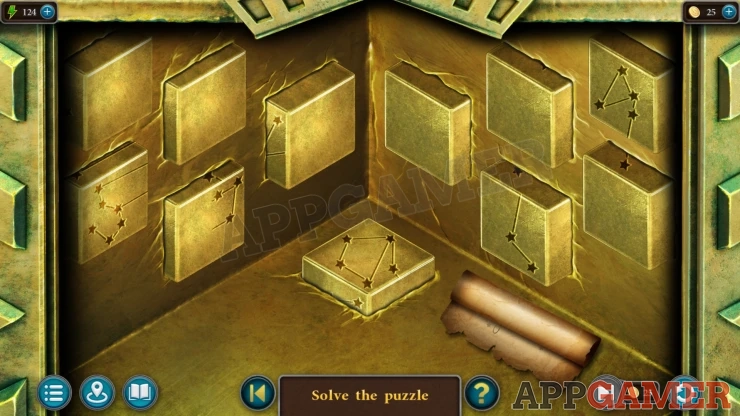
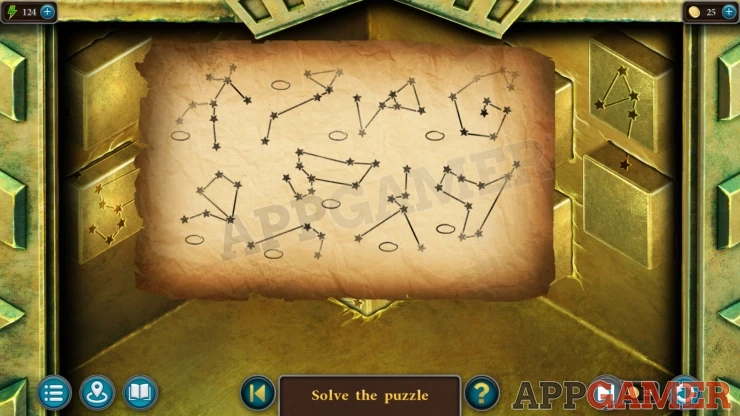
Add the Constellations paper clue to the lock to start the puzzle.
- There are 11 blocks that you can slide in and out to position them.
- Each block has a parts of constellation diagrams on them.
- Slide the blocks so that two or more of the diagrams on them line up to make one of the constellations shown on the scroll.
- As you find each one it will be marked off.
- Find all of the constellations to complete the puzzle
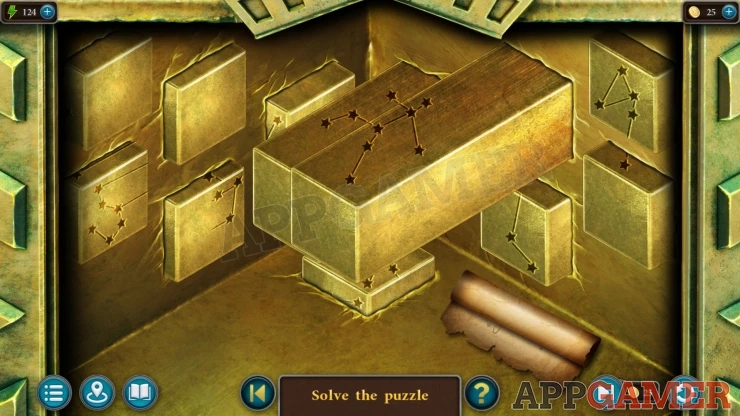
The door opens and you can go inside to find the mechanism that is making the maps. There is no one there.
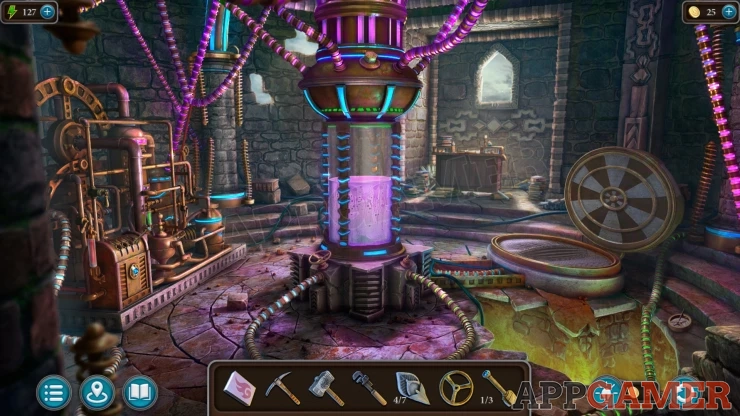
Task - Figure out the Mechanism
Collection Item: Compass, on the floor on the lower right. (8 of 8)
Morphing Object: Book/box on the floor against the back wall, to the left of the center purple tank.
Look on the desk under the window at the back of the room.
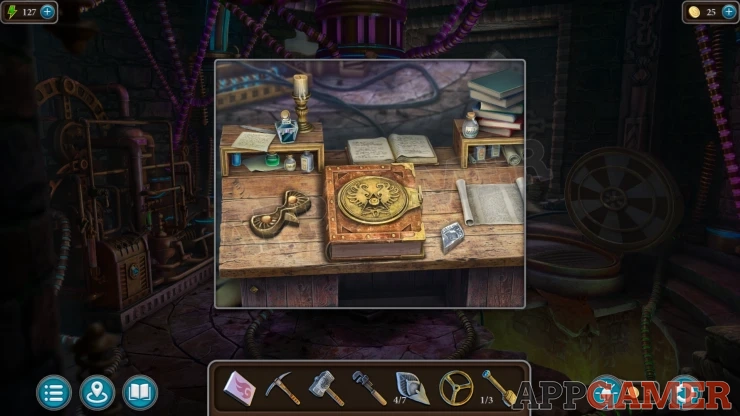
Collect a Mask and another Petal (5 of 7).
Then view the round, map printer on the floor on the right. Collect another Petal (6 of 7) from the floor next to it.
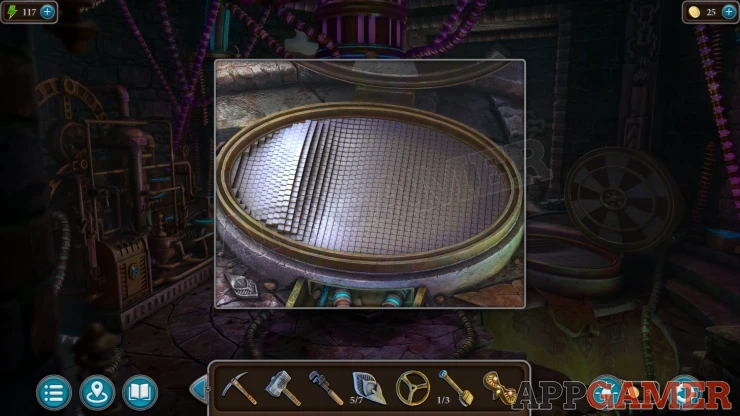
Travel to the Portal area of the garden. On the back right is a stone block with an Owl Face.
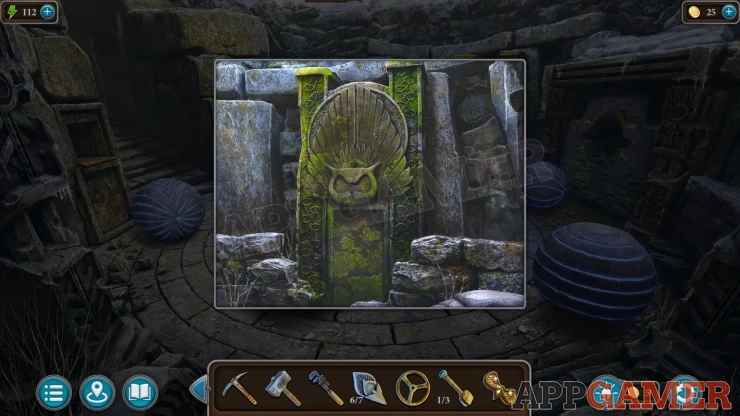
Add the mask to the face to find a puzzle.
Owl Mask puzzle
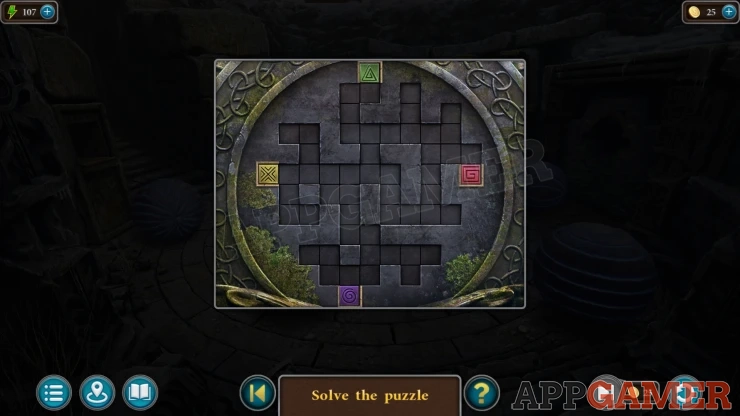
There are four colored tokens with symbols on them. They are in the wrong positions.
Slide the tokens around the grid to place them in the correct positions according to the clue see in the banner in the tower.
Solution: Your game may be different, check the banner clue in the tower.Show
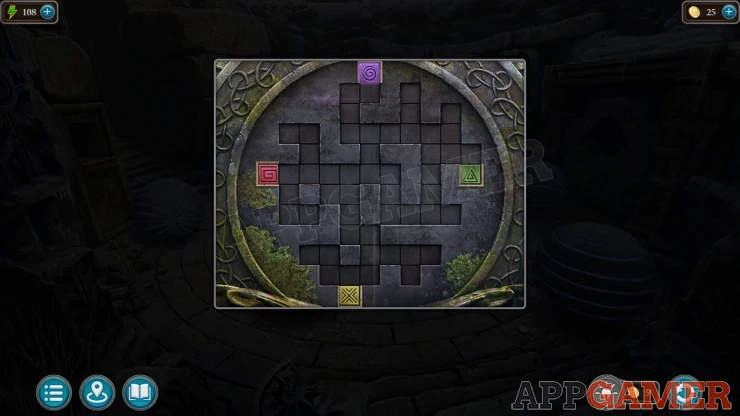
Collect another Lever (2 of 3) and another Petal (7 of 7).
Go back to the laboratory in the tower. Look on the right to see a red cylinder. Use the seven petals on the front to open it.
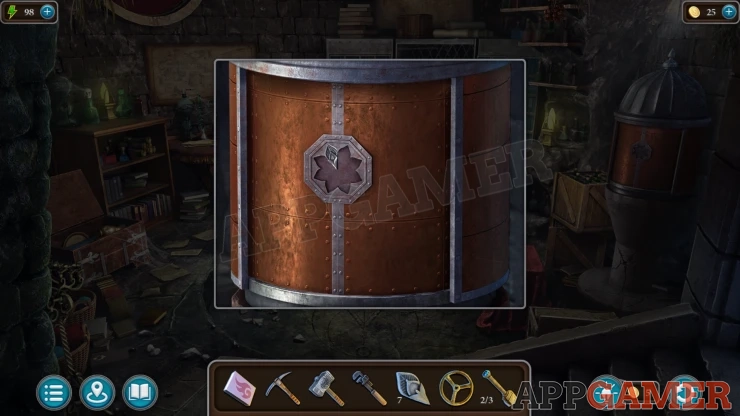
Model Puzzle
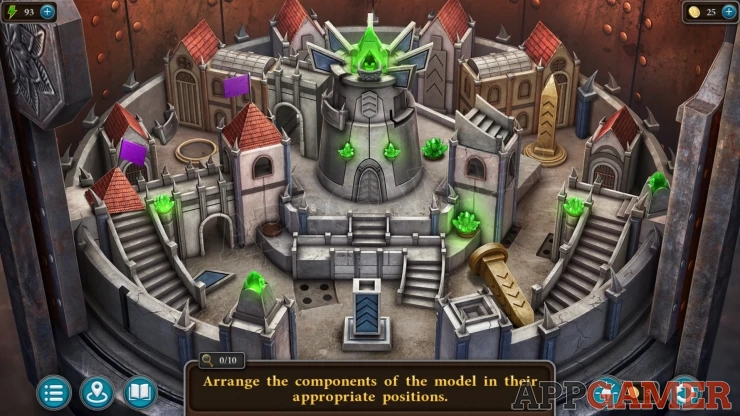
- This is a model, some of the parts are misplaced.
- Find all of the fallen or moved pieces and place them back in the correct positions.
- The model is symmetrical so look for inconsistencies.
Solution: Show
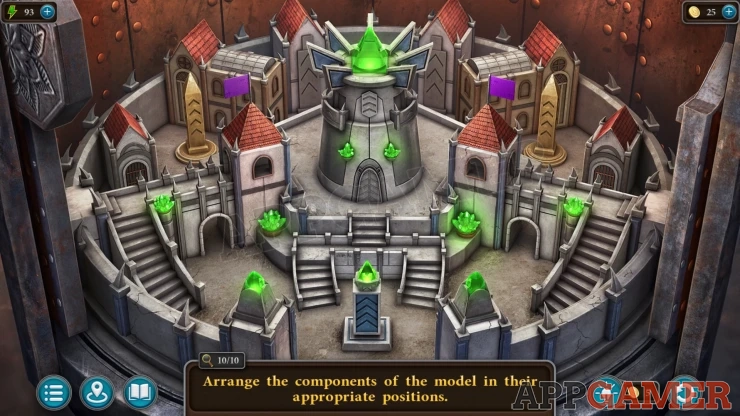
Collect the Ring of the Archwitch and another Lever (3 of 3)
Return to the mechanism in the tower, you meet a strange creature.
View the desk again and use the Ring of the Archwitch on the book to open it.
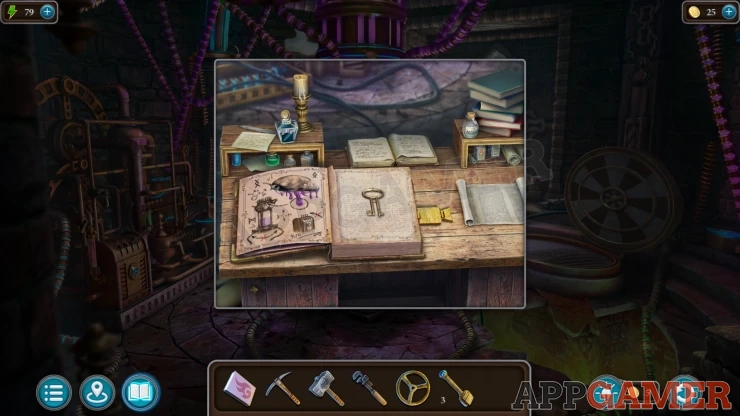
Collect the Key from inside and find the details on the Mountain Slug Acid.
Task - Destroy the Mechanism
Go to the Laboratory and look inside the cabinet again.
On the lower shelf is a box, view this and use the key to open it.
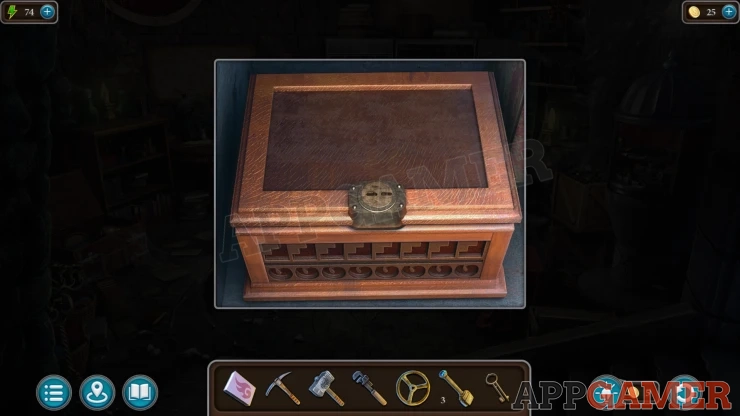
Collect the Alloy Formula and a Hawk.
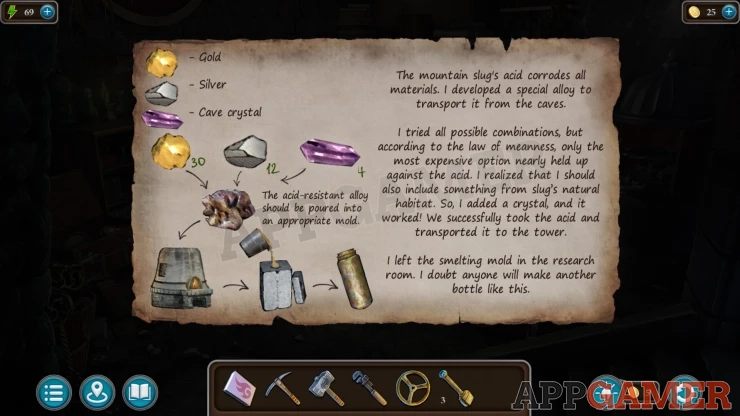
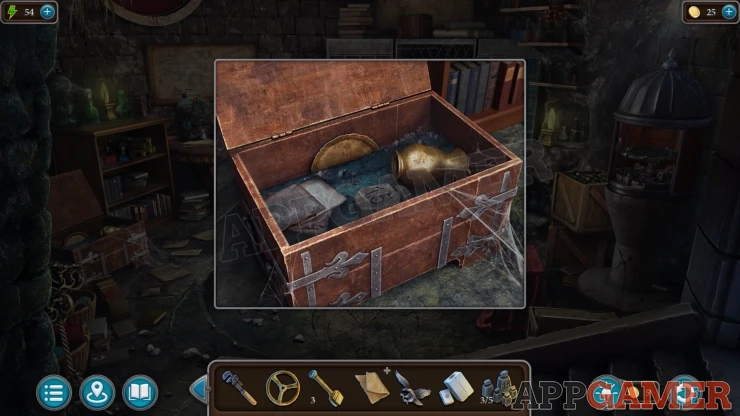
Then also collect the Mold from the lower shelf, and some Weights (3 of 5) from the top shelf.
Look again int he chest on the floor on the left of the room to collect another Weight (4 of 5)
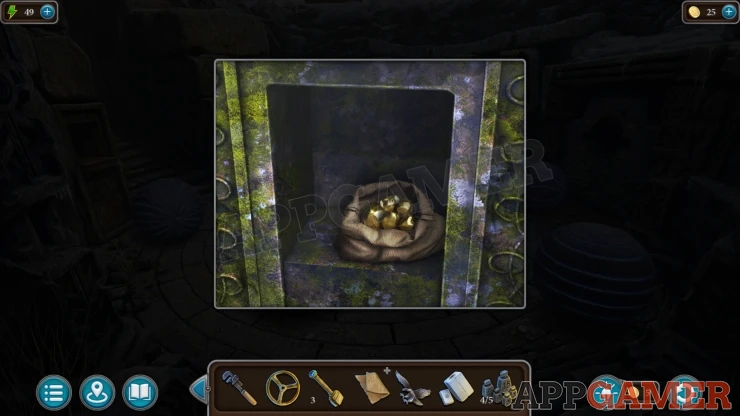
Go back down to the portal area and look in the cache with the Owls Face, Collect some Gold.
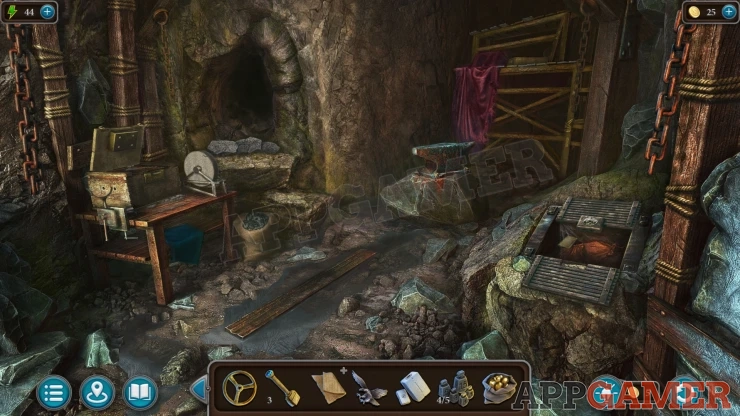
Then go into the cave, to the back left with the workbench. Collect a bag of Coal.
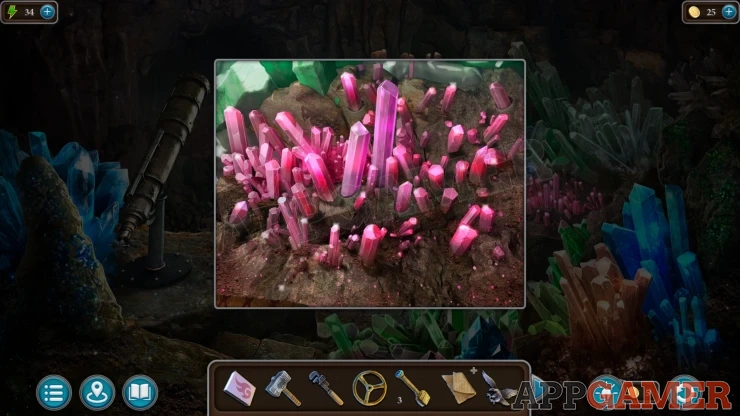
Then go down to the Crystal room of the cave. View the pink crystals on the right ans use the pickaxe to knock some out and collect the Crystal.
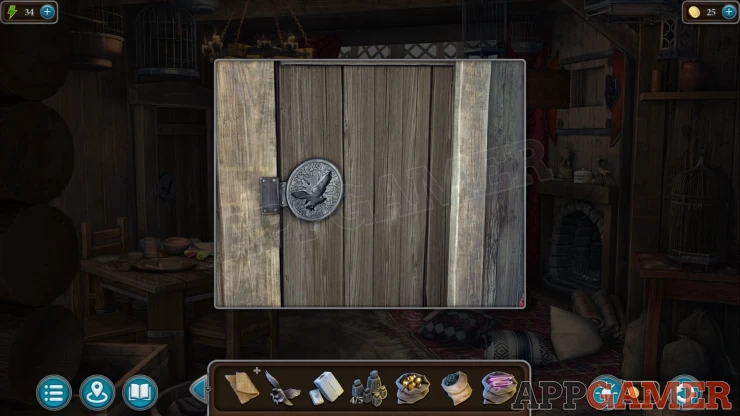
Travel back to the house of the birder in the mountain. On the left is a store room door. Use the Hawk on the door to open it.
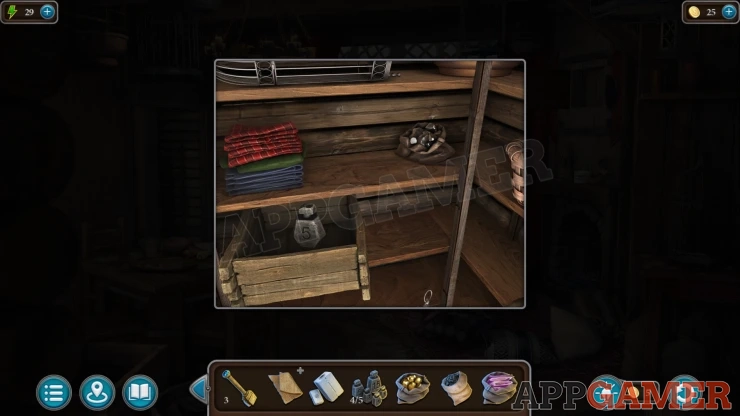
Collect another Weight (5 of 5) and a bag of Silver.
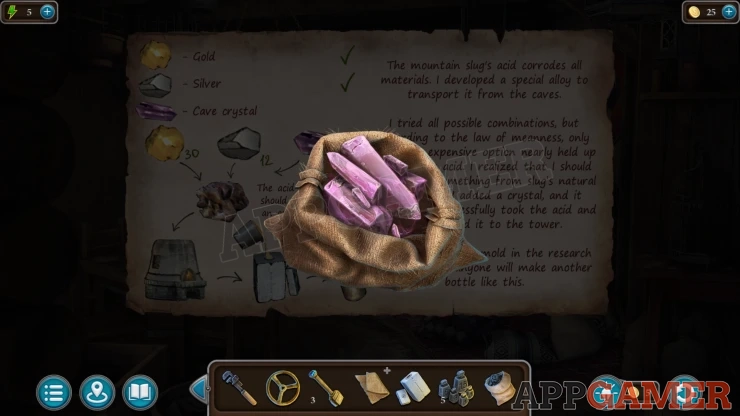
View the Alloy Formula paper and add the gold, silver and crystals to it. You will get the Alloy Materials.
Now go to the laboratory in the tower again and look on the right to find some scales under a pink sheet. Add the Alloy materials to this and the weights.
Weighting the materials
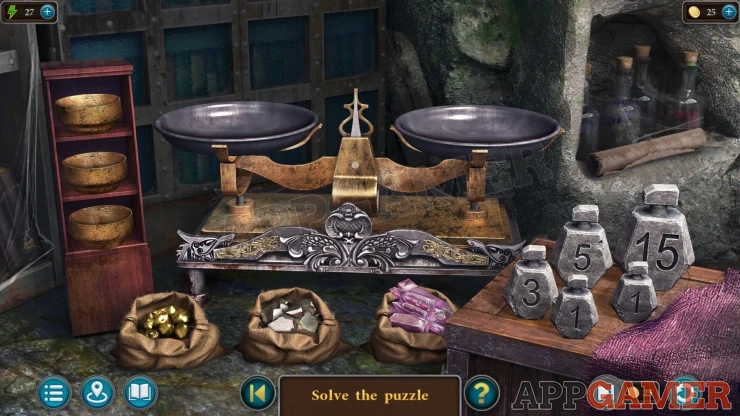
Use the weights to measure out the correct amounts of each material.
Check the scroll to see the amounts you need.
Use the three bowls on the left to place each materials in.
Solution: Add the first bowl to the left and then add 3 + 1 weights to the right. Add the crystal to the bowl until the scales balance. Collect the crystal (4) Add the second bowl to the left side and then add the 5 + 3 weights and the crystal bowl (4) to the right side. Add the silver to the empty bowl to make the scale balance, Collect the Silver (12) Add the final bowl to the left side and then add the 15 + 3 weights and the Silver (12) to the right side. Add the gold to the empty bowl to make it balance. Collect the Gold (30).Show
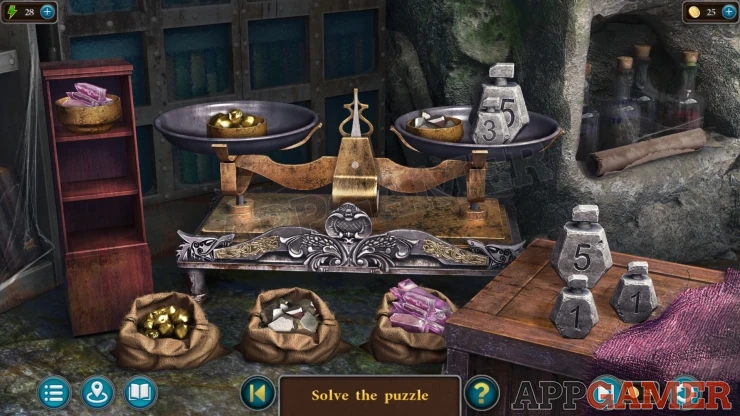
You will collect the Materials.
Go to the Snowy Garden and view the furnace.
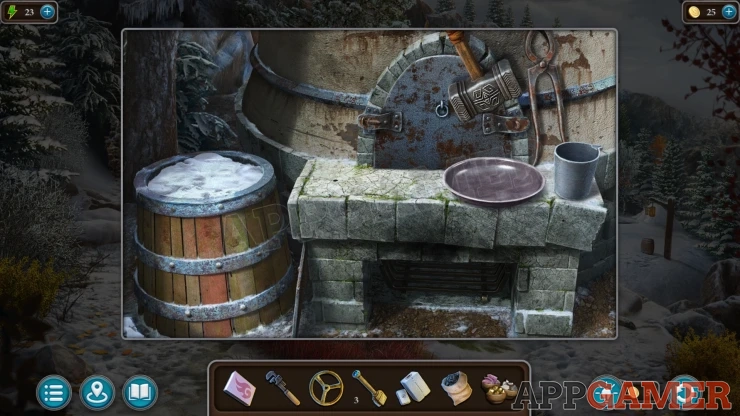
Use the Hammer on the door at the top top open it. Open the bottom and add the coal to it, then use the matches to light it.
Place the materials on the plate and place the mold on the furnace.
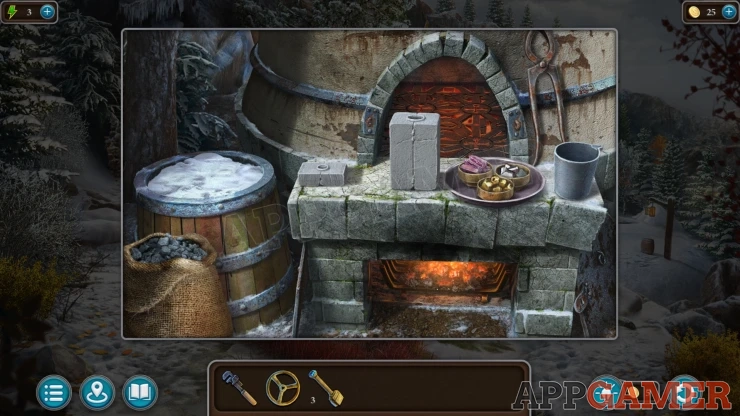
Tap the materials to add them to the crucible and then use the tongs to place the crucible into the furnace. It will melt and be poured into the mold.
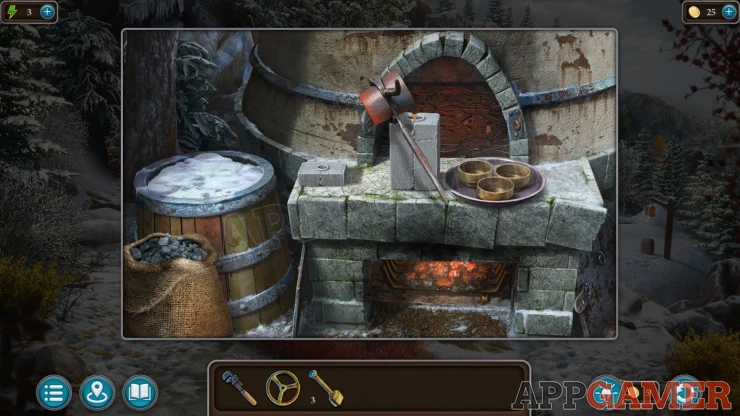
When the mold breaks use the tongs to place the container parts into the snowy barrel on the left to cool them.
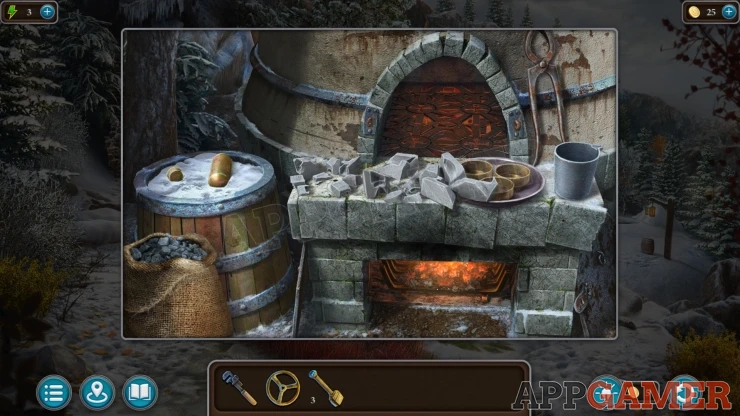
Collect the Bottle.
Return to the lower area of the cave where the slug was. View the slime on the wall.
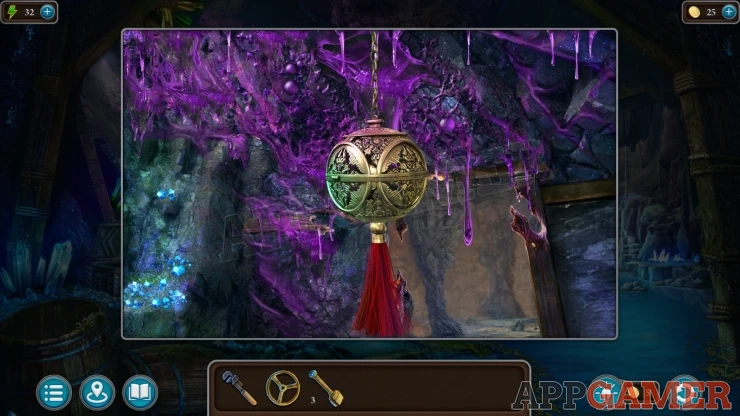
Use the bottle to collect some Acid.
Go back to the mechanism room in the tower. You will be told how to activate the mechanism to destroy it. View the part of the machine on the left. Add the three levers to it. Then lower all of the levers.
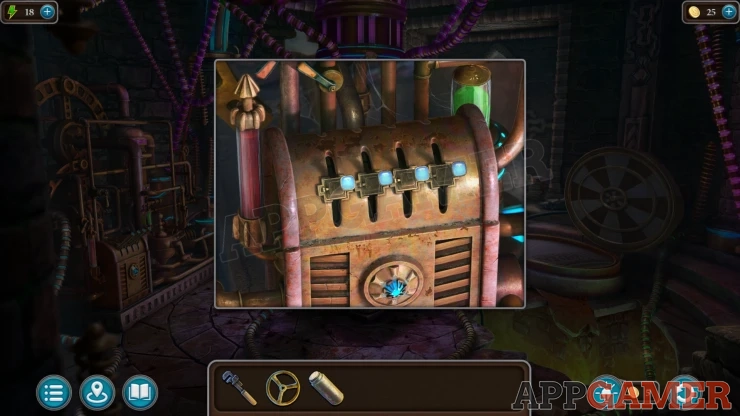
Then view the tank in the center of the room. Add the Valve to the pipe on the right.
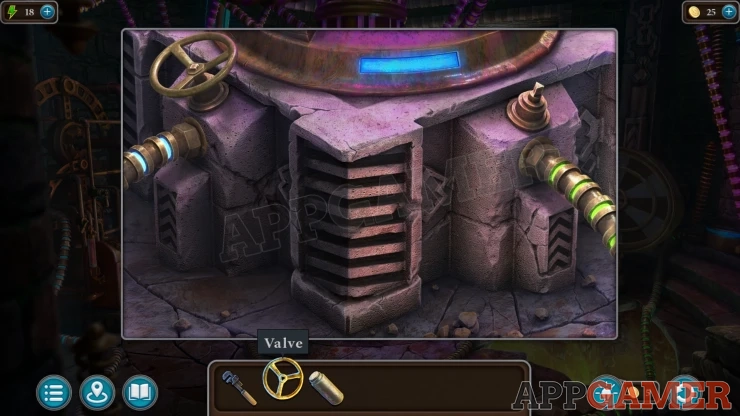
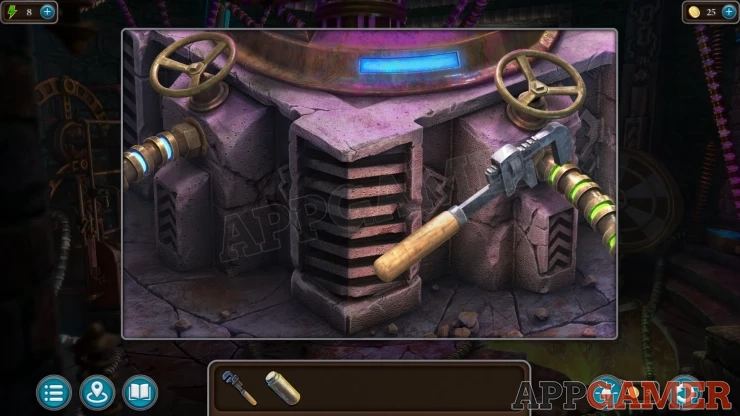
Turn both valve wheels to turn off the flow, then use the use the wrench to disconnect both pipes. The pipes will be reversed.
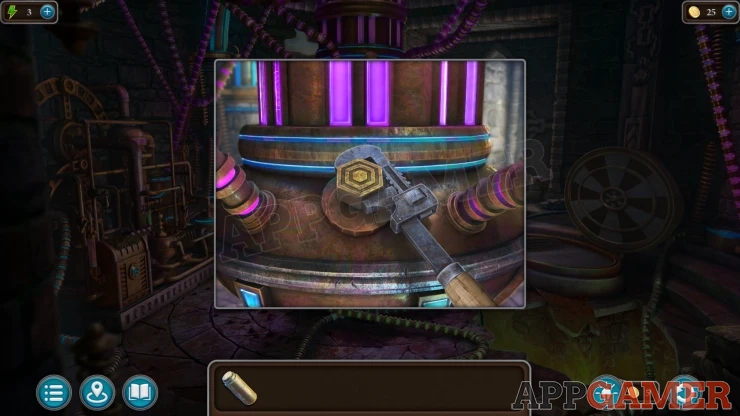
Next look at the top of the center tank to see a cap. Use the Wrench to unscrew this.
Use the bottle to add the acid to the container. The cap is replaced.
View the levers again and set them all to the top position. The tower is destroyed.
[img=https://resource.appgamer.com/library/2025/legendary-tales-4-chapter-2_78.png title= alt=Legendary Tales 4 Chapter 2 Walkthrough.
We have questions and answers related to this topic which may also help you: Show all
 With 20 years of experience in creating video game content for the internet and over 30 years as a gamer, Mark is now a passionate mobile App Gamer. Loving a challenge, he is always ready to get stuck in to both survival builders and puzzle solving games. He has been providing content for AppGamer since 2014.