
Chapter 1 Walkthrough - Part 2
More Legendary Tales 4
This is our full walkthrough for Legendary Tales 4 - Map of Hope. The latest in the series of games from Five BN. This guide includes all collectible item locations as well and hints and solutions for puzzles.
This is the second part of the guide for Chapter 1, In the first part you traveled to the town and then made your way across the water to the forest where you have headed to a campsite. You have just been captured in a net.
Chapter 1 - On the Road Walkthrough - Part 2
After being released from the net by Nimble you find out that the werewolves have recently left the camp and you are both looking for them.
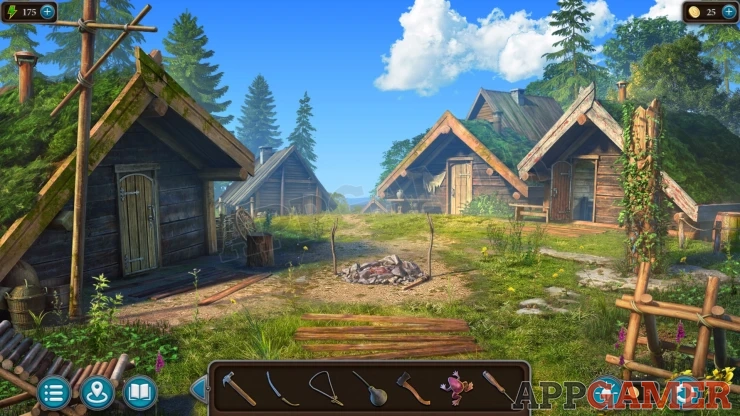
Task - Examine the Werewolf Camp
Collection Item: Pipe, at the bottom of the wooden pole on the left of the scene. (5 of 8)
Morphing Object: Chimney on the green roof of the building near the center.
First view the fire pit in the center and then tap an unlit torch on the right to light it and collect the Torch.
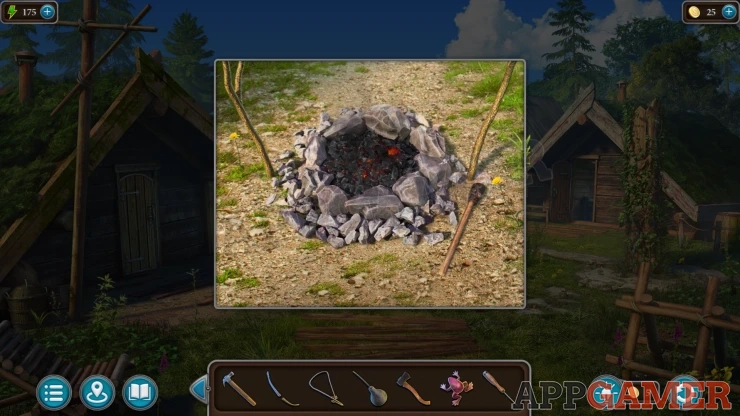
Next view a tree stump to the left of the fire pit and use the Axe on it, this will cut off one side and you can collect a Key.
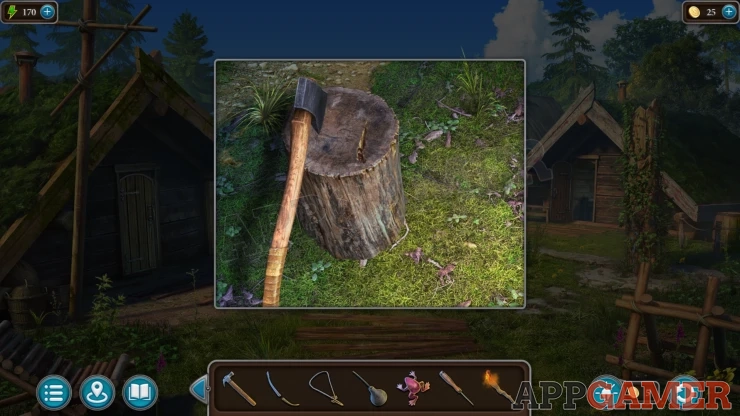
Now view the closed door to the building on the left, use the key to open it. Look inside and collect the Ladder.
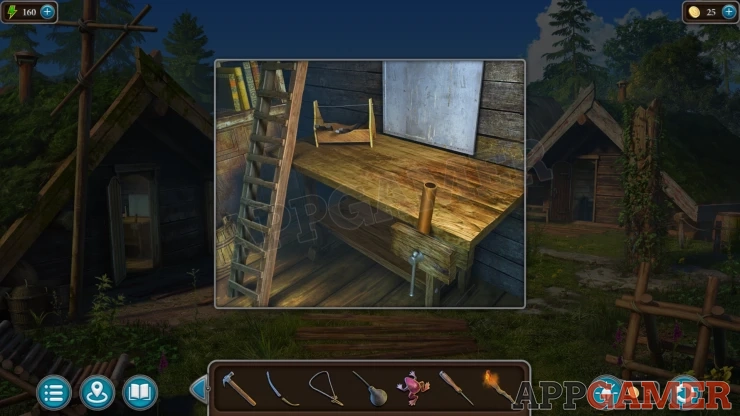
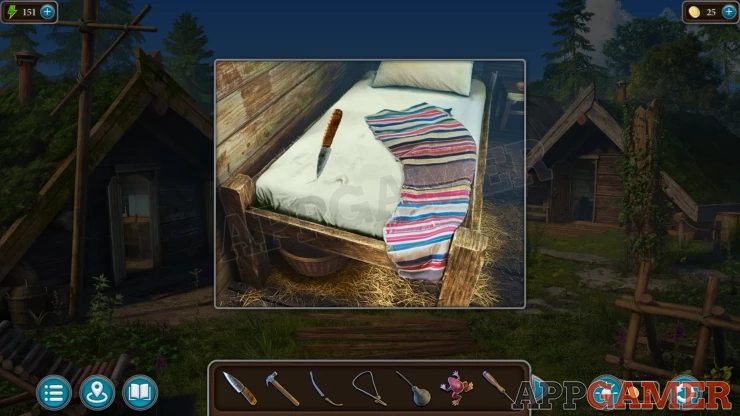
Now tap the open door to the building on the right to look inside at the bed. Use the knife on this to cut a hole and then collect a Horn.
Now look in a bush to the left of the open door, there is something hidden in it.
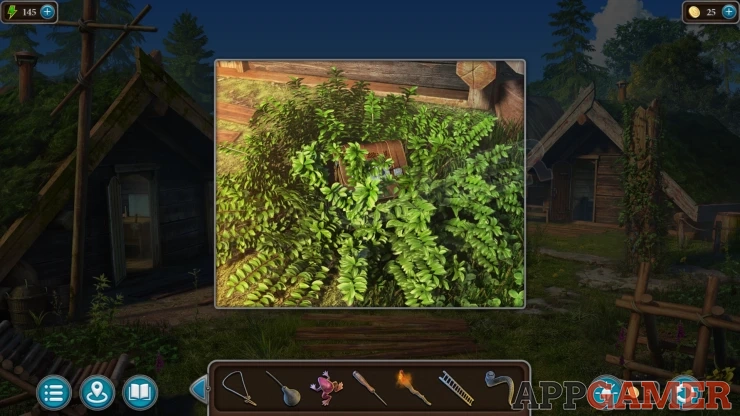
Tap several times to remove some of the bush and then you can collect a Bag. View the bag in your inventory.
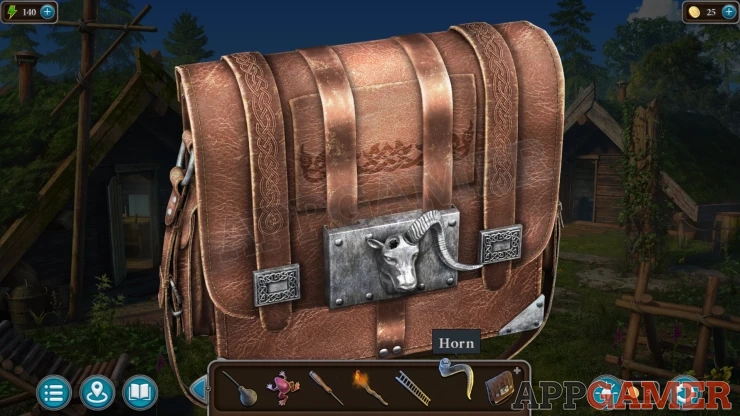
Add the Horn to the bag and then tap the lock to open it. You can then read the last entry in the diary inside.
Task - Find the Sacred Tree
Move forward from the camp to start another cut scene. You will then arrive outside the ancient town.
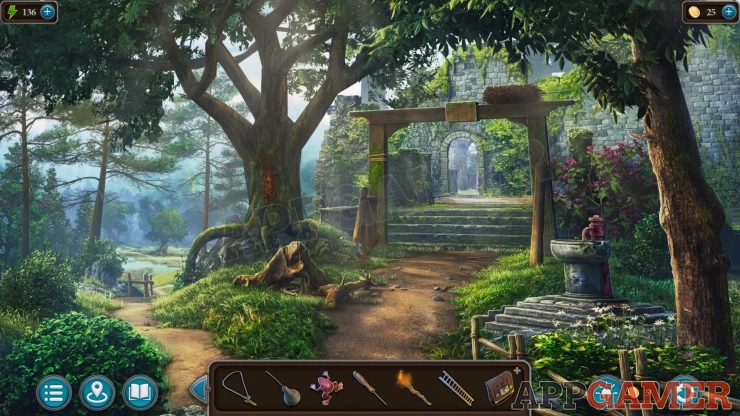
Collection Item: Fang, hanging on the tree on the right. (5 of 7)
Morphing Object: Changing rock on the left of the path on the left.
Place the ladder against the wooden archway under the large nest that is on top. You can then tap the next to look inside.
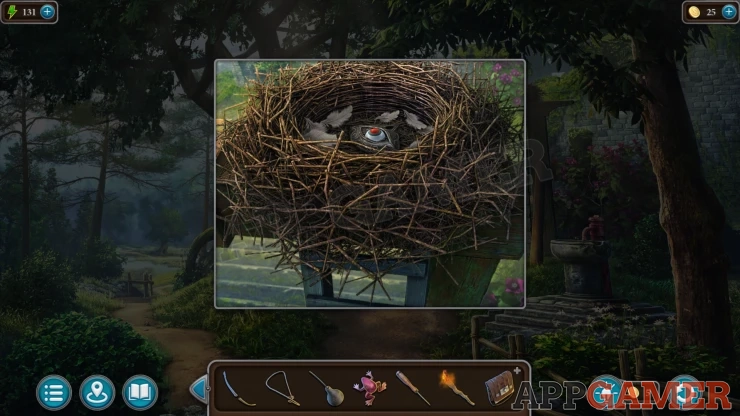
Collect the Eye.
Now look on the left wooden post of the arch to see some moss growing.
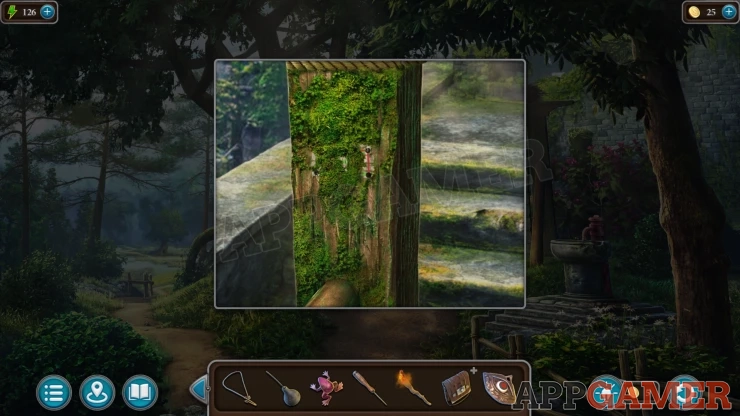
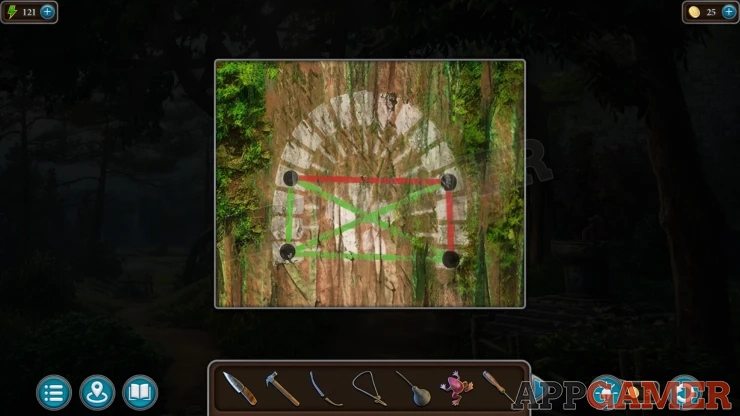
Use the knife on this to scrape some away and then you will be able to see a clue for later.
Your clue may be differentShow
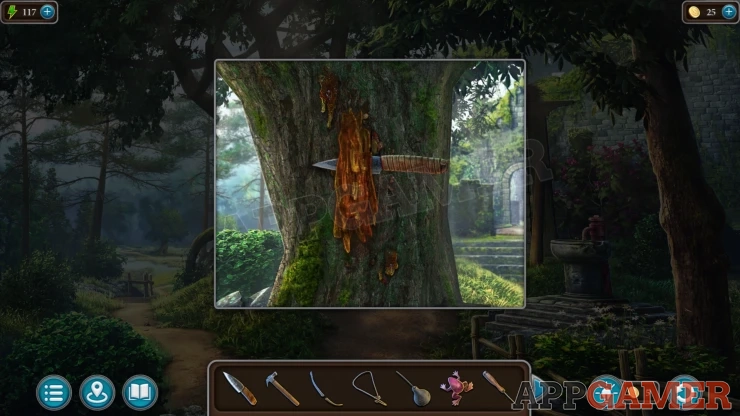
Now view the tree on the left, use the knife on this as well to collect some Resin.
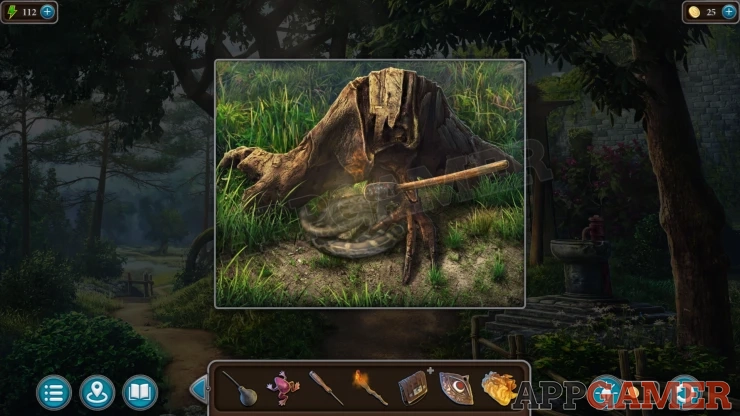
Next view the fallen branch under the tree on the left. There is a snake under it. Use the torch to scare the snake away and then you can collect a Magnet.
Back up now until you reach the start of the forest where you arrived in the boat, then you can view the watch tower again and go to the top with the telescope.
View the box on the wall on the right. You can place the Eye here to reveal a puzzle.
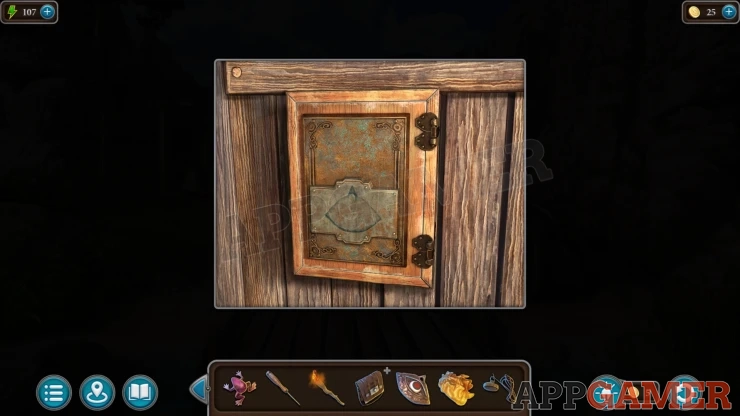
Watchtower box puzzle
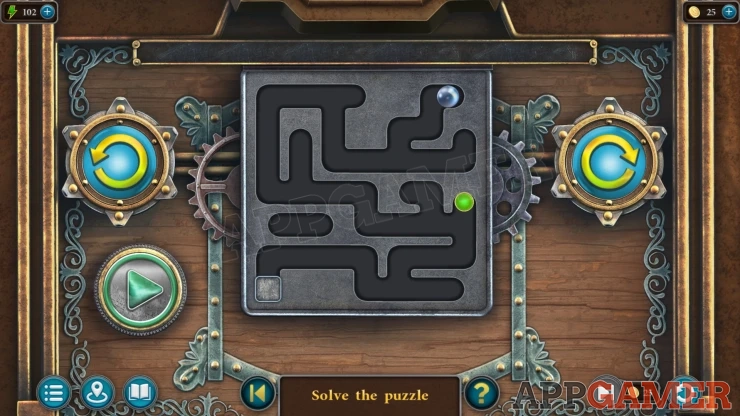
- There is a square maze with a ball that will roll around.
- To move the ball you need to use the controls on the left or right to set instructions that will rotate the square.
- Each button will rotate the square 90 degrees to the left (anticlockwise) or the right (clockwise).
- You need to move then ball to the green button first to open the stone at the end. Then move the ball to the end to complete it.
- Tap the arrow buttons in the correct order to make list of instructions and then tap the Green play button to start it.
Solution:
The maze can be different for your game so you may not be able to use these instructions. The solution for me was:Show
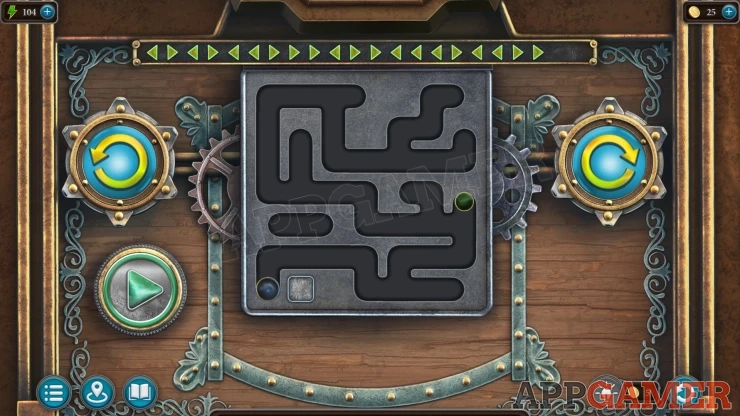
Once done you can collect a Handle, and a Fuse.
Return to the gate to the ancient town and then move forward up the steps and through the arch to enter the town ruins.
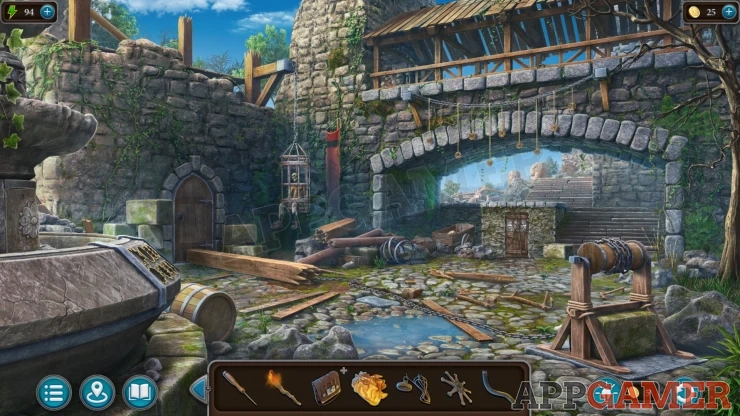
Collection Item: Pipe, on the ground with some bits of wood to the left of the winch. (6 of 8)
Morphing Object: changing symbol on the red banner hanging by the skeleton in the cage.
View the skeleton in the cage, try to door but it is stuck. Then you can use the oil on the door to loosen it and it will open.
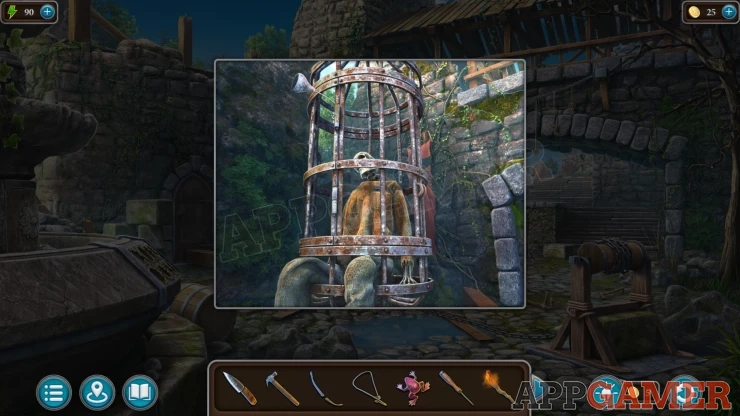
Collect a Trigger from the pocket.
View a large broken wooden post on the left, then tap the chain to attach it.
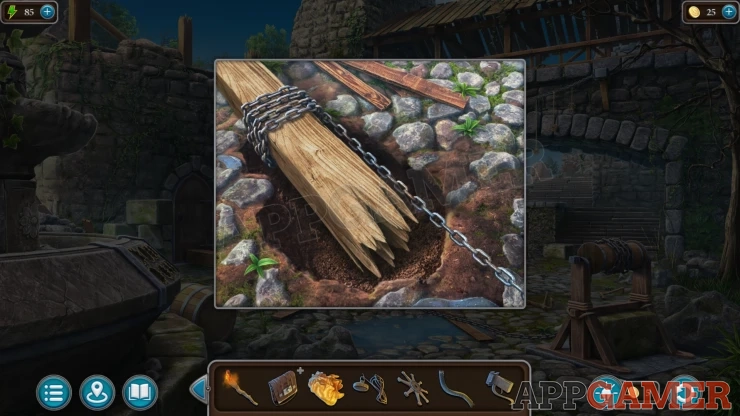
Add the Handle to the winch on the right and tap this to turn it and drag the large post. You can then open the door on the left. Enter a large room.
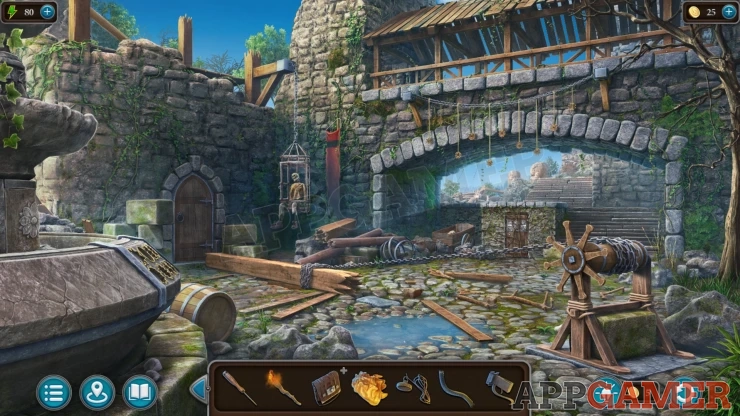
You will see an ornate Cache that you need to open, to do this you need to find 15 Skulls in the room.
Hidden Skulls
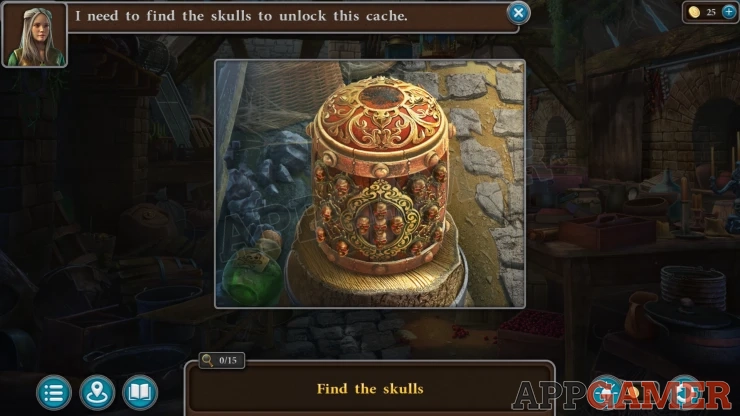
Look around the room to find the skulls, some are hidden behind curtains and in boxes. Some are actual skulls while others are drawings or shaped items such as glasses.
- The first one is on the green bottle to the left of the cache.
- There are three in the main scene.
- Open a curtain on the right wall to find four skulls.
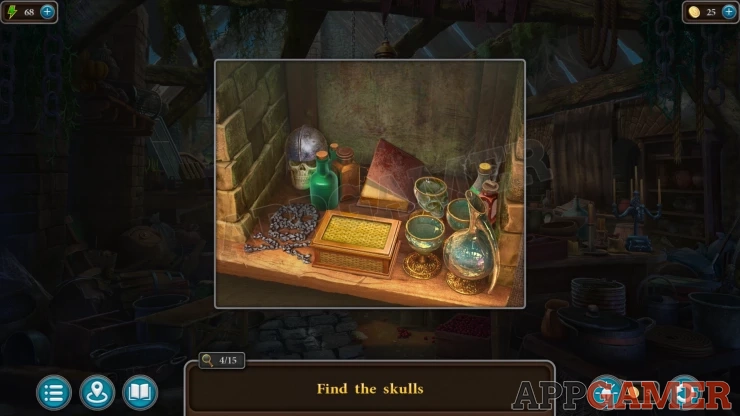
- Look in the Fireplace for three more skulls.
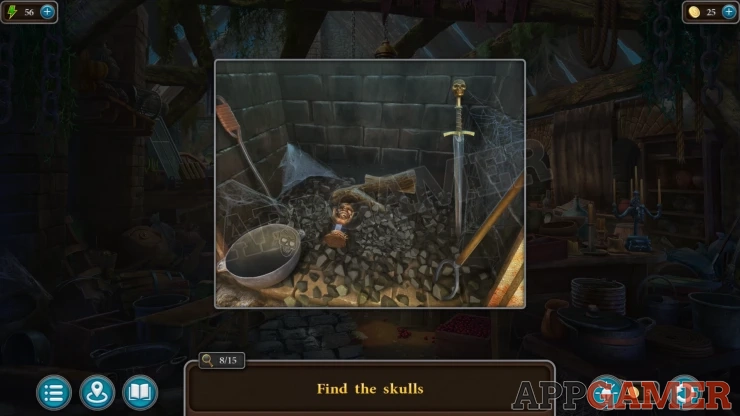
- Examine some containers on the left for another four skulls.
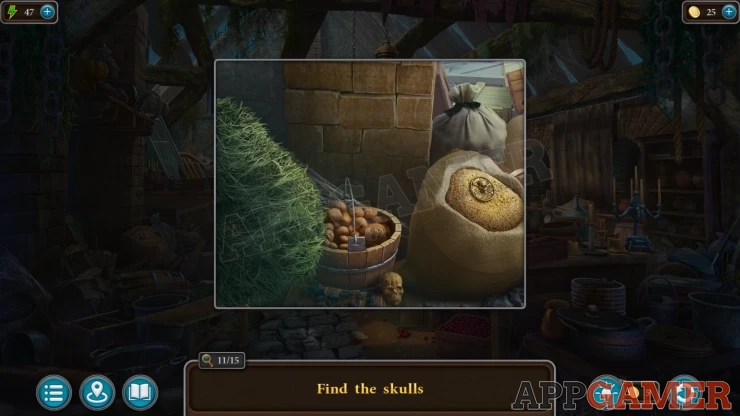
When the cache opens, collect the Gun powder.
Now out in the ruins, move forward up the steps through the Stone archway to a walkway that is broken. You need to cross the rift.
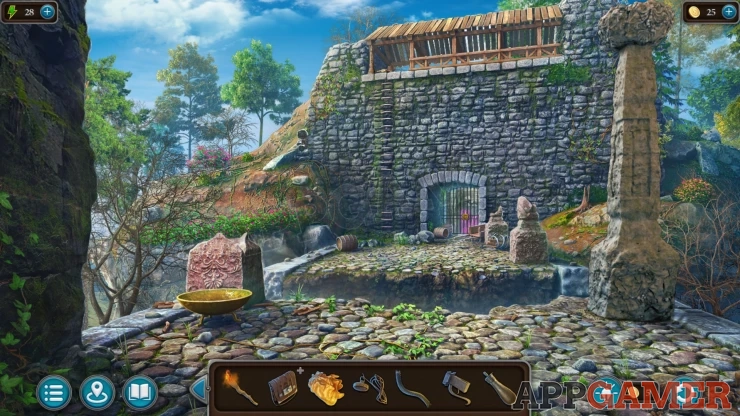
Collection Item: Pipe, on the left of the wooden structure at the top of the stone wall. (7 of 8)
Morphing Object: small pile of rocks on the hillside to the left, on the left edge of the stone wall.
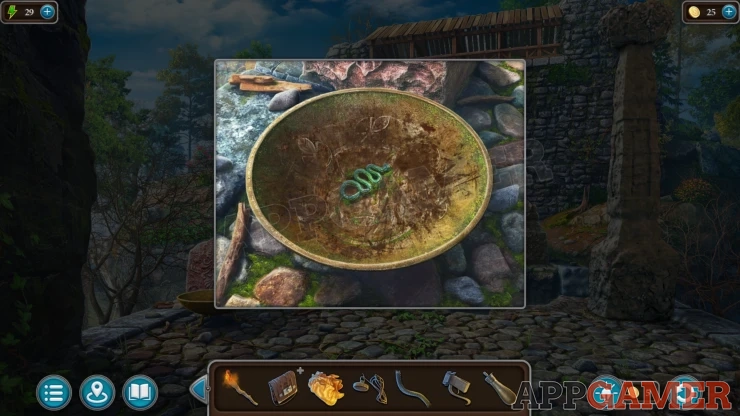
Look in the gold dish on the left side of the walkway, collect a Snake.
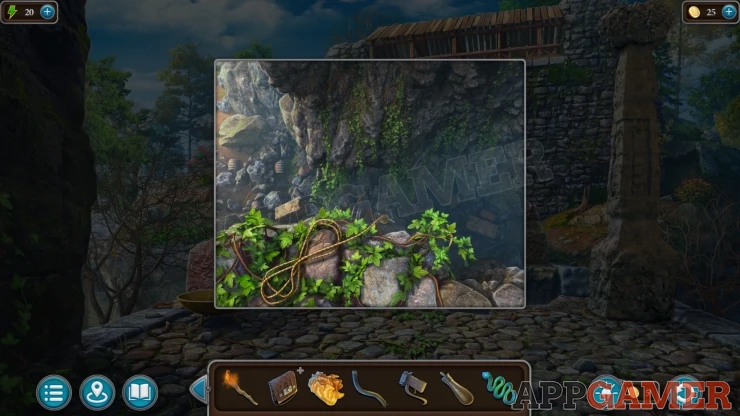
Then look down into the chasm. Use the Magnet here and you will collect a Sword.
Back up to the ruins area and then tap to view an overgrown door in the center, to the left of the steps.
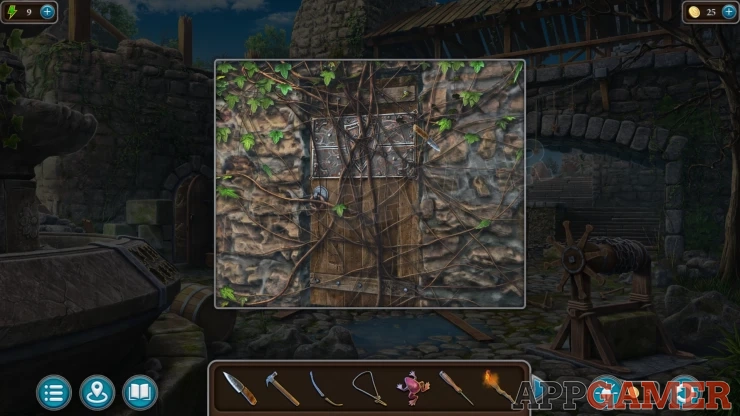
Use the knife here to cut away the vines and reveal a Shield emblem.
Place the sword into the center and ta it to reveal a puzzle.
Shield door puzzle
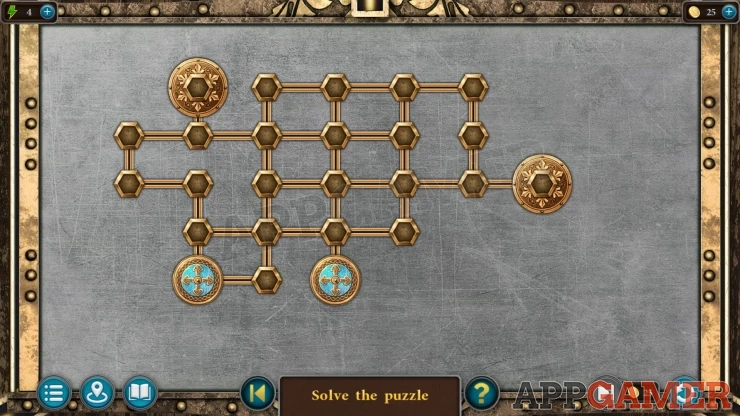
- Slide the two blue chips around the board to place them into the large marked slots.
- Each chip will slide in the direction to move it until it reaches a block or turn.
- The layout of the board can vary for this puzzle.
You now look inside a workshop. Collect a Crossbow from the workbench.
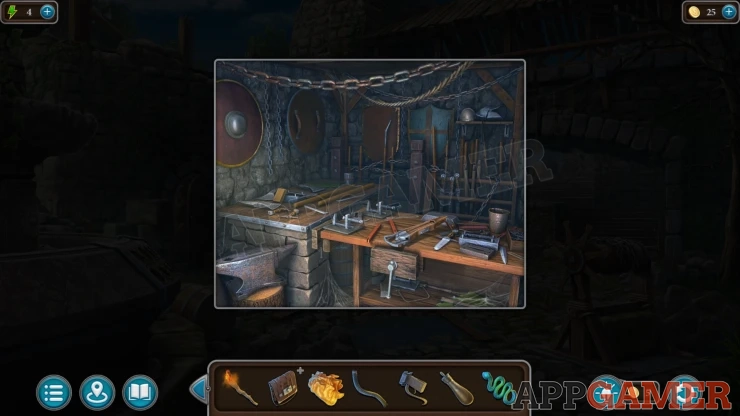
Travel to the campsite in the forest, and look in the building on the left again. There is a bench with a half finished explosive.
Add the gun powder to this, then add the fuse and finally the resin. You can then open the vice and collect the Explosive.
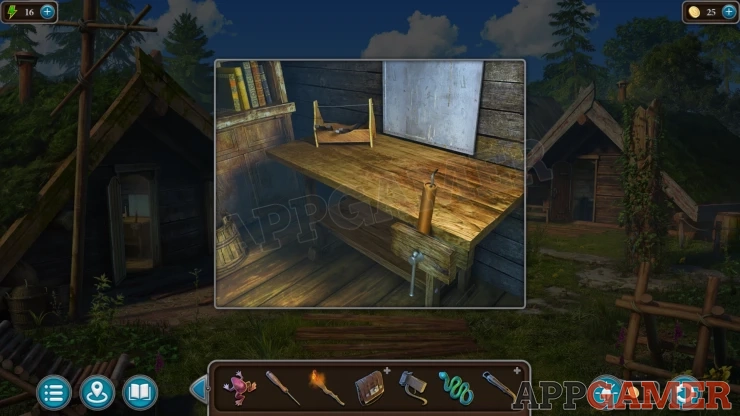
Go back to the walkway with the hole in it. View the large column on the right. Add the explosive to the base and then use the torch to light it. The column will fall so that you can cross over.
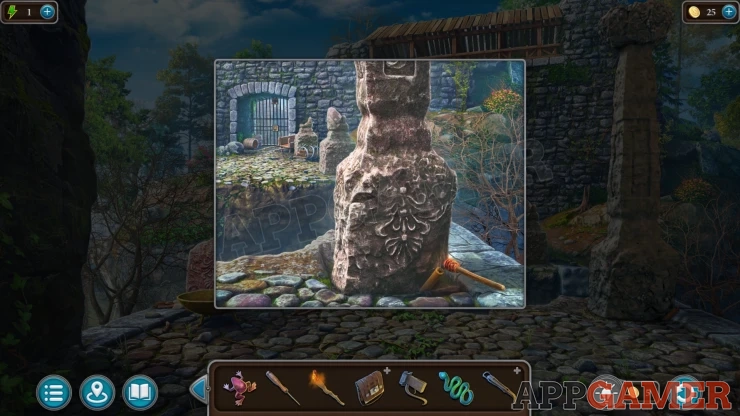
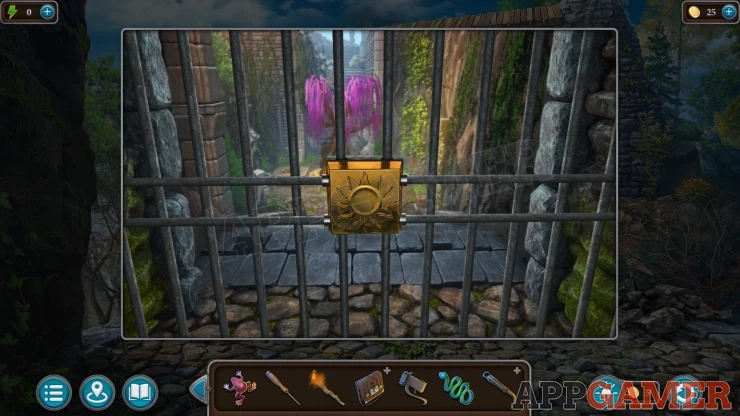
You can tap the far side now to see the gate that is locked.
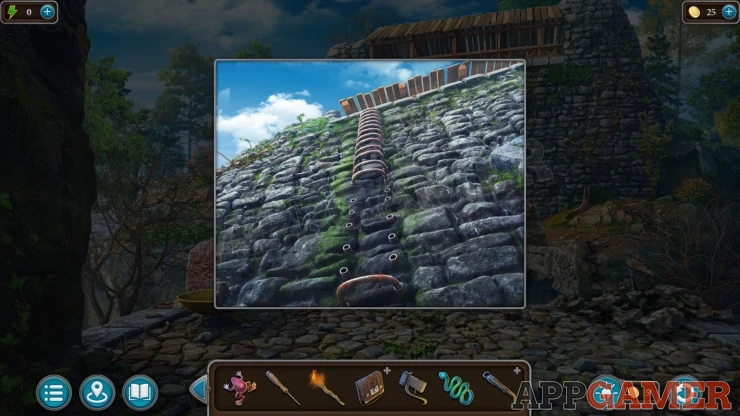
Then tap the rung ladder on the left side of the wall to see that some are missing.
Back up to the ruins and tap on the ground near the center to see a large stone.
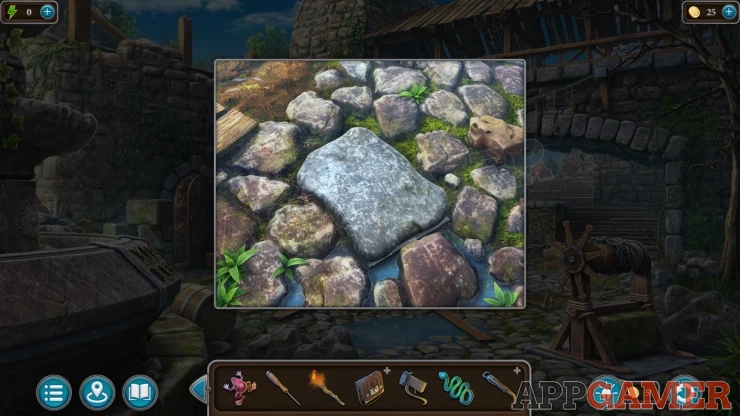
Tap the stone to open and find a hidden stash, collect the Staples.
Go back to the rungs on the wall and place the staples in the empty slots, then use the hammer on these to secure them.
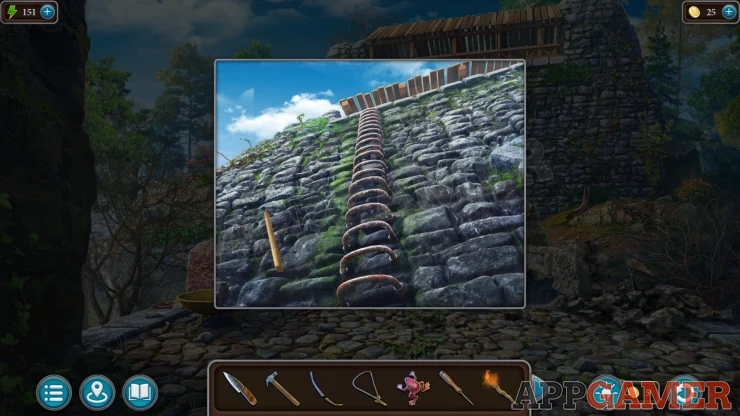
You can now go to the top of the wall. Collect a Knob from the bench on the left. And the Net from the barrel.
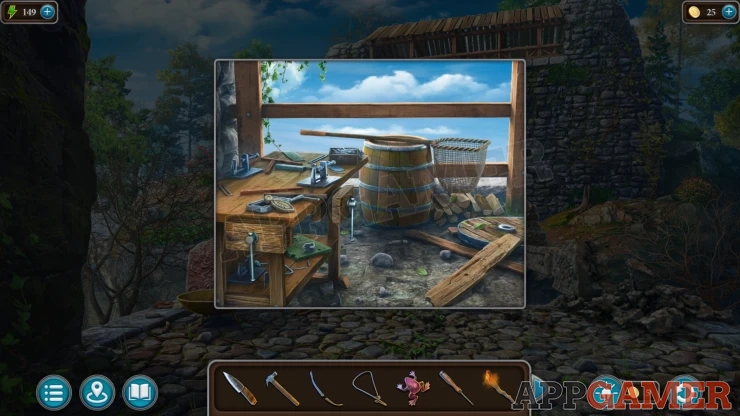
Back up to the start of the ruin area with the trees, then take the path on the lower left to find the Stony swamp..
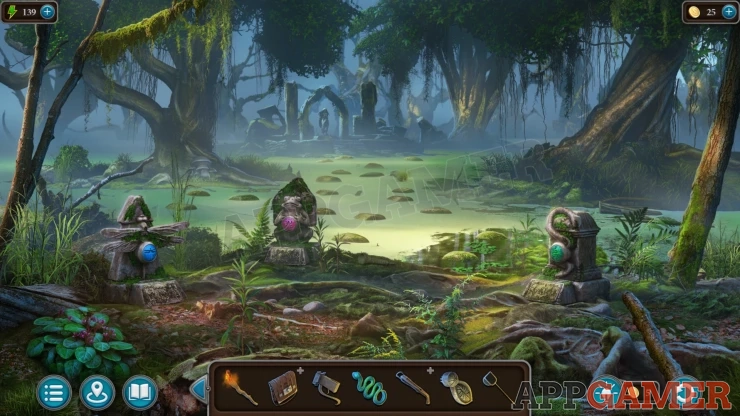
Collection Item: Pipe, on the ground in the center, to the right of the Frog statue. (8 of 8)
Morphing Object: Large fungi at the base of the tree on the left in the swamp.
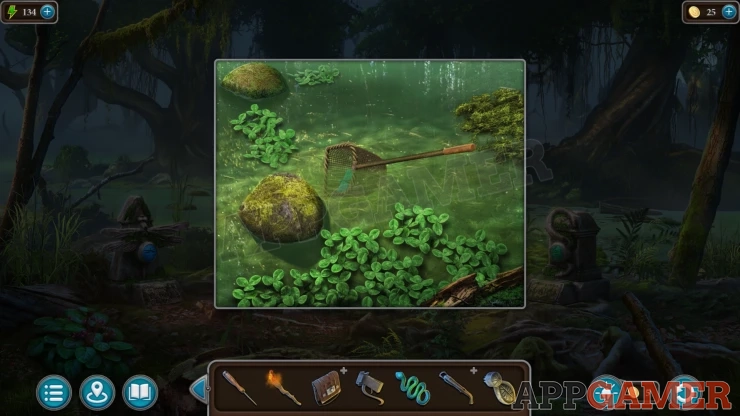
View the water to the right and use the net here, you will collect a Dragonfly.
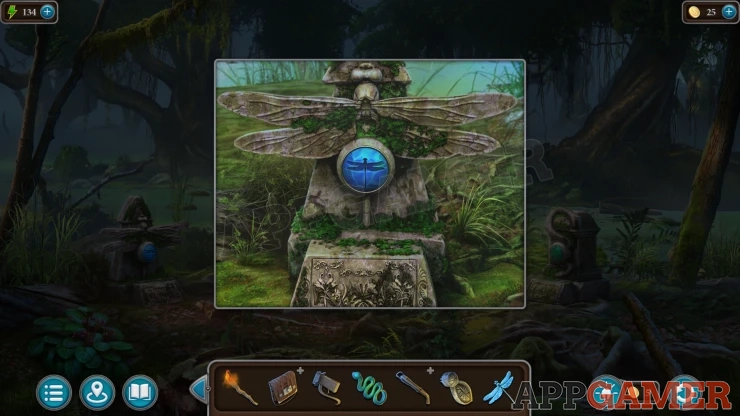
Now view the dragonfly statue on the left with the blue emblem, place the dragonfly into the slot.
Dragonfly Puzzle
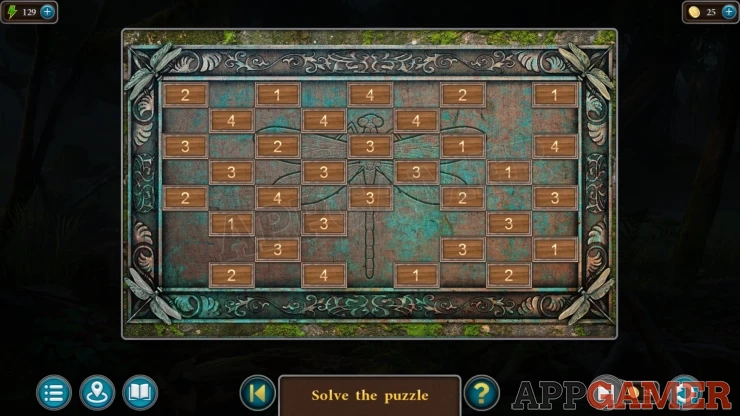
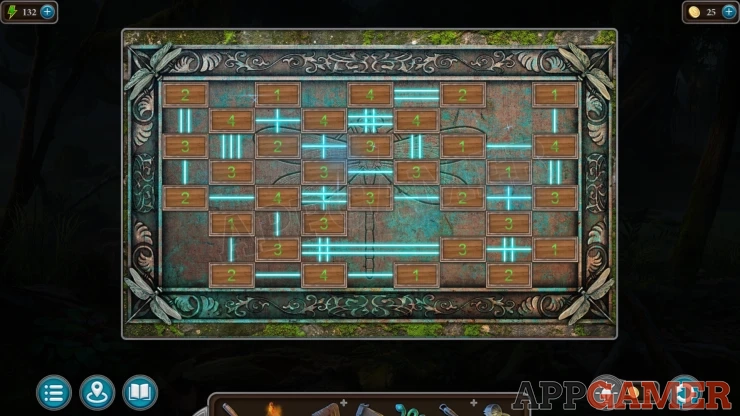
- The board has tiles with numbers on them.
- You can tap and drag from one tile to another to make a light Ray line connection between them.
- Connect all of the blocks on the board with rays, each block needs to have the same number of rays connecting to it as the number on the block.
Solution: The layout of the ties can vary so this may be different for you.Show
Now view the frog statue, Add the Frog that you have to the slot for the next puzzle
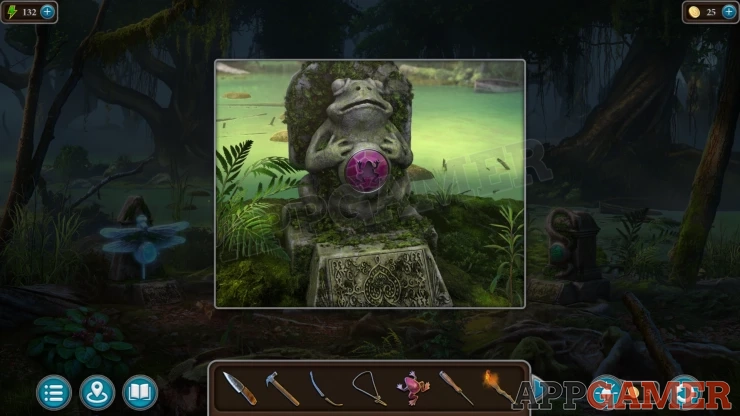
Frog Puzzle
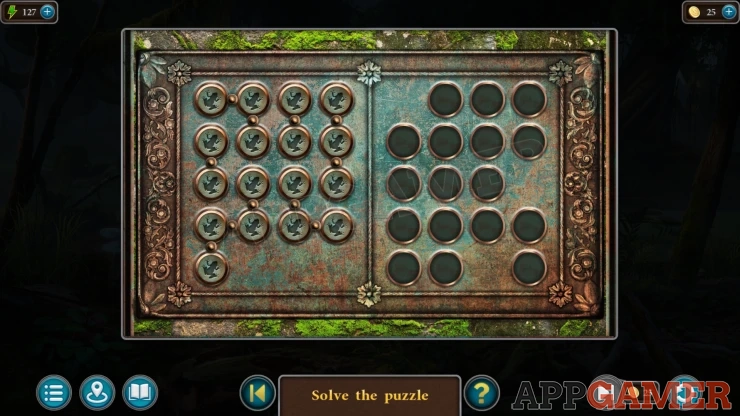
- On the left are sets of frog chips, these are grouped in different patterns.
- On the right is an empty grid.
- Drag and place all of the frog chips on the left to fill the grid on the right.
Solution: Show
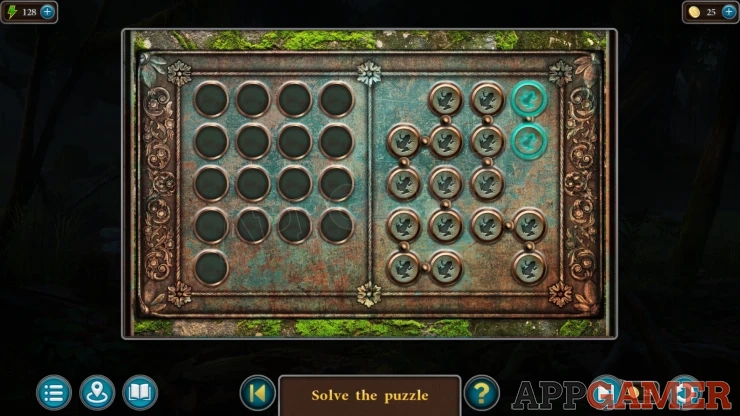
Now view the snake statue on the right. Place the snake that you have into the slot.
Snake Puzzle
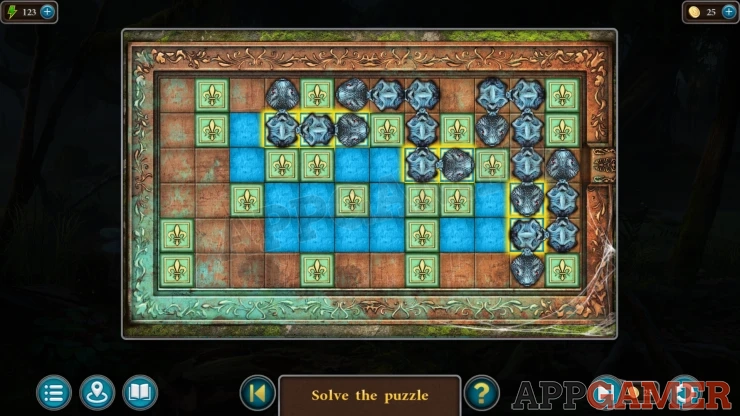
The board has four snakes made up of chains of sections, you can drag these snakes forward or backwards.
You need to move the snakes to fill only the blue squares on the board.
Solution: Show
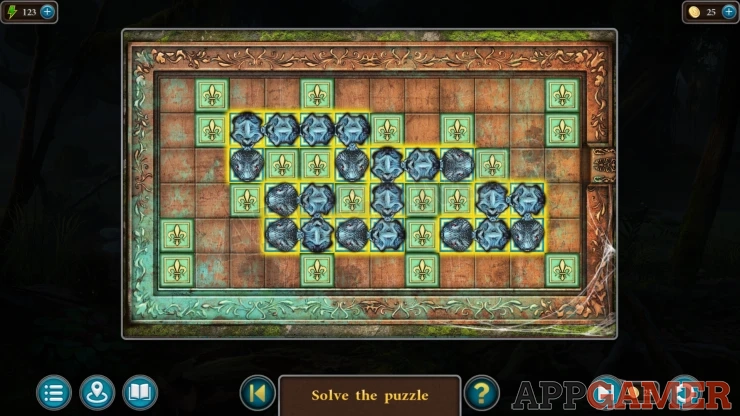
Once you have completed all of the puzzles and green sprite will appear and mark a path through the swamp.
Now you can view the large statue on the far side.
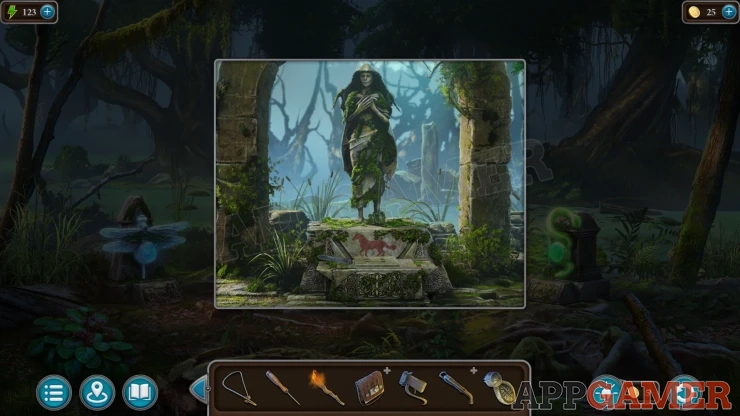
Collect a Handle from the base below the statue.
Back up to the area with the trees and then view a water pump on the right side. Add the handle to this and then use it several times to raise the water level. You can then collect an Eye.
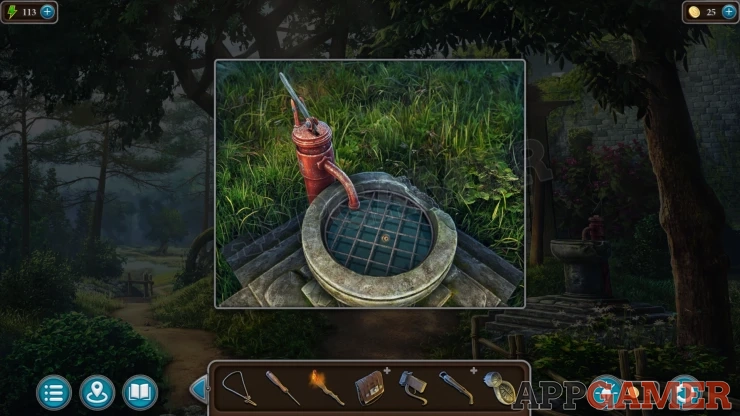
Return to the campsite, on the right is a totem covered with vines.
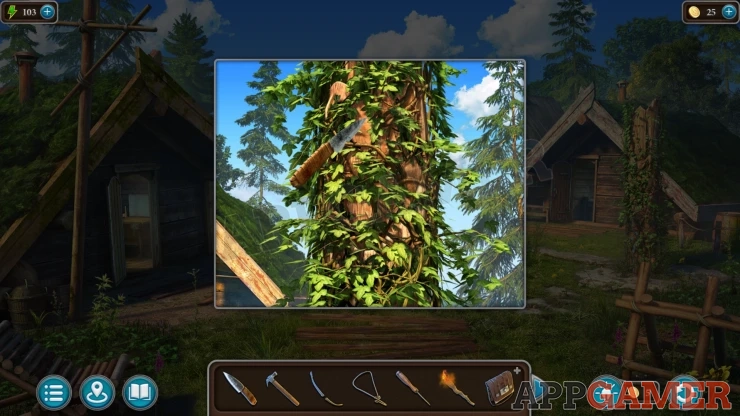
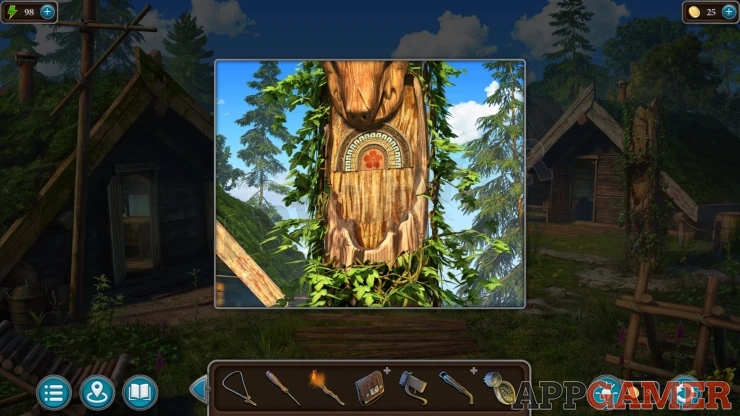
Use the knife to cut away the vines, then you an place the eye into the animal face.
This opens a panel and you can view a puzzle.
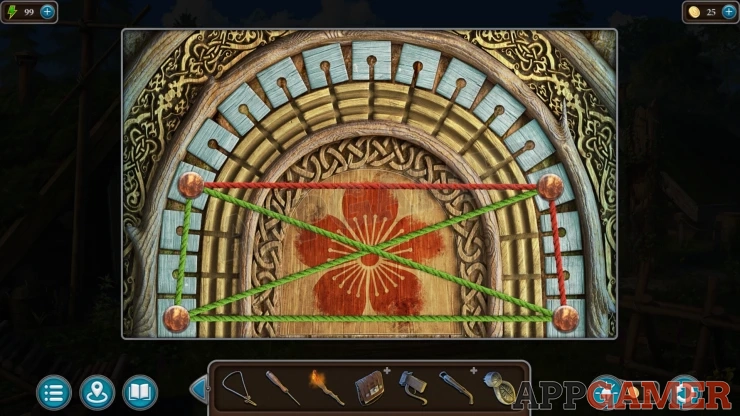
Totem string puzzle

- Tap pairs of the knobs on the board to swap their positions.
- Move them around to arrange the colored strings, this needs to match the clue that you saw by the ruins.
Solution: The clue pattern that you need to copy can be different in your game.Show
Once done a door will open and you can collect a Horsey.
Now return to the swamp and view the statue again.
Place the Horsey onto the base with the horse symbol, this will open a panel and you can find another puzzle.
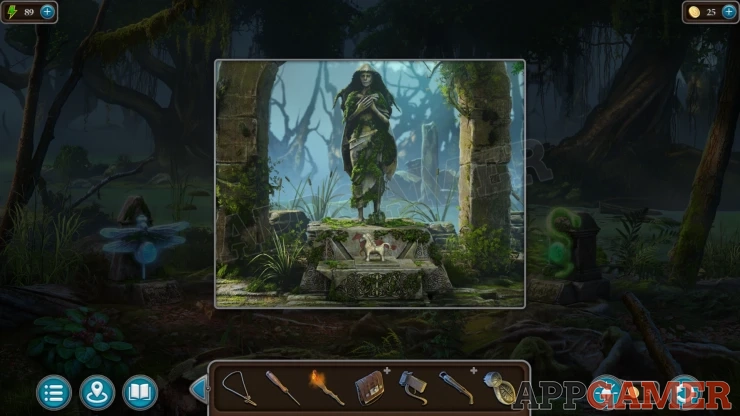
Swamp Horse Puzzle
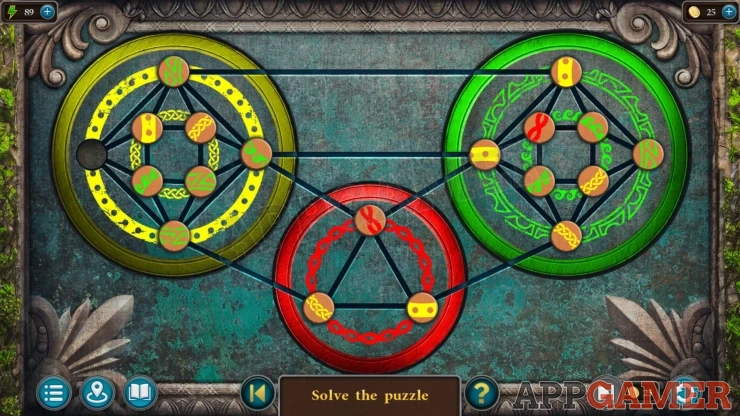
- There are three colored patterns with small circle chips that need to be moved around to complete the patterns.
- There is one empty slot and you can tap and adjacent chip to move it into the space.
- There are only two red chips to place.
Solution: Show
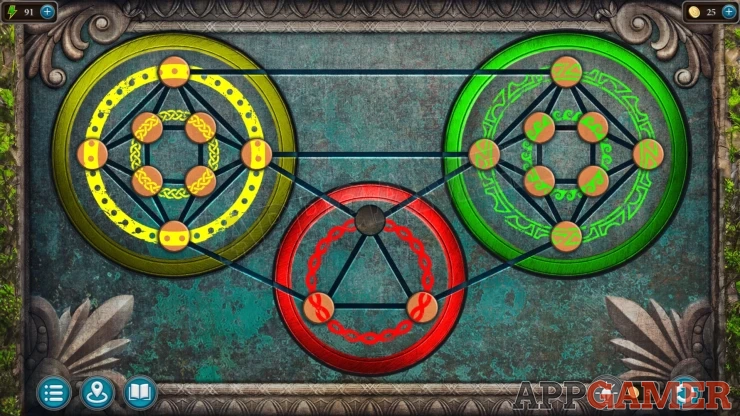
Once this is done you can collect a Sun.
Go back to the damage walkway and view the gate on the far side. Place the sun into the lock here.
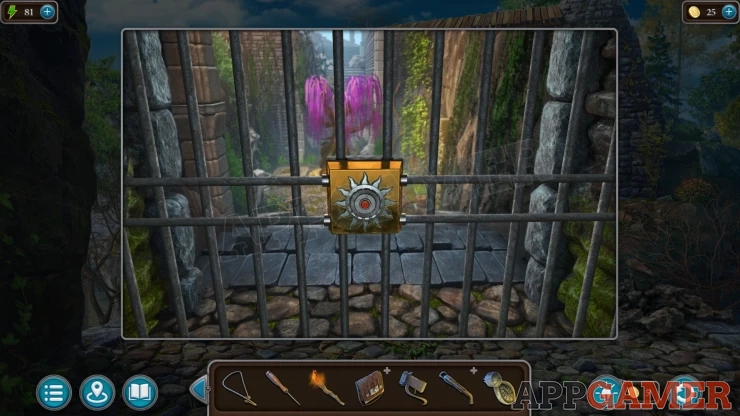
The gate opens and you can go through to the Sacred tree.
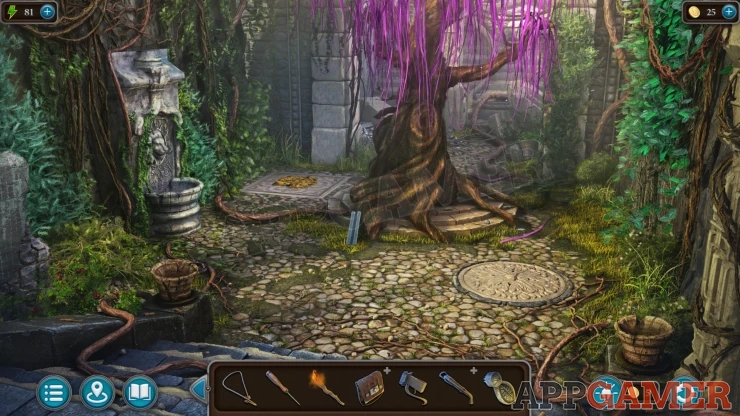
Collection Item: Fang, on the ground at the bottom of the steps to the right of a bucket. (6 of 7)
Morphing Object: Pot / plant at the back to the right of he tree.
Collect a Bar at the foot of the tree.
Next view a square slab on the back left of the scene. Move the pile of leaves then you can collect a Brush.
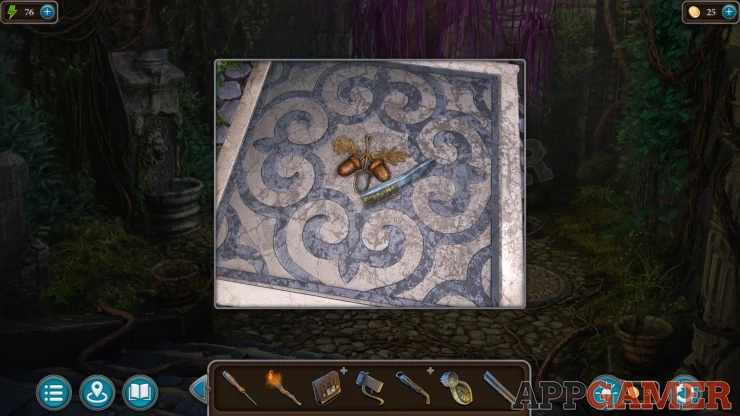
Back up to the walkway and view the gold dish on the left again. Use the brush on this to clean it and reveal a clue.
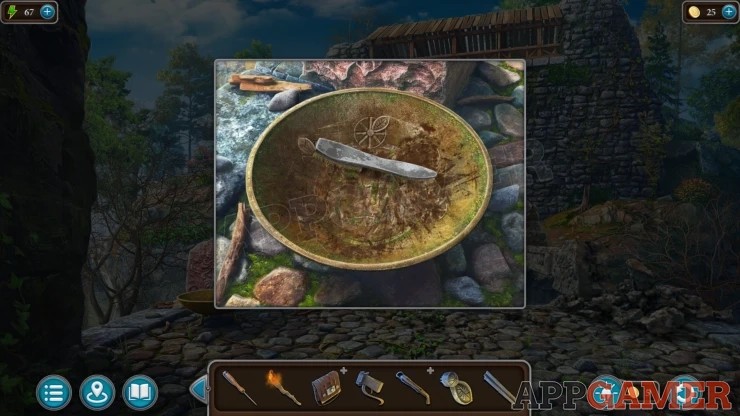
Then back up to the ruins. View the crossbow (stock) in your inventory.
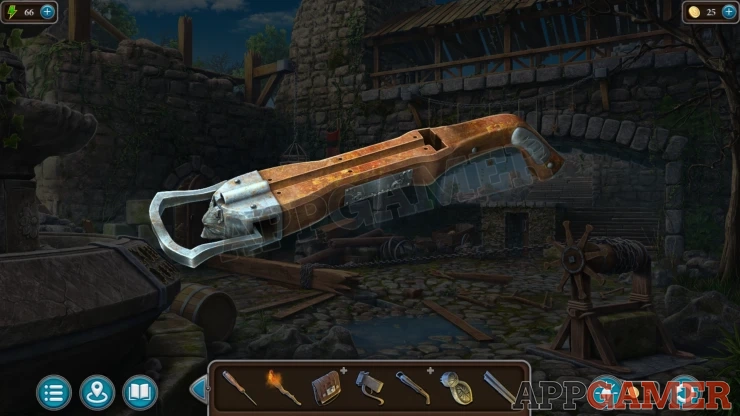
Add to this the Bar, Trigger, Limbs and string. You will then collect the working Crossbow.
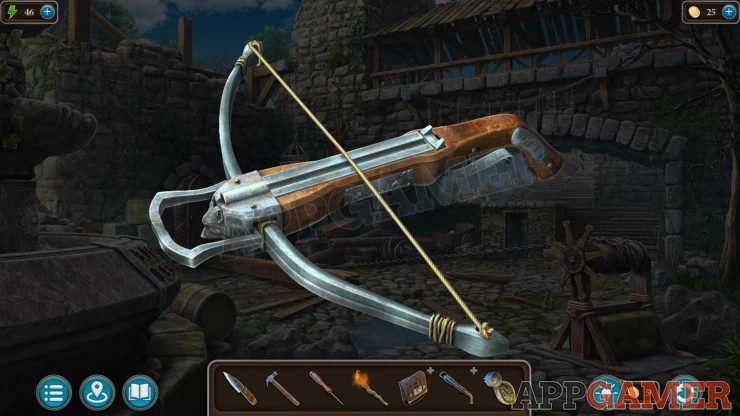
Use the crossbow on the hanging flower decorations to start a mini game
Crossbow Shooting
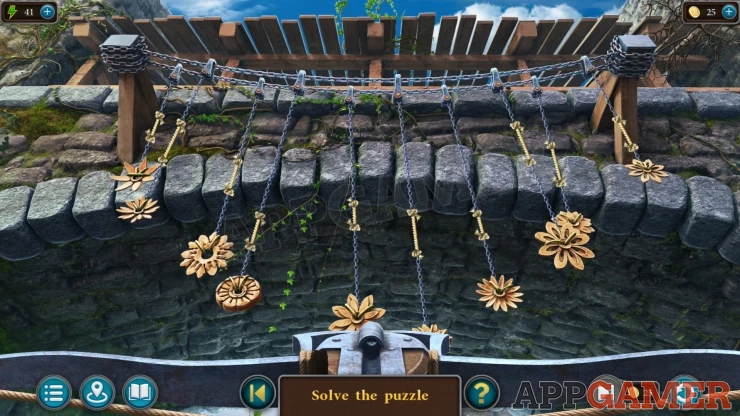
- You need to shoot down the ten hanging flowers.
- Tap to shoot the bits of string connecting the chains on each one.
- You will need to time the shots as the chains swing to the sides.
Once you have them all you collect the Flowers.
Now tap to view the large fountain on the left of the scene. Place the ten flowers into the slots and a panel will open. Collect the Rope and a Knob.
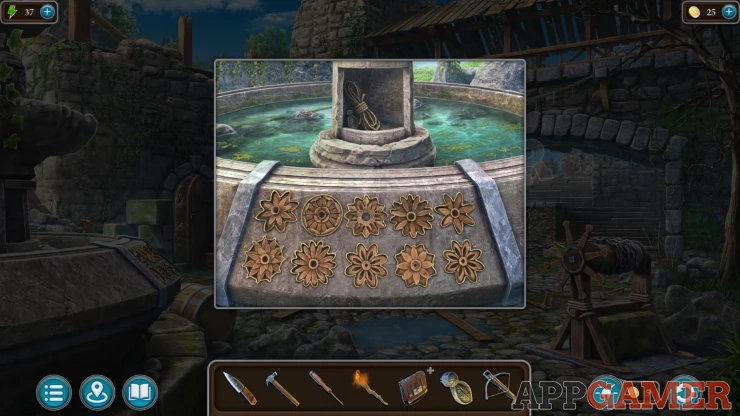
Go back to the room of the Sacred tree and view a lion head water fountain on the left side.
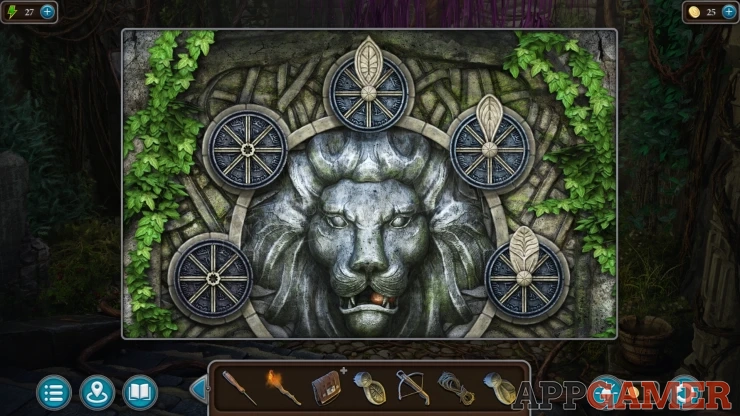
Lion head fountain puzzle
- Place the two knobs that you have to start the puzzle.
- Tap each of the knobs to turn it.
- Match the positions of the five knobs with the clue you saw in the dish.
Solution: This can be different in your game, check your clue in the bowl.Show
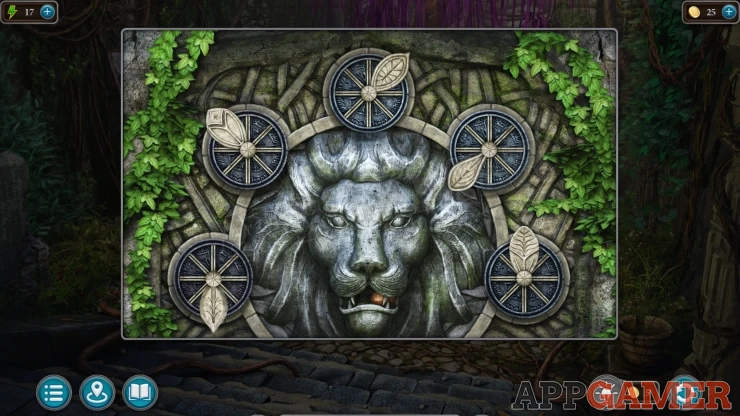
With the water running you can now look in the bowl below to collect an Acorn.
View the square slab on the ground again and place the acorn into the empty slot.
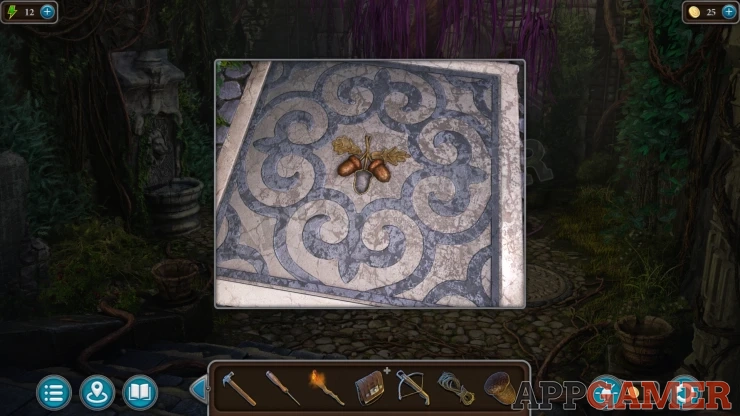
This reveals a puzzle table on the right.
Table Horse Puzzle
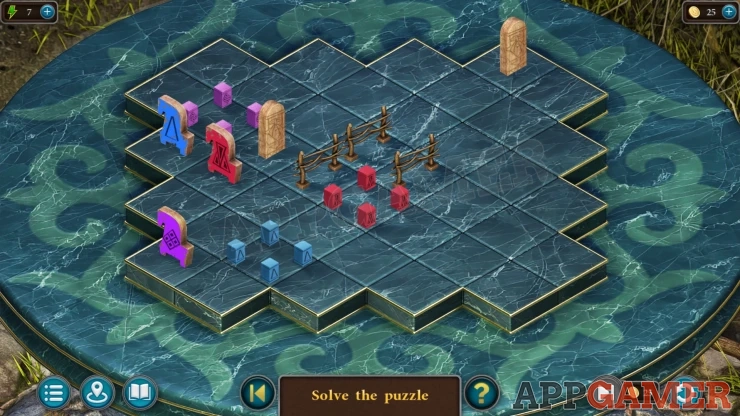
- The board has three horse figures in three colors.
- There are also three 'stall' squares with matching colors on the board.
- You can swipe the board in any direction to move all of the horses in that direction (if there is room to move to)
- There are some fixed barriers and two stones that will move as well that you can use to block the horses as needed.
- Move the three horses to be in the correct colored stall at the same time.
Once done the square slab opens to reveal a tunnel. It is dark.
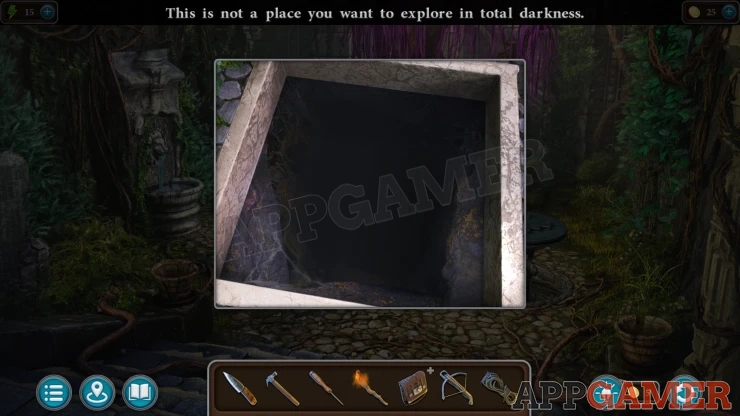
Use the Torch on the hole to light up the tunnel and then use the rope on the hoe so that you can climb down.
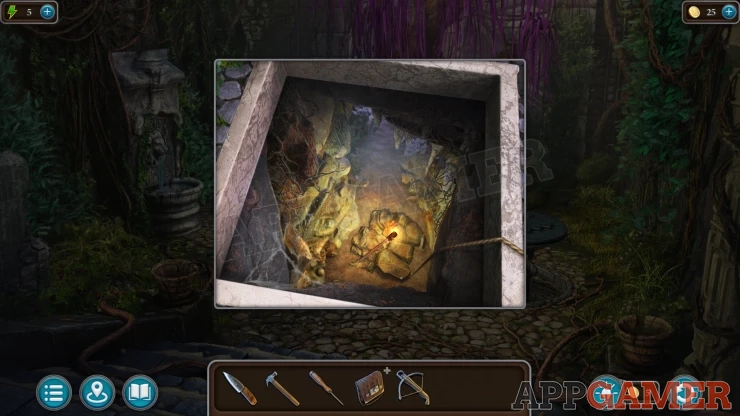
Go down to the basement.
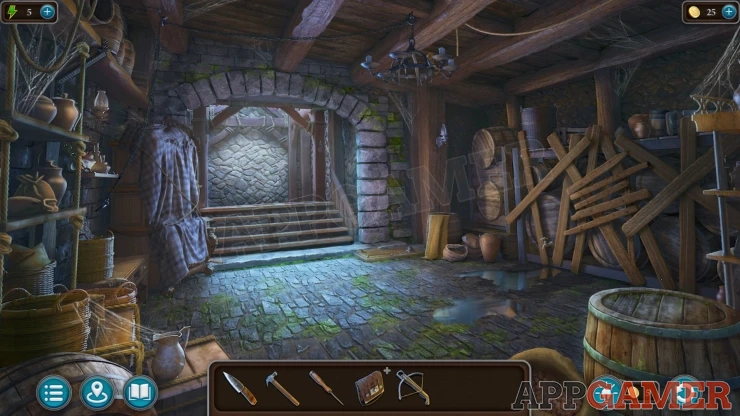
Collection Item: Fang, on a low shelf on the left side by some baskets. (7 of 7)
Morphing Object: Small barrel/container on the top shelf on the right
View some boards on the wall on the right. You can use the Claw hammer to pull them down.
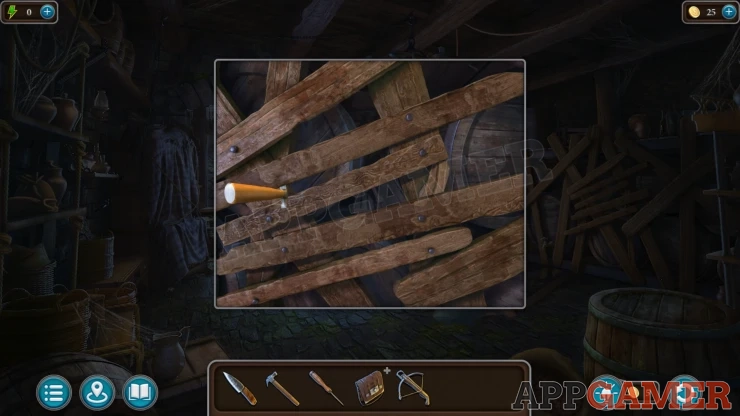
Collect a Handle.
Then view the lamp hanging from the ceiling. Use the Crossbow on this to shoot down and collect a Tree.
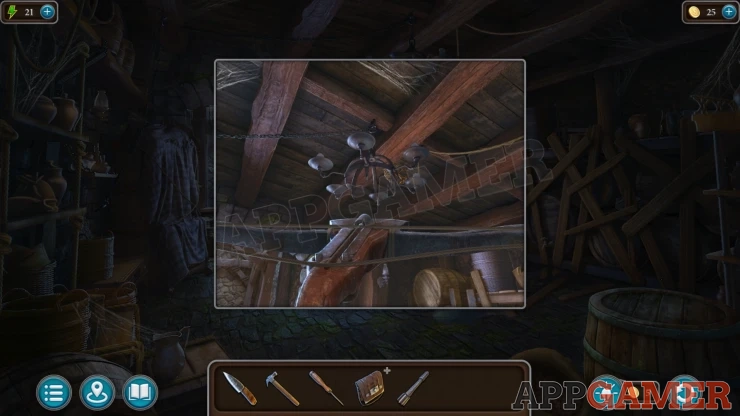
Now view a cloth covering on the left side of the scene. Use the knife to cut away the ropes.
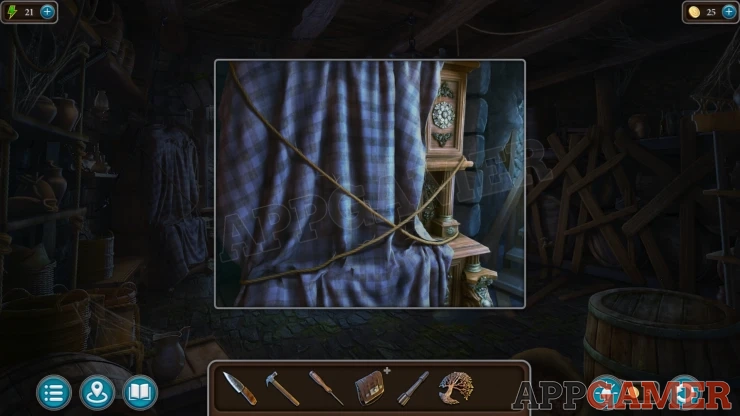
Now you can place the tree into a slot on the front of the cabinet.
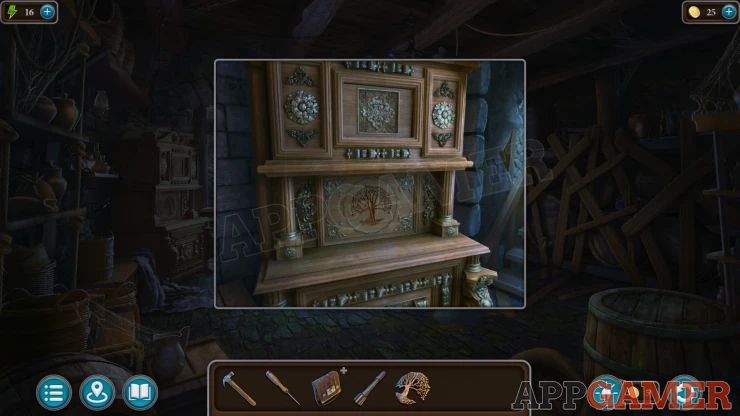
Tree cabinet Puzzle
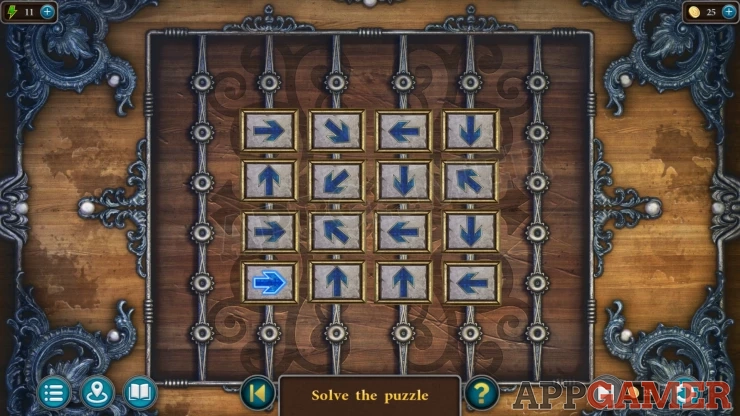
- This is a grid of 16 squares with arrows.
- Starting on the lower left you need to tap the arrows, this will remove that square and then active the other squares in the direction of the arrow.
- Continue to tap on squares to remove them and activate more arrows.
- You need find the correct sequence to clear all of the squares on the board.
Solution: The arrangement of arrows will be different in each game
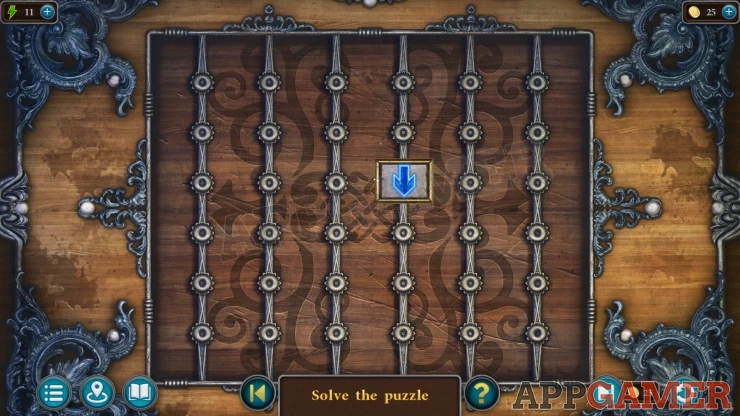
Once done you can collect a Gear.
Now view a panel in the floor to the right of the elevator.
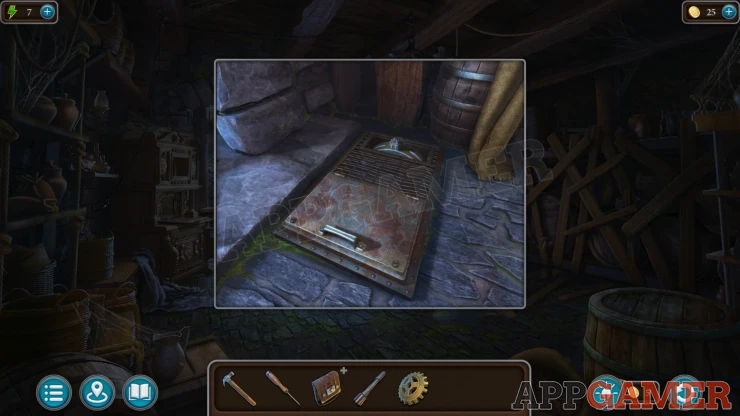
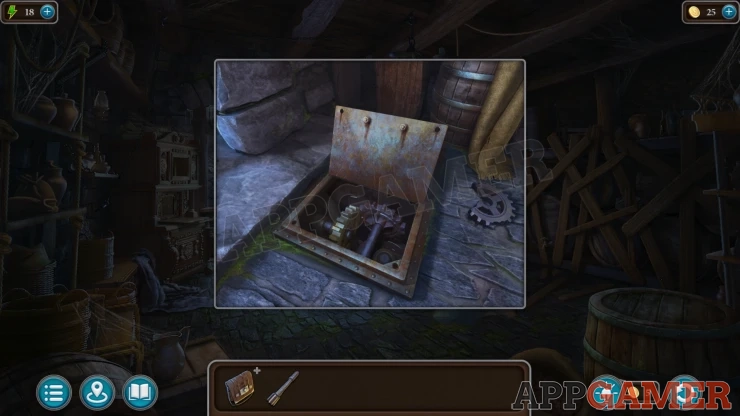
Use the screwdriver to open the cover. Inside the mechanism is broken.
Use the hammer to remove a broken gear. Then pace the new gear into it.
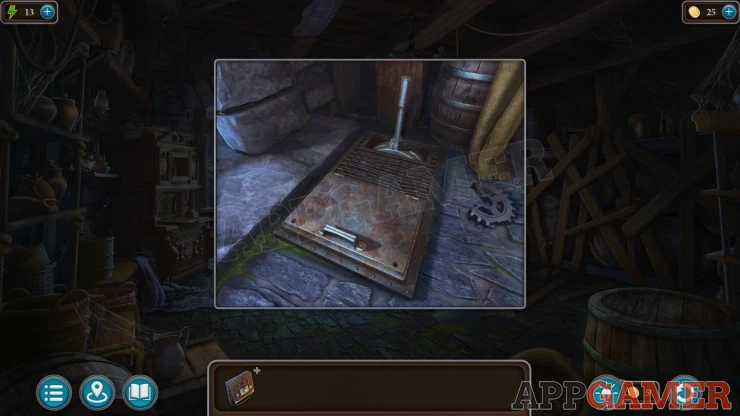
Add the Handle to the switch at the back and then pull it to call the elevator.
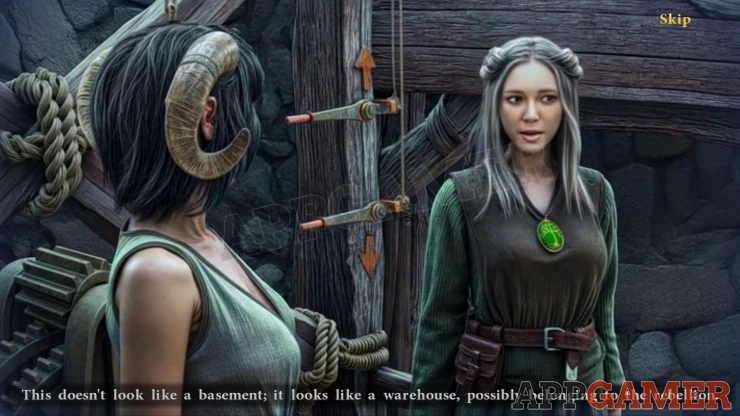
When it arrives enter the elevator and the final cut scene of the chapter will play.
We have questions and answers related to this topic which may also help you: Show all
 With 20 years of experience in creating video game content for the internet and over 30 years as a gamer, Mark is now a passionate mobile App Gamer. Loving a challenge, he is always ready to get stuck in to both survival builders and puzzle solving games. He has been providing content for AppGamer since 2014.