
Chapter 2 Walkthrough
More Legendary Tales 4
This is our full walkthrough for Legendary Tales 4 - Map of Hope. The latest in the series of games from Five BN. This guide includes all collectible item locations as well and hints and solutions for puzzles.
This is the first part of the guide for Chapter 2, In Chapter 1 you went in search of a werewolf camp to help your brother and met with Nimble who is helping you track them down.
Chapter 2 - Strange Coincidence
This is a bonus chapter that is part of the main story but from a different perspective. You play as a member of the rebellion who are fighting the witches.
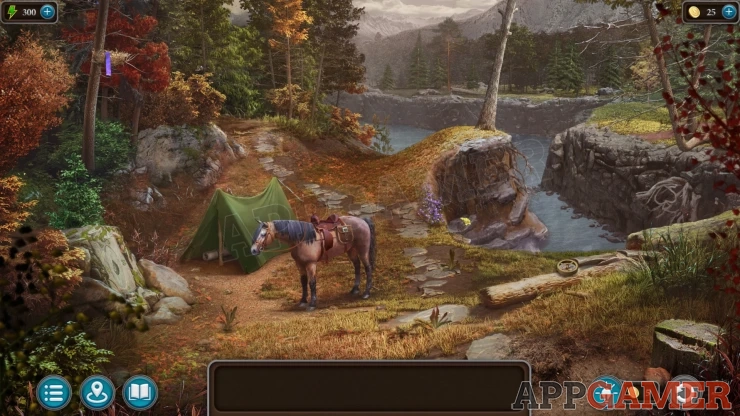
Task - Speak with the Hermit
Collection Item: Compass, on a log to the right. (1 of 8)
Morphing Object: Heart symbol in the roots on the river bank on the far right.
Look inside the the green tent on the left and then collect a Horseshoe.
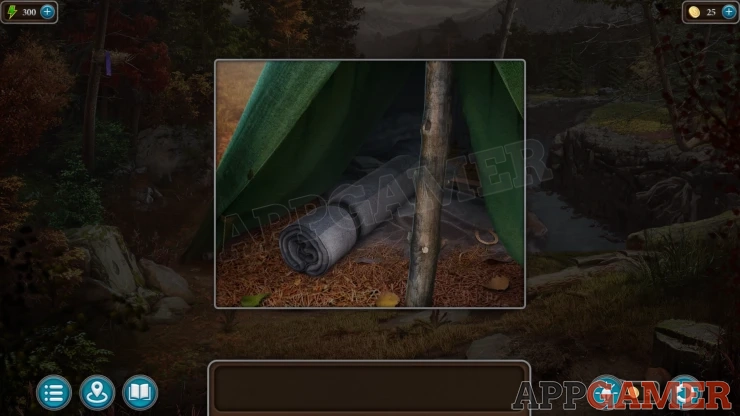
Next tap on the horse to view the saddlebag.
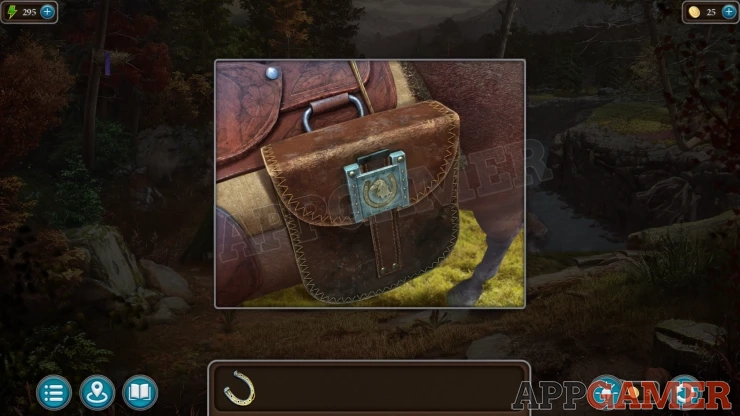
Add the horseshoe to the lock and it will open. Collect some Matches.
Now tap on a path into the woods above the tent, this will take you to the cabin of the informant. Clear the branches away.
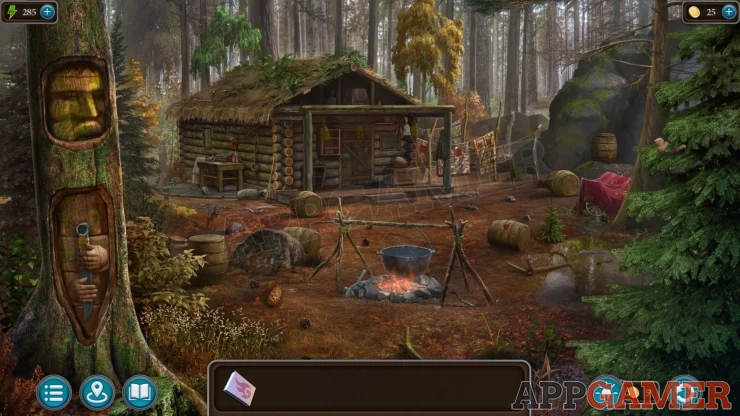
Collection Item: Bird (wooden), in the tree on the right. (1 of 7)
Morphing Object: Cone / Nut on the ground to the left of the fire.
Tap a red cloth by the tree on the right to view a covered stash. Remove the cloth to start a hidden object scene.
Hermits Hidden Object Scene
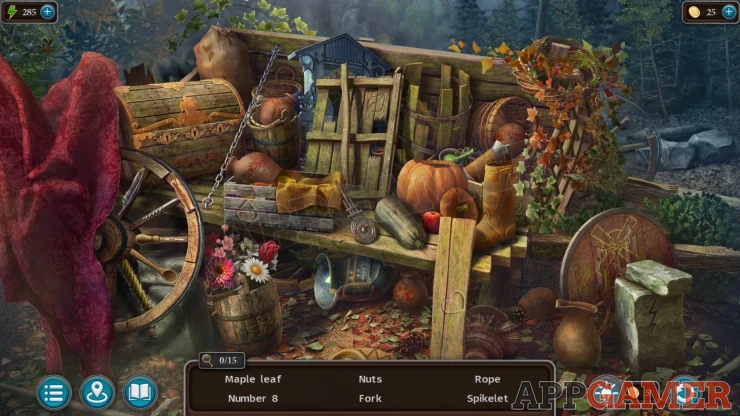
- There are 15 items hidden here in the scene.
- You will see six named items at a time and you need to find them to clear them from the list.
- Some of the items will be hidden inside boxes or under other items.
Hints:
- Some items are written / drawn or carved symbols.
- There is a clock under a cloth that you need to reassemble to find the cuckoo.
- You can spin the wheel on the left.
- You will need to find three keys to place in the chest on the left to open it.
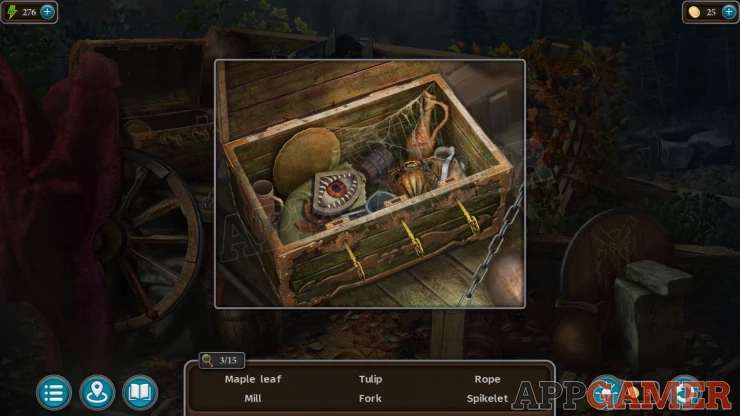
Once you find them all you collect the Knower's Eye.
Back up to the camp and view a flat faced rock to the left of the tent.
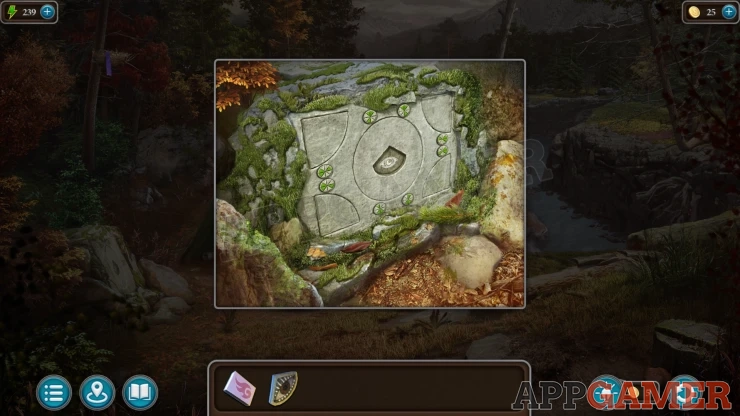
Place the eye here to start a puzzle.
Knower's Eye Puzzle
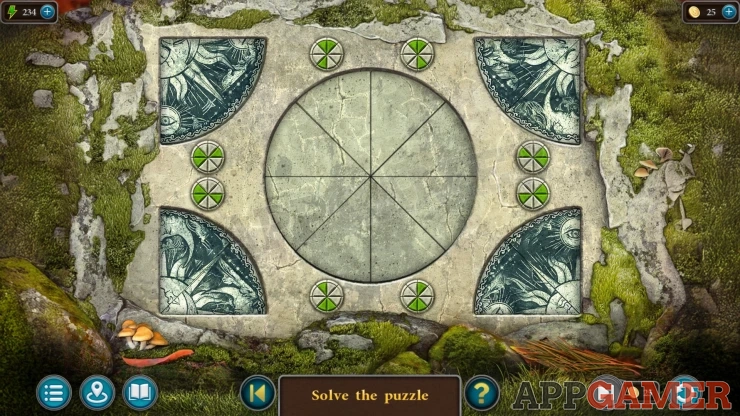
- In the center is a circle with eight segments. Around this are 4 sections with the eight segments in them.
- There are 8 round buttons that will swap certain segments on the circle in and out. The ones that each buttons controls are marked in green.
- Use the buttons to move all of the segments into the center circle.
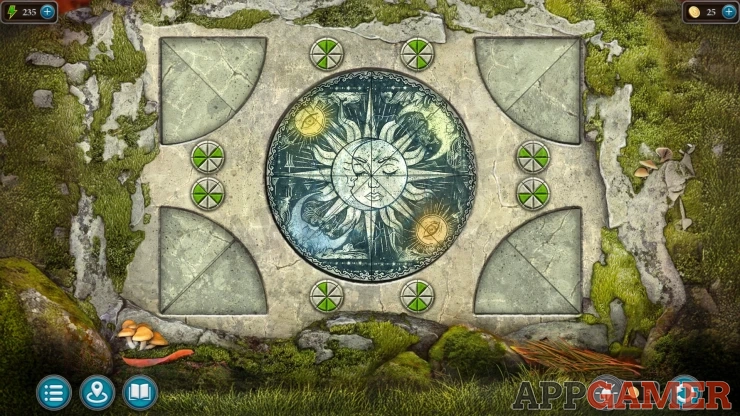
Once done you can collect an Amulet and a Stencil.
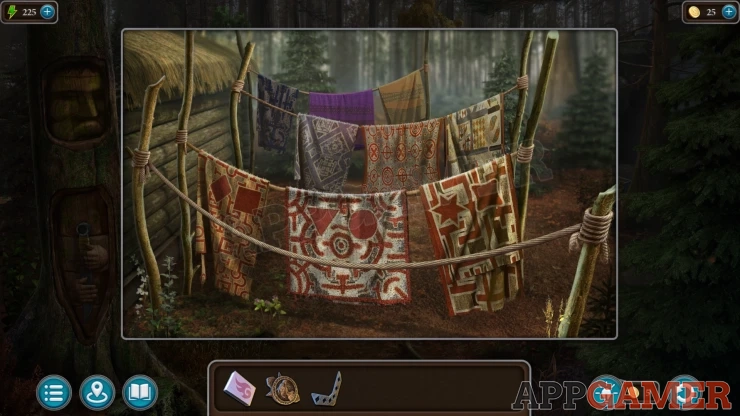
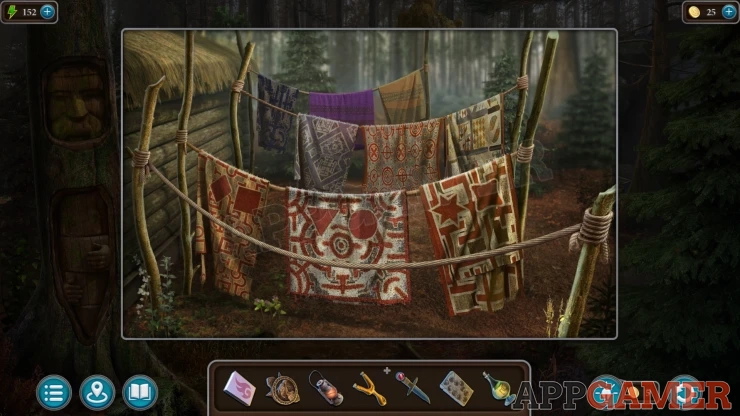
Go back to the cabin in the forest, first view the hanging blankets on the right side of the cabin. Notice the symbols on the blankets, this is a clue.
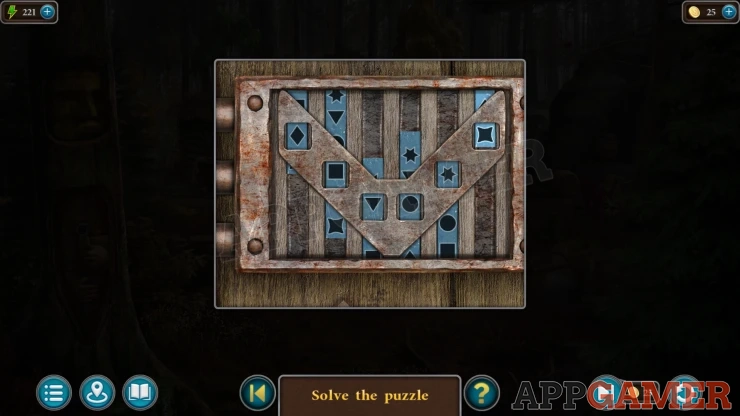
Now view the door to the cabin. You will need to pick the lock.
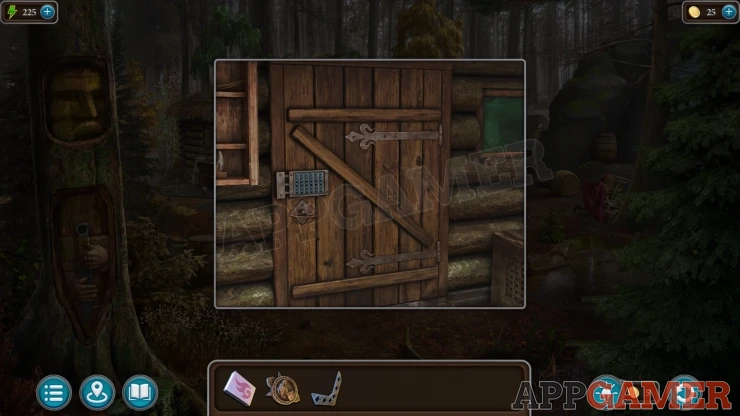
Place the stencil onto the lock, this will highlight six locations.
Cabin Lock Puzzle
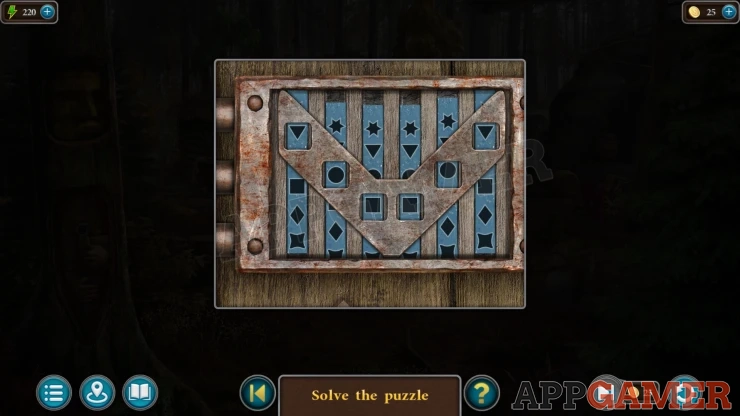
- Slide the six blue strips up and down to place the correct symbols into the marked slots.
- As you move each strip is will also move others.
- The symbols you need are found on the clue above.
Solution: Show
When the door opens go inside to talk to the hermit.
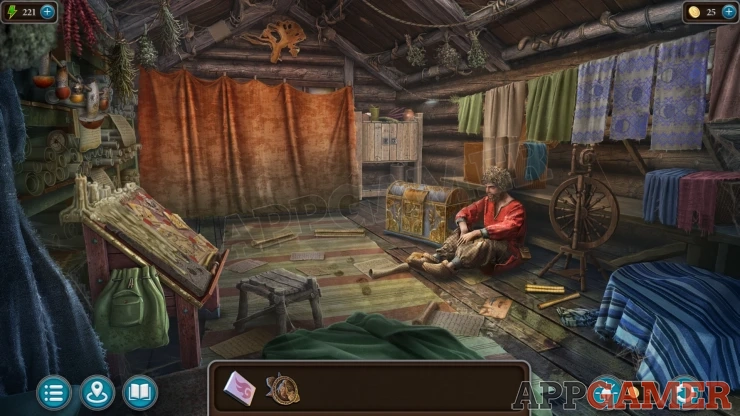
Task - Find the Birder
Collection Item: Compass, on a shelf on the far left. (2 of 8)
Morphing Object: dried plants hanging on the roof above the hermit.
Open a curtain at the back of the room and view a table.
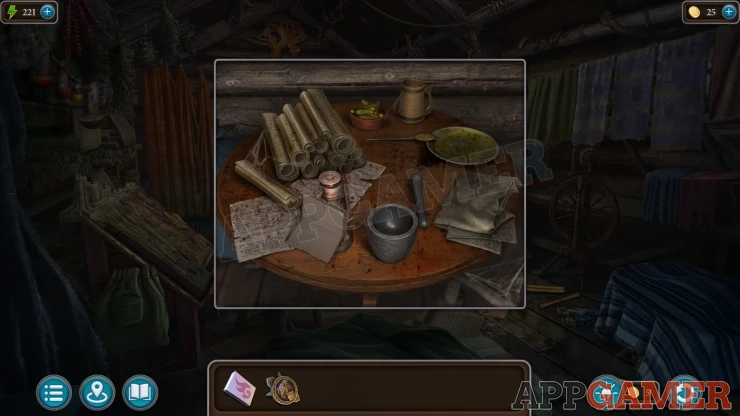
Reach the Birder's schedule, then you can also collect a Lantern.
Exit the cabin and now find and tap on six barrels that are scattered around the outside of the house. The barrels will stack unto a set of steps by the front of the cabin.
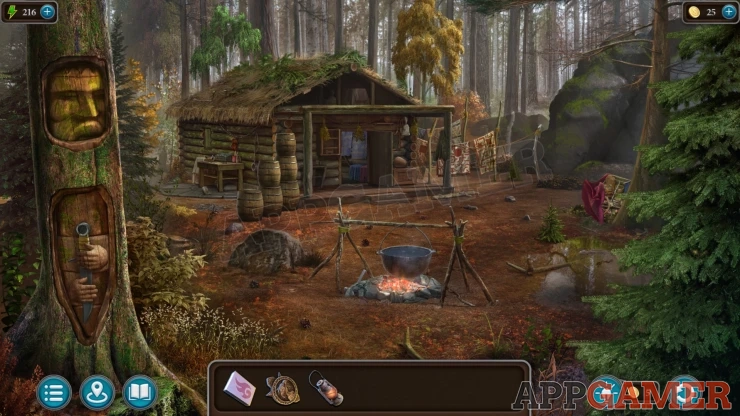
When they are all in place you can tap the roof above the door to see the area up there, it is dark.
Use the Lantern here to light it. Then open a wooden box on the left, Collect an Owl.
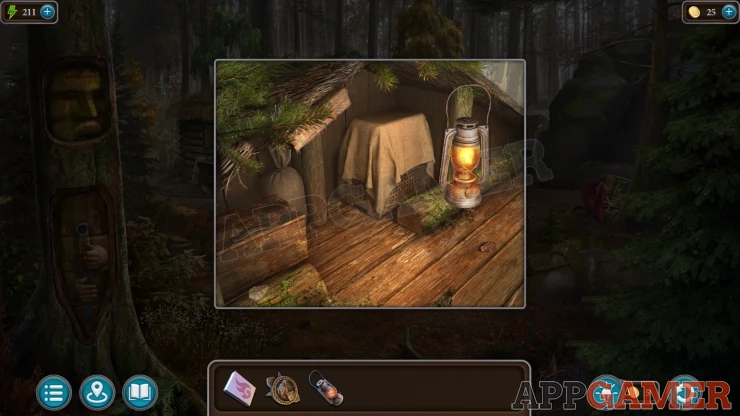
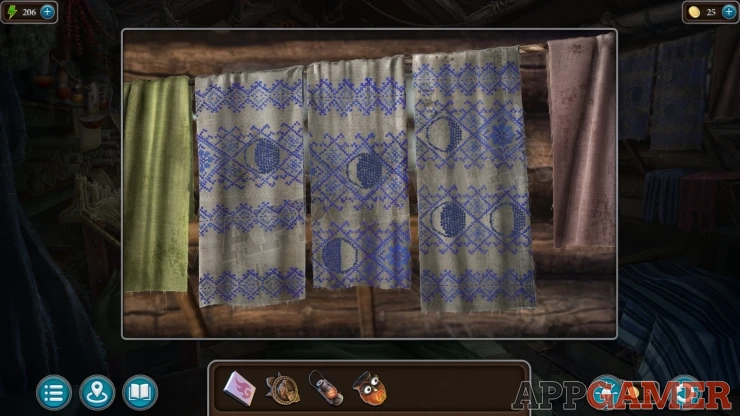
Go back into the cabin. Look on the right wall to see some hanging sheets, these have some moon shapes on them, this is a clue.
Show
Now tap on a shelf at the back of the room on the left behind the opened curtain. There is a box with five owls on it, add the one you have collected.
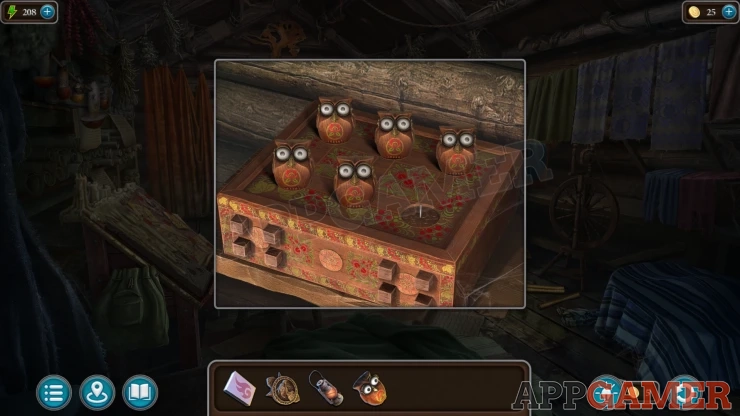
Owl Puzzle
- Tap each of the owls to change the eyes.
- You can set the eyes to five different positions from closed to full open.
- Set all six owl's eyes according to the clue.
Solution: This can be different in your game, check the moon shapes clue that you see.Show
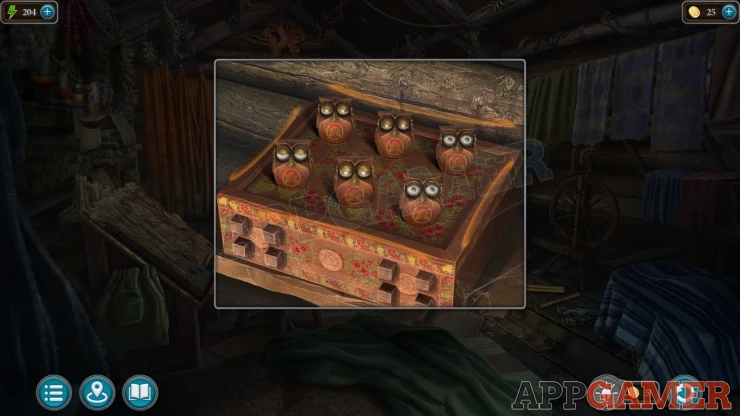
When the box opens collect a Tree.
Exit the cabin again and then view a workbench on the left side. There is a box here with a tree shaped lock.
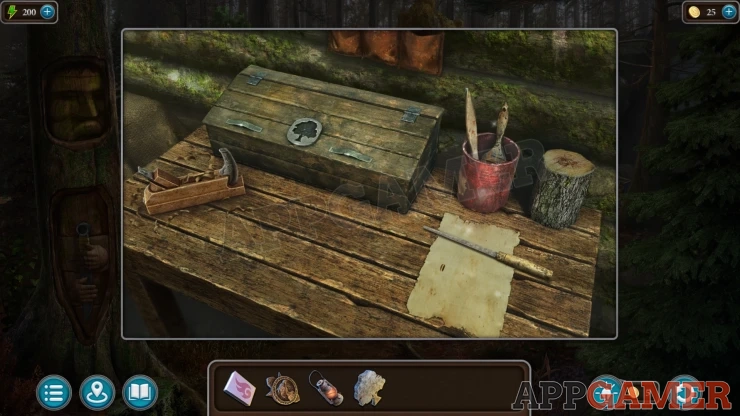
Add the tree to it to open the box, then you can collect a Saw and a Slingshot.
Back up to the camp and then view the tree growing by the river on the right.
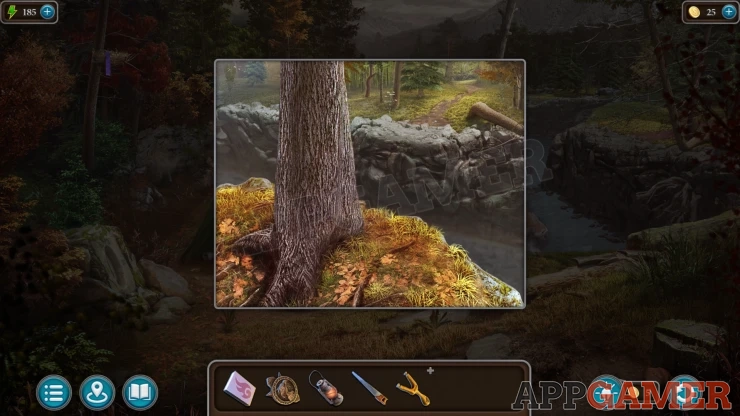
Use the Saw on this to cut down the tree. Now you can cross the river to the house on the other side.
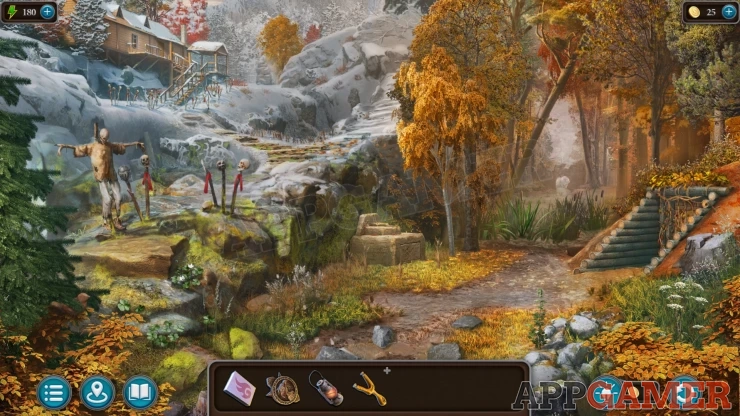
Collection Item: Bird, in the tree on the bottom left. (2 of 7)
Morphing Object: Tree/rocks to the right of the house on the hill.
View the skeleton on the cross on the rocks on the left. Then tap the helmet on the skull on the right. Collect the Handle.
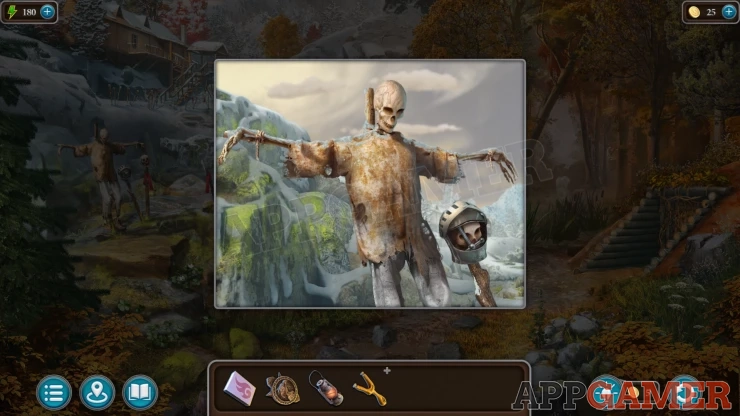
Next tap the house on the hill to view it and then again to look in the window.
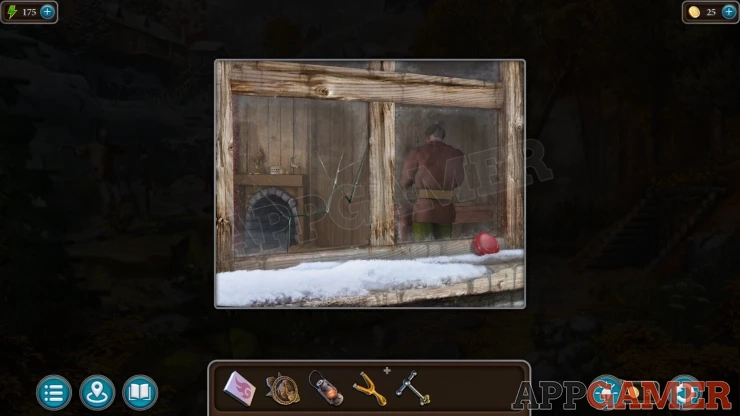
Collect a red Gem.
Now back up to the cabin in the woods and view the tree on the left with the carved face. There is a knife. Add the gem to the knife.
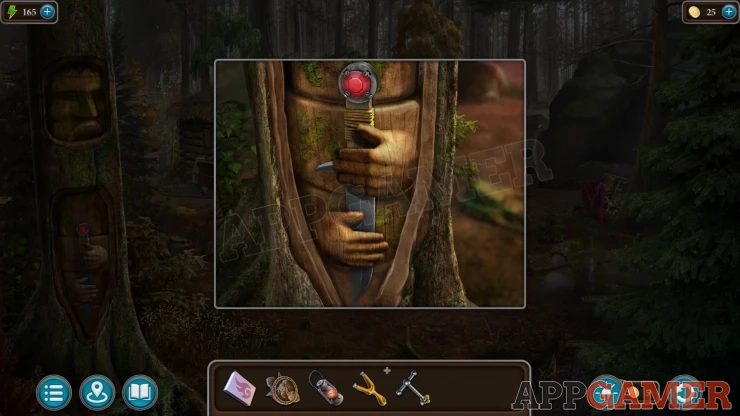
Then tap the face in the tree to reveal a puzzle.
Tree face puzzle
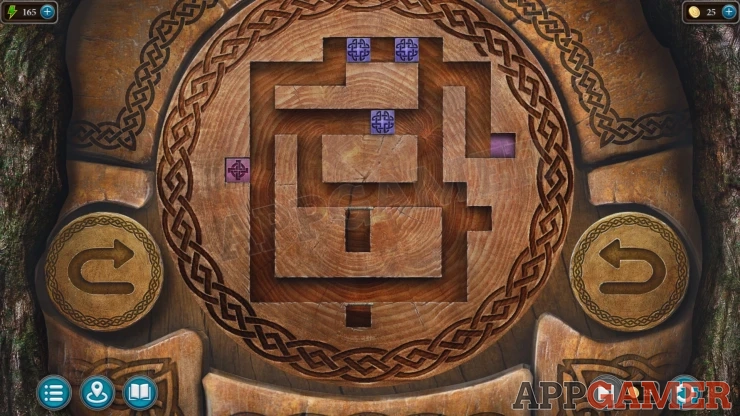
- Use the two arrow buttons to rotate the board with the maze.
- On the maze are three Blue squares and one Purple one.
- You need to maneuver the Purple tile into the purple slot.
- You will need to use the blue tiles to help you do this.
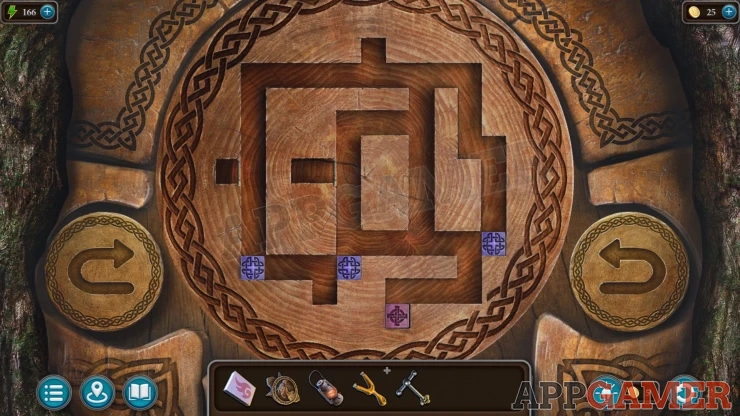
Once done you can collect the Knife.
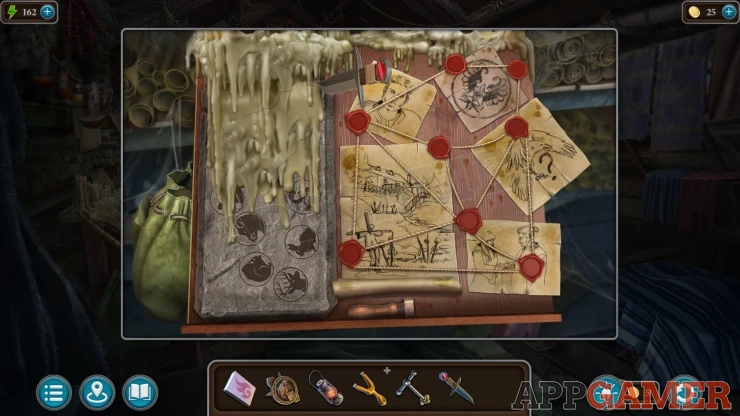
Now look inside the cabin and view the easel / stand on the left of the room.
Use the Knife on the wax on the left to cut it away, then you can collect a Stone with Pattern.
Then view a cabinet on the wall on the back right.
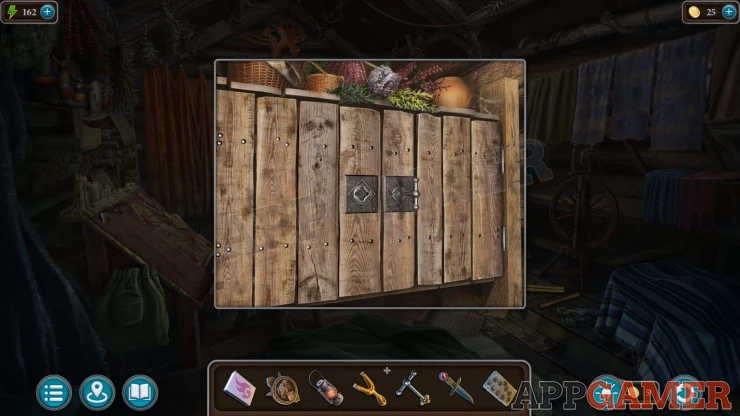
Add the Handle to it to open the door and collect the Sleeping Potion.
Exit the cabin and view the blankets hanging on the right of the cabin again. Use the knife on the empty line to cut and collect the Rope.
Back up to the camp and look inside the tent, use the Knife on the bedroll to cut and collect the Elastic.
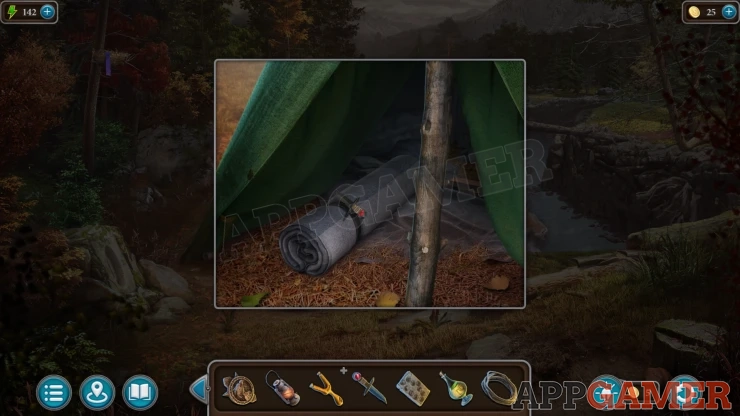
Then view the slingshot in your inventory and add the elastic to it. You now have a working Slingshot.
View a nest in the tree to the top left and then use the slingshot on it. You will knock down and collect another Amulet.
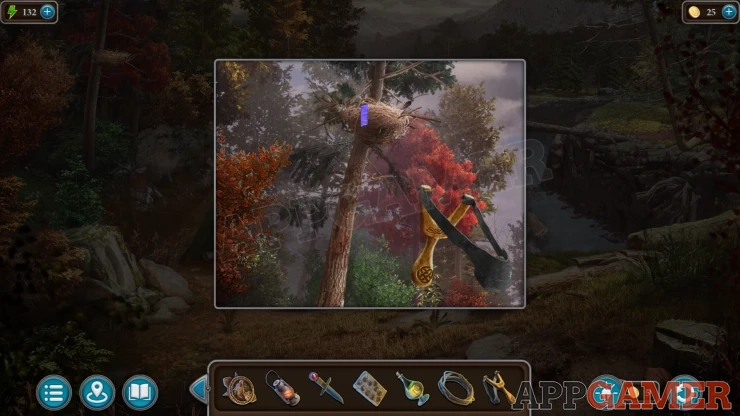
Now go over the river to the house on the hill again. At the bottom on the right is a stone plinth, view this.
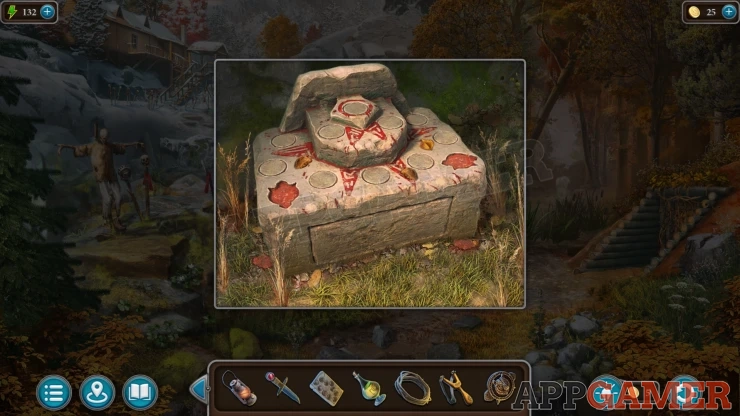
Add the two amulets to the slots on the left and right, you will see animal figurines appear.
Now add the Stone with pattern to it, this is the clue.
Animal figures puzzle
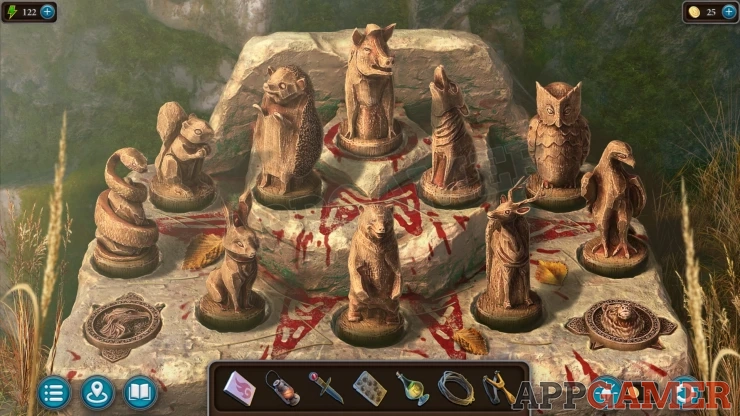
- Tap pairs of the figure to swap their positions.
- Arrange them to match the animal images in the stone pattern.
This can be different in your game.Show

Once done a drawer opens, collect the Chip (1 of 4) and the Needle.
Now look under the trees on the right.
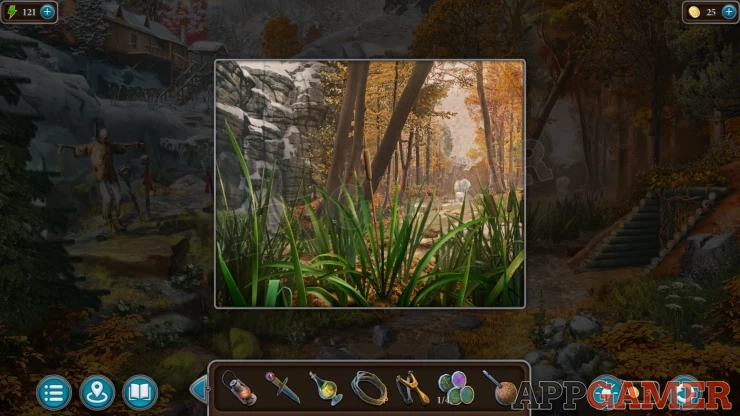
Use the knife on the reeds growing here to collect a Cattail.
Next tap on the steps in the rocks leading up to the right of the house. This takes you to a snowy garden area.
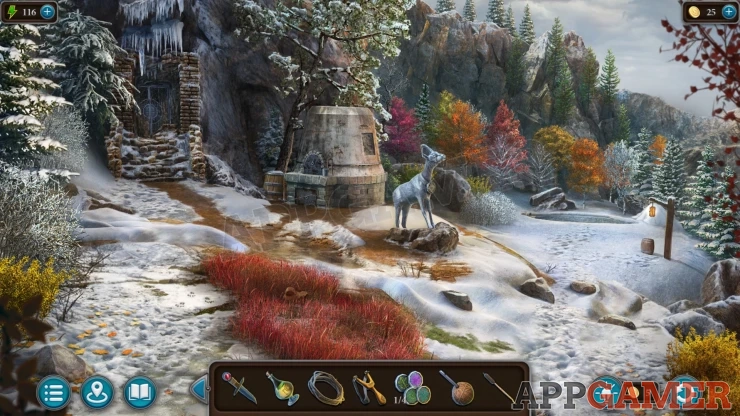
Collection Item: Bird, in the red grass . (3 of 7)
Morphing Object: prints / stones in the snow to the left of the red grass.
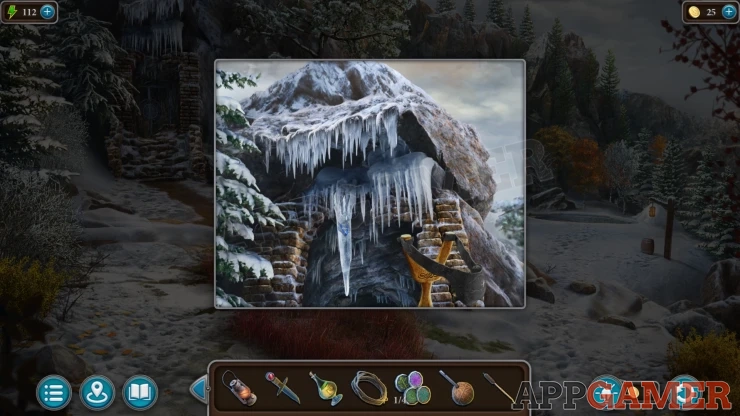
View the icicles hanging from on the top left. Use the Slingshot here and you will collect a Bird.
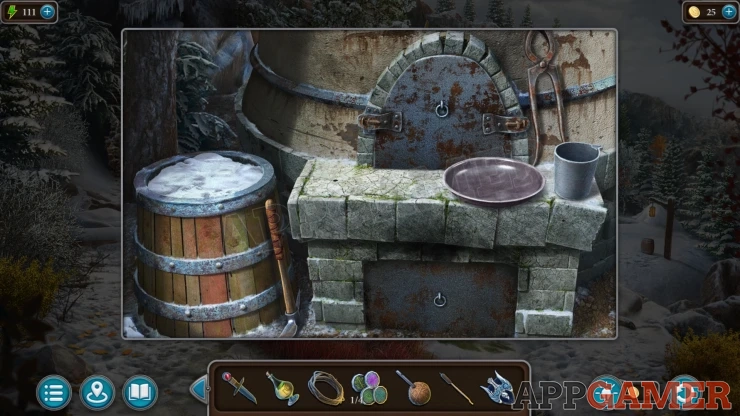
Then view the furnace, collect a Pickaxe by the barrel.
Back up and return to the cabin in the woods, on the left is a table. View this.
Add the Cattail to the table and then use the knife on it. This will cut a length.
Next tap the center piece and a file will hollow it out into a blow gun tube.
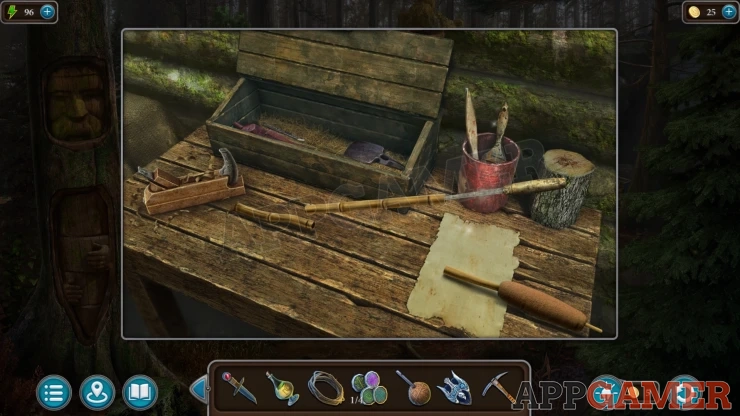
Place the needle on the table and the Sleeping Potion.
Tap the needle in the thread t make a dart, then select this and use it on the sleeping potion to dip it in.
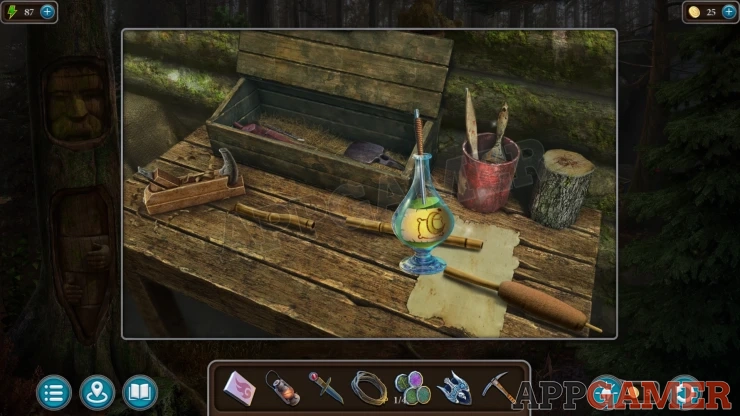
Next select the dart and add it to the tube, You will collect the Soporific Dart.
Return to the house on the hill and look in the window as before. Use the soporific dart here to then shoot it at the birder.
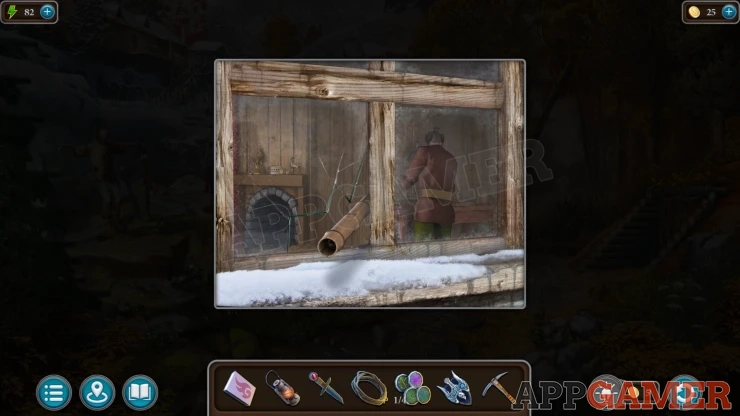
Now you can tap the house to go inside.
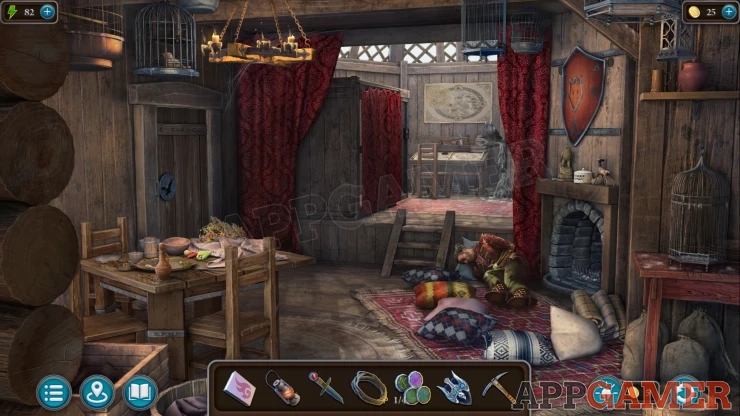
Collection Item: Bird, in a cage hanging on the top left. (4 of 7)
Morphing Object: A changing pattern on a picture on the wall at the back of the room.
Use the Rope on the birder to tie him up you will then try to interrogate him. You need to find another way.
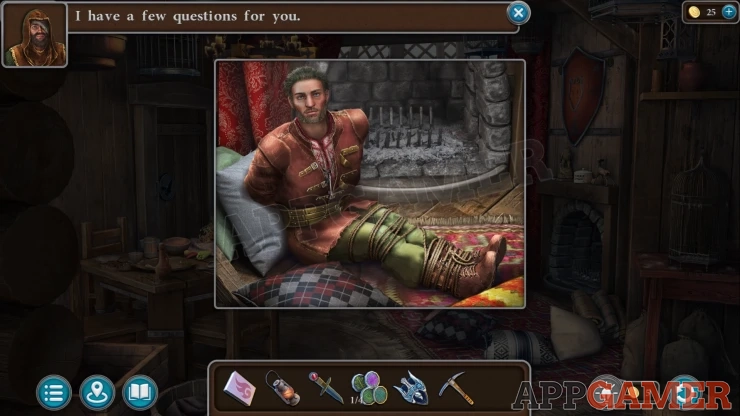
Task - Find out where the maps come from
View the shield on the wall above the fireplace.
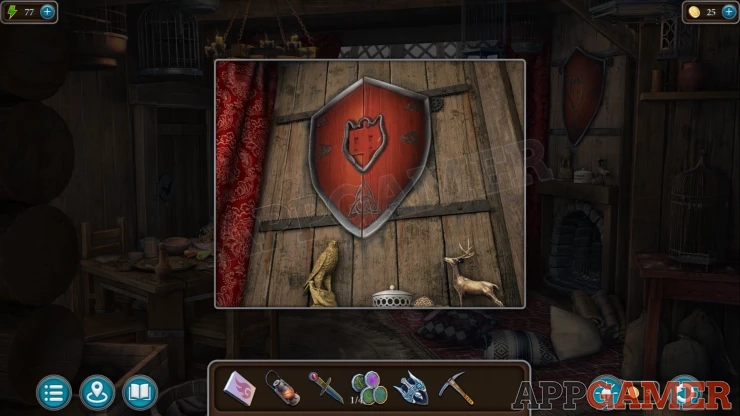
Place the Bird into the center. This reveals a puzzle.
Shield Puzzle
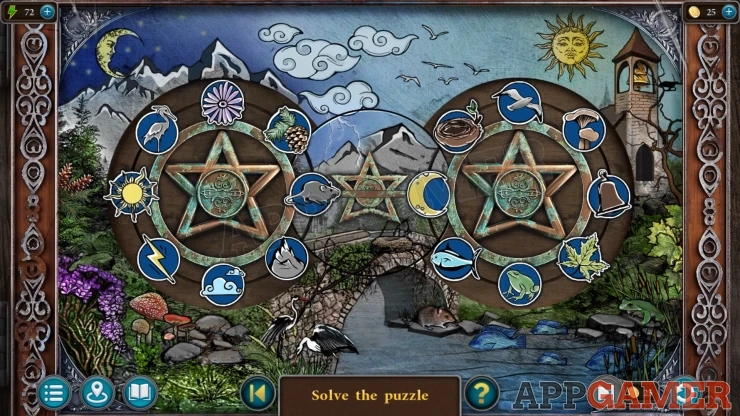
- There are two circles of tokens with images on them.
- You can rotate the circles and also swap tokens between then using a smaller circle in the center.
- The items on the tokens also appear int he picture background.
- Arrange the tokens so that they are next to the matching images in the picture.
Solution: Show
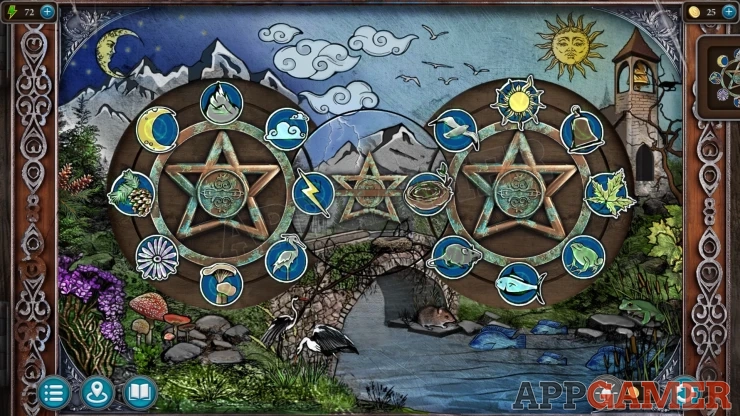
Collect the Figurine.
Now look at the desk at the back of the room, There is a raven with a key.
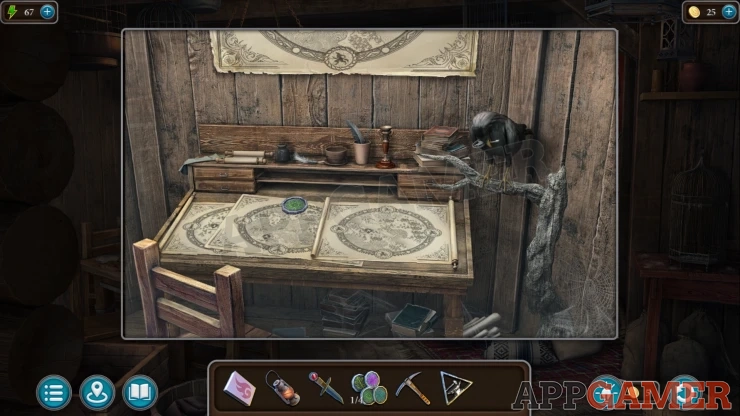
Collect another Chip (2 of 4) from the desk.
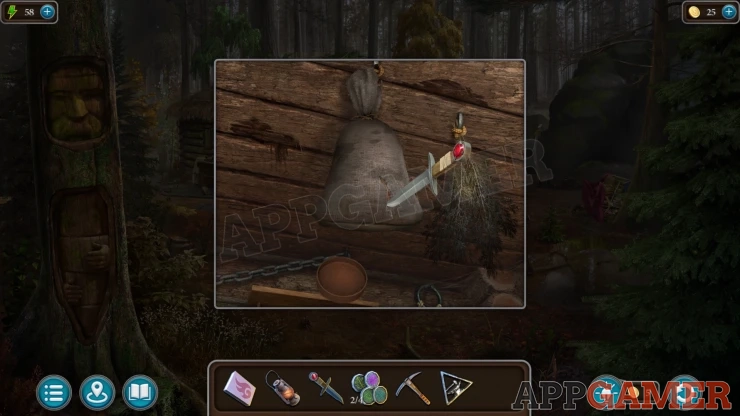
Now return to the cabin in the woods. Look on the front of the cabin to the right of the open door to see a bag hanging. Use the knife on this and you wil collect some Grain.
Now go back to the birders house and view the Raven again. Give the Grain to the raven and you will get the Key.
Next move a red curtain on the left side of the desk. Then view the cage door behind it.
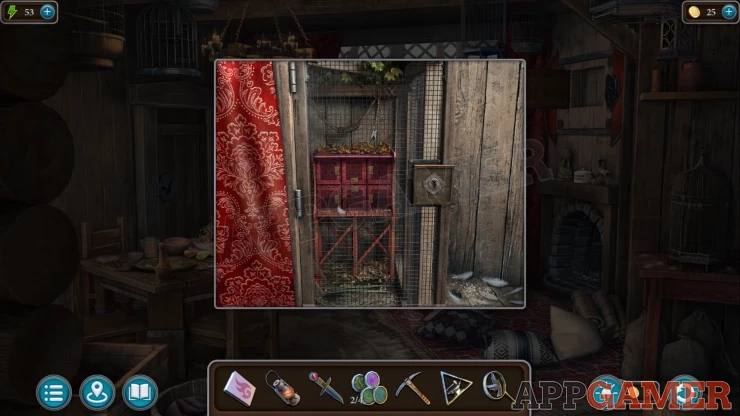
Use the key to open the door and you can go into the aviary.
Aviary
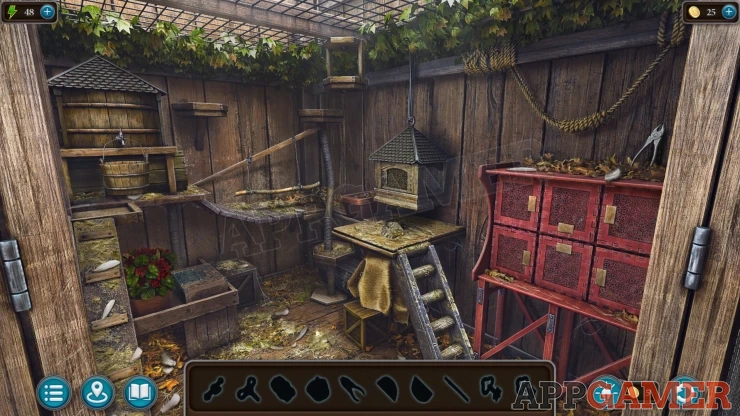
This is a hidden object area where you need to find specific items given by the silhouettes below.
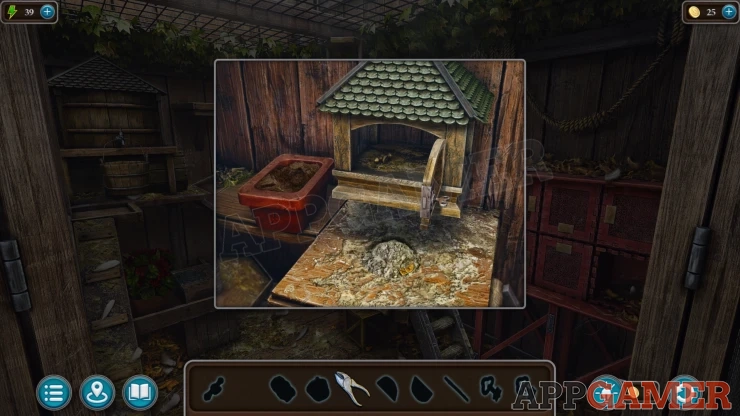
First collect some Pliers from the top of the red boxes on the right and then view the red boxes. Look in the bottom right one to collect a Key.
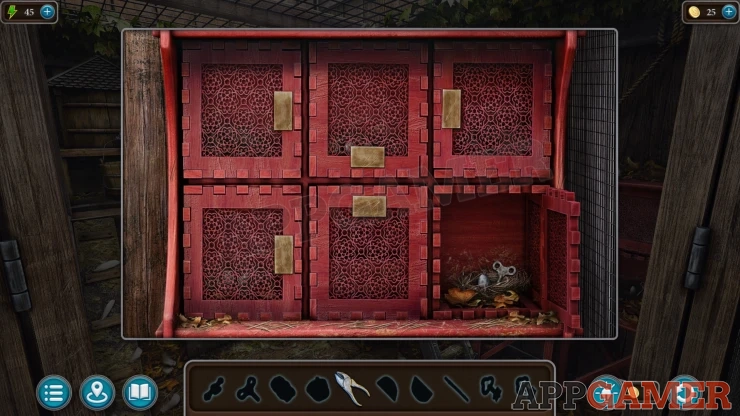
Then view a small house to the left of the red boxes. Use the key to open the front to collect a Tap.
Then tap on the small red trough to the left to collect another Key.
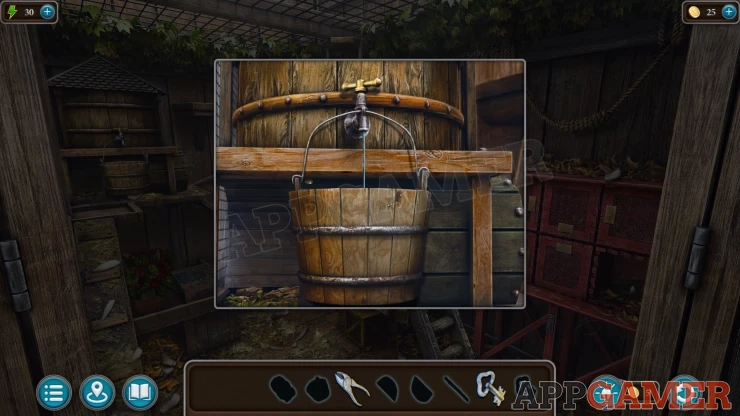
View the barrel on the wall on the top left with a bucket hanging. Add the Tap to the water valve and then the bucket will fill with water. Collect the Bucket of water.
Next view a plant with red flowers on the lower left. Move the leaves to find four feathers. You can then place these onto the lid of the box on the right to open it.
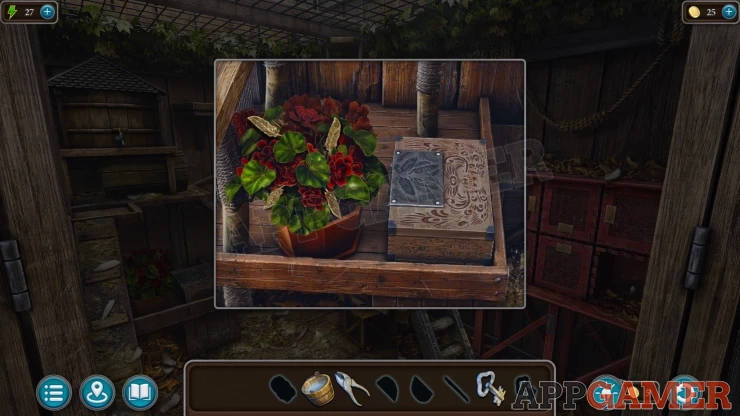
Collect a Sponge.
Now go back to the small house and add the Bucket of water to the platform below it. Then add the sponge and it will clean a section of the platform.
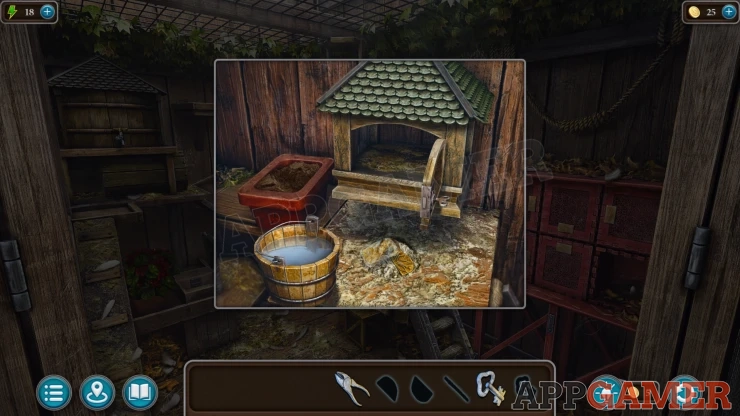
Collect a Detail.
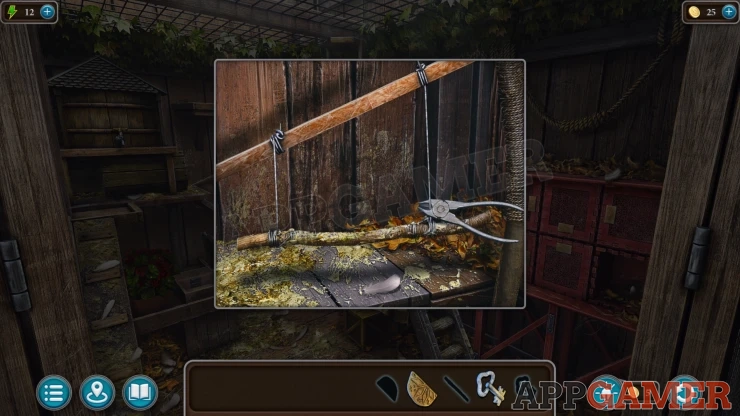
Next view a stick perch on the left wall. Use the pliers here to cut the wires and collect the Perch stick.
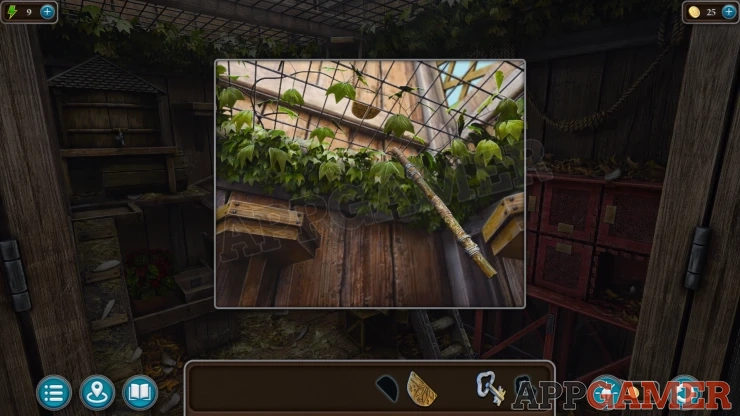
Then view the roof above this, use the Perch stick on the roof and you can collect a second Detail.
Look again at the red boxes on the right. Open the others and in the bottom center you will find a recess with two semicircle shapes.
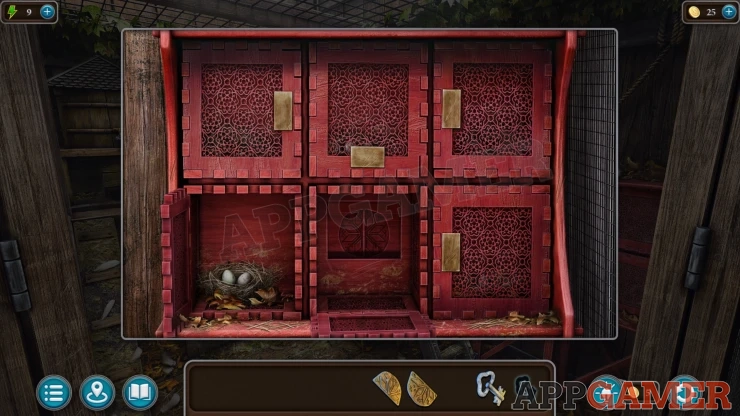
Add the two Details here and then you can collect another Key.
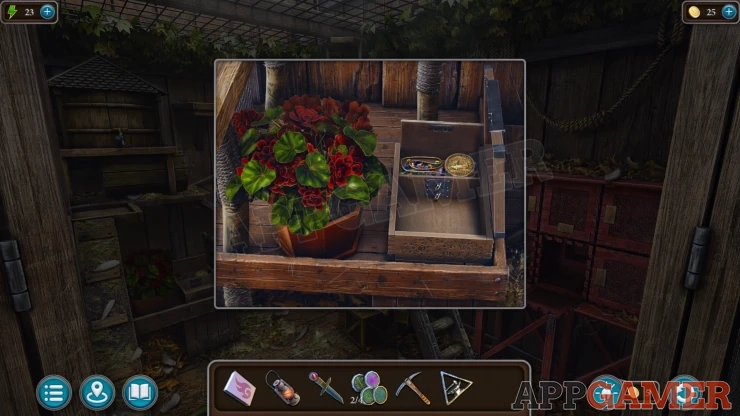
Finally look again ad the small box next to the plant with the red flowers. There are two small keyholes at the back.
Use the two keys here to open the locks and then you can collect the Medallion.
Return to the cabin in the forest. Inside is a large chest next to the hermit.
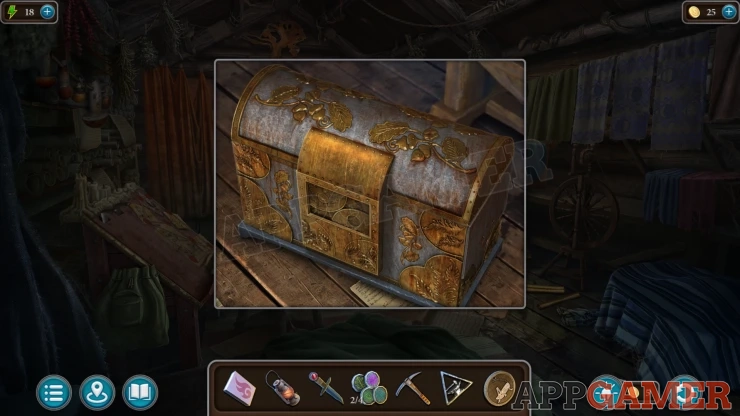
View the front of this and add the medallion. This will reveal a puzzle.
Chest insect puzzle
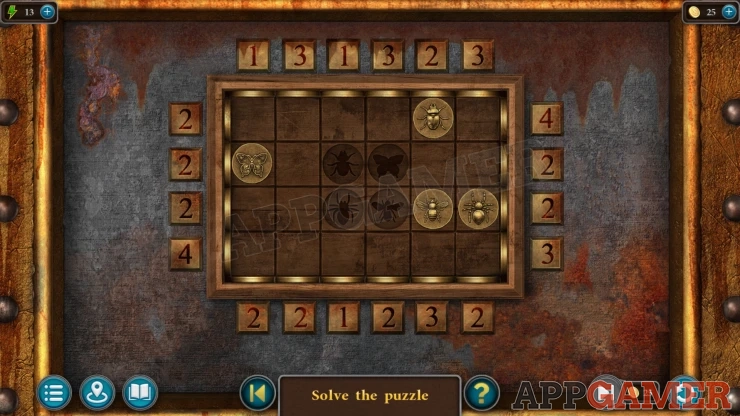
- There are four tokens on the grid with different insect symbols.
- In the center are four slots with the same insect symbols.
- Tap the number buttons around the side to move the tokens on that row or column.
- The tokens will be pushed away from the button by the number of spaces shown on the button.
- Move all of the tokens onto the correct center slots.
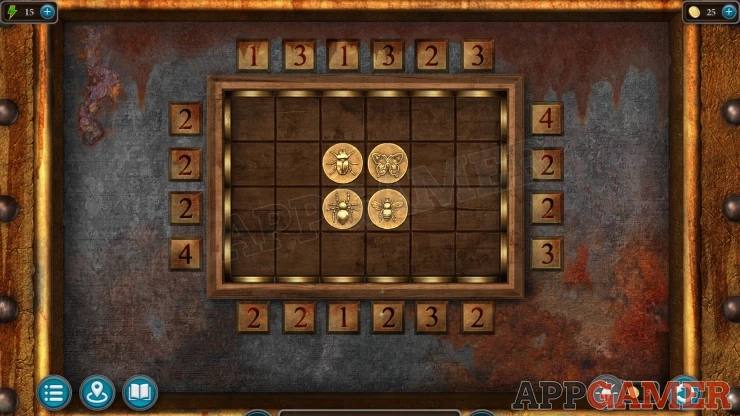
Once done the chest is open. Collect another Chip (3 of 4) and a scroll with a Truth Elixir Recipe.
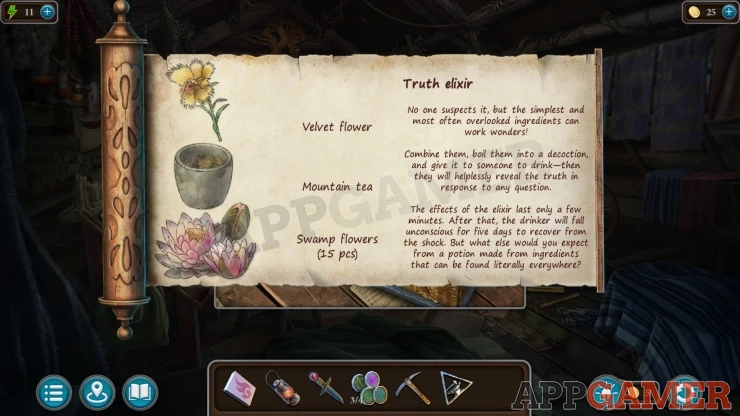
Go to the camp and look by the river bank below the fallen tree. Collect the yellow Velvet Flower.
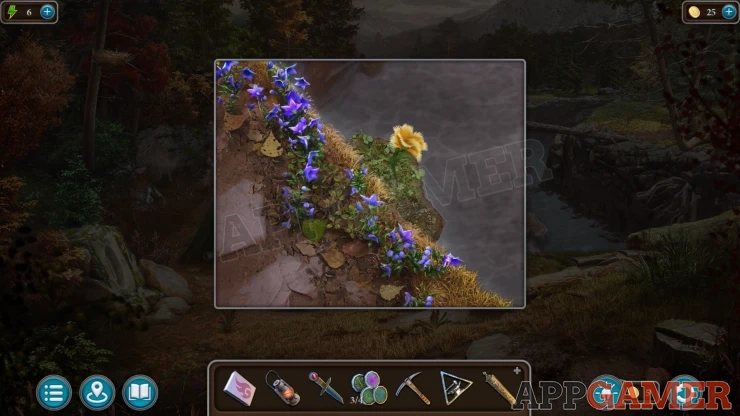
Now pass over the river to the mountain, then look under the trees on the right and move forward into a swamp.
Swamp Flowers
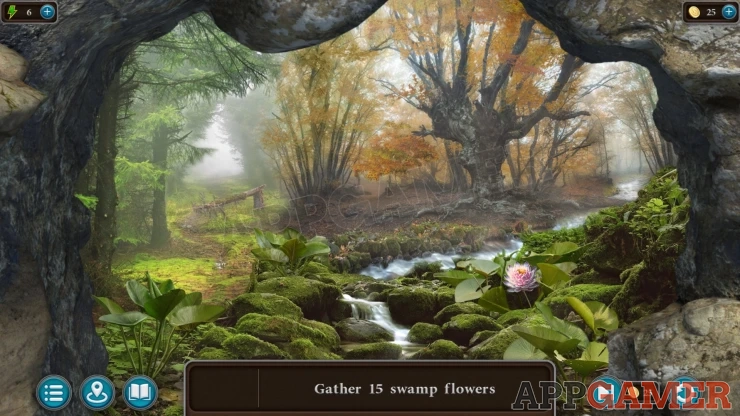
- The swamp is a maze like area where you need to explore a range of scenes to find 15 Swamp flowers.
- In each location you can move wood planks, bushes, rocks, trees etc. Doing this can reveal hidden flowers or open up new paths to move locations.
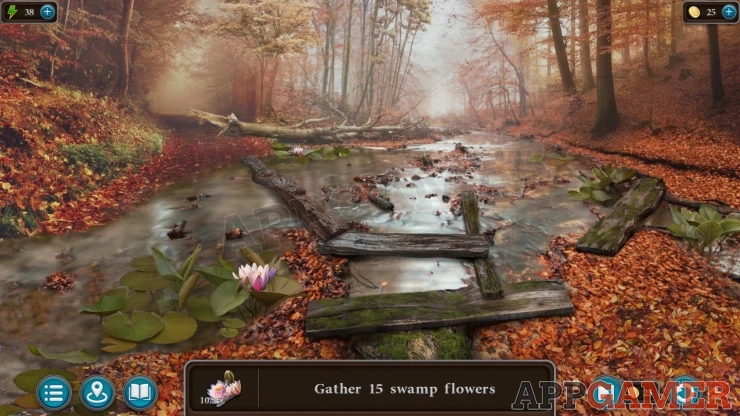
- Not all of the locations have flowers in them. Some may have more than one.
- In two locations you need to find sticks to then move a snake or a boar away to continue.
- Search all locations carefully until you find the 15 flowers.
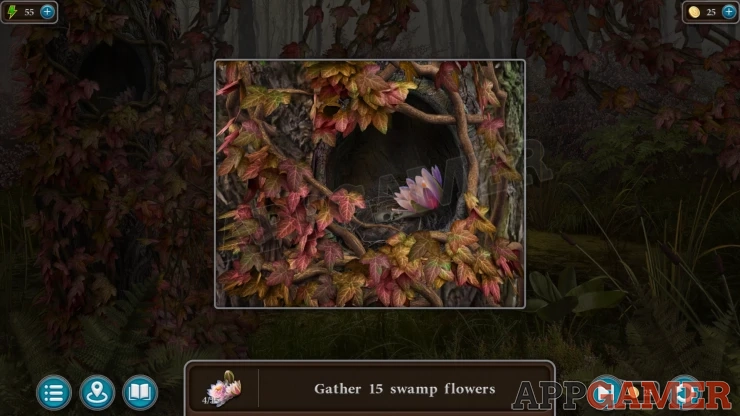
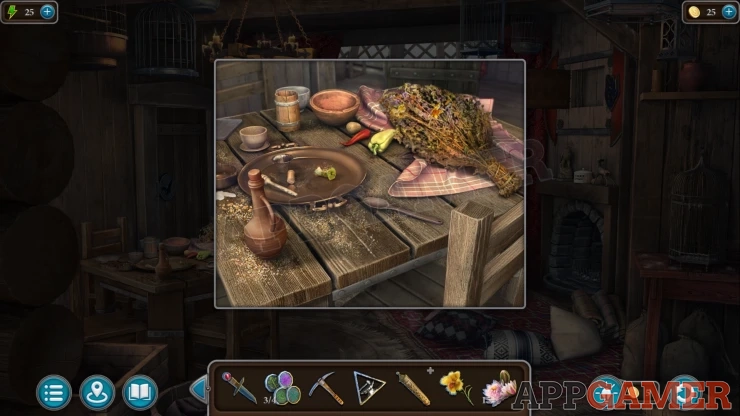
Once you have them go to the house on the mountain (with the birder) and look on the table on the left. Collect the Mountain Tea and a Jug.
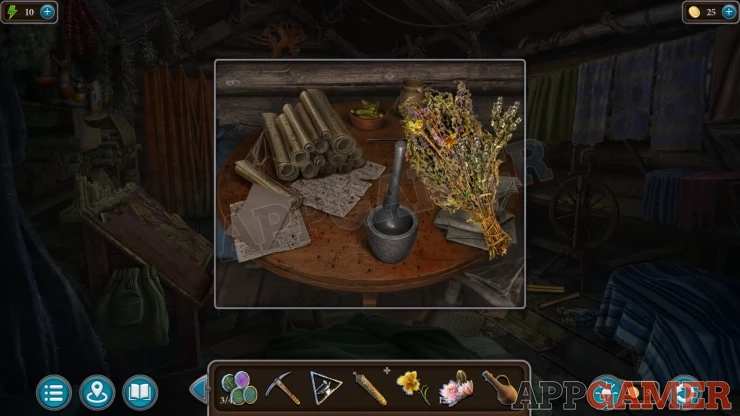
Then you can go to the cabin of the hermit. Look at the small table at the back. Add the Mountain tea (plant) to the mortar and it will be ground up. Collect the Mountain Tea again.
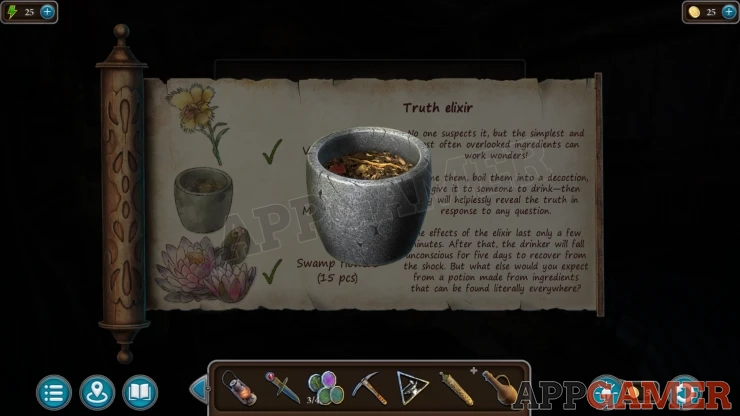
Now view the Recipe in your inventory and add the Velvet flower, the mountain tea and the swamp flowers to it, you will collect the Ingredients.
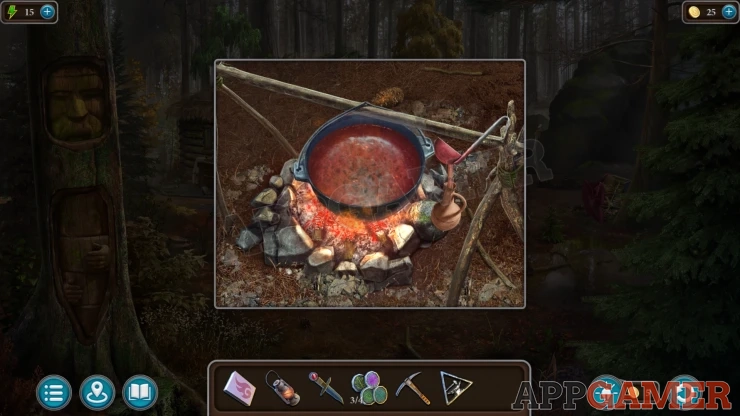
Look outside the cabin to see a pot over a fire.
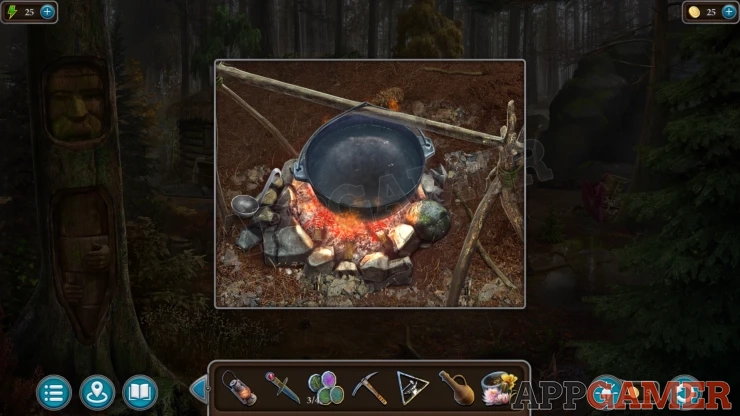
Add the ingredients to the pot, then use the jug on the pot to collect some Truth Elixir.
Return to the house of the birder in the mountain. View the birder and use the jug of elixir on him.
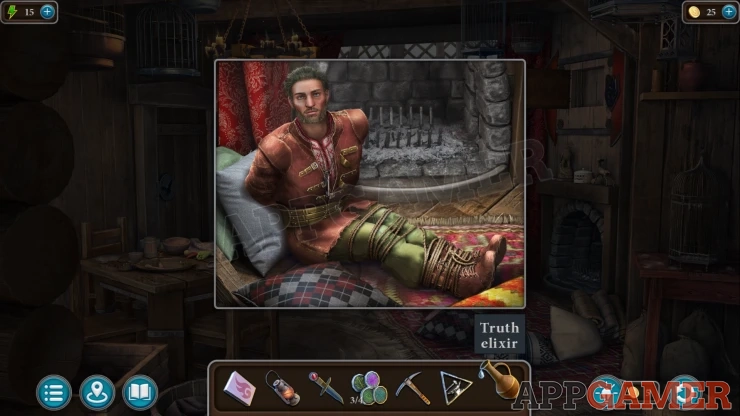
You learn how to get to the Tower.
Continue the guide in Chapter 2 Part 2
We have questions and answers related to this topic which may also help you: Show all
 With 20 years of experience in creating video game content for the internet and over 30 years as a gamer, Mark is now a passionate mobile App Gamer. Loving a challenge, he is always ready to get stuck in to both survival builders and puzzle solving games. He has been providing content for AppGamer since 2014.