
Walkthrough and guide for Legendary Tales 4 - Map of Hope
Legendary Tales 4 Guide
This is our full walkthrough for Legendary Tales 4 - Map of Hope. The latest in the series of games from Five BN. This guide includes all collectible item locations as well and hints and solutions for puzzles.

Our walkthrough is broken down into logical parts to cover each section of the game. It will help you locate the items you need, and give solutions for the puzzles you will face. Please note that the game can be confusing at times as items that you need to collect may not let you pick them up until you have found a need for them.
This means that you will need to return to areas multiple times to find items. If you are unable to pick up any item that is mentioned in the guide then you may have missed tapping on an earlier scene or item that activates the need for the new item.
Chapter 1 - On the Road Walkthrough
After the opening scenes you are in a house with your brother, Ulf, who is a werewolf. You need to get ready to leave to meet with Skarlett.
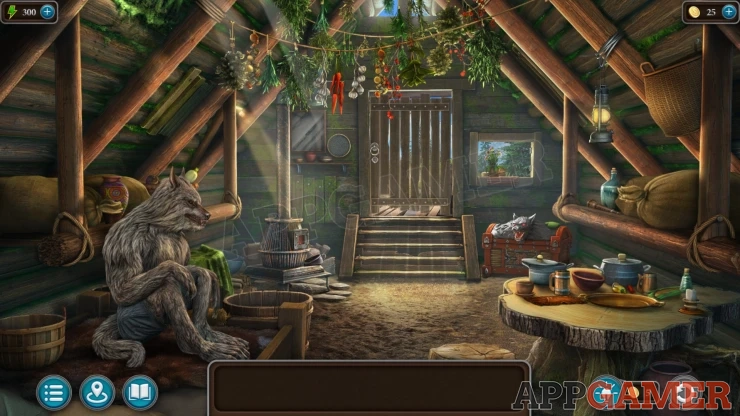
Task - Find the Cloak
Collection Item: Pipe, on the shelf on the right of the room. (1 of 8)
Morphing Object: Pattern on a pot behind Ulf on the left wall.
Look on the table on the right and then move the brown cloth. You can then collect a Key.

View the chest to the right of the door, you cannot open it yet. Collect an Oven mitt from the top.
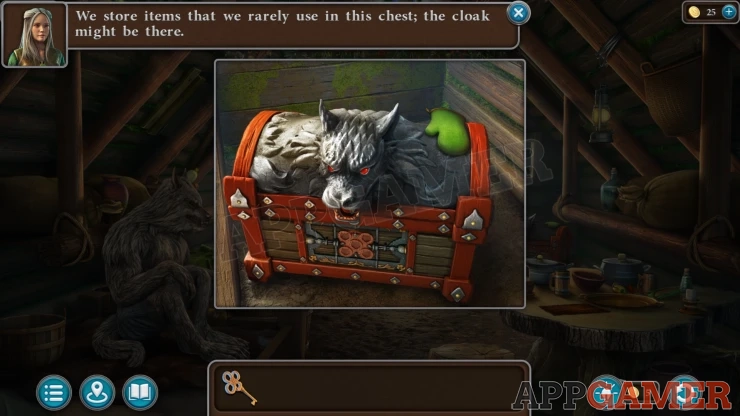
Then view the window above the chest. Move the plant pot an then you can collect a Wolf Amulet (1 of 5)

View the stove on the left and collect a Dustpan.

Next collect a Sieve from the small shelf to the left of the door, then view the door and use the key to unlock it.
Exit the house to a front garden.
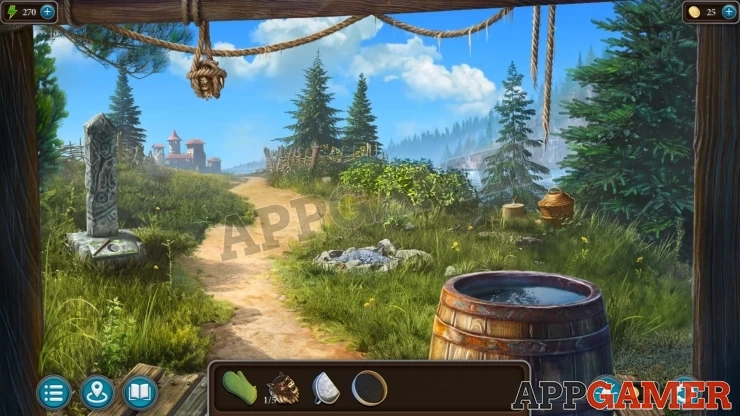
Collection Item: Pipe, on a fence in front of two trees jut to the right of the path into town. (2 of 8)
Morphing Object: Pattern on the small stone obelisk on the left of the path.
View the base of the stone on the left of the path and collect a piece of Wood.

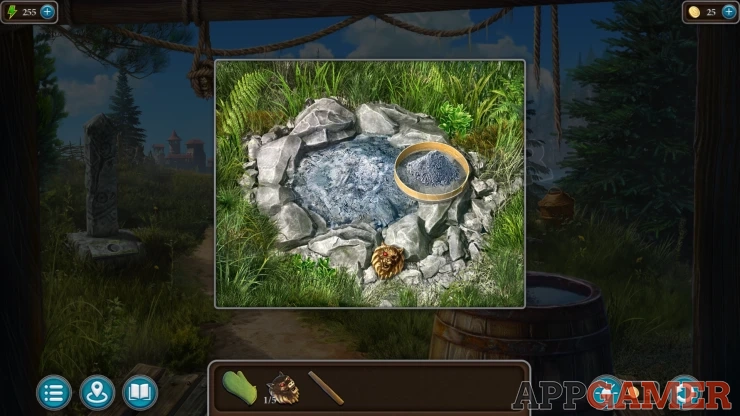
Then view a fire pit with ashes in it on the right of the path.
Place the sieve here and then use the dustpan to collect some ash. This will sieve the ash and reveal a gemstone. You can then collect another Wolf Amulet (2 of 5)
To the right of the fire pit is a stump for chopping logs and a basket. View this.
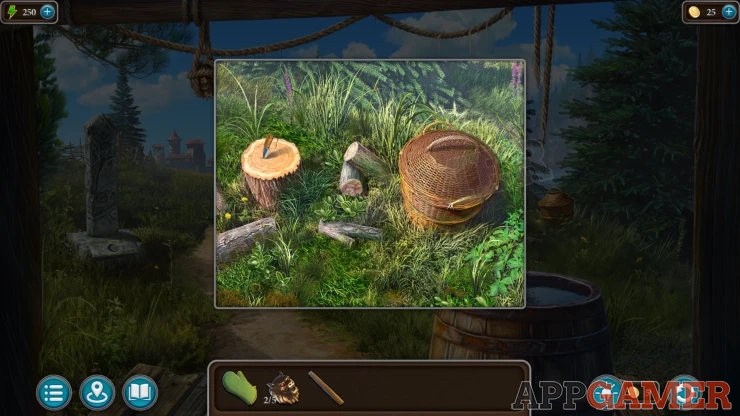
Collect the Knife from the stump. Then open the basket and collect a Ladle and a Broken Hammer.
View the broken hammer in your inventory and tap it to remove the handle. Then add the Wood to this to replace it and then you can collect the Claw Hammer.
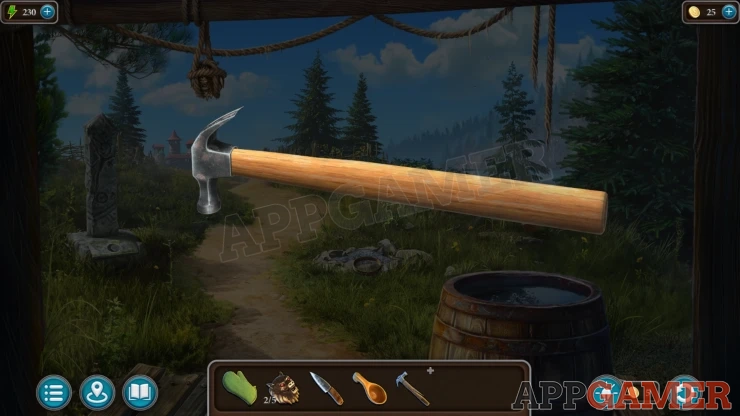
Next use the knife on the hanging rope bundle from the roof line to the left. This will let you collect another Wolf Amulet (3 of 5).

Then use the Ladle on the barrel of water to collect a Ladle with water.
Go back inside and view the stove on the left, use the oven mitt to open the door.
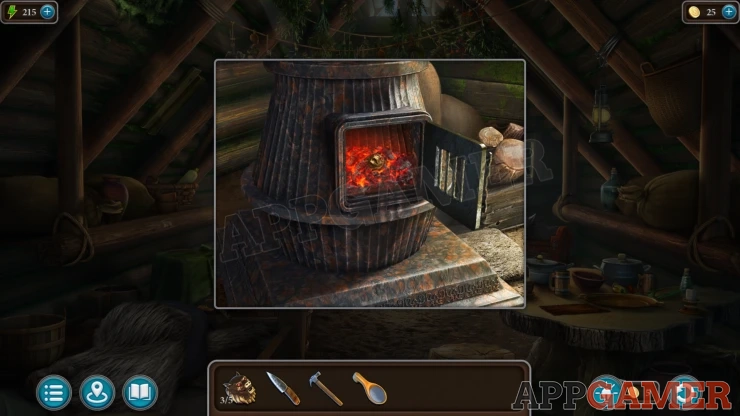
Now use the ladle of water to put out the fire. You can then collect another Wolf Amulet (4 of 5) from inside.
Finally view the steps in front of the door. Use the claw hammer on these and it will pull up some nails and remove one of the steps.
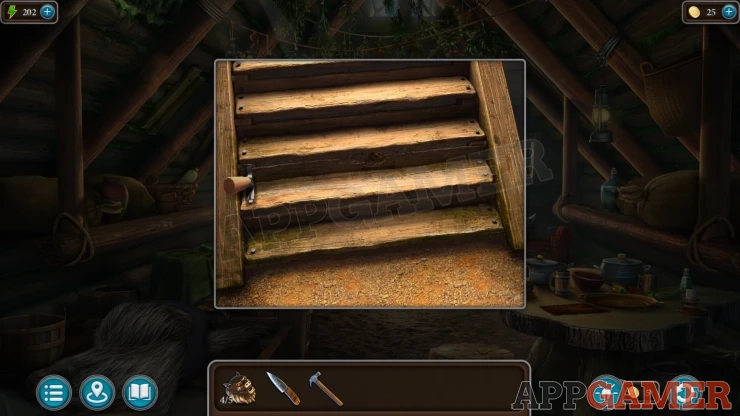
Collect one more Wolf Amulet (5 of 5).
Now you can view the chest on the right again and add the five amulets to it. This reveals a puzzle.
Wolf Chest Puzzle

- There are seven circle pieces on the chest that you can rotate.
- Yo can also tap any two to swap their positions on the image.
- Find the correct locations and rotations of each to complete the wolf image.
Solution: Show
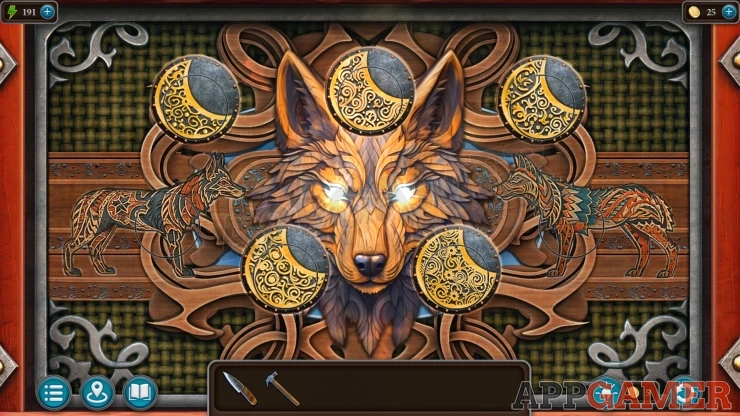
You can now take the Cloak to complete this task.
Task - Meet with Skarlett
Head outside and tap the path to move on to the town. You arrive outside the gate.
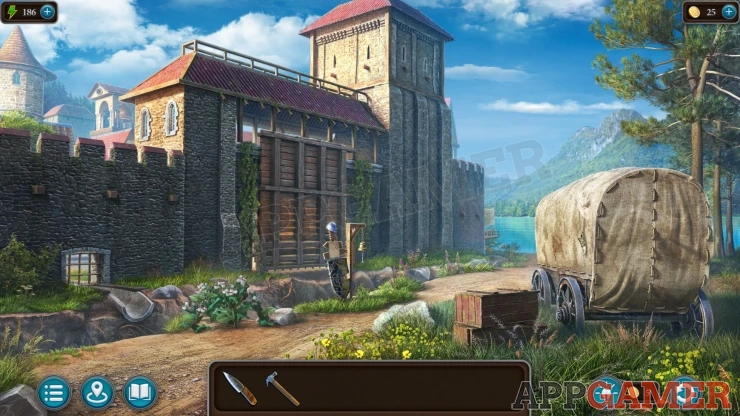
Collection Item: Fang, hanging on a string on the side of the covered wagon on the right. (1 of 7)
Morphing Object: triangular / circular detail on a small roof on a building in the town to the top left.
View the wooden crates to the left of the covered wagon. Use the claw hammer on these to open the top one.

Collect a Hacksaw and a Key.
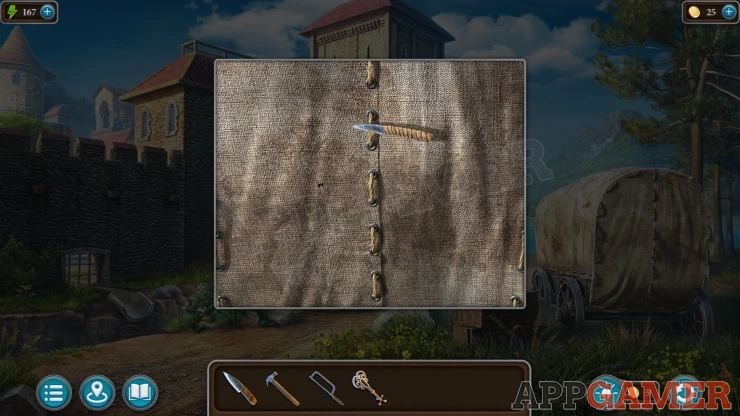
Then view the back of the covered wagon. Use the knife to cut open the stitching to open the back. Collect two Planks.
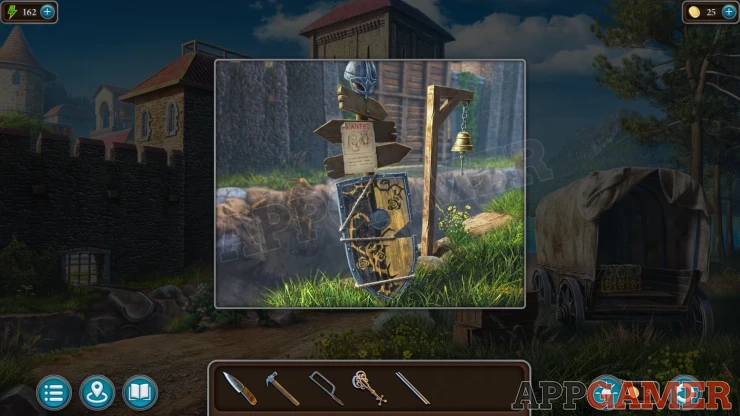
Notice a sign post with a shield against it. The shield is a clue for later.
Now view a small grate on the wall of the town on the left. Place the planks over the ditch so that you can cross over.

Tap on the grate and then you can use the hacksaw on it to cut the bars.
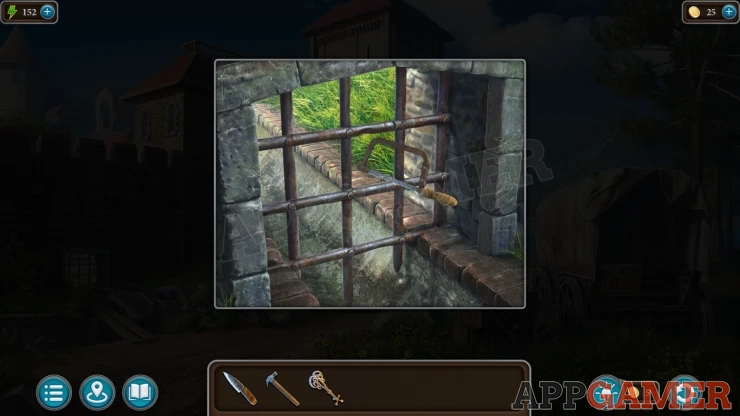
Enter the town square.
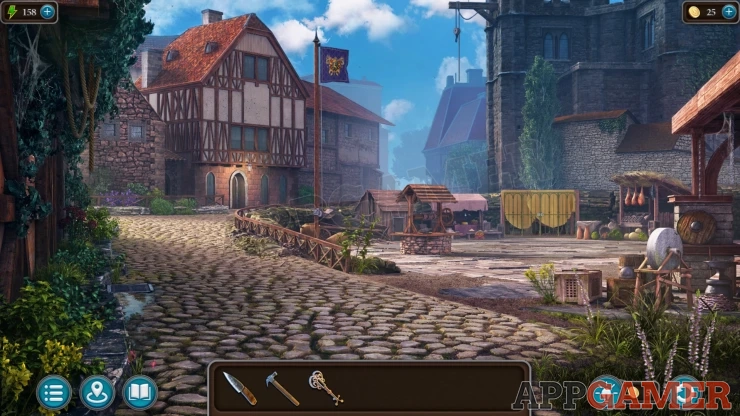
Collection Item: Fang, in some stones to the left of the low fence below the flag pole. (2 of 7)
Morphing Object: arrangement of wood beams on the left side of the tavern building.
Tap the door of the tavern building to the left to enter it. Then talk to Skarlett.
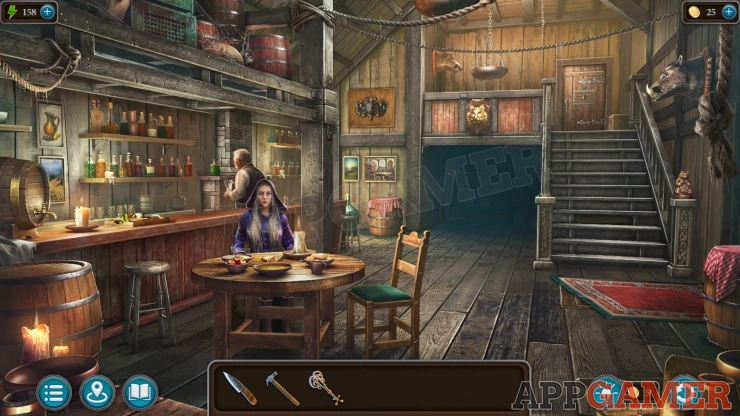
Task - Prepare and administer the sleeping powder
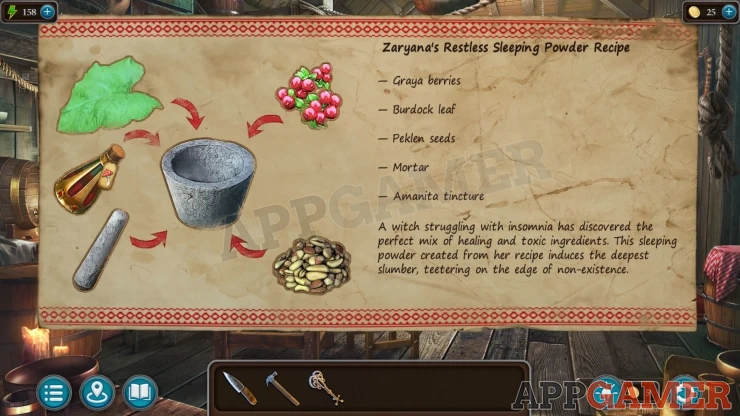
You will receive a Recipe for sleeping powder.
Collection Item: Fang, in the mounted boar's head on the wall on the upper right. (3 of 7)
Morphing Object: Carving on the newel post on the left of the stairs.
Back up to the road outside the town gate. Here you can view a small bush to the right of the planks that you placed over the ditch. Collect some Burdock.

Then tap the water in the distance beyond the wagon to move to a dock area.
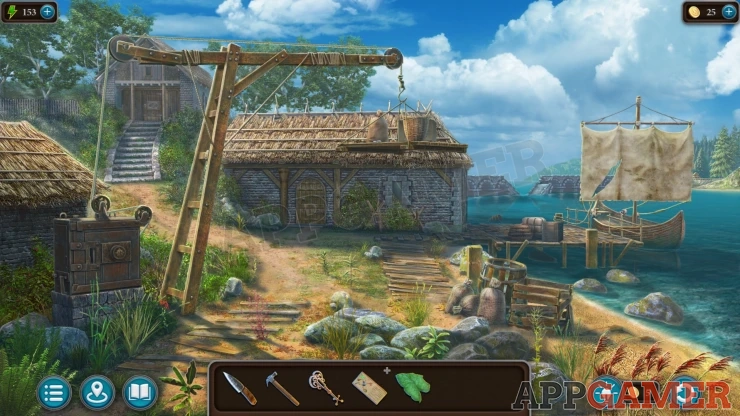
Collection Item: Pipe, on the wooden upright of the building in front of you to the left of the door. (3 of 8)
Morphing Object: Barrel / crate on the wooden dock near the boat.
View a winch panel on the left, use the key on this to unlock a panel.

Winch Puzzle

- Slide the blocks around the grid into the empty space.
- Arrange the blocks with the silver gears on them to connect then together an join up the four gold colored gears.
Solution: Show
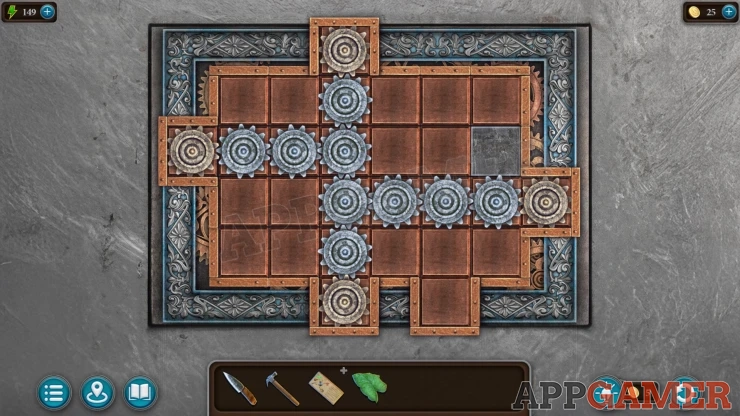
Once this is done the winch will lower a platform, view this and collect a Hook and a Pike Pole.
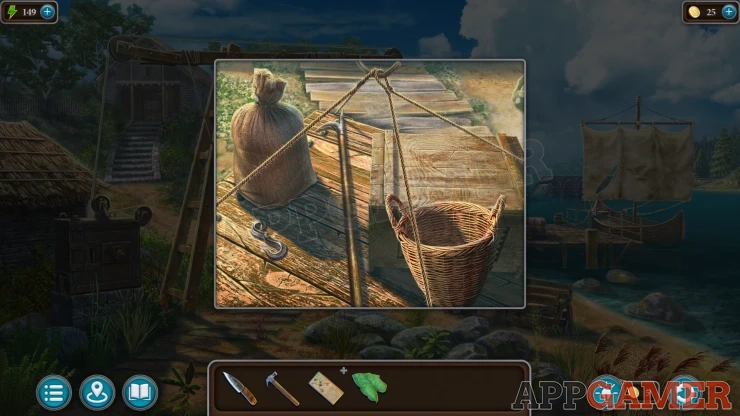
Next tap on the dock to see a barrel floating in the water. Use the Pike pole on this.
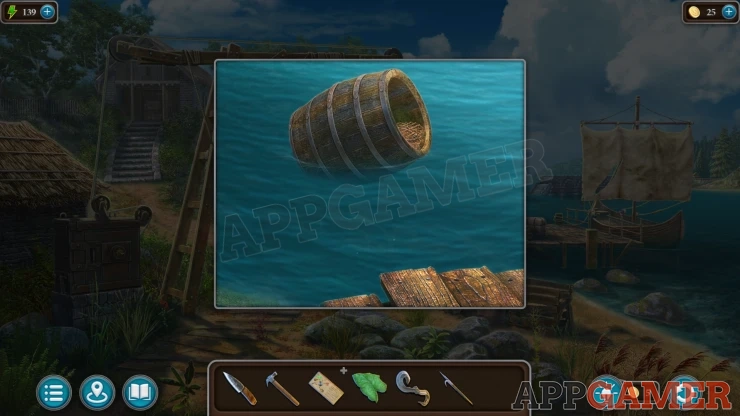
Then use the knife inside the barrel to cut a net and let you collect a Handle and a Bat.
Go back to the town square, tap on the well in the center. Add the hook to the chain, then you can tap the handle to lower the hook and then bring up a bucket. Collect a Bear from the bucket.
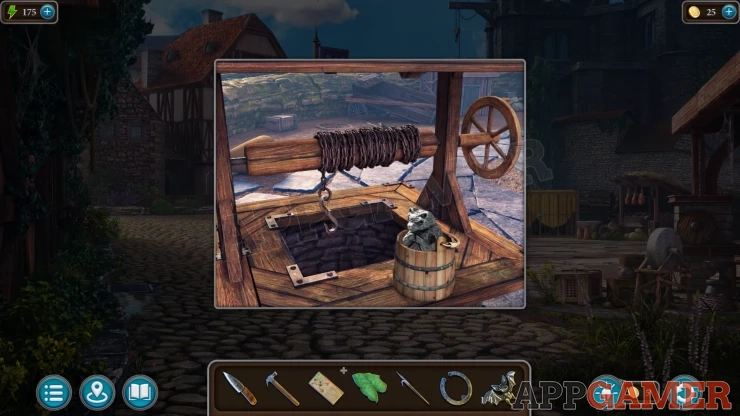
Go back into the tavern, then view the newel post on the left of the stairs. There is a shaped slot on top. Place the bear here and then a panel will open in the stairs. Collect some Wire cutters and a Moon.
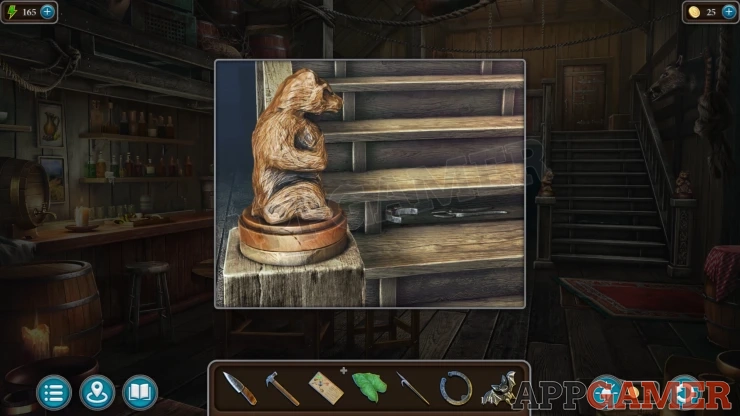
Next, view the table on the left and collect some Bread.

Then notice a blue emblem on the wall, this is another clue for later.
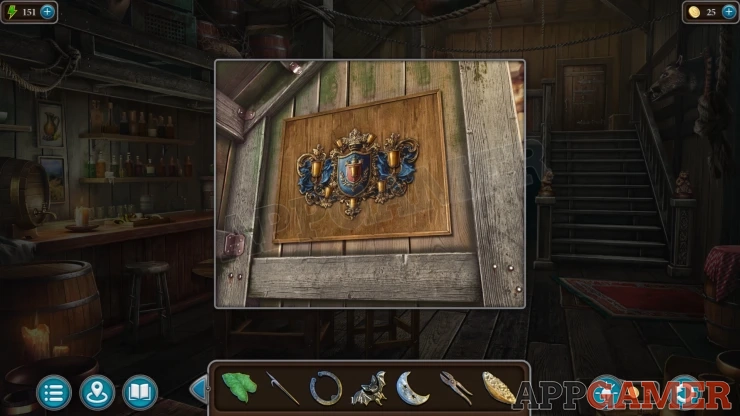
Now head back to the front garden of your house. View the base of the stone obelisk on the left again. You can place the moon here.

This reveals a puzzle.
Stone Obelisk Puzzle

- Starting from the top left you need to tap the red arrows to make a path around the grid.
- You need to reach and connect all of the gems.
- At certain points spikes will appear to block the paths. avoid these.
Solution: Show

Once done you can collect Limbs, and a Lever.
Next view the light green bush above the fire pit. This has red berries. Collect the Graya Berries.

Now go back to the town square. View the flagpole.
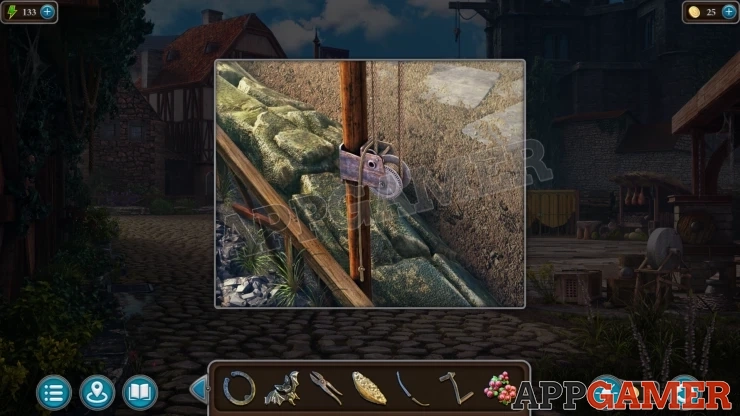
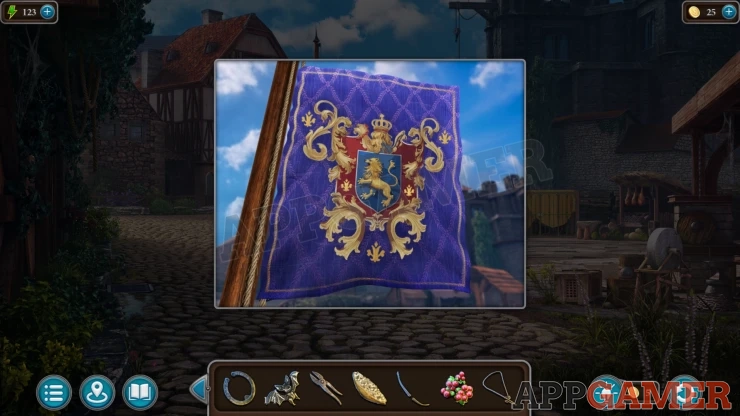
Collect a String from here. Then place the lever into the winch slot and you can turn it to lower the flag.
View the flag for another clue.
Next view a drain cover on the left side of the road.
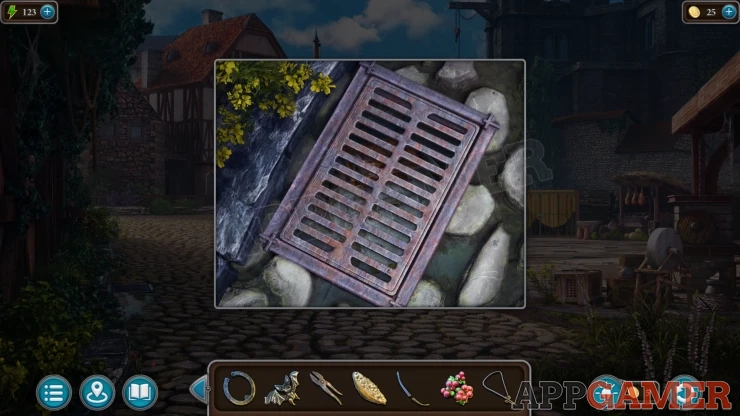
Lift the cover to see a sewer with some rats. There is a box that you cannot get. Place the bread into the sewer to distract the rats, you can then collect the Box.

Now back out to the road and view the covered wagon again, in the back is a locked chest.
This requires a three digit code and the clue is three symbols above the numbers.

Solution: Look back at three clues you have seen, the shield, the flag and the emblem on the wall in the tavern. These each have a number of the symbols on them. Count them.Show
Code: This can vary for each game, my answer was 528, but you may need to check the clues in your own game.Show
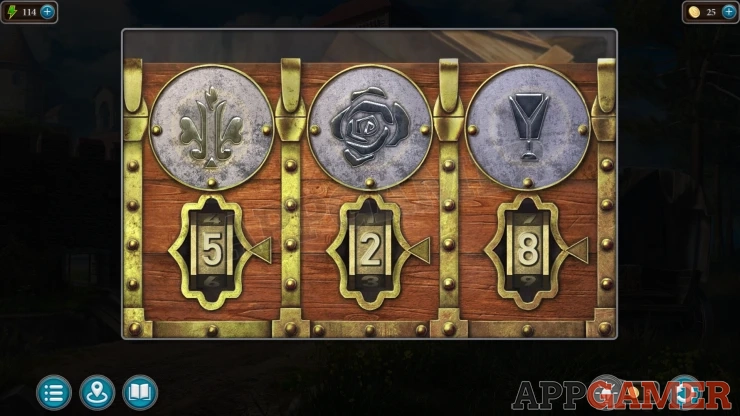
Look inside the chest and collect a Paw.
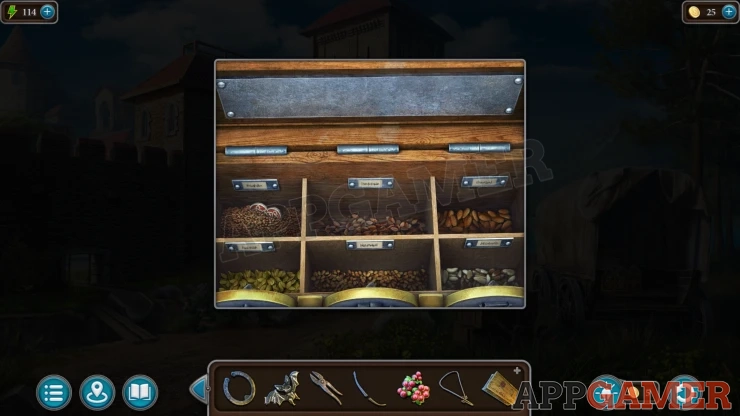
There are various seeds in the box. Check the names on these and then collect the Peklen seeds (lower right)
Now view the Box in your inventory and add the Paw to the front, then move the switches to open the box.

Collect another Bat.
Now back up to the inside of your house, use the wire cutters on a lantern hanging from the ceiling on the right, you collect the Lantern.

Return to the tavern in the town, there is a dark room at the back. Tap on this. Use the lantern on the hook to light up the area.
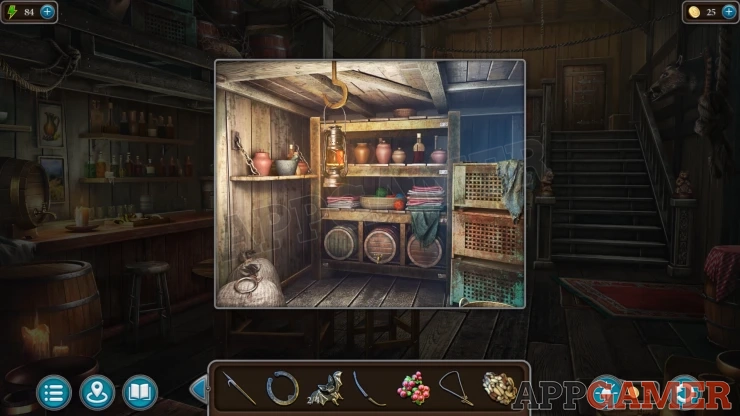
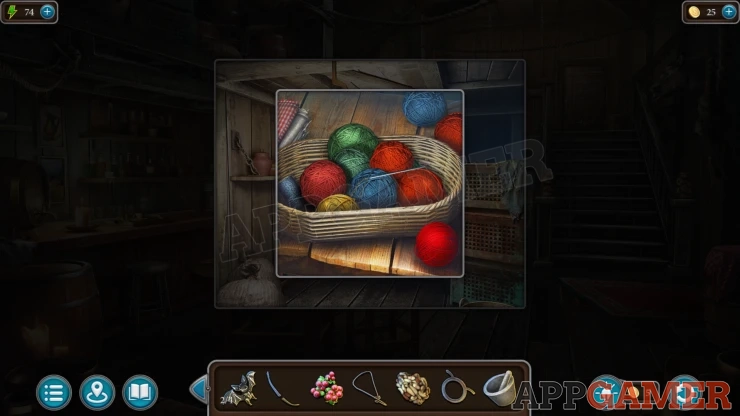
Collect a Mortar from the shelf on the left and a Handle from the lower left. Then view a basket of wool on the shelf. Move the wool around until you collect a Needle and Thread.
Next view a rug on the floor of the tavern near the stairs. Lift this and then use the handle on the trap door underneath. You then then open the trap door.
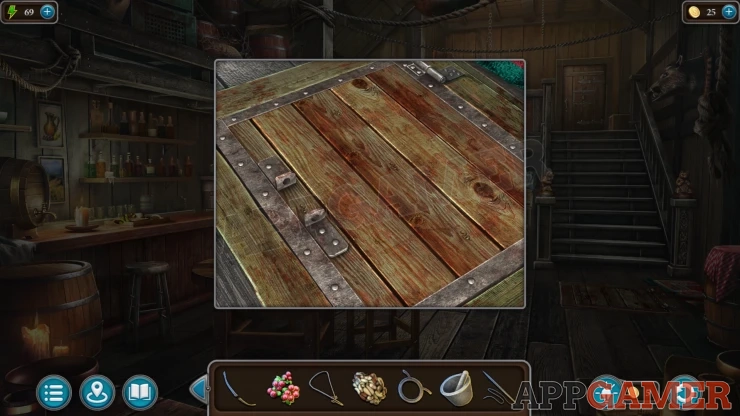
Collect a Shield and a Key.
Back out to the town square and view a green gate to the right of the well.
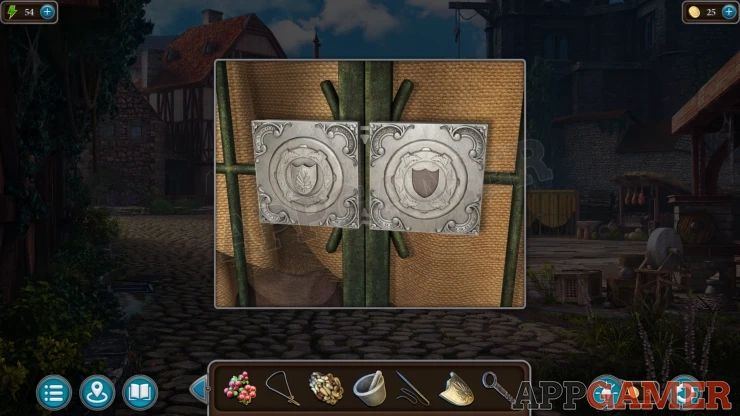
Place the shield here to open the gate and enter a shop. Yo now have a scene to let you find the Amanita Tincture. You need to find the items in the scene to let you open the cabinet.
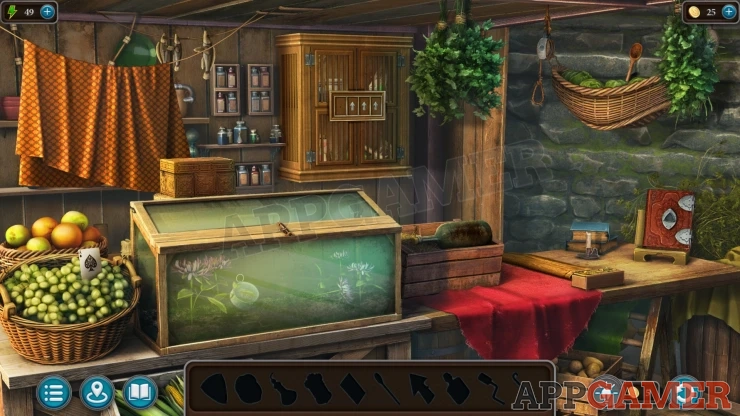
Collect an Ace playing card from the basket on the left.
Move the curtain on the top left and then collect from behind it a Cane and an Oil bottle.
Now view the glass case, the bolt on it is rusted. Use the oil on this to loosen it.
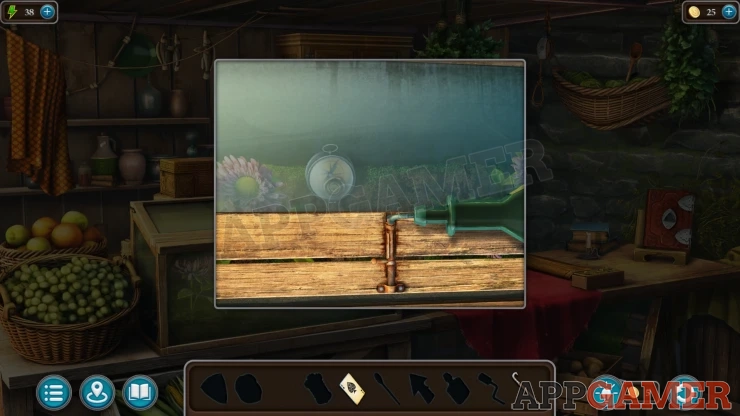
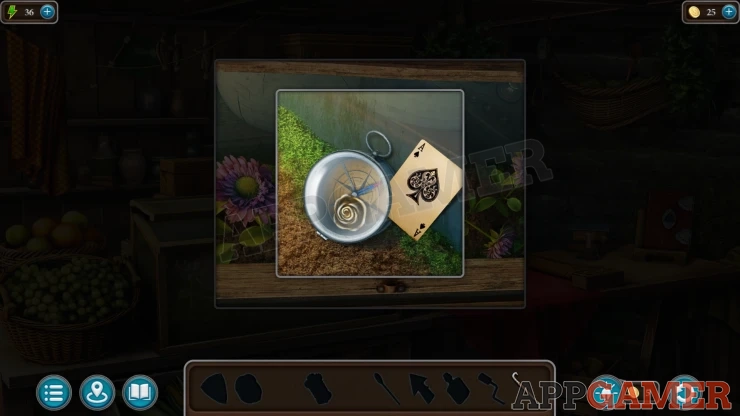
Open the case, inside is a compass. Use the Ace playing card in this and it will open, collect the Rose.
Next tap on the right side of the bench near a candle to see a wrap and a small box.
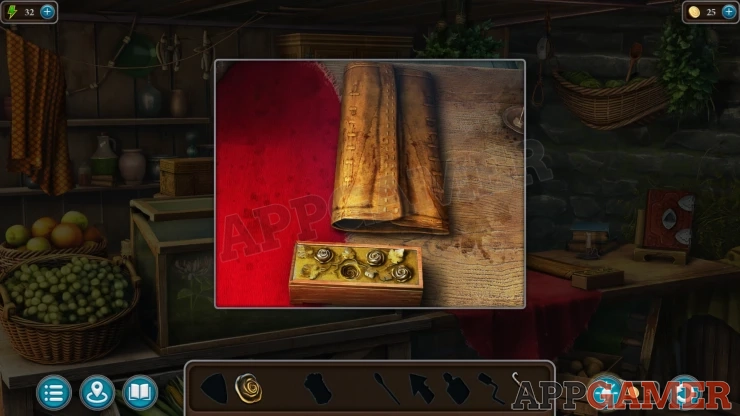
Open the folded wrap and then you can collect an Arrow.
Place the Rose into the slot on the small box. It opens and you can collect a Crystal.
Next use the cane on a basket hanging on the wall on the top right. This will knock down a spoon.
Next view the book on the stand on the far right. You can collect the Spoon from the table.
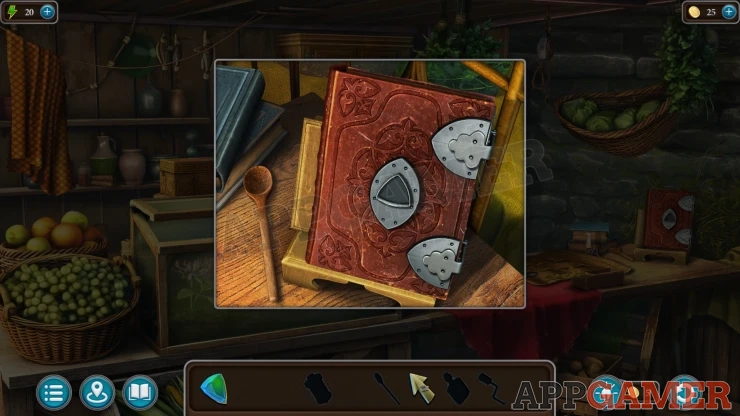
Place the crystal into the slot on the books cover. Collect a Cylinder from inside.
Look again inside the glass case, there are ants crawling. Use the spoon here to uncover a small Handle, then collect it.

Now view a wooden box just above the glass case on the left.
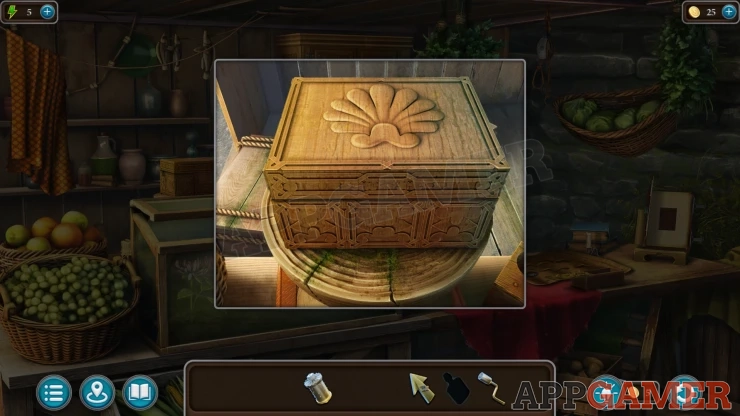
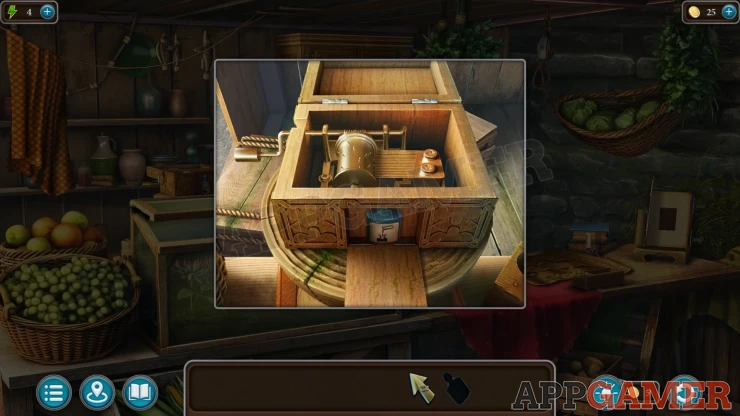
Open it and then place the cylinder inside and add the handle to the left. Turn the handle and eventually the front of the box opens for you to collect a small bottle of Acid.
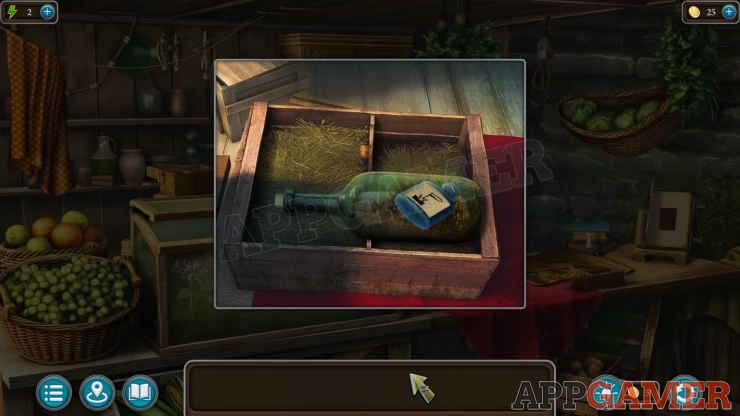
Now view a green bottle to the right of the glass case. Add the Acid to this to reveal a clue, four arrows.
Now you can view the cabinet on the wall at the back. This has a panel with three arrows on it.
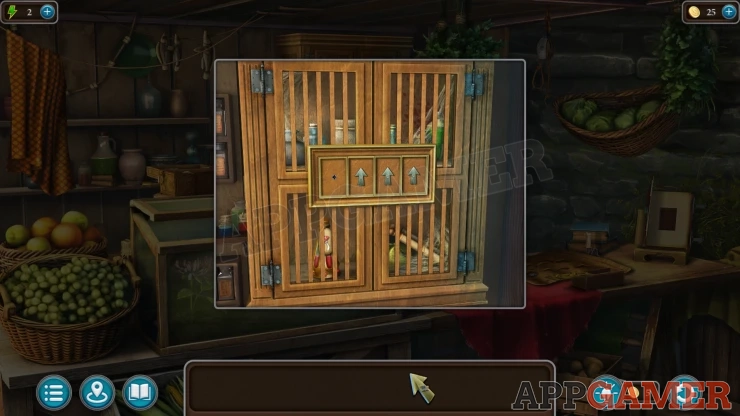
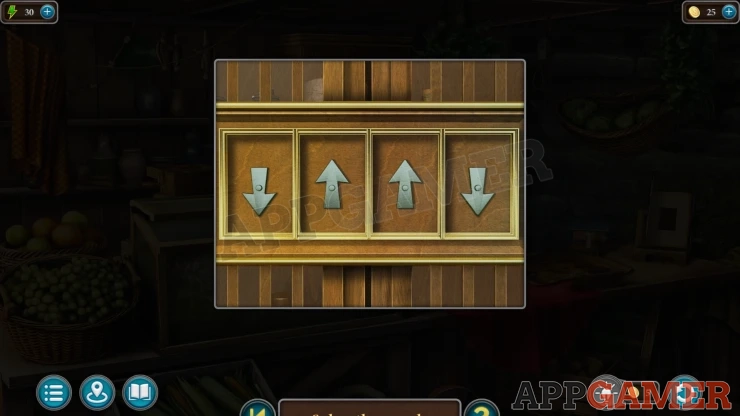
Add the Arrow you have to the left, you can then tap each one to rotate it and set them according to the clue.
Solution: The solution may be different in your game.Show
With the cabinet open, collect the Amanita Tincture.
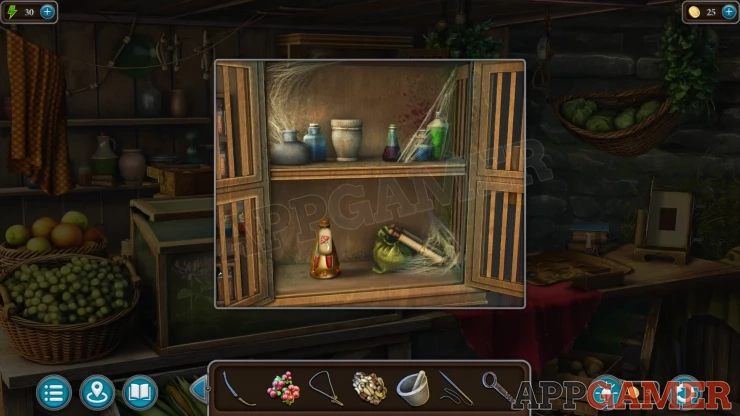
Now you can view the Recipe paper in your inventory and add to it the five ingredients.
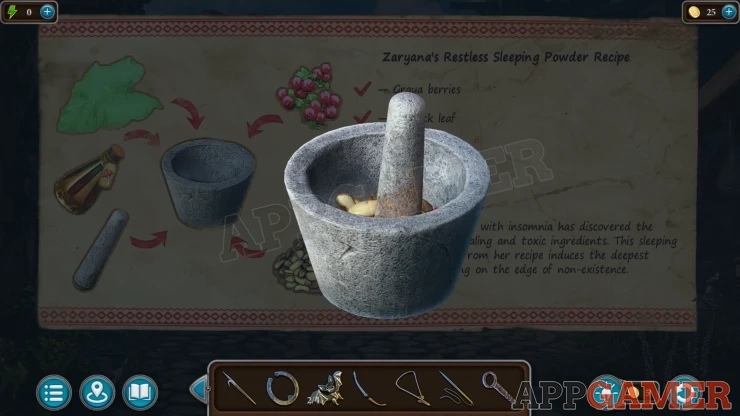
This will mix them and you will receive the Sleeping Powder.
Return to the Tavern and view a tray of food on the counter on the left. Add the Sleeping powder to the plate.

After the cut scene you will receive a Lockpick.
Task - Steal the Map
Tap the door at the top of the stairs. Then use the lock pick on the door to start a puzzle.
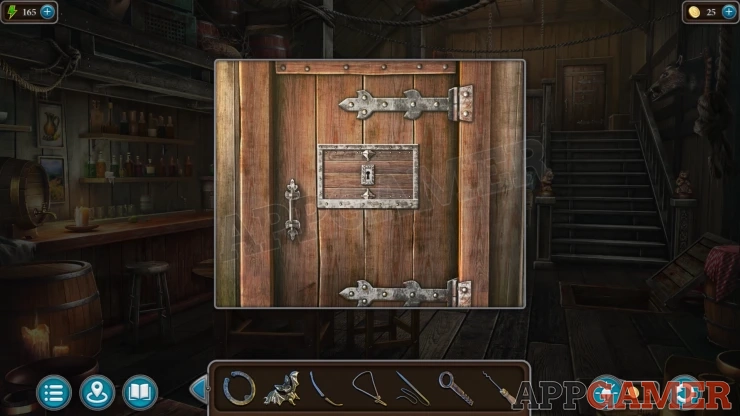
Lock pick puzzle

- The lock has five plate that can slide left and right.
- Between each pate are 2 small pins that can move up and down using the lock pick.
- Tap the pins to set them up or down if there is a space in the plates for them to move to.
- Find a way to move all five plates to the left to close the springs.
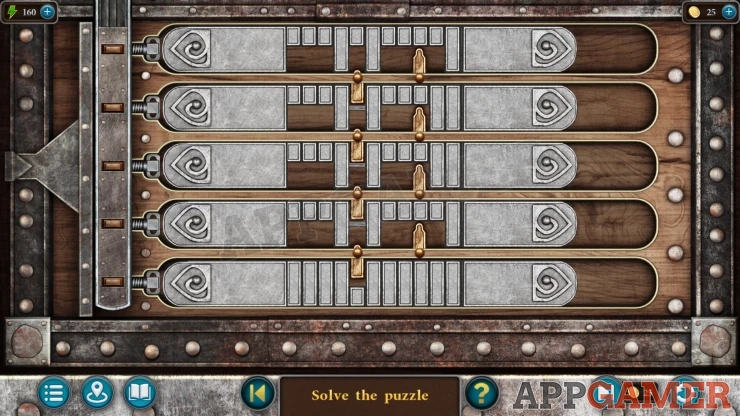
Once done the door opens and you can enter the bedroom.

Collection Item: Pipe, on the floor under the chest of drawers on the right of the window. (4 of 8)
Morphing Object: Cups on the cabinet to the left of the curtained bed.
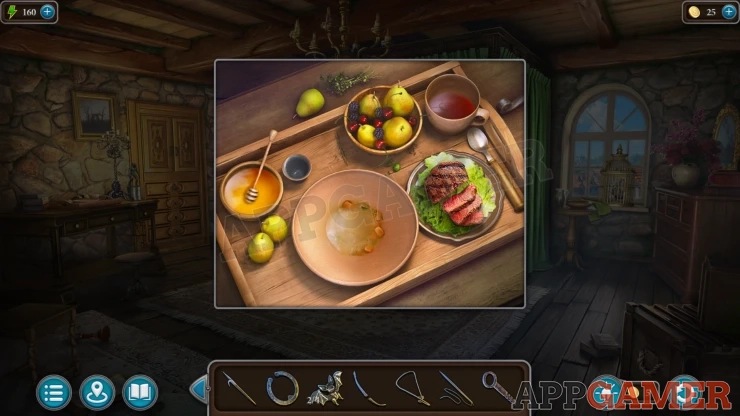
View the desk on the left to see the food tray. Then collect a piece of Meat.
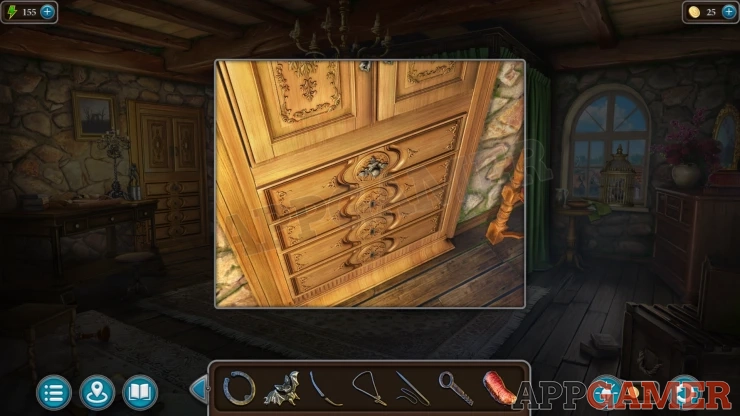
Then view a tall cabinet to the right of the desk, use the handle you have on the top drawer to open it. Collect a Shovel and another Bat (3 of 4).
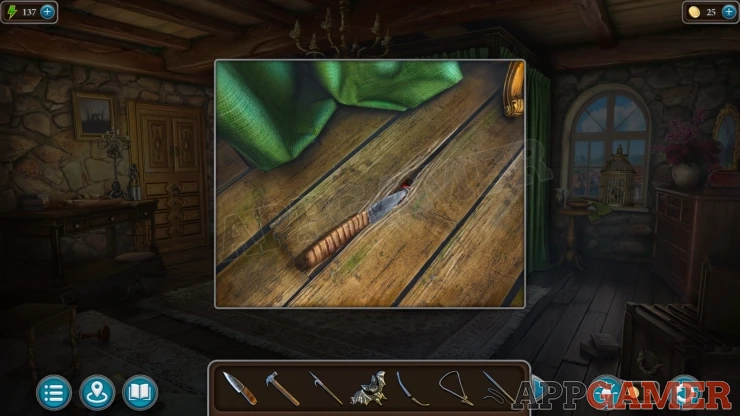
Tap on the floor just below the small table under the window, there is a small hole here. Use the knife on the hole and you will collect a Key.
Next view the window to see a bird cage. Use the key on the cage to open it.
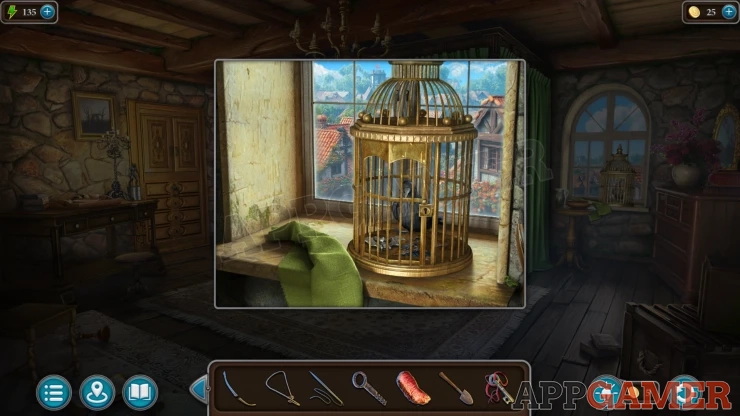
Give the Meat to the bird to distract it. Then you can collect the final Bat, (4 of 4).

Now view the large chest by the bed. add the four Bats to it.
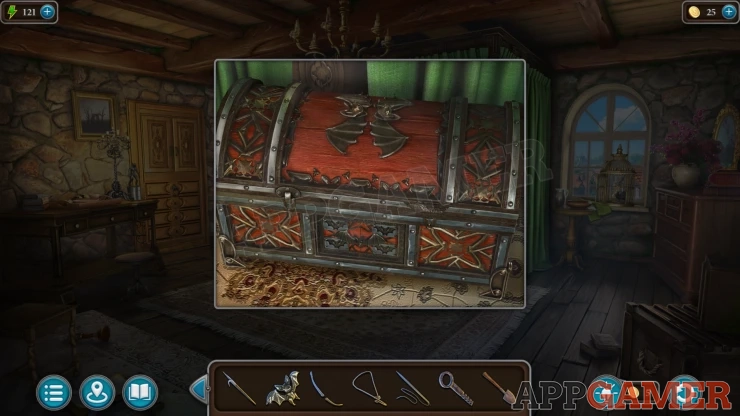
Bat Chest Puzzle
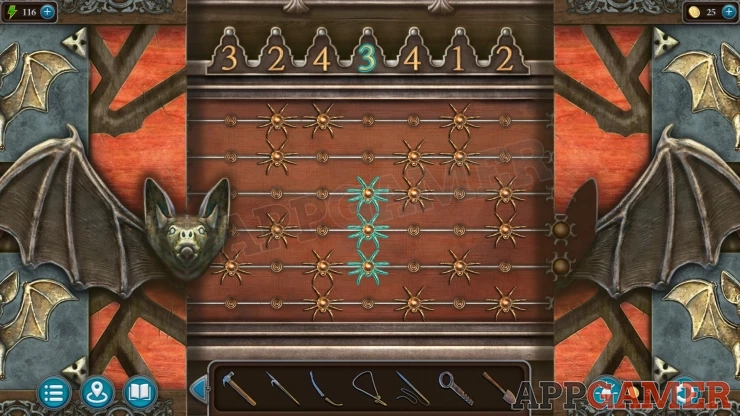
- There are six bars that have a number of spiders on each.
- Slide the bars to the left and right to line up the spiders into columns.
- The number of spiders in each column needs to match the numbers at the top.
Solution: The numbers and arrangement of spiders can be different in each game.Show

Once done the chest is open and you can collect the Map. And then also collect a Crab.

Task - Find the Werewolf Camp
Now go to the Dock again. On the top left is a building, tap to view the door. Place the crab in the slot here.

Crab Door Puzzle
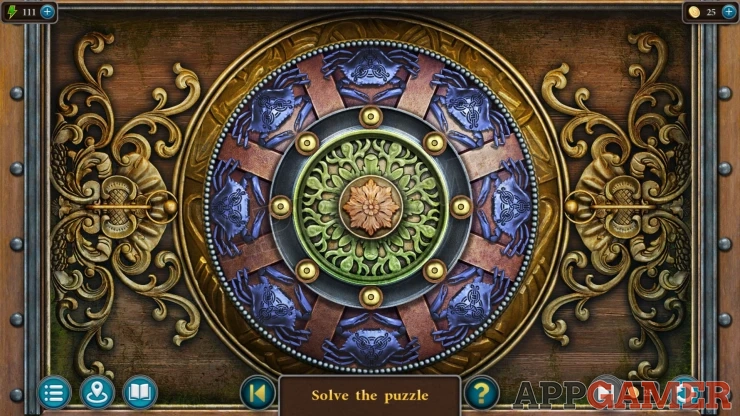
- There are eight crabs and eight balls around the circle.
- Tapping a crab will make it grab a ball from in front of it. This will also make the other balls rotate around the circle.
- You can also tap a crab to release a ball if there is an empty space in front of it.
- You need to get all eight balls into the crabs claws.
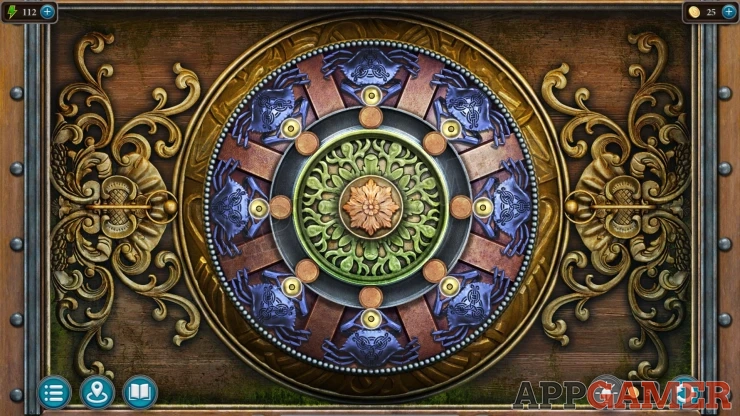
Once done the door opens and you can look inside the store room.
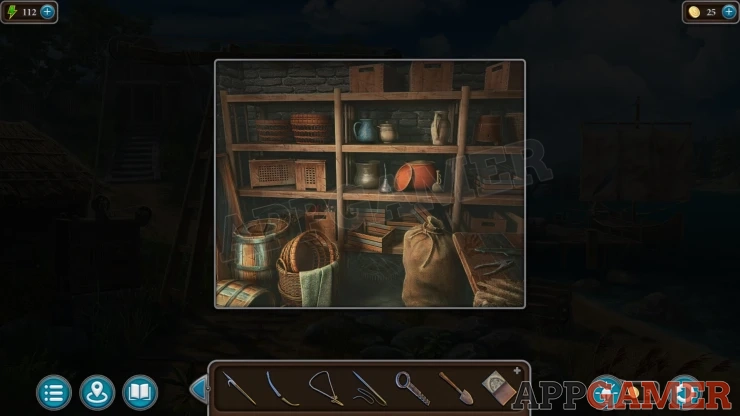
Collect some Oil from the center shelf and then collect some Pliers from the table on the right.
Now view the door to the main building, you have a key that you can use on the lock. The key breaks, now use the pliers on the lock to turn the broken key.

Then enter the boat house.
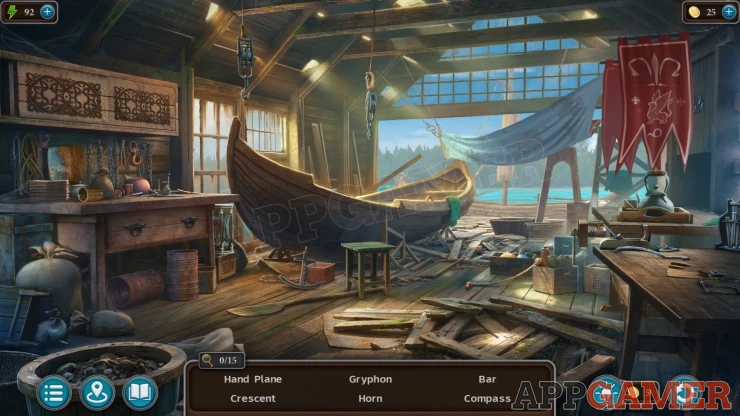
This is a hidden object scene, you need to find 15 items that will be listed at the bottom.
You will see six items listed at a time and you can only tap on those ones to collect them.
You will need to check various areas of the scene, some of the items are symbols or drawings, and many are hidden inside or under other objects.
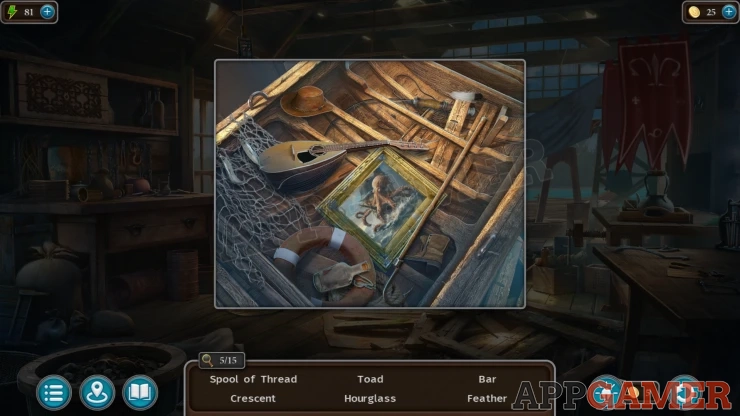
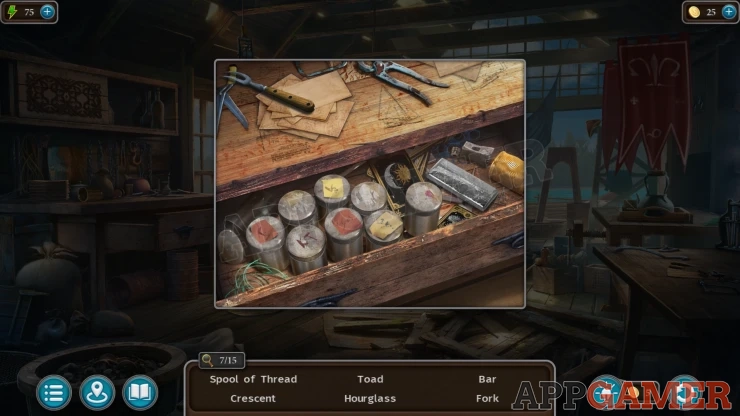
Once you find them all you will receive the Steering Oar.
Now view the boat that is at the dock.
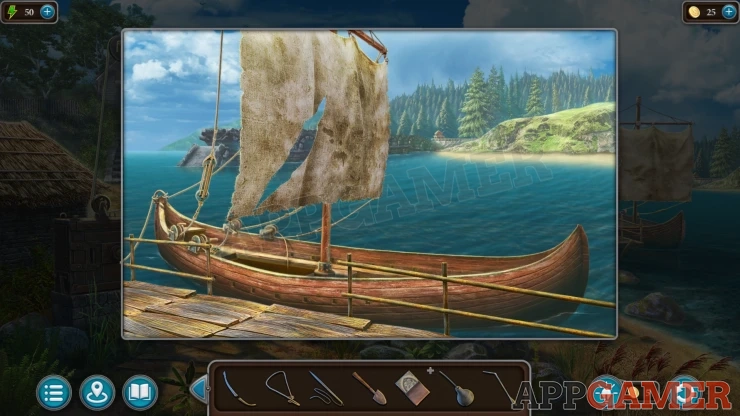
Tap on the Sail to see a tear in it, use the needle and thread to mend this.

Then view the back of the boat, and place the steering oar here.
The boat is now ready. Tap it to sail across the water to reach the forest.
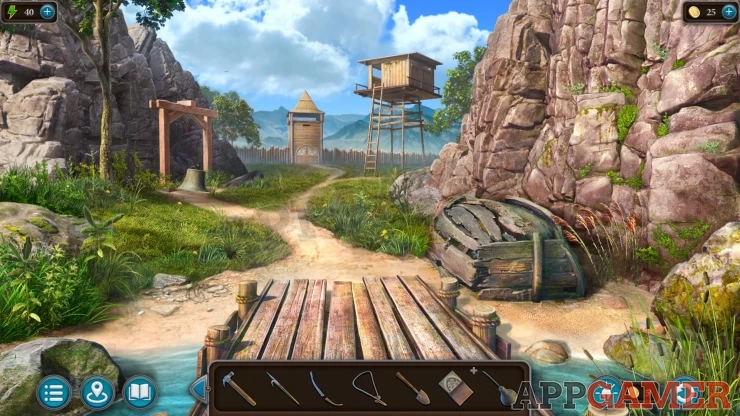
Collection Item: Fang, on the sand to the left of the wooden jetty. (4 of 7)
Morphing Object: Patch of green moss / plant on the rock wall on the right.
View a bell below a frame on the left of the path. Use the Shovel here to dig under the bell.
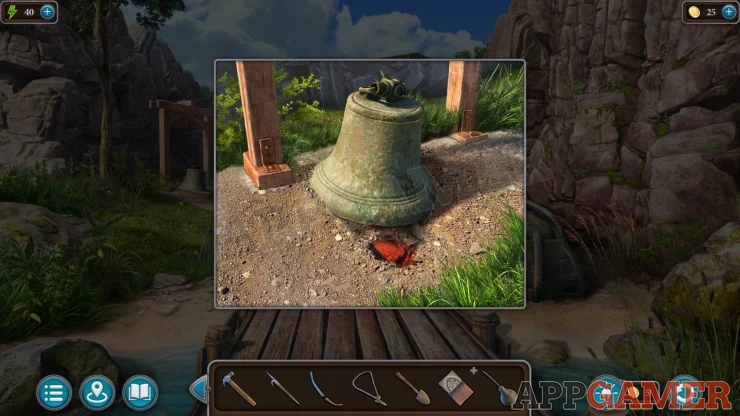
Open the cloth that you dig up and collect an Axe and some Nails.
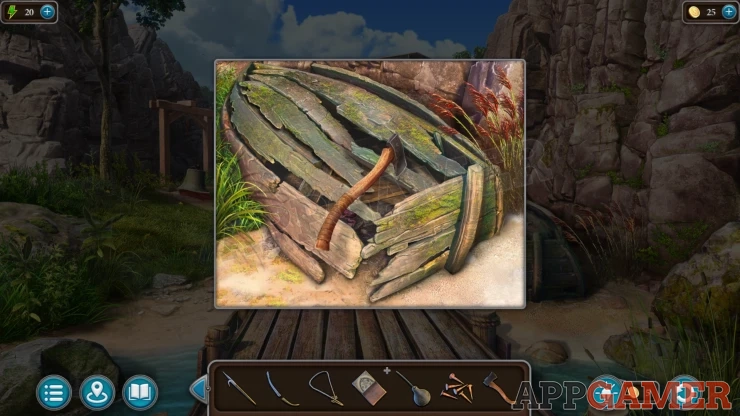
Next view the broken boat on the right. Use the Axe on this to break it open, then collect a Frog and some Boards (3 of 7).
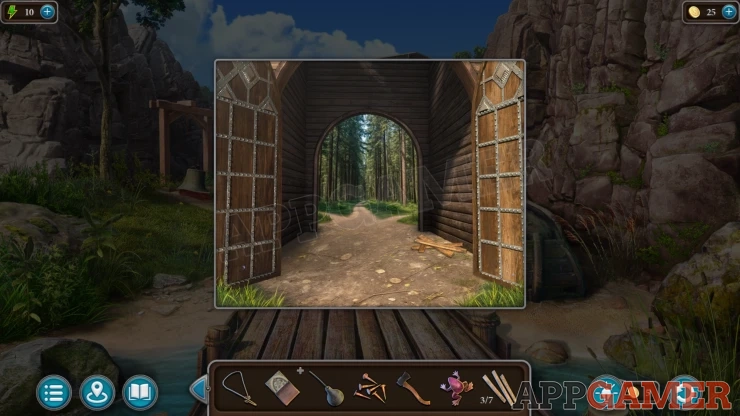
First move forward to the gate at the end of the path. Open the gate and collect some more Boards (7 of 7). You cannot proceed further yet.
Back up and tap on the observation tower on the right. The ladder is missing some rungs.
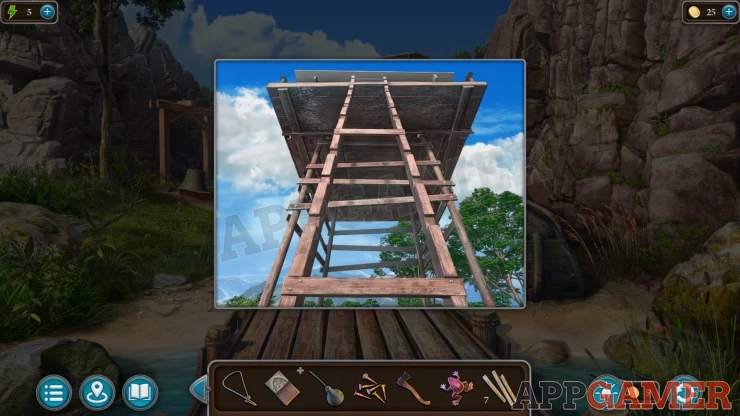
Add the boards to this and then the nails, then use the claw hammer to secure them.
Go up to the top of the tower.
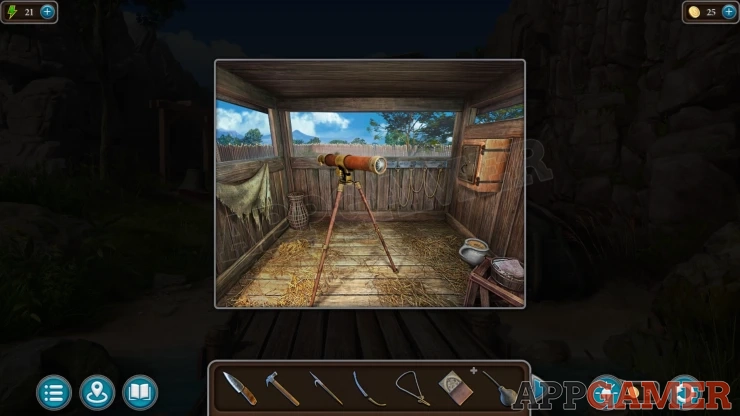
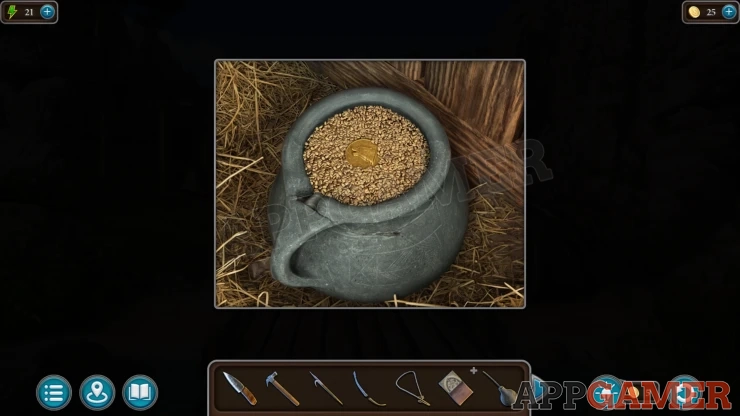
Look in a small pot on the right to find a Coin.
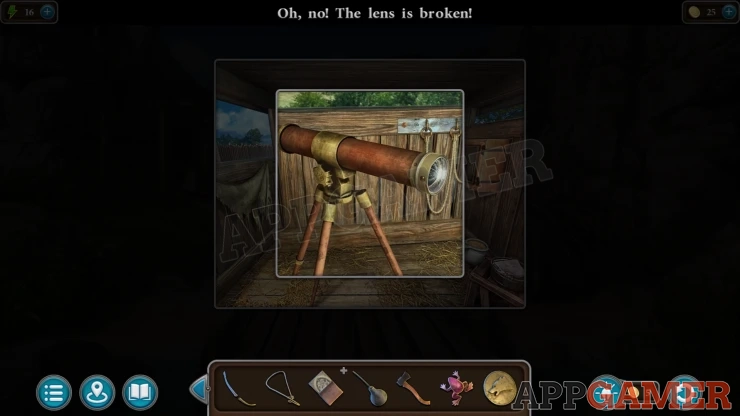
Then view the Telescope, to see that it has a broken lens.
Go back to the witches bedroom. Look on the desk on the left side to see a statue of a wolf.
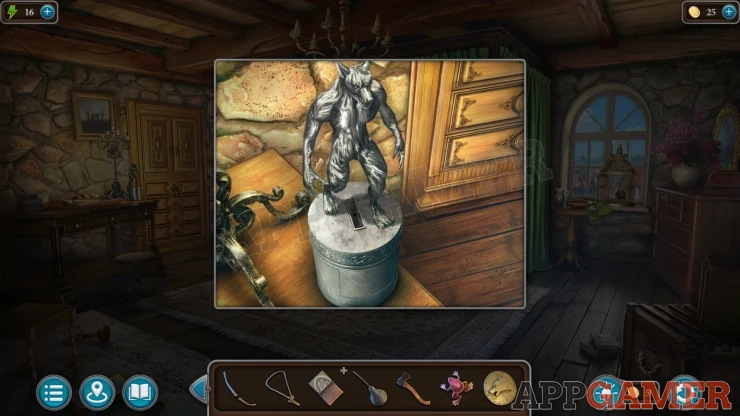
Place the coin into the slot and it will open, collect the Key chain.
Now view the tall cabinet to the right of the desk, there are three locked drawers. Use the key chain on the drawers to unlock them all, then you can collect a Lens from the bottom one.
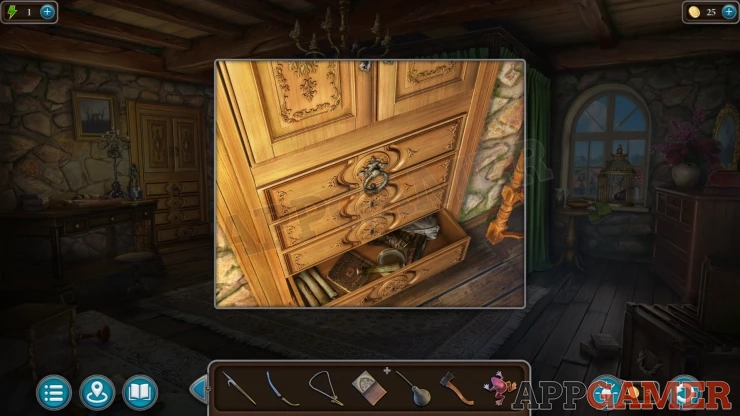
Next look on a roof beam above the tall cabinet. There is an item up there.
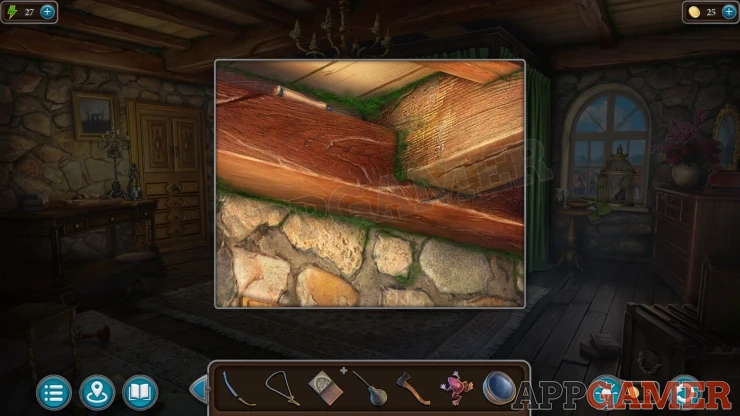
Use the Pike pole on this and you will collect the Screwdriver.
Go back to the watch tower in the forest. View the telescope and use the screwdriver on it to remove the old lens.
Now add the new lens and use the screwdriver again to secure it.
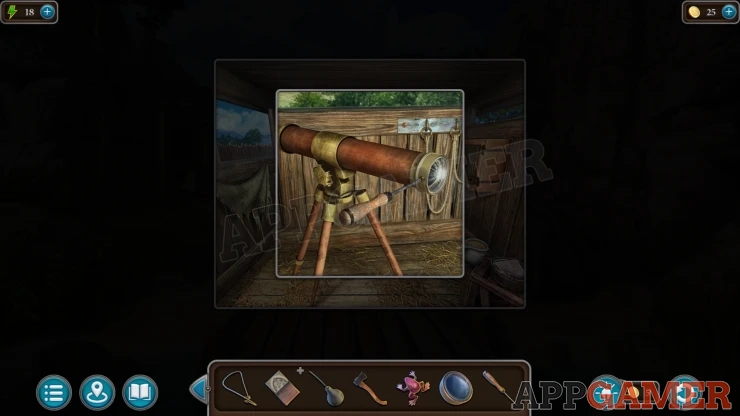
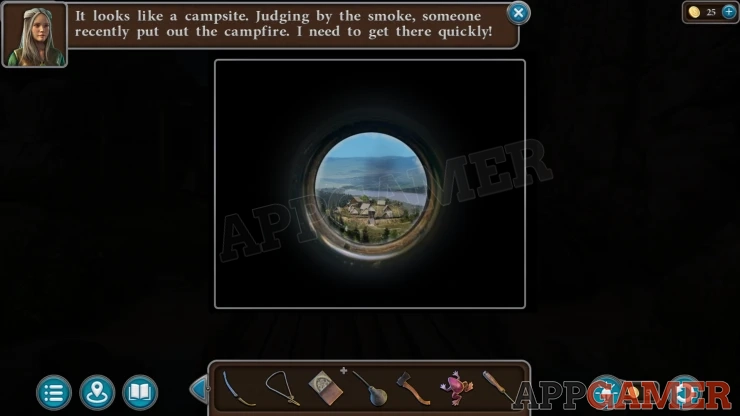
Use the telescope and you will look around until you find a campsite.
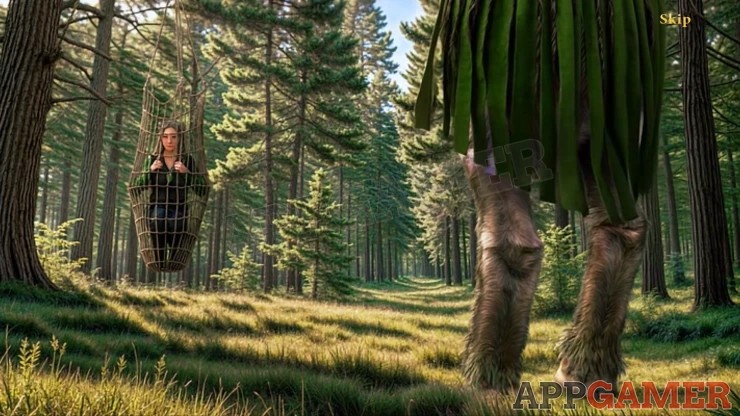
Now go down and head through the gate again to move forward. You will proceed through the forest until you are caught in a net and then released.
Continue the Guide in Chapter 1 Part 2
We have questions and answers related to this topic which may also help you: Show all