
Chapter 3 Walkthrough - Part 2
More Legendary Tales 4
This is our full walkthrough for Legendary Tales 4 - Map of Hope. The latest in the series of games from Five BN. This guide includes all collectible item locations as well and hints and solutions for puzzles.
This is the second part of the guide for Chapter 3, In Chapter 1 you went in search of a werewolf camp to help your brother and met with Nimble who is helping you track them down. Then in Chapter 2 you played as a rebellion scout who aims to stop the spread of the witches maps.
Chapter 3 - The Map of Hope - Part 2
In the first part you prepared the ship for the voyage and then found a way out of the temple to reach the island. Now you need to continue looking for the werewolves.

Collection Item: Flag, on the end of the half bridge on the left. (4 of 9)
Morphing Object: Butterfly/flower on the lower right.
Move forward over the bridge to the town gate
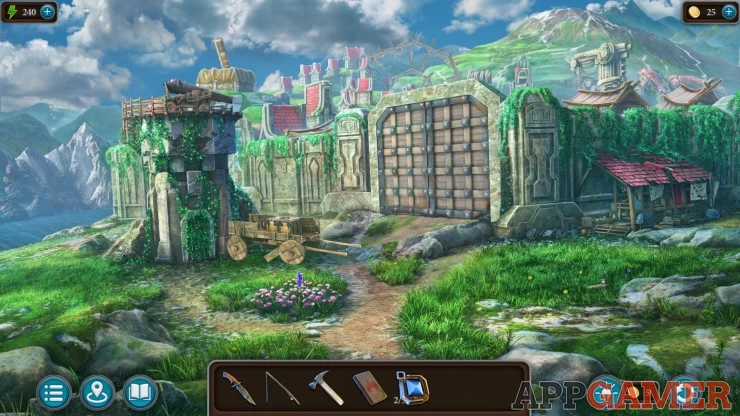
Task - Reach the Town
Collection Item: Screw, in the grass by some rocks on the right. (4 of 7)
Morphing Object: Small red roof on a high building above the gate.
Look inside the building with the red roof on the right side of the gate.
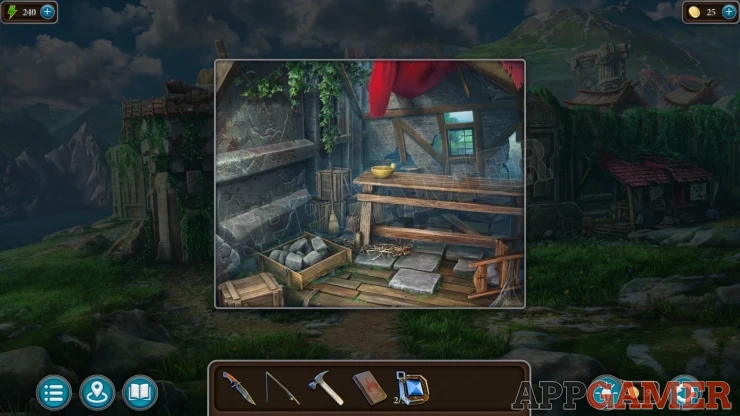
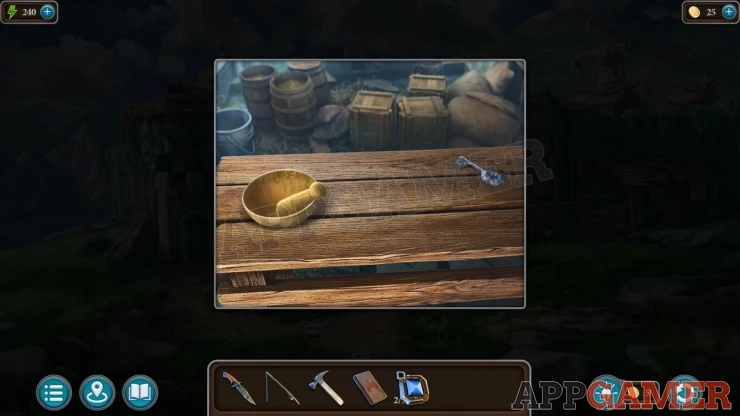
Then view the table and collect a Key.
Then view a Cart on the left of the gate to find a yellow box.
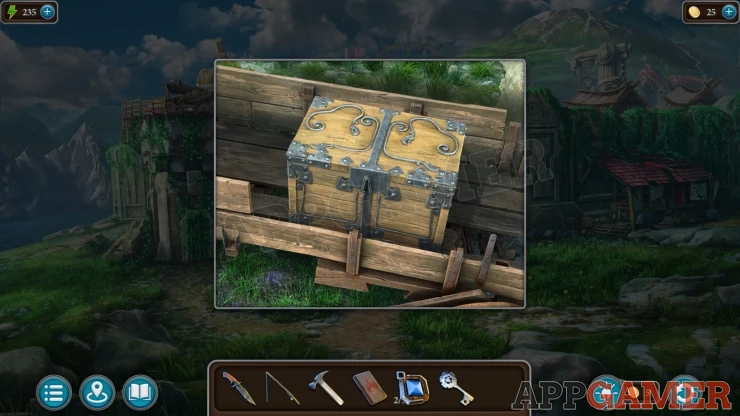
Use the key to open this and collect a Glove and a Diamond (3 of 3)
Back up and return to the first room of the temple. On the left is a stack of three stones that have red slots on the front.
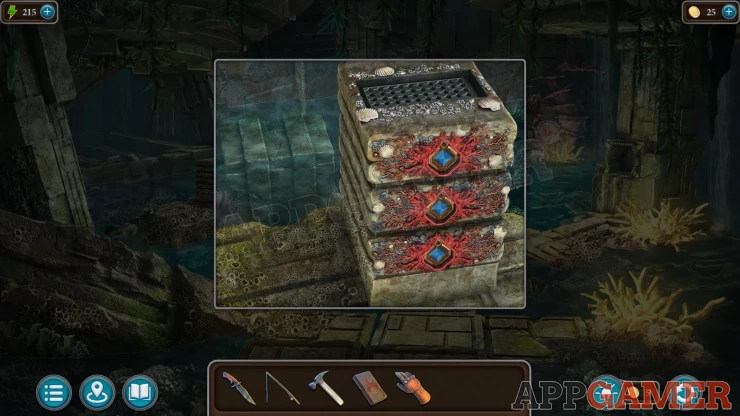
Add the three diamonds to the slot and then you will have a puzzle to solve.
Diamond Puzzle
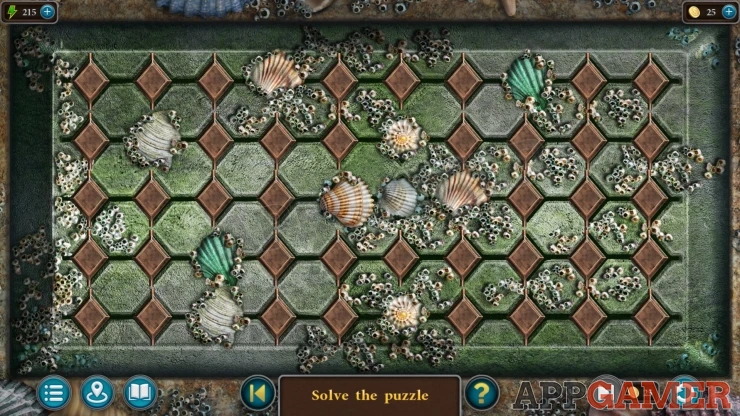
- Tap the diamond shapes to turn them over to the blue side.
- After each turn you will see others that you can turn over,
- When you turn a diamond it will also turn over any highlighted diamonds that are connected to it in a straight line.
Once done a stone plinth appears, look at the top and it will open for you to collect a Detail.
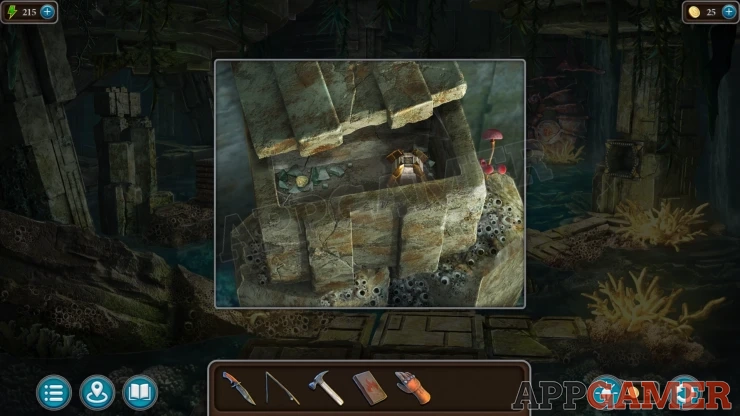
Go back to the town gate and then tap on the tower to the left of the cart to see a doorway covered with vines.
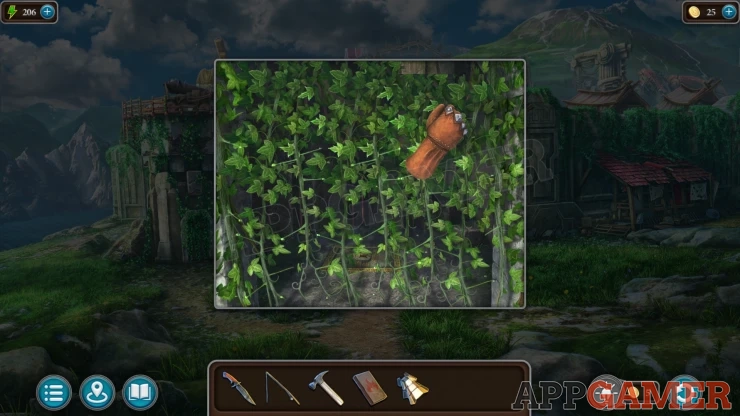
Use the glove on the vines to clear them away and then you can view a panel in the floor of the tower.
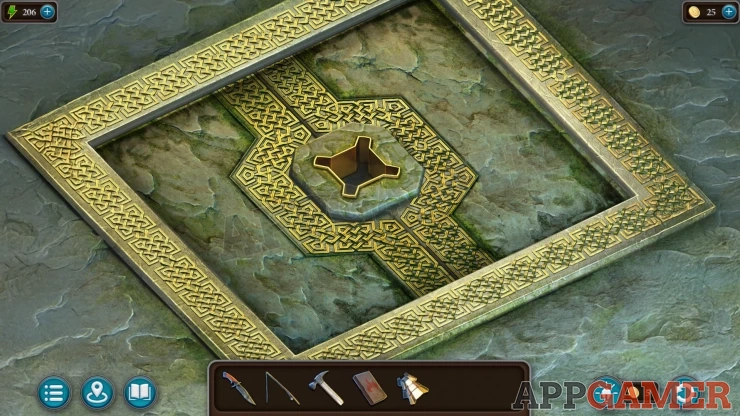
Add the Detail to the center to open the panel and find a puzzle.
Tower Puzzle
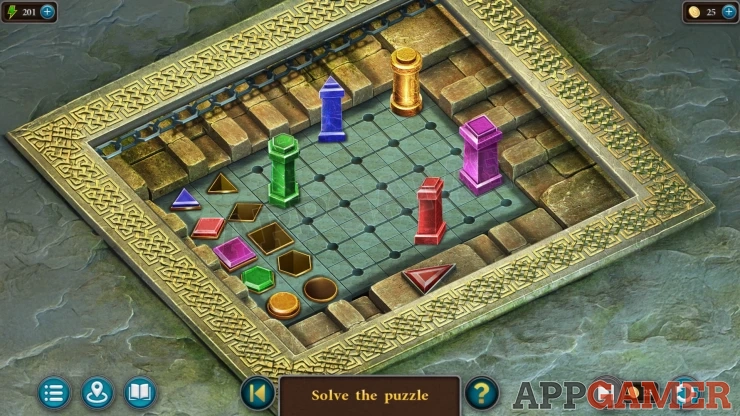
- There are five colored towers on the board, these need to be moved to line up next to the matching colored slots on the left.
- Tap one of the colored buttons on the left to activate a color path on the board. There are five different paths.
- With a path highlighted, tap the arrow button to move any towers on the path around it in a clockwise direction.
- Arrange all of the towers as shown.
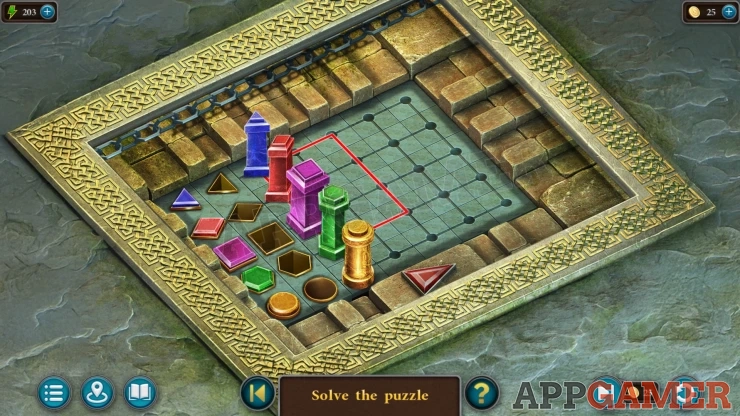
Collect a Valve wheel and the Cannonball and Gunpowder.
Tap the steps of the tower to go up to the roof. Collect a Belt from the railing on the left of the cannon.
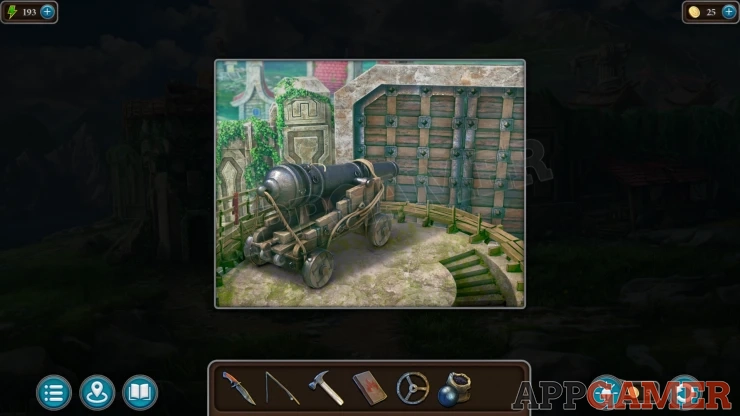
Open the back of the cannon and then add the cannonball and gunpowder to it.
Then use the matches to light the fuse.
This will make a hole in the gate.
Go through and talk to the man inside. You need to make an ointment for him. He gives you an Ointment Recipe.
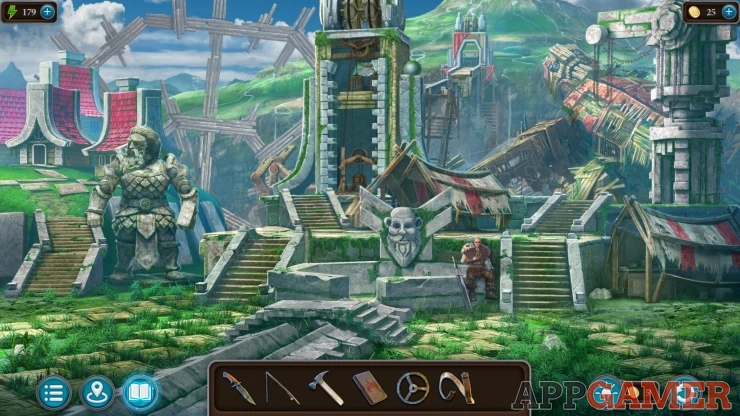
Task - Prepare the Ointment
Collection Item: Flag, under a red and white roof just above where the man is sitting. (5 of 9)
Morphing Object: round / triangular stone block on the right side of the central tower.
View the broken structure on the lower right with the red and white roof.
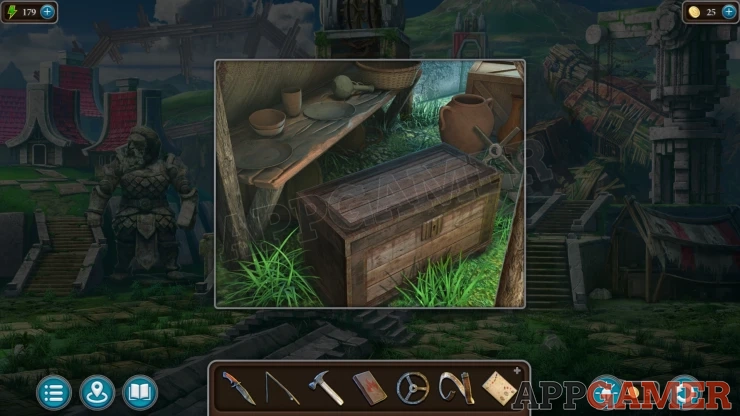
Collect a Handle from the right of the box.
Then view the bottom of the center tower, there is a lift mechanism. Add the Handle to this.
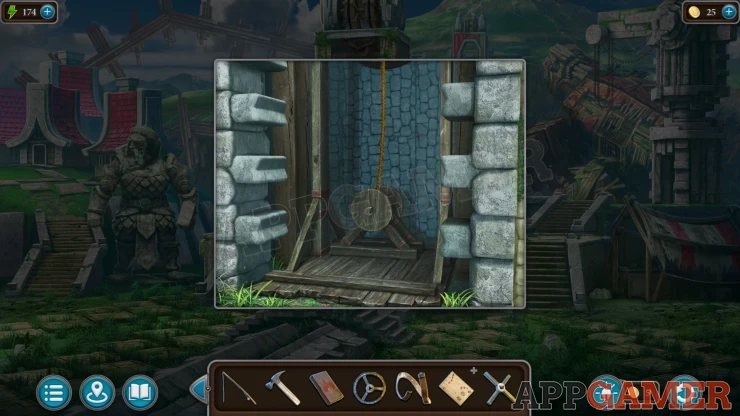
Use the lift to go up to the top of the tower.
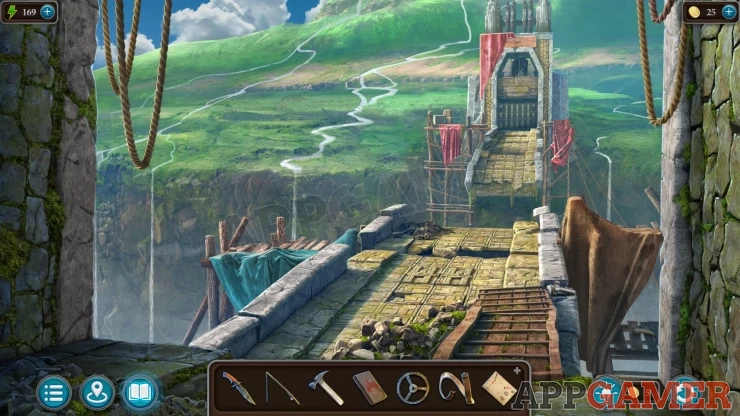
Task - Cross the Bridge
Collection Item: Screw, on the stones on the right edge of the nearside section of bridge. (5 of 7)
Morphing Object: Tooth/Claw on a small platform on the bottom right.
Tap the edge of the bridge to look down over it.
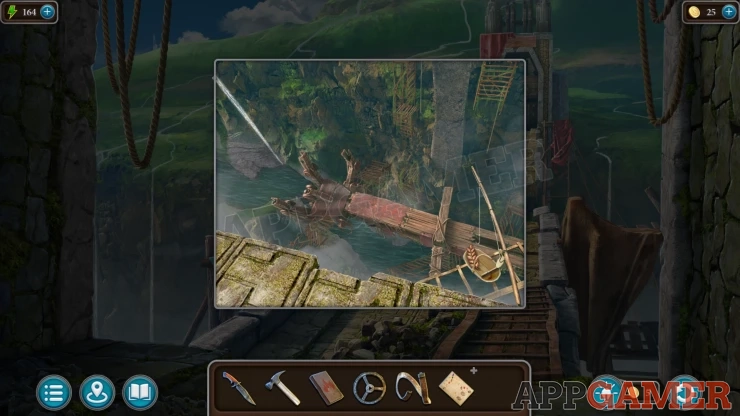
Use the Fishing rod here to pull up the small basket on the right.Then collect a Handle and a Spikelet (1 of 2).
Now go back down to the town and then tap the steps on the far left to go up to the area with the red roof houses.
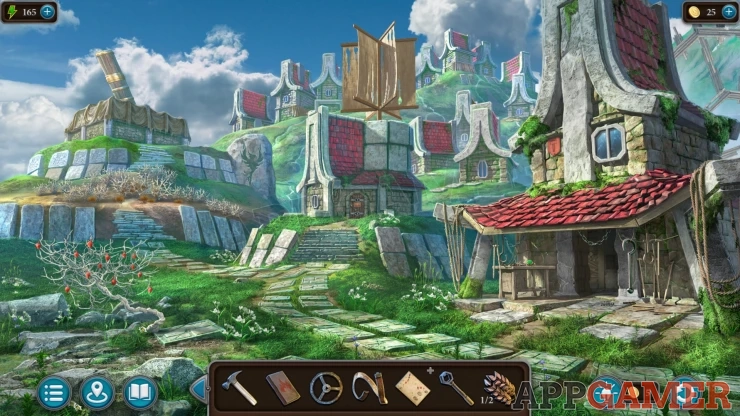
The center building is a mill with sails above it.
Collection Item: Flag, On the front of the house on the right. (6 of 9)
Morphing Object: Window on a small house to the right of the mill building.
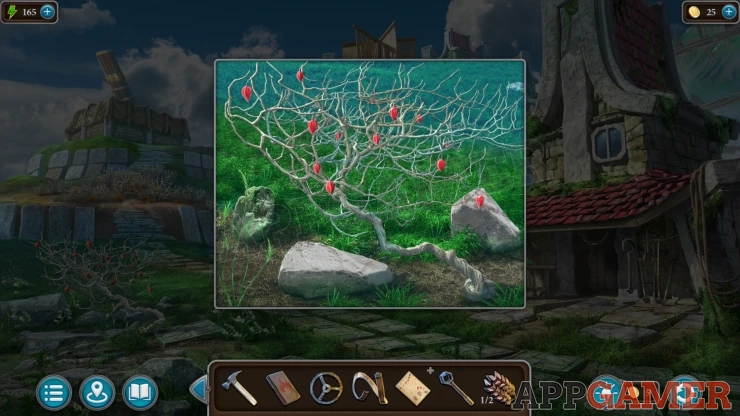
View the bush on the left with the red fruits. Collect from here a Cape Gooseberry.
Then view the dry bushes on the hill on the top left. Use the matches on the dead bushes to burn them.
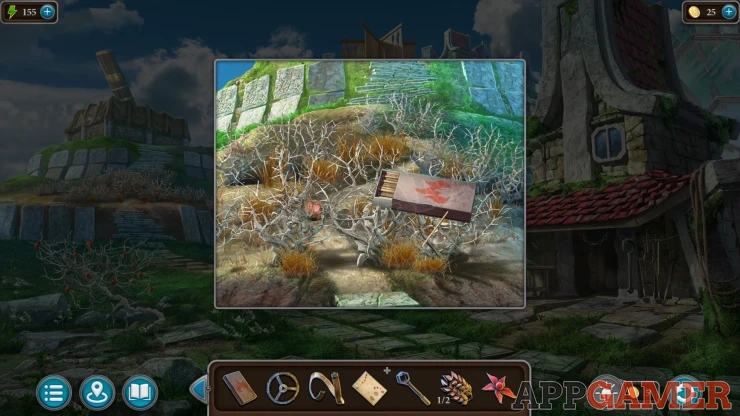
Then you can collect a Gem (1 of 3) .
View the table in front of the house on the right. Collect from the table another Gem (2 of 3).
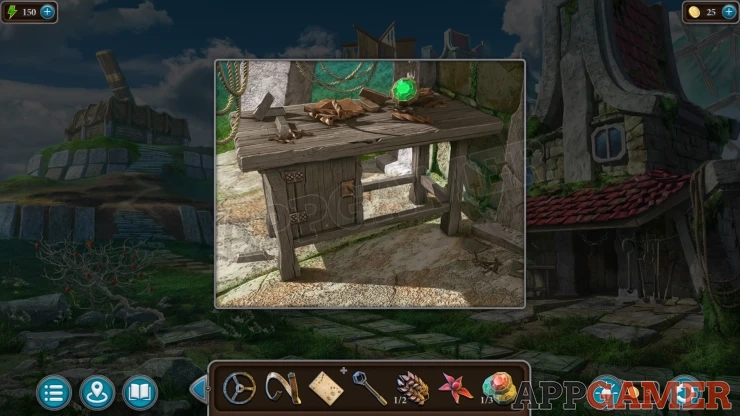
Then tap the door of the house on the right to go inside. This is a workshop or forge.
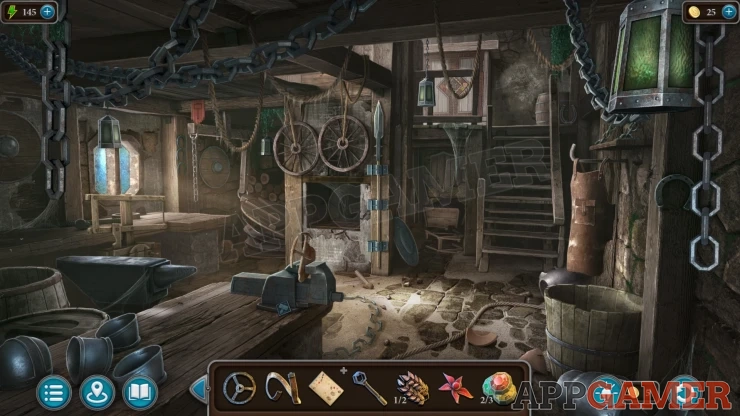
Collection Item: Flag, hanging on a roof beam on the left by the window. (7 of 9)
Morphing Object: horseshoe/magnet to the right of the top of the stairs.
View the vice on the bench in the bottom center.
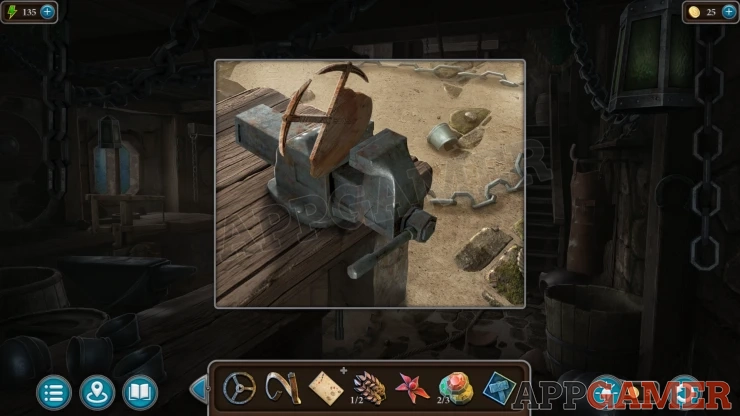
Collect the Tile and then add the Handle to the vice, you can then collect the Detail (1 of 2).
Now view another workbench under the window on the left. Place the detail on the bench.
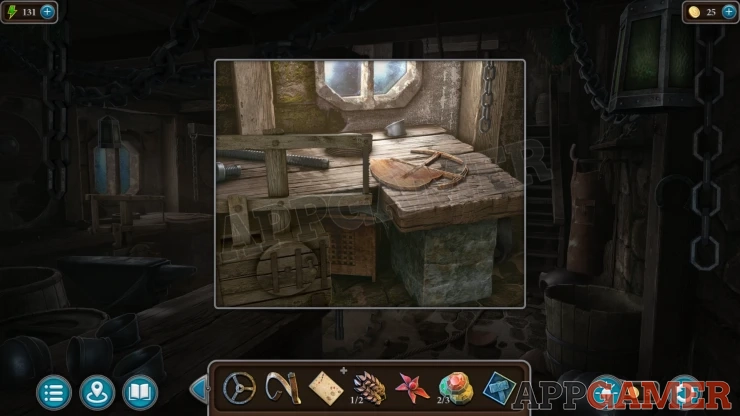
Tap the wheel on the lower left to operate a saw and this will cut the detail to finish it. Collect the Detail (1 of 2) again.
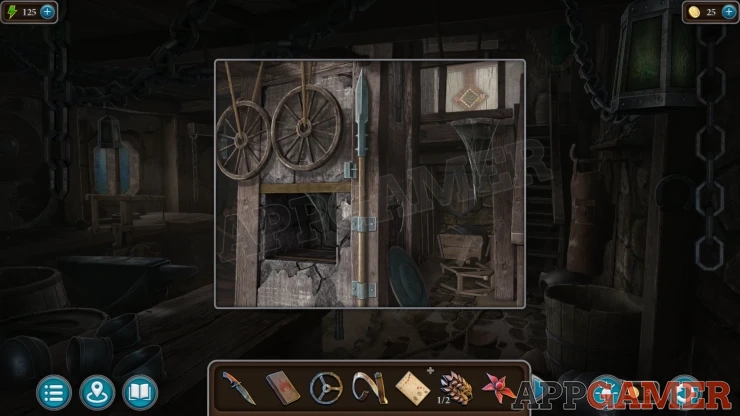
Next view a spear that is fixed to the wall by the fireplace. Use the Hammer on this and you will be able to collect the Spear.
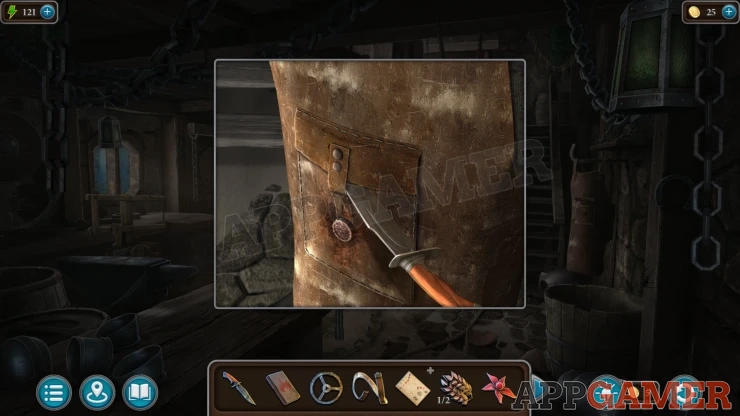
View the apron hanging on the wall on the right. Use the knife to cut open the pocket and collect another Spikelet (2 of 2).
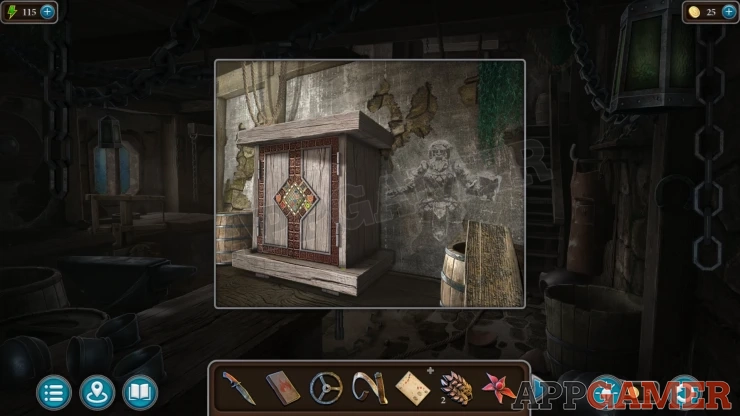
Tap the stairs to look at the room at the top. Notice on the wall is a drawing of a figure, this is a clue.
Back up and now view the door to the Mill.
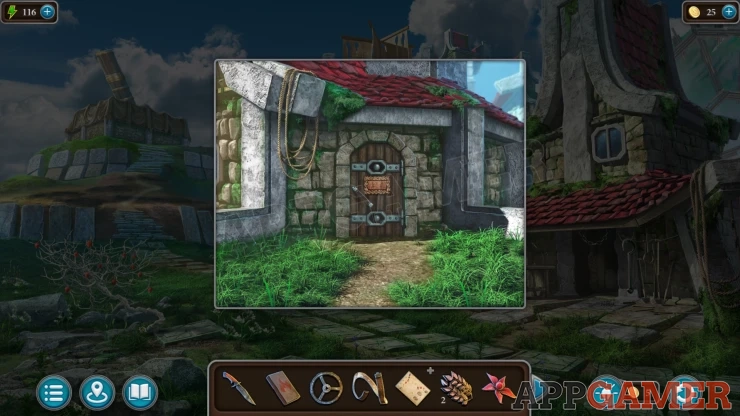
Place the two spikelets to reveal a puzzle.
Mill matching pairs puzzle
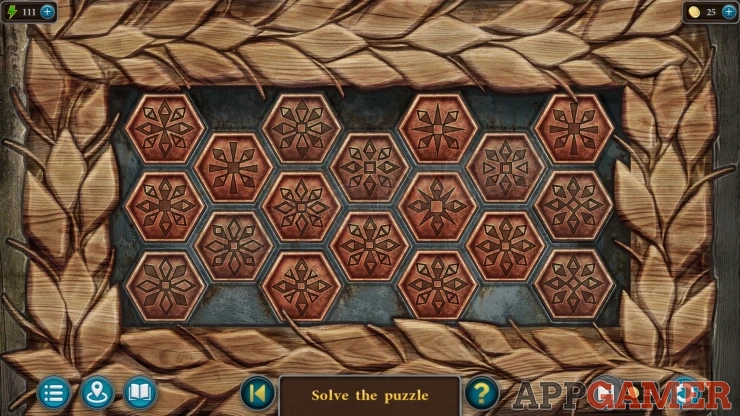
- This is a pattern matching game.
- Find pairs of matching symbols to tap and clear them from the board.
- Some will be replaced with other symbols.
- Keep matching symbols until all of them have been cleared.
You can then enter the Mill.
Collection Item: Screw, on the floor to the right of the center shaft next to the trapdoor. (6 of 7)
Morphing Object: Shoe/spur by a wooden post on the left next to a red bucket.
View the back of the mill room on the right side. You will find a grain storage area with an empty sack. Place the valve handle on the chute and turn it, you can then collect the sack of Grain.
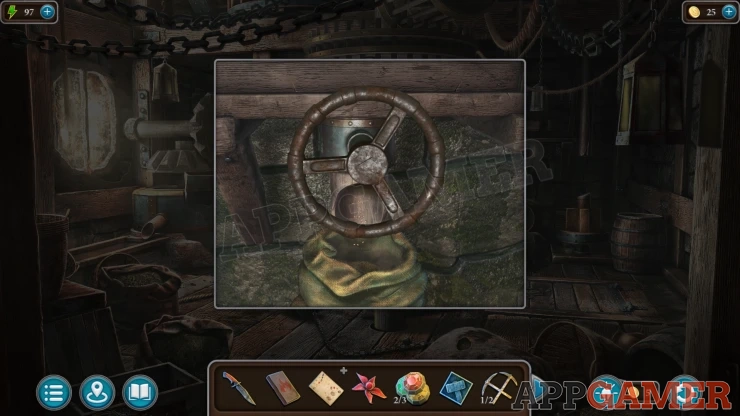
Then view the mechanism on the top left, it needs some repairs. Add the belt to it to connect the wheels.
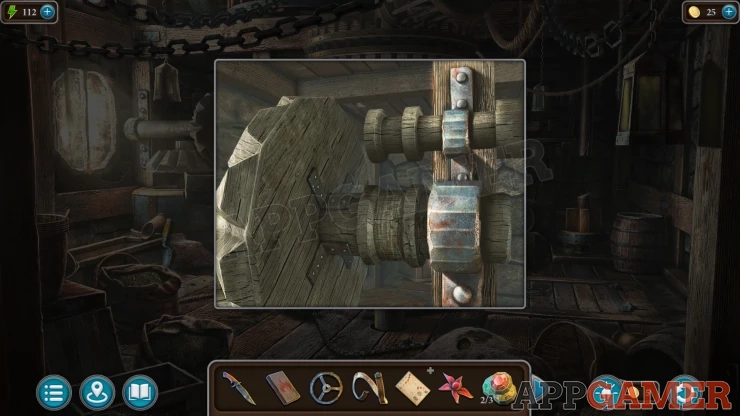
Then view the chute below the mechanism on the left. Collect the Garden Trowel.
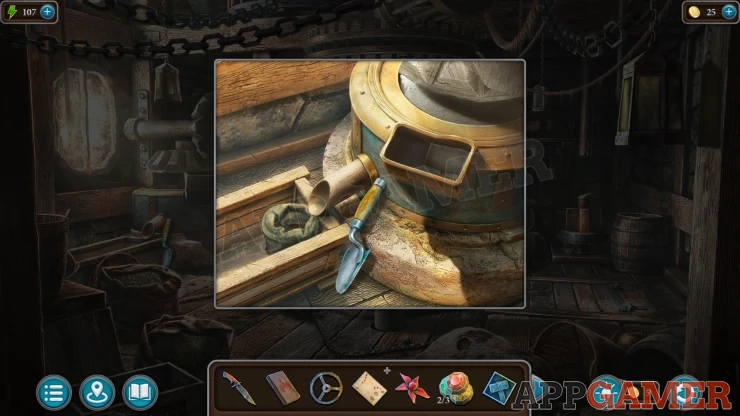
Add the Grain to the grinder and you can then collect some Flour.
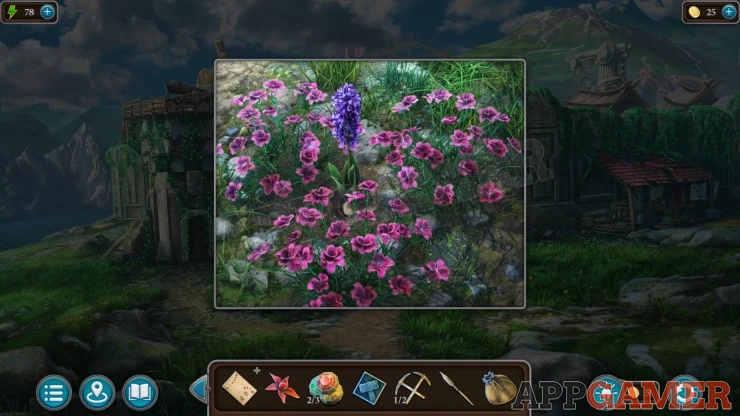
Back up to the outside of the town gates and view a patch of flowers on the ground in front of the cart. Use the trowel here to dig and collect the blue Bulb of Recinth.
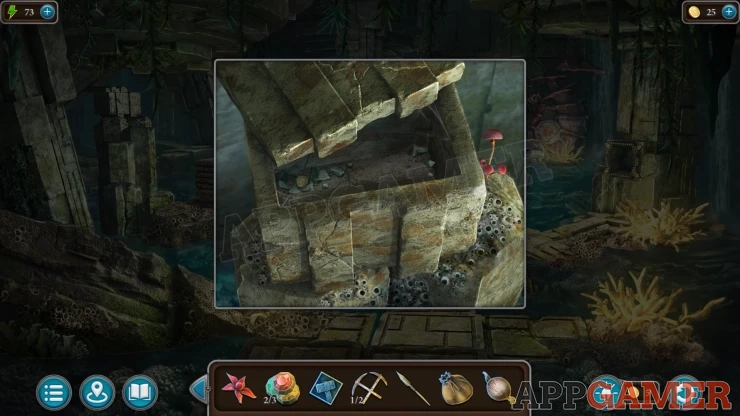
Go back to the temple, the the first room that you arrived in. Loom on the stone plinth on the left and you can collect some Water Mushroom.
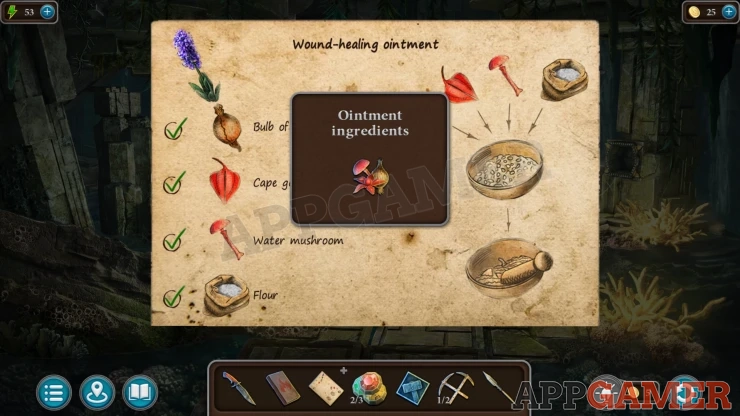
View the Ointment recipe in your inventory and then add the items to it, you will collect the Ointment Ingredients.
Return to the gate of the town and look again in the building on the right with the red roof. View the table and place the ingredients onto it.
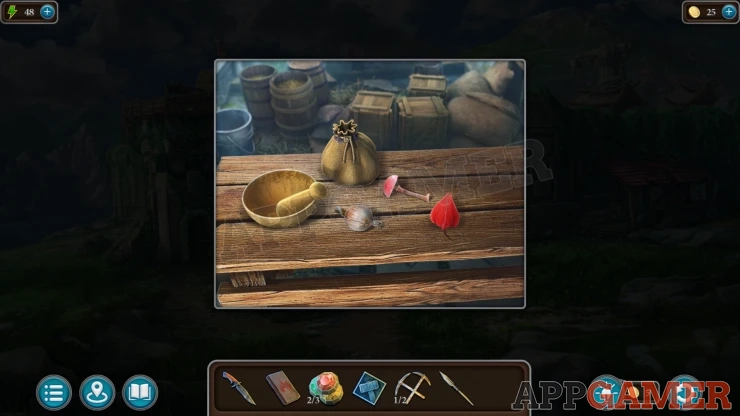
Add the ingredients to the bowl and they will be crushed into the Ointment that you collect.
Go back into the town center and give the ointment to the injured man.
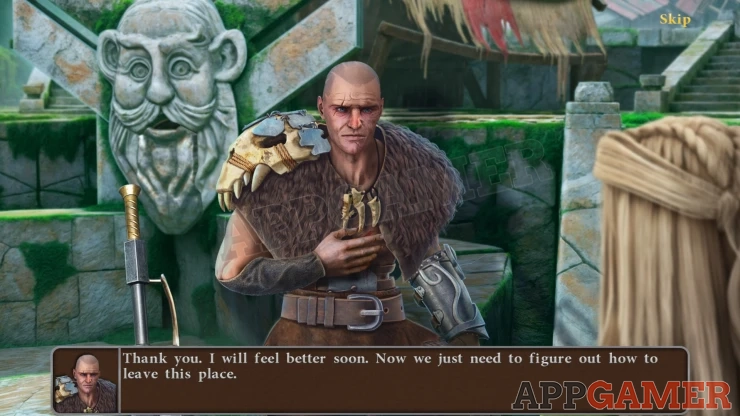
After the conversation he will give you a Gem (3 of 3).
Task - Activate the Golem
View the statue on the left, add the three gems to the slots on the right.
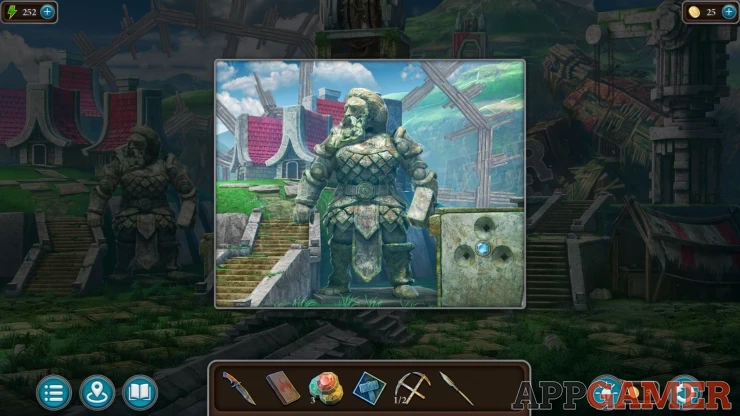
Now you can tap the statue arms to move them. Position them according to a clue you saw previously.
Solution: This may be different for your game, check the clue up the stairs in the workshop.Show
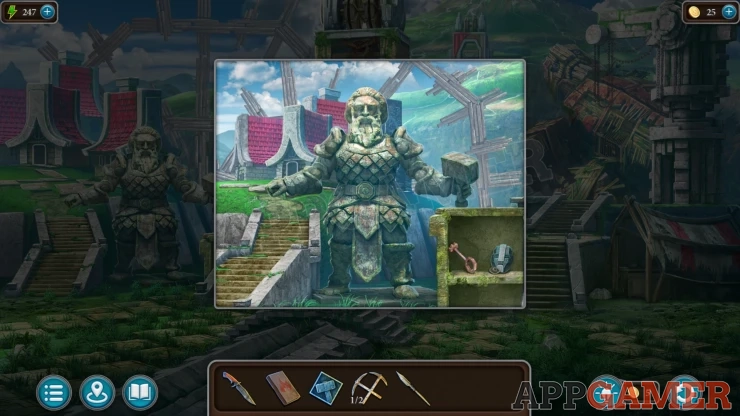
You can then collect a Key, a Mask and an Eye (1 of 2).
On the right of the center tower is the collapsed frame of the mechanical Golem. There is a wooden path leading up to a gate on the front. View the gate.
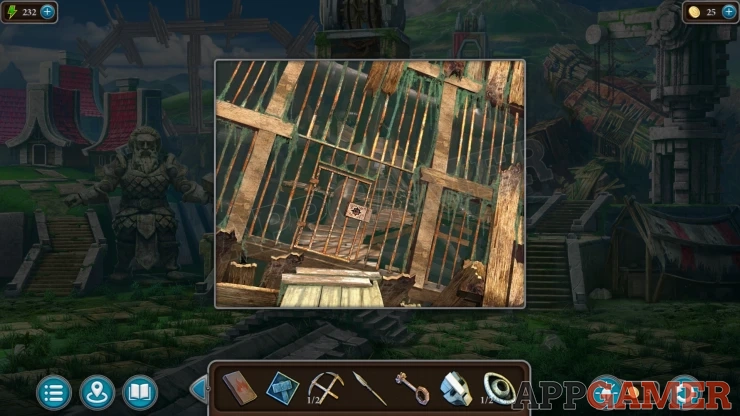
Use the Key to unlock it and then you can go inside.
Task - Collect the Crystals
You view the heart of the Golem. Collect a Key.
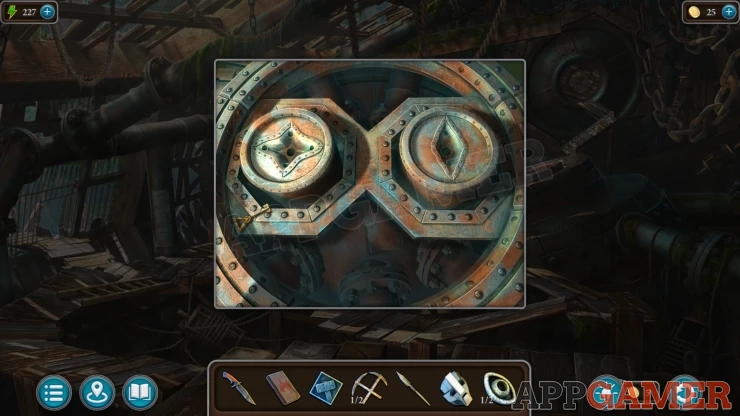
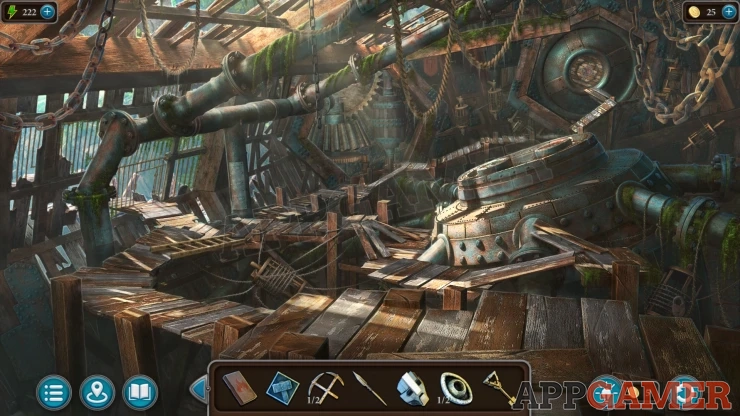
Collection Item: Flag, below a wooden beam at the back, top center of the scene. (8 of 9)
Morphing Object: Padlock / chain link on the floor on the bottom right.
Collect a Ladder from the walkway on the left.
Back up to the center of town and then go to the left again to the Mill. View the building on the hill on the left.
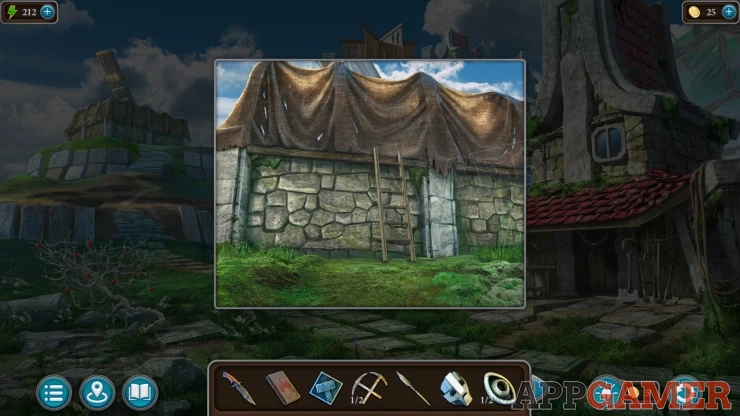
Place the ladder on the wall, then you can view the fabric at the top. Use the knife on this to cut a hole. Enter the Observatory.
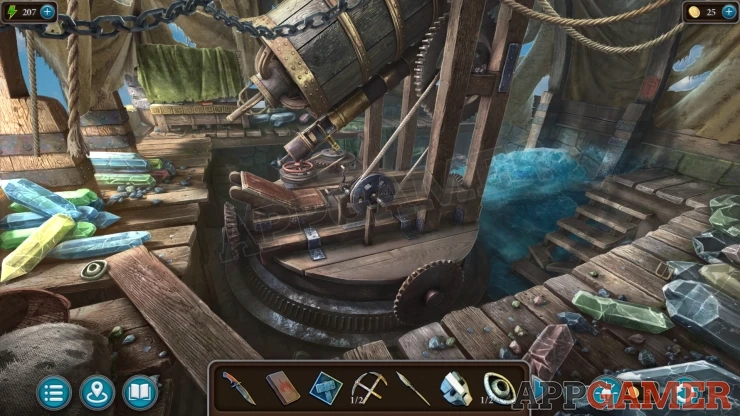
Collection Item: Flag, on a wooden beam at the back, on the right side of the telescope. (9 of 9)
Morphing Object: Buckle/coin the floor by the crystals on the bottom right.
Collect an Eye from below the pile of crystals on the left.
View the green cloth at the back to the left of the telescope. Behind it is a puzzle.
Constellation puzzle
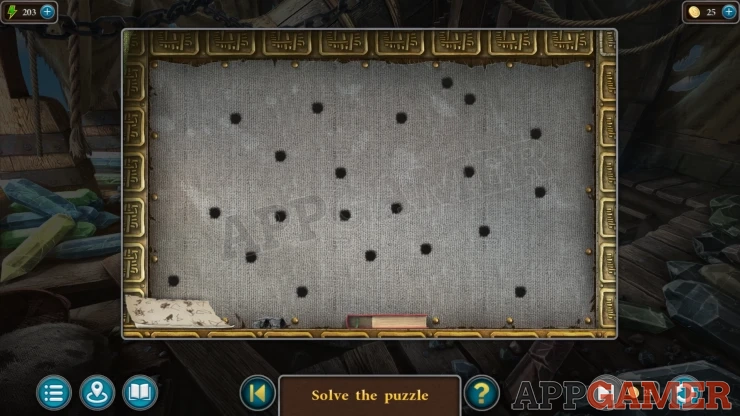
View the paper on the lower left to see a set of constellation diagrams.
Now tap the points on the board to draw the matching constellation outline using one continuous line.
Solution: Show
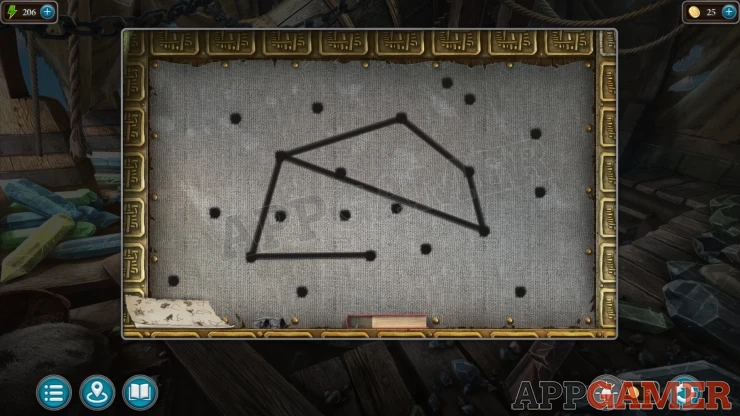
Collect a Helmet and a Key.
Travel back to the central village area and view the head statue on the center.
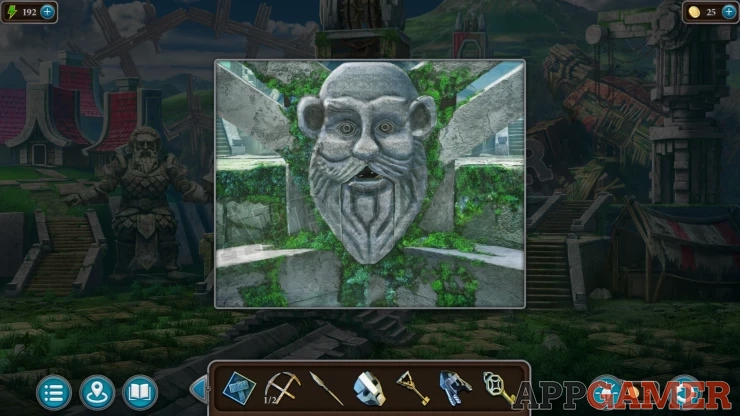
Place the two eyes into the head sockets, you can then collect a Lens.
Then view the small structure on the right with the red and white roof. Use the Key to open the large wooden box. Collect a Screwdriver and a Weight.
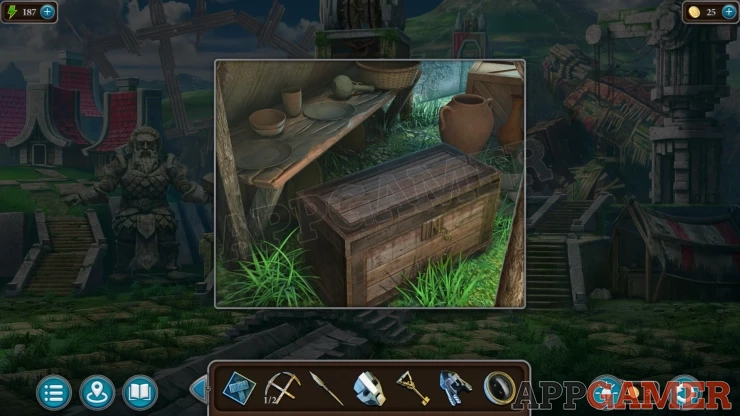
Move to the left side of the village and view the outside of the workshop building. Use the screwdriver on the cupboard door of the table there to remove it.
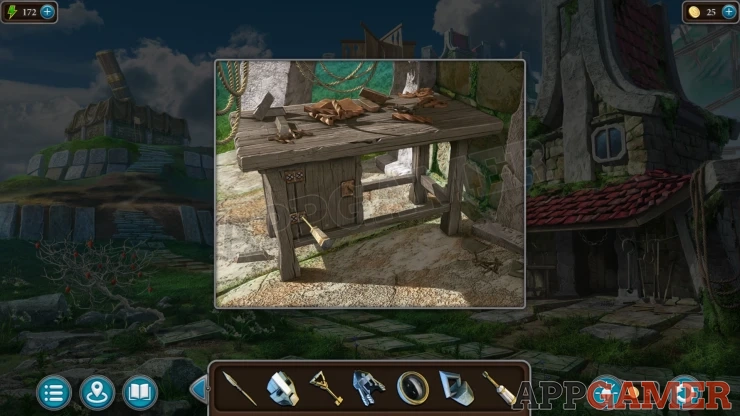
Collect an Amphora (1 of 2), and some Pliers.
Then enter the Mill building and then you can view a trapdoor in the floor on the right.
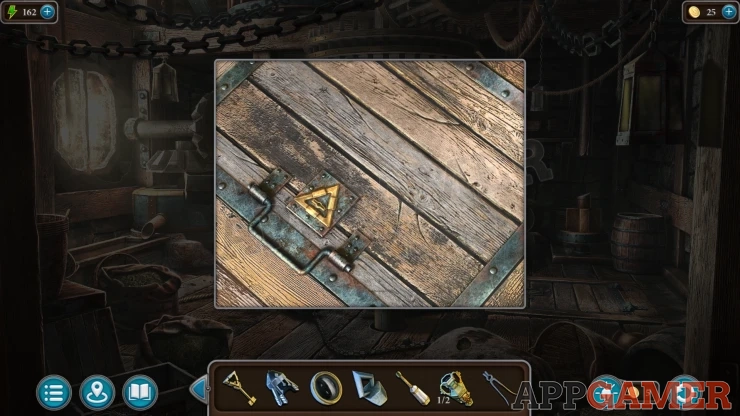
Use the triangular key on the lock to open it, collect an Amphora (2 of 2).
Go back into the sunken temple and to the room with the statue.
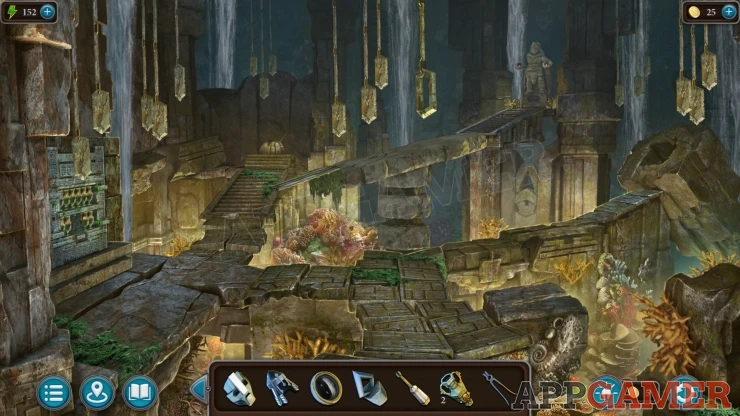
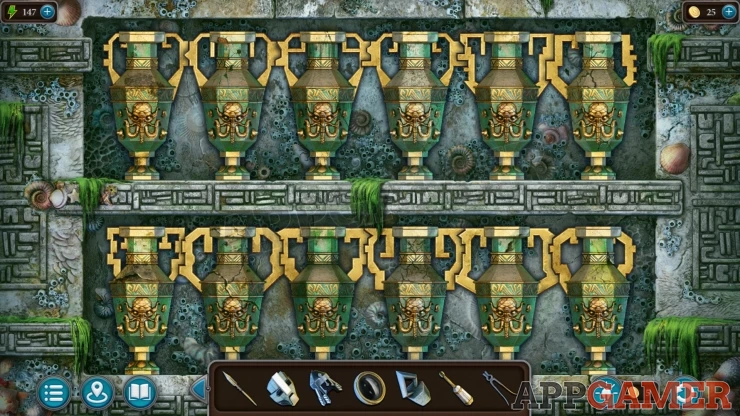
On the left wall is a shelf with some more amphorae on it. Place the two that you have.
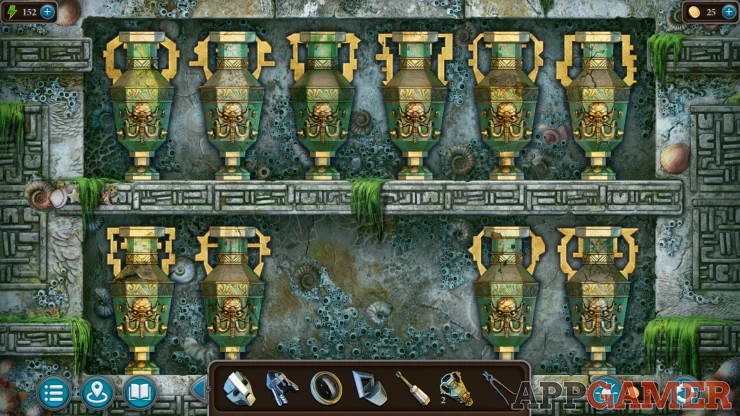
Amphora Puzzle
Each of the amphorae have different handles.
Tap to swap pairs of them and arrange them so that the handles all connect together.
Solution: Show
Collect a Mirror.
Return to the Observatory and view the telescope.
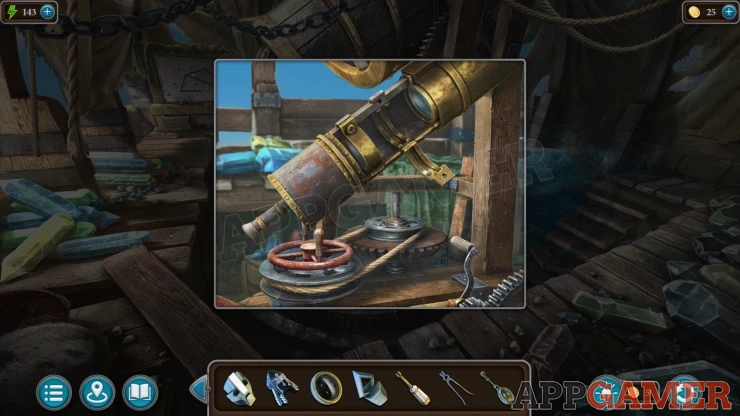
Add the lens to the center and then use the screwdriver to secure it.
Then you can look through it.
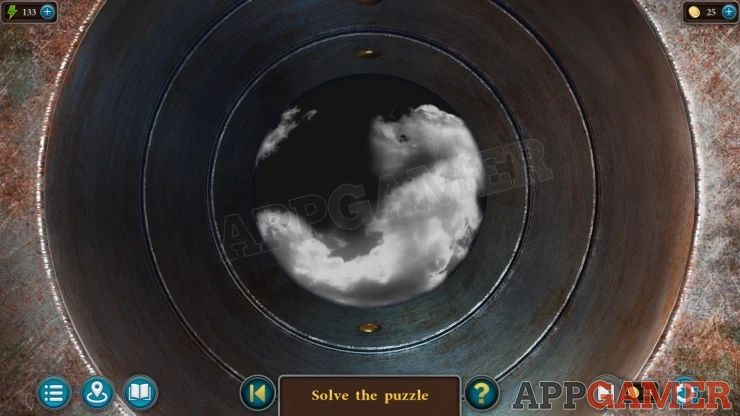
Telescope puzzle
You just need to scroll around the view to find the sun.
Next add the mirror to hang is at the back of the telescope. Then view the barrel of the telescope again and open it.
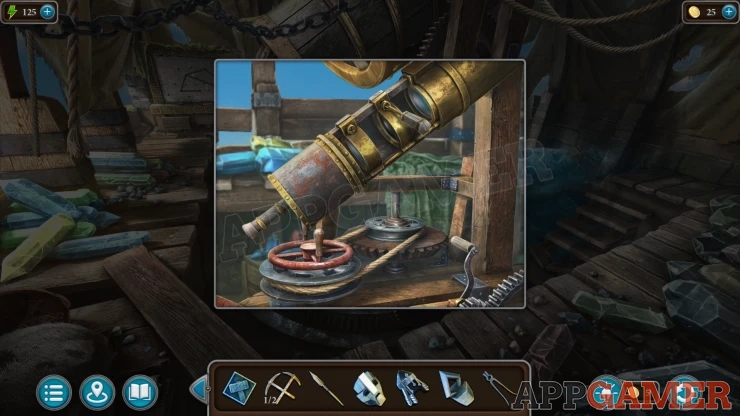
Use the screwdriver to remove the lens you added to allow the sunlight to pass through fully.
The beam will now melt the ice. Use the Pliers to collect the Ice Crystal.
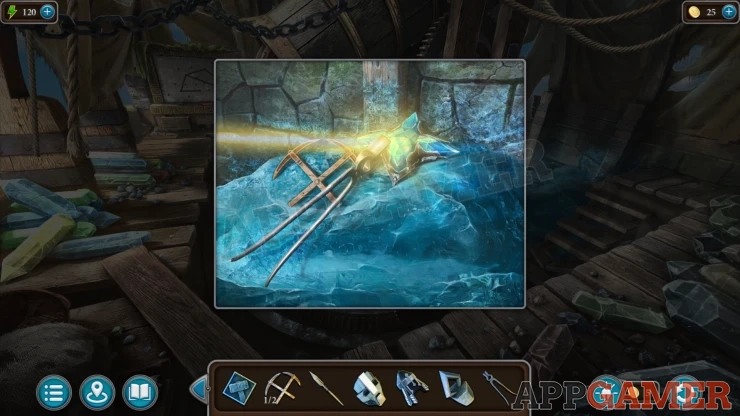
And then also collect the Detail (2 of 2).
Go back to the center of town and view the tower on the far right.
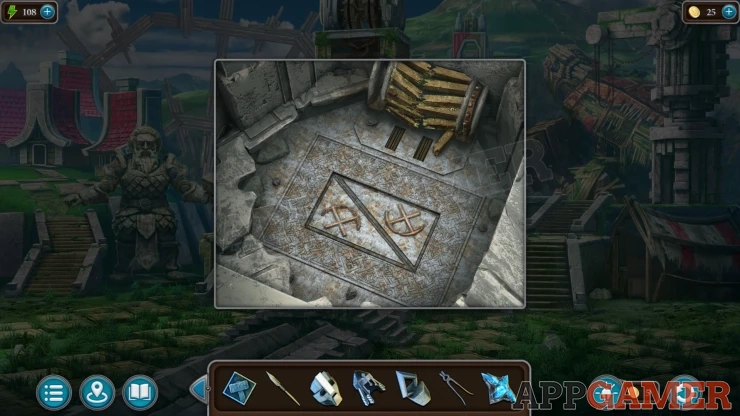
Add the two details to the slots in the panel, then you can open it to find a puzzle.
Tiles Puzzle
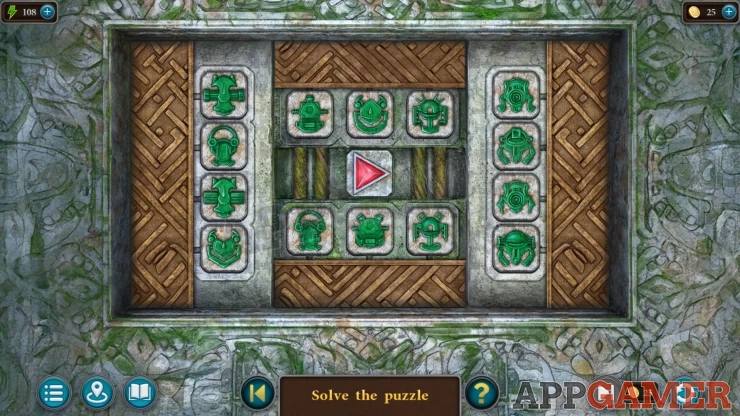
- There are 14 green symbols on tiles arranged in groups.
- Tapping the red button will reveal connected groups of symbols that are hidden.
- Tap pairs of green tiles to swap them around and arrange them to match the connected hidden symbols.
Solution: The arrangement of symbols can be different for your gameShow
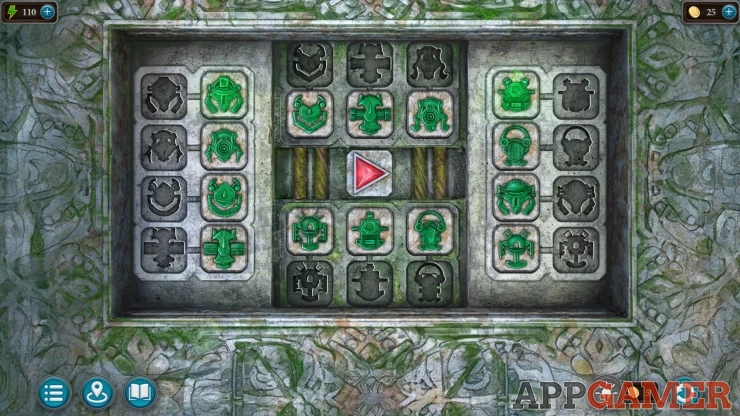
Now you can use the pliers to collect the Fire Crystal.
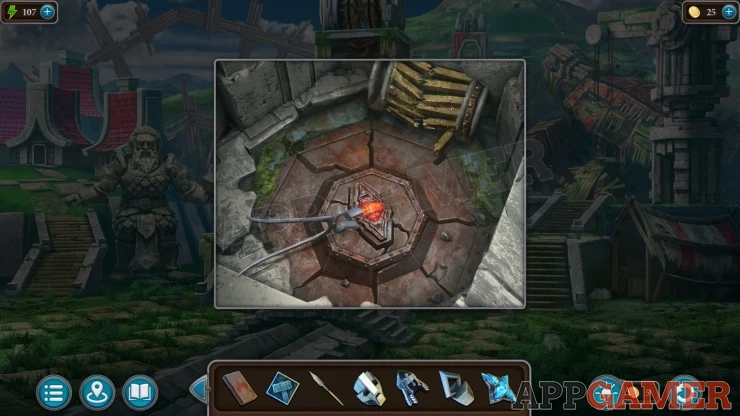
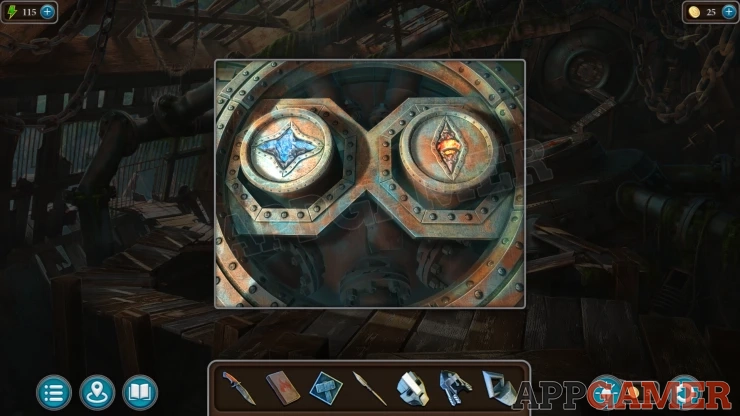
Go back to the interior of the Golem again and view the round metal heart on the right. Place the two crystals here to restore the power.
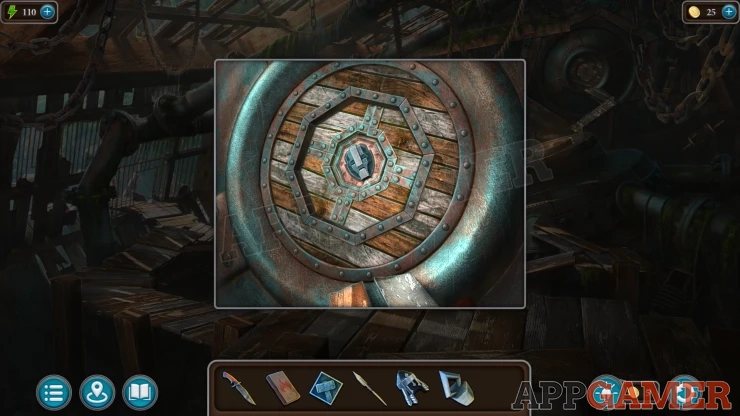
Then view the round hatch on the top right. Place the mask into the center to find another puzzle.
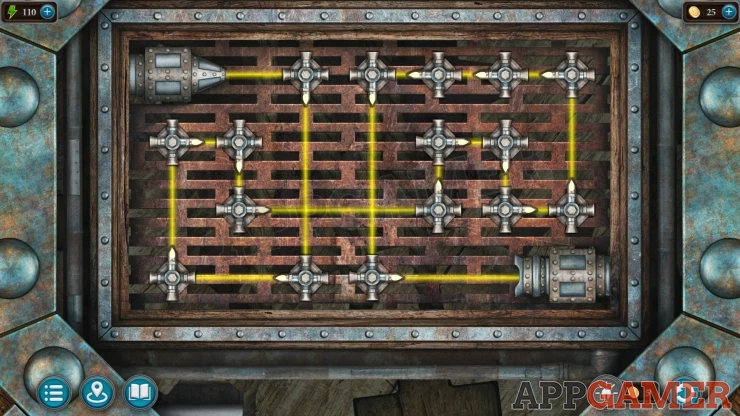
Beam Puzzle
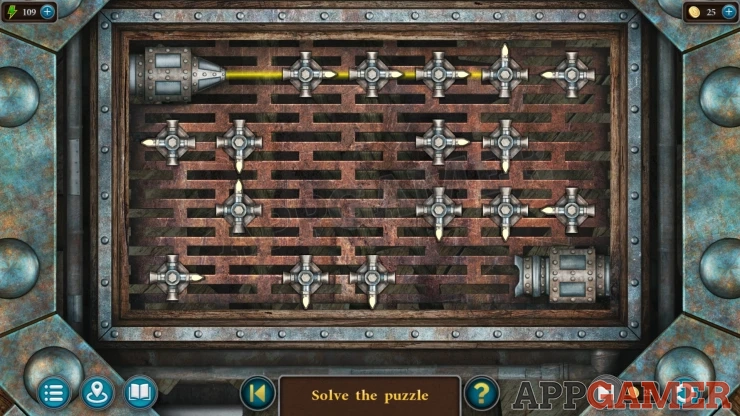
- Tap the connectors to rotate then and redirect the beam.
- Pass the beam through ALL of the connectors.
- Direct he beam to the receiver on the bottom right to complete it.
Solution: The layout may be different in your game.Show
Enter the Golem head, this is another hidden item challenge.
Golem Head
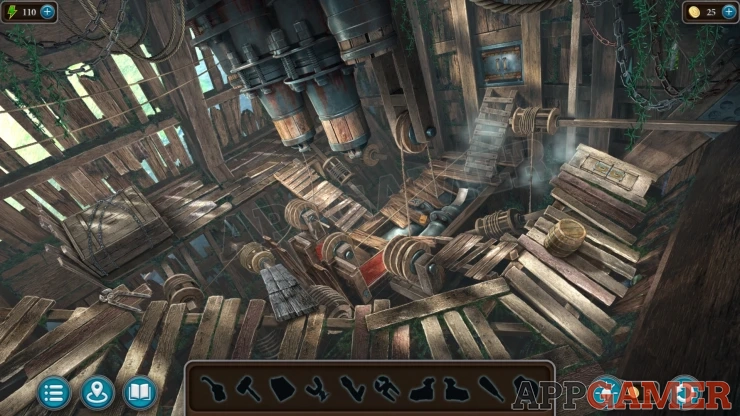
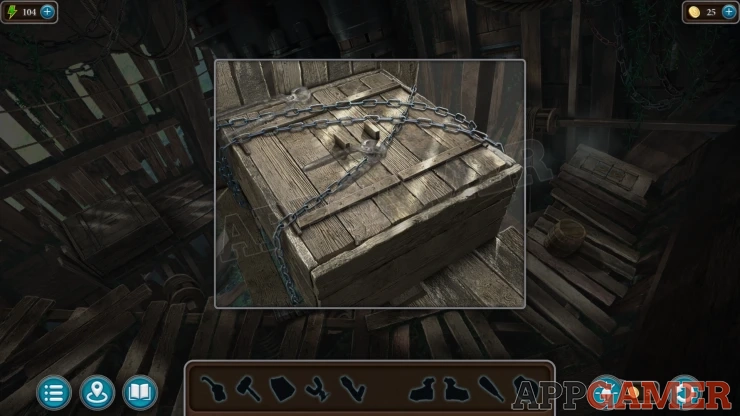
Collect some Pliers from the lower left walkway. Then view a large box on the left with chains.
Use the pliers to open it. Collect an Oil can and a Clamp.
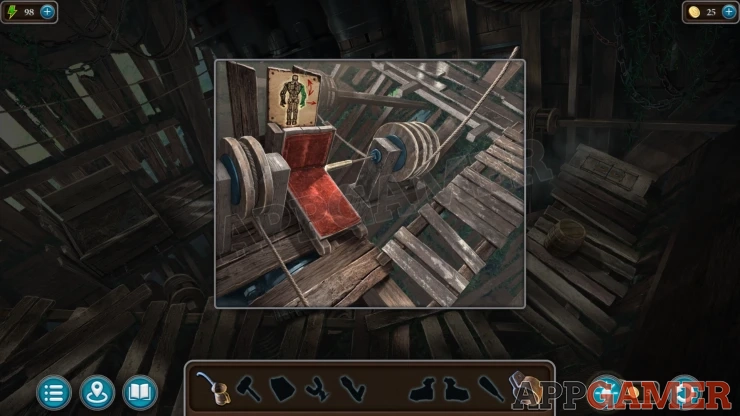
View the mechanism in the center and collect a Screwdriver.
Then view a pipe by the ladder on the right that is leaking steam.
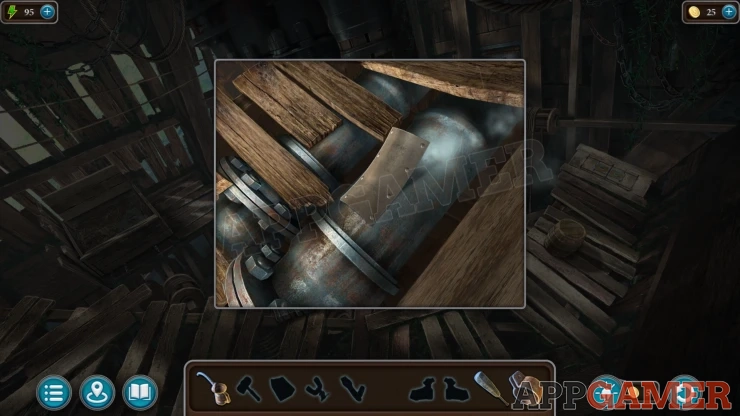
Place the clamp on this and use the screwdriver to secure it.
Just to the left of the clamped pipe is a small box, view this.
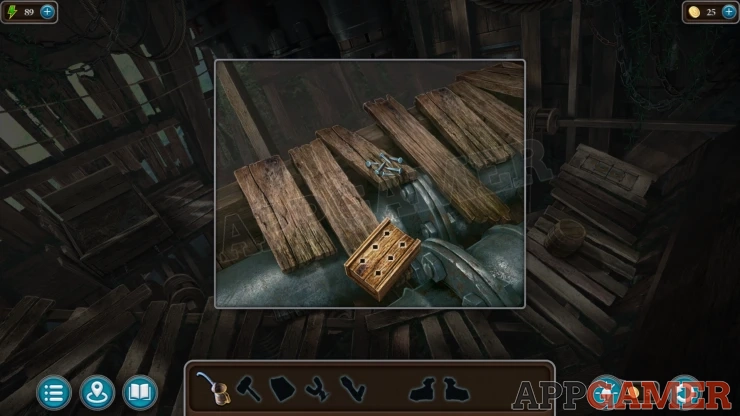
Tap the mails to place them into the box and collect the Nails.
Next view a small panel at the top of the ladder.
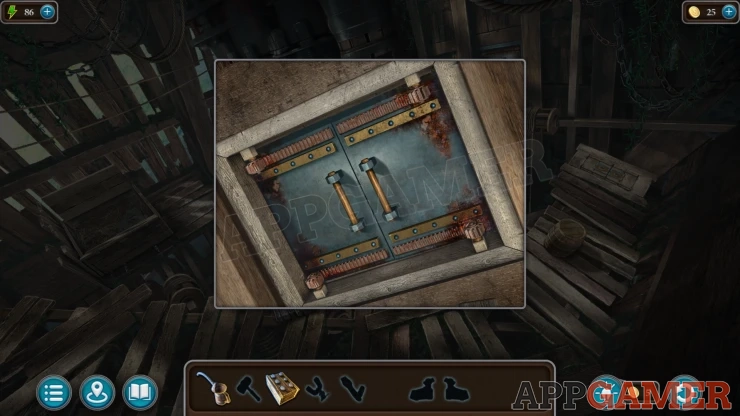
Use the Oil on this to loosen the doors and then open it. Collect a Magnet and a Handle.
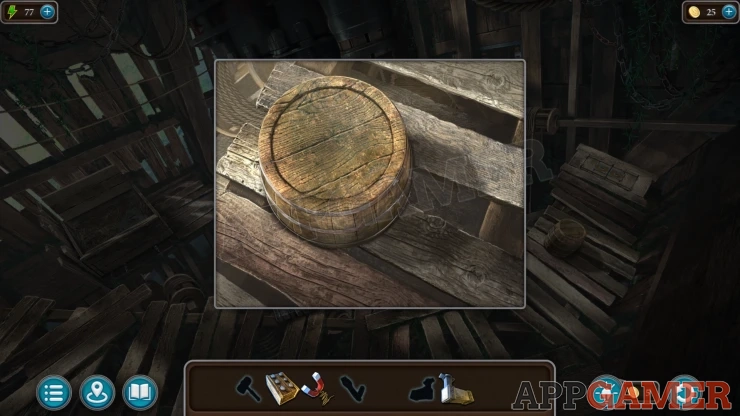
Next view a barrel on the walkway on the right.
Move the barrel and then use the magnet to collect another Handle.
View a trapdoor in the walkway on the upper right.
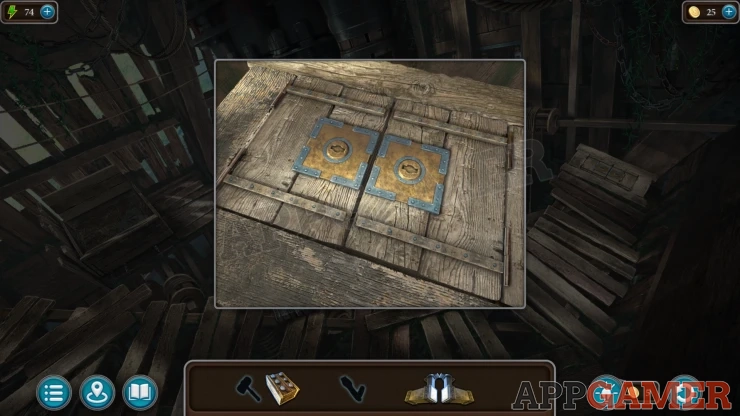
Place the two handles to open it and then you can collect a Handle and a Hammer.
Just to the left of the mechanism in the center is a spool of rope. View this.
Tap it to tighten the rope. Then add the Nails and use the hammer to tap them in.
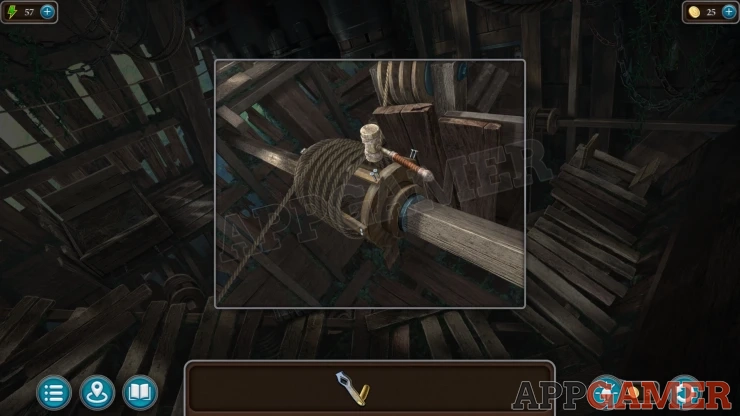
View the mechanism in the center again and add the handle to the winch. The mechanism is now ready.
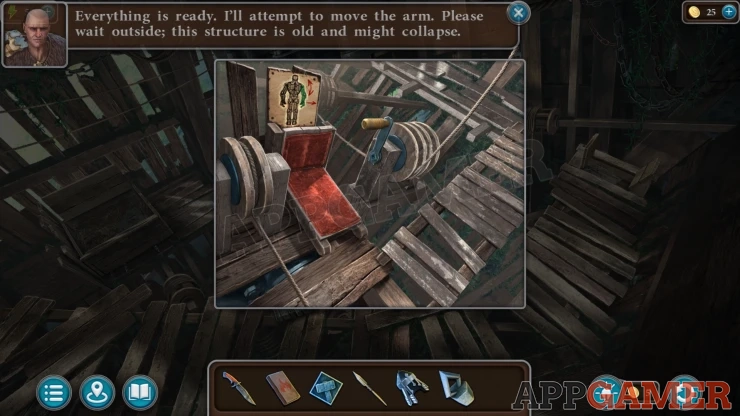
Back up to the town center and the arm is moved into position, tap the center tower to go up to the top.
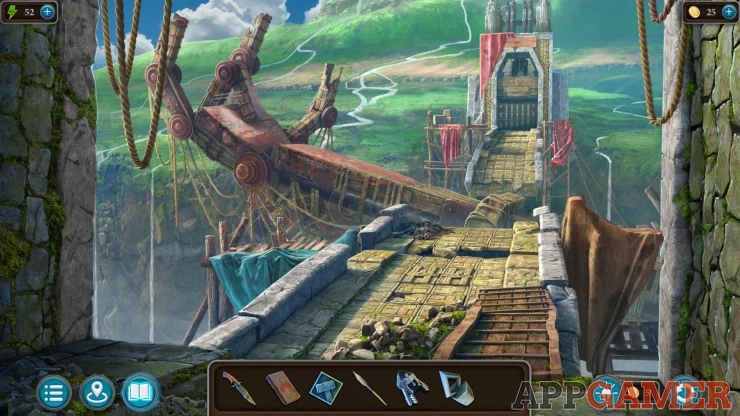
View the hand of the Golem on the left.
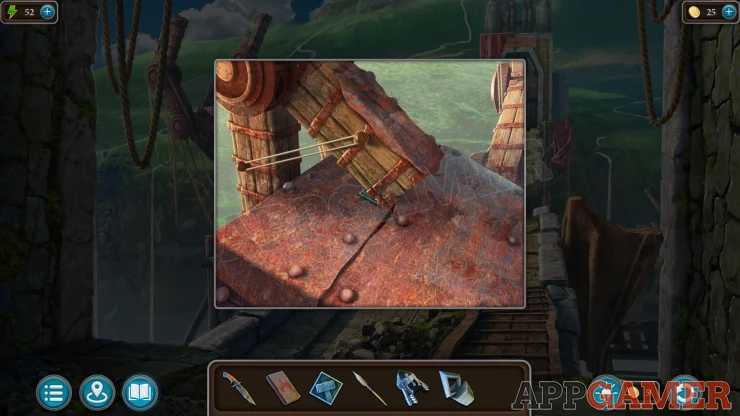
Use the knife on the this to cut and collect the Rubber Band.
Then use the Spear to lift a finger and collect a Tile.
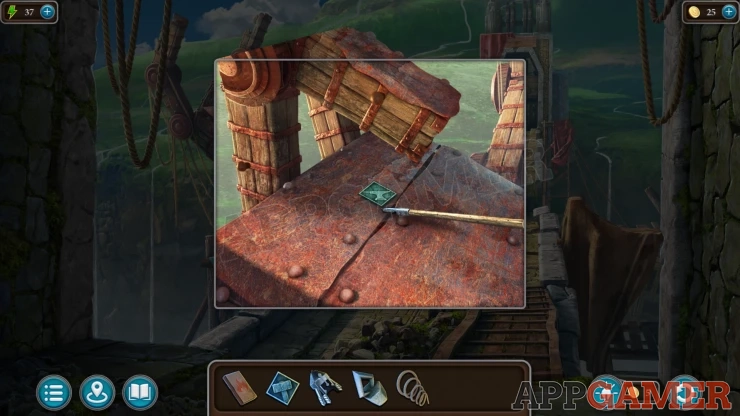
View the gate on the far side of the bridge.
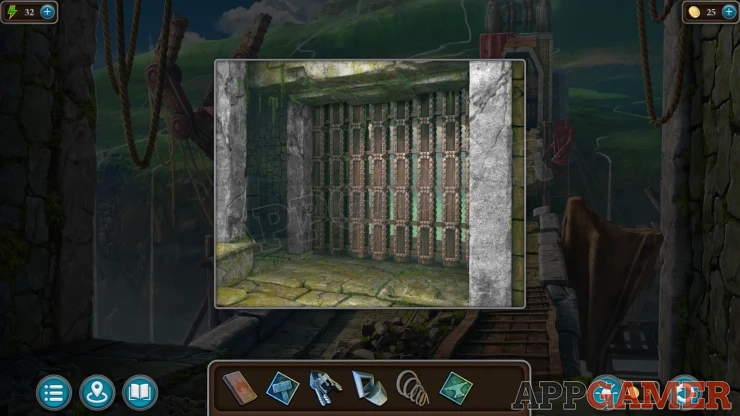
Tap on the left to view a set of weights hanging from chains.
Add the Weight you have to the hook on the left.
Weights Puzzle
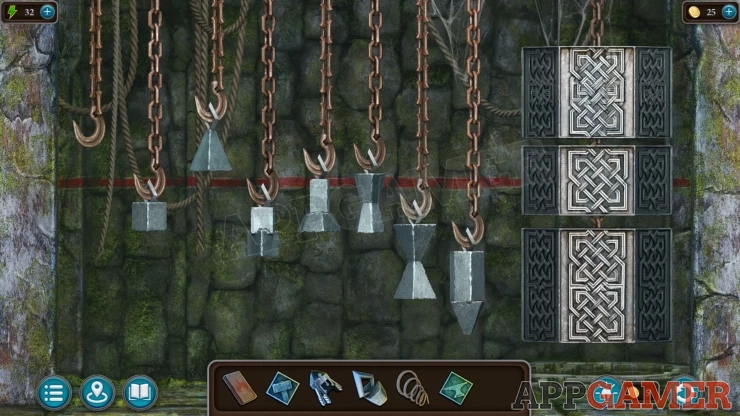
- Tap pairs of weights to swap their positions.
- This will adjust the length of the chains.
- Find the correct arrangement of weights to set all the chains to the correct matching levels.
Solution: Show
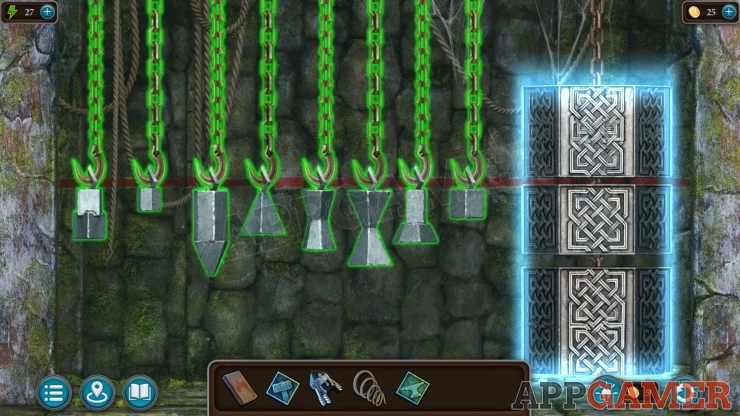
The gate will open and you can pass through to the settlement.
Task - Defeat the Defender
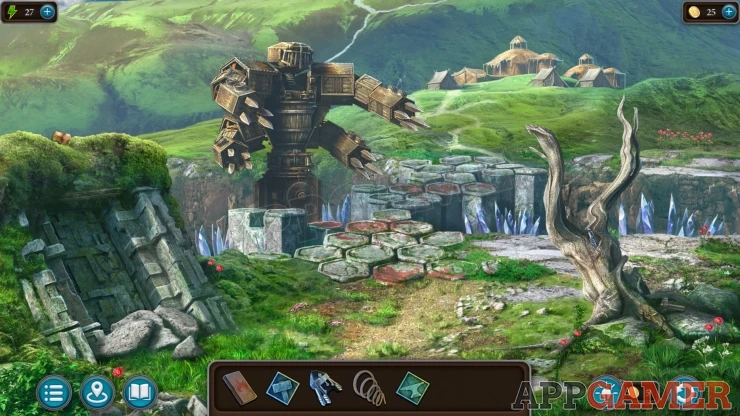
Collection Item: Screw on the ground to the right of the dead tree on the right. (7 of 7)
Morphing Object: Pine cone / stone on top of the mound on the left.
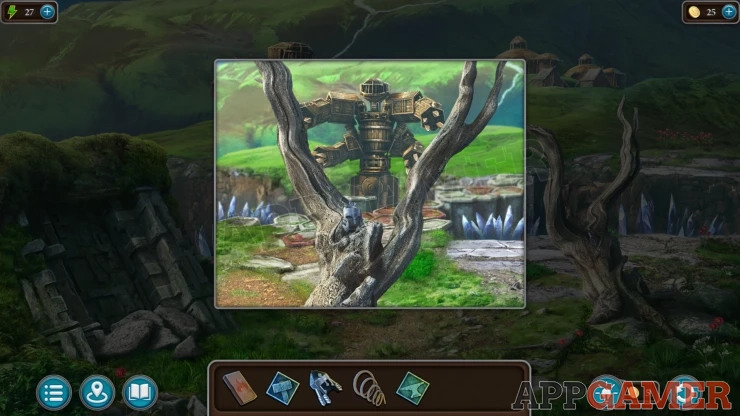
View the dead tree on the right and then collect a Helmet from it.
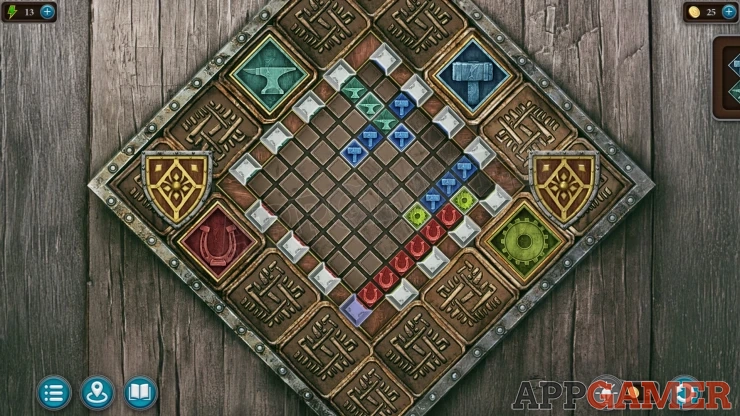
Back up to the workshop building in forgotten town. At the top of the stairs is a cabinet with a puzzle on the front.
Workshop Tiles puzzle
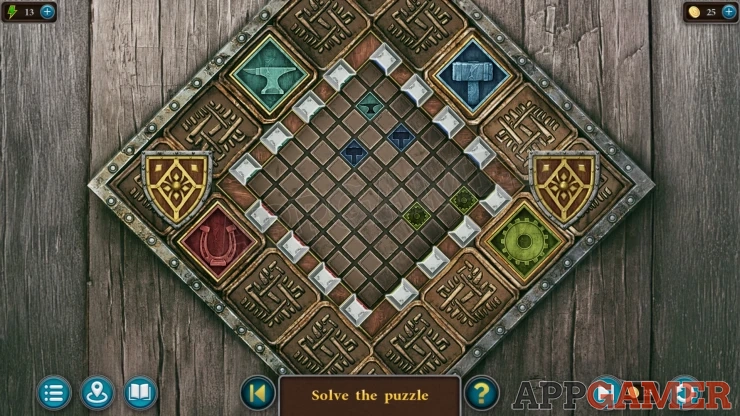
- Add the two tiles to the edge of the puzzle to start
- There are fours colored spots on the board.
- Tapping the white buttons on the edges will cause tokens of the color of that side of the board to be pushed out onto the board grid.
- These will also push other tokens that are on the board if they are in the way.
- Place the correct matching token onto the colored slots on the board.
Solution: Your layout may be different.Show
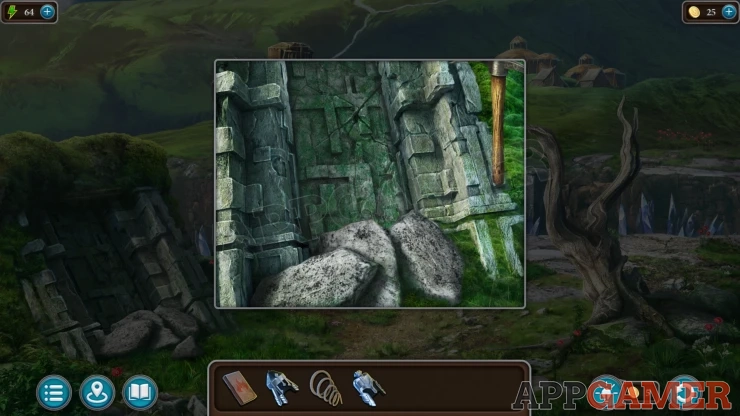
Collect a Pickaxe.
Go back to the settlement with the defender. View the stone door on the left. Use the pickaxe to break open the door.
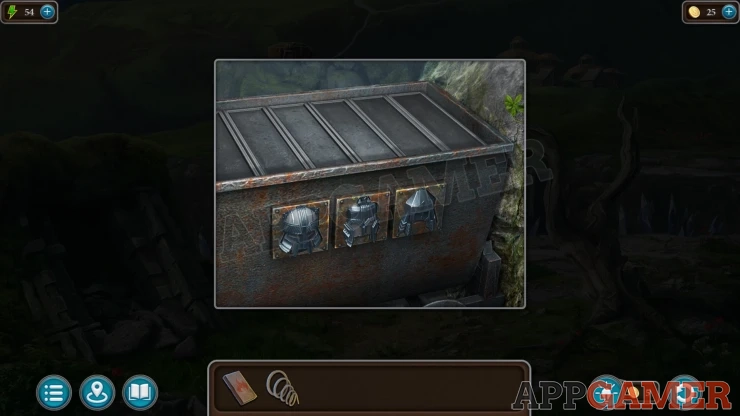
View a mine cart inside, add the two helmets to the slots to open it. Collect a Crescent
Back up to the bridge and then view a stone panel in the floor of the bridge near you.
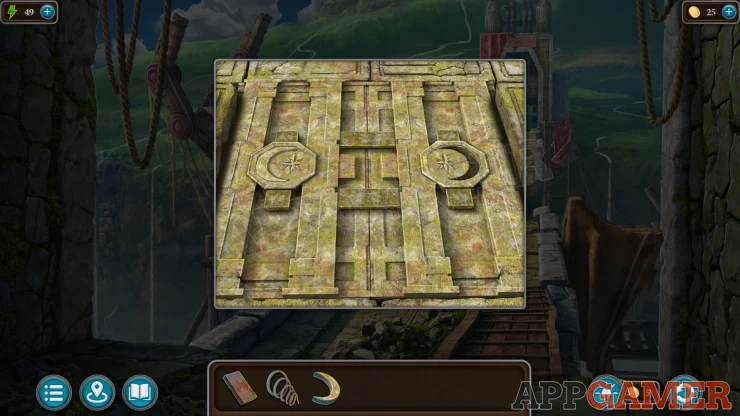
Place the crescent into the slot on the right and then you can collect an Explosive.
Go back to the settlement and view the dead tree again. Place the Rubber band on it and then the Explosive.
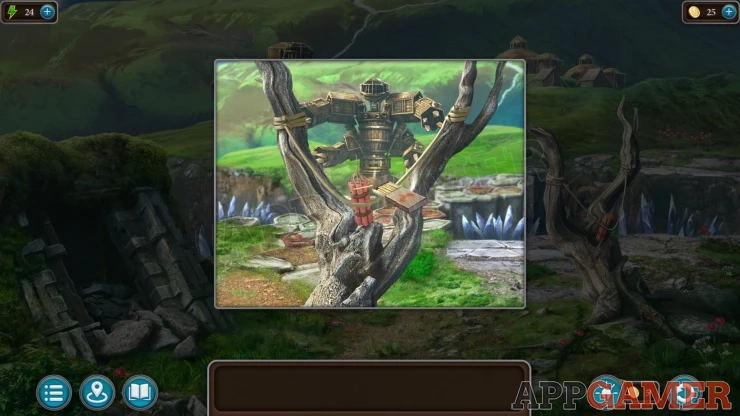
Use the matches to light the explosive, this will destroy the defender.
Now you can continue on discover the werewolf settlement. This is the end of the game but you can also enjoy the bonus puzzles.

If you have any questions about the game please check the Answers Page for more help.
We have questions and answers related to this topic which may also help you: Show all
 With 20 years of experience in creating video game content for the internet and over 30 years as a gamer, Mark is now a passionate mobile App Gamer. Loving a challenge, he is always ready to get stuck in to both survival builders and puzzle solving games. He has been providing content for AppGamer since 2014.