
Chapter 3 Walkthrough
More Legendary Tales 4
This is our full walkthrough for Legendary Tales 4 - Map of Hope. The latest in the series of games from Five BN. This guide includes all collectible item locations as well and hints and solutions for puzzles.
This is the first part of the guide for Chapter 3, In Chapter 1 you went in search of a werewolf camp to help your brother and met with Nimble who is helping you track them down. Then in Chapter 2 you played as a rebellion scout who aims to stop the spread of the witches maps.
Chapter 3 - The Map of Hope
In chapter 3 you need to set off on a sea voyage to try to find the fabled island of Ultima Lapis. You begin at a dock to meet the ships Captain.
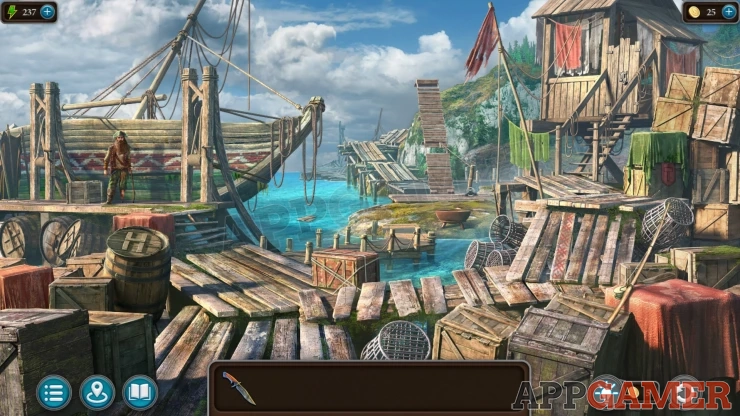
He gives you a list of components to collect.
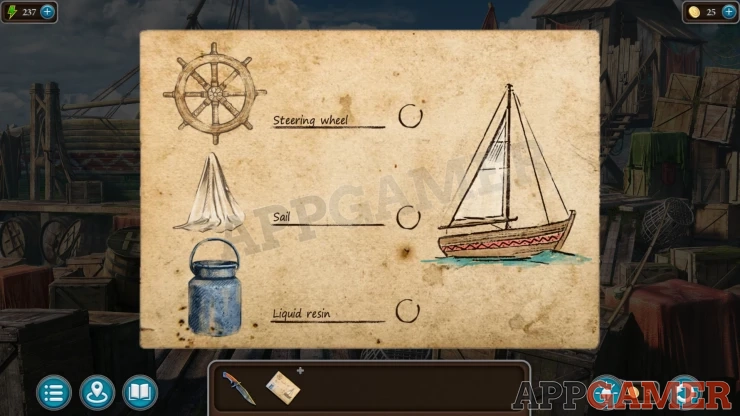
Task - Prepare for Departure
Collection Item: Flag, on a crate on the right below a green sheet. (1 of 9)
Morphing Object: small fish/feather shape on the boxes on the lower right.
Collect a Fishing Rod from the boxes on the lower right of the dock.
View a Barrel on the left of the dock. Collect a Corkscrew from the box above it. Then open the barrel and collect a Head (1 of 2) and a Fish.
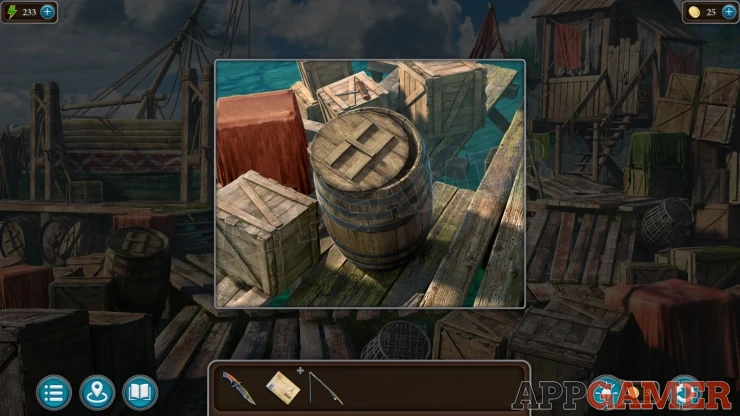
Look in the water to the right of the boat to see some floating planks.
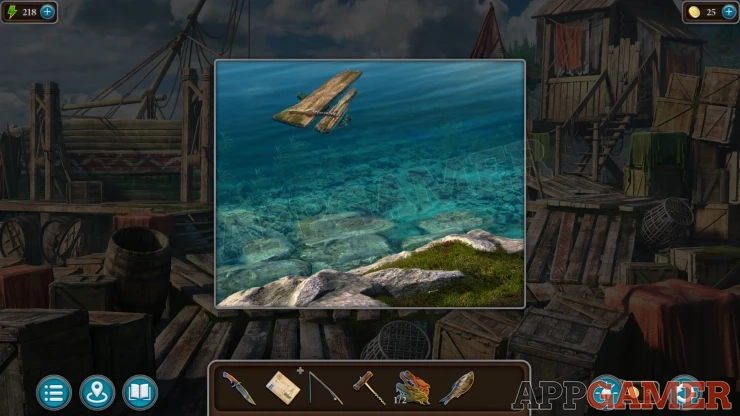
Use the fishing rod on this to reach them and then collect the Clapper.
Next tap on a raised bridge in the center of the dock.
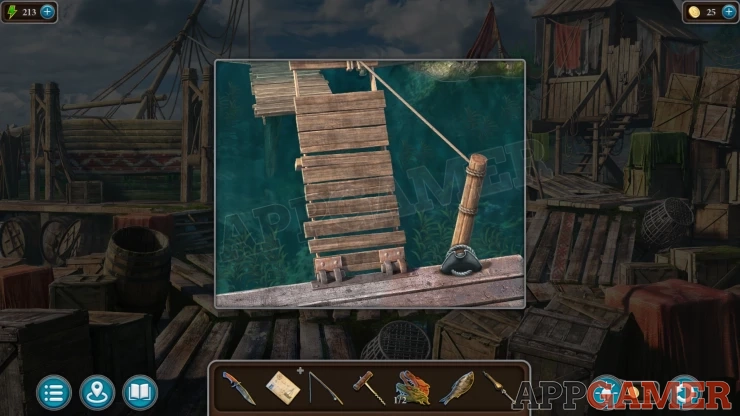
Collect a Decorative element from the floor and then use the knife to rut the rope and lower the bridge.
Now you can move forward to reach an area of wrecked boats.
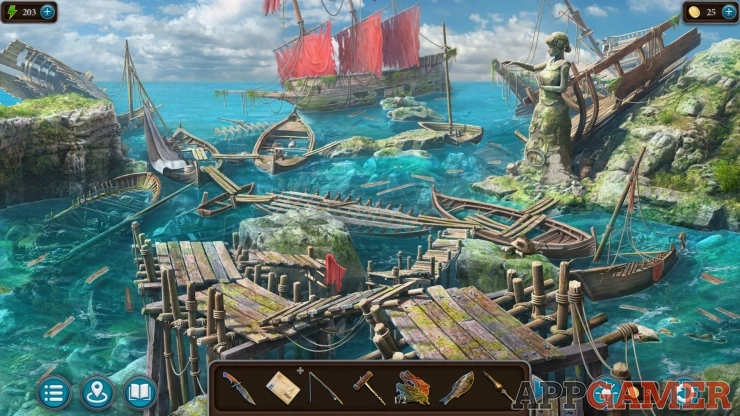
Collection Item: Flag, on the side of a small boat on the right side. (2 of 9)
Morphing Object: small log floating in the water to the left of the wooden walkway.
Tap the end of the walkway near the center with a red cloth hanging. Collect a Key.
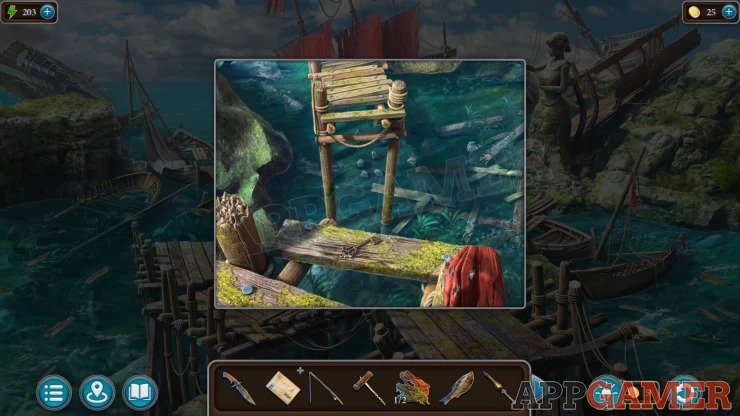
Now back up to the dock and then view the door to a small hut on the upper right.
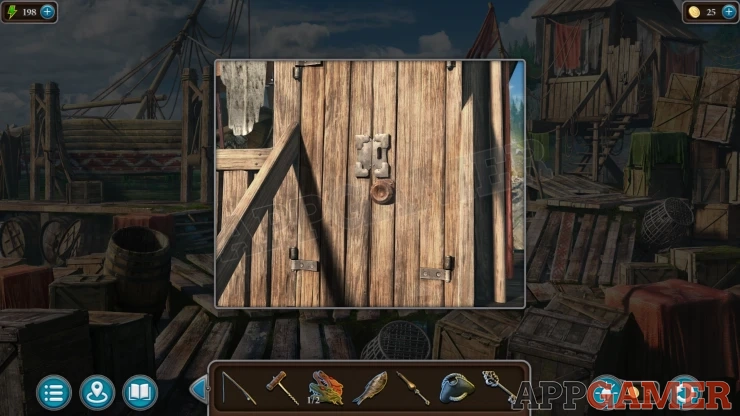
Use the key to open the door. Look inside.
Dock Hidden objects
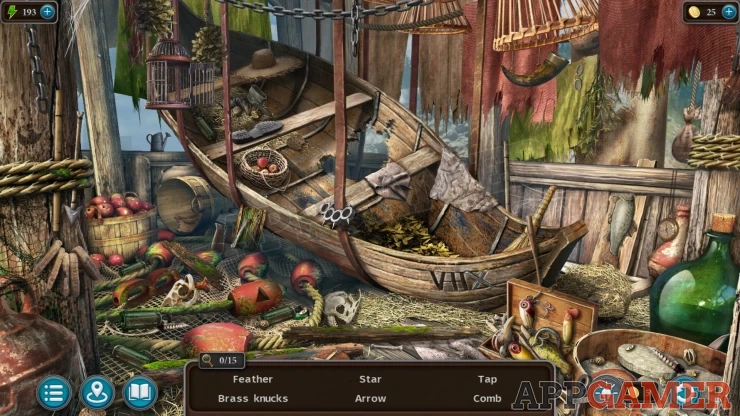
- There are 15 items hidden here in the scene.
- You will see six named items at a time and you need to find them to clear them from the list.
- Some of the items will be hidden inside boxes or under other items.
Once done you will collect the Rope Ladder.
Go back to the boat wrecks and view the end of the walkway again. Use the Rope Ladder here to make a crossing.
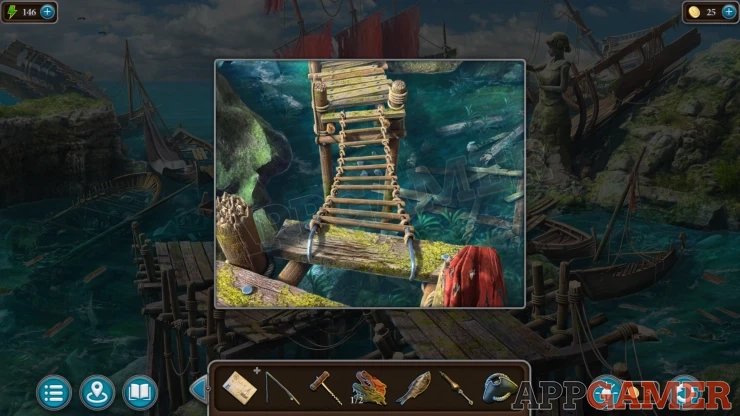
Now you can reach the other boats. First view a rock on the right with a Turtle on it.
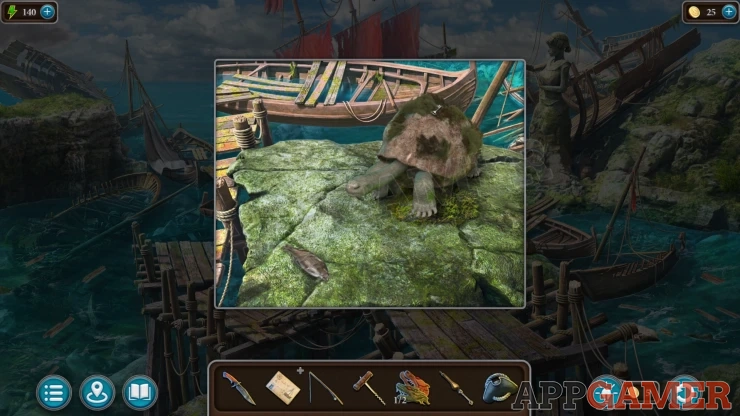
Give the fish to the turtle and it will move. Now you can collect another Key.
Next view the wreck on the left with the white sail.
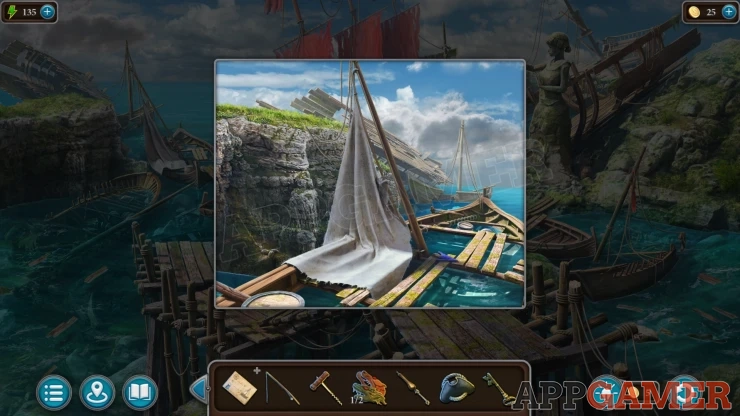
Collect a blue Arrow (1 of 2), then use the knife on the sail to cut it and collect the Cloth.
Then view the half a boat on the right, near the large boat with red sails. Collect a Head (2 of 2).
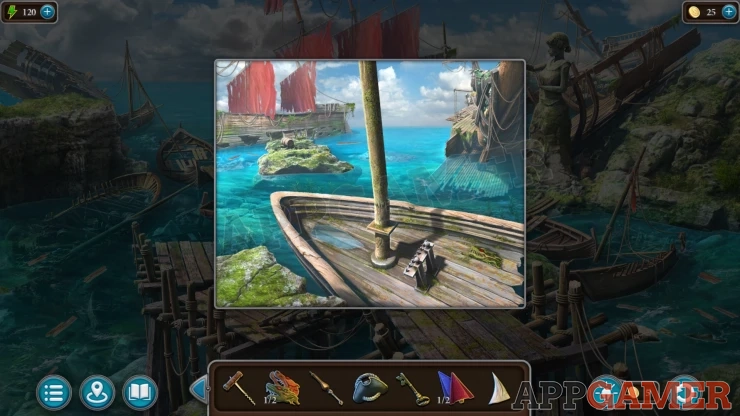
Now look at the base of the large statue on the right. Notice the three symbols on the right.
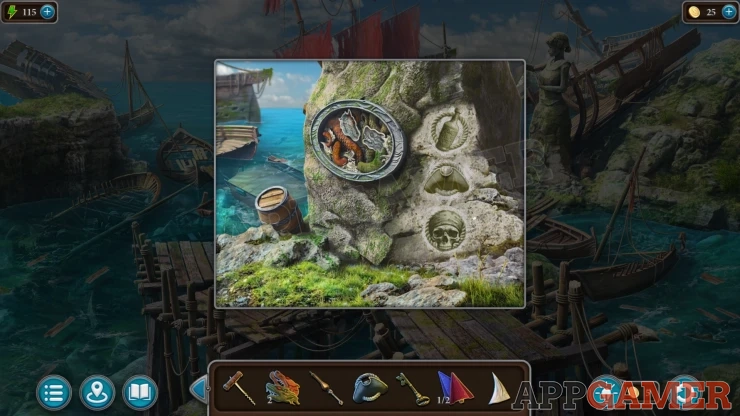
Add the two heads to the round panel on the left, this will reveal a puzzle.
Heads Puzzle
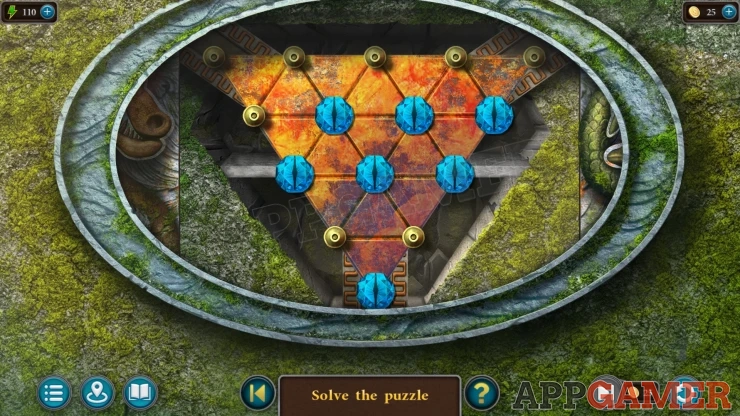
- This is a solitaire style game.
- Select a gem and them move it to jump over one of the other gems. This will remove the jumped gem from the board.
- The aim it to keep jumping and removing gems until there is only one left.
Once done collect the red Arrow (2 of 2) and an Amulet (1 of 3).
Now view the wreck below the bow of the large ship with red sails.
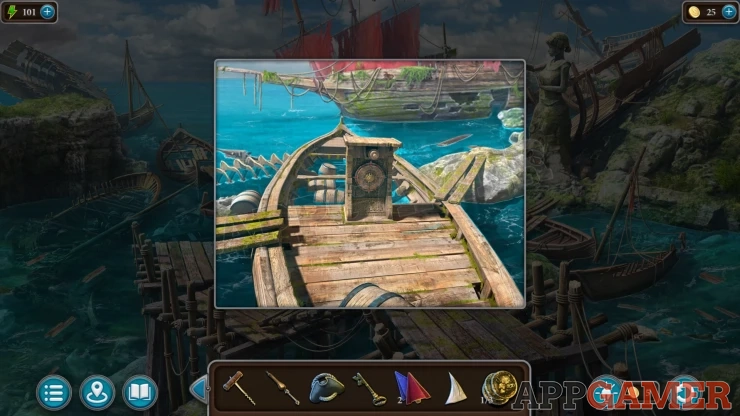
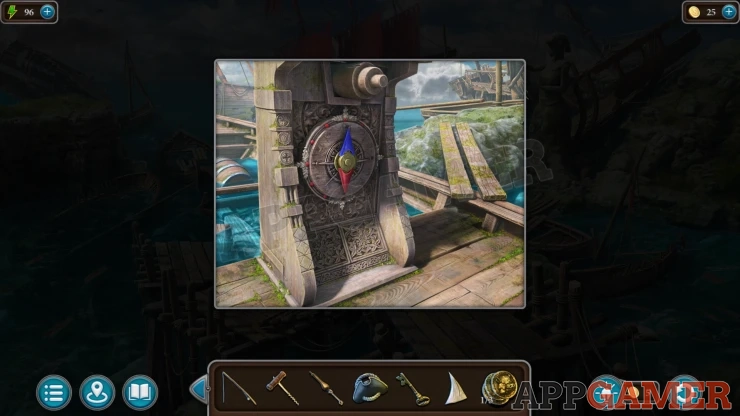
Add the two arrows to the compass design and then tap it to open it and reveal a puzzle.
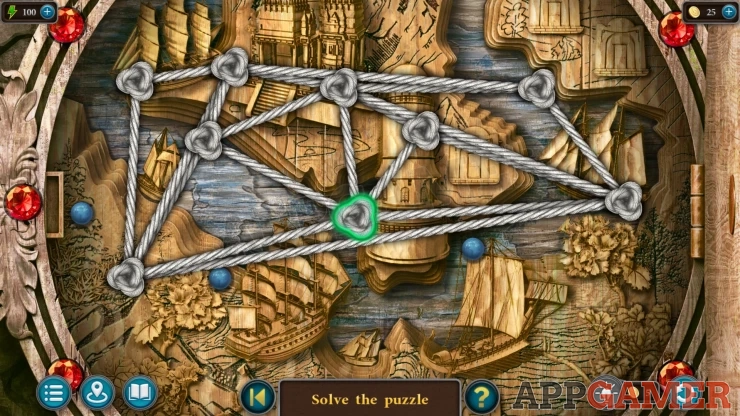
Knots Puzzle
Drag the knots around the board to place them on the blue pegs.
Arrange them all so that the rope lines do not cross, the ropes will turn white.
Solution: Your game may have a different layout of ropes.Show
You can then collect an Axe and another Amulet (2 of 3).
View the half a boat wreck on the right again and use the Axe to chop down the mast.
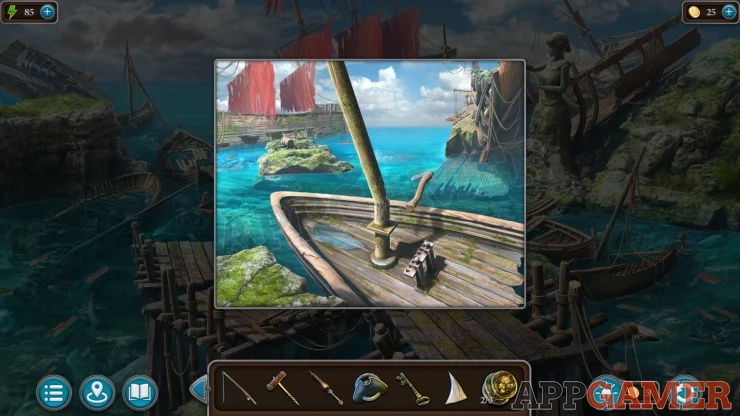
Now you can tap to move forward to the large boat.
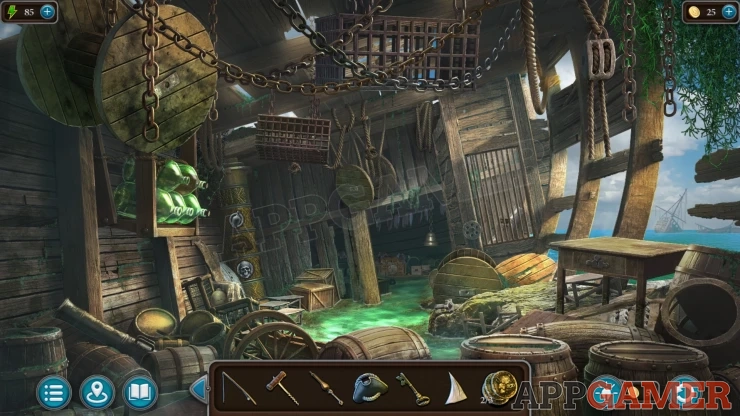
Collection Item: Screw, on the end of the rock near the center of the boat (1 of 7)
Morphing Object: bottle/flask on the left below the green bottles.
View the pillar on the back left with three symbols on it.
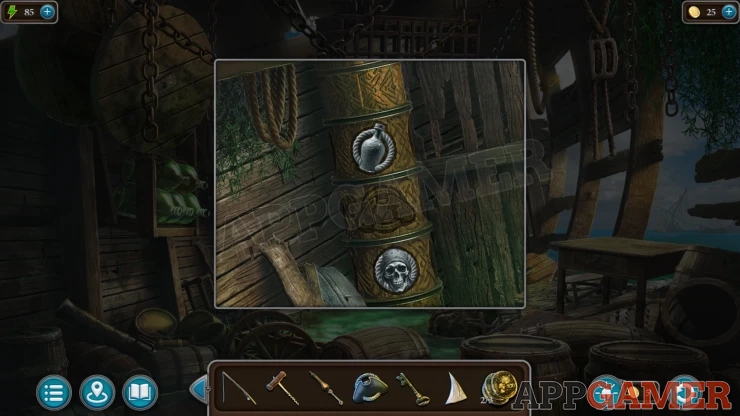
Add the Decorative element to the center this starts a puzzle.
Decorative Elements Puzzle
- There are three elements that you can tap to change.
- Set these to match a clue you have seen with similar elements.
Solution: The symbols can be different in each game.Show
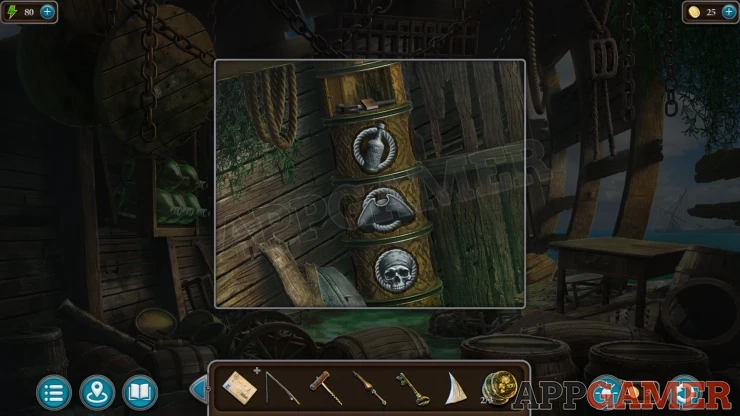
Once done you can collect a Hammer and some Matches.
Now view the small table on the right, you can use the key to unlock the drawer an open it.
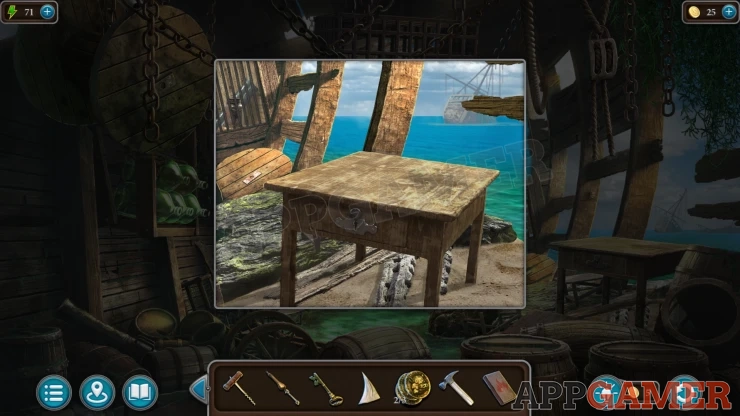
Collect a Lamp, and another Amulet (3 of 3).
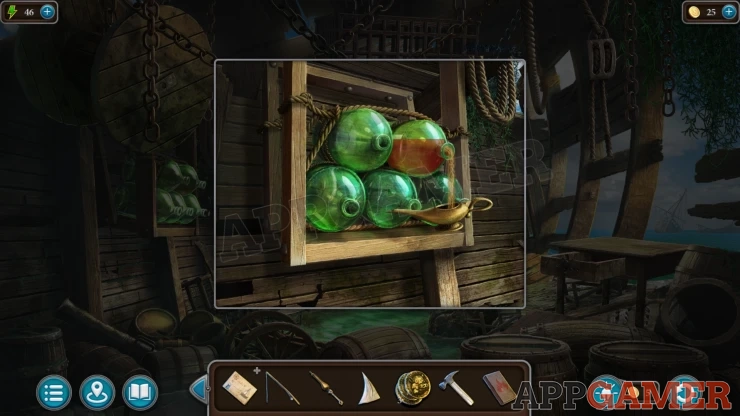
View the large green bottles on the left. There is one with some liquid in it.
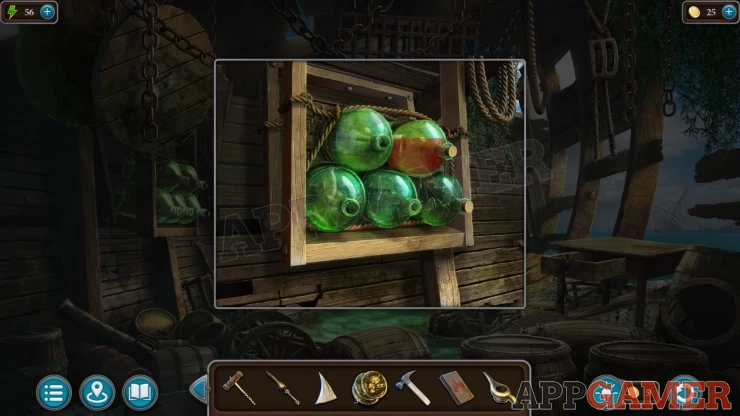
Add the corkscrew to the bottle and then use the lamp on it, This will get you the Lamp with Rum.
Now look in the dark hold area at the back. There is a Bell here.
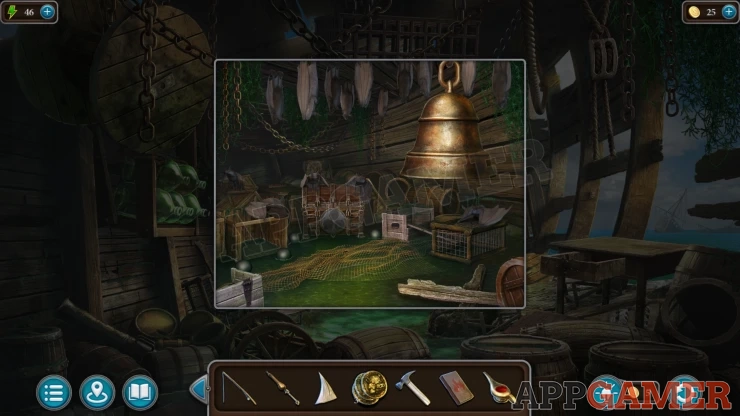
Add the clapper to the bell, then you can ring it this will scare away the bats.
Next view the chest on the floor.
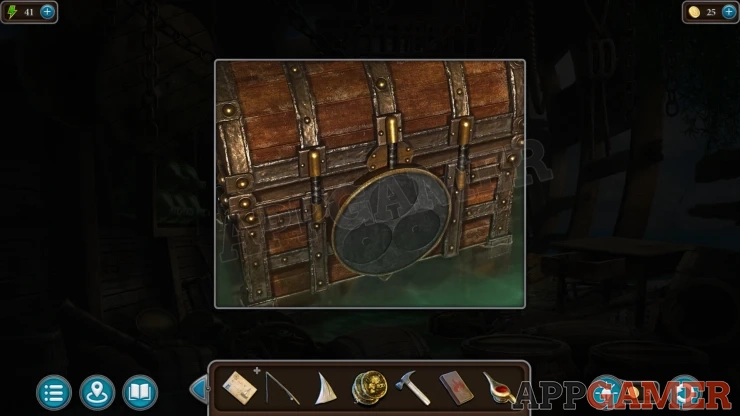
Add the three amulets to it to open the lid and find a puzzle.
Chest puzzle
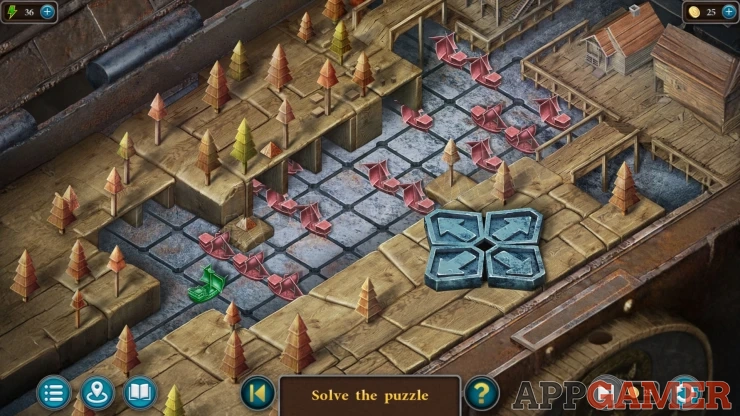
- There is a small green ship that you need to move using the arrow buttons to the right side of the puzzle.
- You need to avoid the red enemy ships.
- You can move the ship forward or back on its own, but when moving it to the left or right you will also move the red ships to the right.
- You can move the red ships without moving green if green is stuck.
- Navigate through the enemy ships to reach the end.
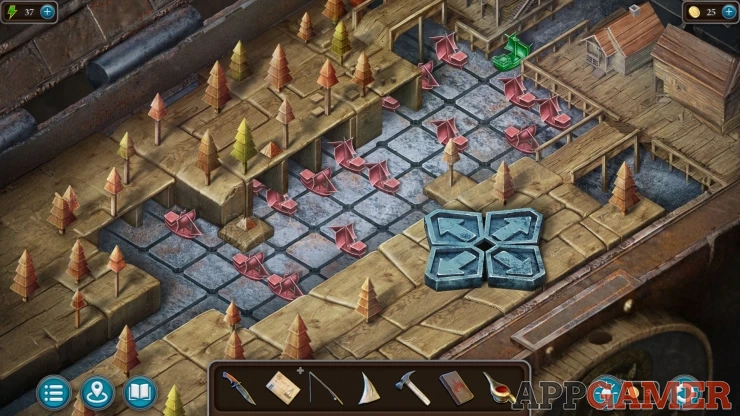
The chest opens and you can collect the Ships Steering Wheel and some Wire Cutters.
Back up to the starting area and view the red crate on the dock. Use the wire cutters to open it.
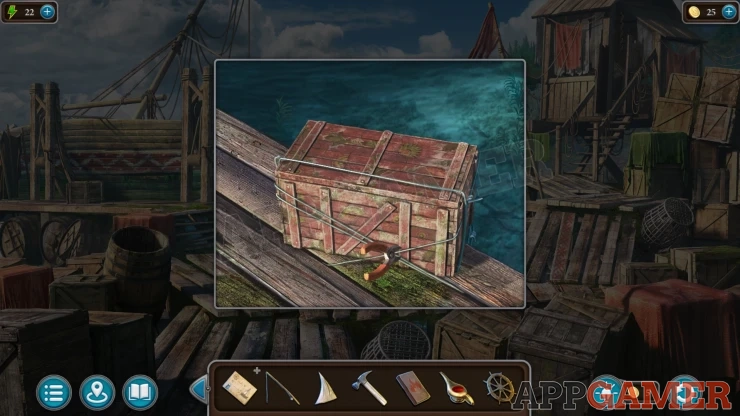
Collect a Handle.
Go back to the ship wreck with the red sails and view a compartment on the right. Use the handle on the gear on the left and turn it to open the compartment. Collect a Can of Resin.
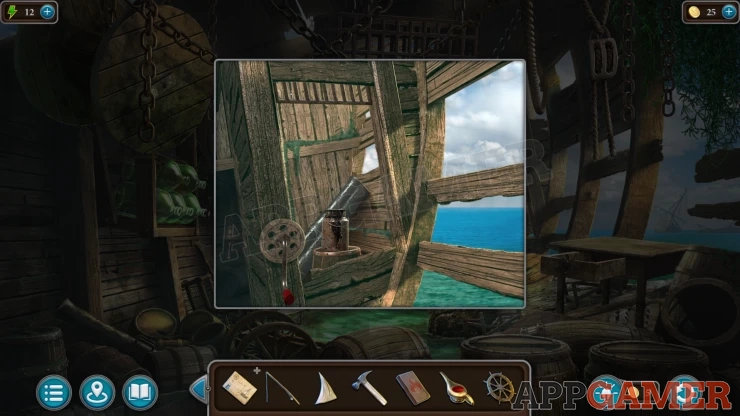
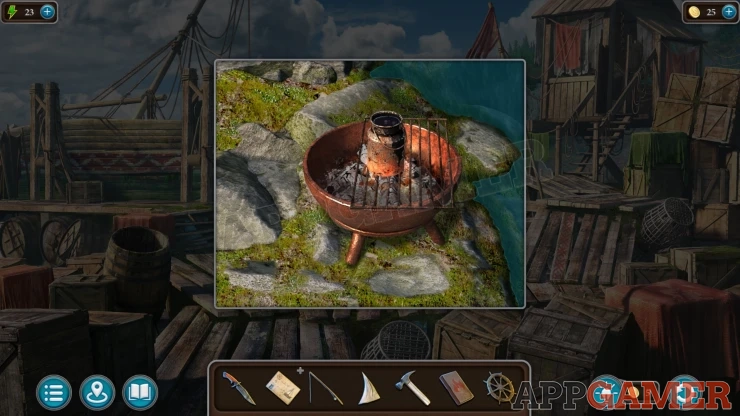
Now back up again to the starting area and view a small red barbecue pot near the small bridge.
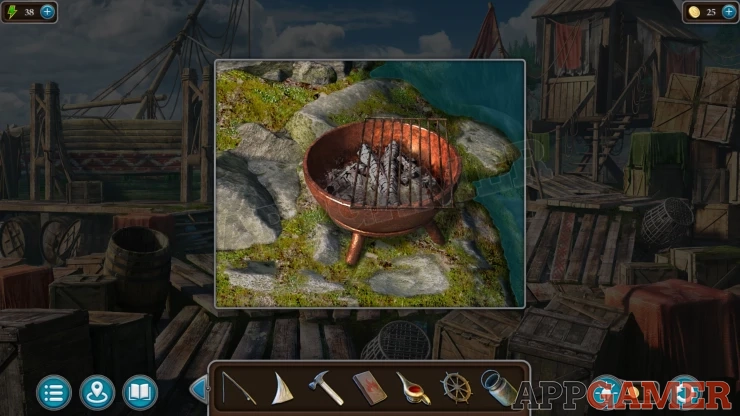
Add the lamp with rum to this and then use the matches to light it. Then add the Can of Resin.
You collect the, now liquid, Can of Resin.
View the list of components in your inventory and add the Steering Wheel, the Cloth and the Can of Resin. You get the Components.
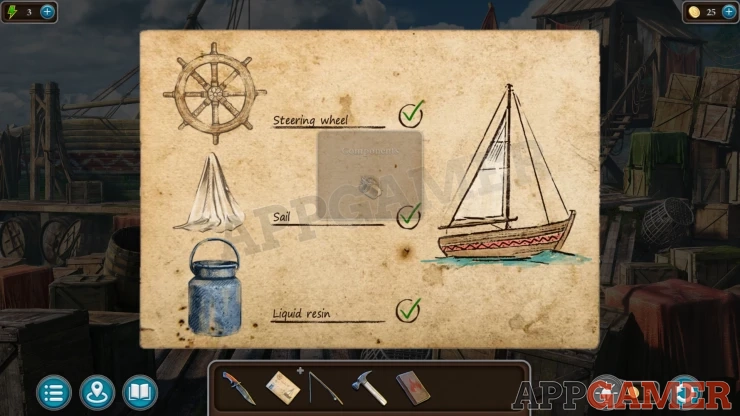
Give the components to the Captain and you will start the voyage.
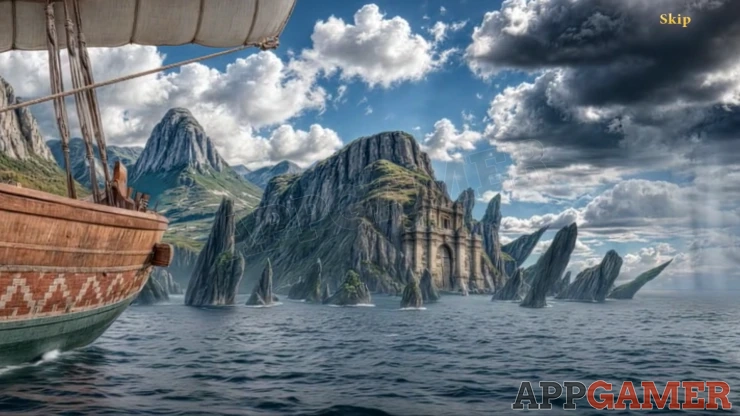
After the journey you arrive in a temple.
Task - Find a way onto the island
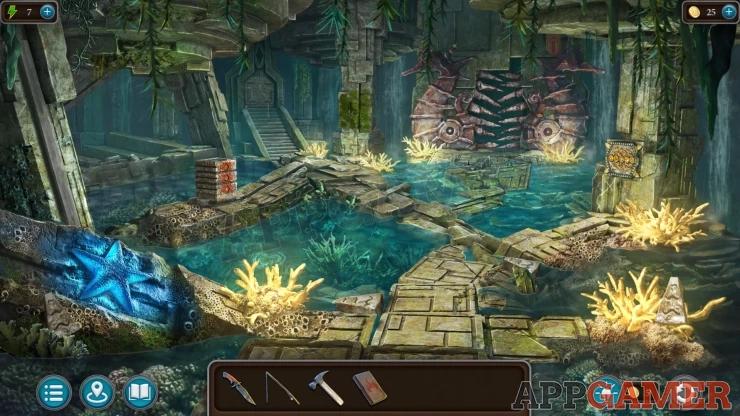
Collection Item: Flag, on the back wall above the seahorse statue on the right. (3 of 8)
Morphing Object: horn / spike on the seahorse statue on the left.
Collect a Stone with Wave (1 of 10) from next to the blue starfish on the lower left. Then collect a second one from the Yellow Coral on the lower right. (2 of 10).
There are two more Stones with Waves on the stone path in the center. (4 of 10).
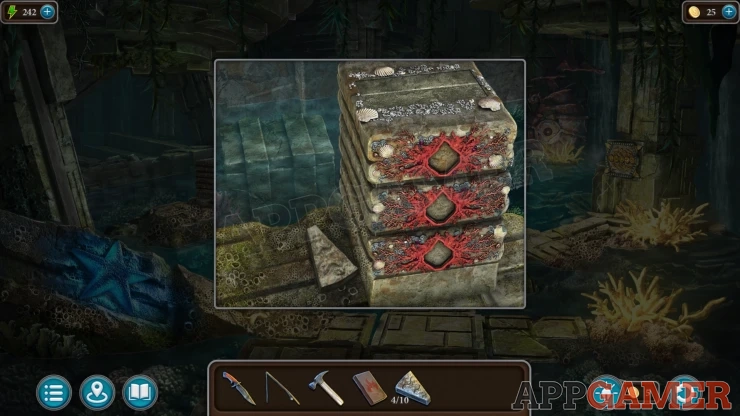
View a stack of three stone blocks with red on the front on the left side path. Collect another Stone with Wave (5 of 10).
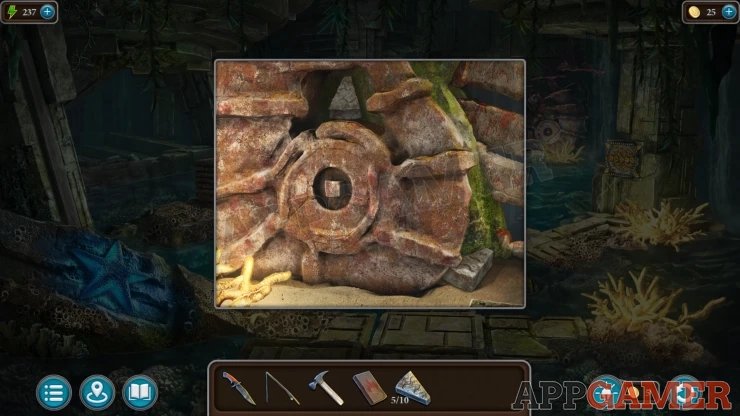
Now view the bottom of the seahorse statue on the left to find two more Stone with Waves (7 of 10).
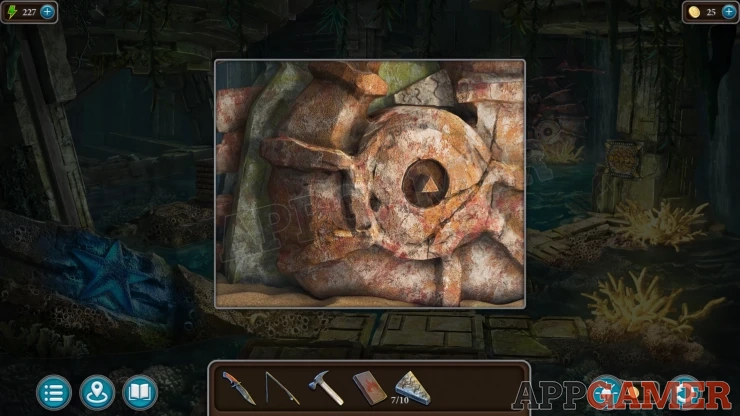
And then the Sea Horse Statue on the right to find another (8 of 10).
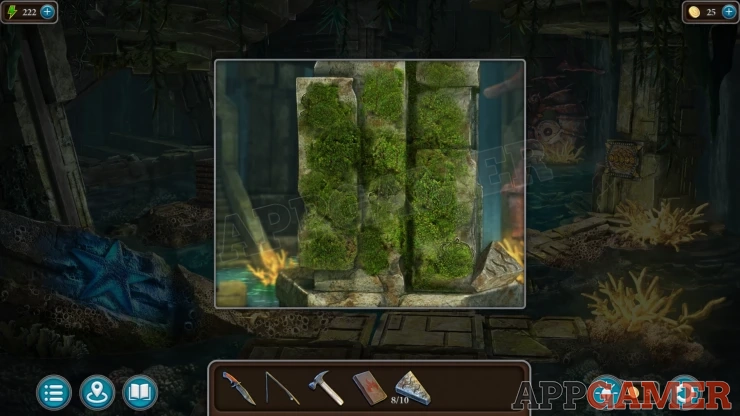
Then view the Pillar to the left of these with the green moss growing on it. Collect another Stone with Wave (9 of 10)
Finally view a door at the top of the steps on the left. Collect one more Stone with Wave here (10 of 10).
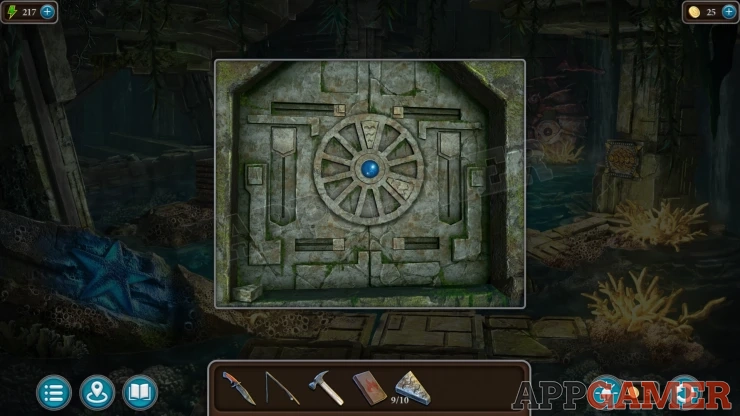
Add all of the stones to the circle in the center, there are 12 now in total. Tap the circle to turn it and open the door.
Go through and you will meet and talk to some Vilas, Water people. After the scenes you will receive a new task.
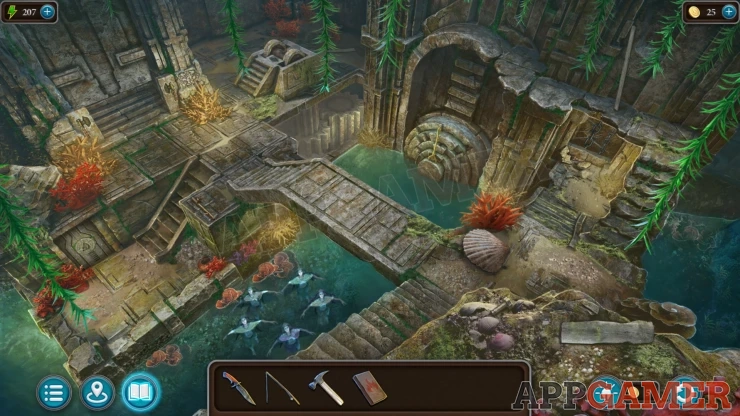
Task - Collect the Gate Keys
Collection Item: Screw, on the rocky ground near the bottom right. (2 of 7)
Morphing Object: Stick on the stone path to the left of the bridge.
View the large clam shell on the path to the right of the bridge. Use the Knife on this to open it and collect a Pearl.
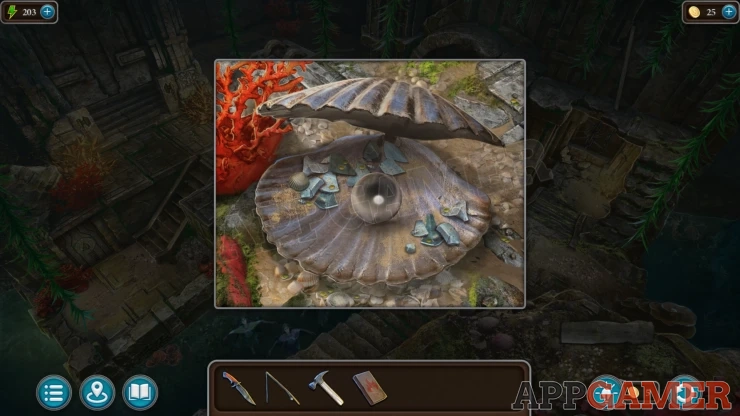
View a small platform with steps on the top left side of the water. Collect the small round Stone from the ground.
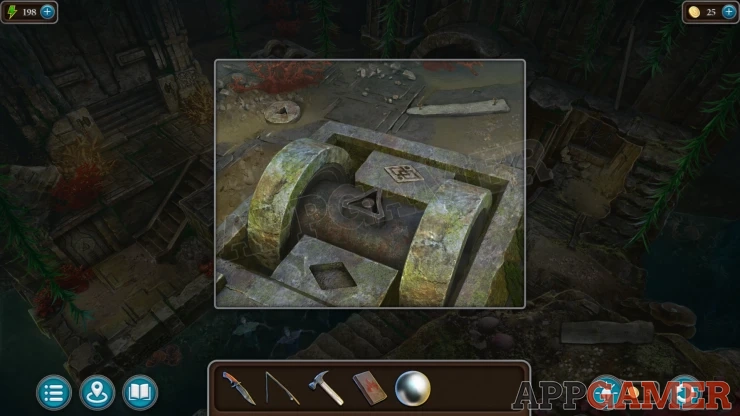
Then view some damaged rocks to the right of the large clam shell.
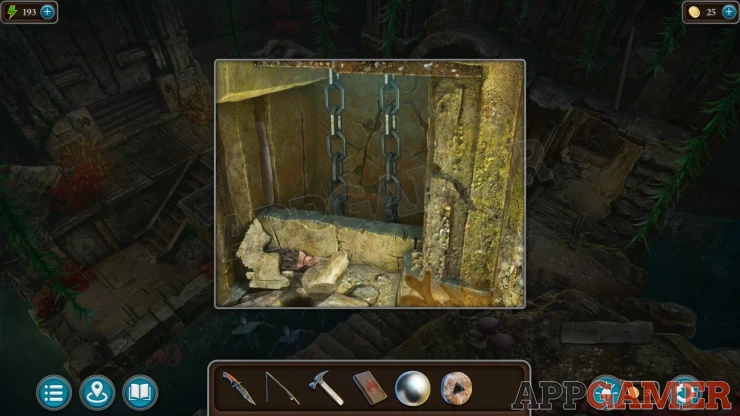
Move the rubble on the bottom left and collect a Brush.
Back up to the temple and view the column with the moss growing on it again. Use the brush here to clean it and find a clue.
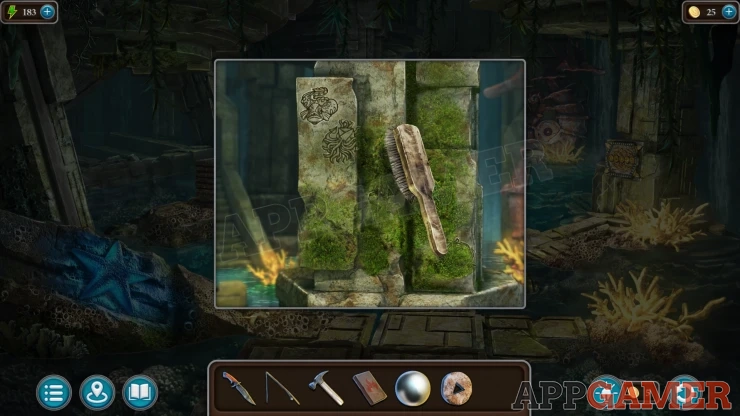
Next view a large column on the right of the room. This has a puzzle.
Symbols Puzzle
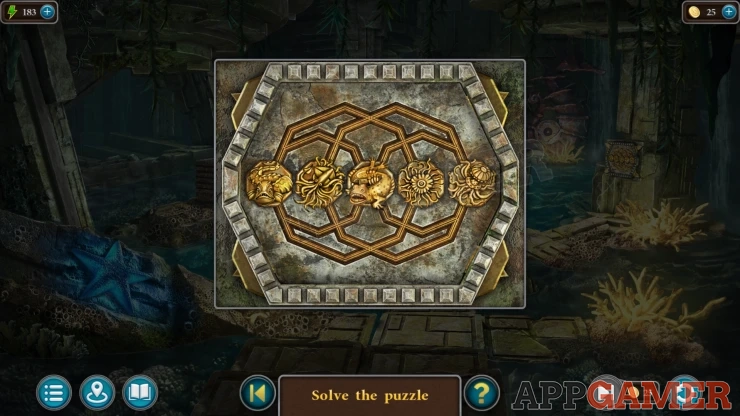
- Select pair of symbols that are on a shared path to swap their positions.
- Arrange them in the order shown in the clue under the moss.
Collect another Stone.
Now view the bottom of the Seahorse status on the left again. Place the Stone with the square hole. Then place the stone with the triangle hole on the other seahorse statue. This opens a doorway.
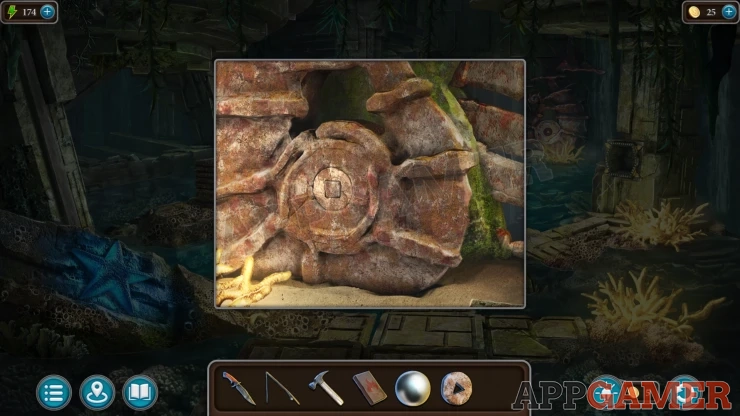
Go through to another room of the temple. There is a statue.
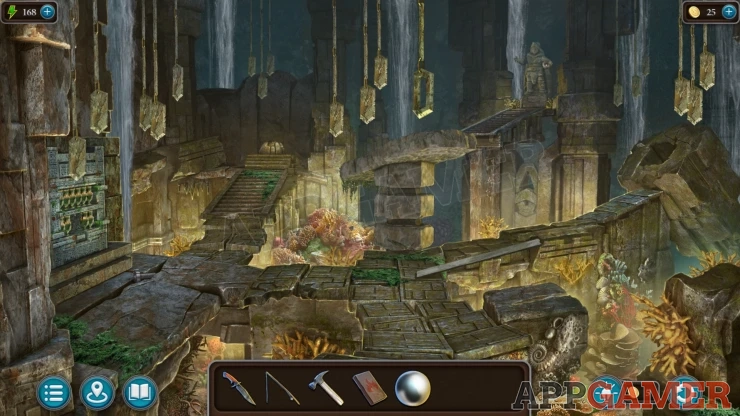
Collection Item: Screw, on the ground on the left . (3 of 7)
Morphing Object: Plant / moss growing under a stone on the left of the steps on the left of the room.
Look in a fallen stone column on the right with a square hole.
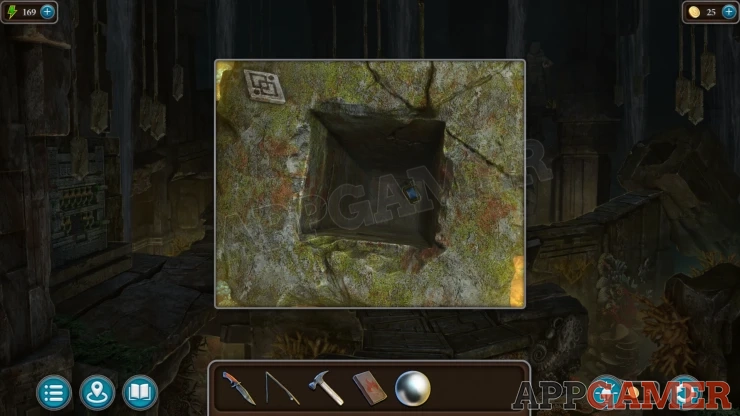
Collect the Engraved stone from the top left, and then use the fishing rod to collect the Diamond (1 of 3) from the hole.
Go back to the chamber with the Vilas in the water an view the small platform with the steps on the left again.
Add the Engraved stone to the diamond shaped slot, this will make a lever appear.
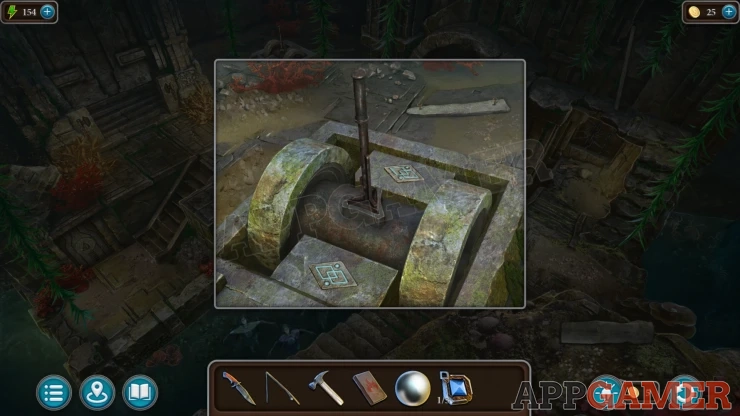
You try the lever but the mechanism is stuck.
The Vilas tell you to try a room below and give you a Magical Key.
View a door at the bottom of the lower steps on the left. Add the Key to the slot in the center.
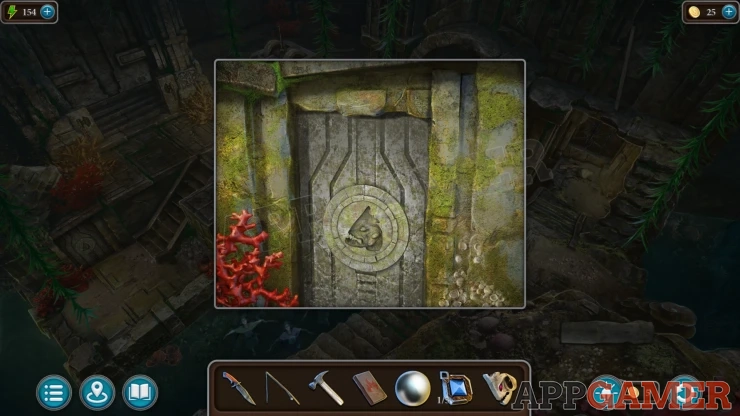
It is too dark to go through so back up to the first temple room and then use the knife to collect the Luminous Starfish on the left.
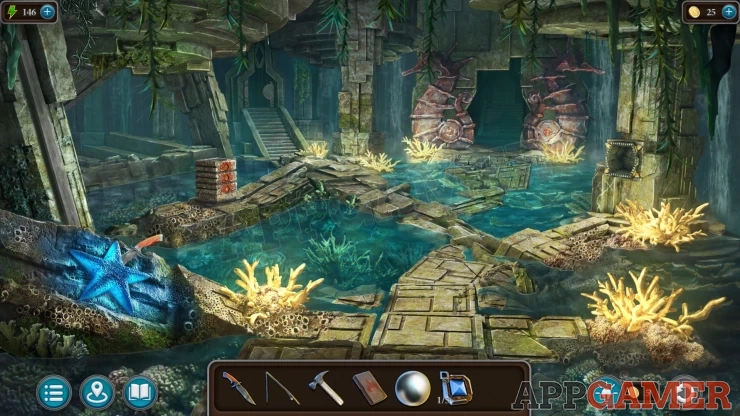
Return to the dark room and use the starfish on the door to let you enter and light up the room.
Mechanism Room
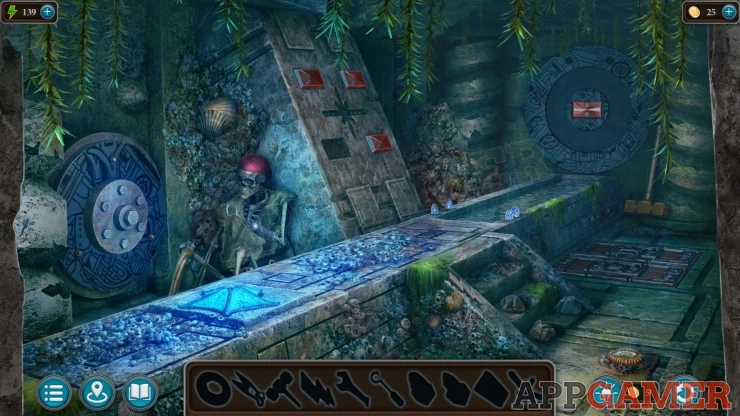
In this room you need to locate specific objects to let you clean up the room and fix the mechanism.
Collect a Hook from the Skeleton. Then collect a Hammer from the wall on the right.
Look on the back wall to the right of the panel with the red lights. There is a pillar that is covered with debris and shells.
Use the Hammer on this to break it open and then you can collect a Crystal.
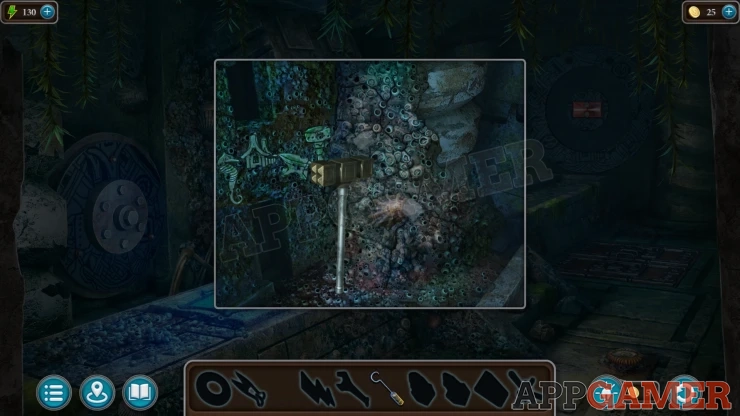
Notice on the left there is a design on the wall with four images.
Collect a Lightning bolt from the steps. Then view a large panel in the floor on the right of the steps.
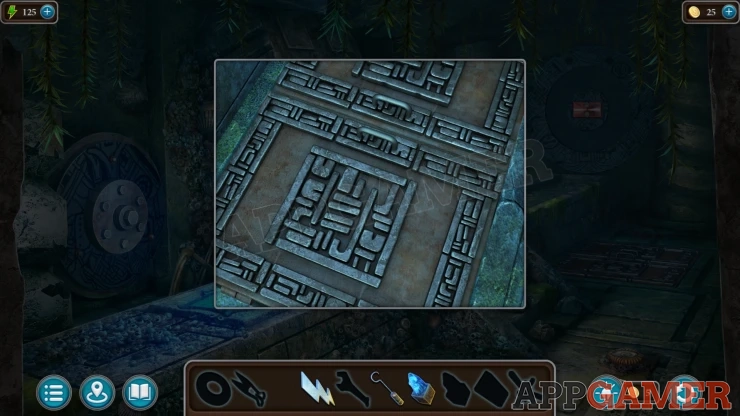
Open the panel and collect a Spanner and another Crystal.
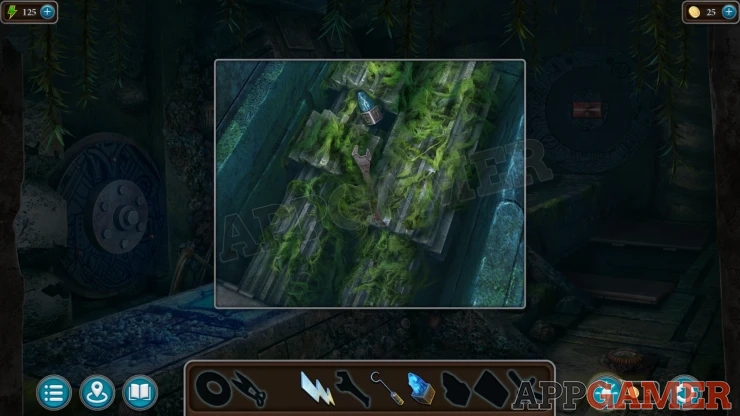
Then view a large metal wheel on the left. Add the Lightning to the slot on the base and then you can collect some Scissors
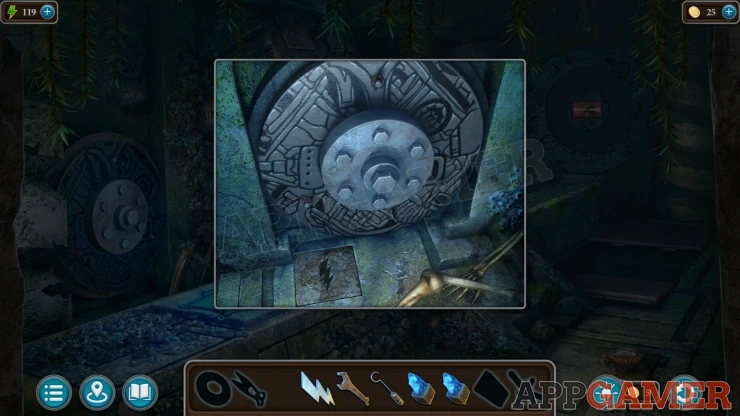
Then use the Spanner on the wheel to remove some bolts and collect a Hoop.
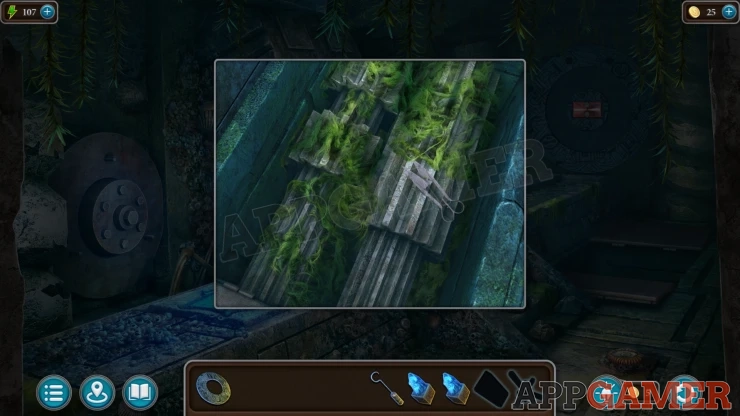
Look again at the open panel in the floor on the right. Use the Scissors to cut away the weeds covering the mechanism.
Then look on top of the center platform to the left of the open panel. There are four crystals here. Place the two crystals you have into the empty slots.
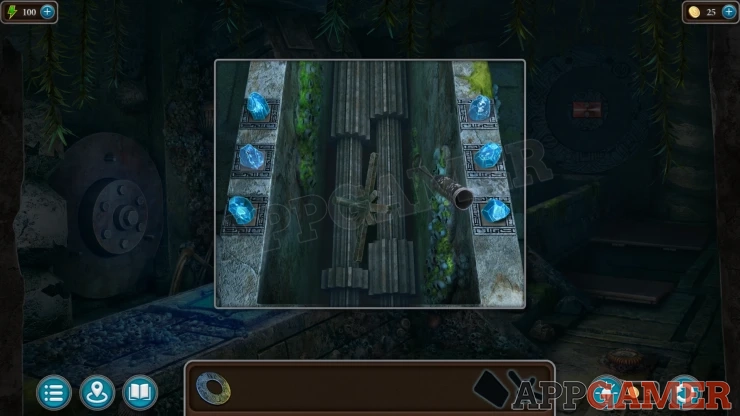
The water will drop and then you can use the Hook to collect the Element from inside the mechanism.
Look at the round panel on the back wall and add the hoop to the center.
Hoop puzzle

Rotate the hoop section to change the position of the lines.
As you do you will be able to find four designs that match the four images seen on the wall previously. You need to match these in the same order.
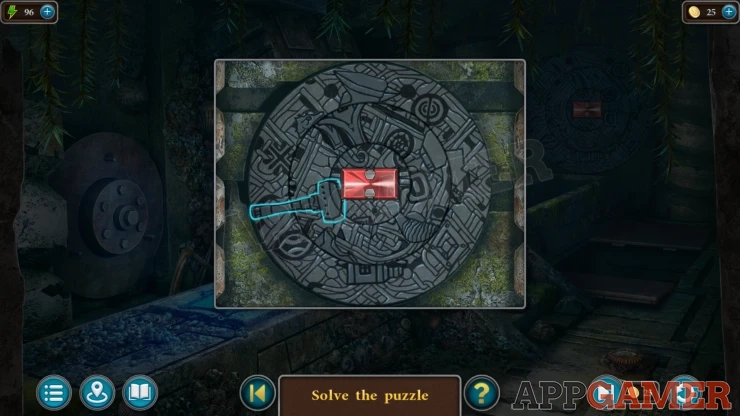
Once done you can collect the Red Bar.
Now view the panel on the left with the red lights.
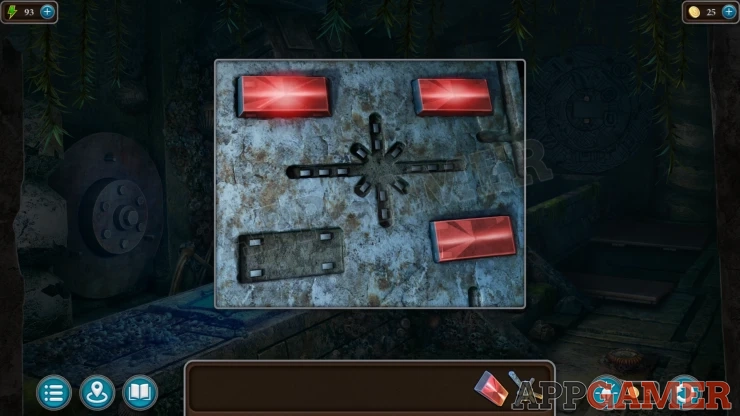
Add the red Bar to the lower left and then add the Element to the center.
This will re activate the mechanism.
Now you can go to the lever on the hall again and use it to open the door.
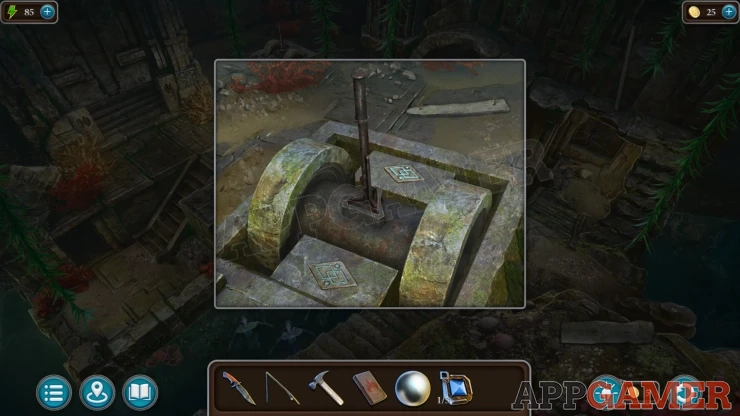
Look at the top of the round door that was lifted. Collect the Trident.
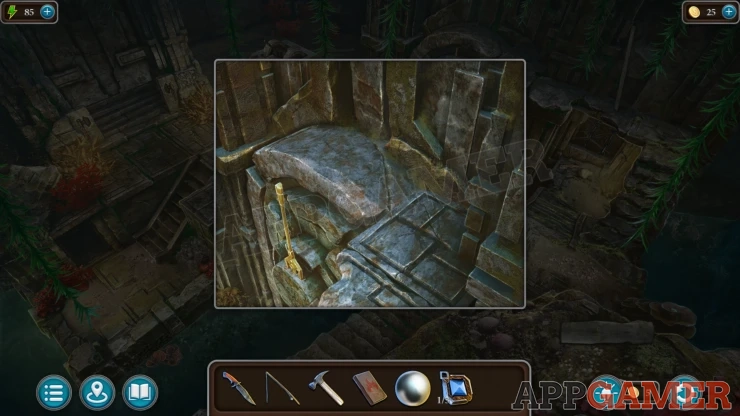
Then go to the room with the statue. Look on the top of the steps on the left of the room, Collect from here a Diamond (2 of 3).
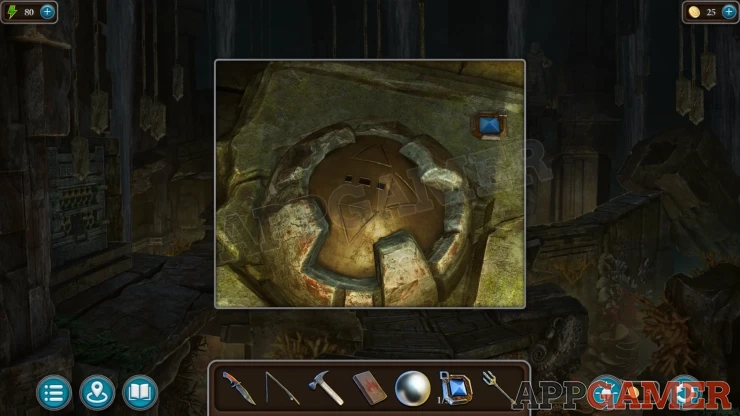
Then place the Trident into the slots in the center of the small dome. Tap it to then turn a stone bridge in the center of the room.
Then you will need to tap it again to get into the correct position. You need planks to compete it.
Collect a Board (1 of 7) from the stone path in the center of the room. Then view the walkway on the lower right to see another plank stuck in the stone. Collect this Board (2 of 7).
Back up to the first temple room and find another Board (3 of 7) on the pillar on the far left.
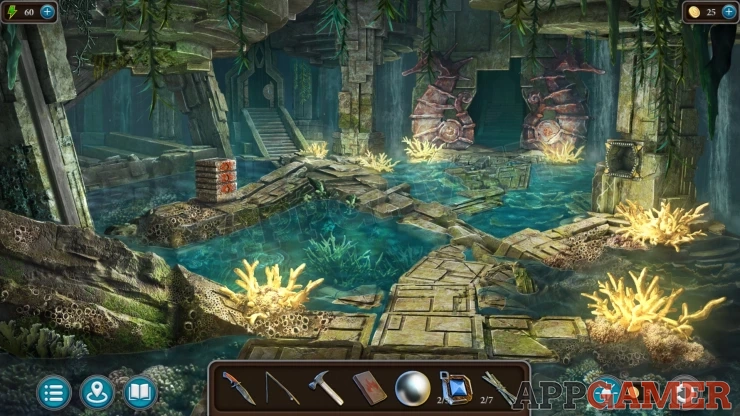
Go through the door on the left to the hall. Collect the board (4 of 7) from the ground on the bottom right and another above the damaged stone are on the upper right. (5 of 7)
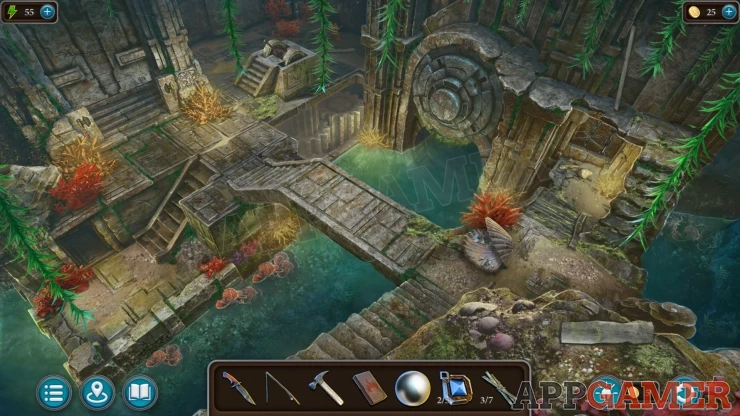
Then view the damaged stones on the right with the chains, there is a Board (6 of 7) to collect on the left.
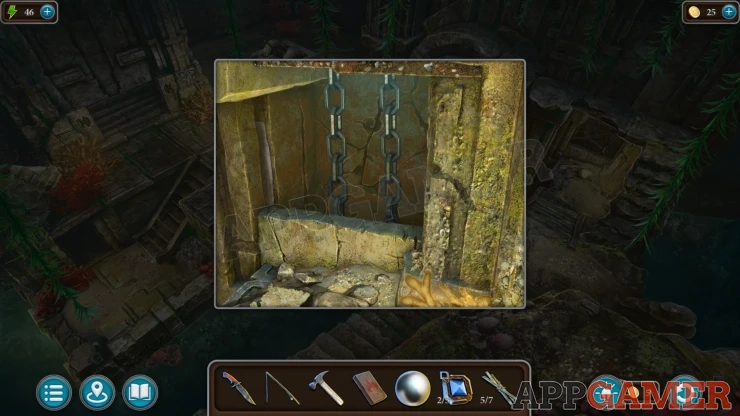
Then view the lever platform on the left side to find the final Board (7 of 7).
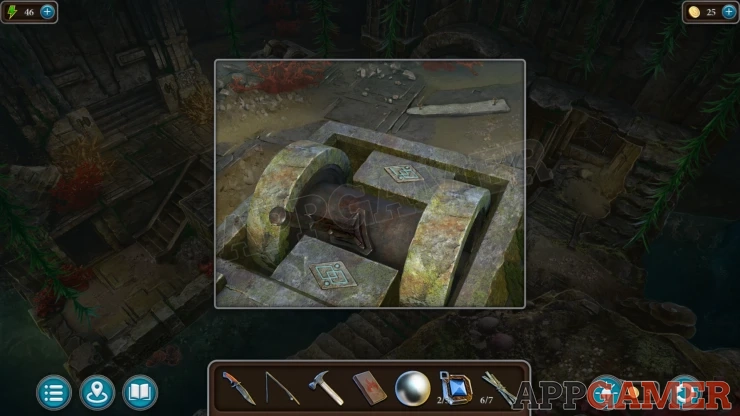
View the boards in your inventory and tap them to arrange them. Then use the hammer on them to make and collect the Bridge.
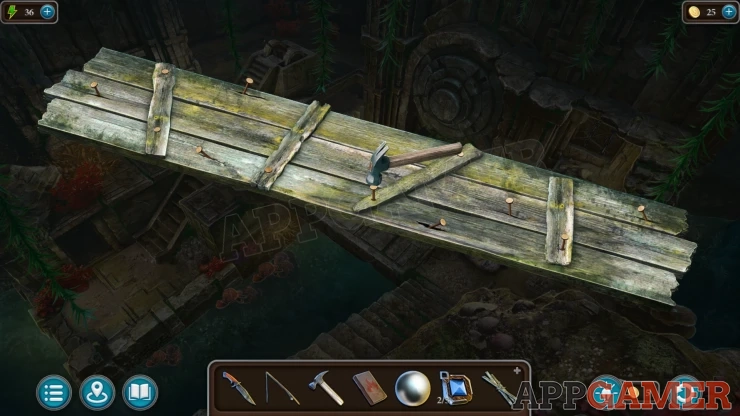
Return to the room with the statue and add the wooden bridge to the Stone platform in the center to complete the crossing. Now you can view the Statue on the right.
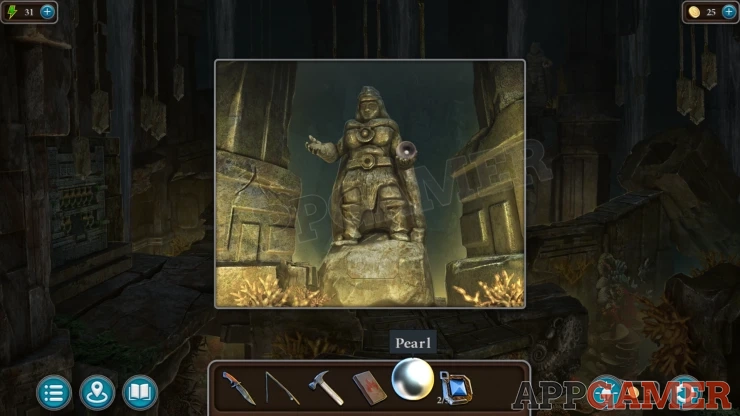
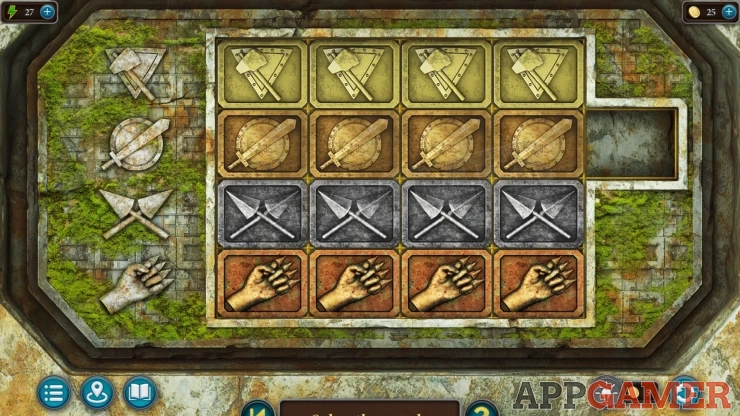
Add the Pearl to the empty hand, then you can open a panel in the base to find a puzzle.
Statue Puzzle
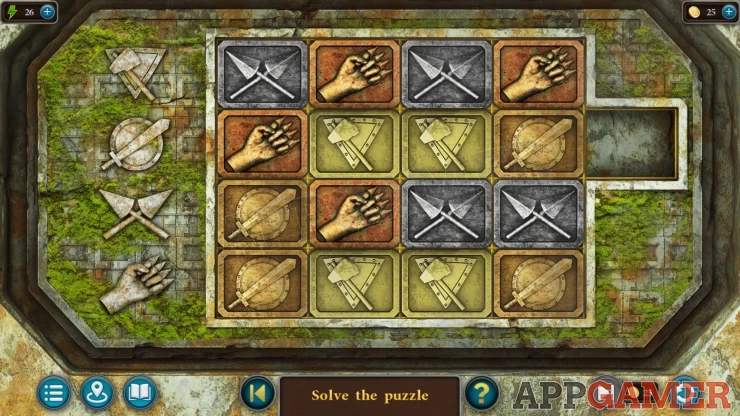
You have four different sets of four tiles, these are jumbled up.
Slide the tiles around to arrange them so that they fit into rows to match the symbols on the left.
Solution: Show
You now receive the Gate Key (1 of 2).
Return to the hall and talk to the Vilas again. They will give you the second Gate Key (2 of 2).
Now look on the left of he room, there is a large doorway, on the lower and right of it are pillars with slots for the keys.
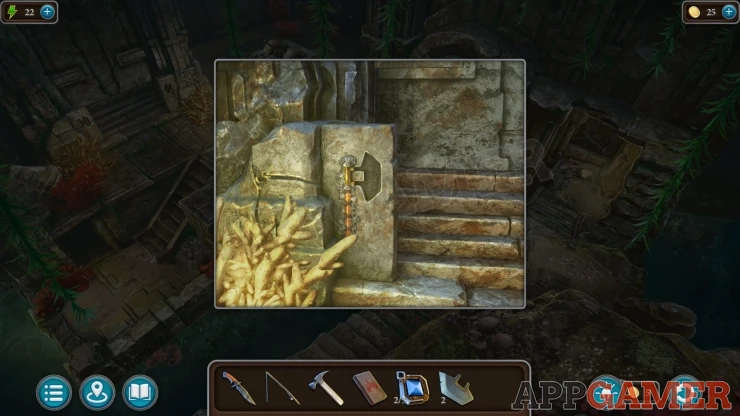
Add them both and the door opens, you then have a puzzle to solve.
Gate Steps Puzzle
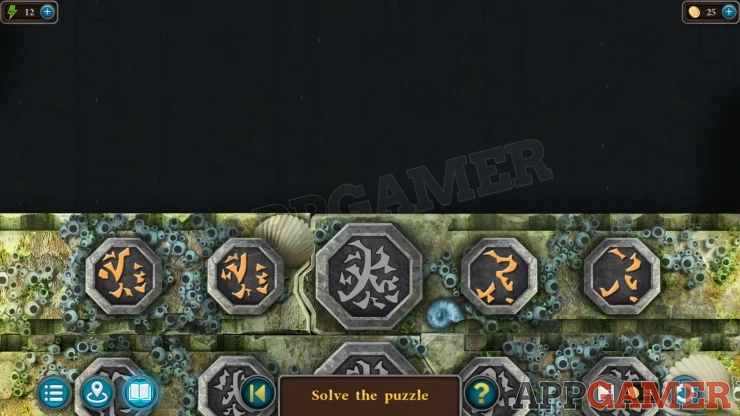
- You have a set of 10 steps that need to be unlocked.
- On each step you have a central symbol and four symbol parts (two left, two right).
- Select two of the symbol parts that can combine to make the main symbol in the center.
- The parts may not be the correct way up
- Complete each one to unlock the next step until you have done all ten.
- If you make a mistake the puzzle starts again.
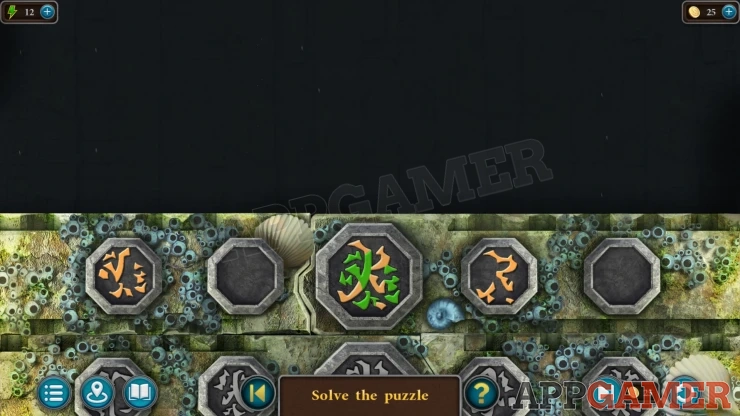
This allows you to escape the temple and reach the island.
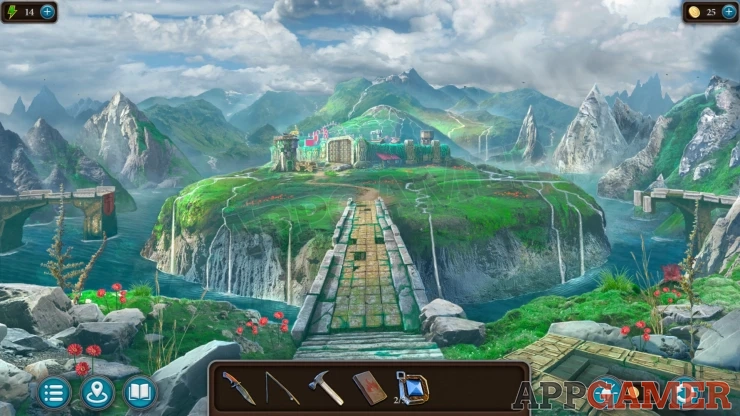
Continue the Guide in Chapter 3 - Part 2
We have questions and answers related to this topic which may also help you: Show all
 With 20 years of experience in creating video game content for the internet and over 30 years as a gamer, Mark is now a passionate mobile App Gamer. Loving a challenge, he is always ready to get stuck in to both survival builders and puzzle solving games. He has been providing content for AppGamer since 2014.