Chapter 8 - The Elixir of Life
Adventure Escape: Hidden Ruins Guide
In Chapter 8 of Adventure Escape Hidden Ruins you have made it past the puzzles of the inner sanctum and passed into the main temple. Can you solve the mysteries here and stop Larissa.
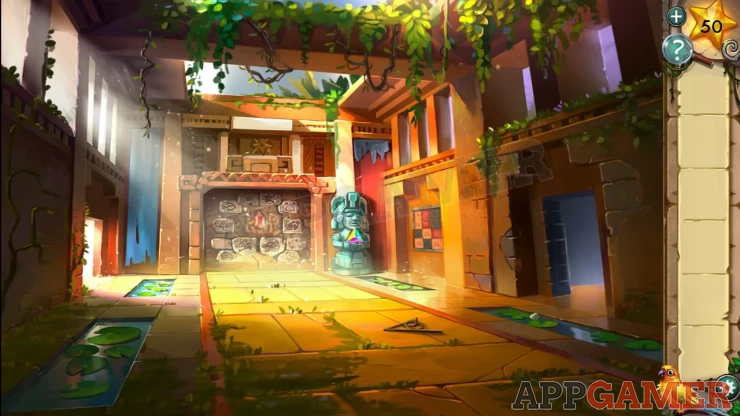
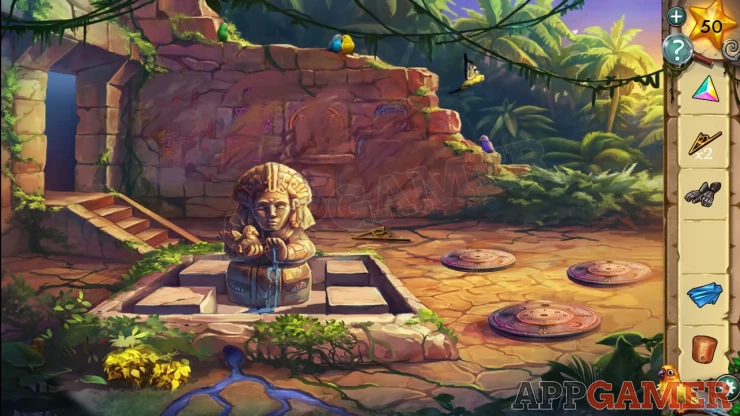
First collect the prism from the statue on the right of the door. Then pick up the dial piece from the center of the floor.
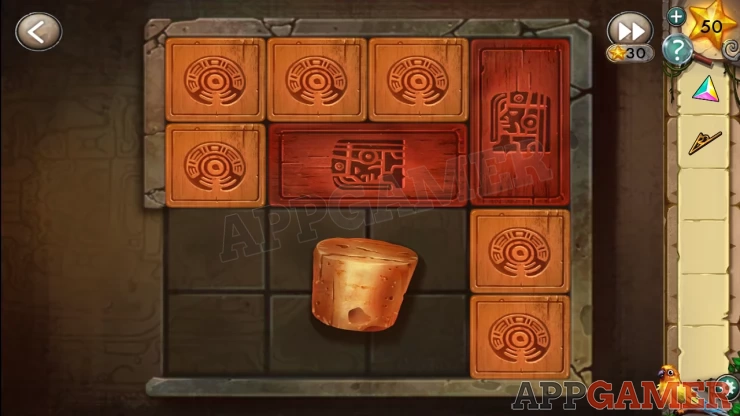
Tap on the wall section to the right of the status to view a sliding block puzzle.

To solve this you need to move the blocks around until you can move the 'Plug' to the lower left opening and collect it.
Show
Once you have the cork. go through the door on the right into the room with stars.
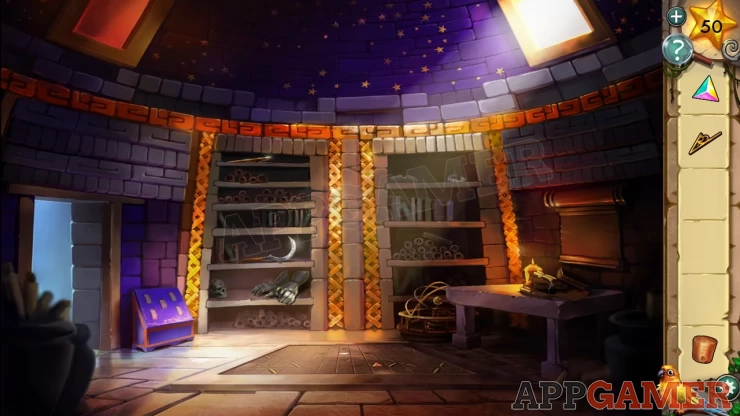
Use Bert the bird to fetch a second dial piece from the top left shelf. Then from a lower shelf collect the sickle and the gauntlets (gloves)
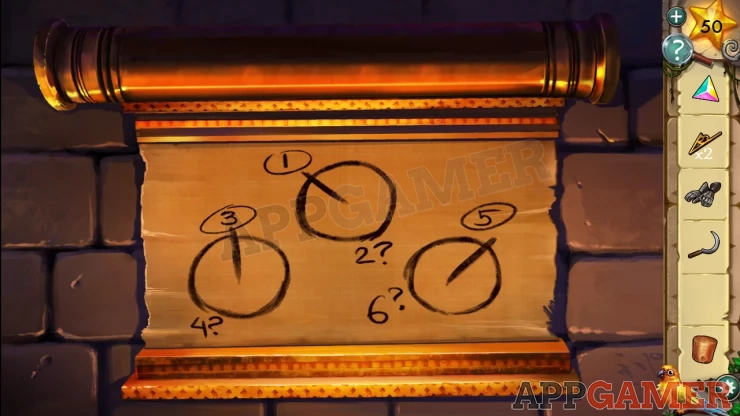
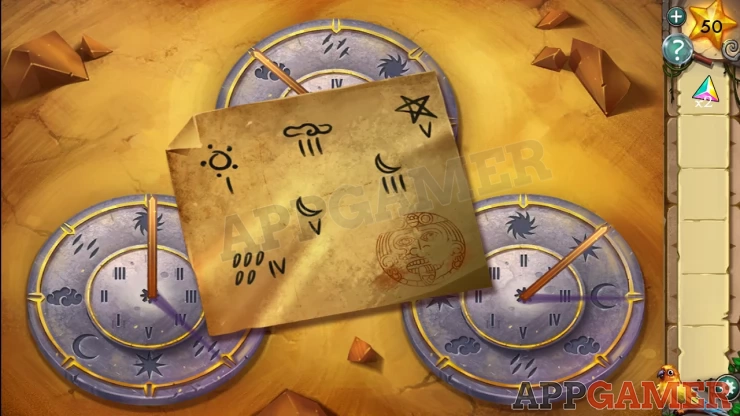
Tap on the right hand side of the room to see a hanging parchment. This clue will be useful.
Return to the hallway entrance and use the sickle to cut down the long banner hanging on the left banner and collect the dry banner piece. Then proceed through the left doorway to an outer courtyard
Collect a third dial piece from the ground then use the gloves to search the brambles on the lower left and collect another prism.
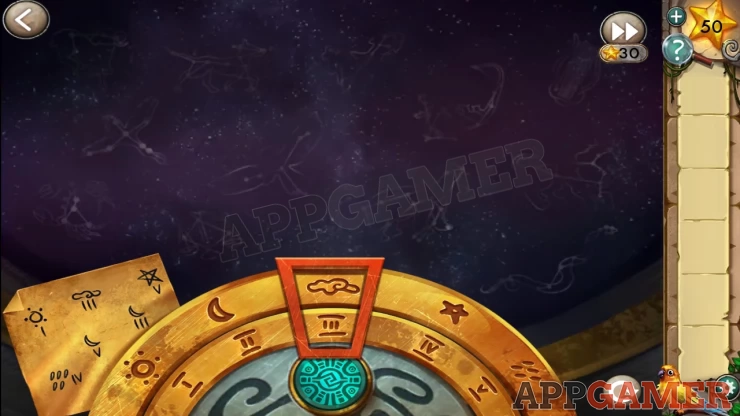
Place the three dials on the sundial circles on the right. You can now view this puzzle.
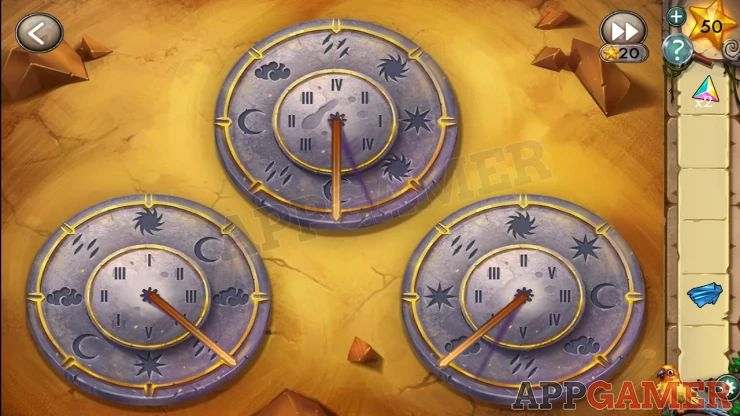
You need to set the sundials so they match the clue from the parchment above. Once done you will receive a note with the positions and the shadow positions.
Show
Use the Plug on the hole at the bottom of the water fountain to stop the water escaping and let the pool fill up. When you do this four drawings will appear on the stones.
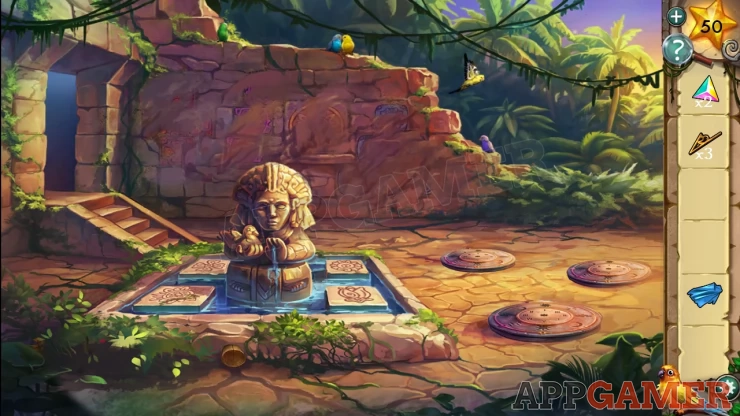
Use the banner piece on the water in the fountain to wet it, then use this to clean the wall at the back and reveal some symbols.
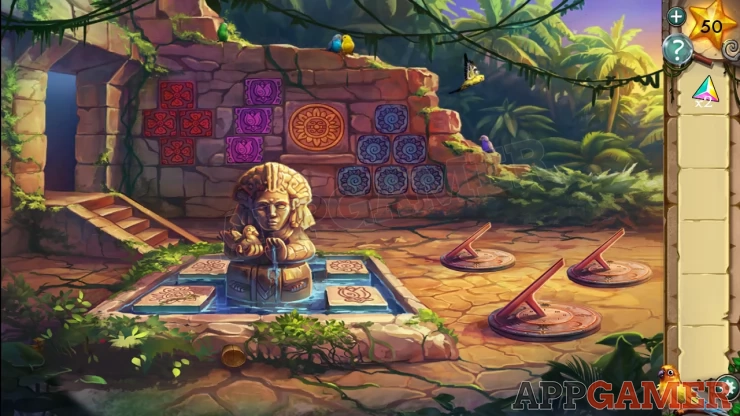
The symbols themselves are the same as the ones in the fountain. There are 4 red symbols, 3 pink, 1 orange, and 6 blue.
The fountain also has the statue in the center holding a bird. These clues will be needed soon.
Return to the hallway and then go to the room on the right. Tap on the purple chest on the left to view it.
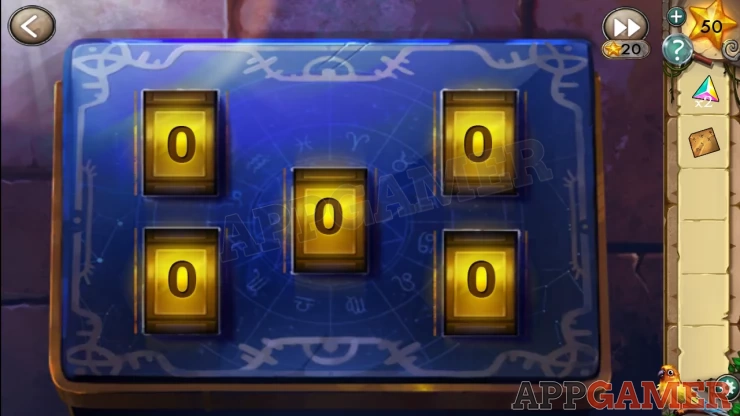
You need 5 numbers to unlock this puzzle. Notice the layout is the same as the fountain pool with 4 around the outside and 1 in the middle. Use the clues above to find the numbers.
Solution: If you match the symbols on the fountain to the ones on the wall and count the number of symbols you get: [4] - [6] [1] - [3] The statue in the middle is holding a bird, count the birds in the scene (5) to get the center number.Show
Enter these numbers in the correct positions to unlock the chest and collect the third prism.
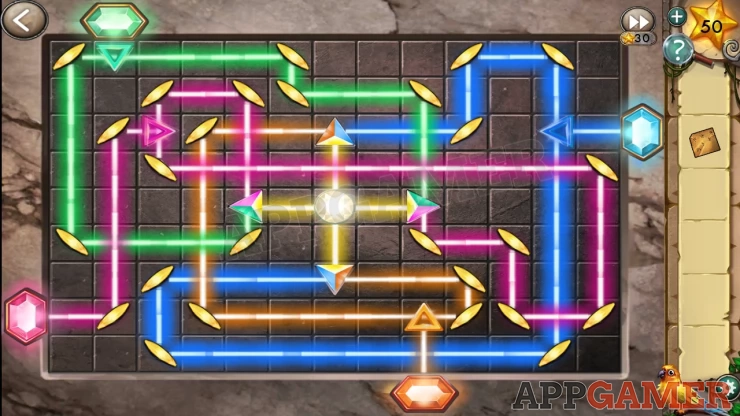
Now tap on the floor of the room to view a puzzle with light. Place all three prisms on to the empty spaces to activate it.
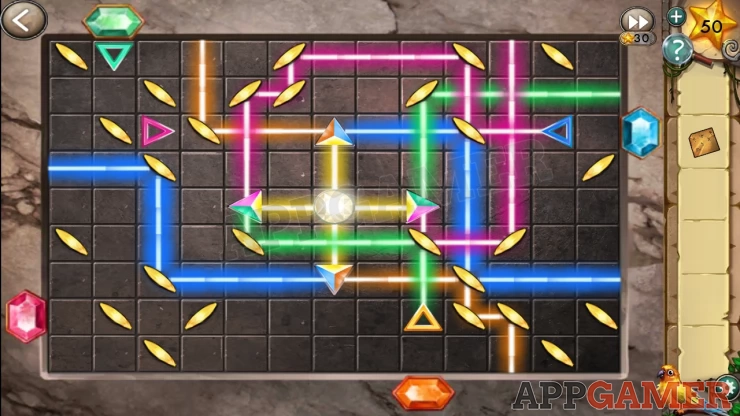
To solve this you need to rotate the mirrors to direct he coloured beams so that two beams of the same colour hit each of the coloured triangles and then activate the gems.
Show
Once done a telescope will rise up from the ground.
Tap on the telescope and add the Sundial Note to it.
The dials in the puzzle have symbols on the outer ring and numbers on the inner ring. Use the note to match a symbol to a number and then press the turquoise button below to make a constellation light up.
The sequence on the paper is confusing. They are noted down roughly in the positions of the sun dials and we need to enter then in the order of the dials with the top center one first. This means, using the paper, enter the center pair first, then the left pair and finally the right pair.
Solution: Cloud 3, Moon 5, Sun 1, Rain 4, Star 5, Moon 3Show
Once done collect the Dog tile from the base of the telescope.
Return to the main hall and tap on the doorway in the center. Place the dog tile in the empty slot.
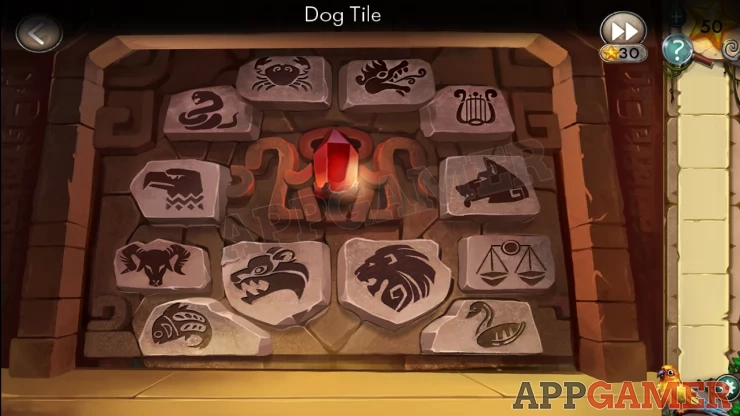
To continue you need to press the tiles in the right order. The order can be found from the previous puzzle
Hint: The symbols are the same as constellations.Show
Solution: The constellations that were highlighted in the telescope puzzle: snake, lyre, dragon, swan, ox, dog.Show
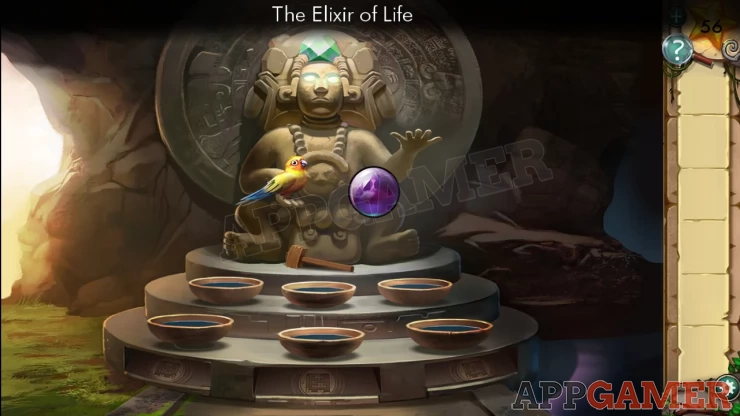
Go through the open door to the next area and find the Elixir.
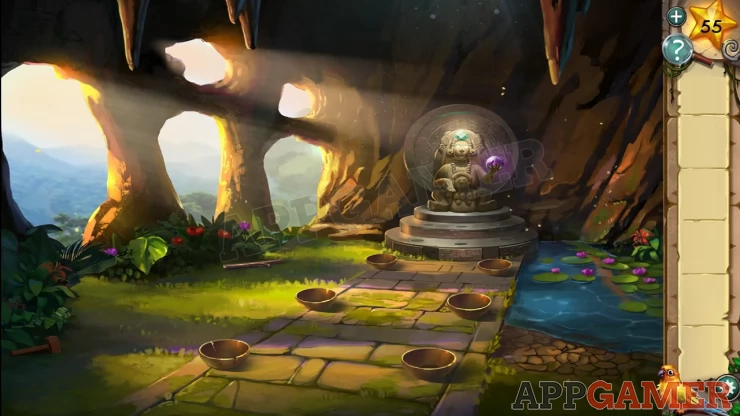
Star: on a lily in the water on the right.
Collect from the ground on the left the mallet, a large leaf and a twig. Then collect the 6 bowls on the ground. You will get 5 as one breaks.
You need to fix the broken bowl. Using one of the bowls, collect some water from the pool on the right and then pour it on the dry dirt below the pool. Next use the twig to mix it and make a messy pile of clay. Use the leaf to collect some of it, and finally use the leaf with clay on the broken bowl to fix it and pick it up.
Now use all of the bowls on the pool to fill them with water. Fill up all the bowls so you have all six filled with water. Then tap on the statue.
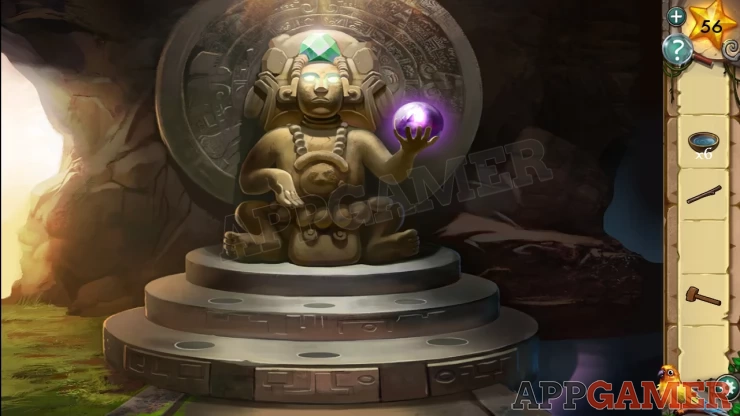
Place all six bowls down on the base of the statue. Then tap Bert the bird and place him in the statue’s open hand.
Tap Bert to hear him sing a rising 6 note tune. Tap on the bowls to view them closer and add the mallet.
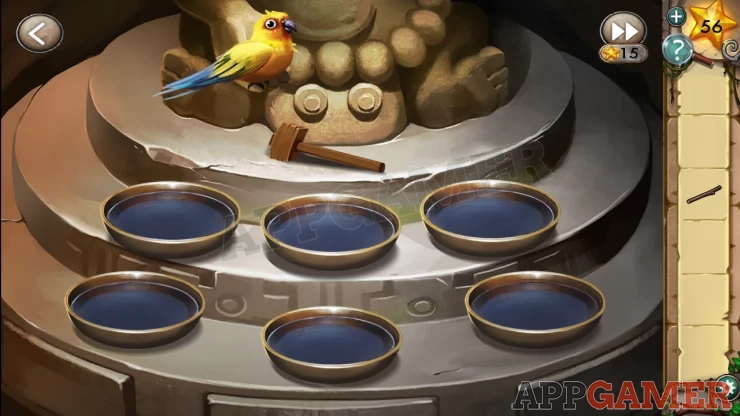
You need to play the tune Bert is singing. Tapping each bowl will play a note. Find the order from lowest to highest note and play in that order.
Solution: Top row is 1 2 3 second row is 4 5 6 - Order: 3, 5, 2, 4, 6, 1.Show
A panel on the base of the statue opens a little. Use the twig to prise it open fully. This reveals 'another challenging puzzle'.

You need to use the arrow to turn the board until the balls end up in their matching squares. After each turn the ball fall. There is a limit of 5 moves before the board resets.
Solution: Right, Right, Right, Left, Left.Show
Now it is time for another bird song. Tap Bert to sing again and follow the tune on the bowls.
Solution: Top row is 1 2 3 second row is 4 5 6 - Order: 2, 4, 5, 2, 3, 1 .Show
The center panel opens up now and give us another balls puzzle with the same rules as before but 6 moves to solve it.
Solution: Right, Right, Right, Right, Right, Left.Show
One final tune puzzle, tap Bert to get the notes.
Solution: Top row is 1 2 3 second row is 4 5 6 - Order: 6, 1, 4, 2, 5, 2, 3.Show
The third and final panel opens and one more puzzle as above with 5 moves.
Solution: Left, Right, Right, Right, LeftShow
Now we can take the Elixir of Life.
Larissa appears and tries to take the Elixir. And now the cave is collapsing on us.
This is an escape puzzle. You just need to swipe to move left and right to move and avoid the stalactites.
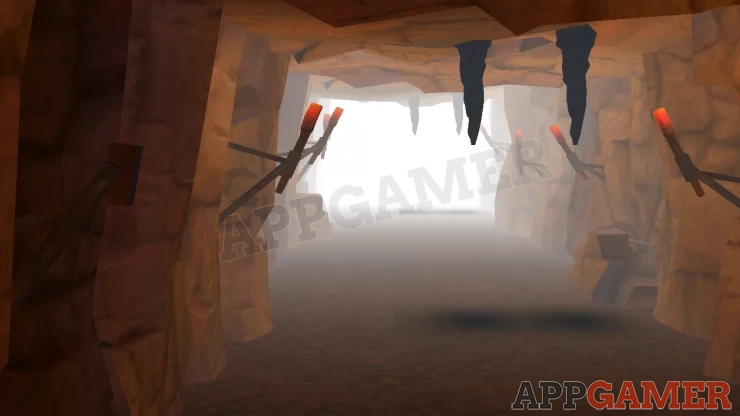
Once you escape the cave the game is completed. If you have any questions for this chapter or the rest of the game please head to the Answers Page to ask it there.
We have questions and answers related to this topic which may also help you: Show all