Chapter 3 - Secret Rooms
Adventure Escape: Hidden Ruins Guide
In chapter 3 of Adventure Escape Hidden Ruins you are back with the main party but now trapped inside the temple.
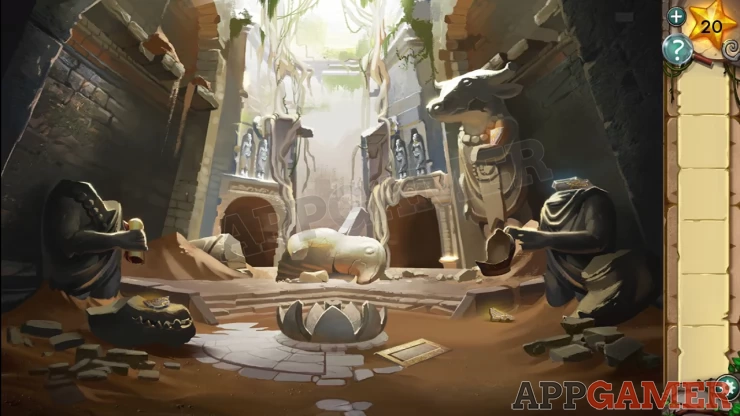
Check around the ruins of the statues for 4 fragments to collect. Then tap the left hand doorway to pass into that room.
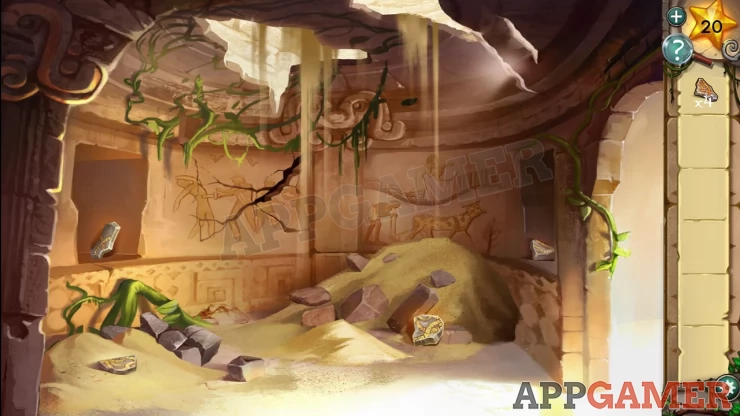
Again more destruction and 4 more fragments to collect.
Then leave this room and go through to the room on the right
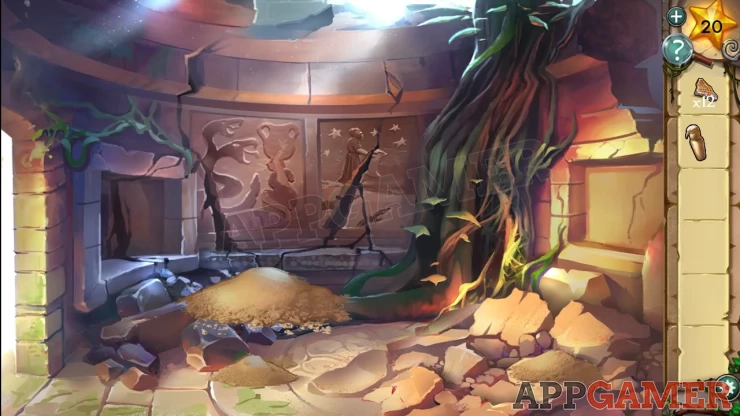
There are 4 more fragments to pick up here making 12 in total. Then also collect the hawk jar from the rubble on the right..
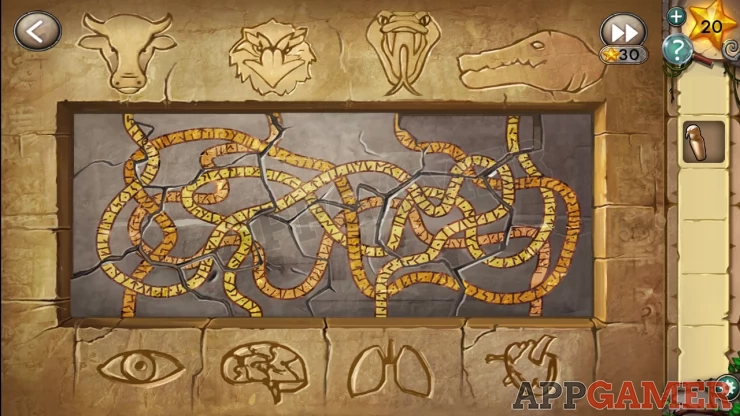
Return to the entrance area and find and tap on a stone plaque laying on the ground. This is a puzzle, place all of the fragments on to it and then piece them together like a jigsaw.
The pieces can be dragged into place and also tapped on to rotate them. When pieces are in the correct position they will fix in place and cannot be moved any more.
Solution: Show
Completing the puzzle will open a secret passage in the floor with stairs to descend. Tap to go down the stairs.
First collect the gear in the back right corner of the room and then tp to the right to go through the right doorway.

In this room pick up the sieve to the left of the cage and the snake jar from the floor.
Exit this room then use the sieve on the pool of water at the back to collect a key. Next head through the doorway to the left of the water. There is a cut scene where some things get knocked over.
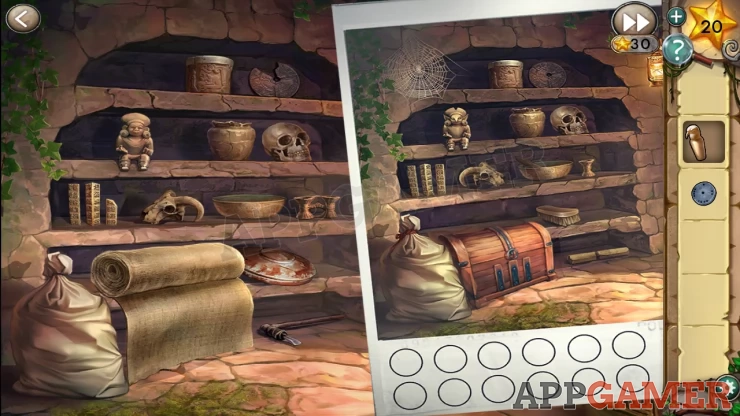
Once the lights are on you need to use the photo of the room to find all of the things that have been moved, tap each difference on the left to find the 12 changes and restore the room to how it was.
Now that the room is back as it was we are going to take some items from it. Collect the crocodile jar, the cobweb from the top left and the brush. Then you can use the key to open the chest and collect the rope.
Now go back up the stairs to the main area and go in to the left room again. Use the brush on the pile of dust on the floor to find a gear. Then move to the room on the right and do the same to find a third gear. Then go back to the central area
Star: Use the brush on a pile of dust on the left hand side to find a star.
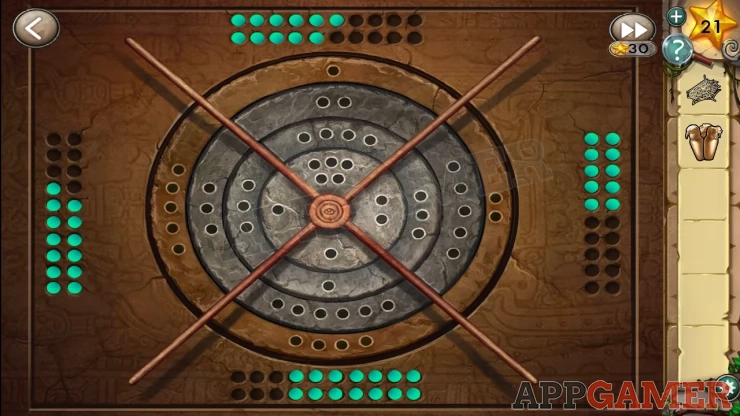
Go back down the stairs and on through the right side door into the room with the bird in the cage. Use the rope on the pulley hanging from the ceiling to to connect the cage to the box on the right. Now tap the box on the right and place the three gears on top to set up a puzzle.
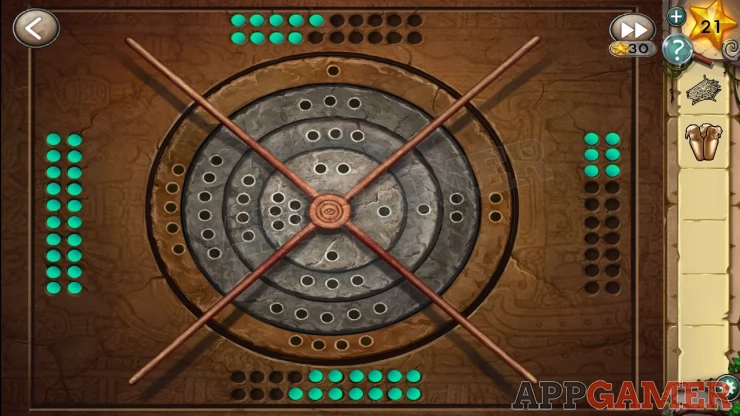
Hint: To solve it rotate each gear so the the number of dots in each section add up to the same number. The totals are represented by the green dots.
Solution: Show
Once done the cage will be lifted up which will free the bird. The bird is injured though, Use the cobweb to stop the bird’s bleeding and he will recover and be named Bert. Tap Bert to collect him.
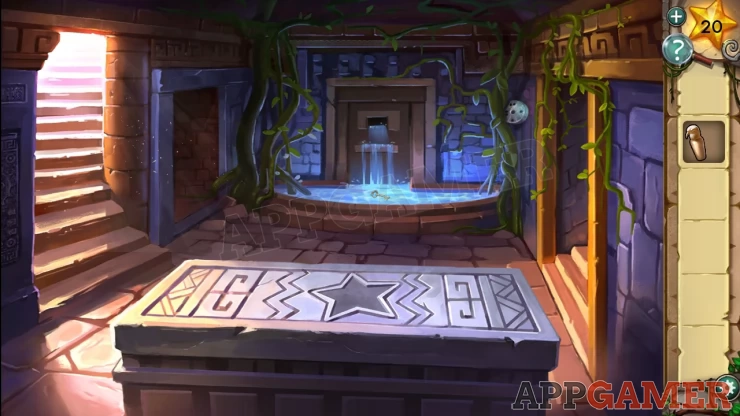
Now tap Bert to select him and then tap the stone star on the statue in this room to collect it. Then leave the room and place the star on the large stone sarcophagus which will open the lid. Take the ox jar from inside.
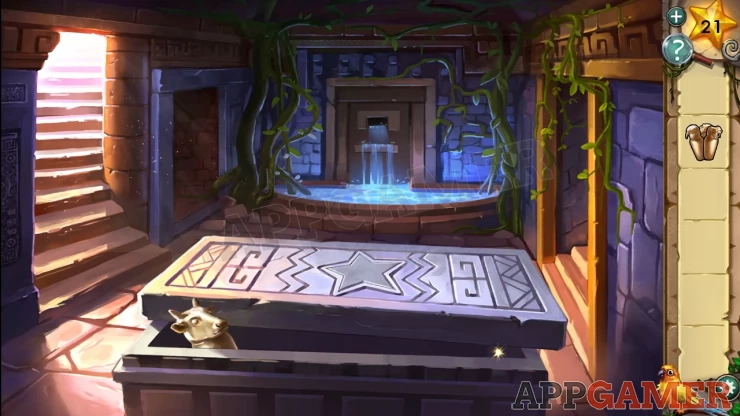
Star: also found inside the stone sarcophagus
Return to the room on the right again and tap the center of statue figure to find a new puzzle. Place all four jars with the jar puzzle.
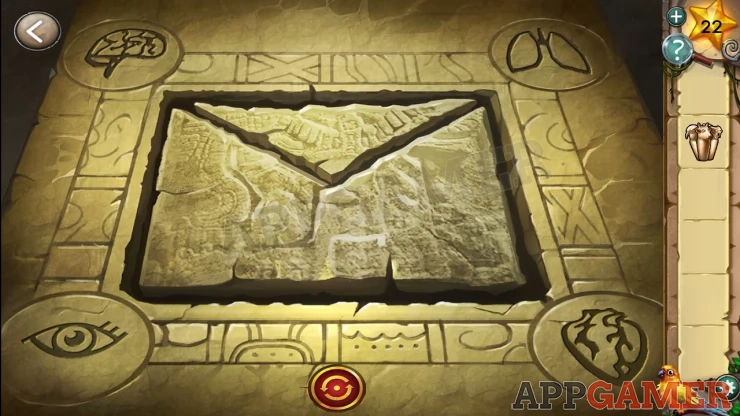
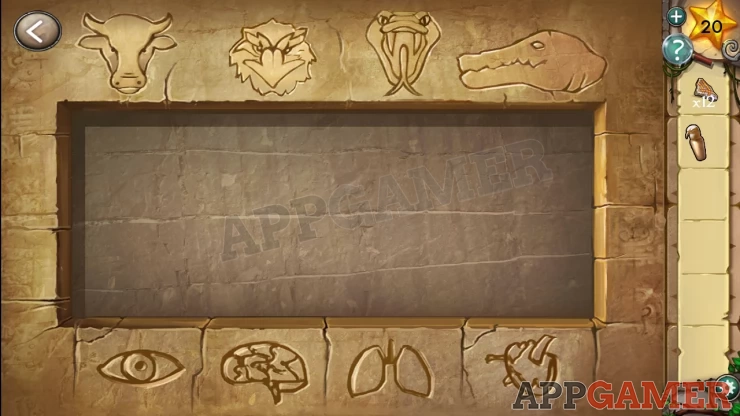
Hint: to solve this puzzle we need to revisit the stone plaque puzzle in the main room above. The one that we had to reassemble as a jigsaw. This puzzle has lines connecting 4 animals to 4 body parts.Show
Solution: The Ox goes to the lungs, the the Hawk goes to the heart, the Snake goes to the eye, and the Crocodile goes to the brain.Show
Once you have moved the correct jars to the correct body part locations a secret door opens and you can exit this area.
This completes chapter 3 and you now move on to chapter 4.
We have questions and answers related to this topic which may also help you: Show all