3D Escape Room Detective Story Chapter 3 Walkthrough
More 3D Escape Room Detective Story
This is a walkthrough guide for chapter 3 of 3D Escape Room Detective Story. In Chapter 2 we investigated the house near the All Saints Church to continue to investigate the Piano teacher clue. This time we need to investigate a boat at St. Catherine's Dock where a colleague Pete was seen in a fight but has now disappeared.
3D Escape Room Detective Story Chapter 3 Walkthrough
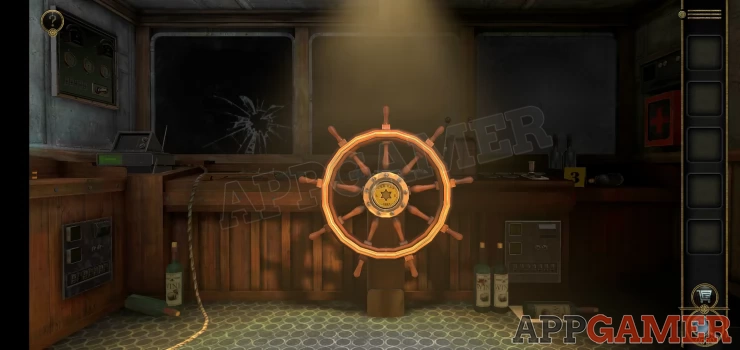
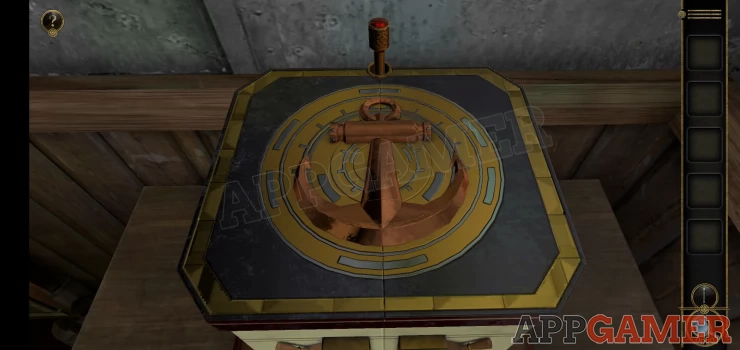
We start on the boat in the Wheel house.
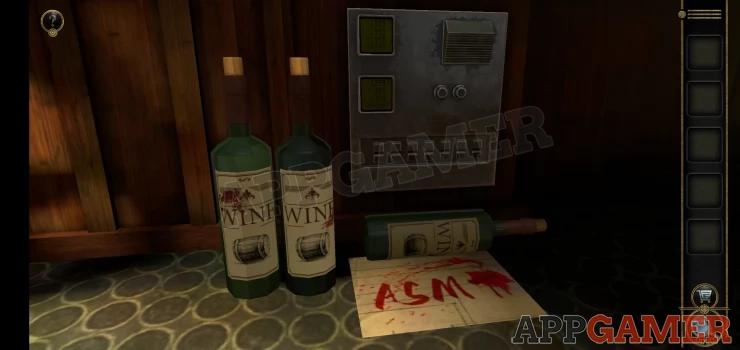
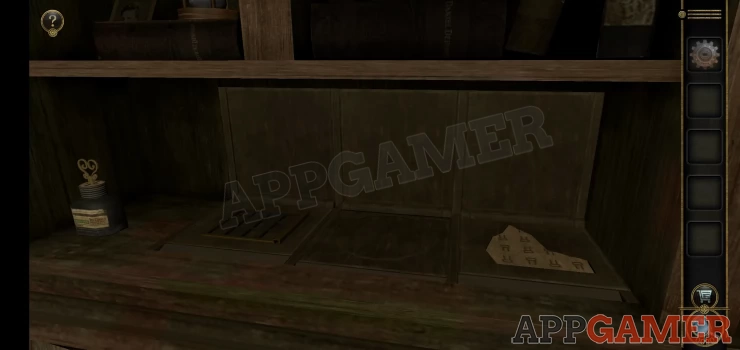
First look on the floor to the right of the Wheel to see some wine bottles. Tap the one on the floor to move it away and see a clue ASMT, this is useful for later.
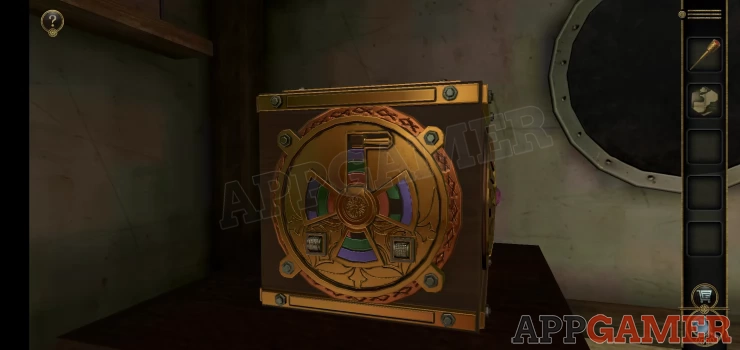
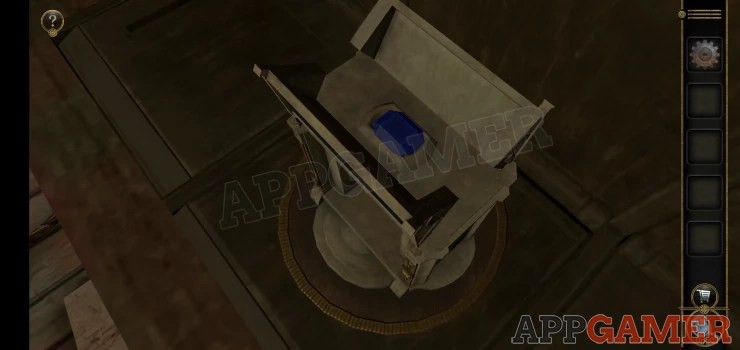
Then look to the right again to see a box on a table.
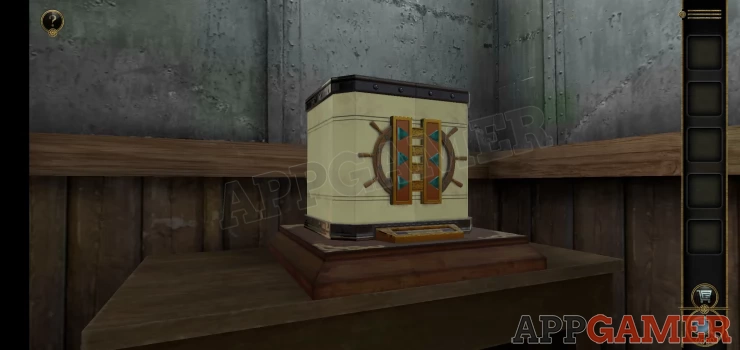
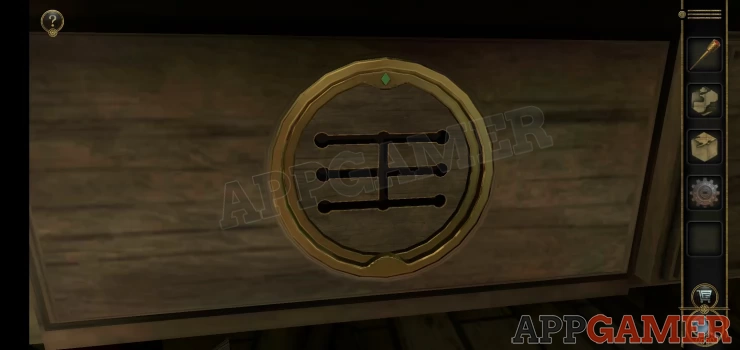
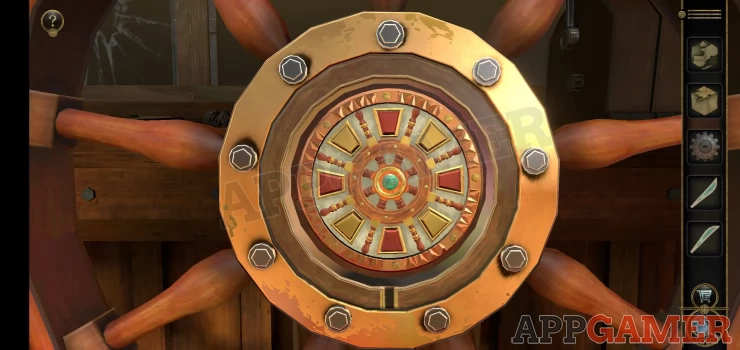
Zoom into the box to see a puzzle lock on the front. Tap the arrows to move one or more of the 4 bars. Once all of the bars are clear you will then be able to see the next puzzle on top of the box.
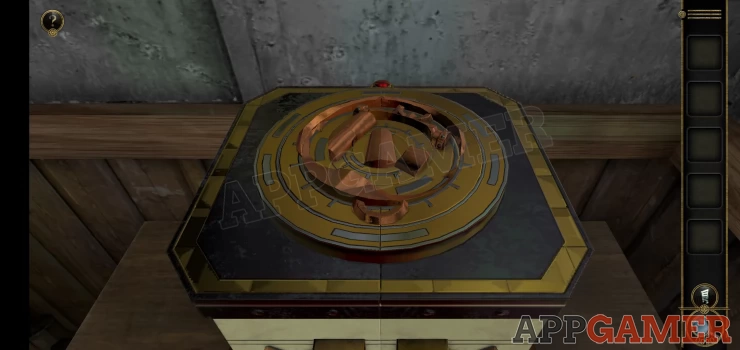
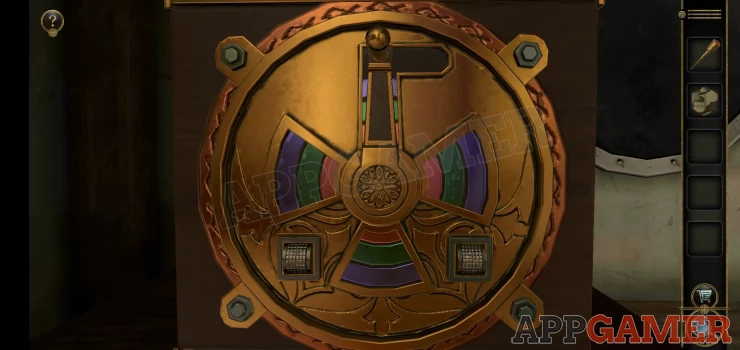
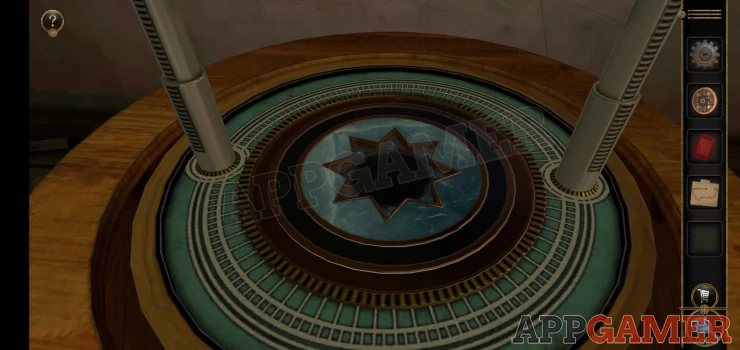
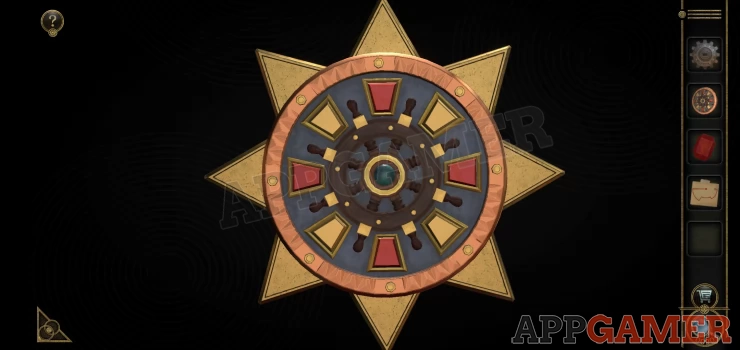
- This puzzle has 3 rings that you can rotate.
- Each ring can also move others as it turns.
- Set the rings to complete the emblem as below.
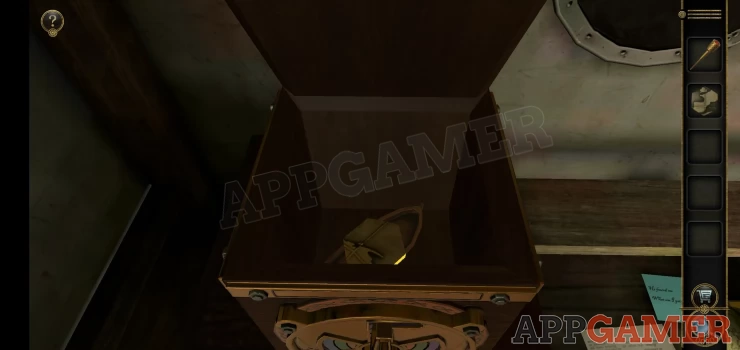
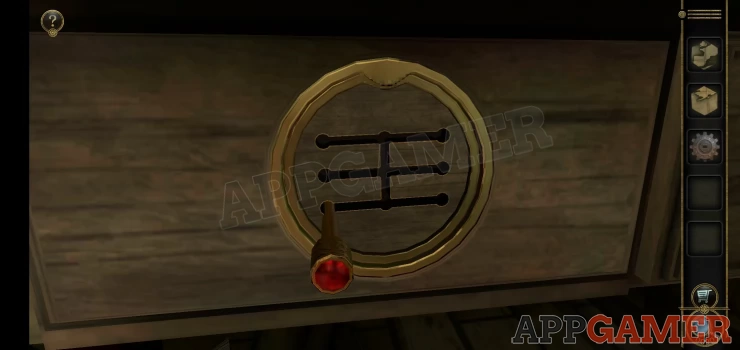
Next collect a 'Small Handle' pin from the top of the box and it will open. Inside is a mechanical bird, this is another puzzle that we need to return to later.
Back up and turn to the right to see a door to the cabin at the back. Go through.
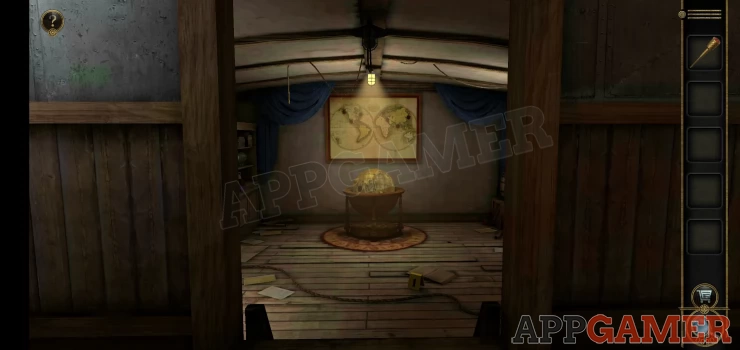
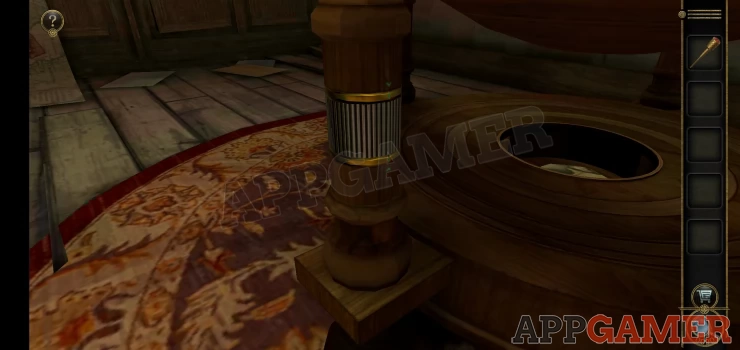
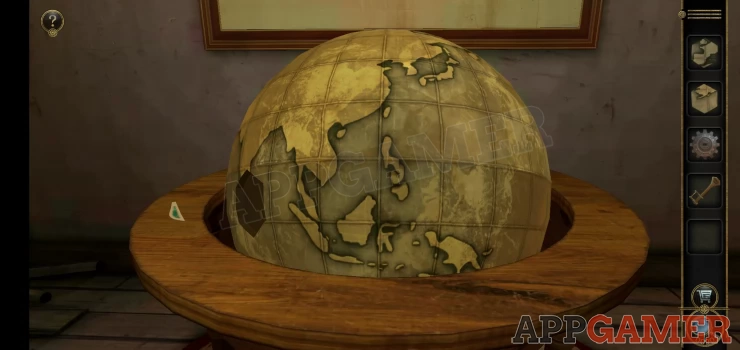
First zoom in on the base of the globe. You will see one leg has a ring on it.
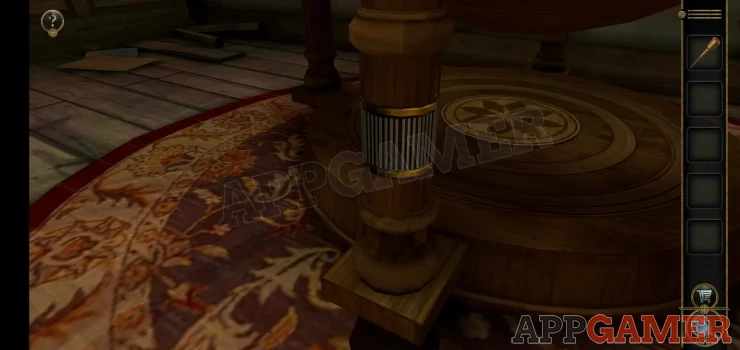
Turn the ring to line up small blue lines with arrows on one side and a small panel will open. collect the Fragment of the globe from there.
Back up and turn to the left to see a desk.

First look at the ornate box on the top left. This is a puzzle.
Use the 2 dials on the lower left and right to turn the colorful disks inside. Line them up to create an opening at the top. This will allow a handle to appear.
Turn the handle and the top of the box will open, collect another Globe Fragment.
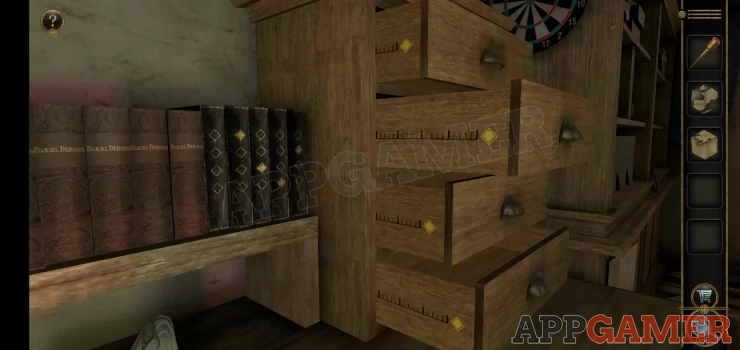
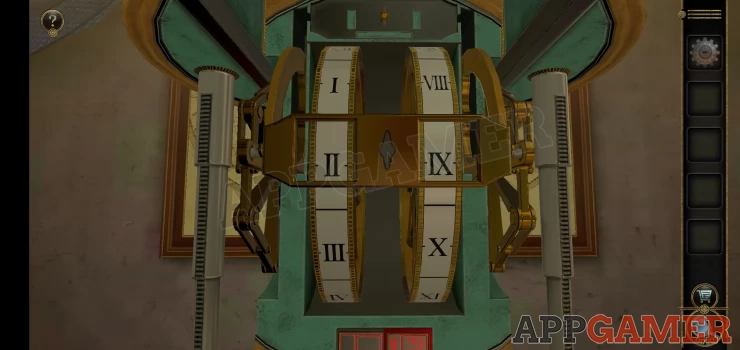
Next zoom in on the drawers on the top right of the desk.
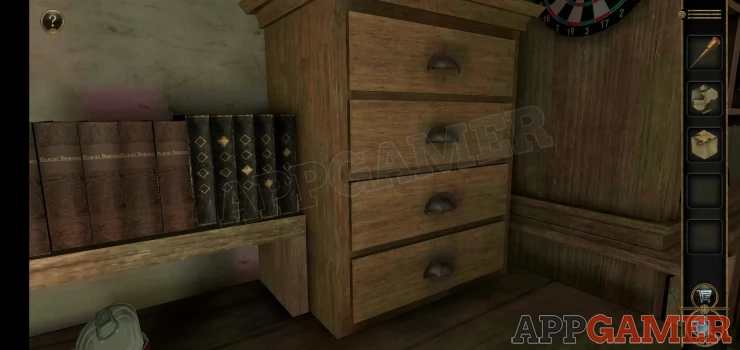
4 Drawers PuzzleShow
- Notice the 5 black books on the shelf with the diamond symbols on them.
- If you now slide the drawers open you will also see that they have diamond symbols and a measurement guide.
- Use the clue on the books to set the 4 drawers to the correct positions.
Solution: Show
A drawer will open lower down and you can collect a 'Double layer gear'.

Now look at the small drawer to the left of the one that opened. This has a set of slots in it similar to a car gear shift pattern.
Add the 'small handle' to the slots to start the puzzle.
Gear shift puzzle
- You can move the handle to any of the positions on the left or right.
- As you do this the inner circle will turn (changing the position of the slots) and also an outer ring with a small lip will turn.
- Each move will turn the outer ring by a different amount either clockwise or anticlockwise.
- To complete the puzzle you need to move the lip to cover the green diamond shape at the top.
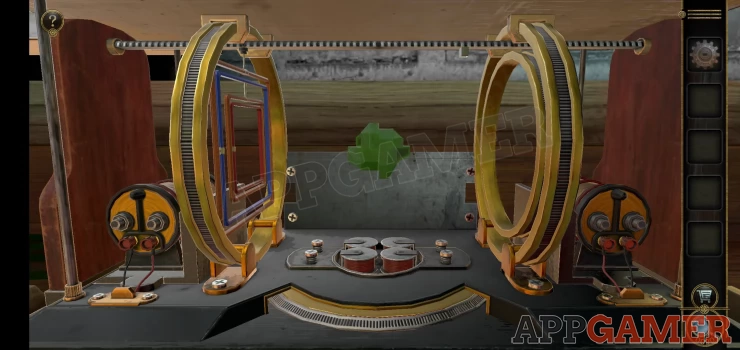
Once done a cylinder will extend out of the drawer and you will find another puzzle.
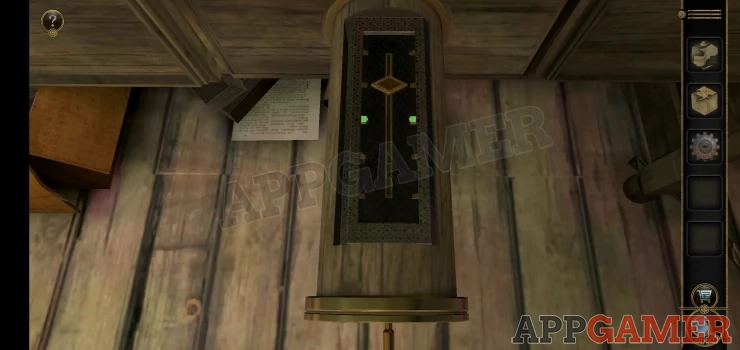
Drawer Cylinder Puzzle
- The inner section of the cylinder has 3 sides, you can swipe left and right to see them.
- On 2 sides there are gauges with green marks. You need to set them both to the green mark.
- Moving 1 gauge will also move the other one the same amount.
Solution: A simple solution.

Collect the key.
Now look to the right at the globe again and view the top. Collect a Metal Feather from the left.
Next look at the shelves to the left of the globe.
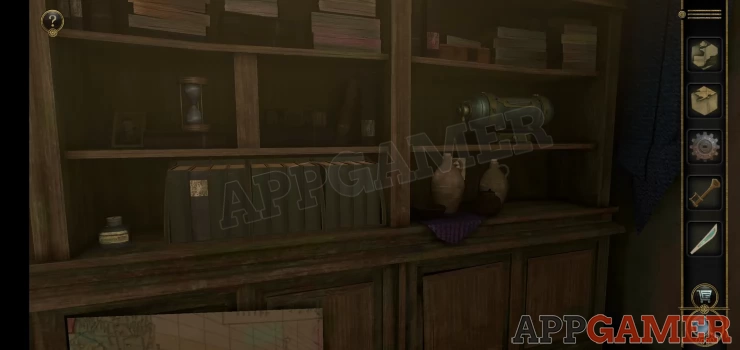
Look on the shelf on the lower right to see 2 jugs with the number 5.
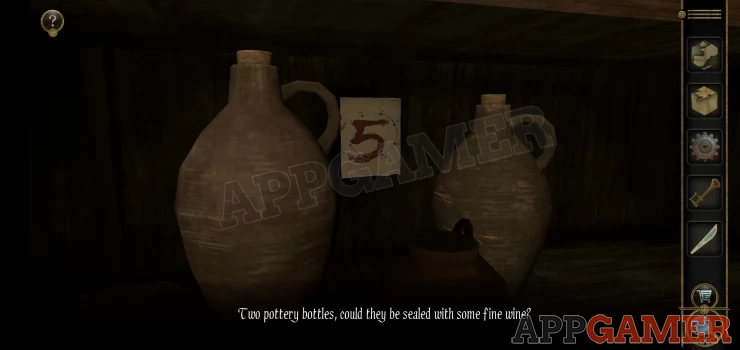
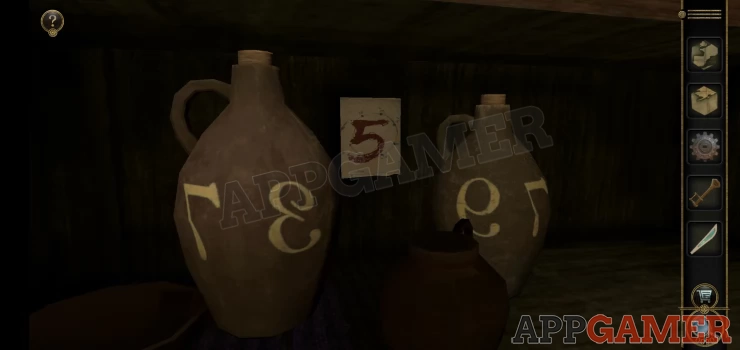
Turn the 2 jugs around to see other numbers, but backwards. This is a clue.
Show
Return to the desk and view the book on the shelf in the center. Slide the top of the center book up to reveal a hidden key hole, then use the key you have to unlock a secret.

You now need a 4 letter code, you have a clue from earlier for this.
Code: ASMTShow
This reveals a new box that needs a 5 digit code. You have also see the clue for this.
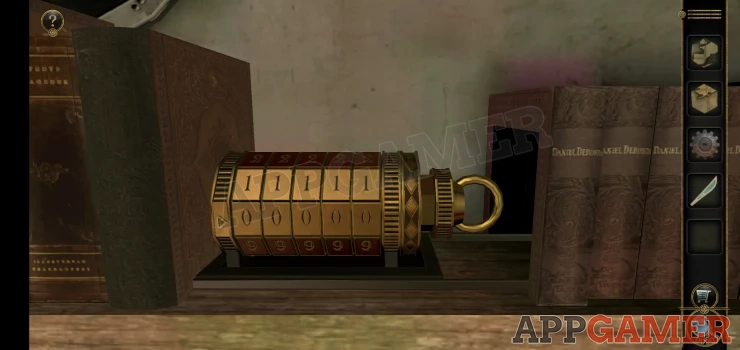
Solution: From the 2 jugs on the shelves. You need to imagine how the 2 jug numbers will read backwards.Show
Code: 37 5 79Show
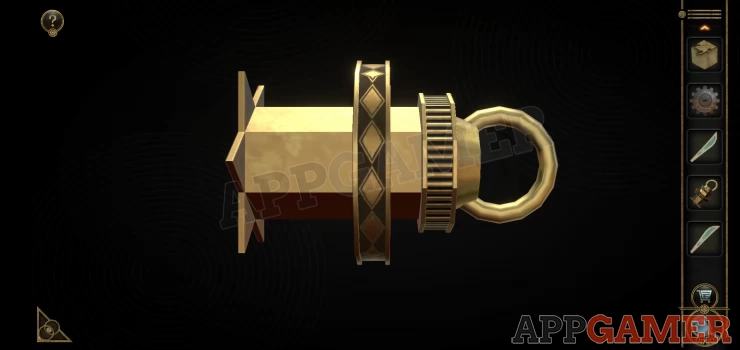
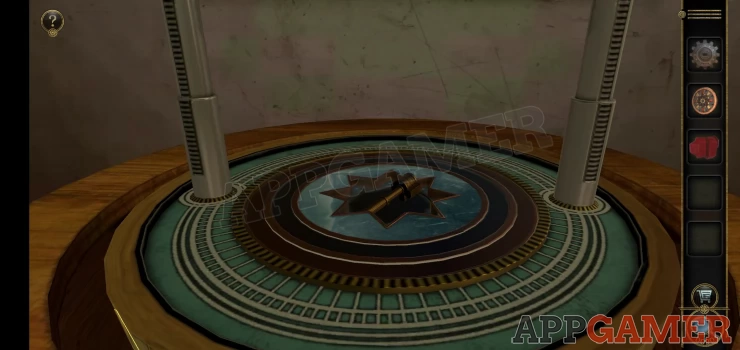
Collect the strange lock core. Then view this in your inventory. Drag down to turn the end on the right until the left side opens to a star shape. Then collect the core again.
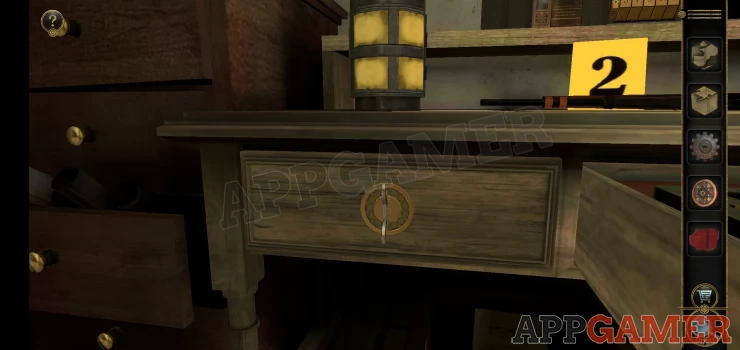
Next look at the large drawer of the desk itself, below the number 2. Open it.
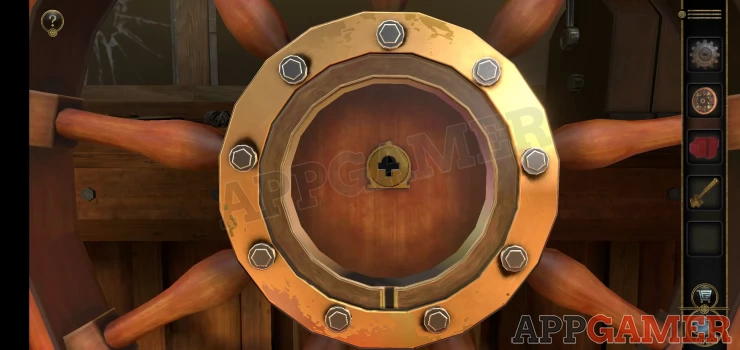
Collect the second metal feather from it. Now lets turn left and go back through to the wheel house. View the center of the ships wheel to see a star shaped slot.
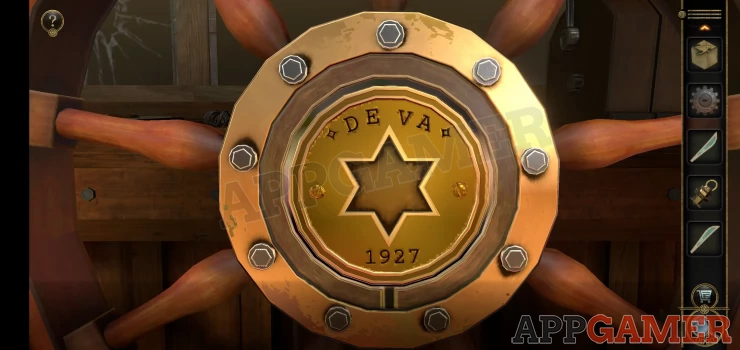
Use the Lock core that you opened in the slot. Then turn it to remove the center.
You can now collect a Circular Badge. This also reveals a key hole but we don't have this key yet.
Mechanical Bird Puzzles
Next look on the right wall, to the left of the door, to see a poster. View this for some clues.
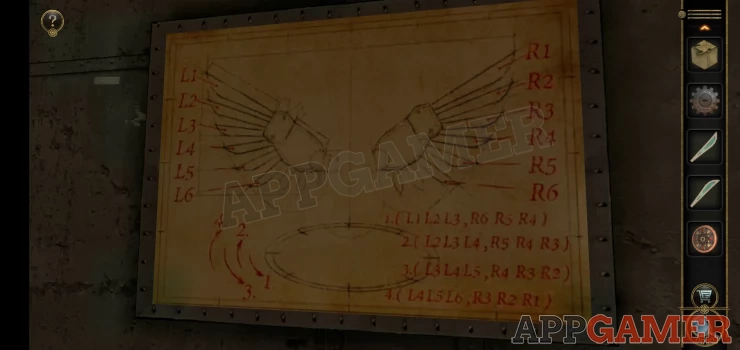
Then turn to the right again and return to the mechanical bird in the box. Add the 2 metal feathers to the model to start the puzzle.
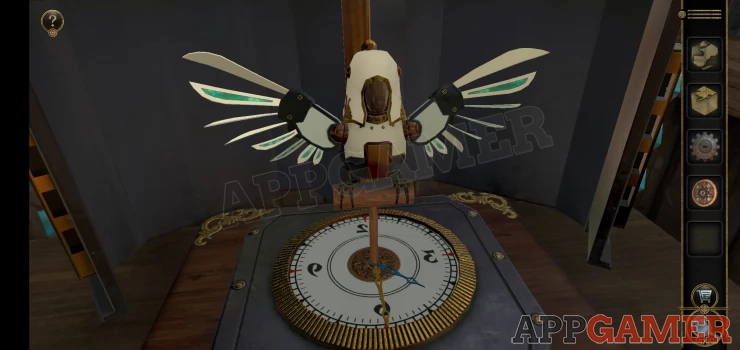
Now you need to follow the clues to move the feathers, this is down by moving the gold clock hand on the clock dial at the bottom to the left and right.
Watch the video below for help.

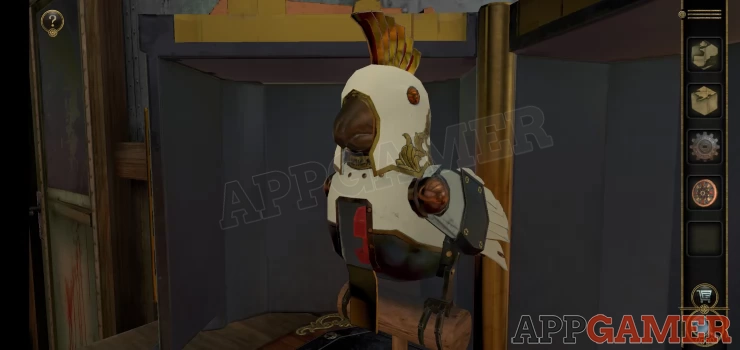
You will now have a further puzzle with the bird head.
- Swipe to turn the head left or right.
- If you get the moves in the correct sequence the red 'feathers' on the back of the head will lift up.
- When all 6 are up the puzzle is complete.
- If you make the wrong move the feathers reset and you start again.
Solution: Use trial and error to get the sequence. For me it was:Left, Right, Right, Left, Left, Right. But it may vary for you.Show
The front of the bird will open and you can collect a Ruby
You will then see a 4 digit code entry appear on the base.

The clock hands will move around the clock face to new positions. he amount that the hands move is the clue.
Solution: the blue had moves 10 minutes and the yellow hand moves 25 minutes.Show
Code: 1025Show
A panel opens and you can collect a Bookend Metal piece.
Back up and return to the cabin at the back. Look at the desk on the left and view the remaining small drawer on the left.
Use the bookend metal piece on the slot on the front to open it. Collect from inside a third globe fragment.
Globe Puzzle
Now view the large globe at the back of the cabin again and you can place the 3 fragments into the slots.
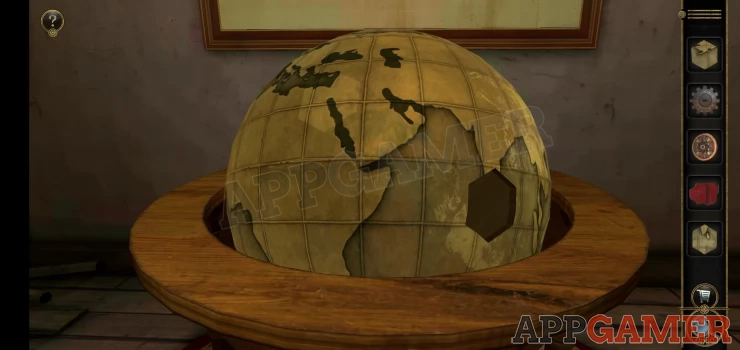
- You will then see several sections rise up.
- Tap to lower the sections in the correct order.
- There is a clue for this on the map on the back wall.
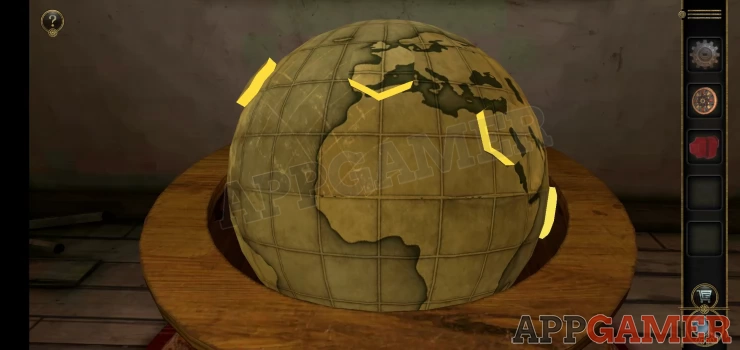
Solution: Start with the section for Europe and then go in order to the East (right) around the globe until you get to the last one in North America.Show
The globe will open to reveal a complicated navigation device. View the top area of it and turn the small catch in the center to complete the set up.
Next look at the base below the device to see a Key to collect.
Now turn and go back to the wheel house and view the center of the ships wheel again.
Use the key here and then turn the ships wheel. A new device will appear on the bench on the left.
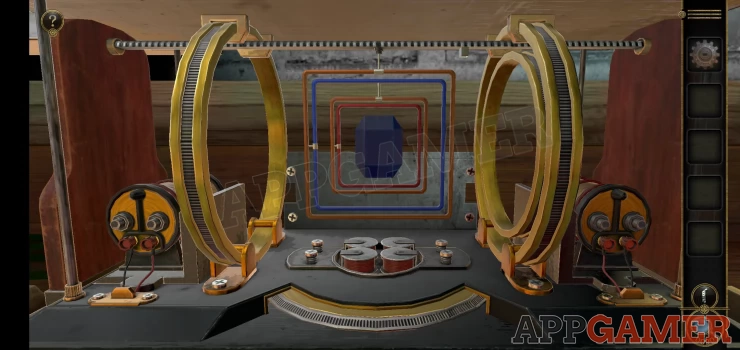
Ruby Puzzle
Place the ruby into the device and it will activate. The ruby is in 4 sections and these are misaligned.
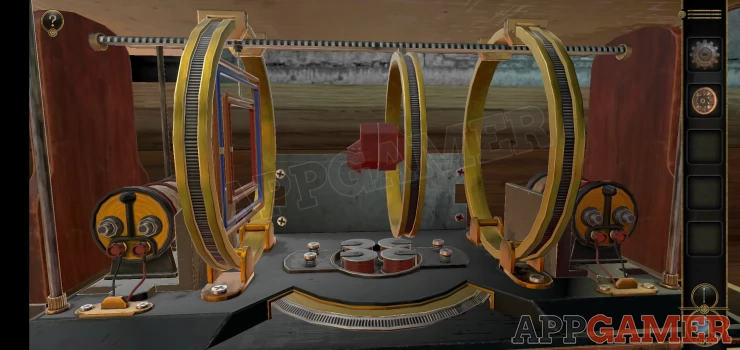
You can use the device to turn each of the 4 sections to line them up correctly.
Use the wheel at the bottom to slide the center ring to the left and right and then turn the side rings to adjust each section.
Solution:

Collect the completed ruby and you will then see a dial open on the electrical board on the top left.

Collect the Clue paper that is revealed. Now go back to the globe in the cabin and view the base again.
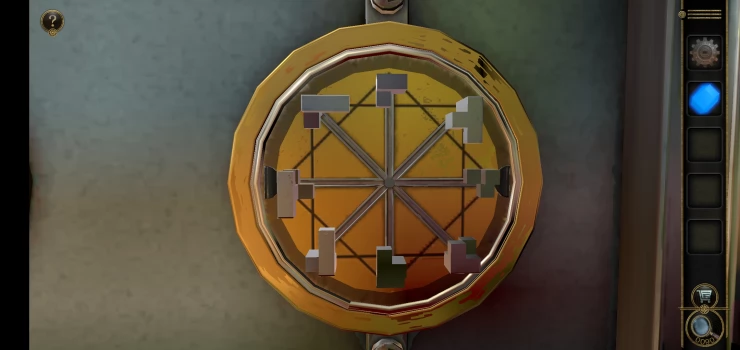
View the Circular badge in your inventory. You now need to tap the red and yellow buttons around the badge to extend the points to make a star shape.
Tapping one will also change the ones next to it. Continue until they are all extended as shown.
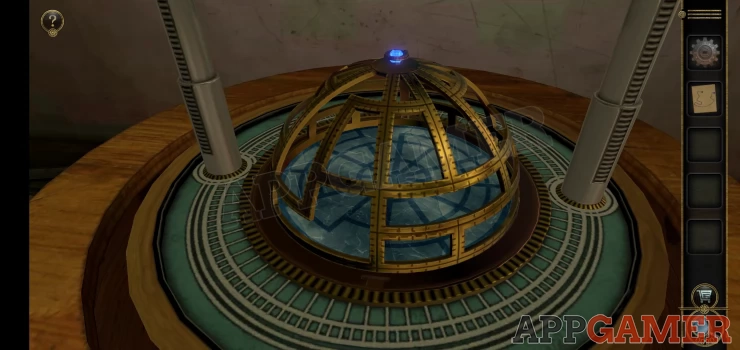
Now place the Star shaped badge into the center of the base This will open a cage dome shaped puzzle.

Add the ruby to the top of the dome to start the puzzle. Look at the paper for a clue.
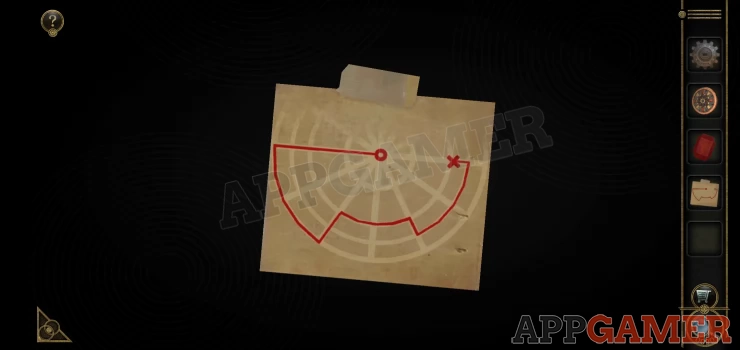
- You can move the ruby around the tracks of the dome by sliding it up and down and rotating the dome itself left or right.
- As you move the line of your path will be drawn on the base.
- Make the line match the one in the clue to solve the puzzle.
Solution:

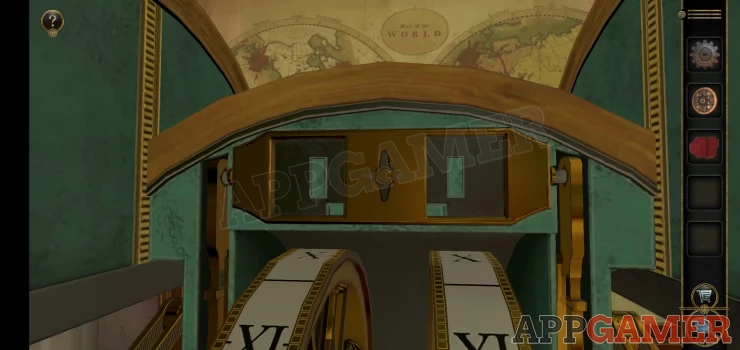
Once done the mechanism will show a bearing N63. Look at the dials above and enter 6 and 3.
You then see a second bearing W 29 - Enter 2 and 9 on the dials.
A slot will open at the top and you can collect a key. Now backup and view the shelves on the left again, on the top right is a capsule.

Look at the base of the capsule and open the smell round cover to see a key hole, use the key to open the capsule.
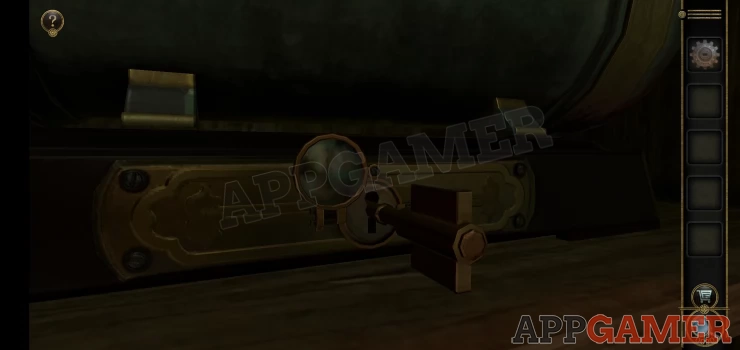
Collect from inside a submarine model.
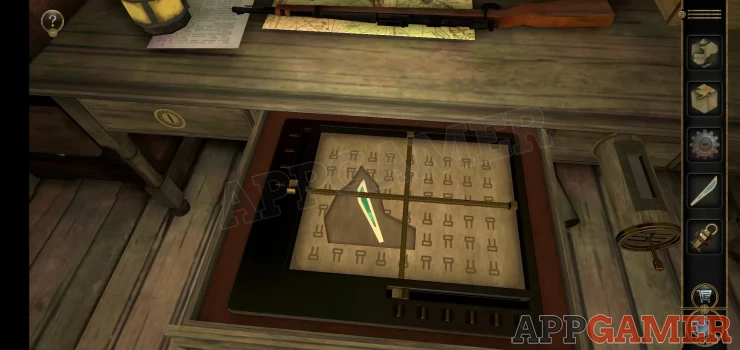
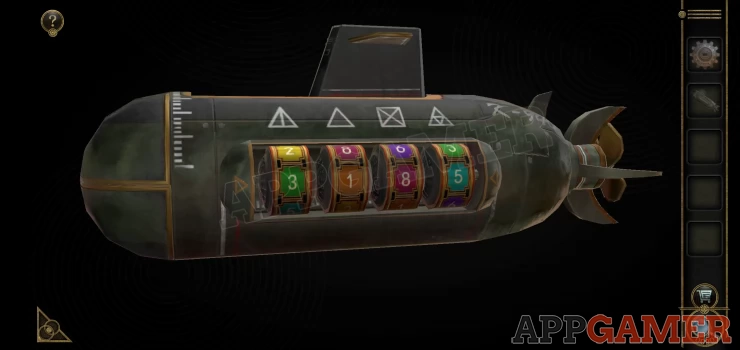
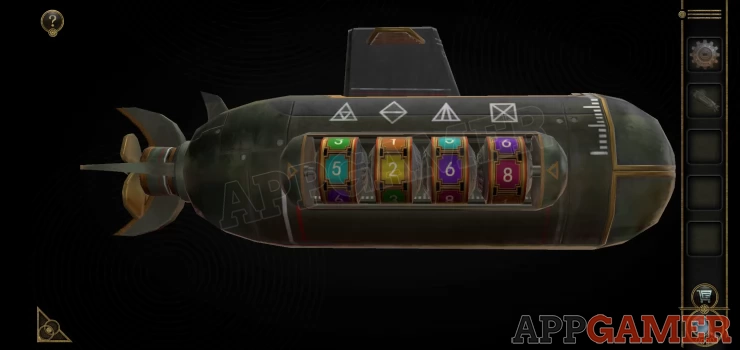
Submarine Model Puzzle

- View the model in your inventory and slide the top section back to reveal a code entry on the side.
- You can rotate the submarine to see that there is a second code entry on the other side.
- In both cases the clue is the shapes above.
Solution: Count the number of triangles in each symbol to get the number below.
Solutions: Show
The back of the model will move and you can then turn the propeller, this will open the front of the model. Collect the Emerald.

Emerald Puzzle
The emerald is also misaligned, return to the device in the wheel house and place the emerald inside.
In this case you use the wheel to the left and right, and at the bottom rotate the parts and form the emerald.
Solution: Left Wheel - down >> Bottom wheel - left >> Right Wheel - Down.Show

Collect the Emerald and you will again see a dial on the electrical board turn over. View this and slide the catch in the center to open it and collect the next clue paper.
Return to the globe in the cabin and place the emerald on the top of the dome to start another puzzle.
Follow the same process as before, look at the clue paper for the path you need to form and then move the emerald around the grid of the dome.
Solution:

You will then need to enter the next 2 numbers into the dials above. N31 -> 3 and 1, then E 118 -> 11 and 8.
Collect another key from the top.
Now view the shelves to the left again and zoom in on the small bottle on the lower left.

Use the key on top and turn it, you will see a book stick out to the right.
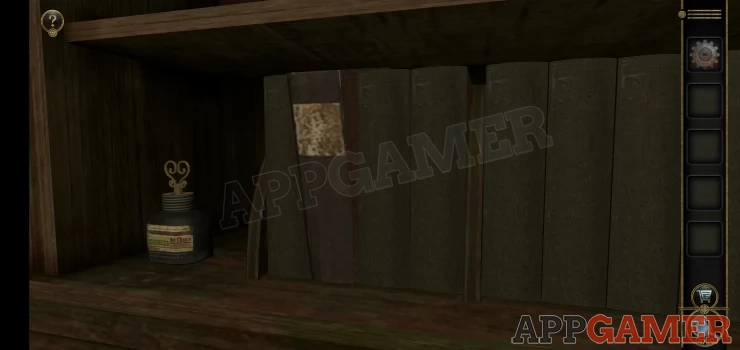
Tap on the book and then all of the books will slide away, zoom in to see the shelf.
Collect a Metal frame from the left and a Wooden Piece from the right.
Now go back to the left and view the large open drawer again. Add the wooden piece to the board inside and then add the metal frame on top.
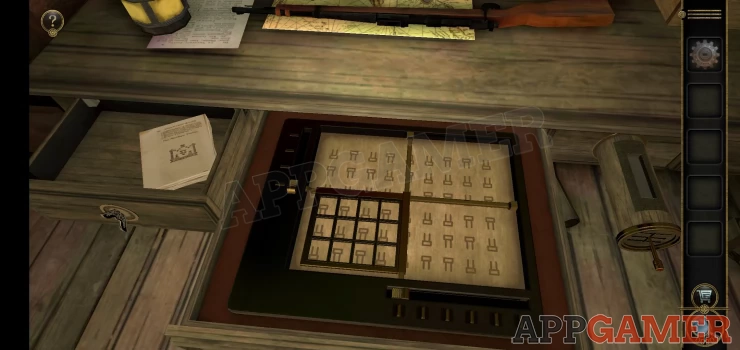
You now need to place the frame into the correct position.
There is a clue on the calendar on the wall above the desk. A switch shape and a circled number.
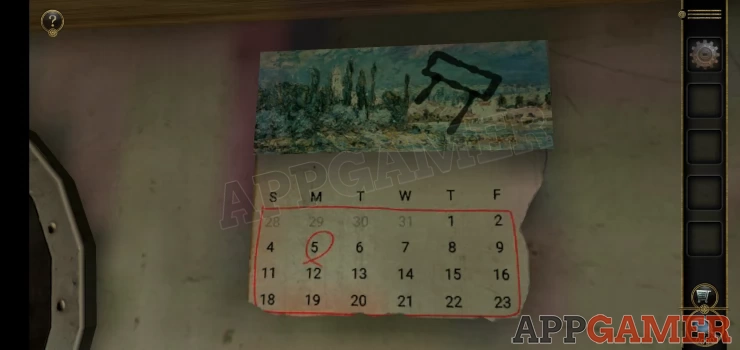
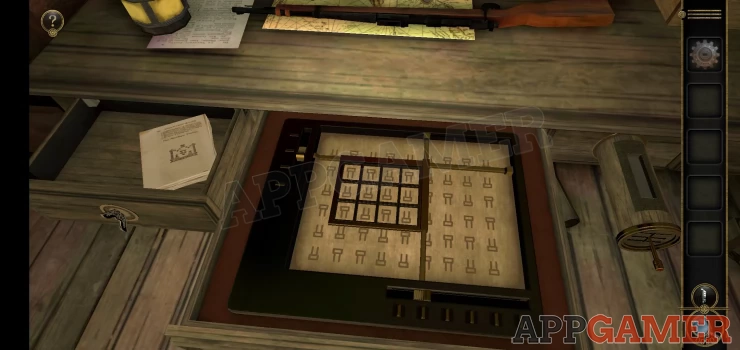
Solution: Move the frame so that the slider settings for it are at the position shown, 2 across and 2 down (same as the circled number).Show
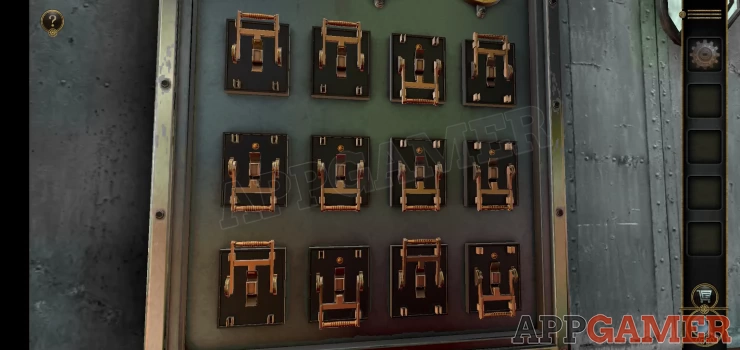
Remember the switch positions shown in the frame. Now go through to the cabin and view the electrical panel on the left again. Use the clue from the drawer to set the position of the switches.
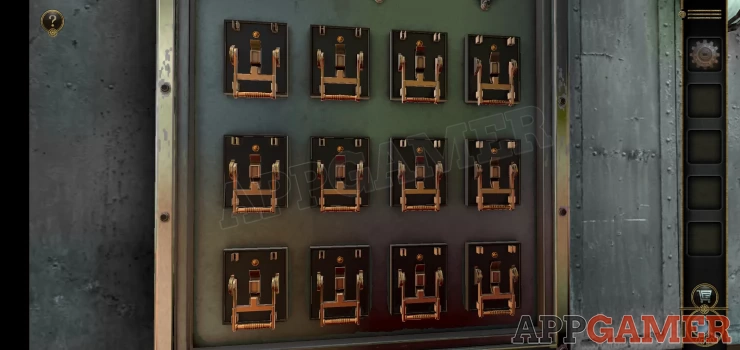
Solution: Show
Collect another strange key. Go back to the cabin and the shelves on the left. View the small bottle with the first strange key in the top and add the second key to it.
A small model will appear on the shelf.
You can rotate this model to see colored lights on all sides.
There are 4 colored sliders on the corners of the model.
Solution: Count the colors at the top and then move the same colored slider down the same number of slots. I.e. there are 3 yellows, 5 reds, 4 green, 2 blue.
The roof will open and you can collect a Sapphire.
Go back again to the device in the wheelhouse. Place the sapphire inside.
Sapphire Puzzle
- for this one you will have square shaped coils around the sapphire, you can adjust the position of these.
- As you move them you will notice lines light up on the gem.
- You need to get the positions correct to light up 4 lines within the sapphire.
- Check the video for help.

Collect the sapphire and then view the puzzle that appears on the dial on the board above.
Sliding Block Puzzle
To solve this you need to slide in the 8 pieces to the center to form a single block, you must do this in the correct order.
Check the video for the solution:

Collect the clue paper. Return to the globe and place the sapphire as before and follow the clue paper to set the path on the dome.
Solution:

Enter the 2 new coordinates: N15 (1 and 5), W92 (9 and 2)
Collect the Single layer gear from the top.
Back up and turn to the right to see a 'Strange Gear Mechanism' on the counter.
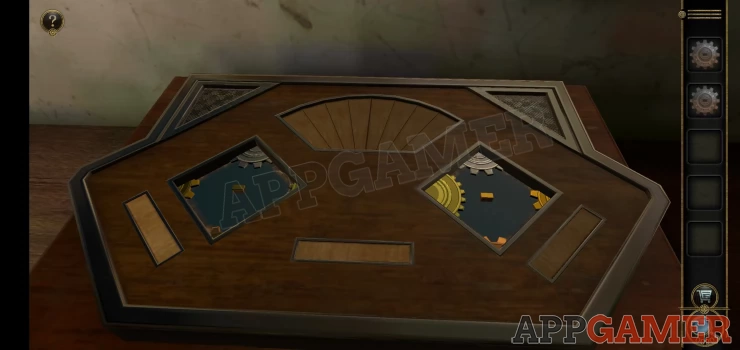
First add the double layer gear to the left side then turn the handle that appears. A panel opens and a slider appears.
Move the slider to the left. You can then add the single layer gear to the right side, then turn the handle that appears.
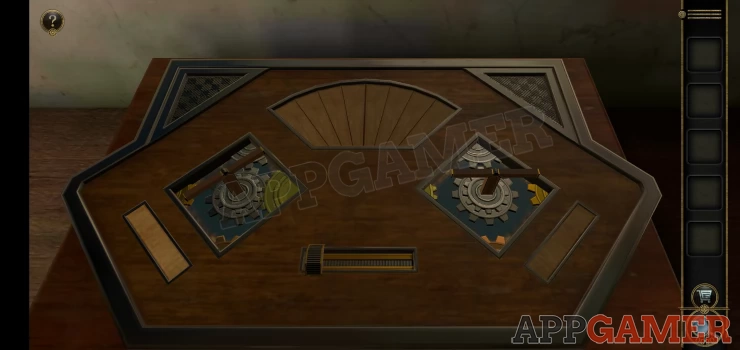
Now with the top center panel open you need to use the sliders and the handles to adjust the disks at the top to allow a straight shaped hole to appear.
You can try different positions of the sliders to let the handles move one or more of the disks.
Watch the video for the required outcome.

Once done a box appears and opens for you to collect the final note.
"Memory is an eternal life"
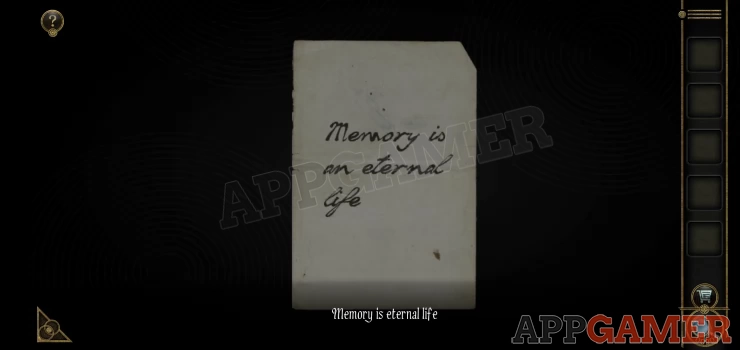
This completes Chapter 3. Move on to chapter 4
We have questions and answers related to this topic which may also help you: Show all
| 3D Escape Room Detective Story Chapter 2 Walkthrough | Back to Top | 3D Escape Room Detective Story Chapter 4 Walkthrough |
 With 20 years of experience in creating video game content for the internet and over 30 years as a gamer, Mark is now a passionate mobile App Gamer. Loving a challenge, he is always ready to get stuck in to both survival builders and puzzle solving games. He has been providing content for AppGamer since 2014.