3D Escape Room Detective Story Chapter 2 Walkthrough
More 3D Escape Room Detective Story
This is a walkthrough guide for chapter 2 of 3D Escape Room Detective Story. In Chapter 1 we investigated the scene at The Tulip Inn and found an important clue. Now we need to head to a new location near the All Saints Church to continue to investigate the Piano teacher.
3D Escape Room Detective Story Chapter 2 Walkthrough
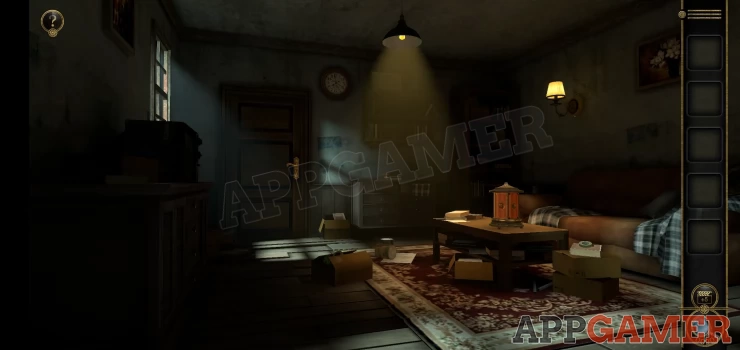
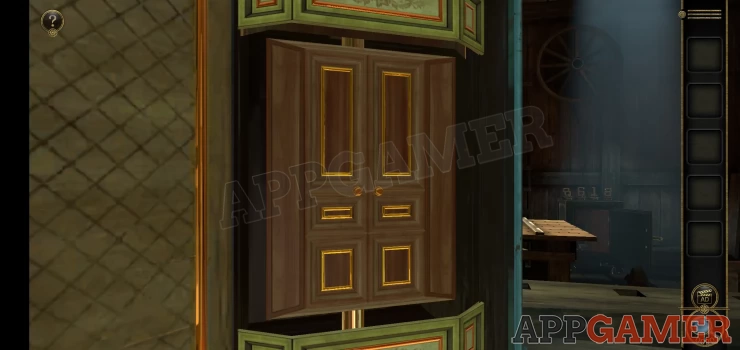
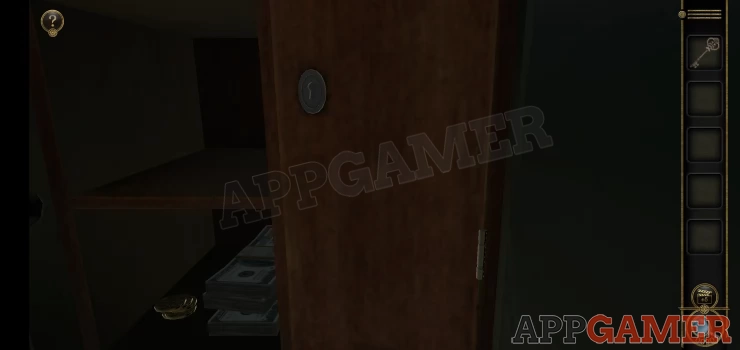
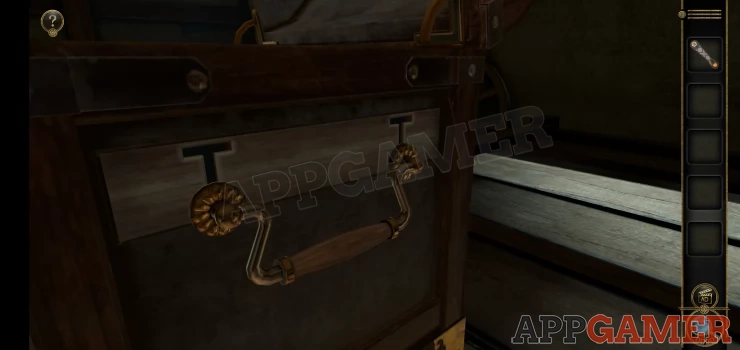
You start in a room of the house you have been sent to. Your first move is to tap on the top of the set of drawers to the right of the door to zoom in on them, you will see an ornate box on top.
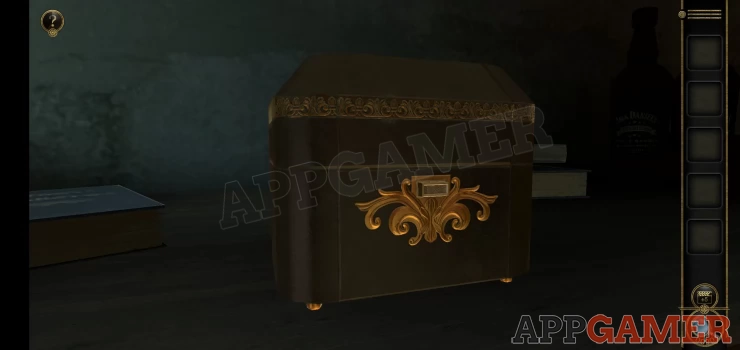
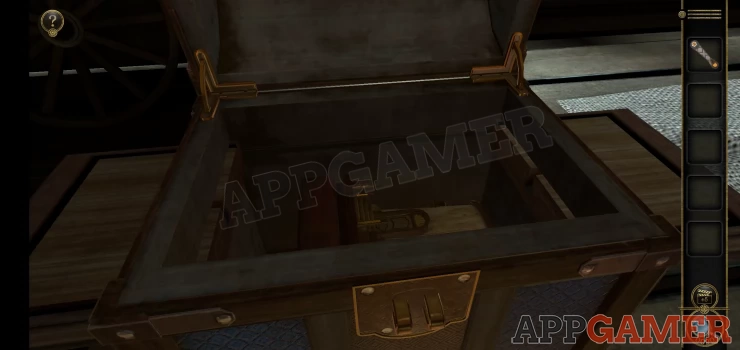
View the button on the front and then press it to open the box.
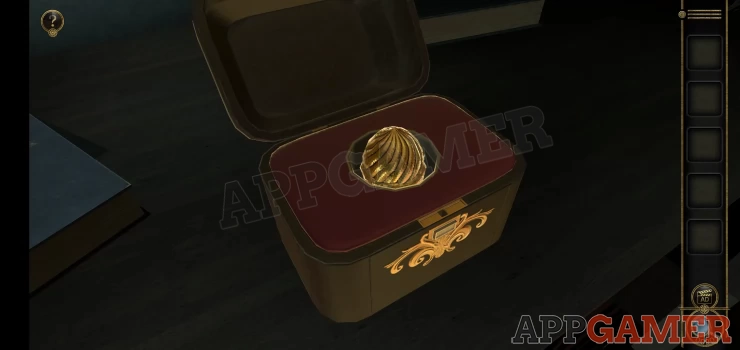
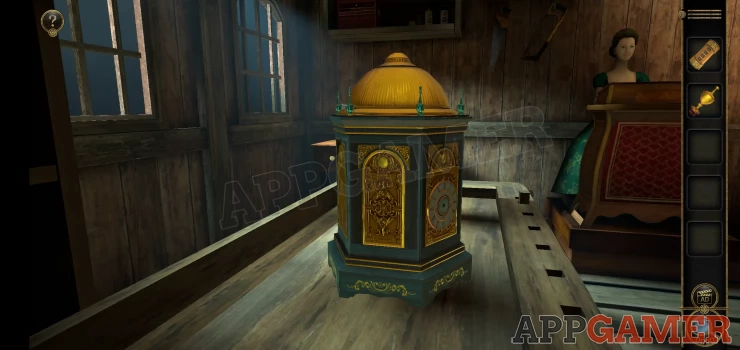
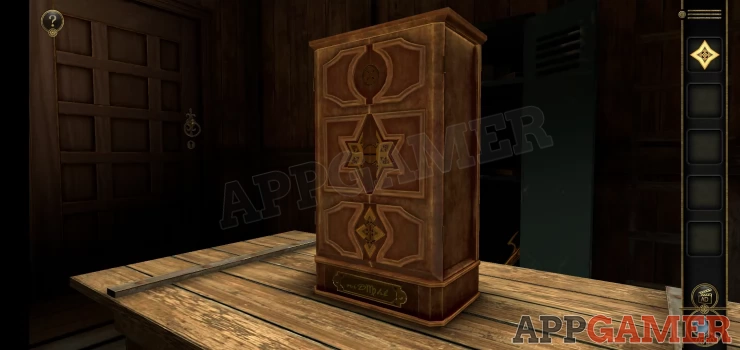
Collect the Metal Spiral decoration from inside, then back up to the initial view. Then view the red box on the table to the right.
View the top of the box and add the metal spiral to it.
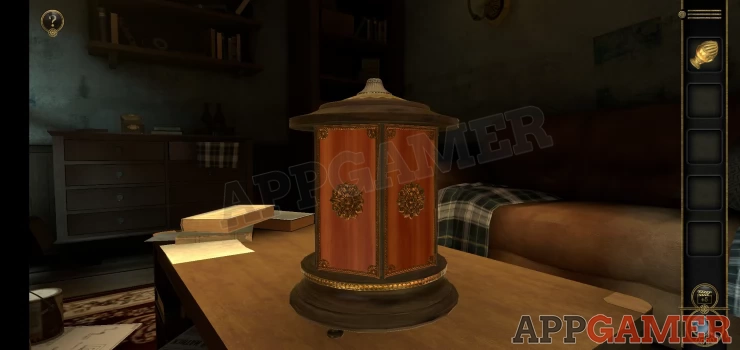
This will open the side panels on the box and reveal 3 puzzles.
Butterfly Box Puzzles
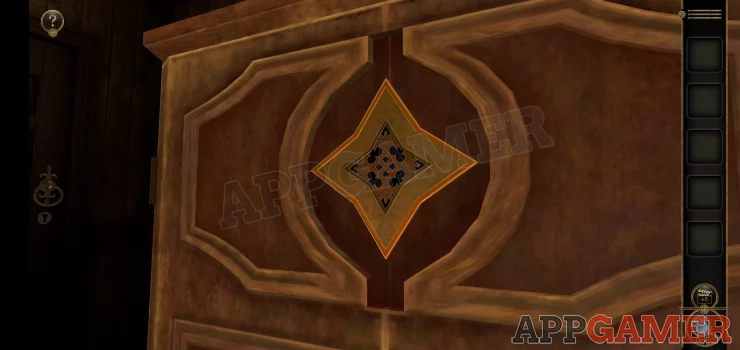
You can look around the box and you will see that 3 sides have butterfly images with 2 different colored wings. Between these are 3 panels with puzzles.
For each puzzle you need to look at the panels to the left and right to see the colors of the slosets wings, this will tell you the color of the butterfly that you need to make in the puzzle.
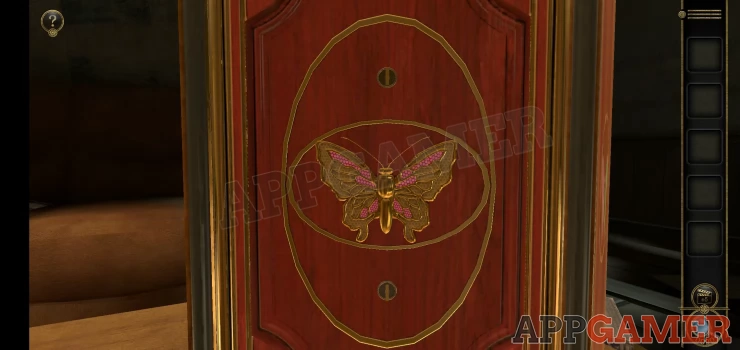
Puzzle 1
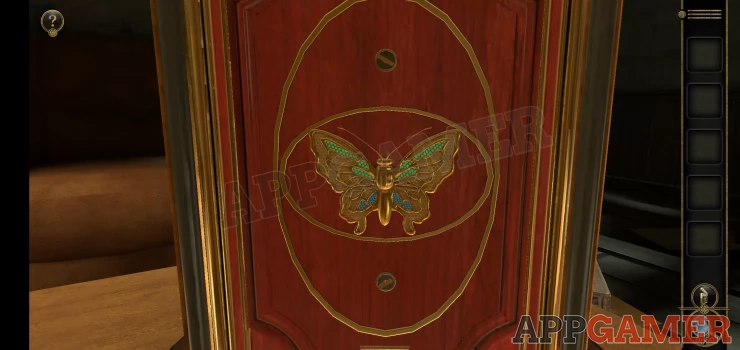
- The wings on the panels to the left and right are pink.
- Rotate the top and bottom screws above and below the butterfly image to change the displayed colors to pink.
Solution: Show
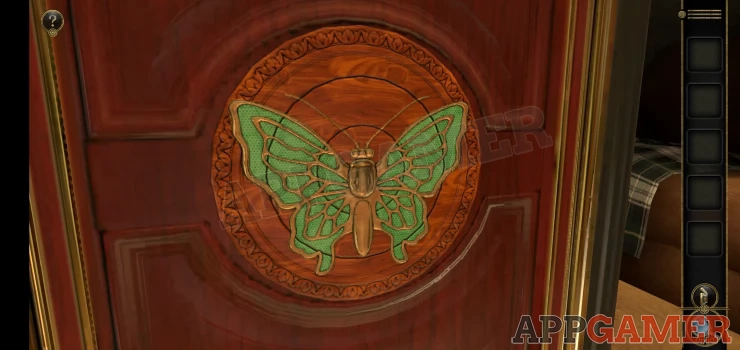
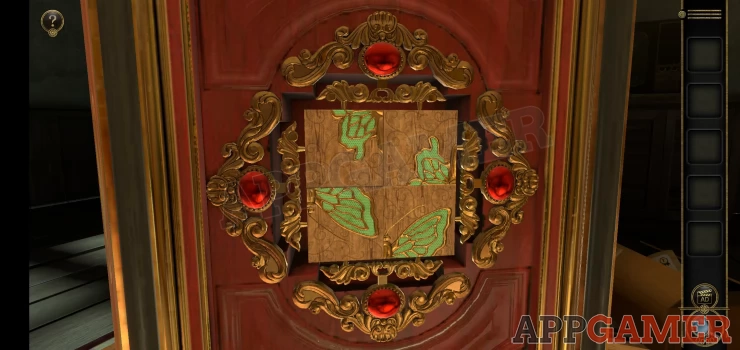
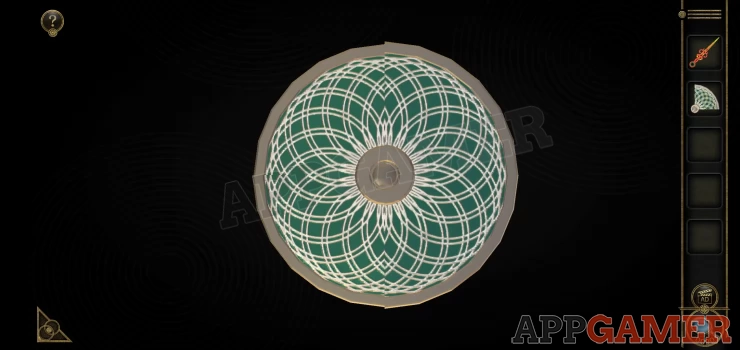
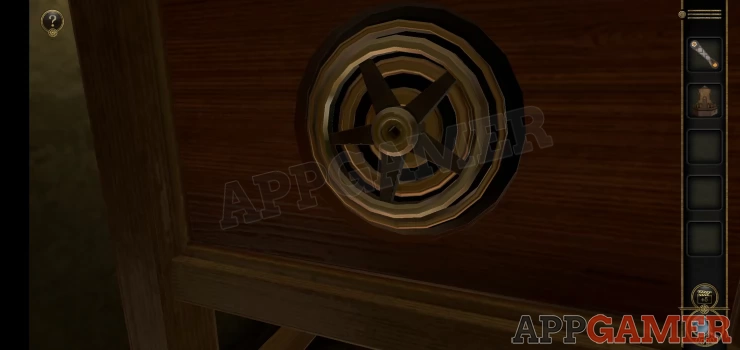
Puzzle 2
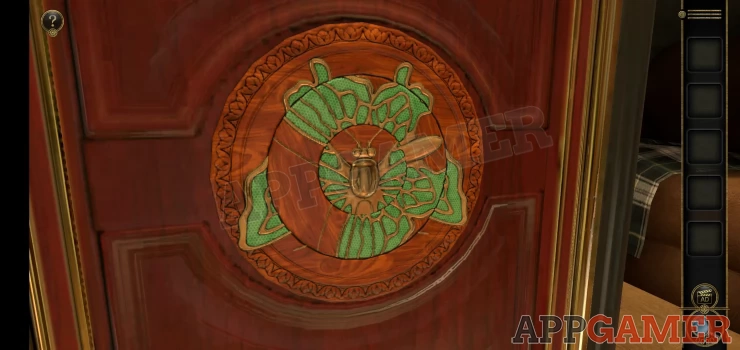
- This butterfly is green
- Rotate the disks to align them and complete the green butterfly image.
Solution: Show
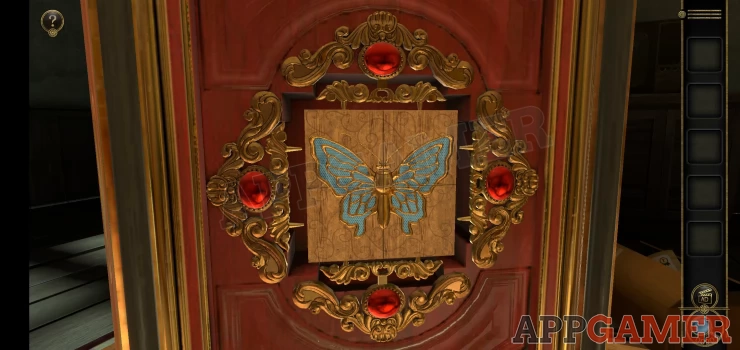
Puzzle 3
- The wings on either side are blue so you need to make a blue butterfly.
- Tap the red buttons on the top, bottom and side to flip over 3 sections of the image at a time.
Solution: Show
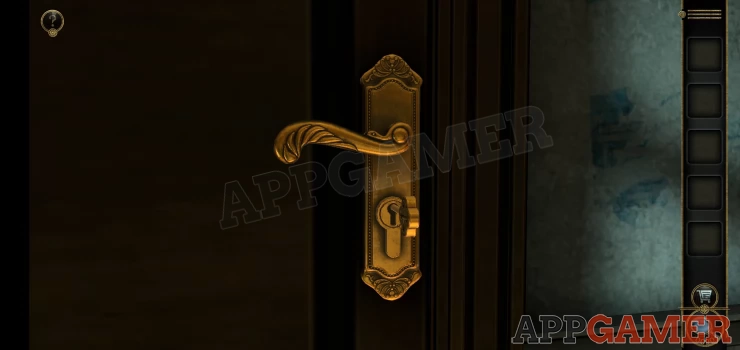
Once done the top of the box will open and you can collect a key. Now view the door and use the key to open it.
Second Room
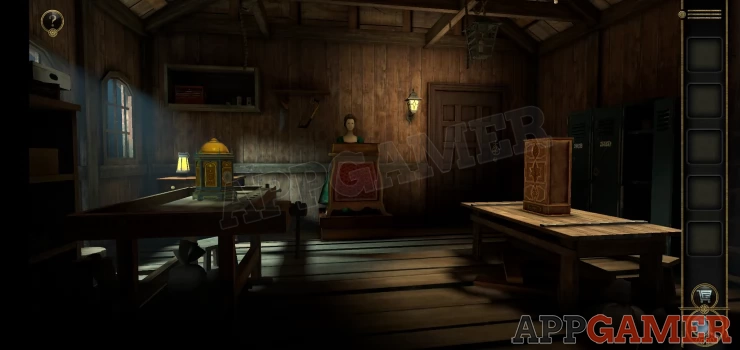
First swipe to view the right side of the room and then zoom in on the safe on the floor.
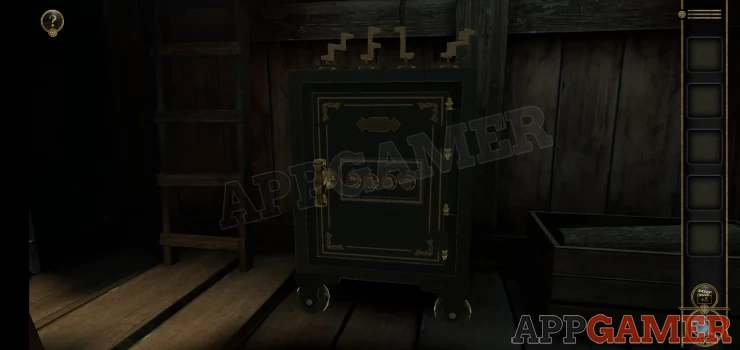
Examine the strange shapes on top of the safe for a clue.
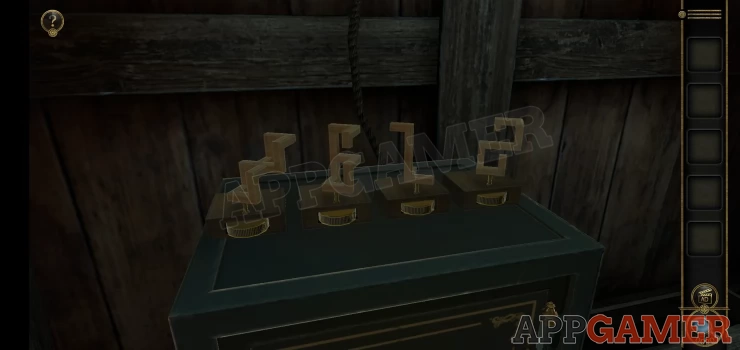
You can rotate each one to see if from different angles. Move them to find a number clue.
Show
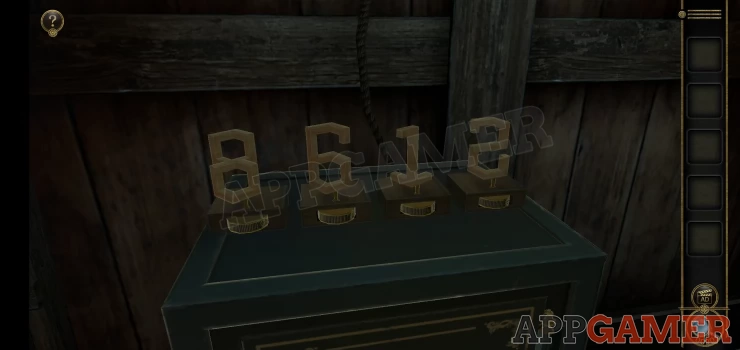
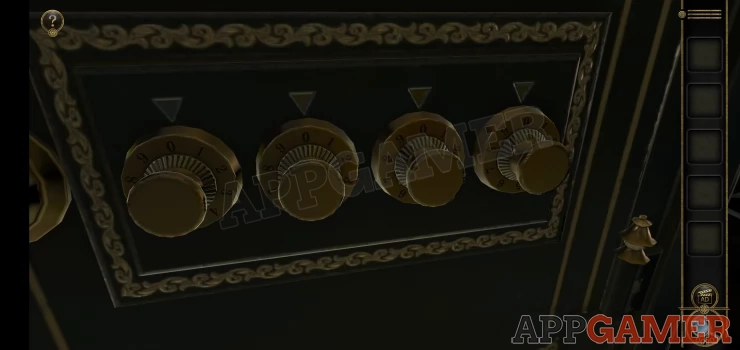
Now you can view the dials on the front of the safe and use this clue to open it
Code : 8612Show
Collect the Password Cylinder and the Metal Decoration.
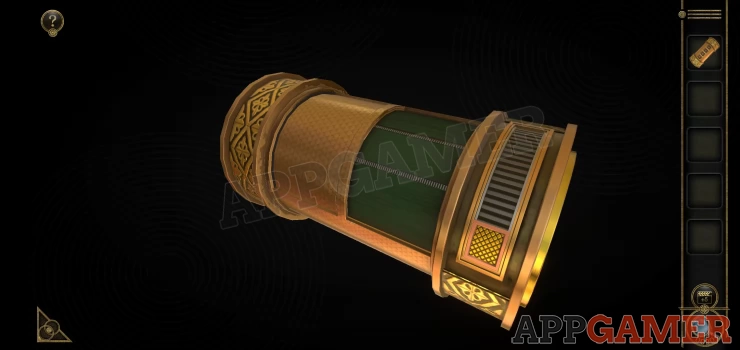
Now turn to the left side of the room and view a second puzzle box on the table.
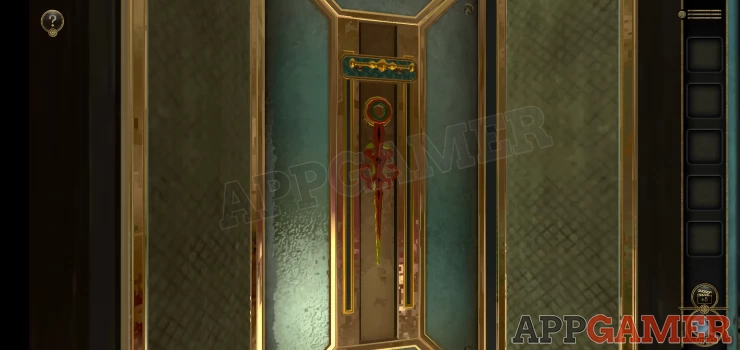
View the top and add the metal decoration to it. You then need to rotate the top dome section to line up 2 arrows.
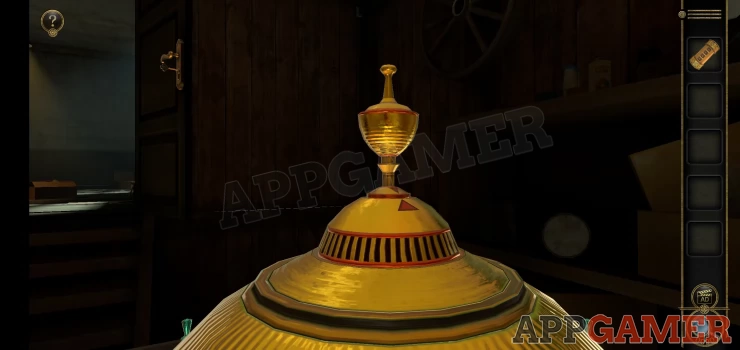
This opens up the top and you can collect a Decorative small cylinder. Notice also the symbol that was under the item you collected. This is a clue for later.
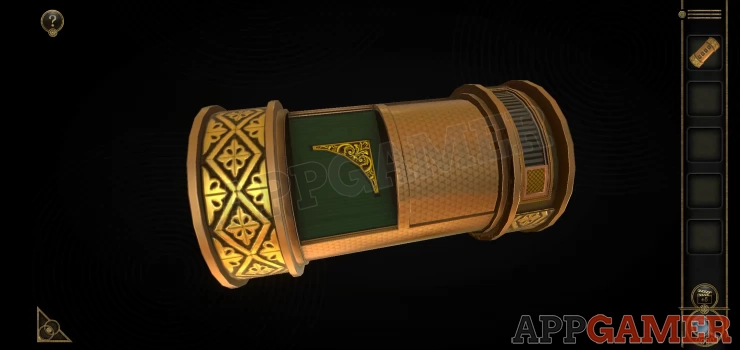
Zoom out and rotate the box to the left to see an empty bolt thread where an item is missing, add the decorative cylinder to it. Then you need to drag to the left to screw the cylinder on.

Once it is fixed a side panel will open for you to view.
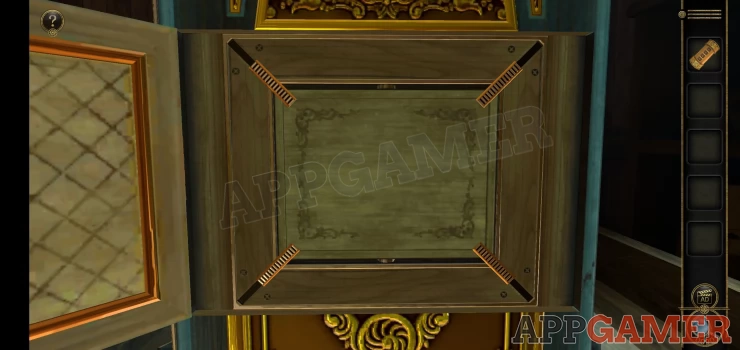
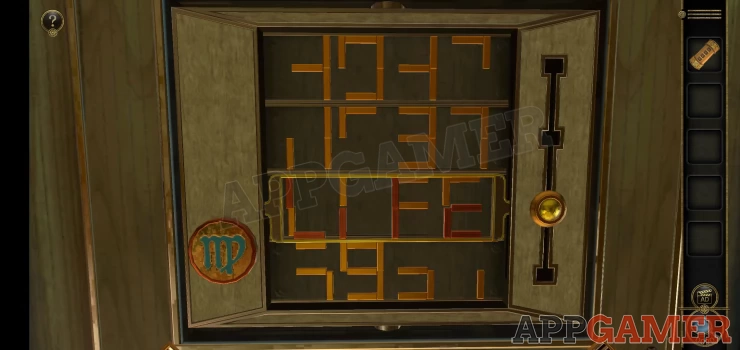
Slide out the corner catches and you will see a new clue.
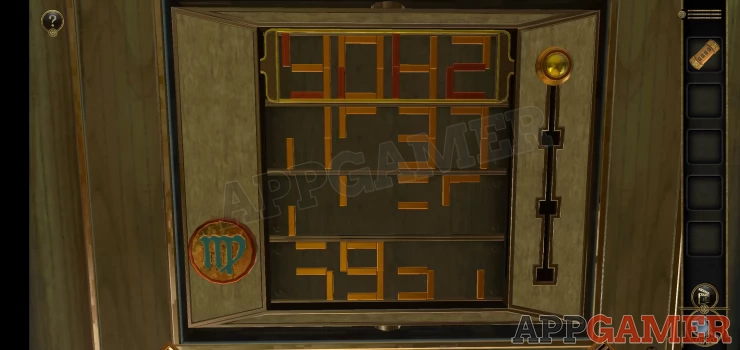
Make a note of the symbol on the lower left and then use the slider on the right to move the red lines down until you see a word clue.
Show
Now view the Password cylinder in your inventory.
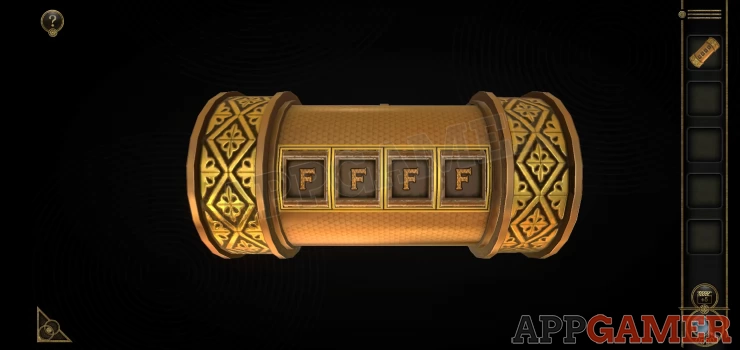
Turn the 4 letter tumblers to enter the word you found. The cylinder will turn and you will see a compartment open on the side.
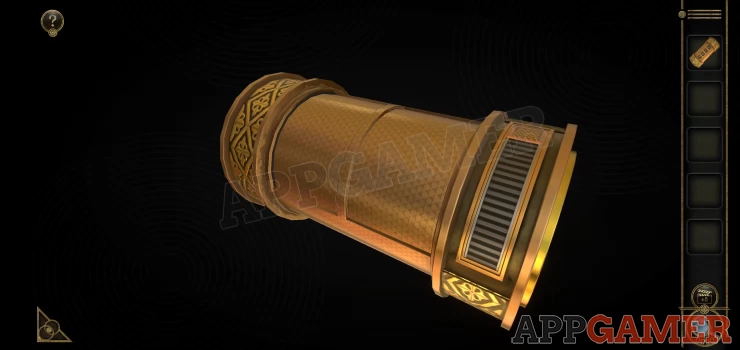
Slide the switch down that is on the right and a panel in the middle will open.
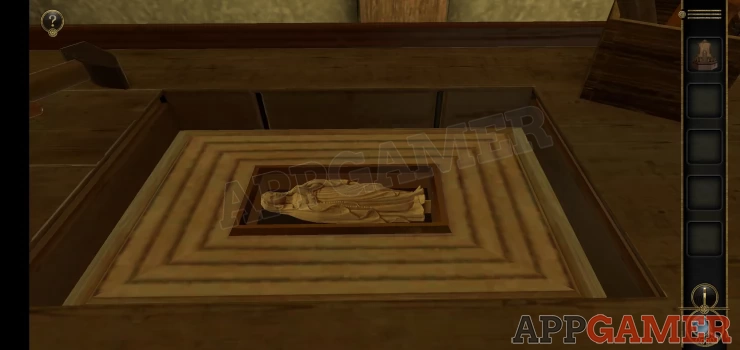
Then slide the center left panel to the right to find a 'Carving' to collect.
Spin the box around to see a side panel with a slot for the carving. Add it here.
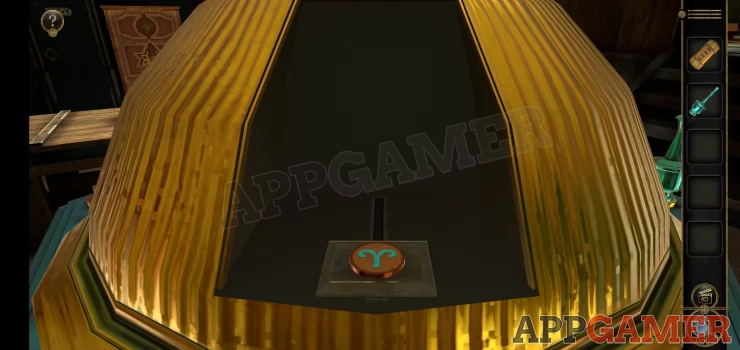
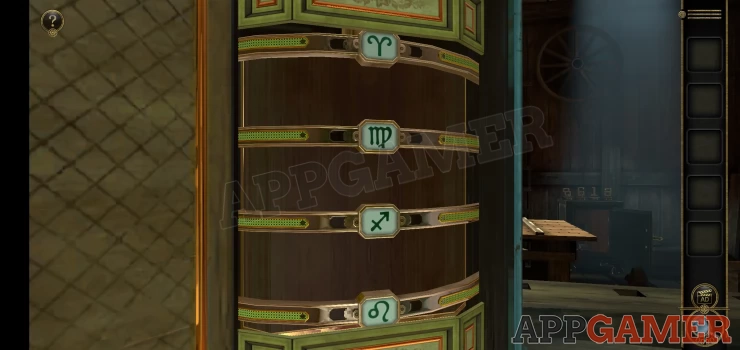
The panel opens to reveal another puzzle with 4 symbols.
- You can swipe to change each of the 4 symbols.
- You have already seen 2 symbols on the box, look around it to see 2 more hidden high or low on other panels.
- When you have found the 4 you can set them from the highest to the lowest on the puzzle.
Solution: Show
This will open another section and reveal a door
View this and open the doors (swipe) and then you can collect the Pointer.
Then slide down the blue switch to reveal another puzzle box behind.
Match 3 Puzzle
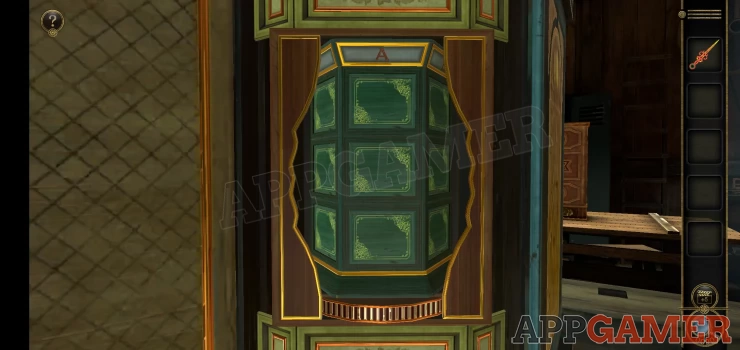
- For this puzzle there is a cylinder with 6 sides.
- Each side has 3 cards you can flip over to reveal symbols.
- You will flip over 3 at a time and try to find 3 matching symbols.
Solutions:
Counting the cards from top to bottom as 1 2 3 these are the matches: A1 F3 E2 A2 B3 C1 A3 B1 B2 C2 C3 D2 D1 D3 F1 E1 E3 F2Show
Once done you can collect a fan shaped metal piece. View this in your inventory.
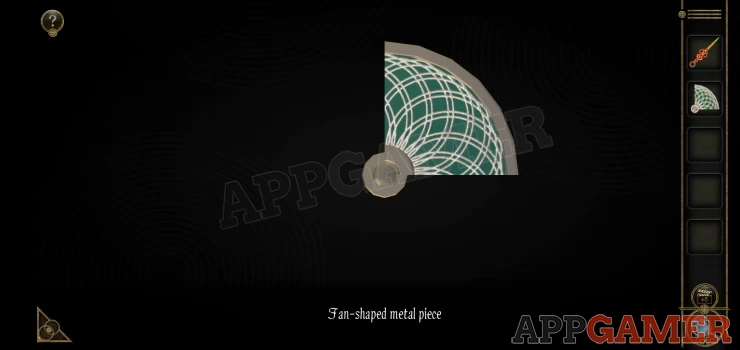
Drag the fan shape around anticlockwise to unfold it and form a circle. Collect the Circular metal piece.
Now look around the top of the puzzle box to see the 6 cylinders on top. 2 of them have numbers on them this is a clue. Then turn the box to see a panel with a clock face. Add the metal circle to the center and ten the pointer.
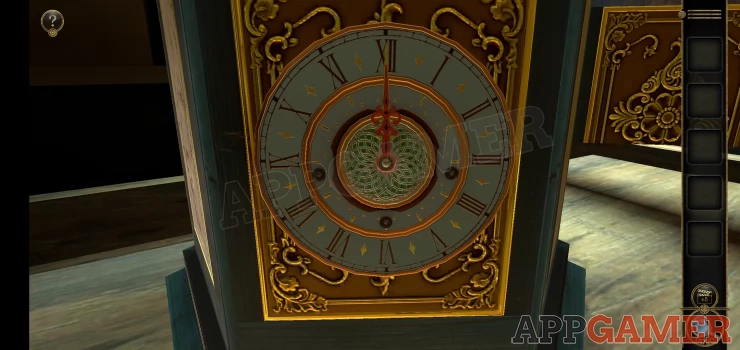
Using the clue of the 2 numbers set the time on the hands (IX VI - 6 o'clock). This will open a new puzzle with butterfly gears.
Clock Butterfly Gears Puzzle
- This is a very confusing puzzle.
- You can rotate the center dial to turn the gears
- Yo can also pull down a switch at the top to disengage one of the gears at a time, this allow you to turn the mechanism left or right and not turn that gear, it allows you to adjust the relative position of each gear.
- The idea seems to be to align all of the gears so that as they turn they will all be pointed upwards. (the right way up).
- You need to adjust the position of each gear so that this happens.
Once done you the box closes up and you can collect a key.

Go back to the safe that you opened and you can use this key to open a door on the right.
Look inside and collect the sheet music.
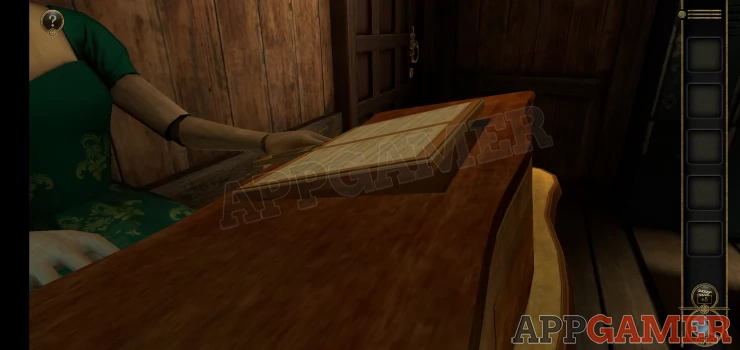
Then turn to the far side of the room and view the Automaton.
Place the sheet music on the front section and slide it down to activate puzzles on the arms of the figure.
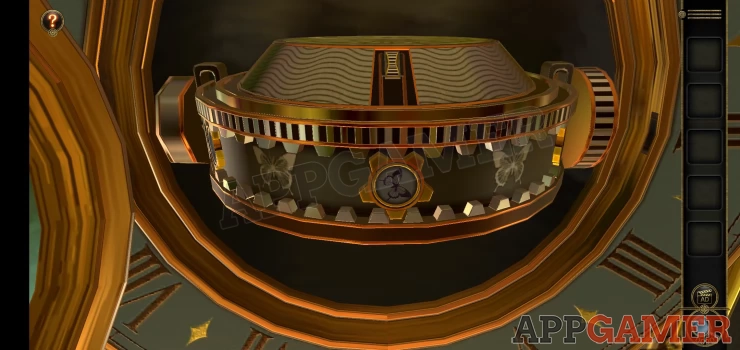
Automaton arms Puzzle

- The puzzle has a center cylinder that you can rotate.
- The cylinder has 11 sections, each with a red marking on it in one position.
- At the bottom is a control that lets you grab and hold 3 section of the cylinder to stop them moving as you rotate it.
- Use this device to allow you to line up all of the red sections in a line.
- Make sure the line of red sections is at the top.
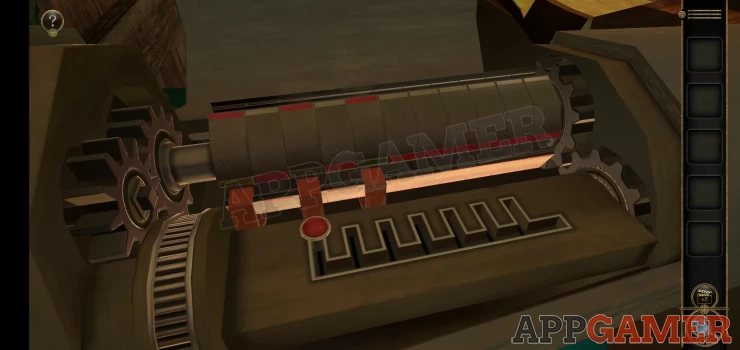
- Once you complete the first arm the panel on the other arm will open.
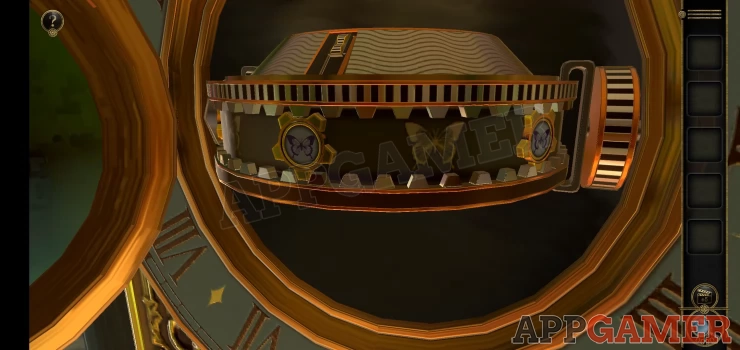
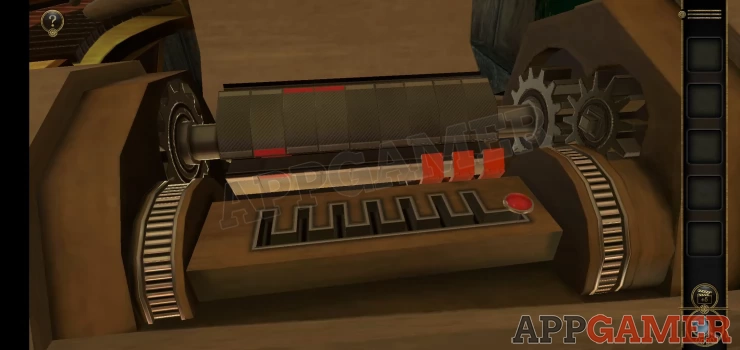
- Swap over to repeat the puzzle on the second arm
- On the second arm there are 9 sections and 2 rotational controls that will move alternate sections.
- The holding mechanism is also set up differently.
Once done the front of the automaton stand will open to show a new puzzle. You cannot complete it yet. but you can collect a 'Cross Star Carving' from the left side.
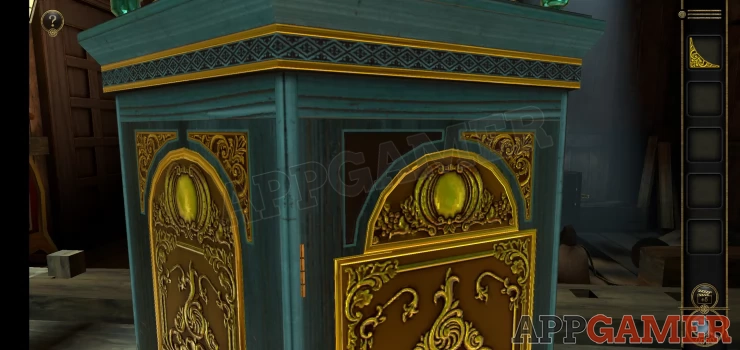
Now look to the right of the room to view a large box on the table.
View each of the 3 panels on the front of the box. Add the carving to the top one, then rotate it to the correct position.
Then on the other 2 panels slide the pieces together to complete the shapes.
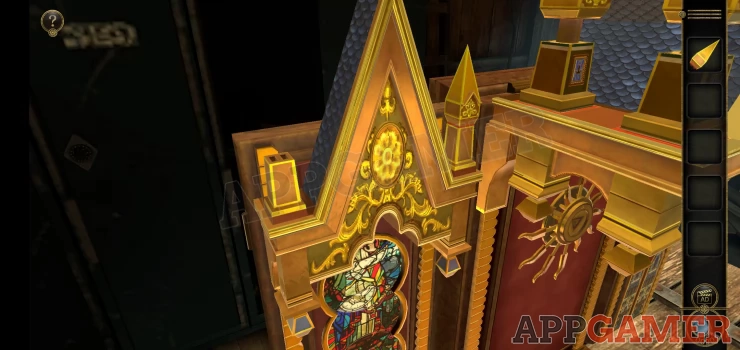
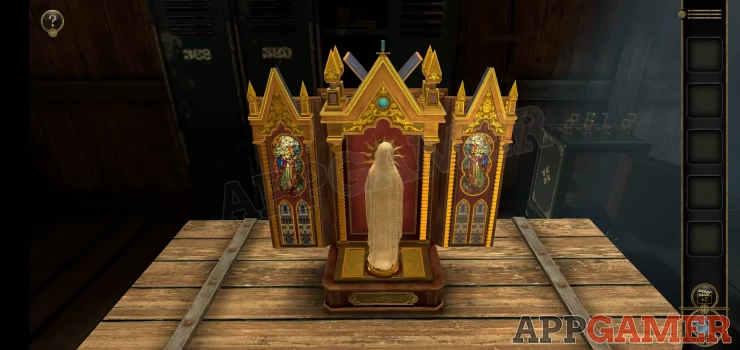
The box opens to reveal a church style model.
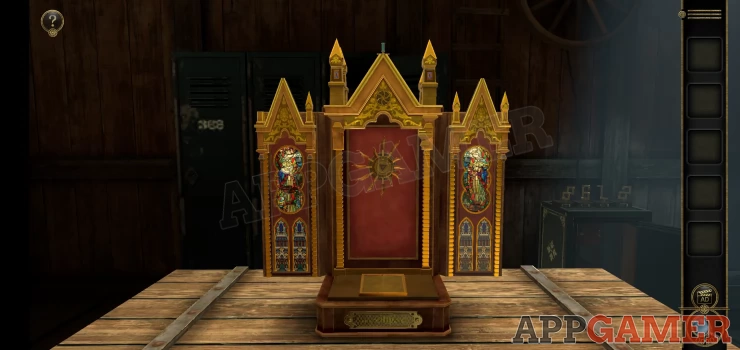
First view the top of the center section, you will see 4 small spires, 3 are higher than the other.
Slide the 3 higher spires down and this will start a puzzle.
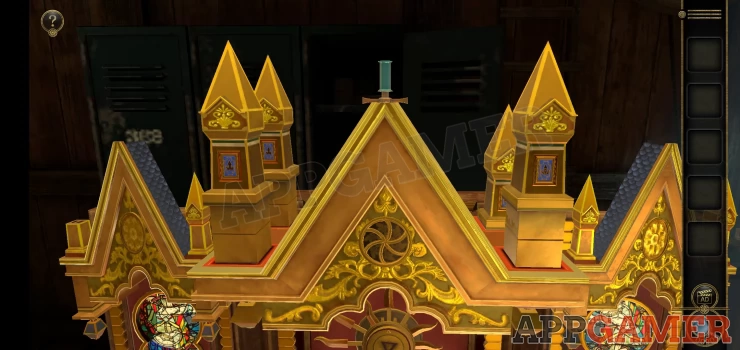
Church Spires puzzle
- The 4 spires have an emblem on one side only.
- You can rotate the left or right front spire and doing this will also rotate others.
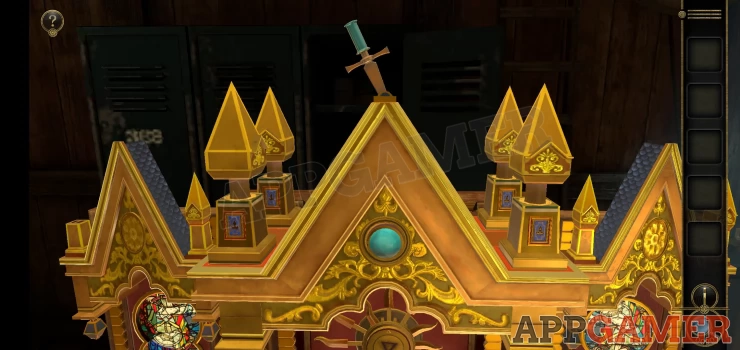
- You can also move the sword shaped lever at the top which will change the sets of spires that move each time.
- You need to arrange the spires so that the emblem on each one is pointing to the front.
Once done the roof will open and you can collect a Spire Model from inside.
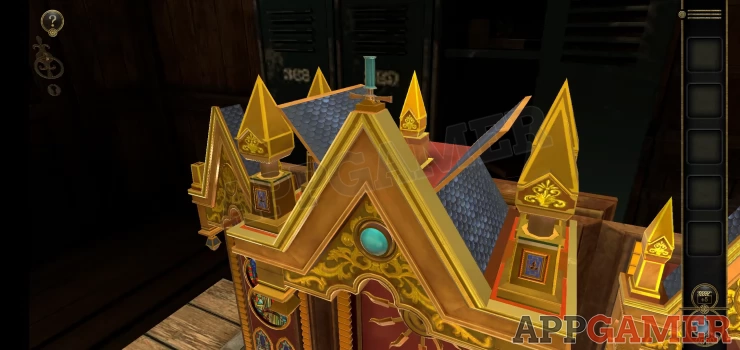
Now view the top left section and add the spire model to the empty spot.
This activates another puzzle below. There is a stained glass image that is jumbled up.
Stained Glass puzzle
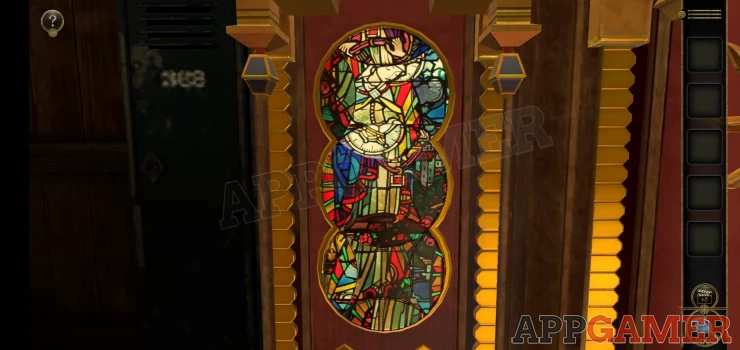
You can view the right side of the model to see the same design (reversed) in the correct positions.
Rotate the 3 circles and swap the side segments around to put them in the correct order.
Solution: Show
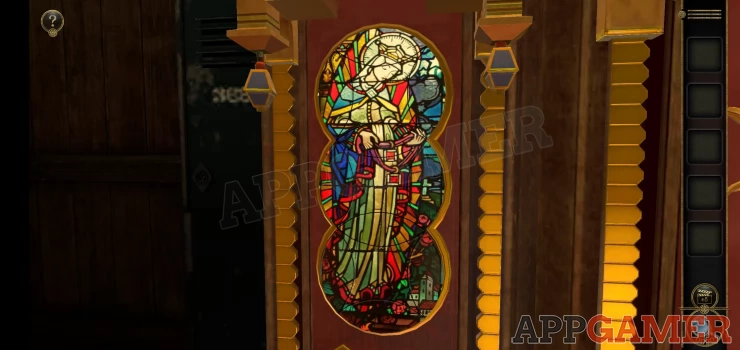
Once done you can collect a Key that lowers on the left. View the door on the back of the room and use the key in the lock. Turn it to open the door.

Go through to a back room
Back Room
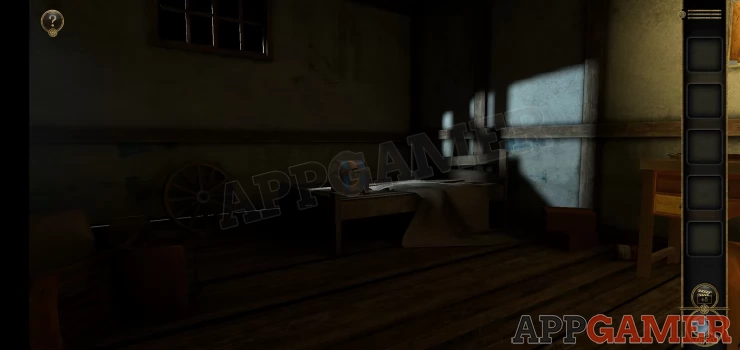
First turn to the right to see a desk. Collect from the top a handle.
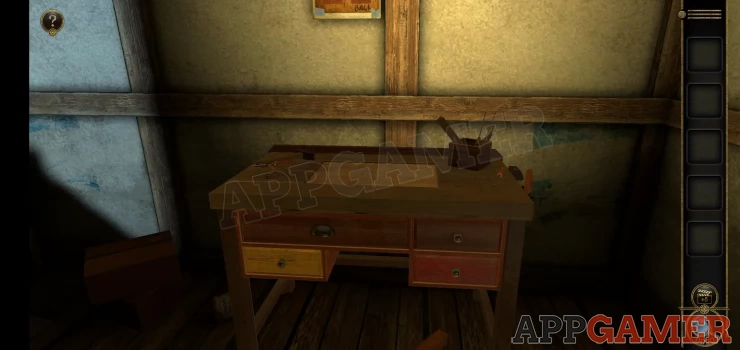
Then look back to the left and view the box on the wooden bed.
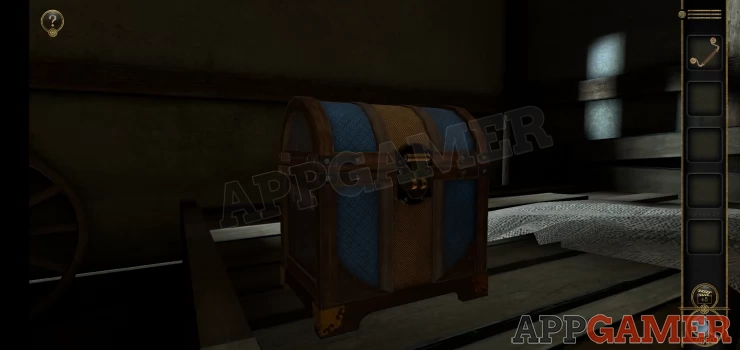
View the clasp on the front of the box and lift it to open the lid. Now collect the crank lever from inside.
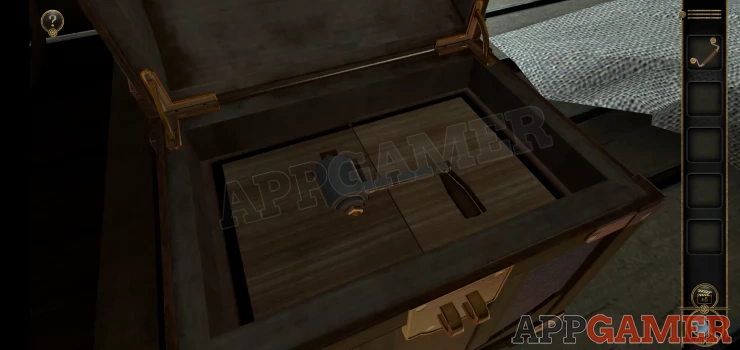
Next view the left side of the box to see 2 slots.
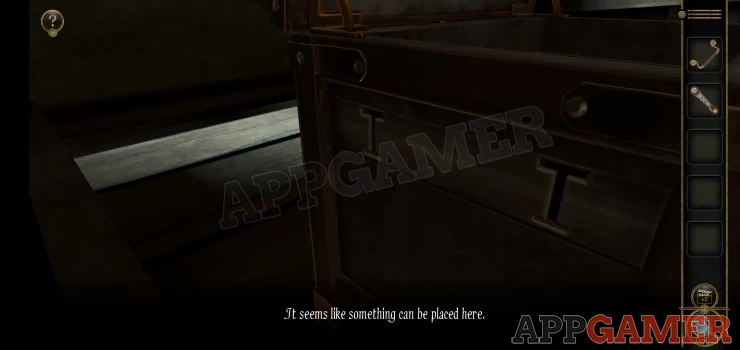
Add the handle to the side and then slide it down. Then view the right side of the box and also slide that handle down.
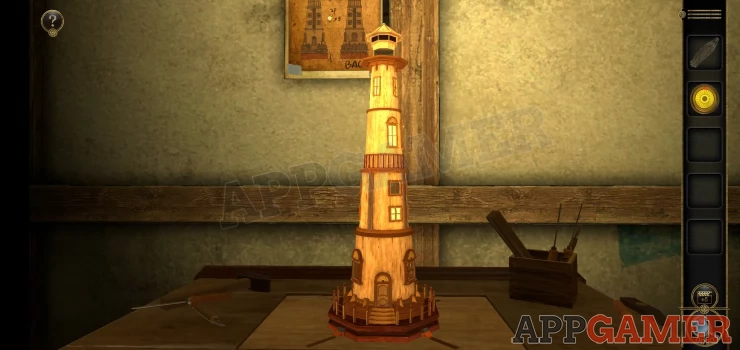
The box will open further and you can now collect a Light house model.
Return to the desk and view the left side of it. There is a wheel.
Add the crank handle to this and turn it. this will open a panel on top of the desk
Collect the Statue. The panel will then turn and you can place the light house model into the center. The model then grows to have 5 sections. This is a puzzle.
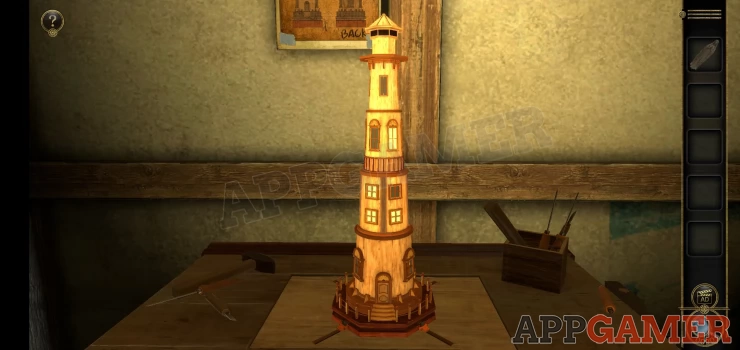
Lighthouse Puzzle
- Each of the 3 middle sections of the lighthouse can be turned to move the position of the windows.
- There is a clue that you can see on the back wall. that show the required positions and the number of lit windows for each section.
- Turn the sections of the lighthouse to match these.
Solution: Show
Once done collect the Metal Disc from the top section. Go back to the second room and view the Church model again. In the center is a dial as below. Add the metal disk to the center.
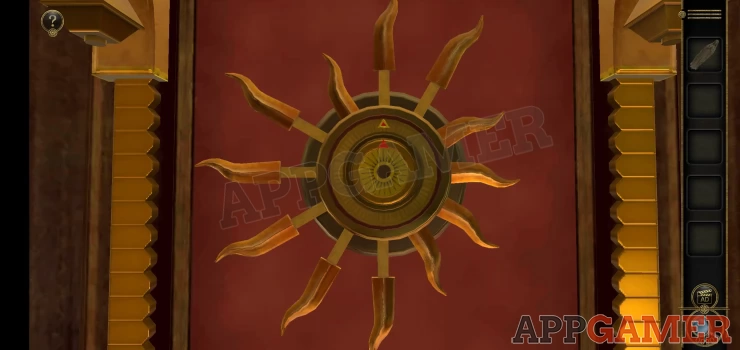
You can now turn each of the 2 circles with the arrows to point at each of the branches pointing out from the center.
As you turn each circle it will make some of the branches move in or out.
You need to set the circle so that all the branches are retracted into the center as shown below.
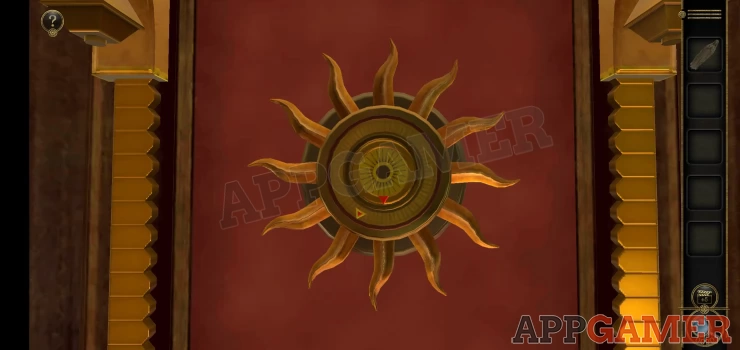
Once done the base of the model opens to reveal a stand.. Place the statue on the stand.
Rotate the statue to face forward and the bottom drawer will open. Collect the 'Small Spring' (Clockwork Key) and the Gemstone Slider.
Now return to the Automaton to see the puzzle.
Maze Puzzle
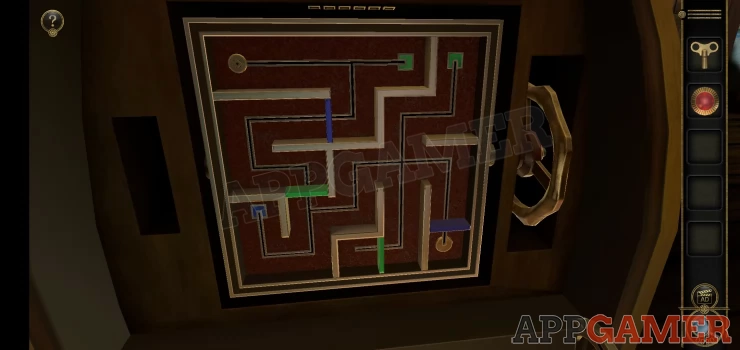
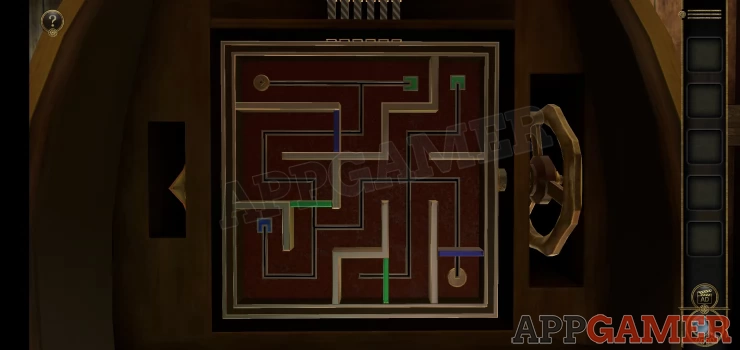
- Place the Gemstone slider on the top left to begin.
- You can now use the wheel handle on the right to turn the puzzle and see both sides.
- There are 2 mazes and you need to get the sliders on each to the end points on the right.
- Placing a slider on a color square will alter the blue and green gates to allow each slider to pass through.
- Check the video below for help.

Once done a drawer opens and you can then view a musical box.
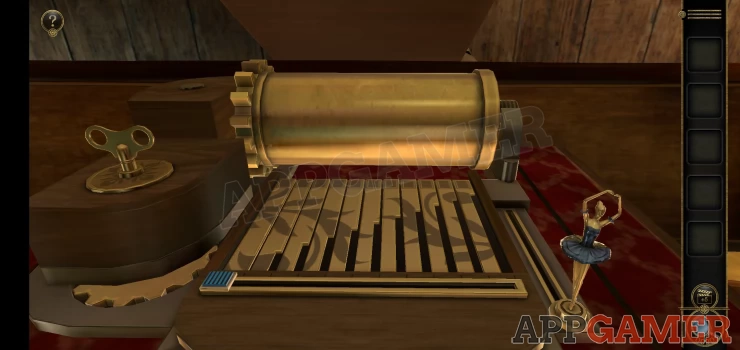
Musical box puzzle
- Add the key to the left side to let you wind up the music box and begin the puzzle.
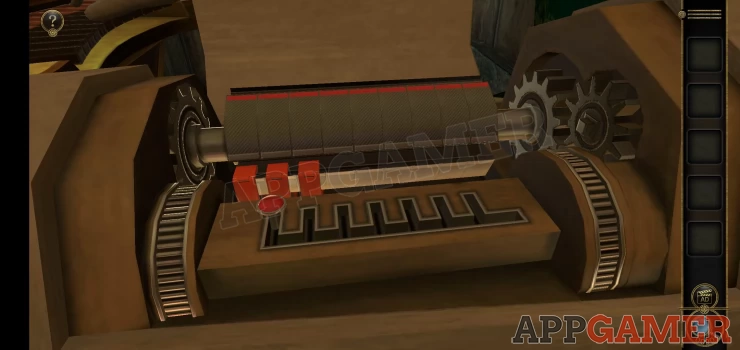
- The drum will spin to reveal the teeth on it.
- Use the blue slider on the bottom to lift the forks to hit the teeth as the move past.
- Each one that you hit will play a note and move the ballerina model on the right a little.
- You need to hit enough teeth for the ballerina to make it all the way to the end of the track.

Once done you will be able to collect another note from the arm of the automaton.
"Memory will no longer be Memory"
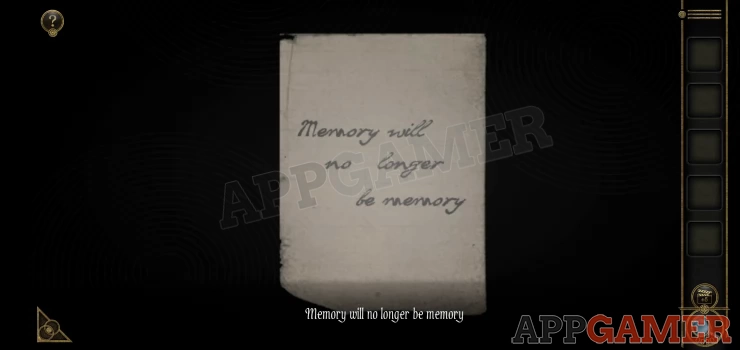
This completes Chapter 2, move on to chapter 3.
We have questions and answers related to this topic which may also help you: Show all
| 3D Escape Room Detective Story Walkthrough Chapter 1 | Back to Top | 3D Escape Room Detective Story Chapter 3 Walkthrough |
 With 20 years of experience in creating video game content for the internet and over 30 years as a gamer, Mark is now a passionate mobile App Gamer. Loving a challenge, he is always ready to get stuck in to both survival builders and puzzle solving games. He has been providing content for AppGamer since 2014.