Tricky Doors Walkthrough Level 5 - Amusement Park
More Tricky Doors
Amusement Park is the fifth level in Tricky Doors, an escape room adventure game from Five-BN Games. In each chapter of Tricky doors you will find yourself lost in mysterious locations, find the clues and solve the puzzles to escape. Use our Tricky Doors level 5 walkthrough to Amusement Park to get you through the first level.
Tricky Doors Walkthrough Level 5 - Amusement Park
In this fifth episode, you are alone in an amusement park and need to find your way out.
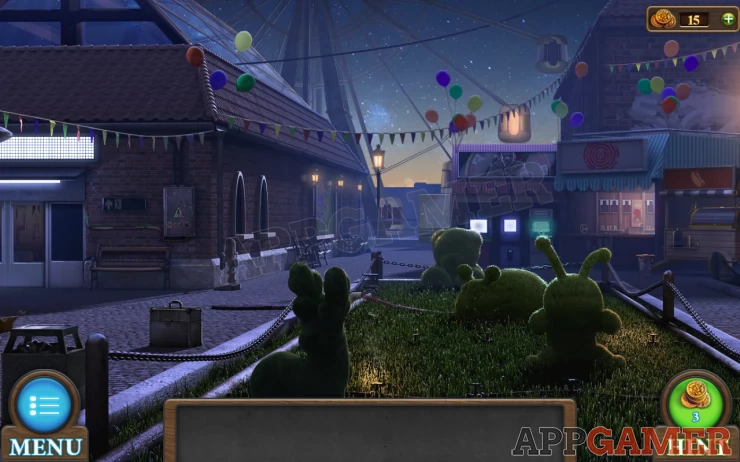
On the left building is an electrical box, view this and open it.
Collect the key from inside.
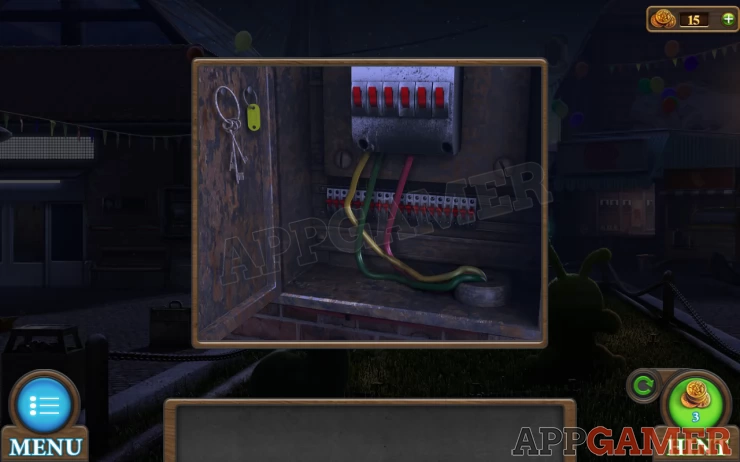
Then tap to view the toolbox on the floor to the left.
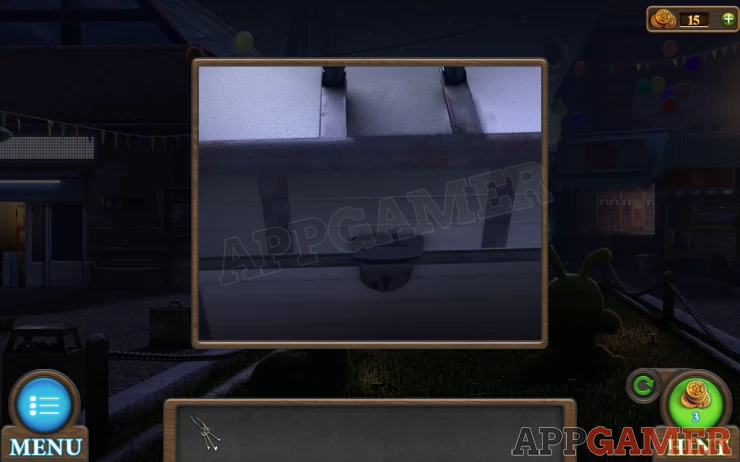
Use the key to open it and collect a wrench, and some scissors.
Now tap to view the area on the right.
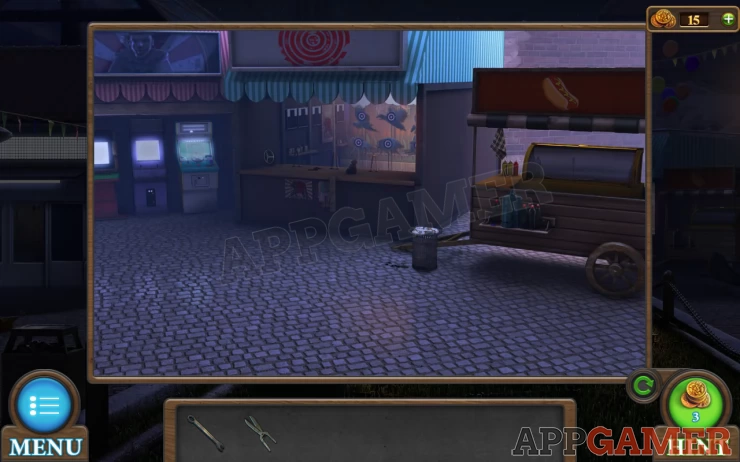
Tap the hot dog stand on the right and open the top grill to collect a Grill fork.
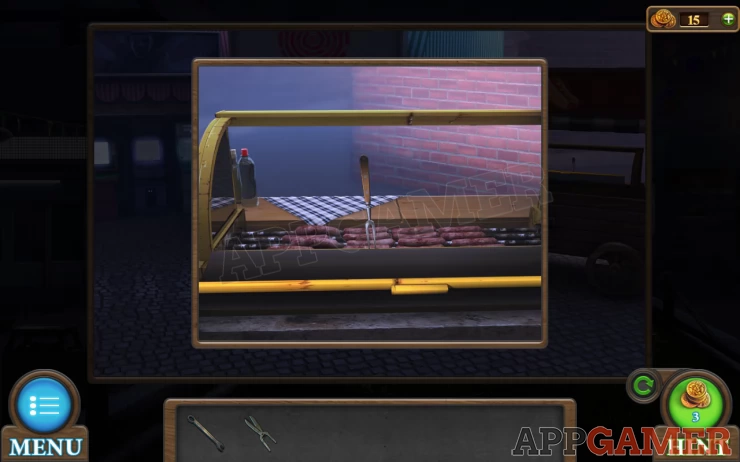
Next tap the trash can on the ground to knock it over.
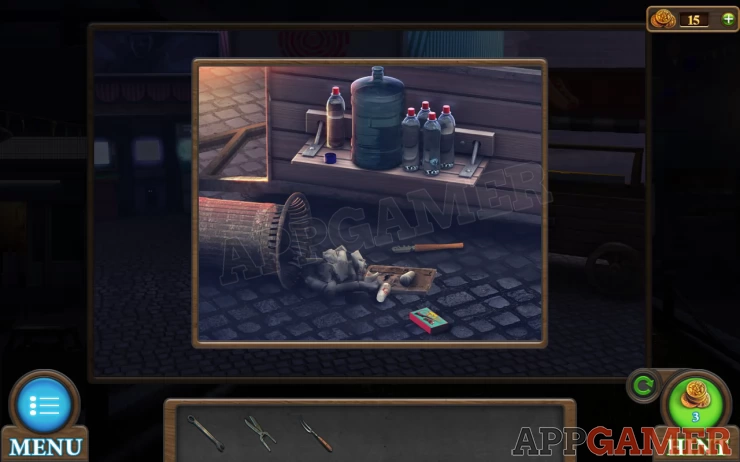
View the trash and collect some cartridges, and a glass cutter.
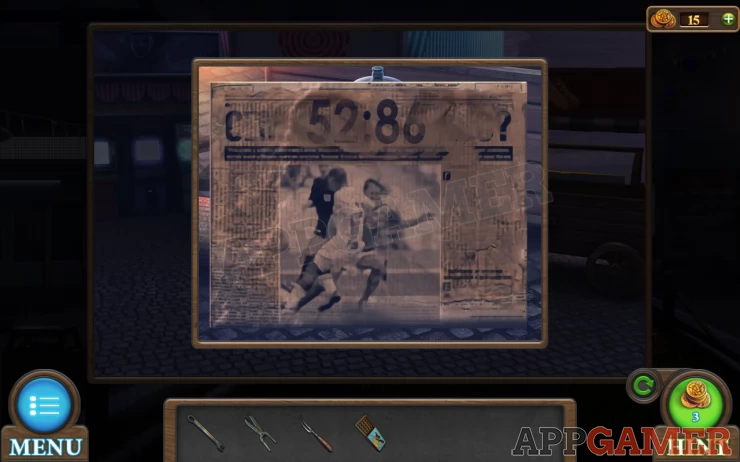
You can also tap to view an old news paper with a clue.
Show
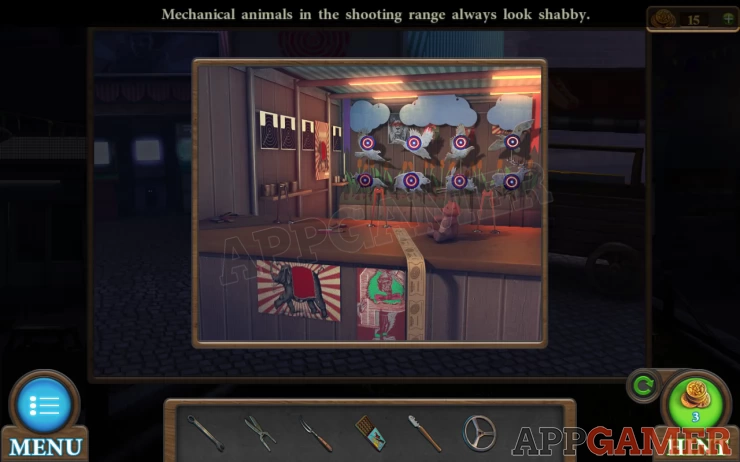
Now tap to view the shooting range to the left.
Collect a valve wheel
Back up and now tap on the bottom of the pipe on the left building. Next to the electrical box.
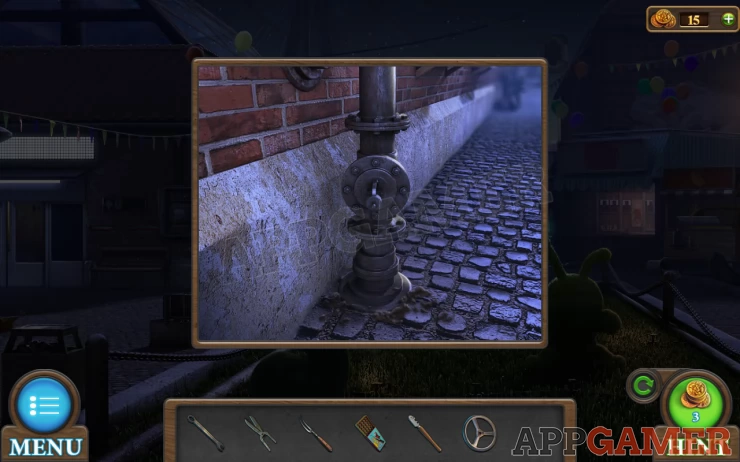
Add the valve to it and tap to turn off the water.
The water in the center grass area has stopped.
Tap to view the grass.
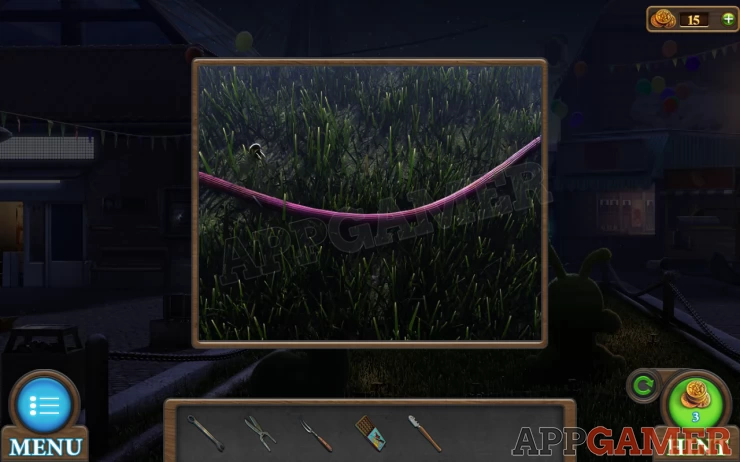
Collect from the upper left, 'Chips' #1 of 4.
Next use the scissors on the hose pipe. You will collect the hose and garden shears / scissors.
View the shears in the inventory and add the hose to them to insulate the handles.
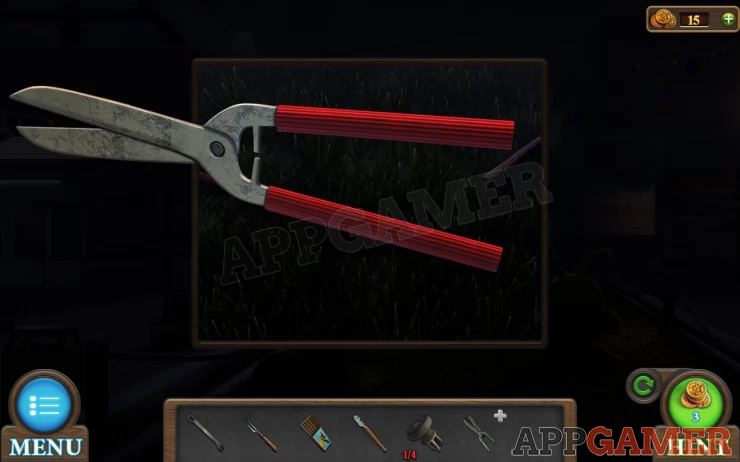
Now view the electrical box again.
Use the scissors with handles on the wires to cut then and collect them.
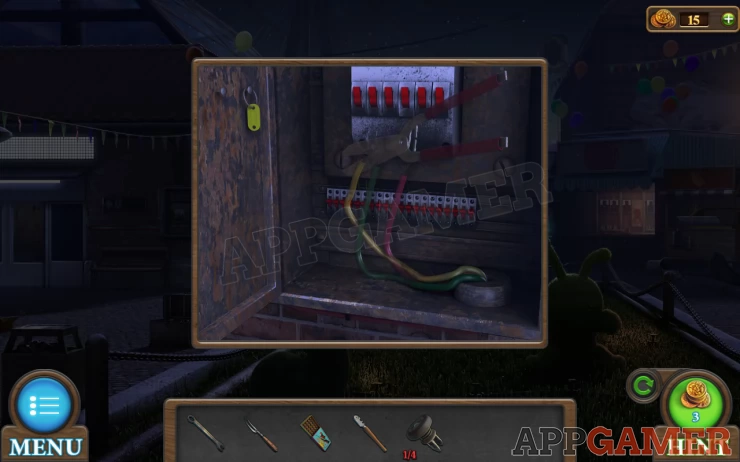
The doors on the far left will now be open.
But first we can tap in the center to move forward to the big wheel.
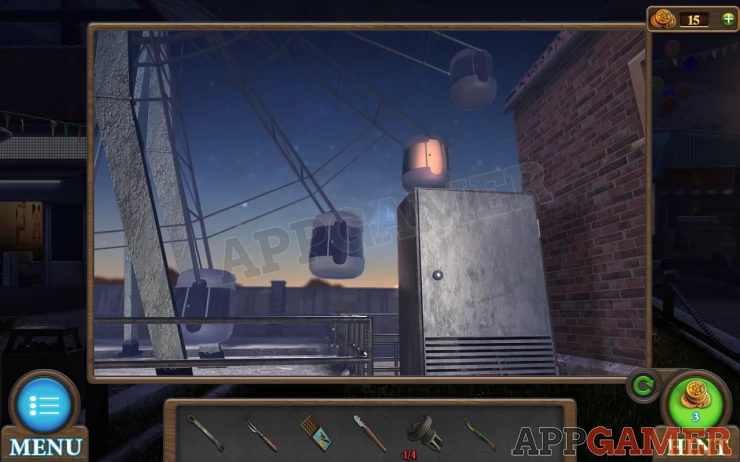
Open the cabinet on the right and then tap to view the panel inside.
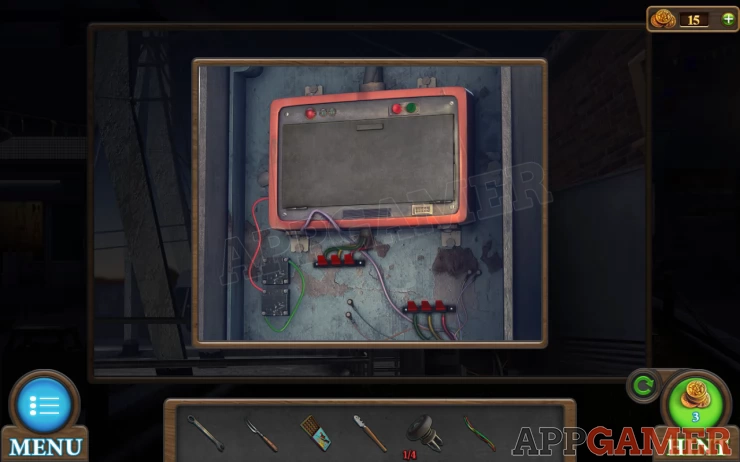
Add the wires to the bottom and the top panel will open. Look inside for a puzzle.
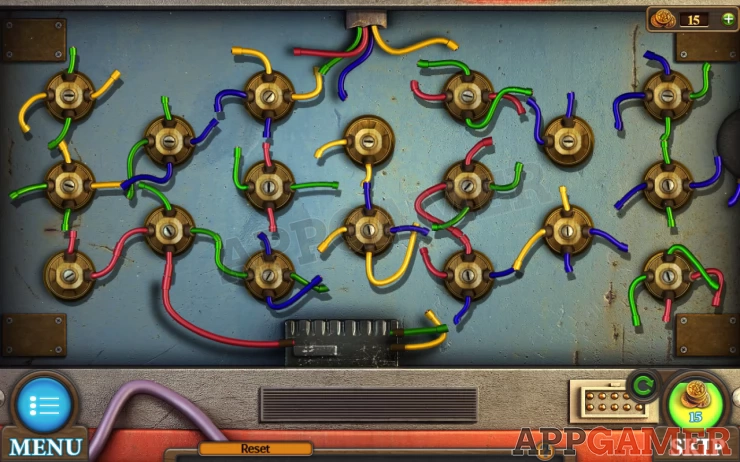
Swap pairs of wide blocks to form a full circuit.
Solution: Show
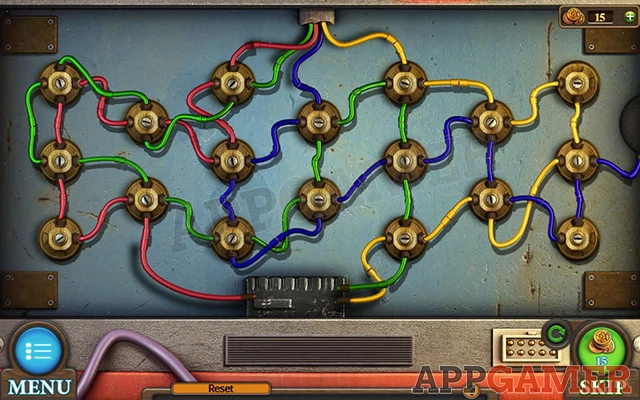
The wheel will move and you can now view the compartment with the light.
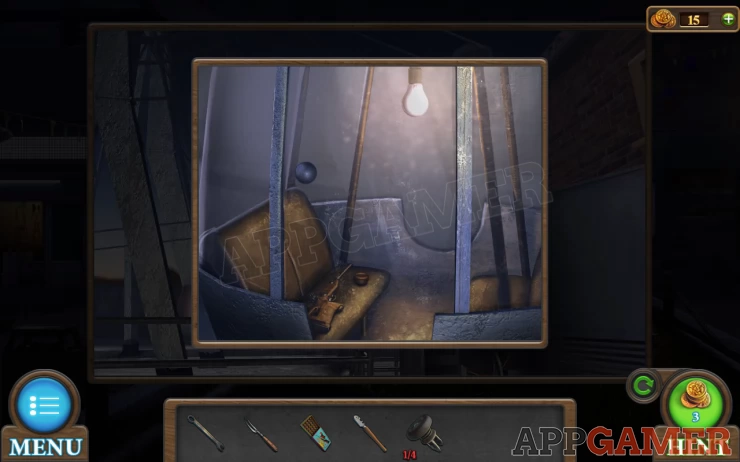
Use the class cutter on the window. Then collect the gun and a knob from the seat.
View the gun and add the cartridges to it to load it.

Now back up and view the shooting range again. Add the gun to the range and you will start a puzzle game.
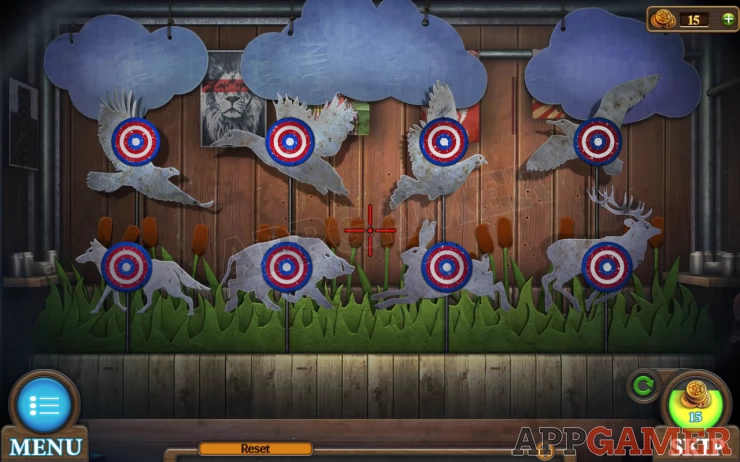
How to complete the Targets Puzzle
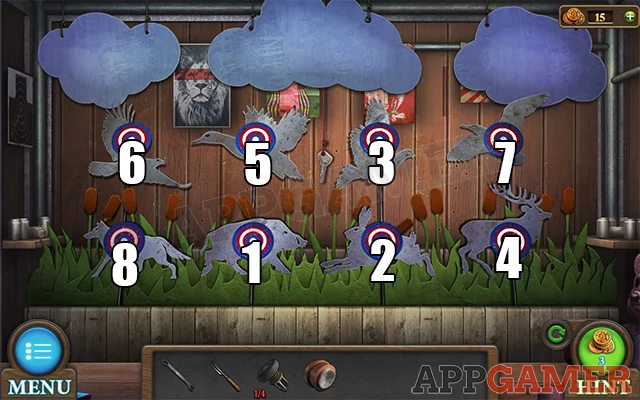
You need to tap the targets in the correct order to knock them down. If you get the order wrong they will reset.
When you get all 8 correct you will collect a key.
Solution: Show
Now enter the building on the left. You are in a corridor.
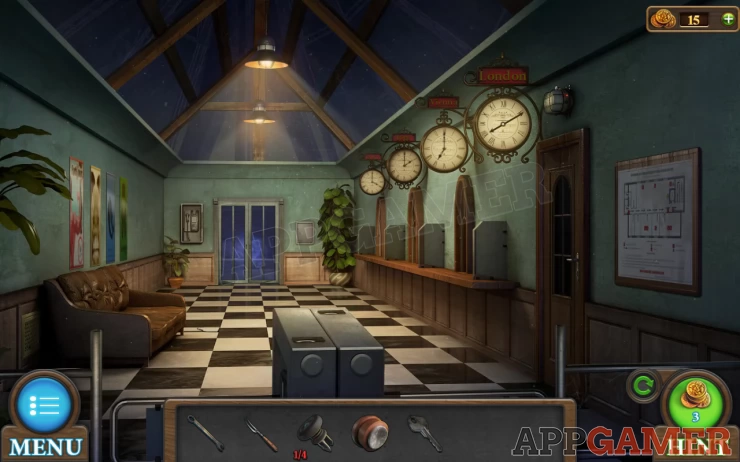
Notice the 4 color posters on the left and the 4 clocks on the right.
First tap the sign on the far right wall. This will move it and you can look behind. Collect a button.
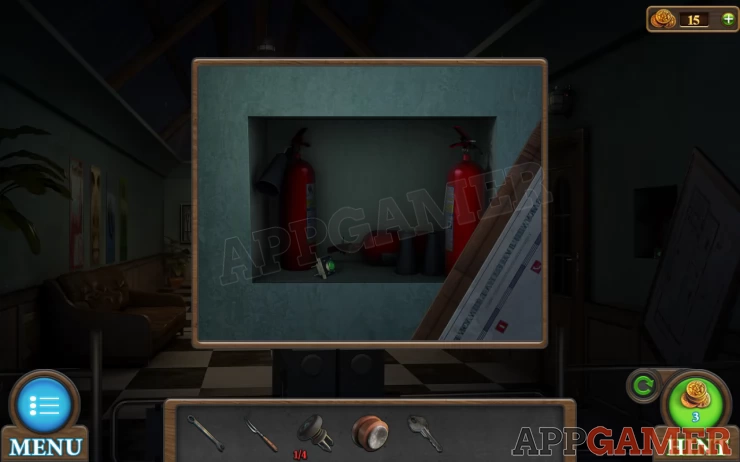
Next tap to view the light above the door on the right.
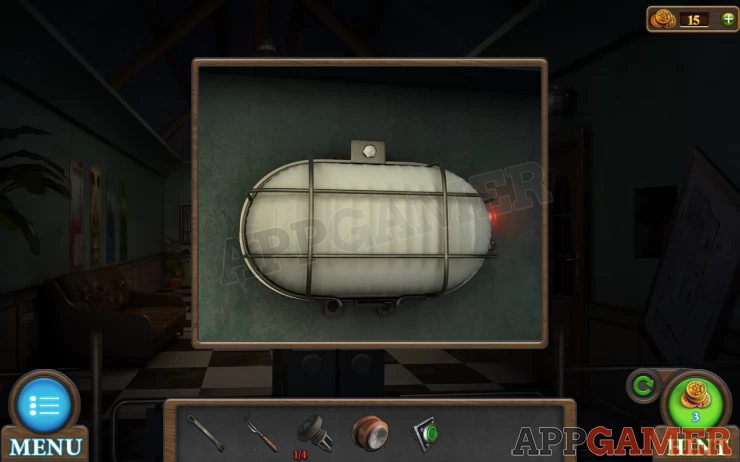
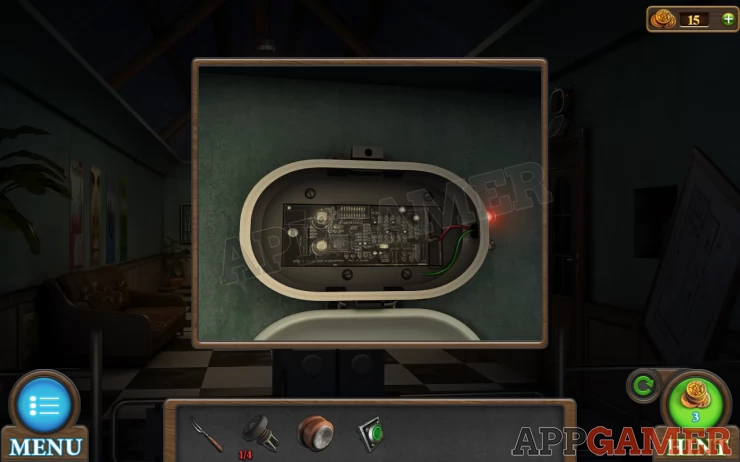
Use the wrench on the top bolt to open it.
Next tap to disconnect the red wire and then connect the green wire. When the green light is on it is done.
Now view the lock on the door. Use the key to open it and go in. The room is dark.
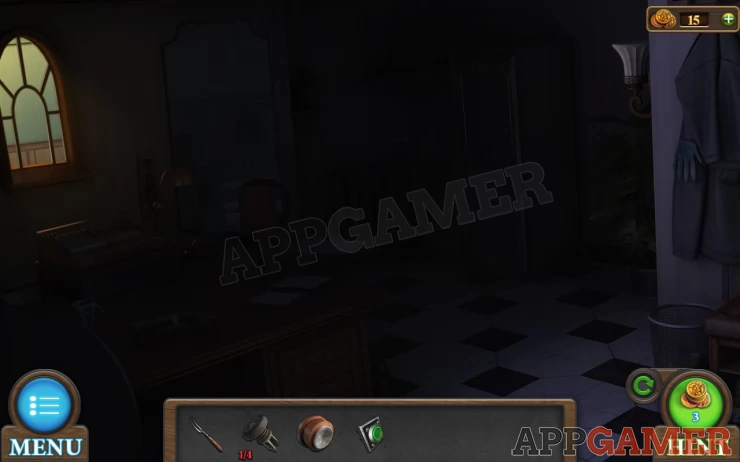
Take the gloves from the far right. then exit back to the start.
Move forward to view the big wheel again and look inside the compartment with the light.
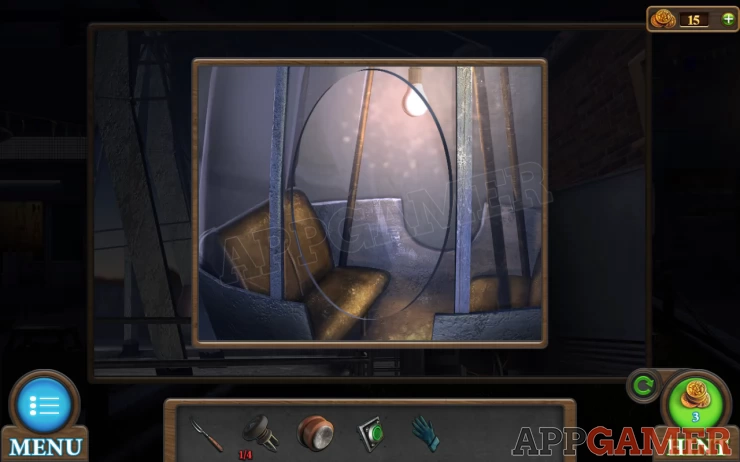
Use the gloves to collect the light bulb.
Now return to the dark room.
Add the light bulb to the lamp on the right to light up the room. It is an office.
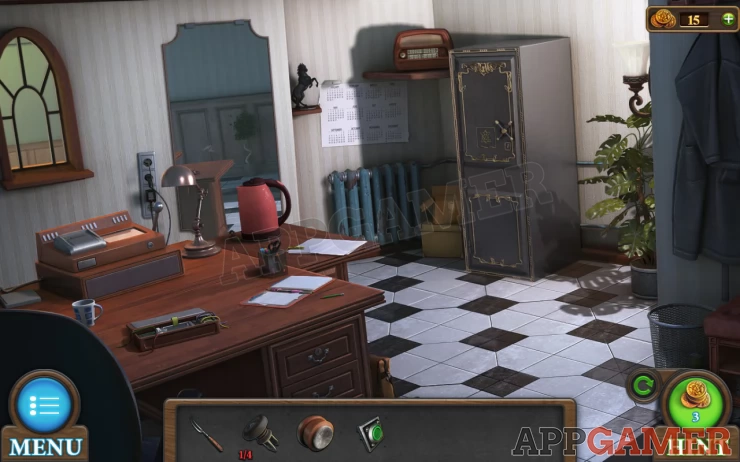
From the desk tap to collect the kettle. And then tap the papers next to that to collect a paperclip.
View the drawers of the desk.
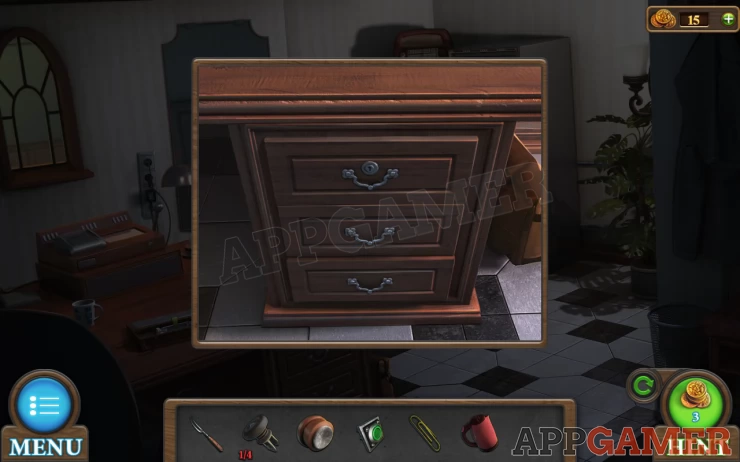
Use the paper clip to unlock and open the top one.
Collect some tweezers.
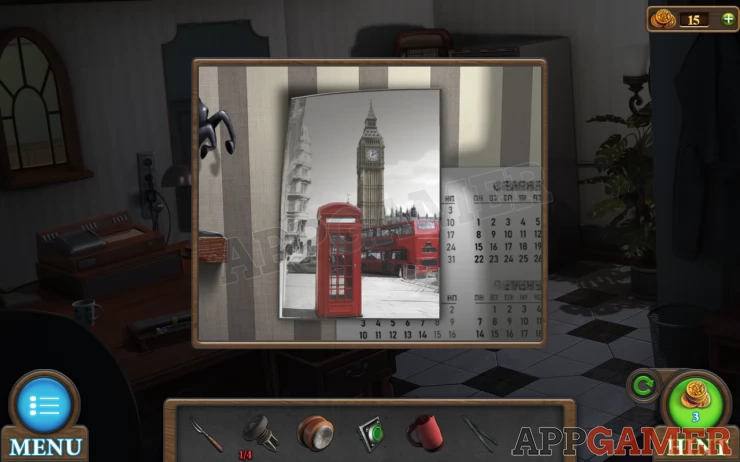
View the calendar on the wall and then tap the top corner to find a photo clue. London.
Back out to the corridor.
First tap to view a vent on the bottom left
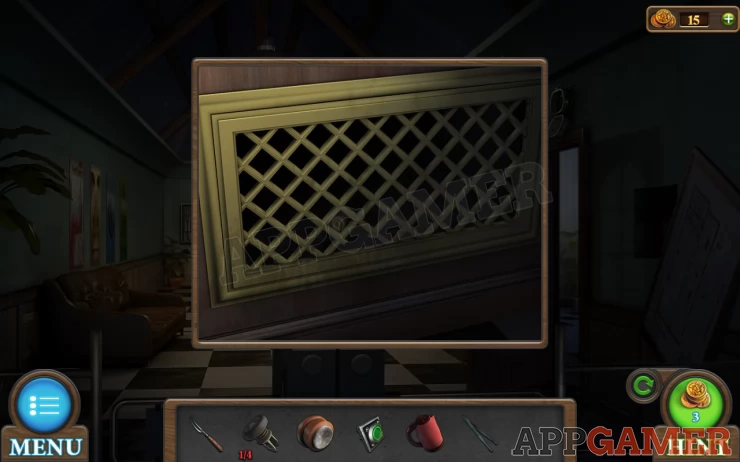
Use the tweezers here to collect a second chip (#2 of 4)
Next tap on a broken tile on the floor by the sofa.
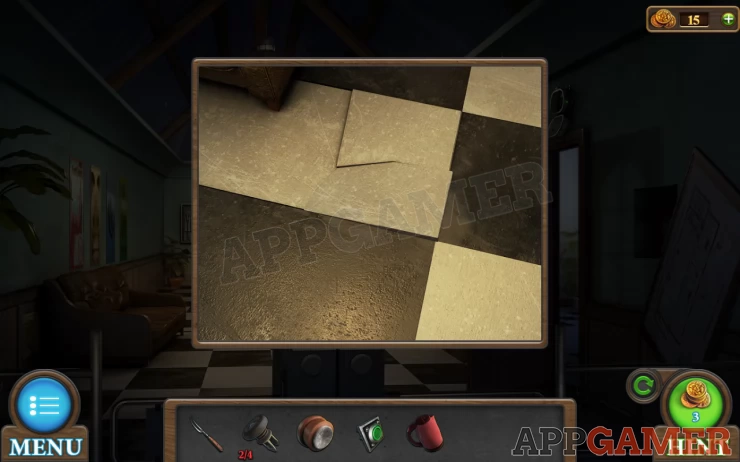
Use the grill fork on this to lift the tile. Collect another chip (#3 of 4)
Now go back inside to the office.
View the radio on the shelf in the center.
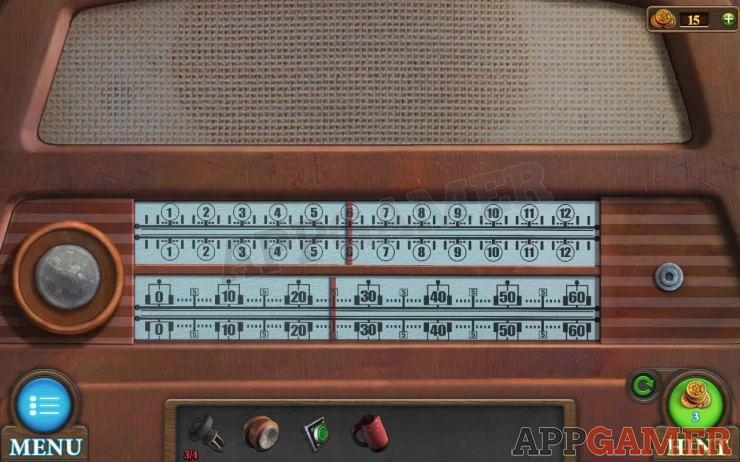
Add the knob to the right and then you need to use the 2 knobs to set the correct numbers on the 2 dials.
Hint: the clue was London.
Solution: Check the time shown for you on the London clock. This can vary so check your own time. For me it was 8:10.Show
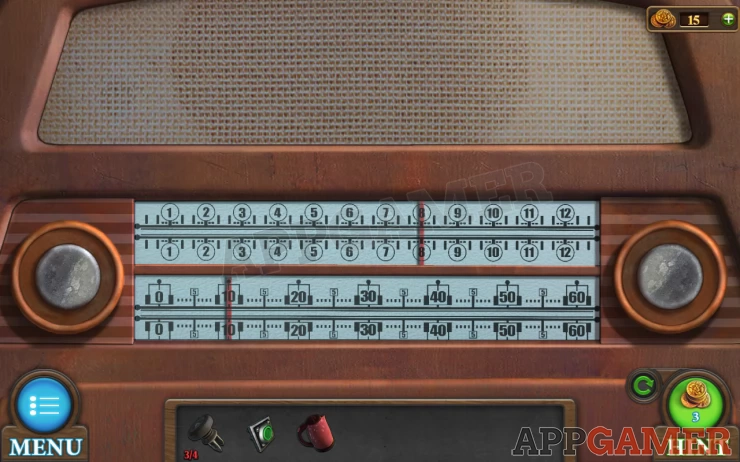
Collect a knife.
Next tap to view the large safe on the right. Open the panel on the door and view it.
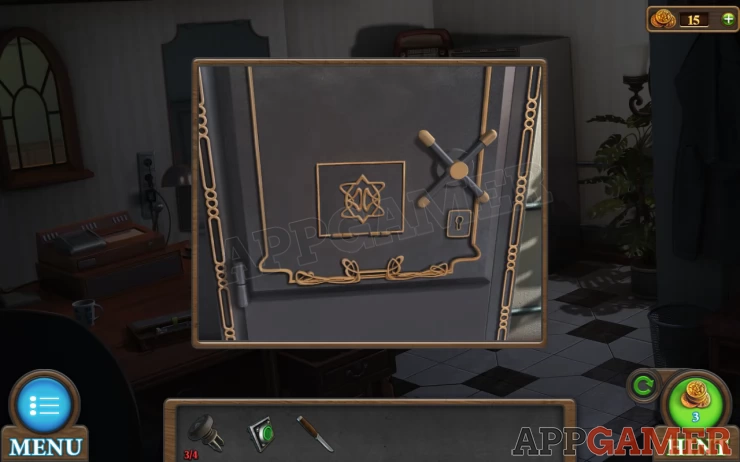
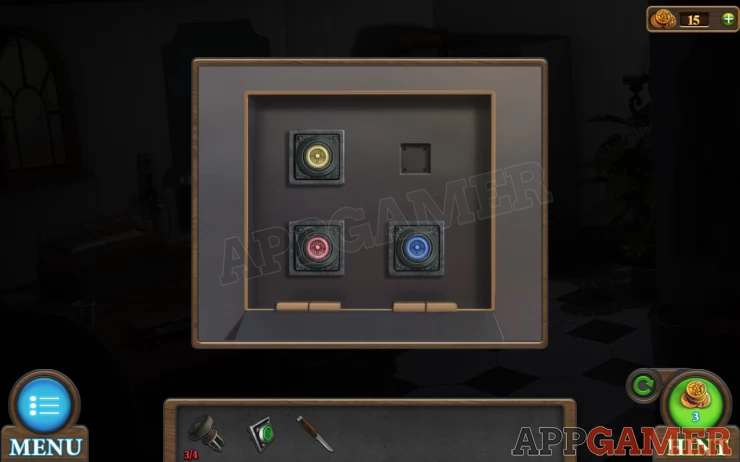
How to complete the Buttons Puzzle
Add the green button to it. Tap the buttons in the correct sequence.
Solution: Follow the order of the posters in the corridor. Red Yellow Blue GreenShow
Open the top panel and collect a Token.
Exit to the corridor. Tap to view the phone on the wall at the end.
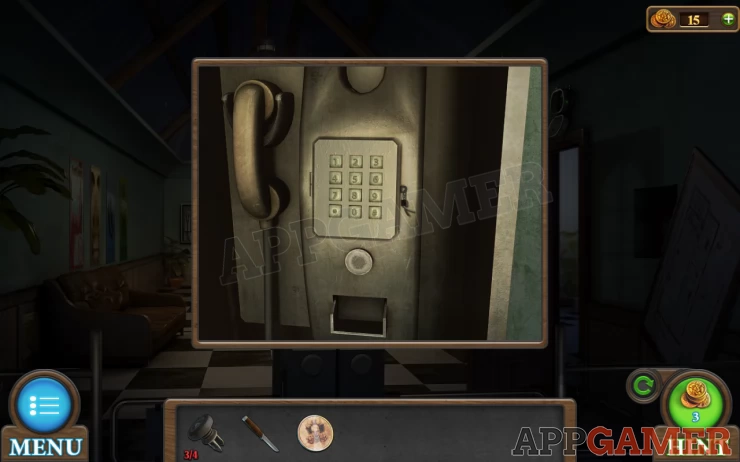
Get the Circuit Board
Use the knife on the keypad to cut the lock and then open it.
Collect the printed circuit board from inside.
Now exit to outside and view the the area with the trash can again.
Use the kettle on the water bottles to fill it.
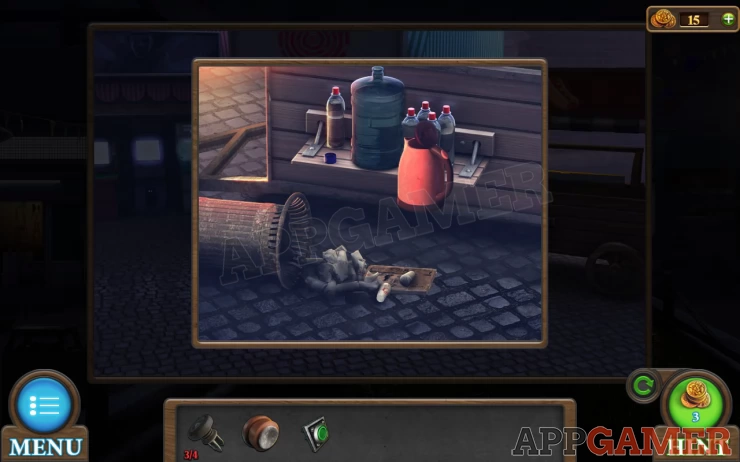
Next tap the booth on the left with the arcade machines. You will find a driving game.
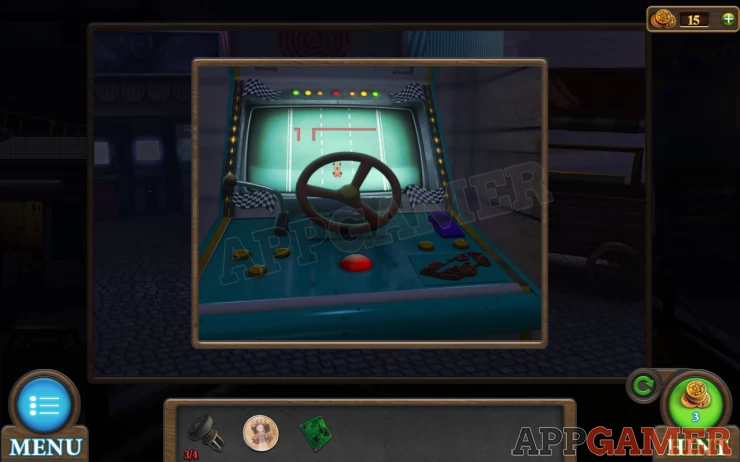
Use the token on the slot, them press the red button to start a game.
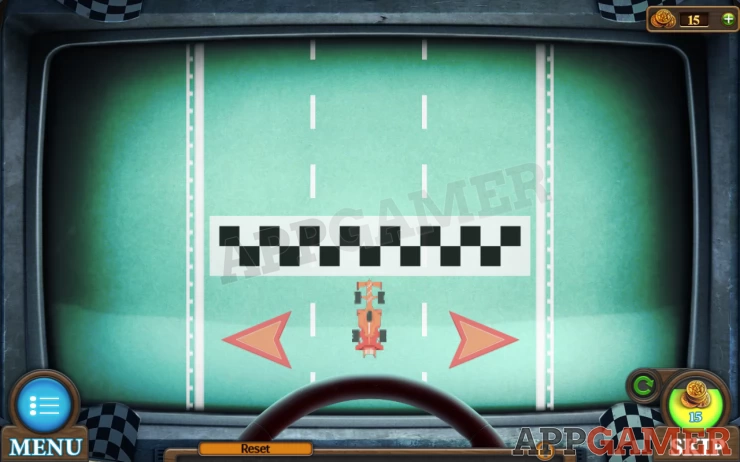
Use the arrows to move the car to the correct lane. Play until you reach the finish.
Collect a Cryptex.
Now return to the office.
View a box on the table with loose wires.
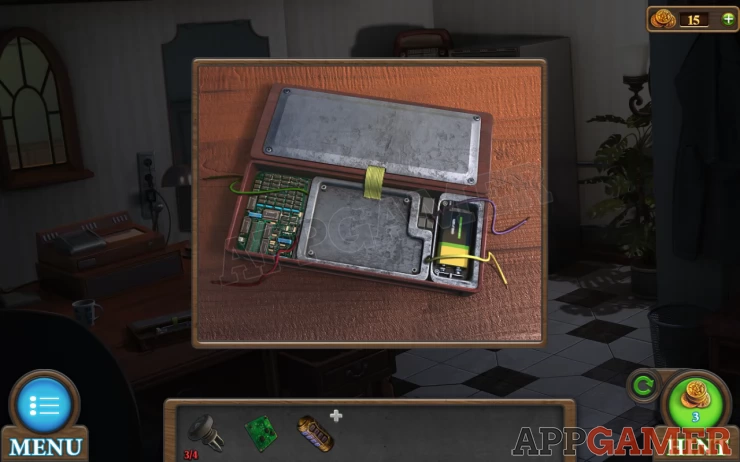
Add the circuit board to it and then tap to connect the wires. Then close the top.
It is now working and you can use the buttons to set 4 numbers. Let and right arrows will move to the next number and the up down arrows set the number.
Follow a clue found outside to get the numbers.
Solution: From the old news paper. 52:86Show
The box will now display some shapes in red.
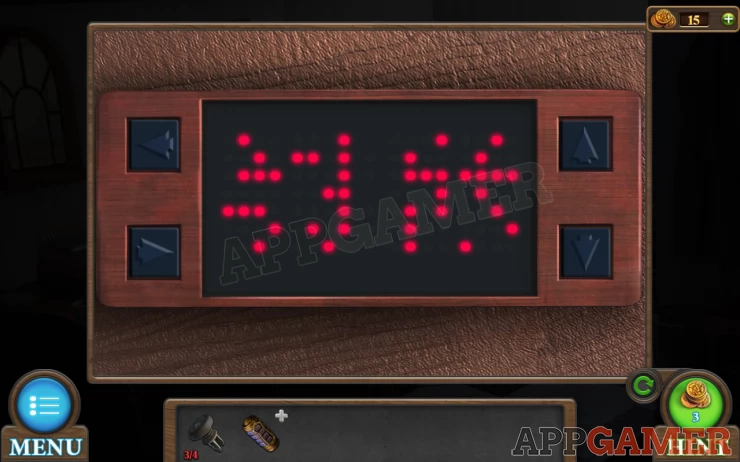
View the Cryptex.
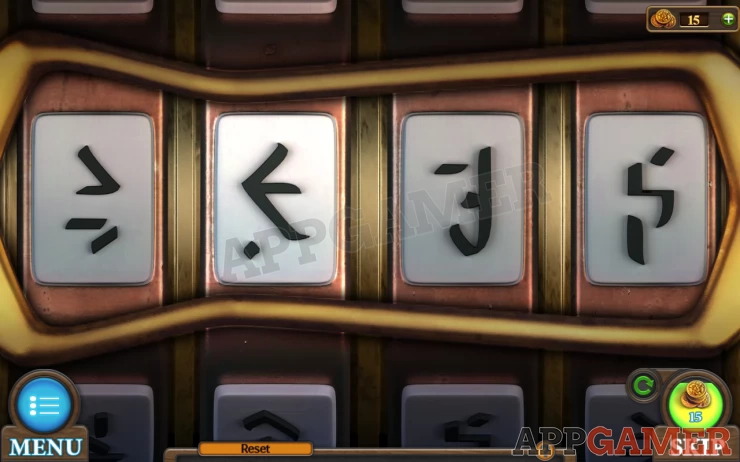
Dials Puzzle
Set the 4 symbols on the dials to match the red lights.
Solution: Show
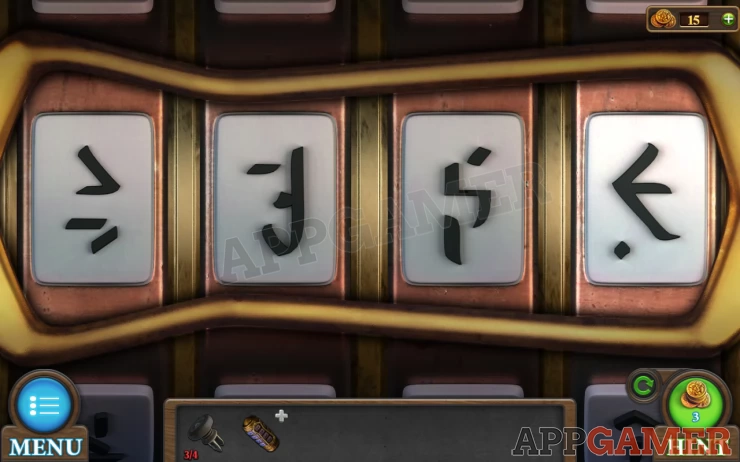
Collect a key.
Next place the kettle back on the stand where you found it. It will then steam up the mirror and reveal a clue.
Tap on the cash register on the desk.
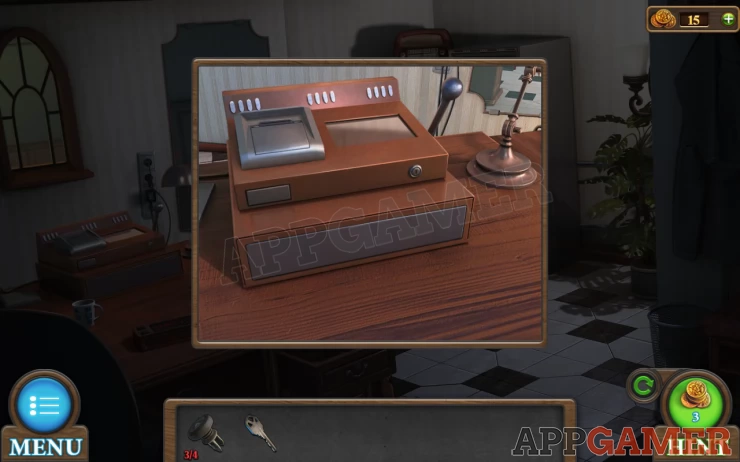
Use the key to unlock the keypad, then view it.
Use the clue above to enter the code.
Code: 374Show
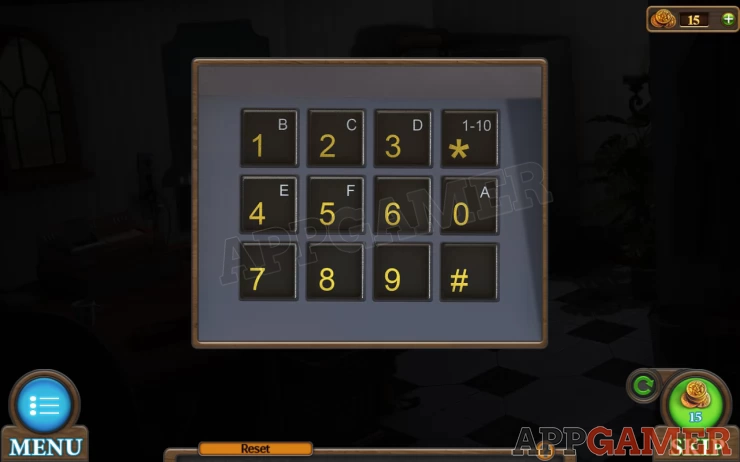
The drawer opens and you can collect another chip. (#4 of 4)
Back out to the corridor. And tap to view a panel at the far end to the right of the door.
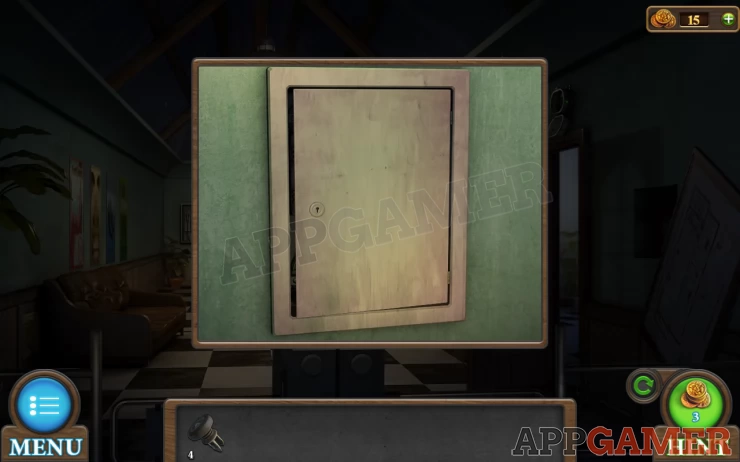
Open the panel and place the 4 chips inside. You can then open a smaller panel and find a puzzle.
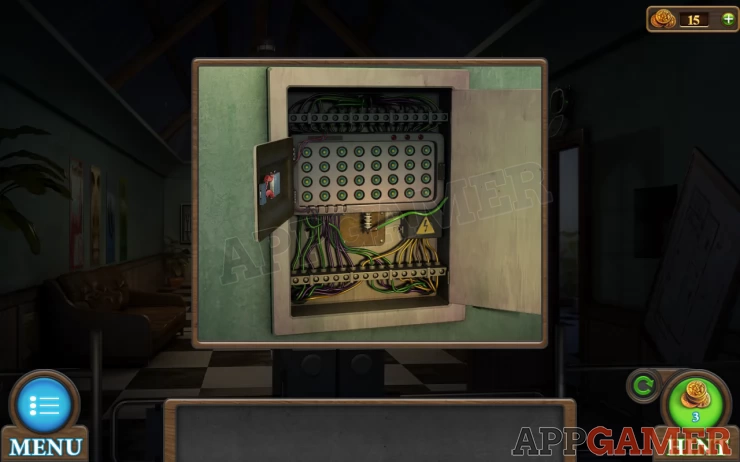
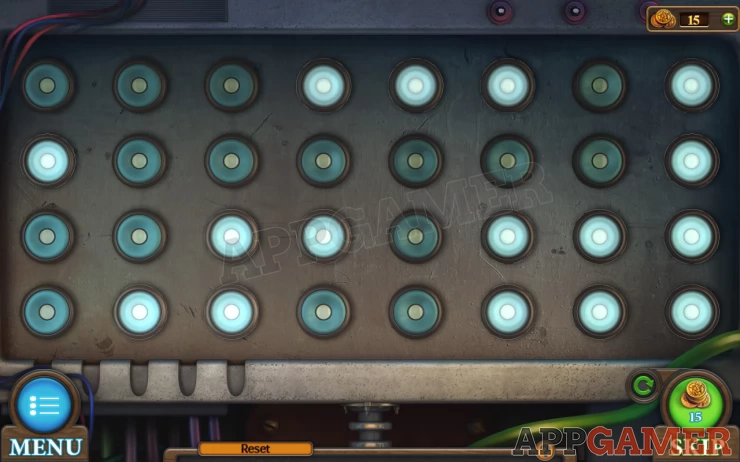
Tap the lights to turn them on. Each one will change itself and those around it. You need to turn all the lights on.
Once you complete this the door will open and you can tap to exit. This completes our Tricky Doors level 5 walkthrough to the Amusement Park.
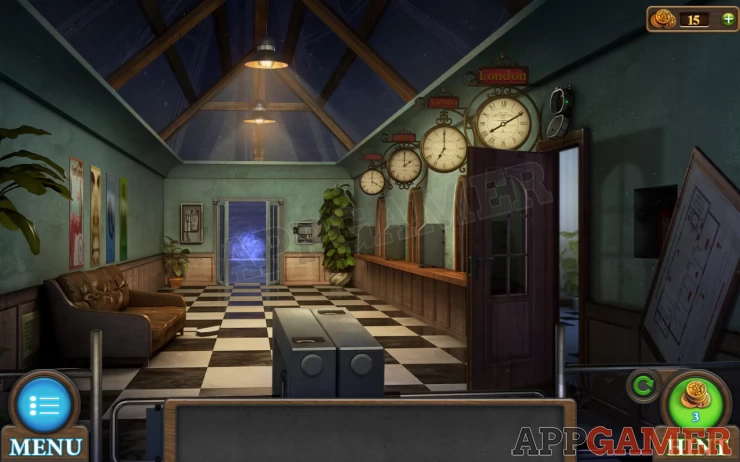
Follow this link to take you to our Level 6 walkthrough - Museum.
We have questions and answers related to this topic which may also help you: Show all