Tricky Doors Walkthrough Level 17 - Ship
More Tricky Doors
Ship is the seventeenth level in Tricky Doors, an escape room adventure game from Five-BN Games. In each chapter of Tricky doors you will find yourself lost in mysterious locations, find the clues and solve the puzzles to escape.
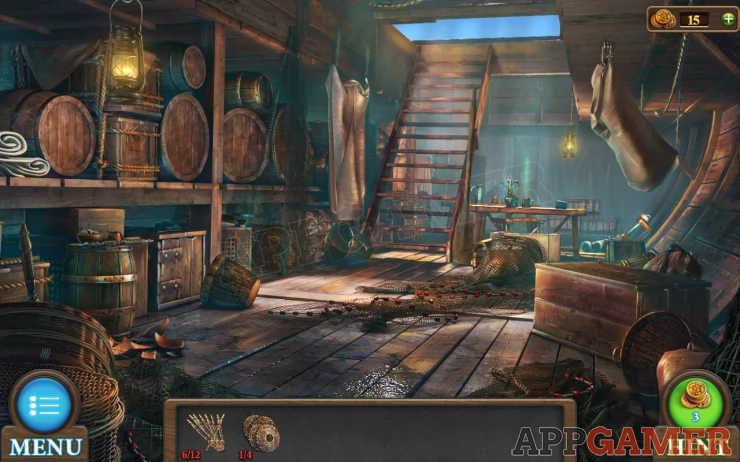
In episode 17, you find yourself stranded on an old ship. The wheel is missing and the canon needs gunpowder. Find away to fix up the ship, release the lifeboat and make your escape.
Tricky Doors Walkthrough Level 17 - Ship
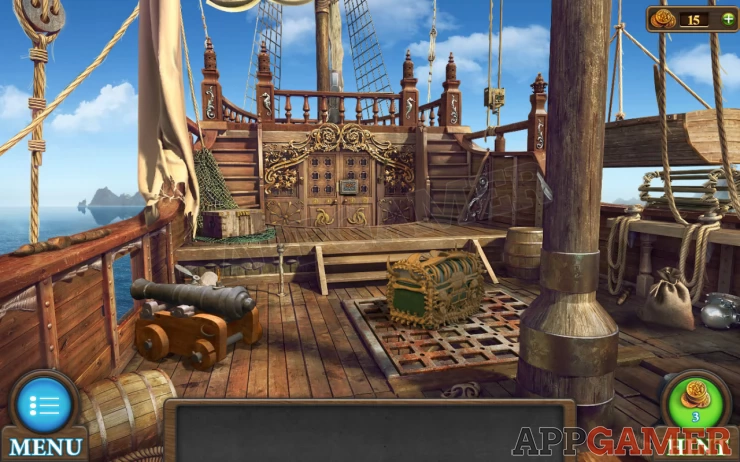
First tap on the top deck at the far end of the boat to see the stand for the missing ships wheel. Collect a Spy glass from he rail on the left.
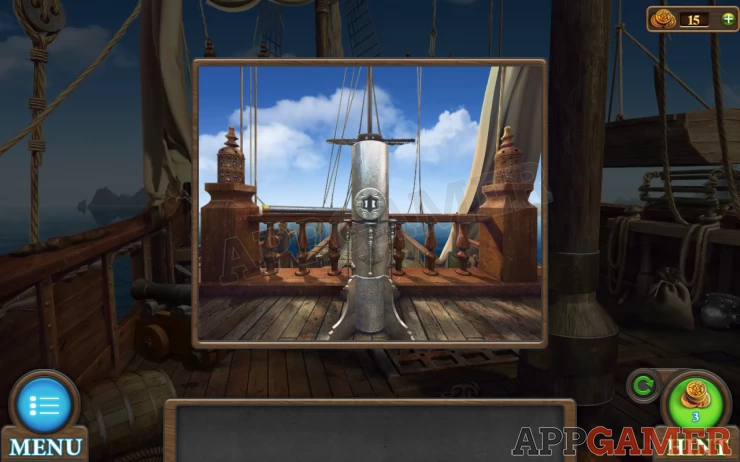
Next view a chest that is on the left of the doors to the cabin. You cannot open this yet but you can collect a Cloth, and a Handle.
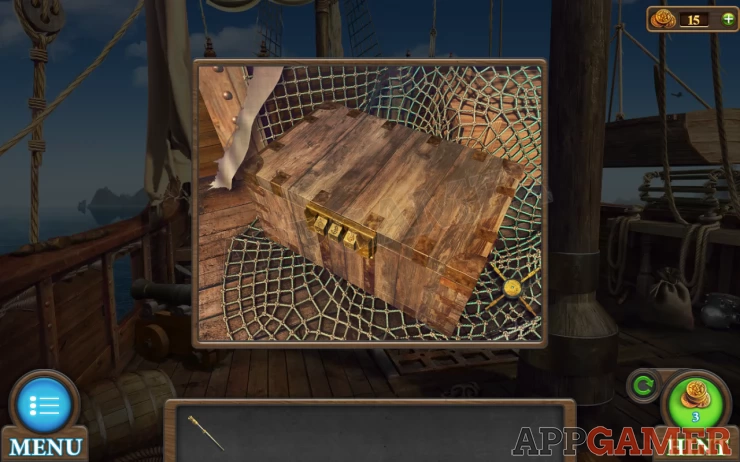
Next view the Canon on the left of the main deck. You cannot use this yet but you can collect a Yellow Chip from the right.
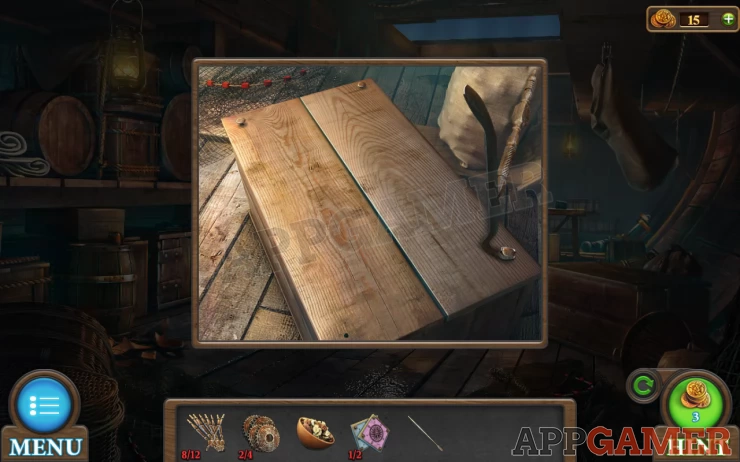
Now use the cloth on the knife blade that is stuck in the large mast on the right and collect a Knife.
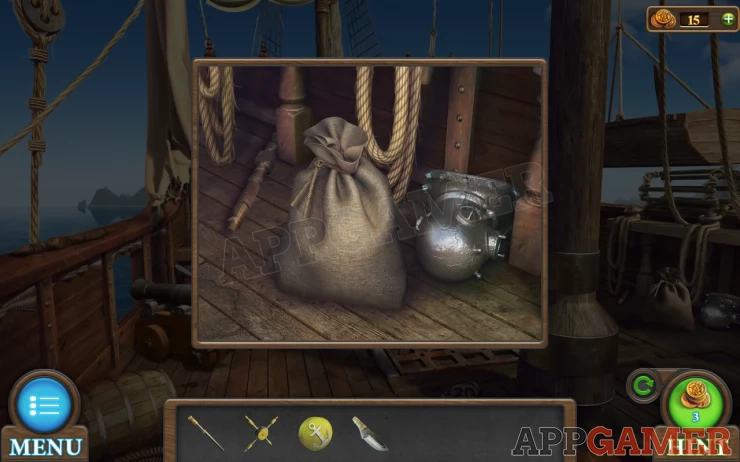
Next view the sack on the deck on the right of the mast. Collect the Handles (1 of 12) from the deck and then use the knife on the sack to open it. Collect a Red Chip from inside.
Now tap on the doors to the cabin. Collect a Torch from the right side.
Then view the puzzle lock on the doors
Cabin Doors Puzzle
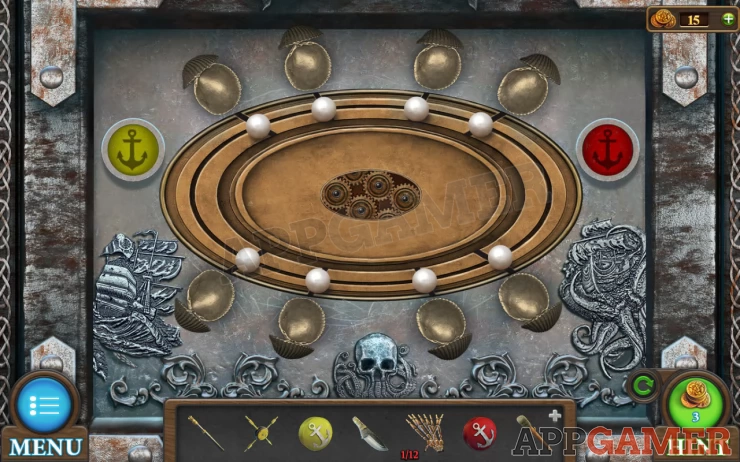
- Add the red and yellow chips to it to begin
- Tap a shell to move the pearl next to it into the shell and close it.
- This will also move the other pearls around the circle to the next shell.
- You can also tap a closed shell to open it and move the pearls again.
- You need to get all of the pearls into the shells.
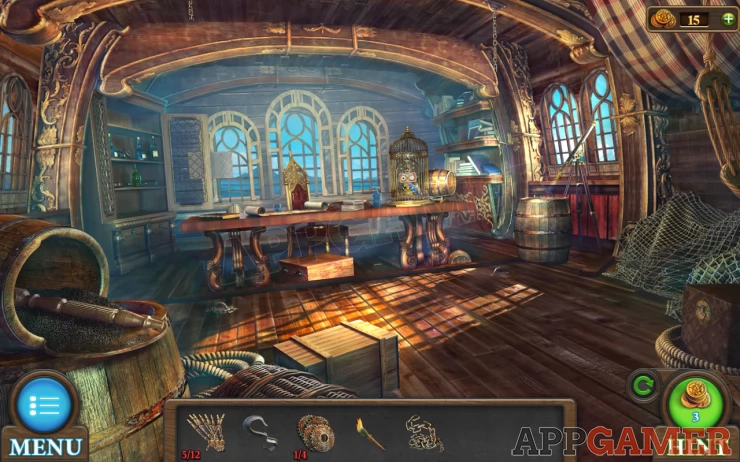
Once done the doors are open and you can enter the cabin.
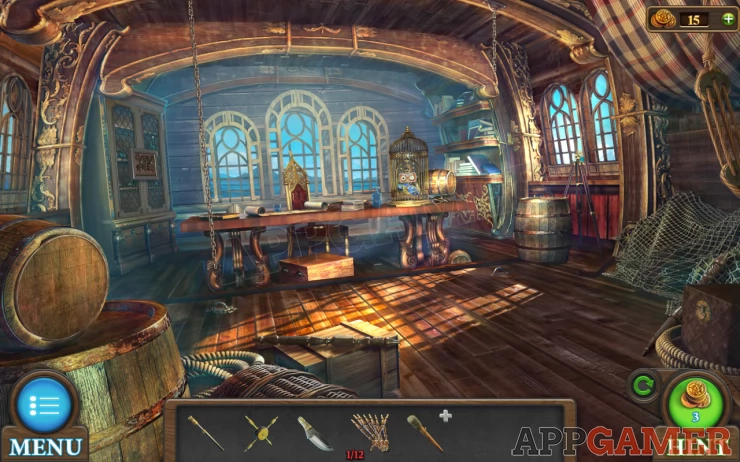
First collect a Handles (2 of 12) from the floor on the right by the net. Then collect another Handles from the wooden box bottom center of the scene. (3 of 12)
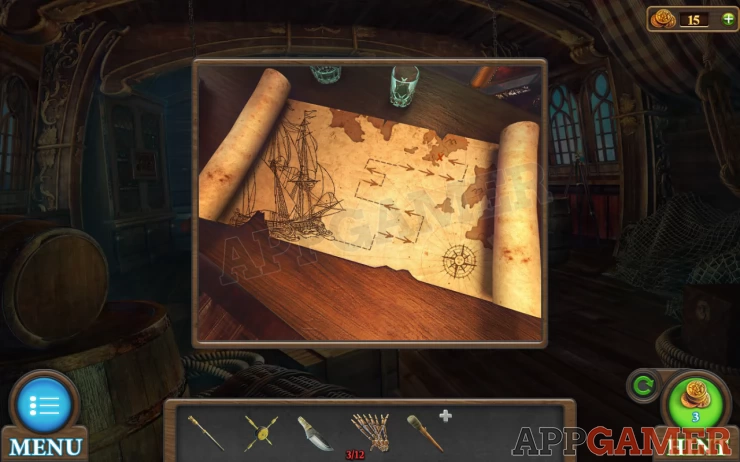
Next tap on the table to see a map with a clue. You will need this later.
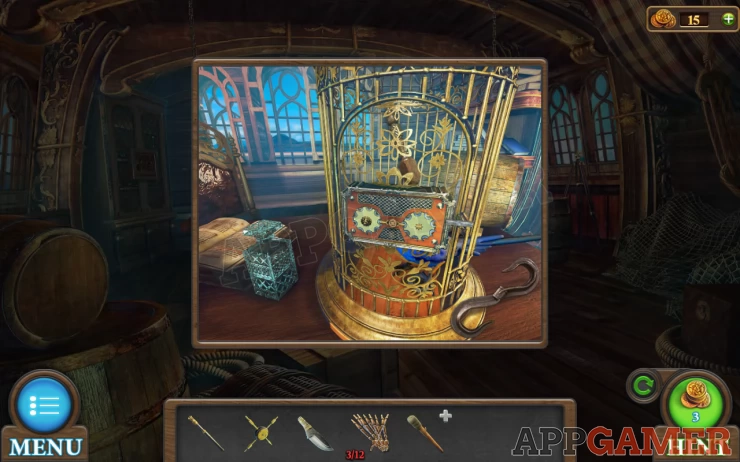
Then view the bird cage on the table on the right. Collect the Hook from the side.
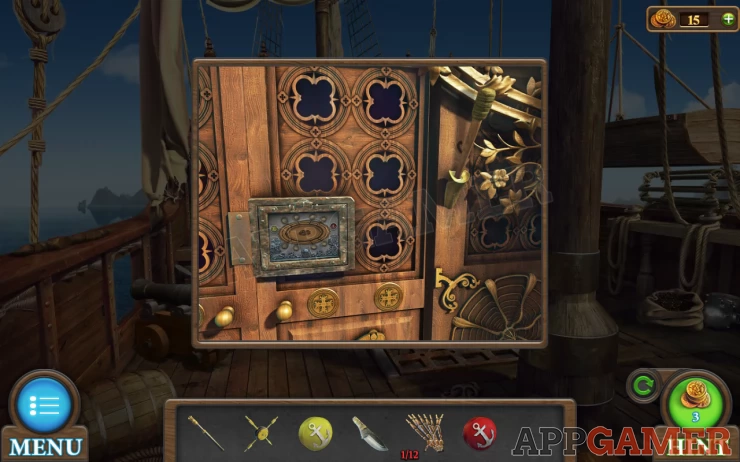
Now view the wine cabinet on the left side of the table to see a puzzle in the center.
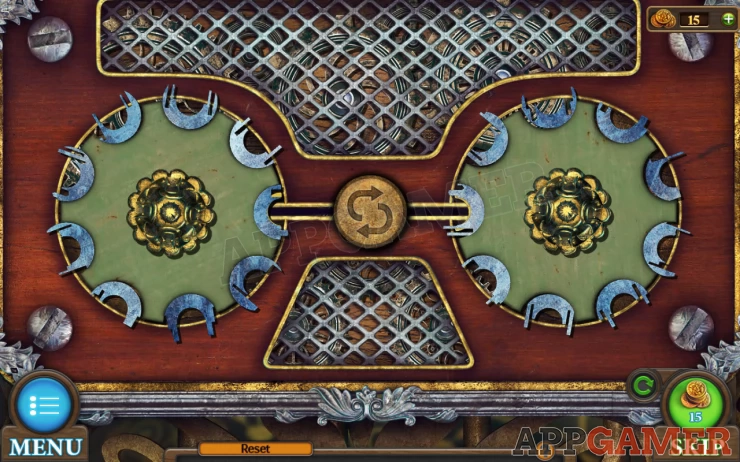
Wine cabinet Puzzle
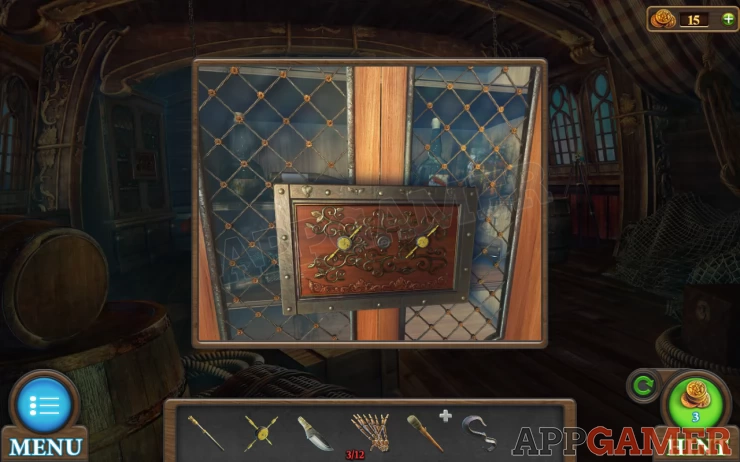
- View the puzzle and add the X shaped handle to it to star the puzzle.
- Tap to turn the handles to swap the circle pieces around and match them to the pattern on the door.
Solution: Show
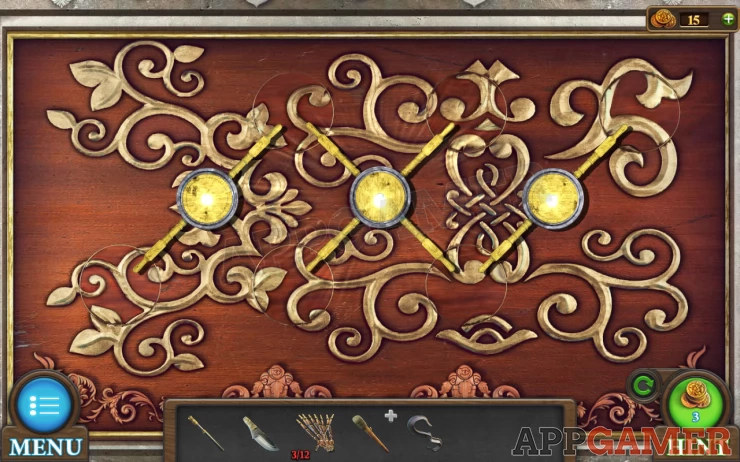
With the cabinet open you can collect a Handles (4 of 12), a Gears (1 of 4) and a bottle of Fuel.
Notice the other bottles in the cabinet, 3 of them have labels to denote the flavours.
Now view the torch in your inventory and add the fuel to it. You will collect the Torch again.
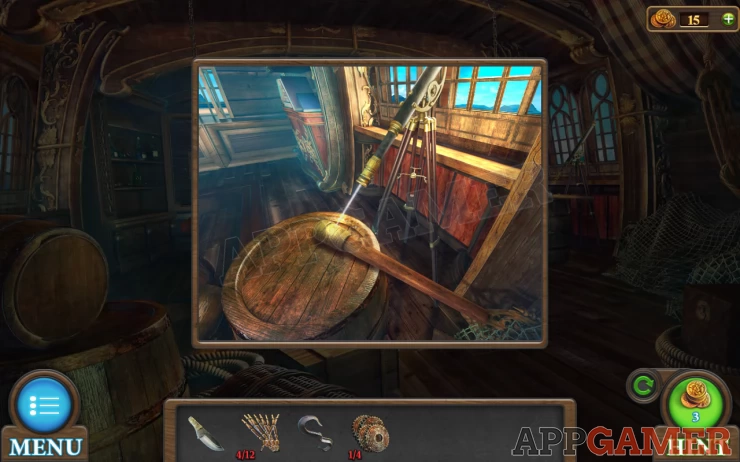
Then tap on the window on the right side with a barrel and a tripod. Add the Spyglass to the tripod to create a focused beam of sunlight. You can then add the torch as well to ignite it. You collect the Burning Torch.
Exit to the main deck and view again the chest on the left of the doors. Tap to view the Lock.
Chest Lock puzzle
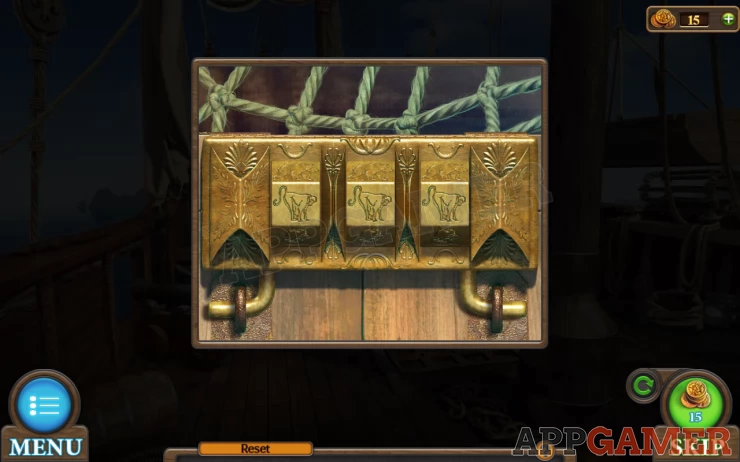
- The combination lock requires 3 animals to be set.
- You have a clue for 3 flavours from the drinks cabinet.
Solution: Find 3 animals that enjoy the 3 flavours: (Banana, Carrot, Honey) - Monkey, Rabbit, BearShow
Collect a Fretsaw from the chest and another Handles (5 of 12)
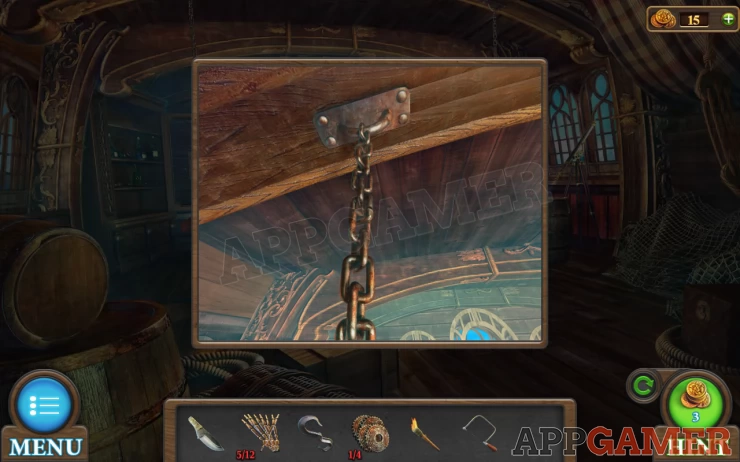
Go back into the cabin and view the Chain that is hanging on the left of the room. Use the fretsaw on this to cut it down and collect it.
Then also use the knife on the barrel on its side on the left of the room. This will open it and you can collect another Handles (6 of 12) and some Gunpowder.
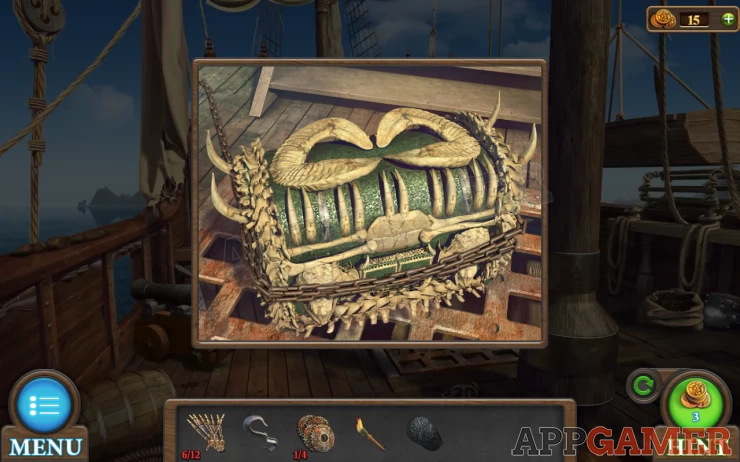
Back out again and now view the large green chest in the center of the deck. Add the chain to this to wrap it around.
Now view the cannon. And then tap it again to see the front.
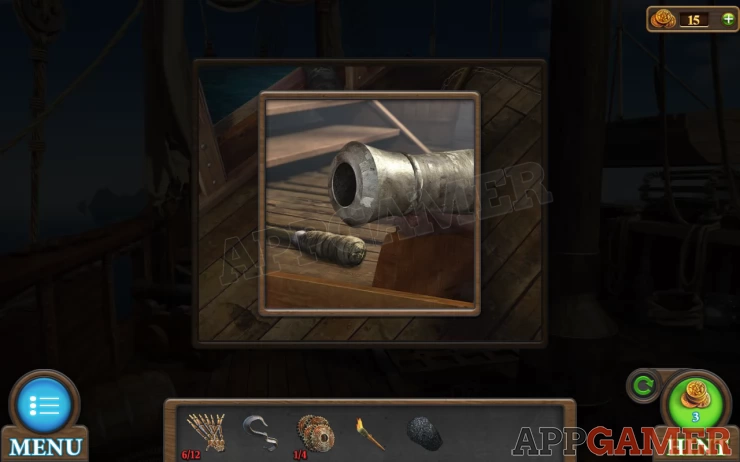
Add the gunpowder to the barrel and then tap the ramrod and the cannon to push in the gunpowder.
Next select the hook and add this to the chain by the side of the cannon to attach it. You can then use the Burning Torch to light the fuse and fire the cannon.
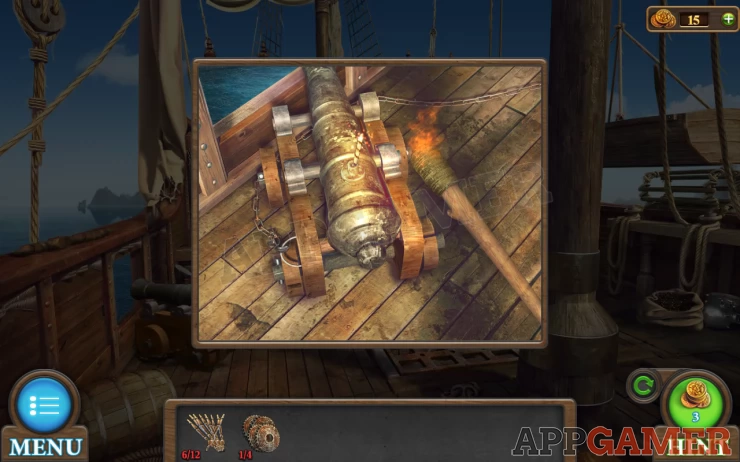
This will move the large chest and open the covers to the ships hold.
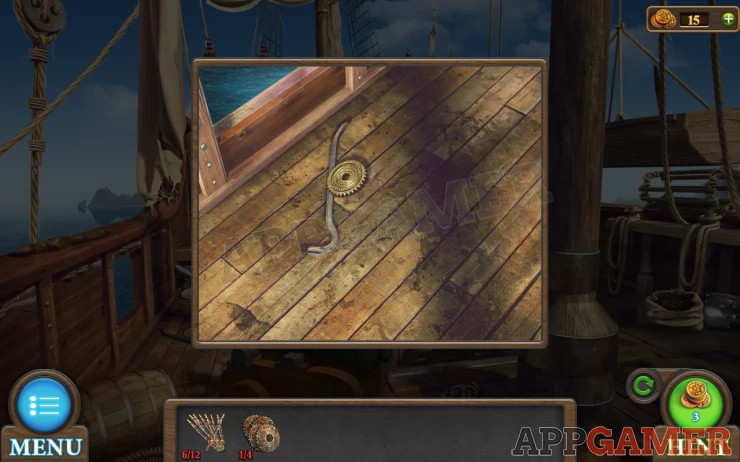
Before you go down look on the deck on he left where the cannon was and you can collect another Gears (2 of 4) and a Pry Bar.
Go down to the Hold.
Collect a Handles (7 of 12) from the far left side and then tap on the barrel on the left and collect from it another Handles (8 of 12) and a bowl of Nuts. Then also take the Chips (1 of 2) from the floor to the right.
Now collect an Oar from the right side of the steps.
Next view the wooden box on the right side. You can use the pry bar on this to open it.
Collect from inside a Wheel and a Detail. Also collect another Handles (9 of 12) from behind the box.
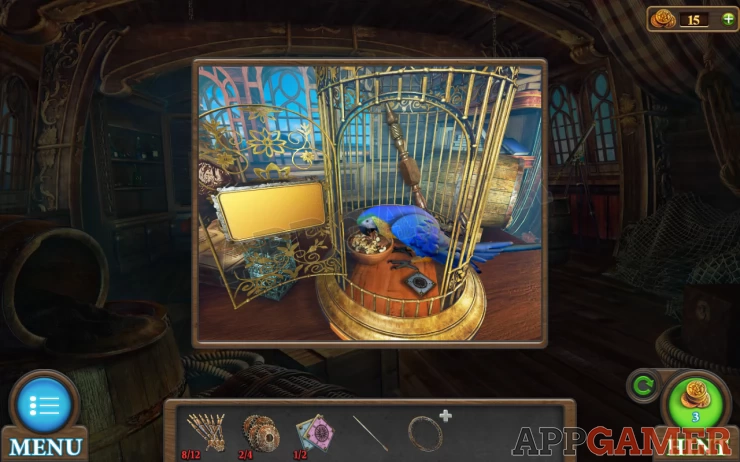
Go back up and enter the cabin again. View the Birdcage on the table then view the puzzle.
Birdcage Puzzle
- Add the detail to the right side to begin the puzzle.
- Each wheel has 8 halves of circles.
- Turn the wheels to line up matching pieces and join them together with the button in the center.
- When all 8 circles are complete the lock will open.
Inside is a Parrot. Add the nuts to the cage and the parrot will move so that you can collect another Chips (2 of 2). Also collect another Handles (10 of 12) from inside the cage.
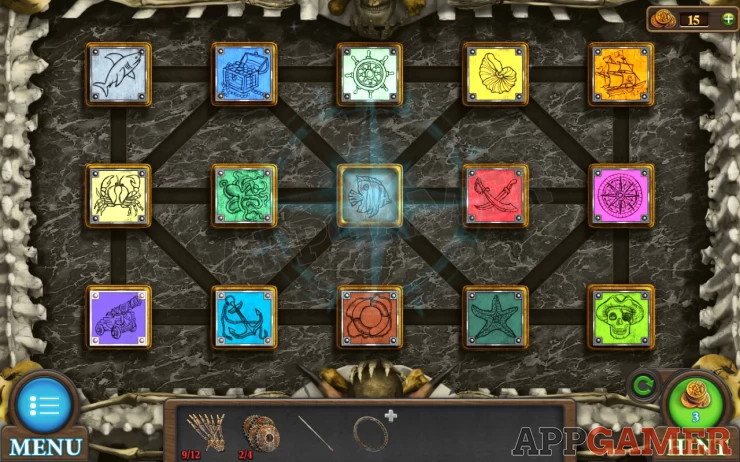
Go back out to the deck and view the large green chest again. There is panel on the front that needs the 2 chips to open.
Green Chest Puzzle
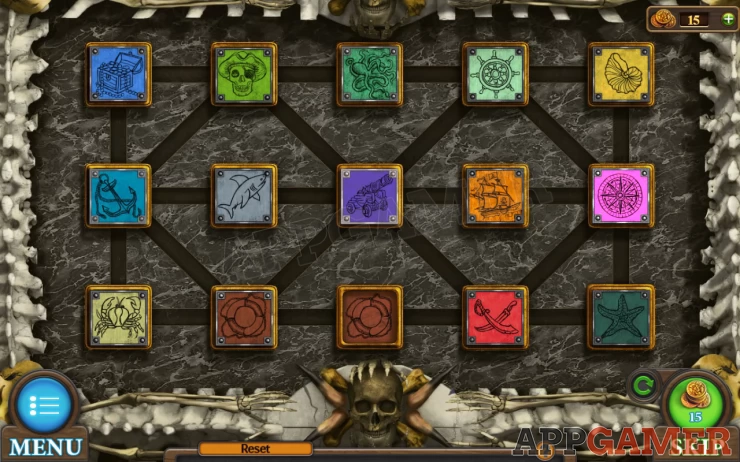
- This puzzle has 15 squares with symbols on them, and 14 blocks that can be slid around with matching symbols.
- You need to slide the blocks around to fit them on top of the correct matching symbol.
- The center square has no matching block to place on it.
Solution: Show
Collect a Detail and a Handles (11 of 12) from the chest.
Back on the deck collect another Handles (12 of 12) from the hand rail on the far left side of the ship.
Now you can view the Wheel in your inventory and add to it the center Detail. Followed by the 12 Handles to collect the Ships Wheel.
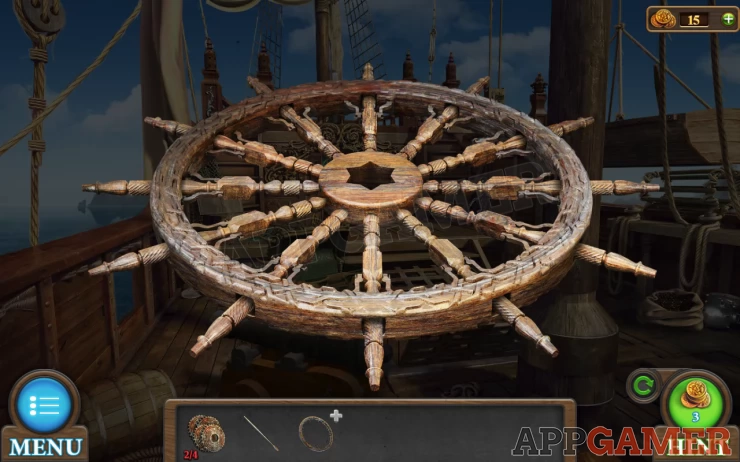
Go up to the top deck and place the wheel on the stand. This is a puzzle.
Ships Wheel Puzzle
- You can turn the wheel to the left or the right.
- You need to make the correct sequence of moves to solve the puzzle.
- Refer to a clue seen earlier to find the solution
Solution: Check the map on the table and use the arrows as the clue, starting from the lower left. Right, Right, Left, Left, Right, Left, Right, Right, Right, Left.Show
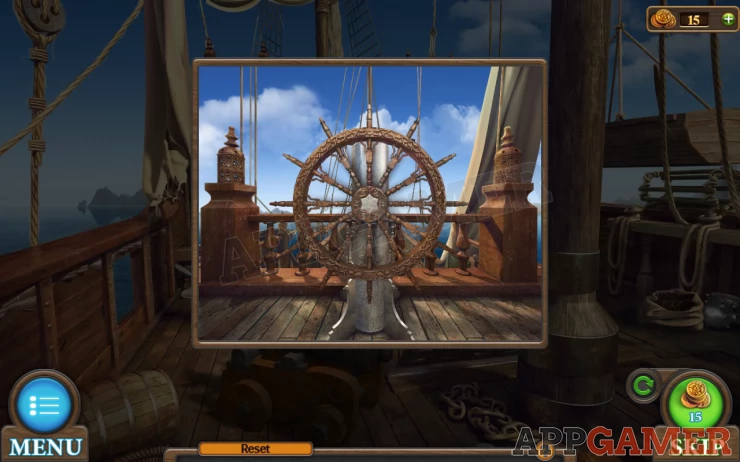
This will reveal a Color Drawing to collect and another Gears (3 of 4).
Go back down to the hold and now tap on the net hanging to the left of the steps. A chest will appear from under the shelf. View this.

Open the top of the lid and look inside for another puzzle.
Color Chest Puzzle
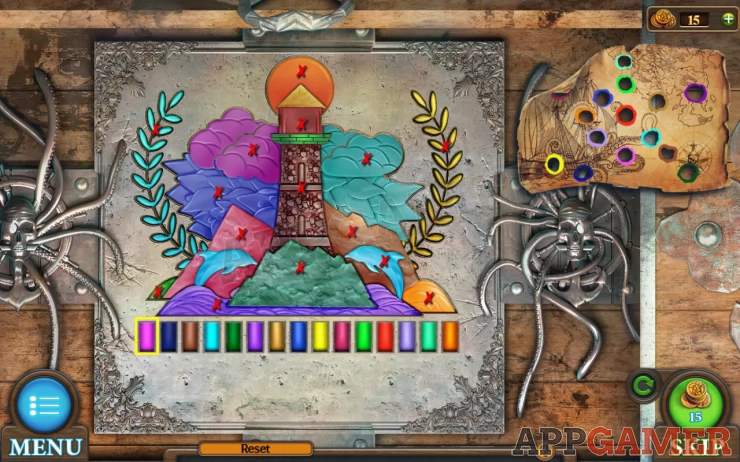
- Add the Color drawing to this to help you solve it.
- At the bottom is a sequence of colors. Look at the highlighted color and then tap the correct X on the drawing that the clue tells you that color should go with.
- e.g. the first is Pink and this belongs to the rock bottom center of the image.
- If you make a mistake it just starts the sequence again.
Collect the final Gears (4 of 4) from the opened chest. Then head back up to the deck.
On the right hand side is a lifeboat and to the left of is is a winch hanging. View this.
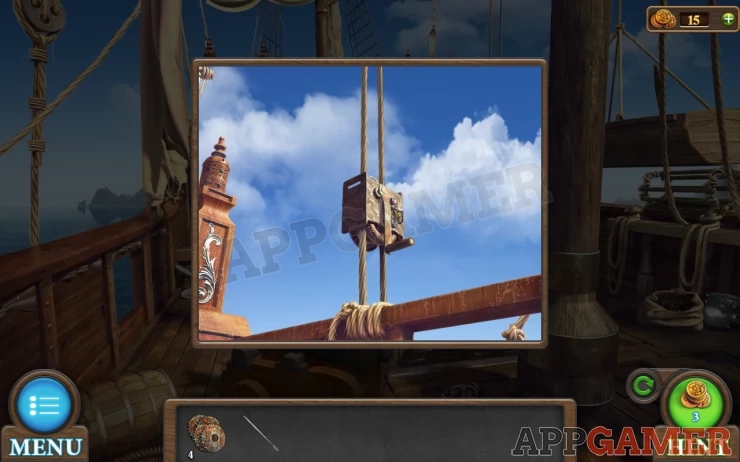
Tap the winch box again and you will find a puzzle.
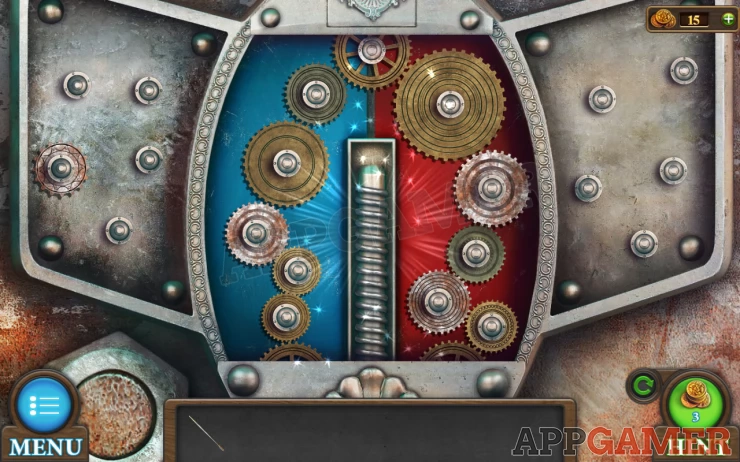
Winch Gear Puzzle
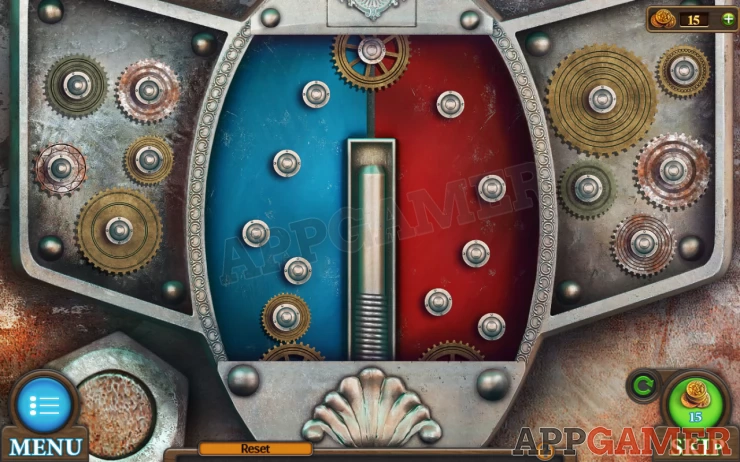
- Add the 4 gears to start the puzzle.
- Place the gears into the mechanism so that all of the spin and turn the 2 at the bottom.
- You don't need to use all of the gears.
Solution: Show
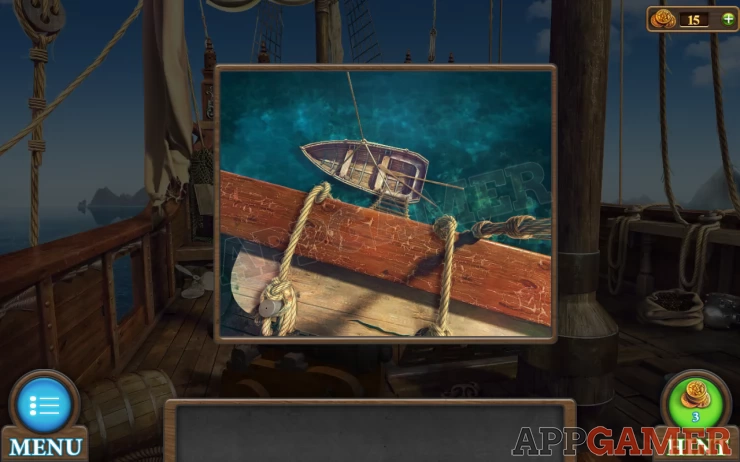
This will lower the Lifeboat into the water. Tap the right side of the ship to look over and then tap the rope ladder to lower it to the boat.
Then finally add the oar to the lifeboat so that you have 2 to row away with and escape.
This completes Level 17 - Ship. Move on now to Level 18 - Egyptian Pyramids
We have questions and answers related to this topic which may also help you: Show all