Tricky Doors Walkthrough Level 1- Magic World
More Tricky Doors
Magic World is the first level in Tricky Doors, an escape room adventure game from Five-BN Games. In each chapter of Tricky doors you will find yourself lost in mysterious locations, find the clues and solve the puzzles to escape. Use our Tricky Doors level 1 walkthrough to Magic World to get you through the first level.
We've covered to whole game, so be sure to bookmark our site and come back if you need help with more chapters in Tricky Doors.
Tricky Doors Walkthrough Level 1 - Magic World
You find yourself in the magical world of the book you are reading.
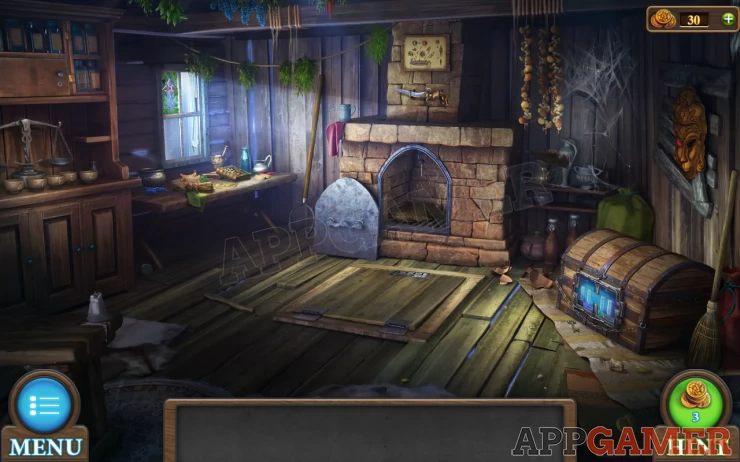
From the right of the screen collect a broom. Then tap the chest to view it and collect a 'key with balls' from in front of it.
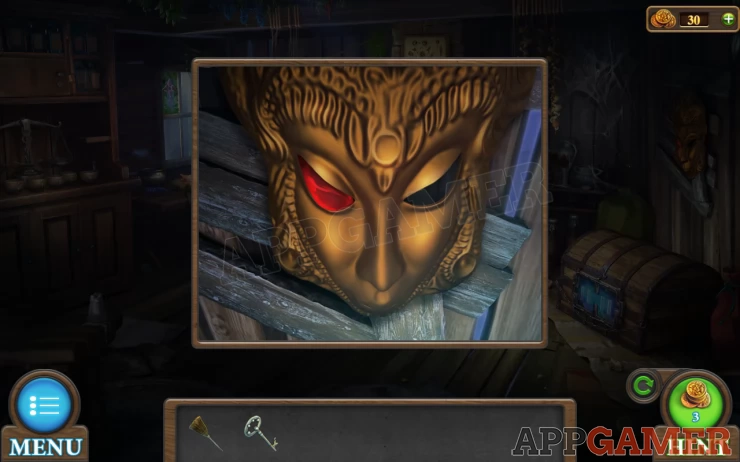
Above the chest on the wall is a hanging mask, view this and collect the red 'Ruby'.
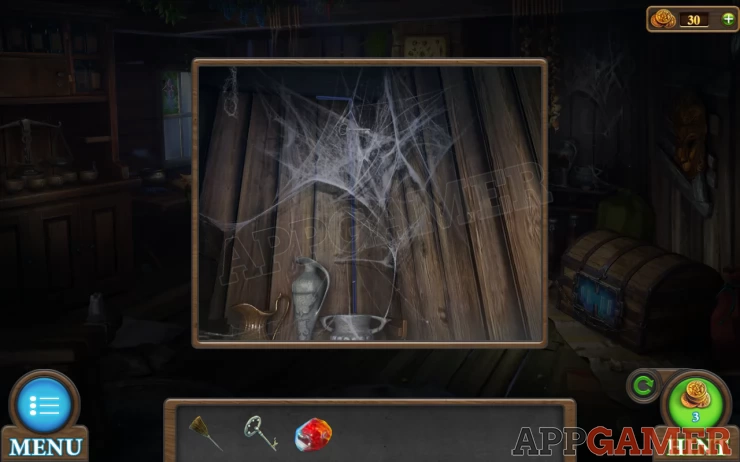
On the wall to the left of this is a cobweb. view this.
Level 1 Walkthough - Collect 4 Keys
Use the broom to clean it and collect a 'Simple key'.
View the chimney above the fireplace to see a diagram with a clue and a ritual knife. collect the knife and the potion recipe.
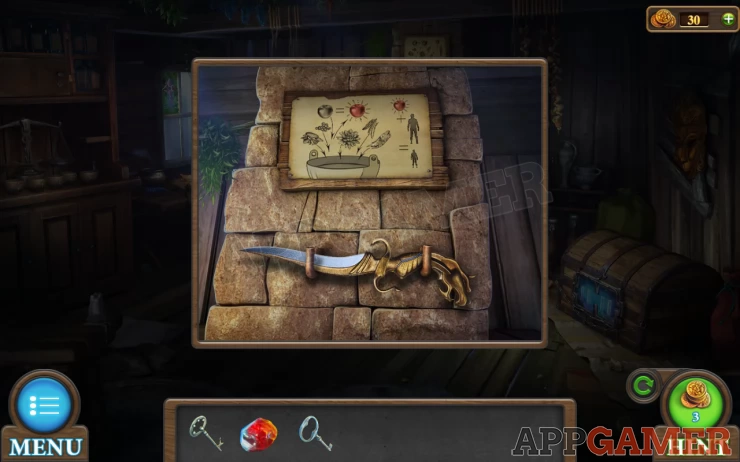
Now tap to look inside the fireplace and collect a 'Figured key'
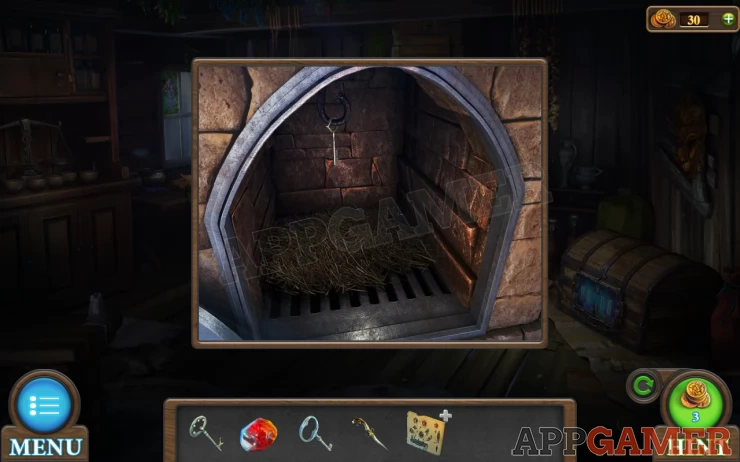
Use the knife to cut and collect the rope hanging to the left of the chimney.
Next view the table under the window on the left.
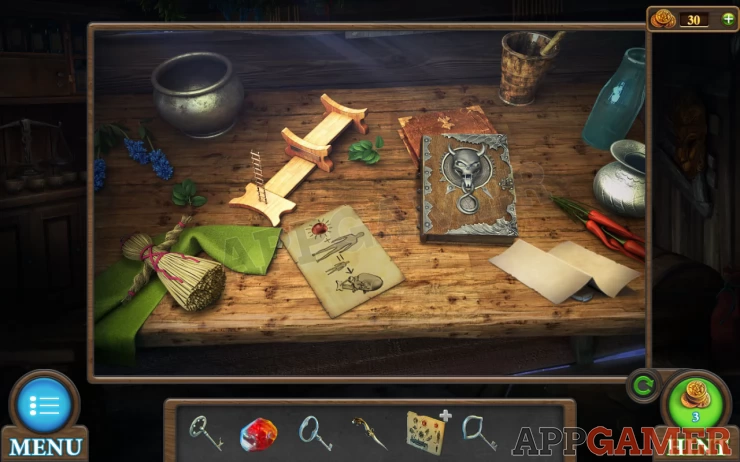
Collect the straw 'doll'. And also the 'Key with monograms'.
Then view the 2 papers for clues.
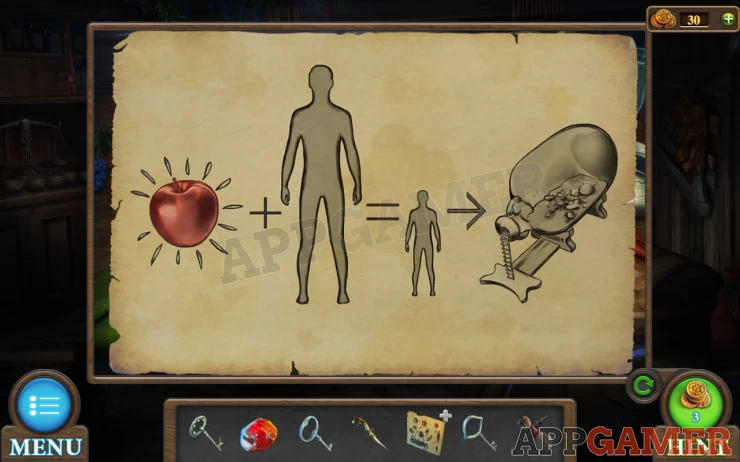
Finally from the floor on the lower left collect a 'Candle' and a wooden 'Handle'.
Now tap to view the trap door in the center, notice there are 4 keyholes.
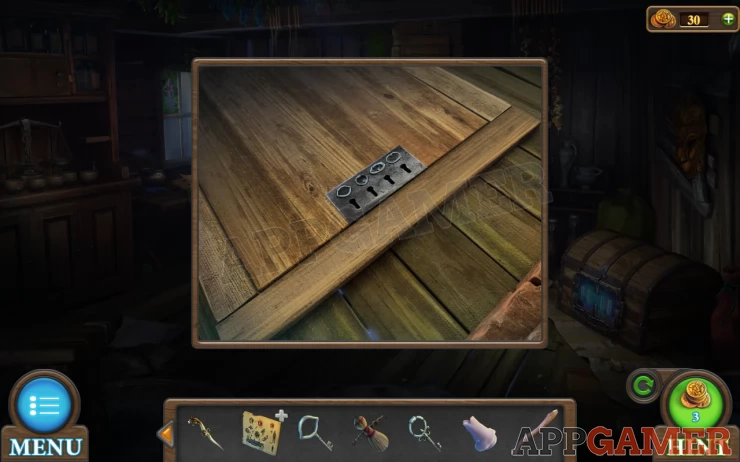
Use the 4 keys that you have collected to unlock and open it.
Exit to the ground.
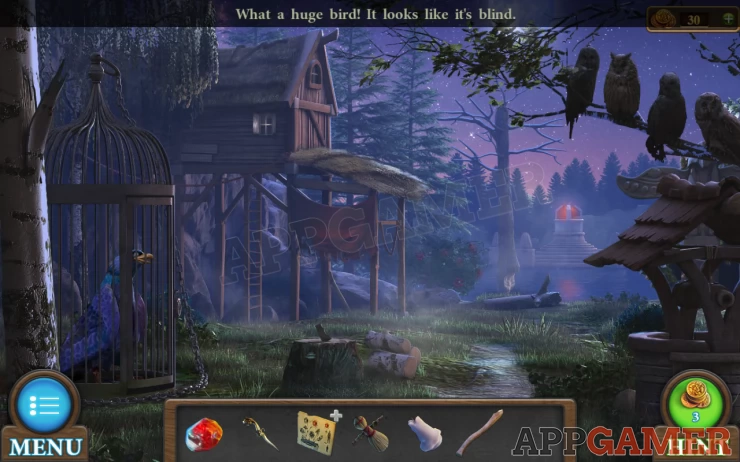
Level 1 Walkthrough - Craft and Use axe
First, use the ritual knife on the lose bark on the tree on the far left. Collect Birch Bark.
Next Tap to view the tree stump in the center. Collect the axe blade and also some feathers from the ground to the upper left.
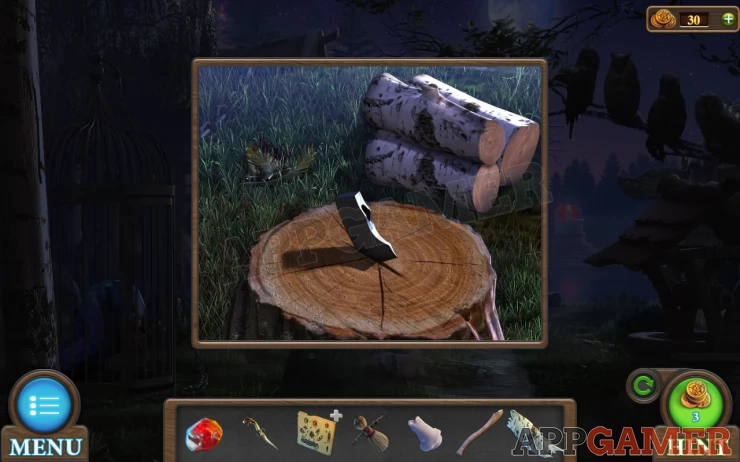
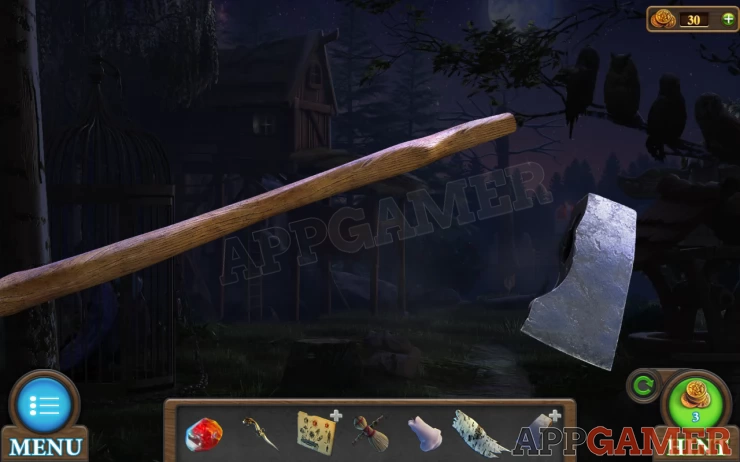
Now view the Axe blade, then with it on the screen also tap the handle to view it as well. Then select the ritual knife and tap the handle to use the knife to shape the handle and make an Axe.
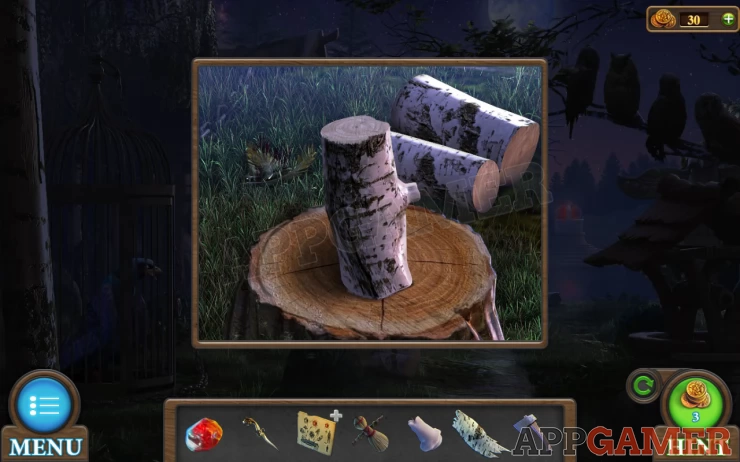
View the tree stump again and place one of the logs on the stump and use the axe on it. They will be cut and you will collect firewood.
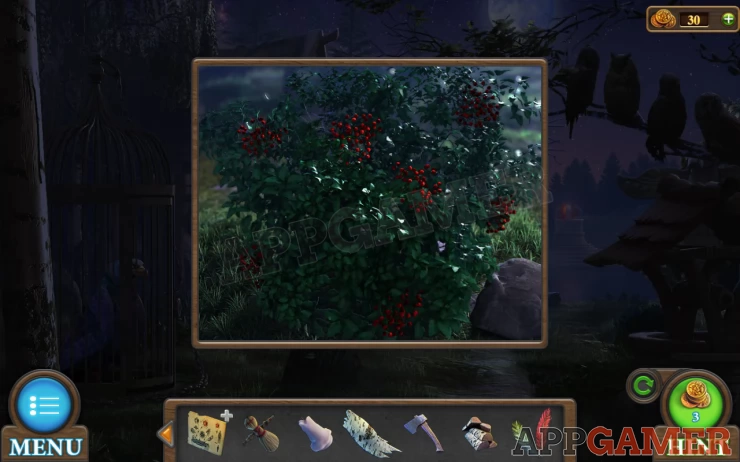
Directly ahead is a bush with fireflies moving around it. View this.
Collect some berries from it.
Top right of the scene is a branch with 4 owls on it. Tap each of these to see the eyes glow, this is a clue.
Show
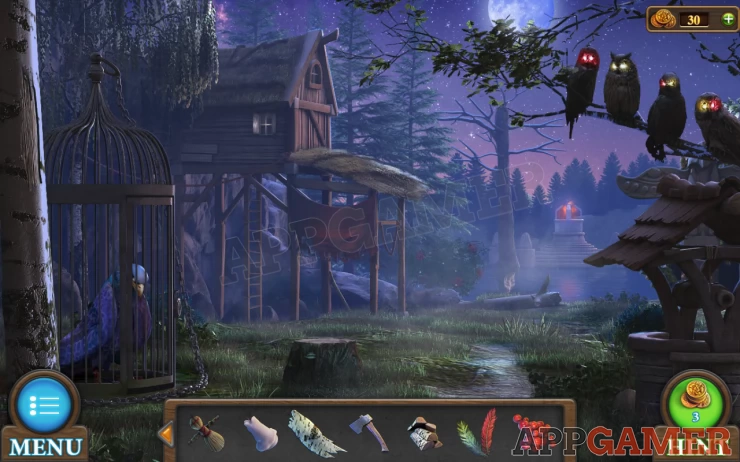
In the distance on the right is a monument with a red fire on top. tap to view this second area with water
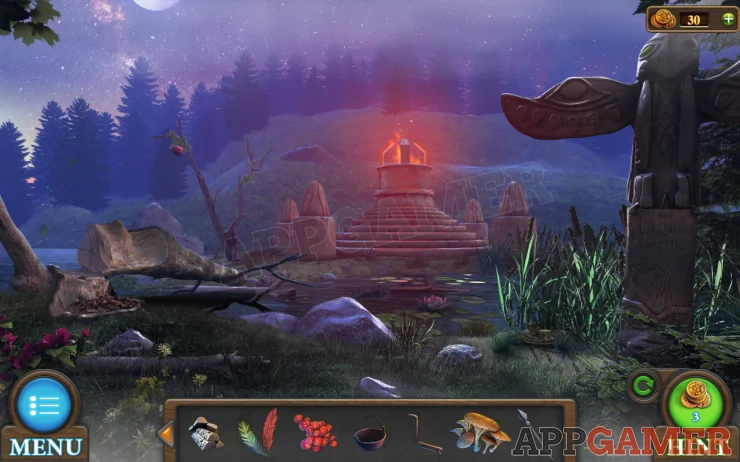
From the ground to the left collect an Empty Cauldron. Then by the rock in the center collect a handle.
On the right is a totem statue. Use the ritual knife on the base of this to collect Mushrooms.
Then from the body of the totem collect an arrow that is sticking out of the left side.
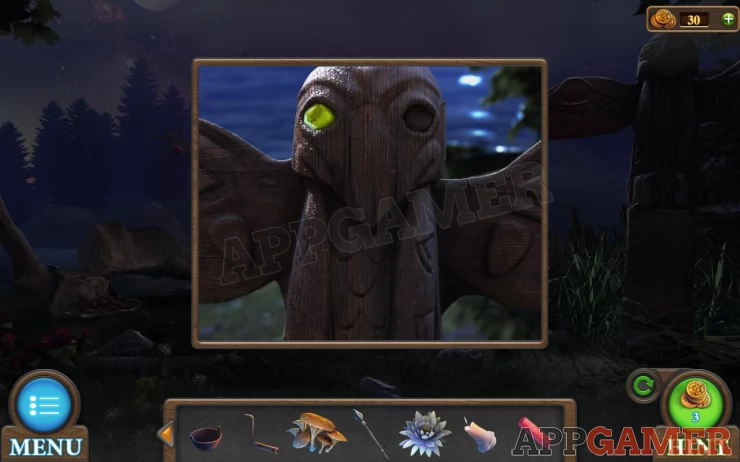
Next view the head of the totem statue.
Level 1 Walkthrough - Complete the eye puzzle
Add the ruby to the empty right eye. This is then a puzzle.
Hint: the red and green eyes are similar to the glowing eyes of the owls.
Solution: Tap the eyes here in the same order as the eyes on the owls (left to right).Show
Code: Red, Red, Green, Green, Red, Green, Green, RedShow
Collect a crystal
Now use the Axe on the tree on the far left to cut it down to make a bridge.
Tap to view the lily in the water just to the right of the large rock.
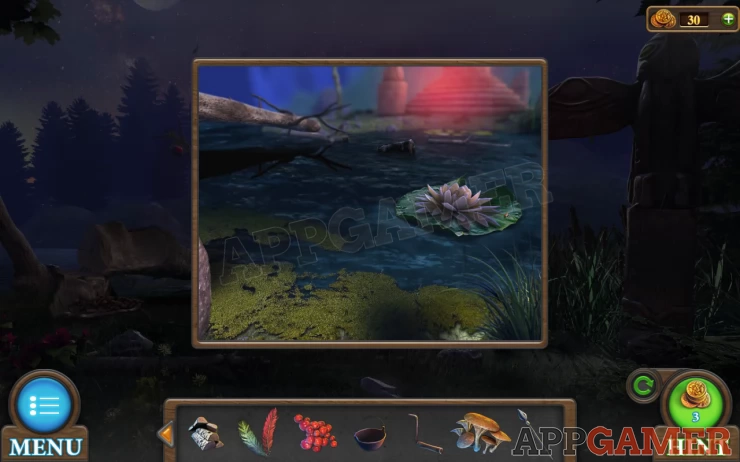
Use the knife to collect this.
You can now tap the fire on the other side of the water to cross over and view it.
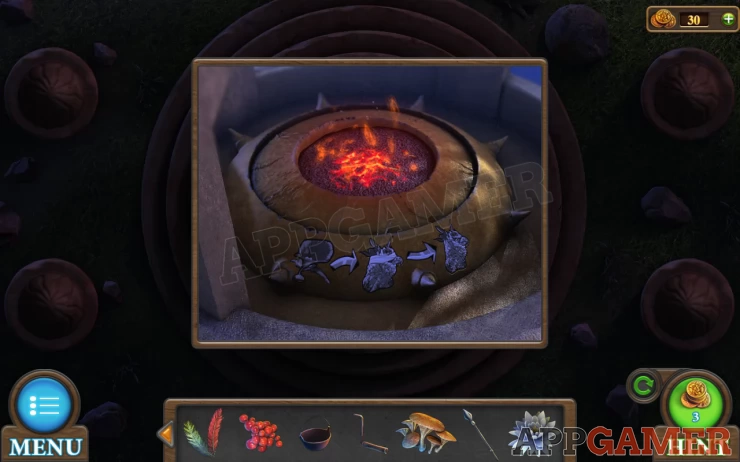
Use the candle on the fire to light it. Then also use the doll on the fire to get a smoking doll.
Note the drawing on the side of the fire pit.
Back up over the bridge to the area with the totem. On the ground just to the left of the totem is a snake, view this.
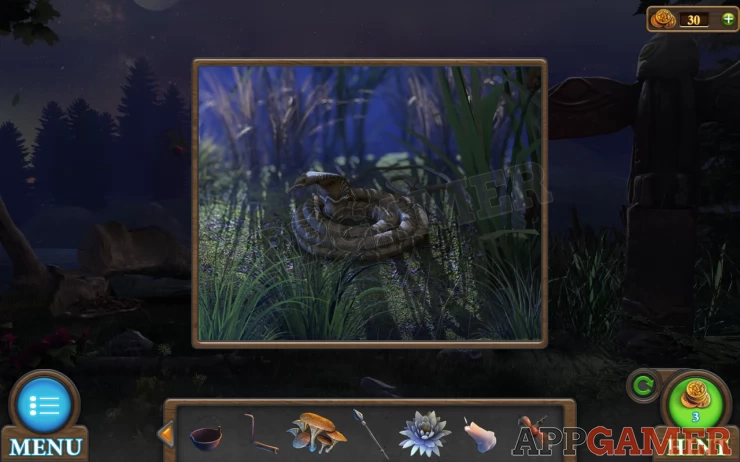
Use the smoking doll to clear away the snake. You can then collect a red gem.
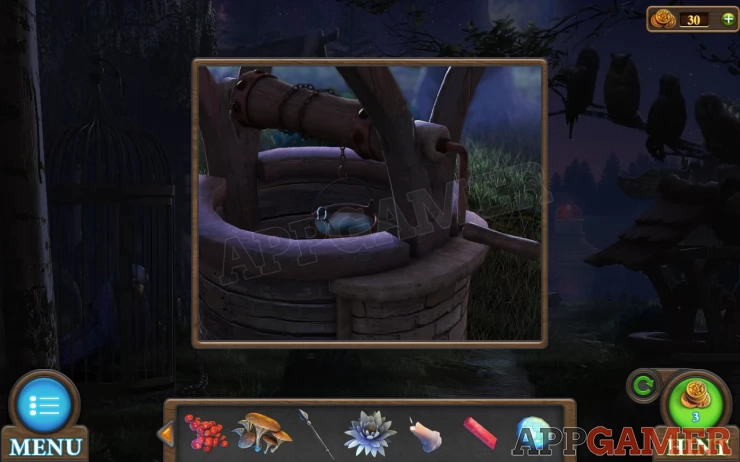
Back up again to the area with the owls. Tap to view the well on the far right.
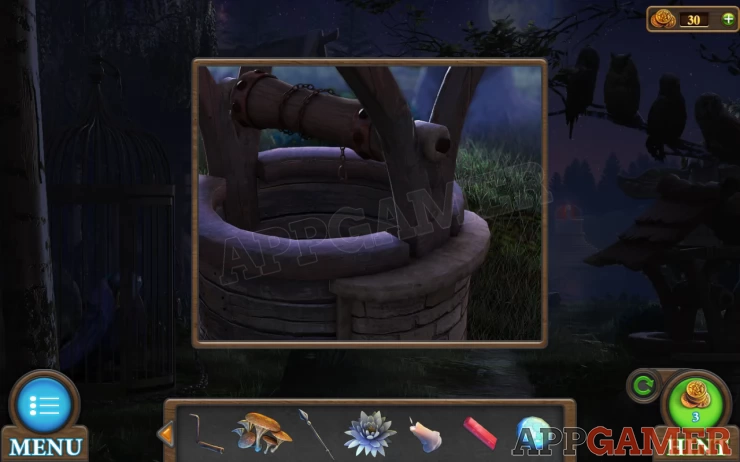
Add the handle to the side and then add the empty cauldron to the chain.
Tap the handle to lower it and you can then collect a key and a Cauldron of water.
Now return to the inside room. Tap to view the chest on the right again and tap the glowing lock to view a puzzle.
Add the red Gem to this, you then need to solve it by moving the red and green gems to the correct slots on the right and left.
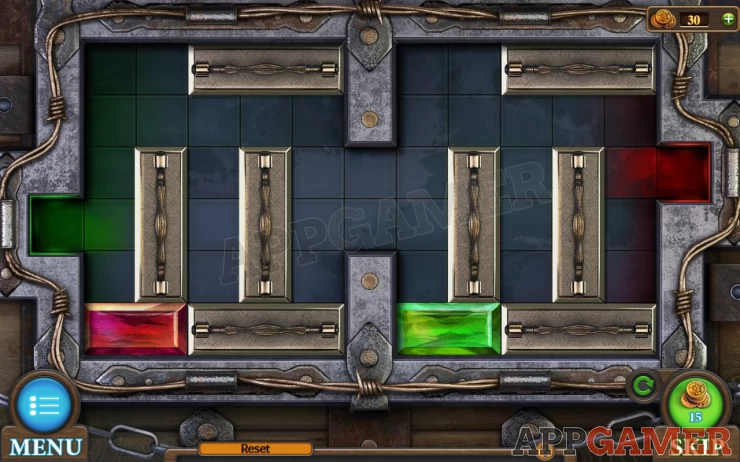
The chest opens and you can collect a Stick and a Net.
View the stick from your inventory (with the +). Then add to it the rope, it will make a bow.
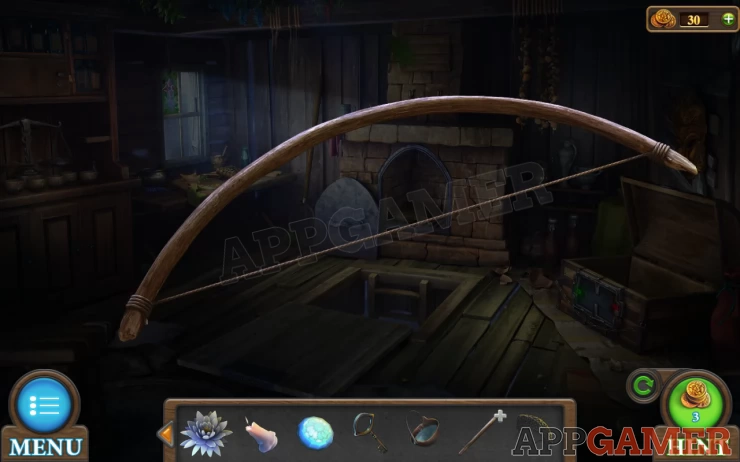
Next add the Arrow, and the feathers. This collect a 'Bow'.
Exit the house again and move forward to the water.
Tap to view the water and then use the net to collect a chest.
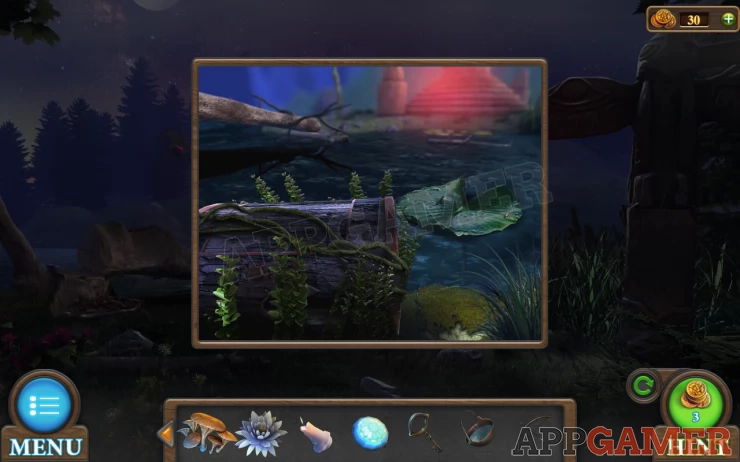
Use the knife on this to cut and collect some seaweed. Then use the key to open it.
Collect a bottle.
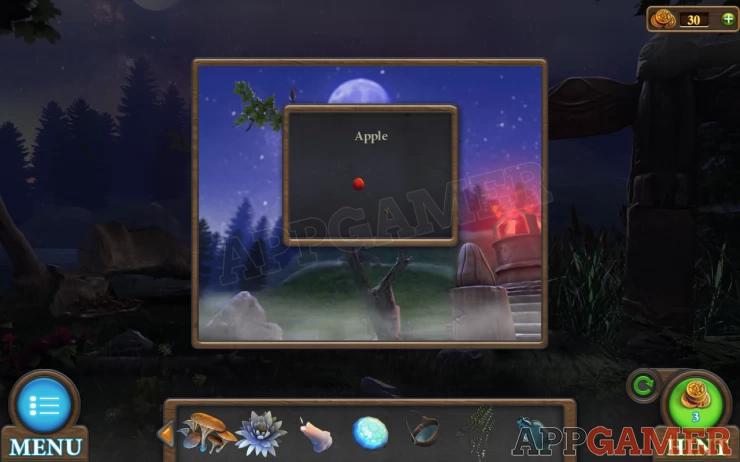
Next use the bow on the apple hanging from the tree to collect it.
Back inside the house
Now you need to go back inside the house.
Open the potion recipe paper in your inventory.
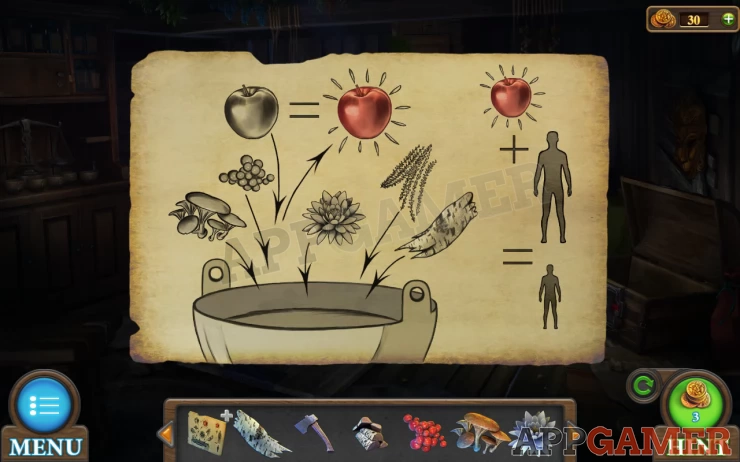
Add to the paper the mushrooms, berries, Lily, Seaweed, and bark. This then collects an item called Ingredients.
View the fire place. Add the fire wood and then light it with the candle.
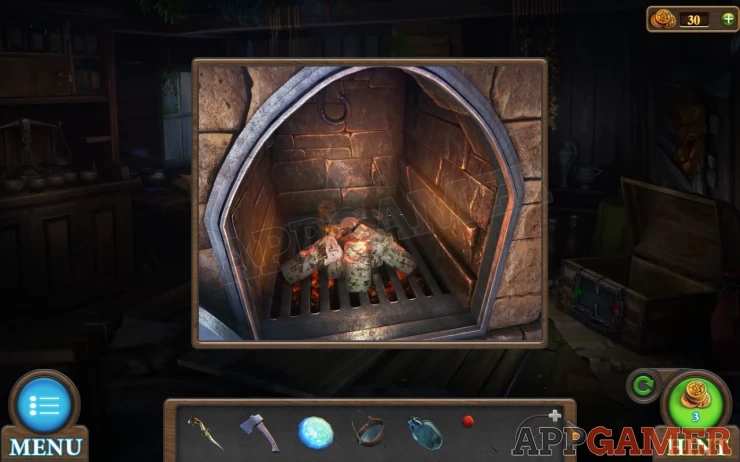
Place the cauldron to heat the water.
Then add the Ingredients, and finally add the apple in the arrow. You will then get a magic apple.
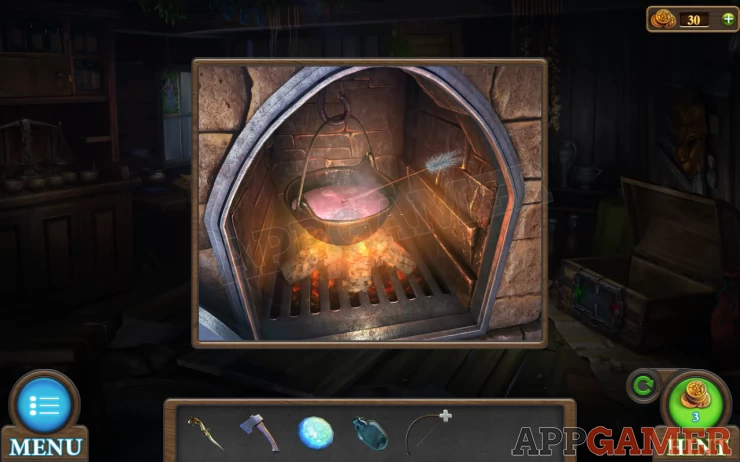
Select the Bow in your inventory and use the knife to cut and collect the rope.
Next tap to view the stained glass section of the window on the left.
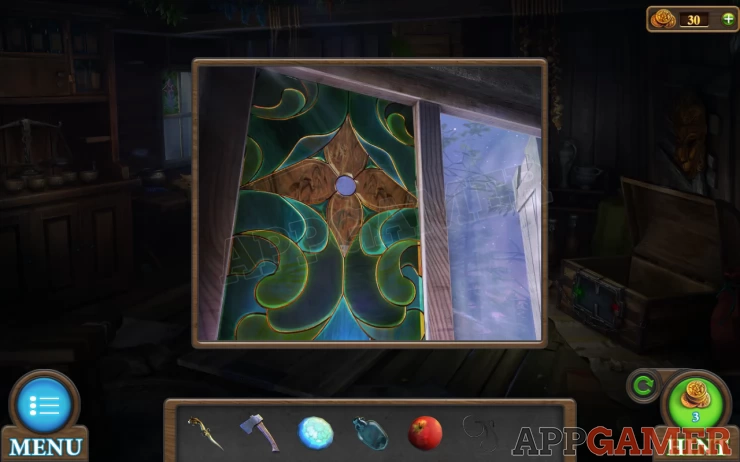
Add the crystal to the center. Then view the table below the window.
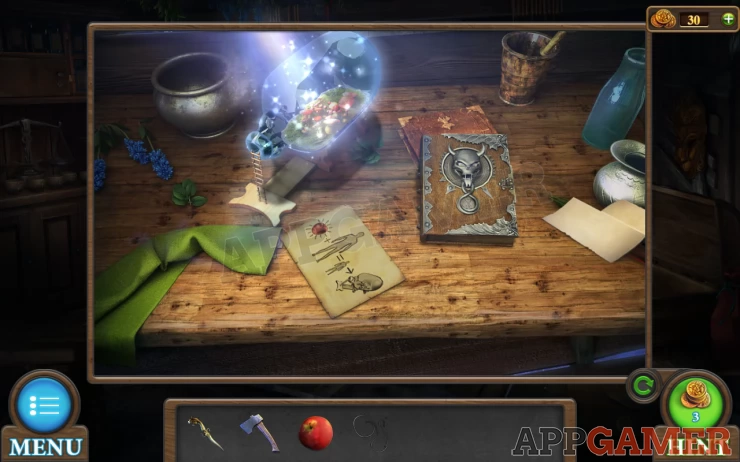
Add the bottle to the stand with the tiny ladder.
Entering the Bottle World
Now use the magic apple on the bottle. You will shrink and enter the bottle world.
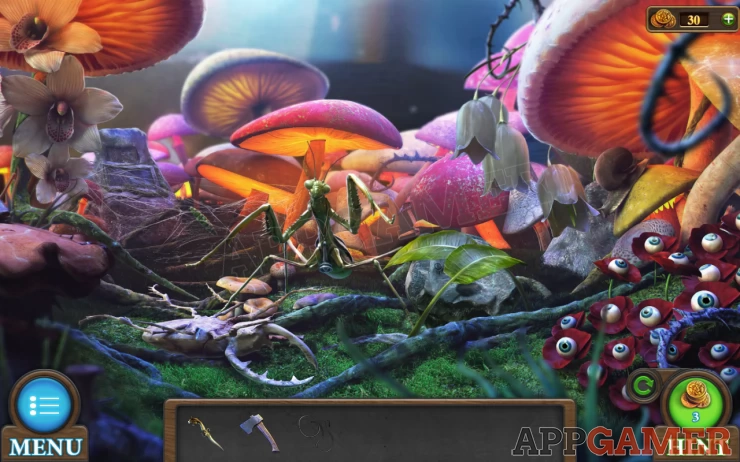
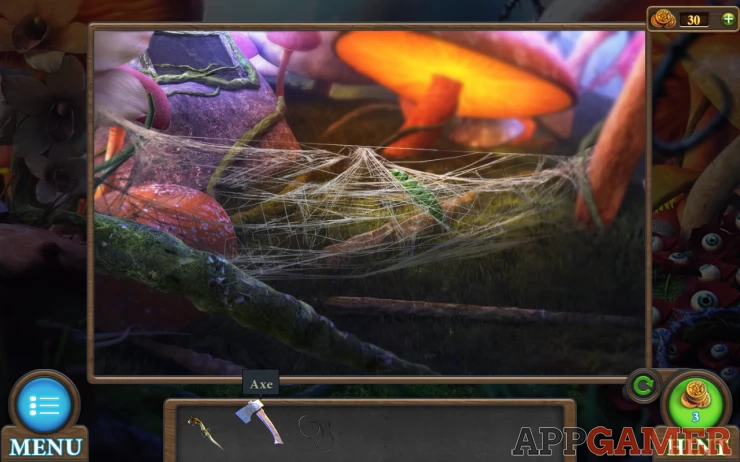
Use the axe on the cobweb on the left side, this will detach the head and you will have just the handle.
Next view the dead beetle on the ground to the left and tap the jagged pincer to break it off.
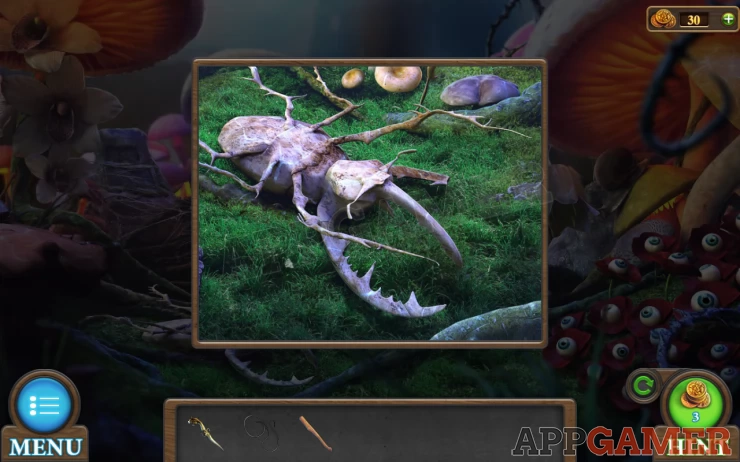
Then add the handle to the ground next to it and finally use the rope to attach it.
You will collect a sharp tool.
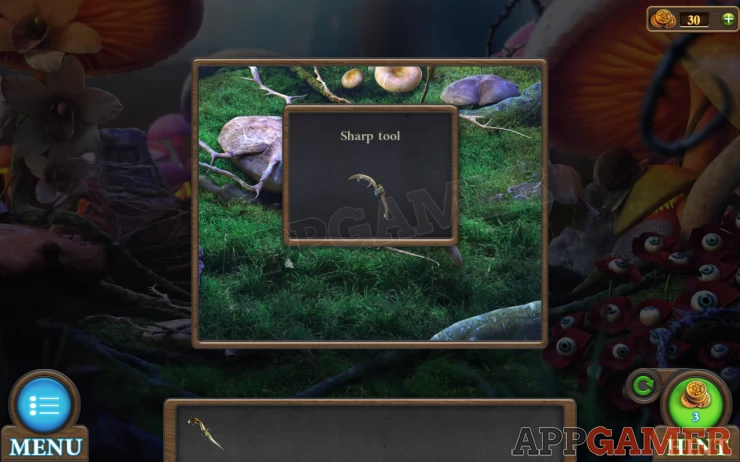
Now go back and view the cobweb again. Use the sharp tool to cut it away and you can then collect a 'Nymph' that drops.
Next tap the top left of the nymph scene to find a rock with 2 panels.
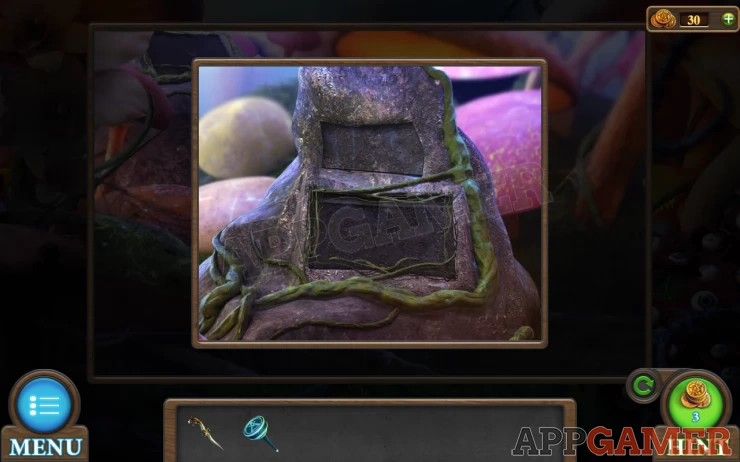
Complete the Bug Puzzzle
Tap to open the lower panel to start a puzzle.
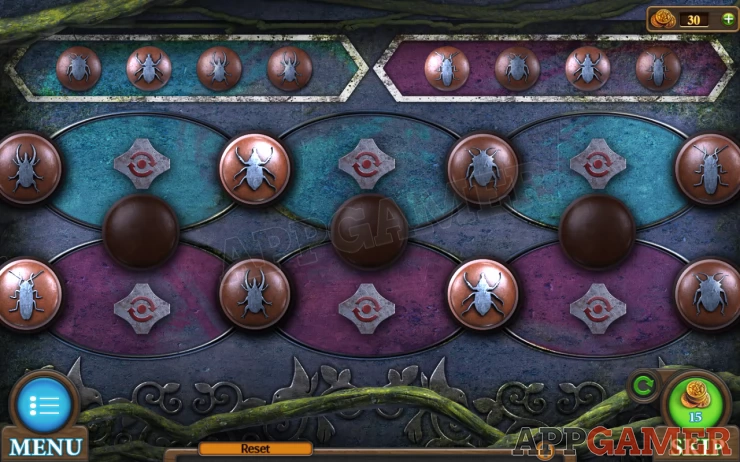
Solve this by using the buttons to move the bug shapes to the correct locations. Follow the order shown above 4 blue and 4 purple.
Solution: Show
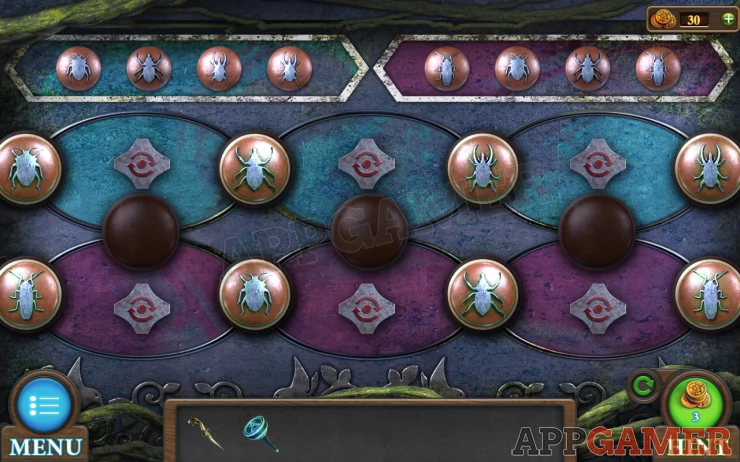
You can then collect a golden spatula and view a paper with a clue.
Now give the Nymph to the mantis in the center It will leave and you will receive a Stamp.
Next tap the eyes on the right to view them.
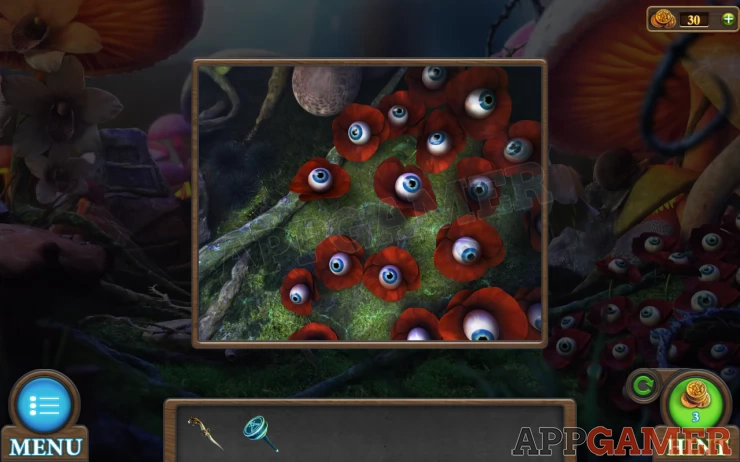
If you tap a flower it will wither, so use the golden spatula to dig and then collect a bulb.
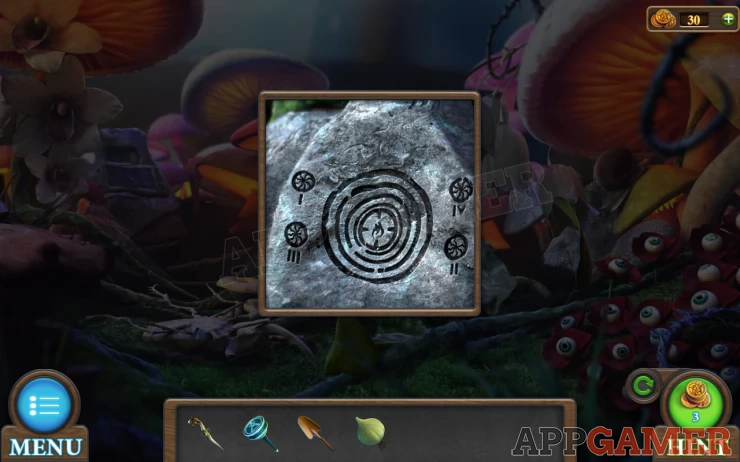
Finally tap to view a stone just to the left of the eyes. It has a green leaf covering it. Note the pattern it is a clue.
Show
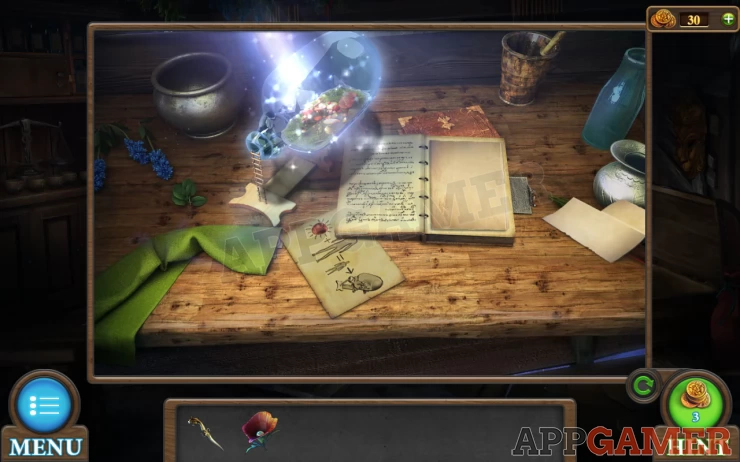
Now back out to the house. Viewing the table under the window.
Use the stamp on the book on the table and it will open.
Collect an ink recipe. An amulet and a key.
Next exit to the ground. Move to the water and tap the monument with the red fire to view it from above.
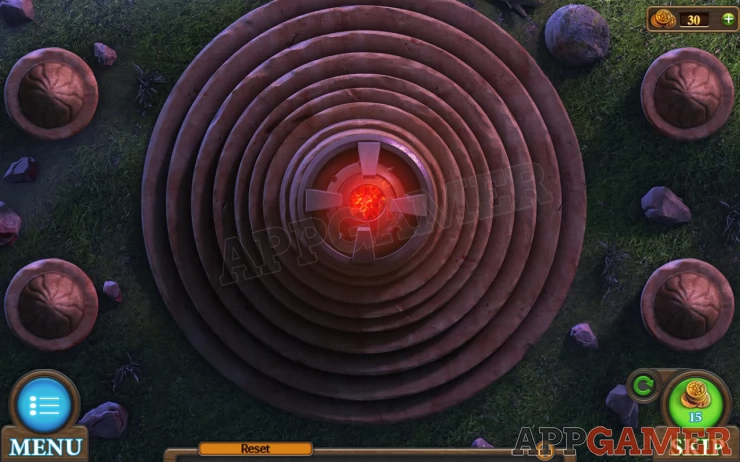
How to complete the 4 Pillars Puzzle in Tricky Doors Level 1 - Magic World
Note that the circles and the 4 pillars around resemble a clue above.
Follow the clue and tap the 4 pillars in the order shown
Solution: Top left, bottom right, bottom left, top right.Show
The fire will go out.
View the fire pit again and use the spatula to dig a hole in the ash.
Then add the bulb to it. A flower will grow.
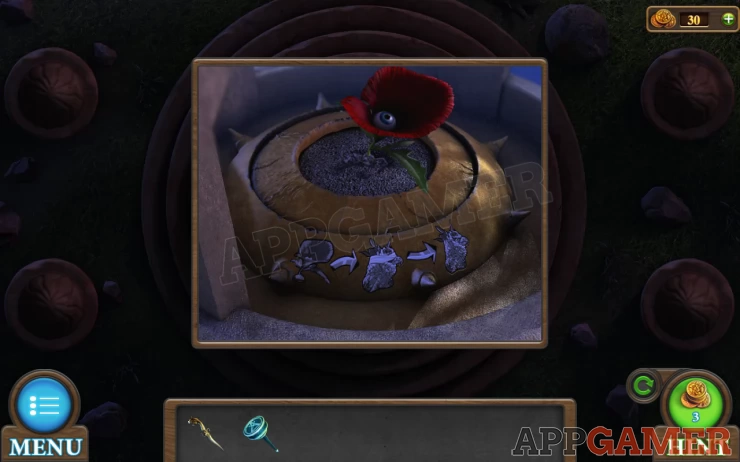
Collect the flower of insight.
Back up the area with the bird in the cage. View this.
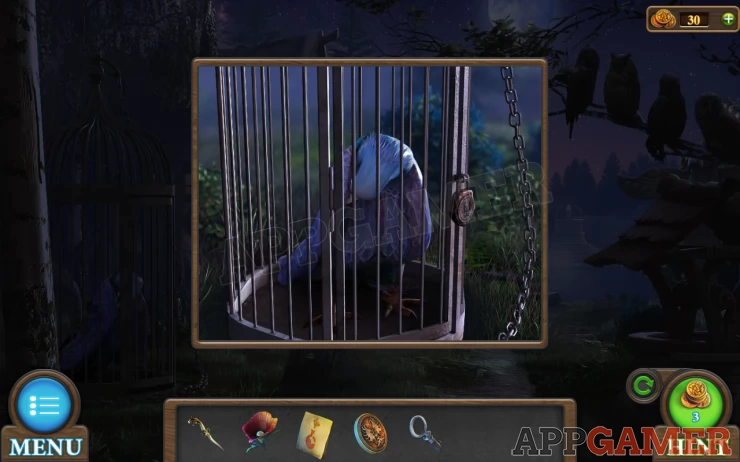
Use the amulet on the lock to open it. Then give the flower of insight to the bird. It will eat and fly away.
View the cage and collect the blind bird's feather.
Return to the house.
First tap the top left corner to view a locked cabinet above some scales.
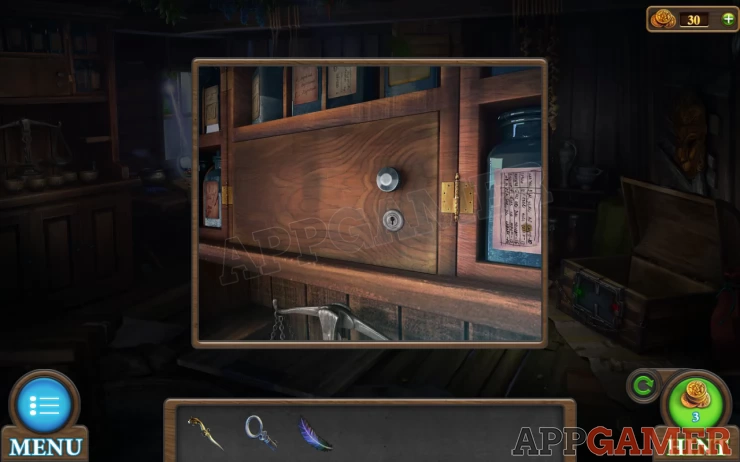
Use the key to open this, then collect 3 jars.
Next return to the desk and tap to enter the miniature bottle world again.
There are 3 flowers on the far left. Tap the middle one to view it.
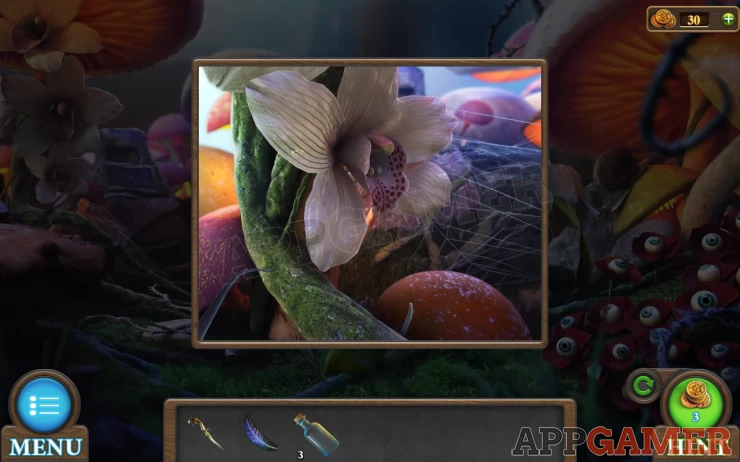
Use the jars on this and you will collect some Dew.
Next view the root just below this where the Nymph was collected.
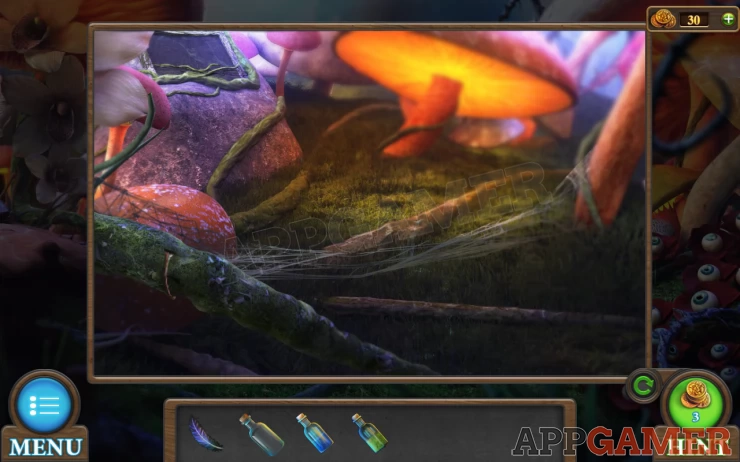
Use the knife to cut the root. Then use the jars to collect Orchid Juice.
Next view the bell flowers towards the right.
Use the jars to collect some pollen.
Exit the bottle and now tap the far left to view the scales and numbers pots.
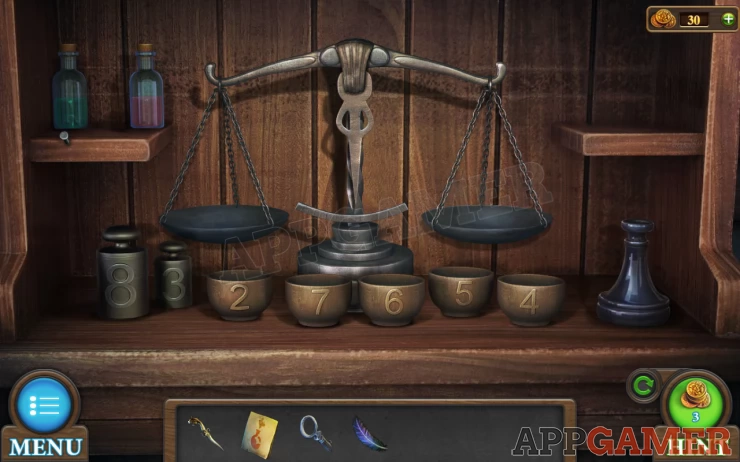
Select the ink recipe and view it. This is the instructions. Tap again and it will be added to the nail on the left.
Then place the 3 jars on the shelves. There are now 5 colored jars in total.
Completing the jar puzzle
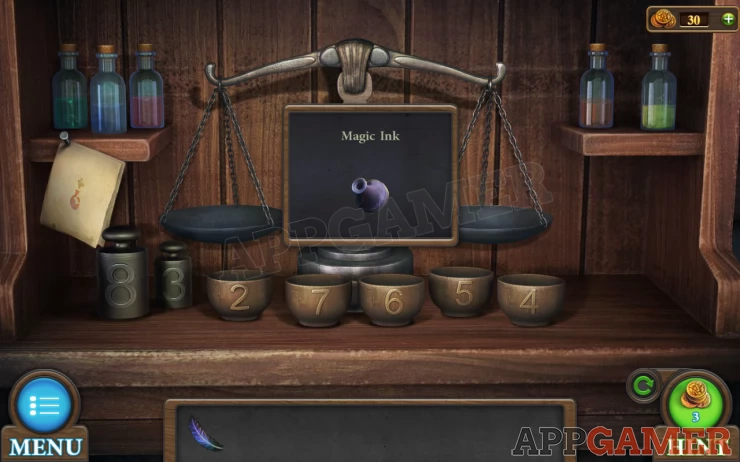
You can now solve this puzzle by following the ink recipe instructions.
You need to add the correct color bottle to the correct number pot. Green (2), Pink (7), Blue (6), Orange (5), and Light Green (4). But you can only add the ingredient to a put when it is on the scales and it will balance out the scale.
Solution: Show
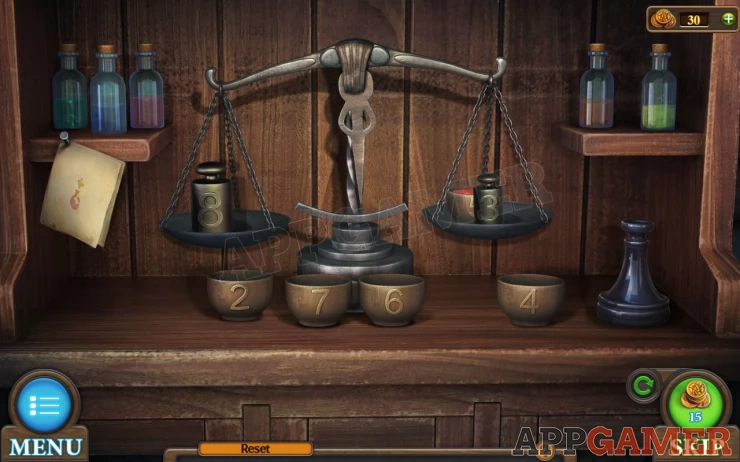
You now have all pots filled and they will automatically empty into the bottle on the right.
Collect the magic ink.
View the desk again and the open book. Use the ink bottle on the book to place it then use the feather on the ink and it will begin to write.
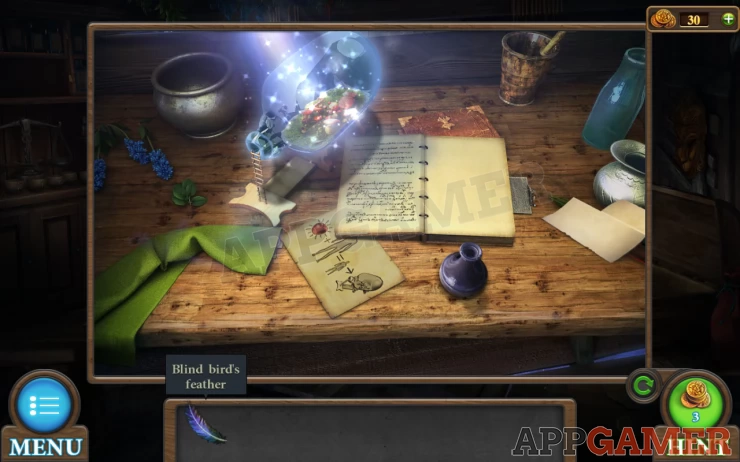
When the book glows you can tap it to return to reality and complete episode 1 of Tricky doors.
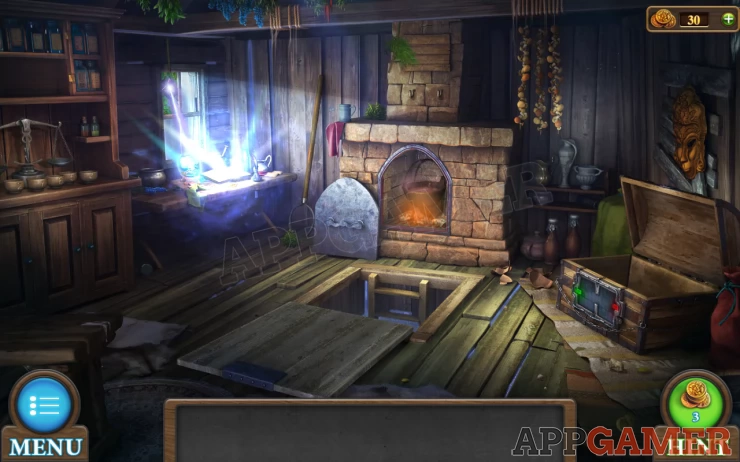
This wraps up our Tricky Doors Level 1 walkthrough, Magic World. If you are stuck on anything in particular, please drop us a comment below for other readers of AppGamer to try to help with. Alternatively, visit our questions and answers page to see if your question has already been answers, post your own, or try to answer any unanswered Tricky Doors questions.
You can now move on to our Level 2 walkthrough - Secluded Island.
We have questions and answers related to this topic which may also help you: Show all