Level 4 - Passage
Spotlight X: Room Escape Guide
This is a walkthrough for Level 4 of Spotlight X Room escape. After getting past the darkened corridor in Level 3 you find yourself back in a different passageway but with the lights on.
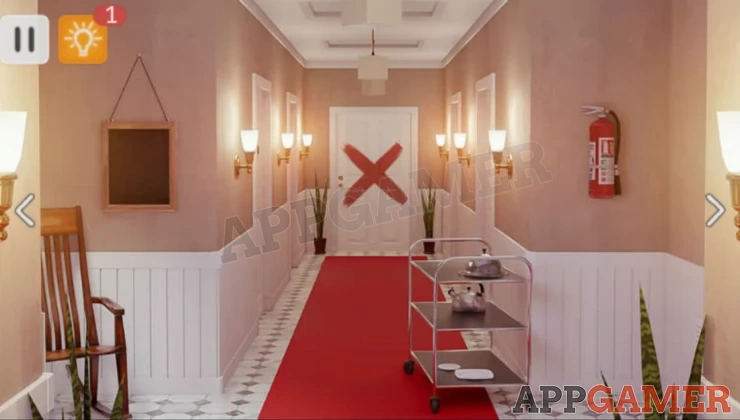
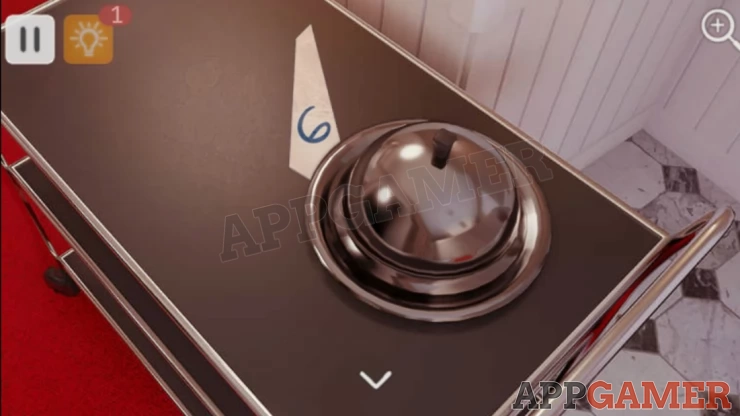
Tap on the hostess trolley in front of you. Tap to collect the shard of glass from the top (has a number 6 on it). Tap the dome cover to lift it and find a piece of chalk to collect.
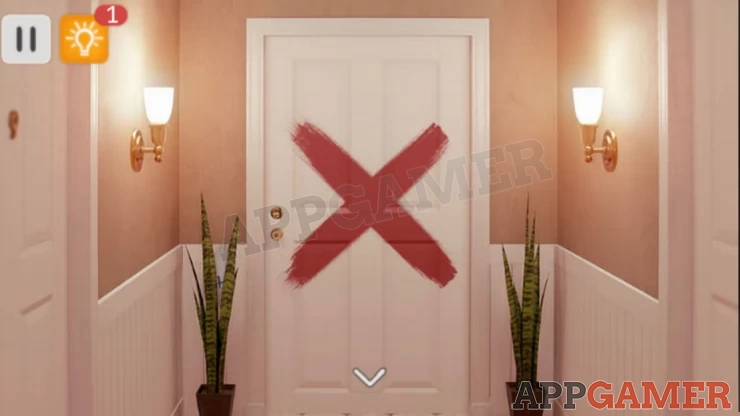
Tap the door at the end of the corridor with the red X to move towards it. Now tap the plant on the left to collect another shard of glass from it, this one has a 4.
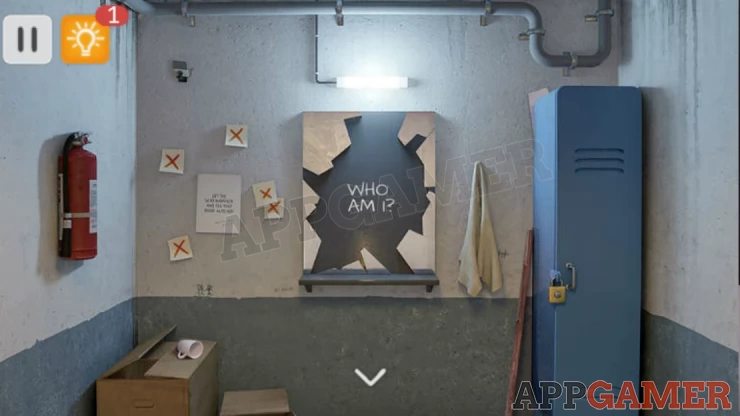
Back up and look to the left view of the passageway.
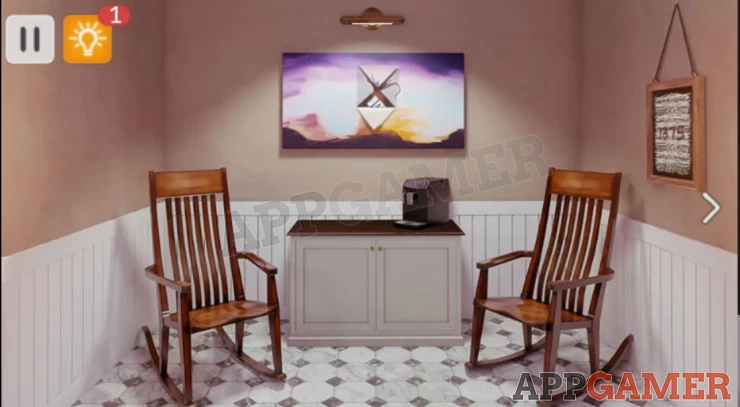
Tap on the black chalk board hanging to the right to view it. Then use the chalk on it to reveal a number.
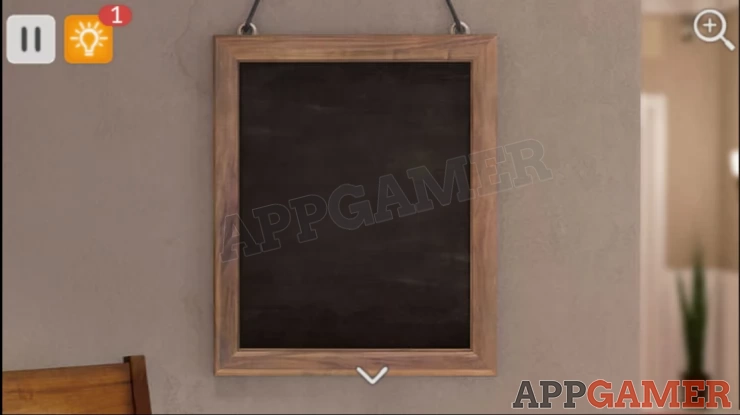
1375Show
Back up up and tap on the wall to the right of the picture to collect a paper with a clue on it.
Above the name are 4 roman numerals II IV I III = 2 4 1 3Show
Next tap on the white unit below the picture then tap on the right door to open it. Collect a shard of glass from the lower shelf.
Tap on the Safe on the top shelf to view the code entry and a clue. The clue shows 2 arrows and then -2 +5 -3 +6.
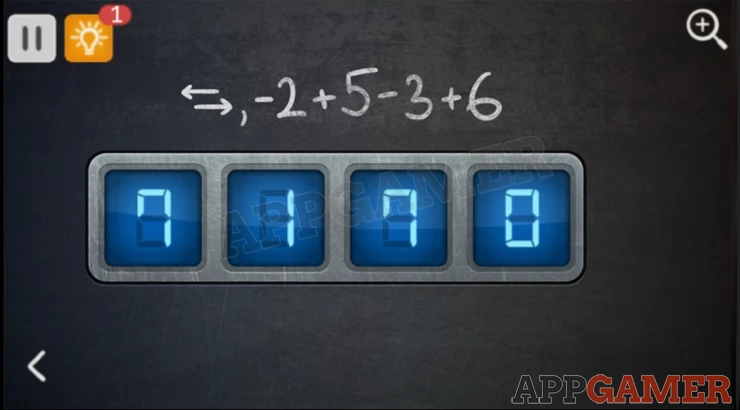
Combine the clues above to get the combination for the safe.
Solution: We start with the number found on the chalk board. 1375. The clue on the safe tells you to first rearrange the numbers. The paper gives us the order (2413 means use the third number first, then the first number etc.) This gives us the code of 7153 We now apply the second part of the clue: change each number by the amounts -2, +5, -3 + 6 7-2=5 | 1+5=6 | 5-3=2 | 3+6=9Show
Code: 5629Show
The safe will open and you can collect a knife.
Back up any now use the knife on the picture above the unit. You can now collect a key card hidden inside.
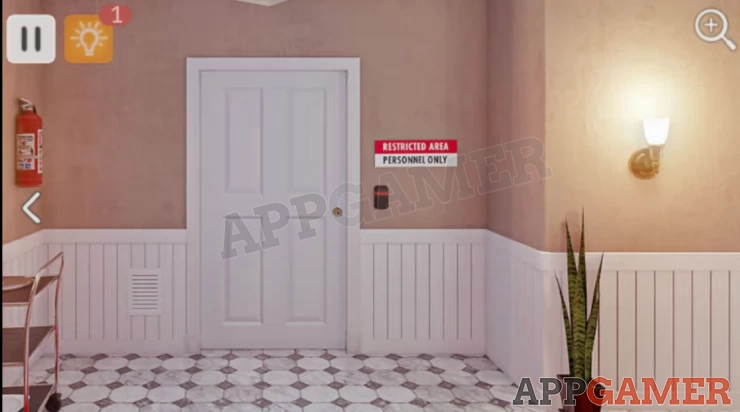
Back up to the start and now tap to the right to view the locked door 'Restricted Area'. Use the key card on the door to open it and go in.
Inside the locker room there is a broken mirror on the wall.
First tap just behind the blue locker on the right to collect another shard of glass. Then use all 4 shards of glass on the mirror to place them and reveal a 4 digit code. 2064Show
Now tap on the padlock on the locker. Spin the dial to enter the combination above. It will open and you can collect a screwdriver from the top shelf.
Tap the wall to the left of the mirror to view a clue.
Tap to collect a coffee cup from the boxes on the left.
Tap to collect a mop to the left of the blue locker.
Star Secret: Use the mop and tap the surveillance camera on the wall to the upper left to disable it.
Exit the room, before you do anything else though we need to find some more secrets.
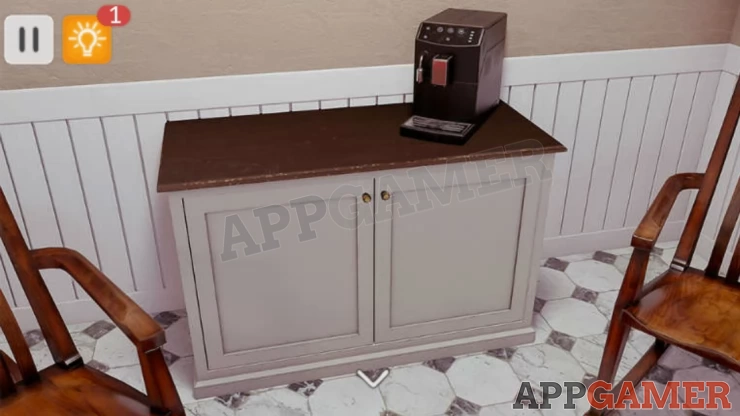
Star Secret. Hug in a mug. Return to the left view and find the coffee machine on top of the white unit. Use the cup here to make a drink and then tap it to collect the star.
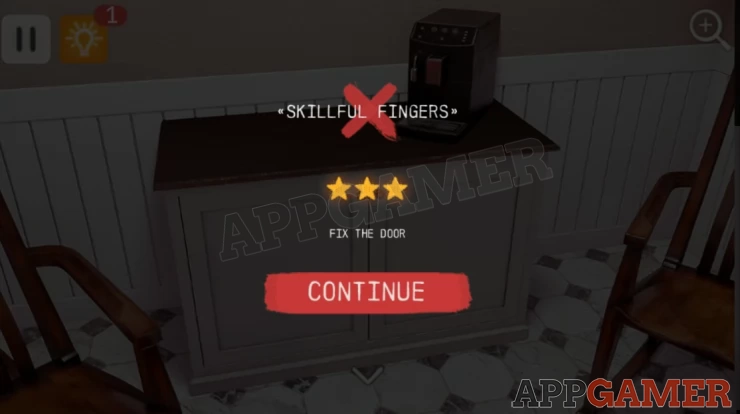
Star Secret: Skillful fingers. While in the same view tap on the left door of the white unit to see that it is broken. Use the screwdriver on it to fix it.
Now return to the right hand view of the corridor and tap the small vent near the floor to the left of the restricted area door. Use the screwdriver to open this and find a key.
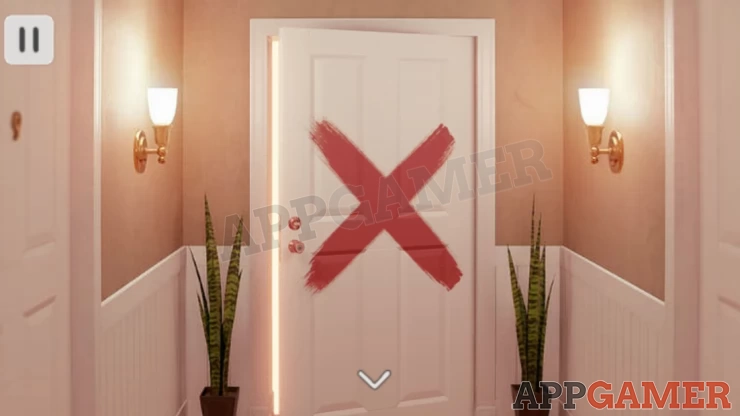
Back to the main view and tap again on the door at the end with the red X. Use the key on the door to open it and exit this level. Next we move into the bedroom in level 5. If you have any questions for this game please head to the Answers Page to ask there.
We have questions and answers related to this topic which may also help you: Show all