
Crows Nest - Room 11
Spotlight: Room Escape Guide
Crows Nest is the 11th room in Spotlight Room Escape. You find yourself in a parking garage with the RV from The canyon - Room 10. Solve the puzzles to clear this level and find the next clue to take you to room 12.
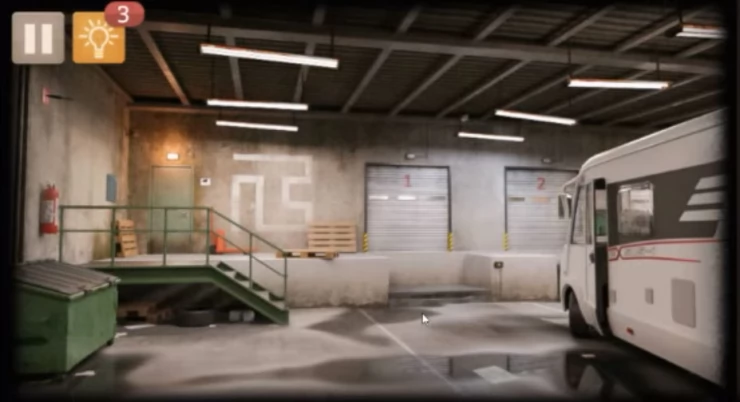
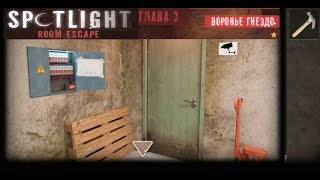
First collect a wet shipping list paper from the puddle on the floor by the vehicle. Next tap the dumpster to the left hand side and collect a hammer from behind it. Also collect a paper from the ground that contains an electrical diagram.
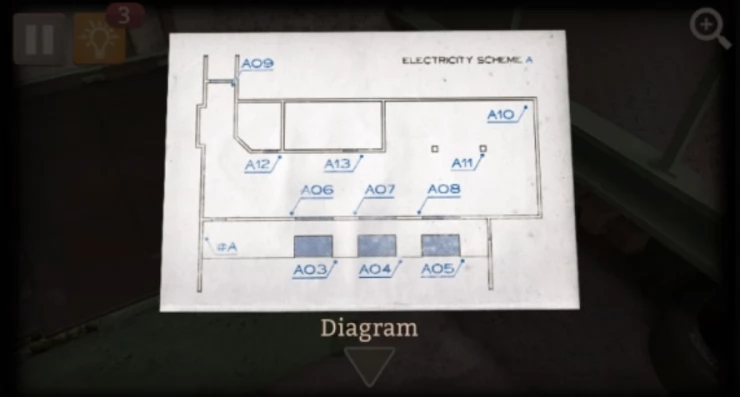
Back up and tap on the load lift in front of bay 1. On the floor here find a key to collect. Back up and tap now on the green door to the left. Use the key on the electrical cabinet on the wall to the left to open it. Using the electrical diagram we see that the breaker for the load lift in front of bay 1 is 03. Tap this one to turn it on. We can now back out to the load lift again and tap the button to raise it. Underneath we can find a Chisel to collect.
Go back to the green door and tap on the lock to view it. Use the chisel on the lock to insert it and then use the hammer on the chisel to break the lock. Tap again to turn the lock and then you can open the door.
Before you move into the the back corridor. return to the electrical cabinet in the garage by the door. Turn on the breakers for 09, 10, 11, 12 and 13. This will enable power to the doors in the back corridor. You can only have power to 5 at a time, so you need to turn off the power to 03.
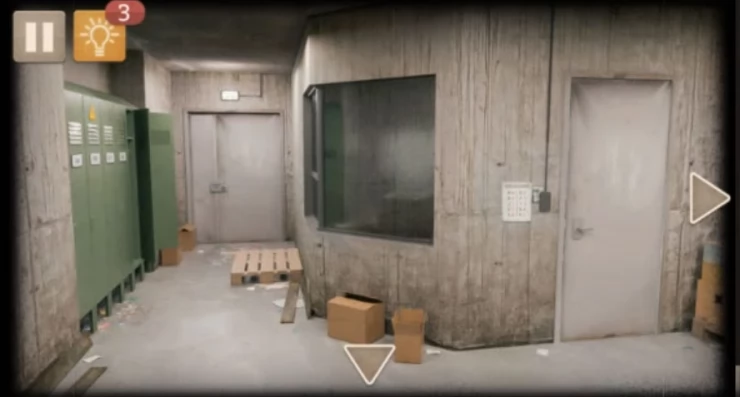
Now go through the door to the back corridor. Look to the right to see an office door on the left and a storage area at the end. First tap on the door to the office on the left. You cannot enter this office yet but collect a fragment with the letter 'k' on it from the boxes on the floor.
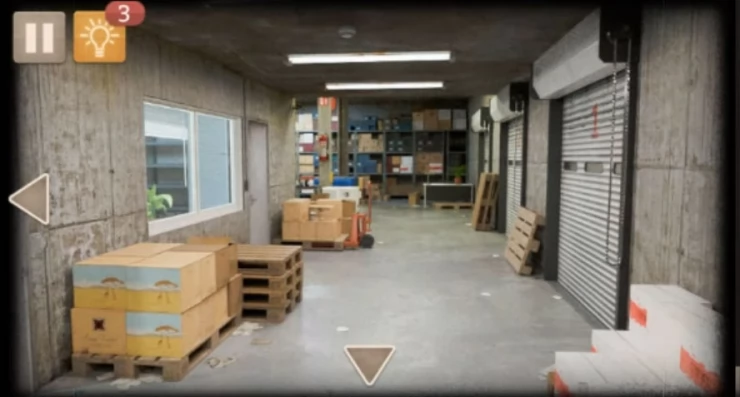
Next back up and move down to the storage area and tap on the white desk on the right. Tap the clock on the desk to move it and collect a key from underneath. Back up and tap the left arrow to view the left side of the storage area. Tap on the sink at the back left of the room. Here you can collect a second fragment with the letter C on it from the sink. Also a plunger from the floor. And a ball from the boxes on the right.
Back up out to the garage area again and tap on the wall to the top left where you can see a knife sticking into a red sign, above the fire extinguisher. Use the ball to knock down the knife and collect it
Go back into the corridor and tap on the lockers on the left. First collect a third fragment from the floor under the lockers. This one has 'a' on it. Next use the key on the second locker to open it and collect a roll of tape and a blow dryer.
Back up to the initial corridor view and tap on the glass window in front of you. You should see a hatch in the window that you cannot open. Use the plunger from the sink on the glass to let you open it. You can collect a key from the desk inside.
Back up again to the garage area and tap on the dumpster on the left again. Use the key to open it and collect from inside a fourth fragment with the letter 'J'
Go back inside to the lockers on the left. Tap the empty panel at the top of the first locker and use the fragments to place and recreate the name. Now view the lower are of the locker to see a 4 digit code entry. To find the clue for this back up and tap on the wall to the right of the glass window to see a paper with 'Delivery Services Passwords'. Tap the paper to see that there are 2 pages.
Solution: The code you need can be found from the name on the locker using 1 letter from each column over the 2 pages.
Code: JACK = 1344
Enter the code in the locker panel remember following the arrow. Open the locker to collect a keycard.
Now head to the second office along the corridor and use the key card to open the door. The office is a mess.
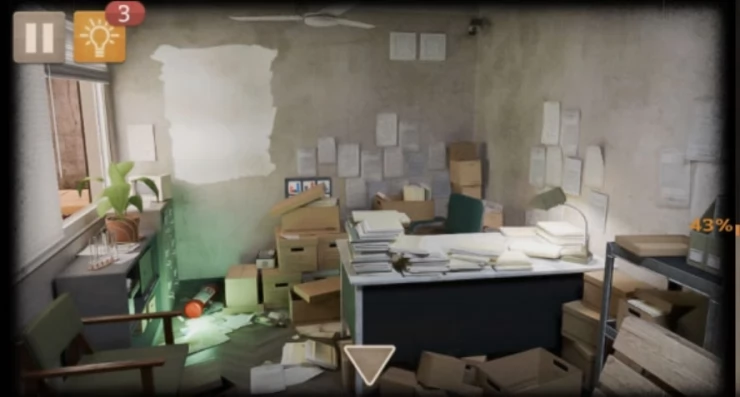
Tap to the back left to view the chair behind the desk. Collect a ruler from the chair. Then tap to collect a paper from behind the box on the left with 9 segments. The paper has 8 graphs with 1 missing.
Back up and tap the cabinets on the left. The bottom 2 cupboard doors are locked, use the ruler to get them open. Collect a pair of scissors and a pair of tweezers.
On the middle shelf is a locked safe with a 3x3 grid of coloured lights as the code entry. The lights can be black, red, blue and white. Use a clue above to work out the code.
Hint: The paper found above with the bar graphs has red, blue and black bars on a white background. Once pattern is missing. Work out the pattern to enter on the boxShow
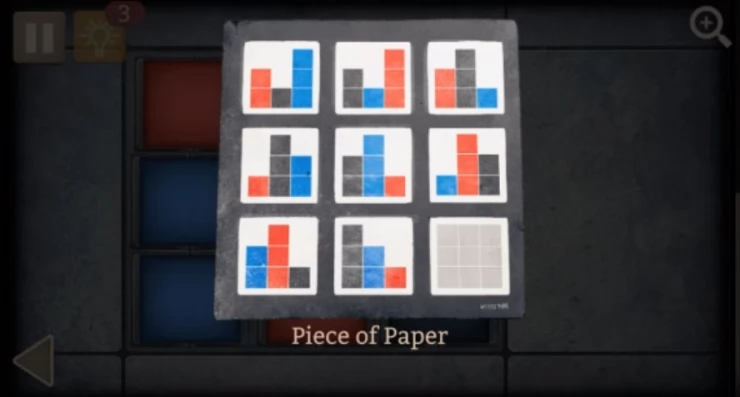
Solution: Each colour is represented on the paper in 3 sizes and 3 positions, but in each case one combination is missing. Check which ones are needed to complete the sequence.Show
Code: Left 3 Blue, Middle 2 Red, Right 1 Black. Make the rest white.Show
Open the box to collect a Karabiner.
Tap the water jug on the top shelf to collect it. Then tap the top left filing cabinet draw to view it. There is a piece of paper sticking out. Use the tweezers to collect it. The paper has a PUK code on it.
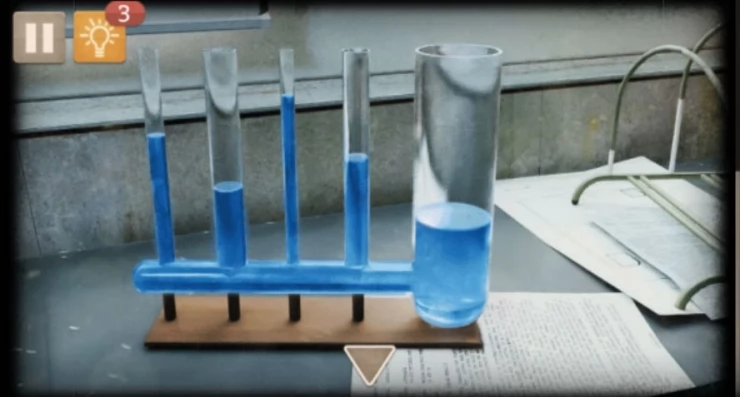
Back up to the storage area and go to the sink. Fill the just with water and return to the office. Tap again on the left hand side and tap to view a set of water tubes. Use the jug of water to fill this and notice the different levels in each tube.
Show
Back out to the corridor viewing down towards the storage area but with the second office on the left. Tap on the pile of boxes just beyond the office door that are on an orange jack. You should see a blue tool box on the floor and a reel of yellow cable. Use the scissors on the cable to cut a wire to collect. Then tap on the tool box.
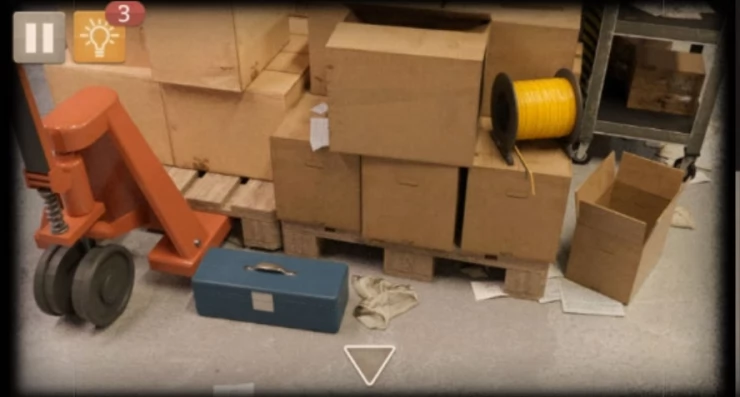
The tool box has 5 sliders that need to be positioned to open it. Use a clue to set the levels as needed.
Hint: The 5 levels are shown on the 5 tubes filled with water found above.Show
Solution: Taking the lines as levels 1,2,3,4,5 then the sliders should be set to 4, 2, 5, 3, 1Show
Open the box to collect a screwdriver.
Now combine the dryer and the wet shipping list to dry the paper and reveal an order for Plasticine with a reference number of S-16Show
Go back to the storage room and tap on the shelves of boxes on the left wall. Use the knife on the box with the above shipping reference to collect a block of Plasticine.
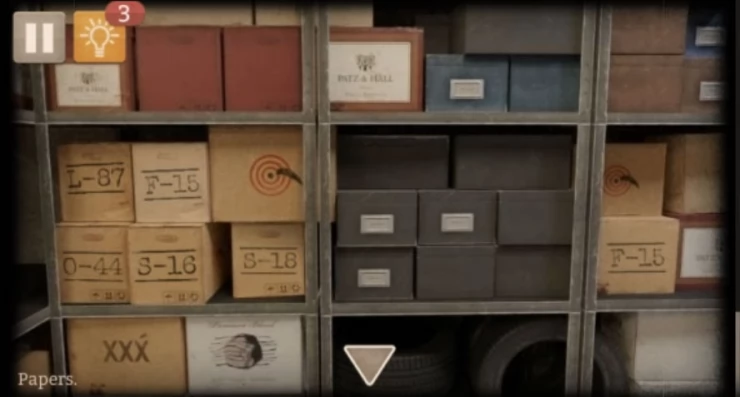
Back out and go to the storage room white desk and use the screwdriver on the clock that is now face down. Collect a battery from it.
Combine the battery and the Plasticine in your inventory and then also combine the wire to make a 'Battery with Wires'
Return to the initial corridor view and tap the card reader next to the door to the first office. Use the battery with wires on this to hack the door lock. You can now back up and tap on the open door to enter this office.
First tap on the desk to see the security monitors. There is a phone on the desk, tap on the to view the screen. It needs a pin code. We don't have a pin code. If you get the code wrong 3 times it will then ask you to input a PUK code. We do have one of those.
Find the PUK code from the paper above and enter it. 84459731Show
You can now access the phone and send messages to 'Harry'. Tap the message box and the send button to send messages to get a locker pass.
Now go to the lockers at the back of the room and tap the padlock on the locked door. Enter the locker pass to open it. Code: 3499Show
Collect a telescopic hook and some wire.
Back out of the room and go to the storage area. Tap on the red circular winch that is on the ceiling above the blue crate. Use the hook to attach to this. Back up and tap the left arrow to view from the other angle and then tap on the blue create. use the karabiner to attach the hook to the crate.
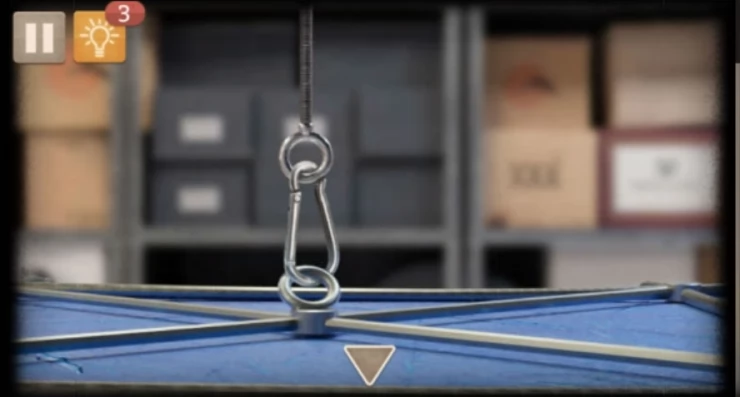
Back up and tap the yellow control switch on the column next to the crate. Use the tape to fix the broken wire. Then tap the up arrow to lift the crate. Back up and view the ground under the crate to see a hatch. Open this to collect a bolt cutter and a sledge hammer.
Now back up to the main storage area view and tap the shelves at the back to view a locked green box. Use the bolt cutter to open this and collect a sheet with a colour coded 'formula'.
Go back down the corridor and enter the second 'messy' office. Use the sledge hammer on the white patch on the back wall to break it open. Use the wire on the hole to place the wire in and then tap again to view the puzzle. Thread the wire to solve this puzzle.
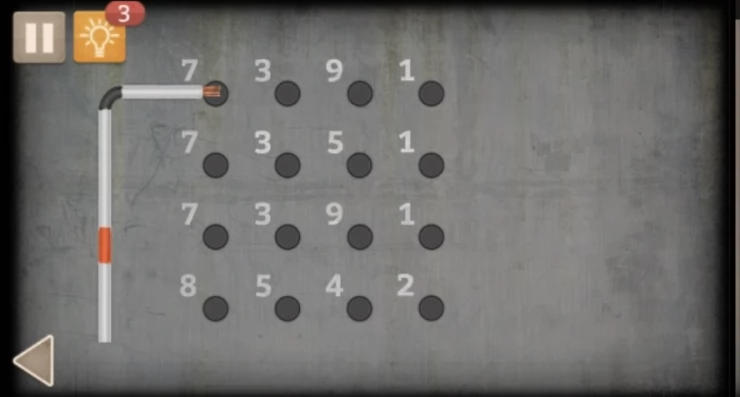
Hint: There is an important clue to the route for the wire on the wall in the garage. Check back out there to see it.Show
Solution: Tap the numbers in turn to pull the wire around in the correct path. Show
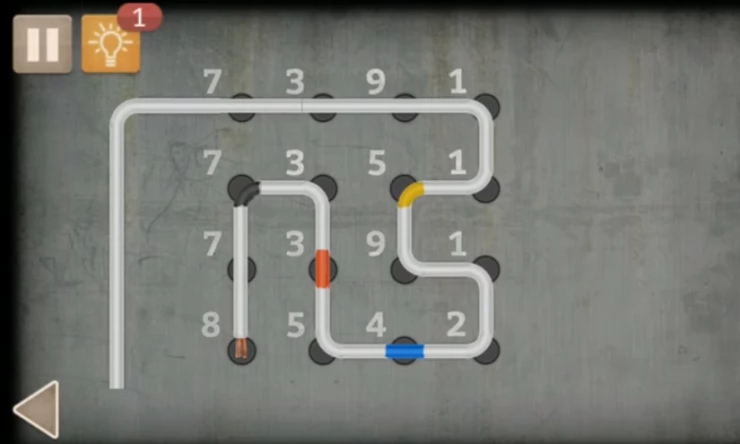
The wire has coloured sections that will line up with numbers, Take a note of these numbers.
Back out to the initial corridor view with the lockers on the left. Tap on the door at the back with the light above it. There is a 6 digit entry. 4 at the top and then 2 below.
Hint: Check the forumla paper for a clue to the numbers.Show
Solution: The top 4 are represented by colours on the paper. Which match colours on the wire puzzle. enter those numbers. The bottom 2 are represented by 2 other colours that are a sum of 2 of the original colours. Orange= Red + Yellow, Green = Blue + Yellow. Add the numbers and enter them.Show
Code: 4357 / 89Show
Enter the code and open the door to complete this level.
If you have any questions for this room or any of the other levels please head to the Answers Page to ask it there.
See this video from Nikita Yakovenko for a walkthrough of this level.
We have questions and answers related to this topic which may also help you: Show all