Chapter 6
More Mirror Man
This is a walkthrough for Chapter 6 of Mirror Man. Another Adventure Escape Mystery from Haiku Games.
Now three months after Mirror Man Shawn was captured in Chapter 5. You are preparing to go to the trial, but will justice be served?
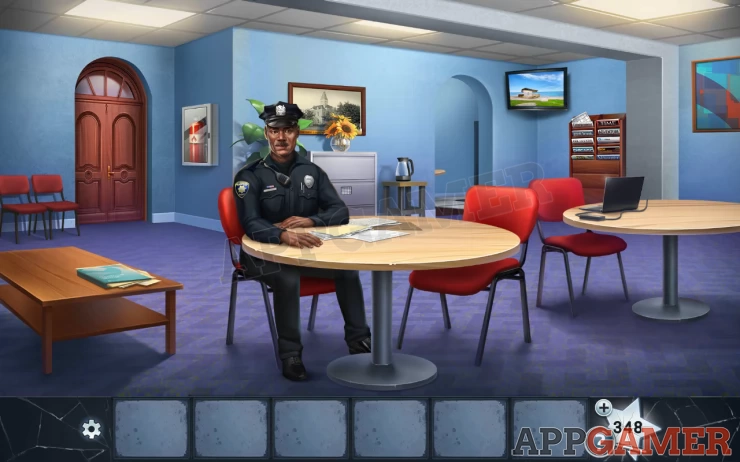
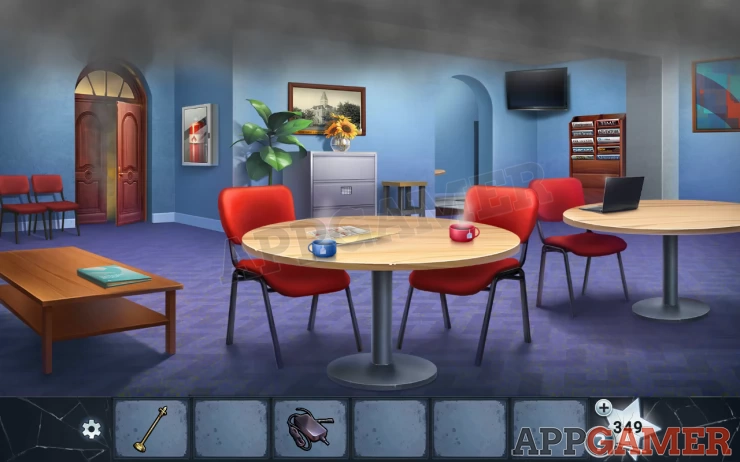
Open the folder on the table on the left, and then collect the notes from inside.
Then collect the power cord from the laptop on the right.
Collect an interesting note from the magazine rack on the right wall.
Then collect the empty kettle from the back wall.
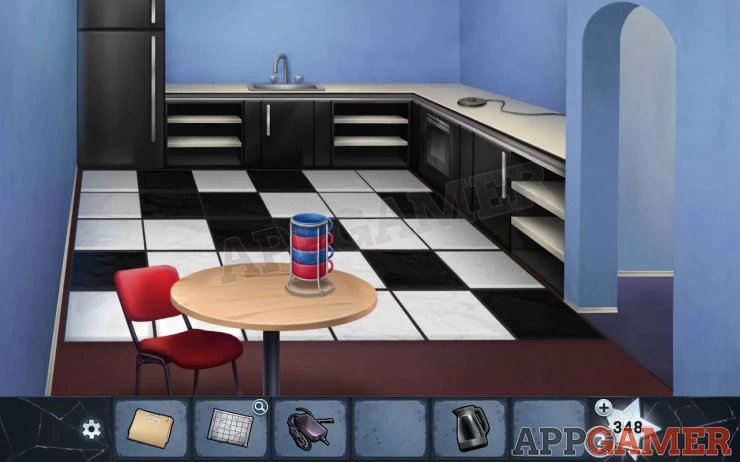
Tap the archway to move through to a kitchen area.
Star: open the fridge to find a star.
Use the kettle on the sink to fill it with water, then place the kettle with water on the socket on the right to heat it up. Now collect 2 mugs from the table and tap to open the cupboard on the right side to find some teabags.
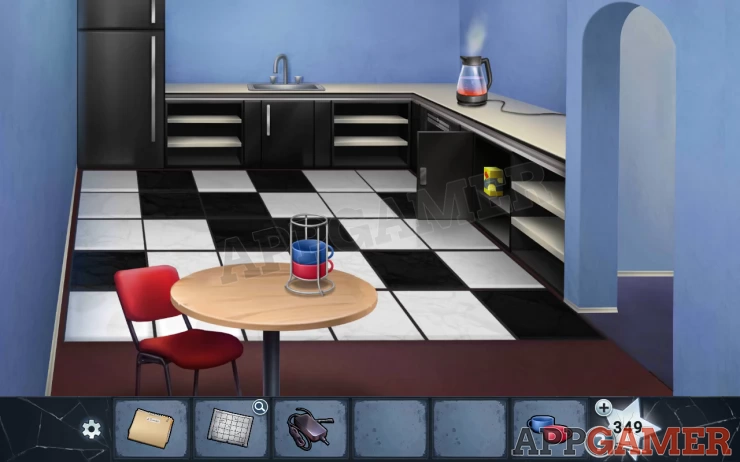
Place the cups on the counter on the right, then add the teabags. You will collect 2 mugs of tea.
Take note of the floor tiles pattern. Then return to the first area.
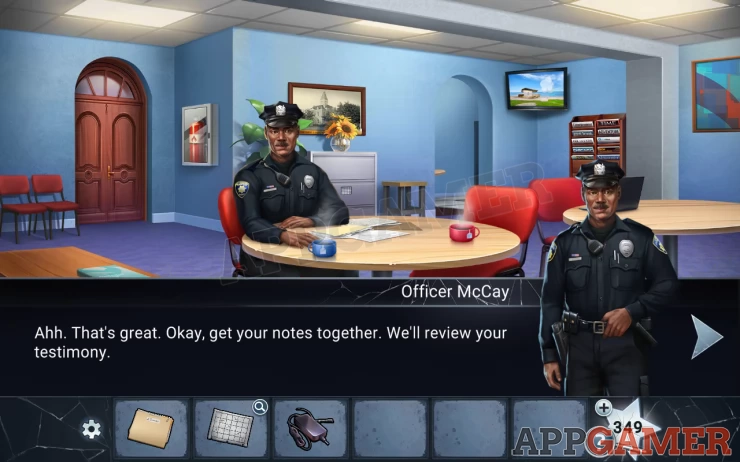
Place the tea on the table.
Now view the filing cabinet on the middle back wall.
First tap the vase above to move it to find a clue for later. 1983Show
Next you need to find your notes. Open the top drawer to look for them but the notes will fall into the lower drawer.
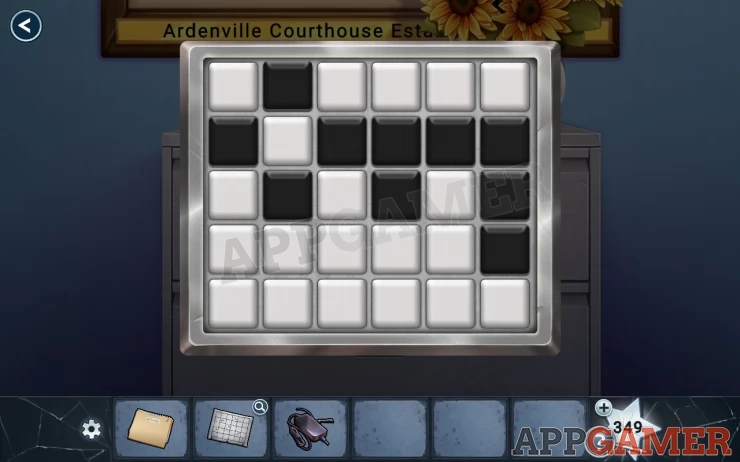
You now need to solve the lock puzzle to open the second drawer.
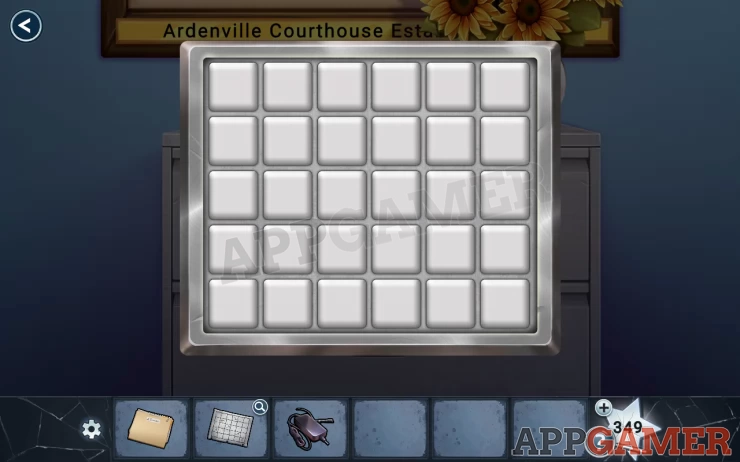
Hint: Check the kitchen floor and the interesting note.
Solution: Begin by copying the black and white tile pattern from the kitchen floor. Then use the interesting note to tell you which black tiles tom move to new positions.Show
Final Code: Show
Now that you have your notes. Tap on the table to see a folder of drawings. Then add the ones you collected to them.
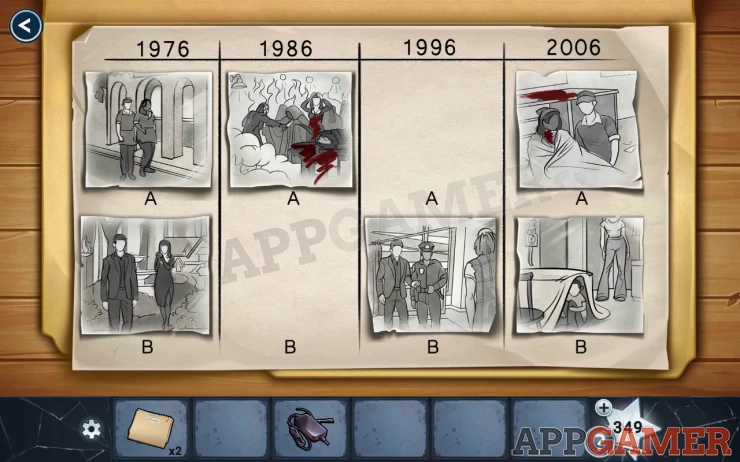
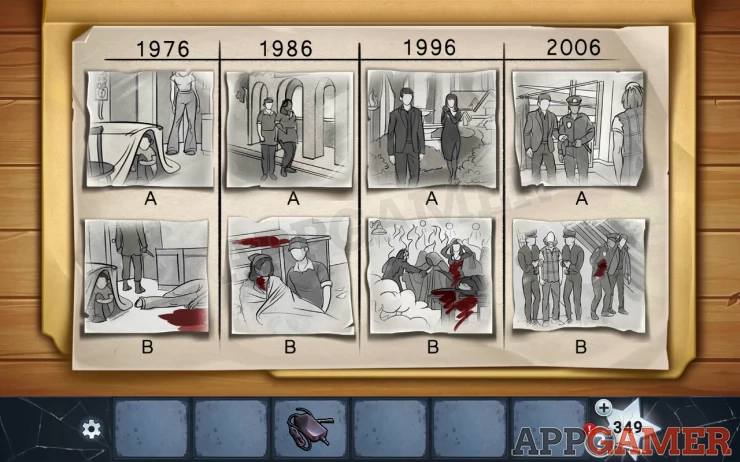
This is a new puzzle, you need to arrange the drawings in the correct order of events.
Hint: match the events to the years and place A and B in order (A happening before B)
Solution: Show
Now you will recount the story and then Officer McCay will go through to the courtroom. Tap the doors to follow him.
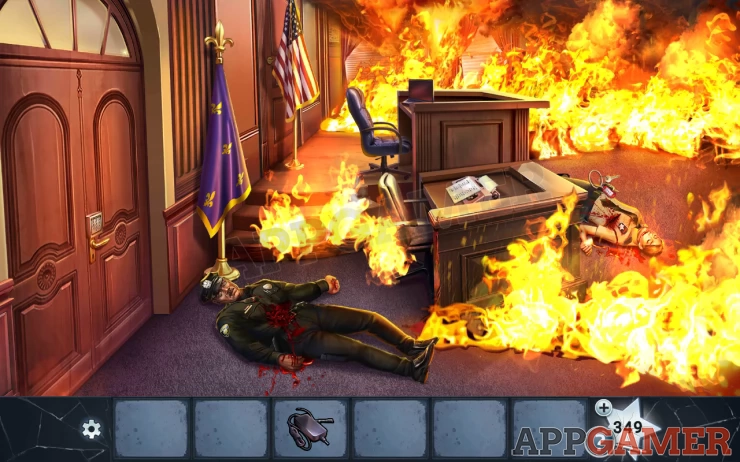
Collect the flag pole on the left, then use this to reach the key on the Bailiff.
Look at the key ring to get a clue.
Show
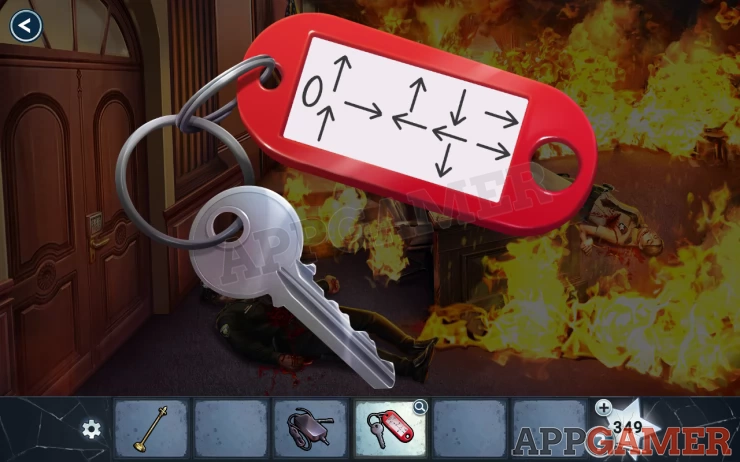
Now tap the lock on the door on the left to view it.
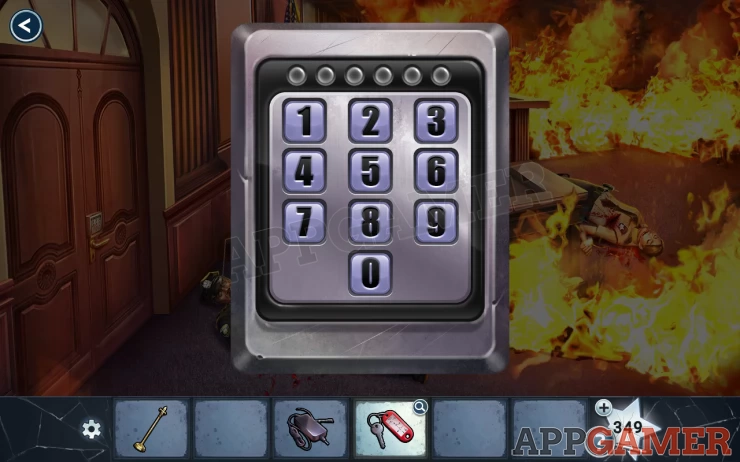
Hint: from the key ring clue, start at 0 then follow the arrows
Solution: 056279Show
Back in the waiting room you can use the flagpole to break the glass so that you can collect the fire extinguisher.
Then return to the courtroom.
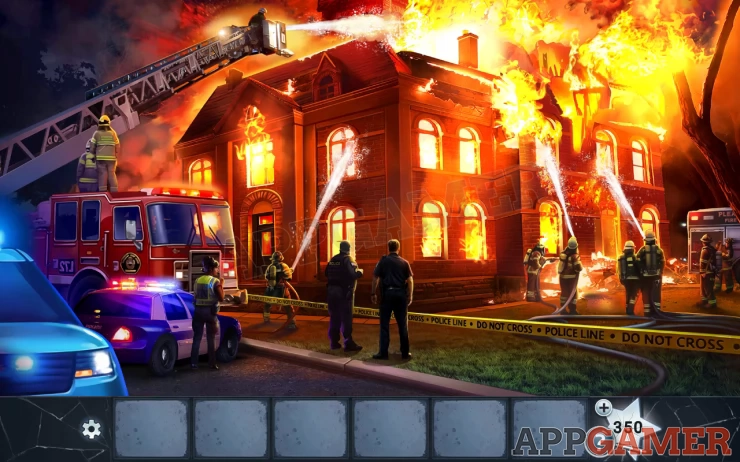
Use the fire extinguisher on the fire on the steps on the left.
You can then collect the Stenographers Alphabet paper from the lower desk.
Next tap the top desk to see the laptop. Add the power cord to it to turn it on.
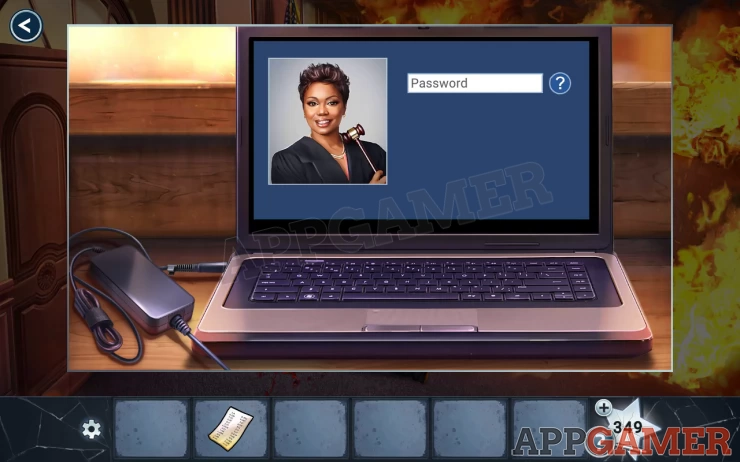
For the password you can tap the ? for a hint.
We found a clue earlier for this.
Code: 1893Show
With the laptop unlocked you find some reminder notes.
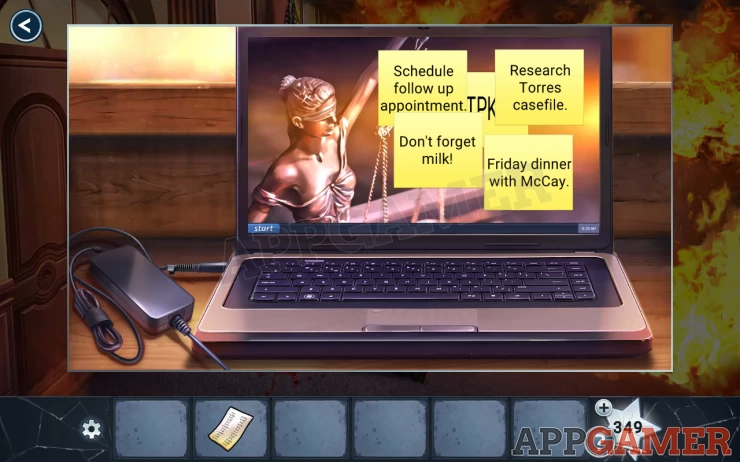
Move these around to reveal a code clue.
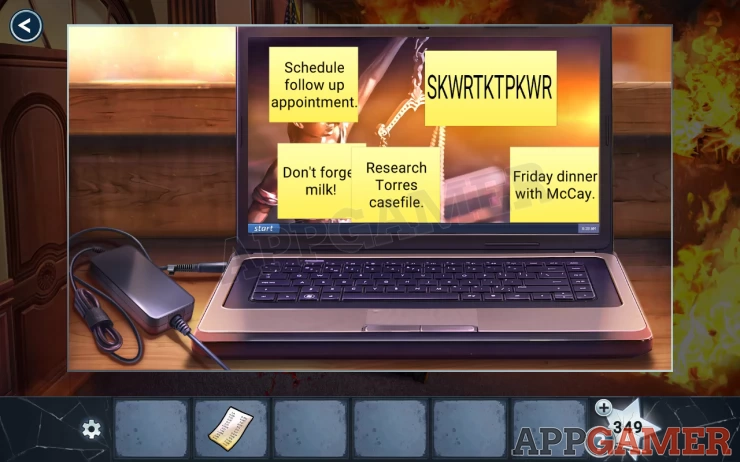
Place the stenographers alphabet by the screen and you can then use the clues to find a code.
SKWR = J TK = D TP = F KWR = YShow
Now back up and tap to move the other flag that is behind the judges chair. There is another door here with a keypad lock.
Solution: Use the code from above: JDFYShow
Go through to the judge’s chambers and watch the cut scenes.
Now you are handcuffed to the desk.
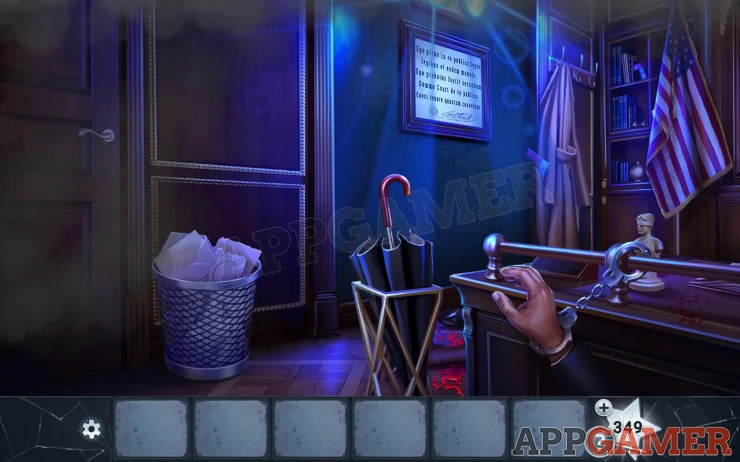
First collect the umbrella, then you can use it to move the waste basket towards you.
Tap on the bin to remove items until you collect a paperclip.
Then use that to open the handcuffs. This starts a puzzle.

Hint move the clip around the maze like path without touching the sides.
Once done you are free.

Star: on the lower shelf to the left of the room.
First collect 5 tetris style pieces from around the room.
Locations: Floor lower right. Shelf top left, Coat pocket on the left, open the book and also the box on the desk to find 2 more.Show
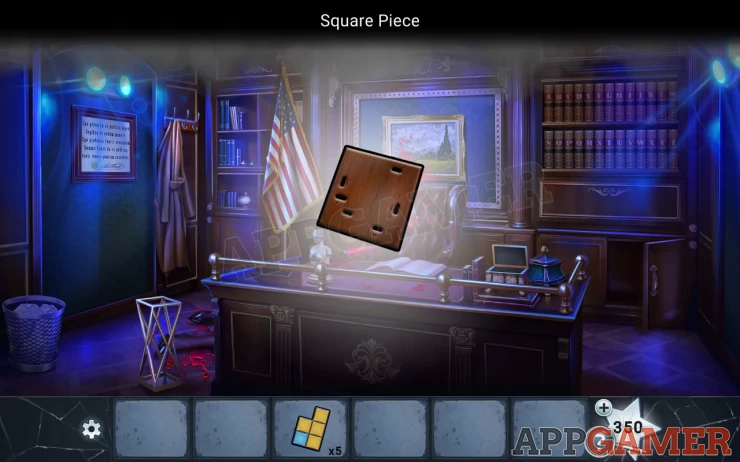
Next open the cupboard door on the bottom right to find a square piece.
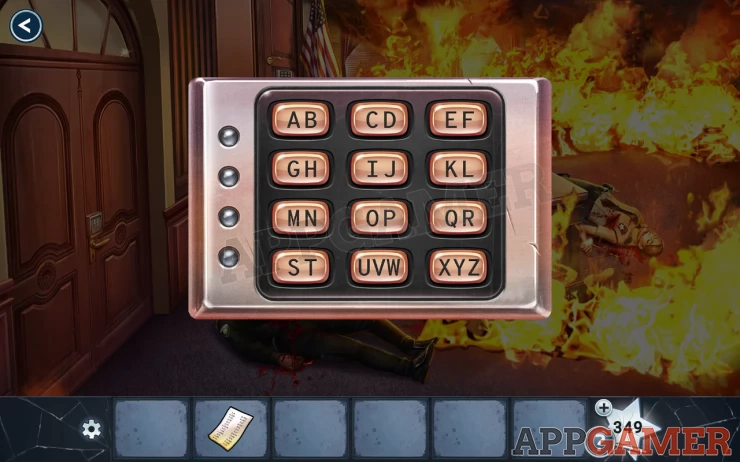
Now tap to view the frames quote on the left wall.

Add the square block to this to reveal a set of letters. Tap it to rotate the block and find the correct letters in each of the numbered holes. Each position will reveal 1 or 2 letters.
Solution: C L A V I SShow
Now view the bookshelf on the right of the room. This is a puzzle.
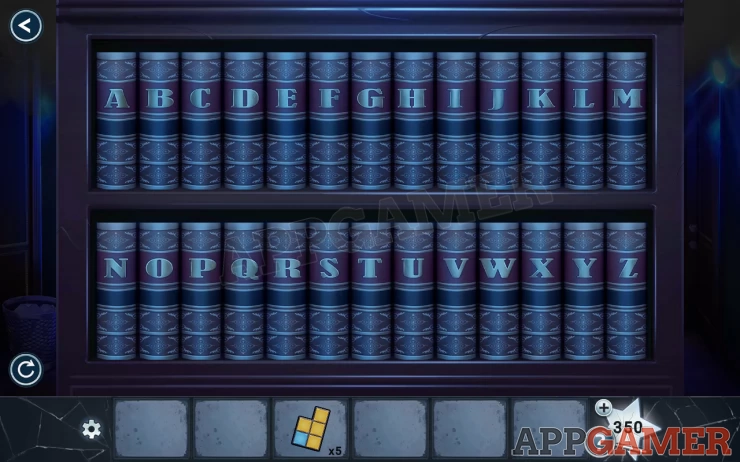
Hint: tap to pull out the correct books.
Solution: Pull out the letters from the clue above = CLAVISShow
Now you can access another puzzle behind the painting.
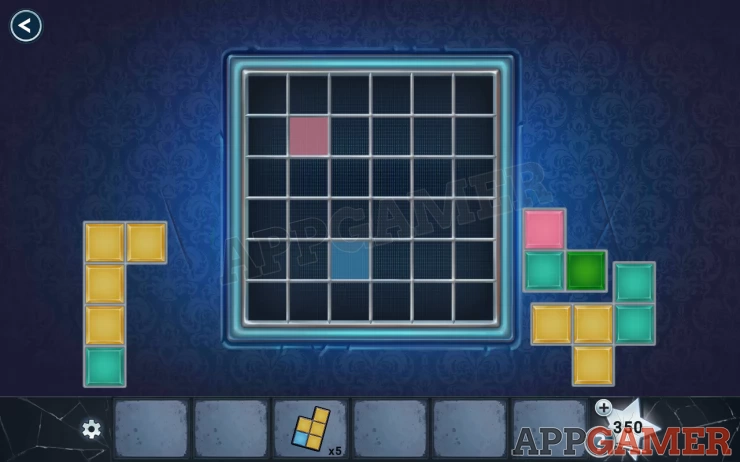
Add the 5 pieces to it.
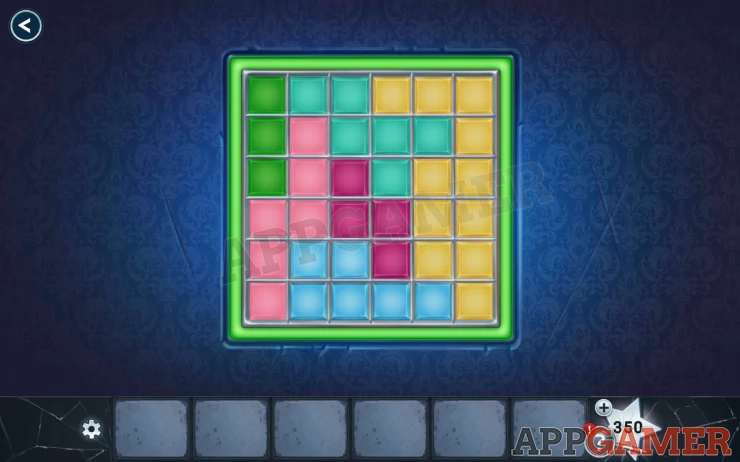
Follow the instructions to place the pieces on the board.
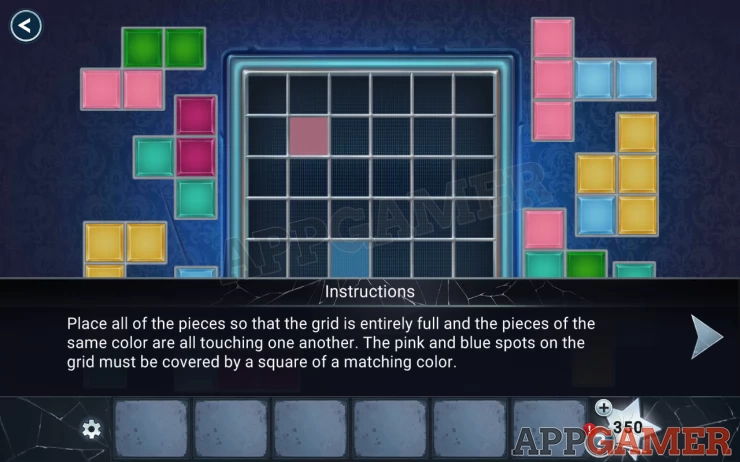
Solution: Show
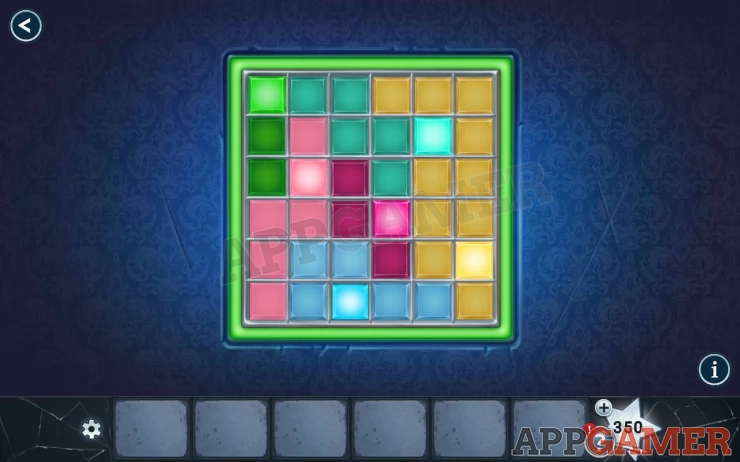
Once placed there is a second part. Tap to select one square of each color. But only one per row or column and none can be touching, not even diagonally.
Solution: Show
You escape and watch the end scene. That completes chapter 6, move on to chapter 7.
We have questions and answers related to this topic which may also help you: Show all