Chapter 5
More Lost Ruins Revenge on Atlantis
This is our full walkthrough for chapter 5 of Lost Ruins Revenge on Atlantis. A new Adventure Escape mystery game from Haiku.
In Chapter 4 you found the entrance to the lost city of Atlantis and have come down to warn them, but first you need to pass their tests.
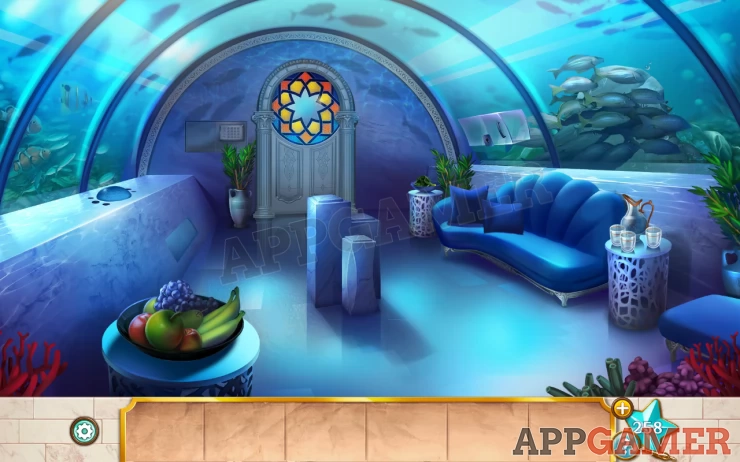
Star: On the patterned glass on the door.
First tap the fruit bowl to move an apple and then collect a key.
Just above this is a panel on the bottom of the left wall. Open this to collect a glass cylinder.
Then move the pillow on the sofa and collect a second glass cylinder.
On the table on the left of the sofa is a bowl of spinach, collect the spinach.
Then on there right of the sofa is a table with glasses and a jug.
Take the 3 glasses and the pitcher of water.
Above the sofa is an airlock in the glass. Use the key to unlock this.
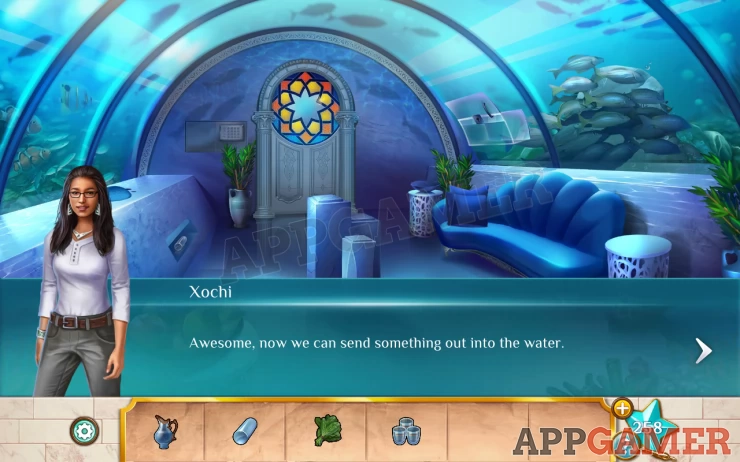
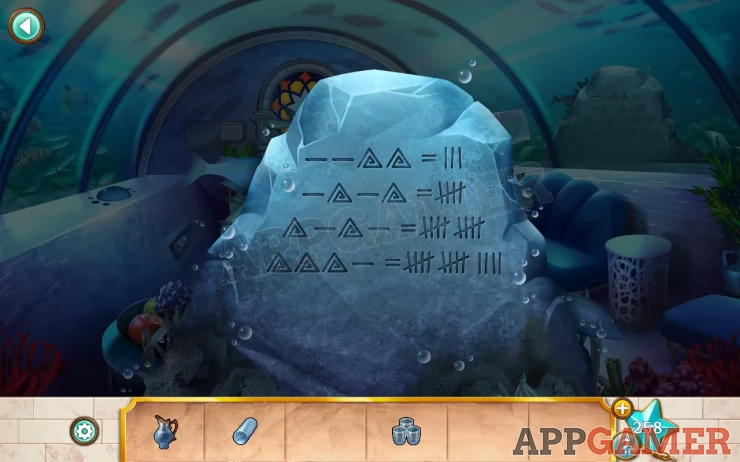
Add the spinach, this will attract the fish and reveal a clue on the rock behind them .
Show
Next place the glasses on the pedestals in the center, then use the water just to fill them.
You will now see stars on the floor.
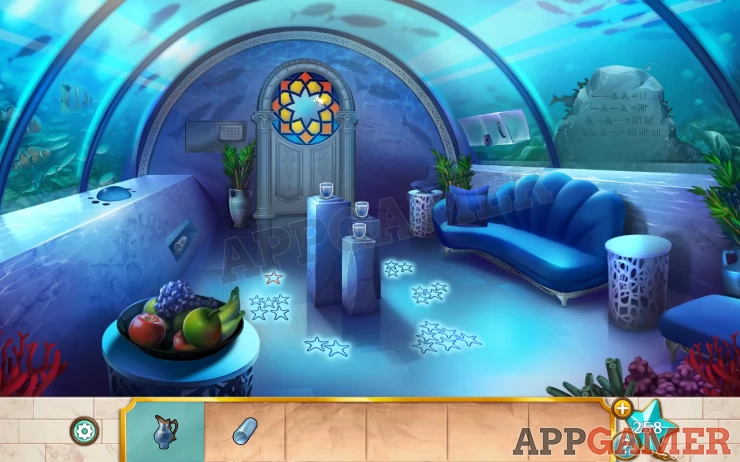
Now tap on the round bubble shape on the left wall to view this puzzle.
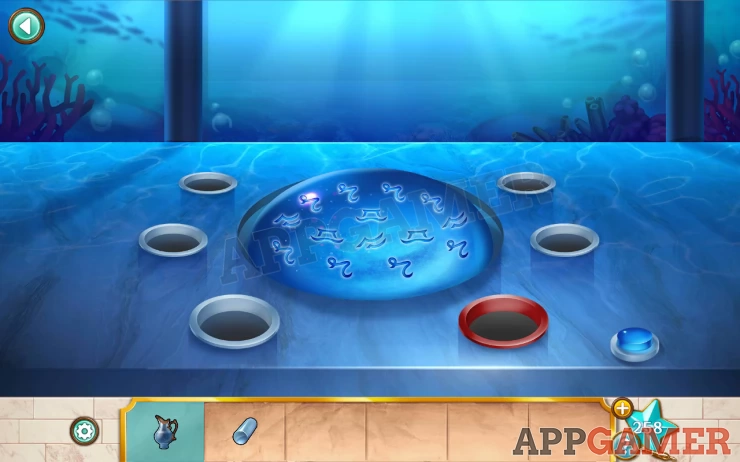
Hint: there is 1 red hole and 1 red star on the floor.
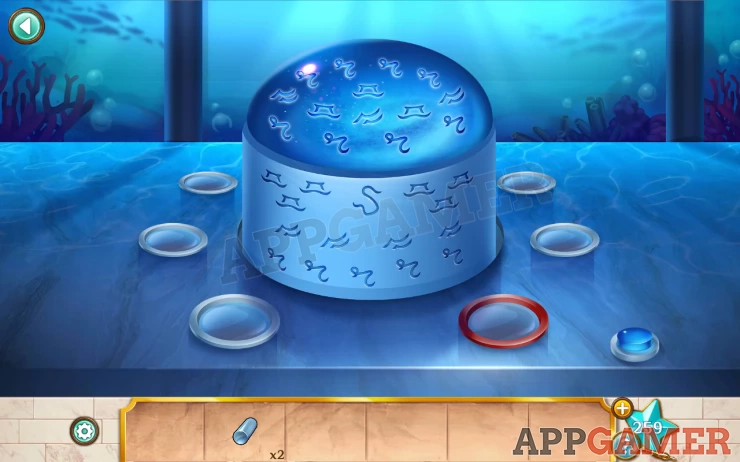
Solution: match the stars to the holes. The red star top left will be the red star bottom right. (rotated pattern). Then use the just to fill the holes with water in the order of the number of stars, 1 to 6.Show
Order: Bottom right, Top right, Bottom left, Middle left, Middle right, Top left.Show
The center will now rise and you get more symbols.
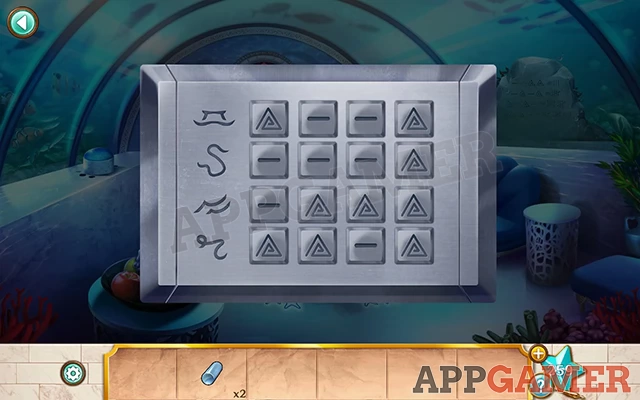
Now view the key pad on the left of the door. You need to figure out the code to be used with the Atlantean symbols.

Hint: there are 4 symbols on the left that math those on the previous puzzle.
Solution: First count the number of times the 4 symbols from the keypad appear on the raised bubble. This will give you a number for each. 9, 1, 7, 13. Then use the clues on the rock to figure out how to represent these in the required symbols, triangle and dash. The 2 symbols represent binary. Triangle is 1 and dash is 0. So 9 for example will be triangle dash dash triangle.Show
Code: Show
Solving this only open a panel to reveal a mechanism for the door.
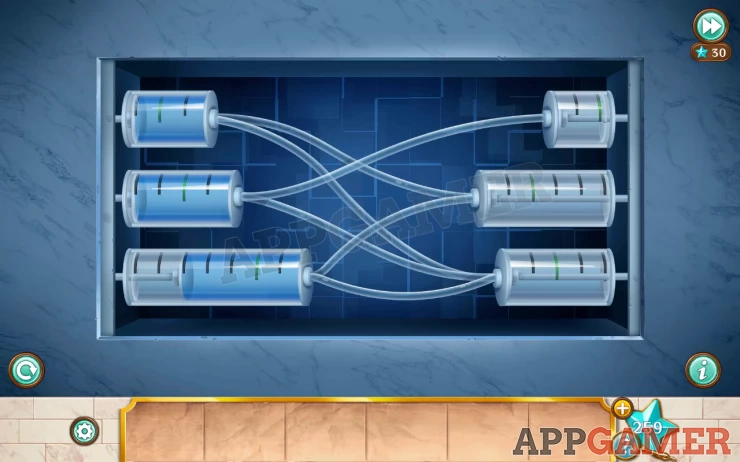
Add the 2 glass cylinders to it to start a puzzle.
Hint: you need to get 2 units of water in each, when you tap to move the water it will move as much as it can.
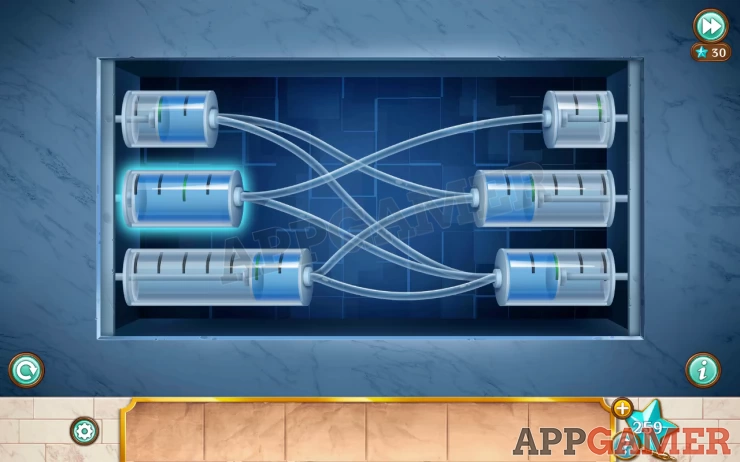
This opens the door and you can move to the next room.
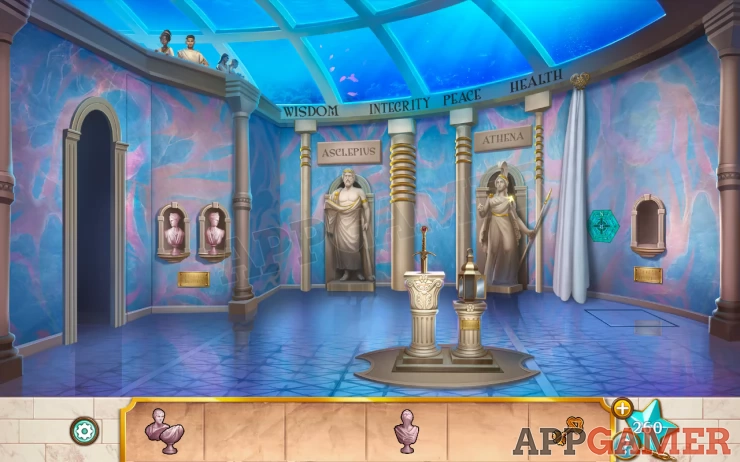
Star: At the top of the central green door.
This room is full of items to collect and clues.
From the left statue collect a Bracelet.
On the floor are 3 bust items to collect, a left facing bust and 2 pieces of a broken bust.
On the wall to the right is a lantern handing. collect this.
On the left wall is a compass, note the orientation.
Then read the 2 gold plaques.
“Through exertion, we learn the value of rest.”
“Sometimes you have to look at things from a different angle.”
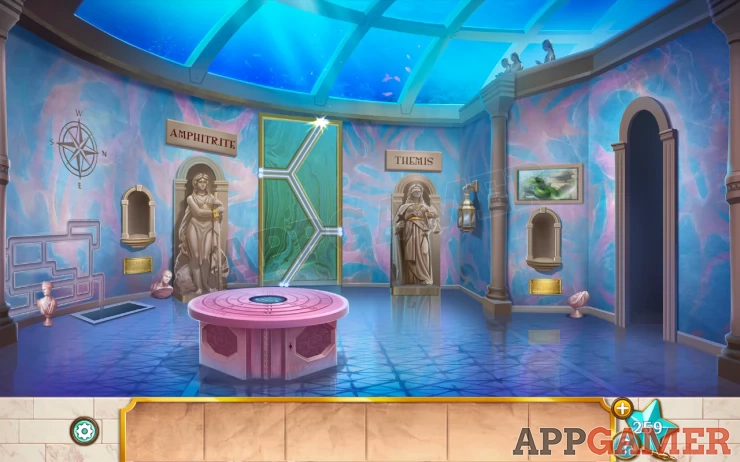
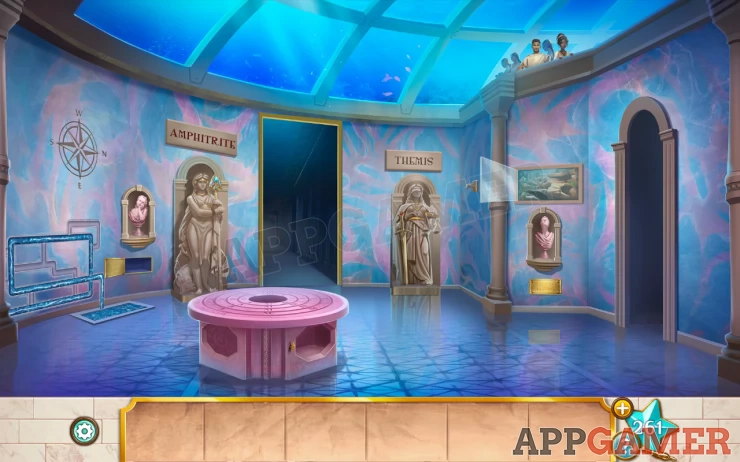
Then go through the doorway to the right.
There are 3 more plaques in this room, on the left and right walls and on the smaller plinth in the center.
Left: “Though we may be the same, we will never see eye to eye.”
Right: “Just because you’re broken, doesn’t mean you can’t be whole again.”
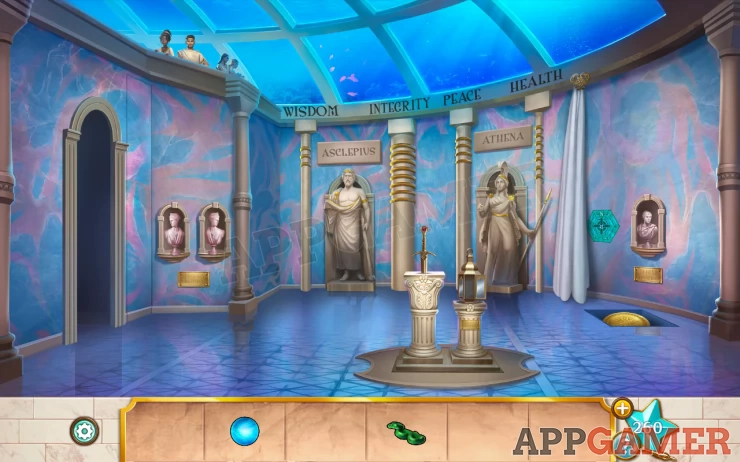
Center: “Nothing gleams without a light.”
First tap on the right of the hanging curtain. You can then collect a right facing bust.
Now we can place some of the busts in the correct places.
On the left are 2 alcoves. Place the left and right facing busts here making sure that they are facing away from each other “Though we may be the same, we will never see eye to eye.”
This reveals some stairs. Open the panel on the side to collect an Upward facing bust.
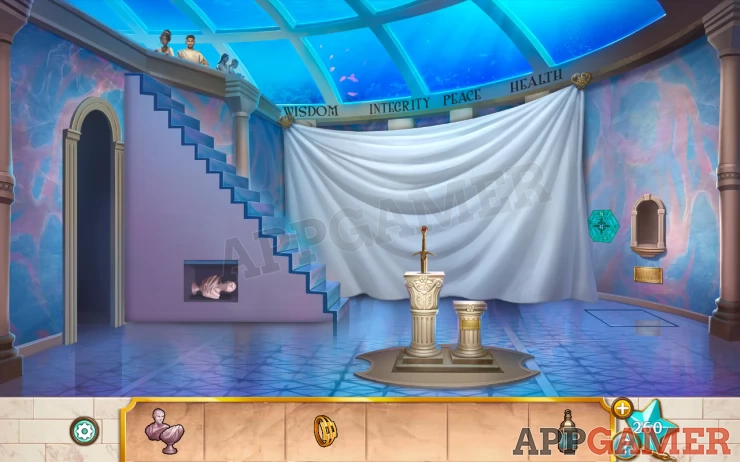
Next place the lantern on the small pedestal in the center. “Nothing gleams without a light.” You can then collect a gold key.
Now select the Bracelet and tap on the stairs to give it to Aletha. She will move the curtain for you. There are 2 more statues.
Star: On the shoulder or the status of Athena.
There are also 4 pillars with rings on them and words above.
Now return to the left hand room.
Use the key to unlock a panel under the pink table. Collect the sleeping bust.
Add the sleeping bust to the alcove on the left. “Through exertion, we learn the value of rest.”
You can then collect a Bio-luminescent Orb.
Add the upward facing bust to the alcove on the right. “Sometimes you have to look at things from a different angle.”
You then collect the Snake.
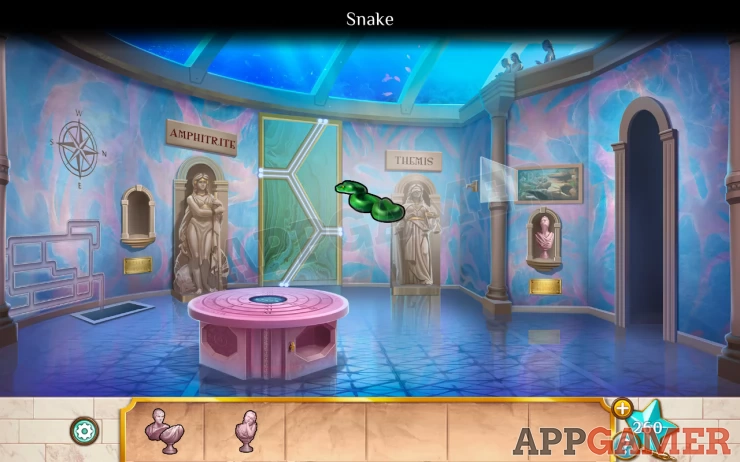
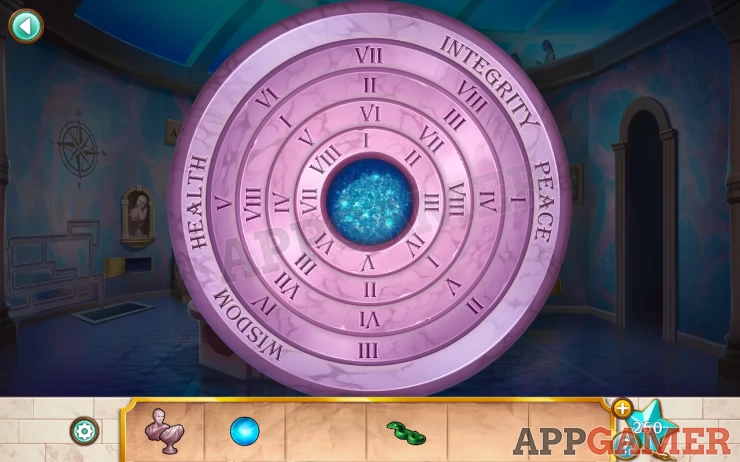
Now view the top of the Pink table for a puzzle.
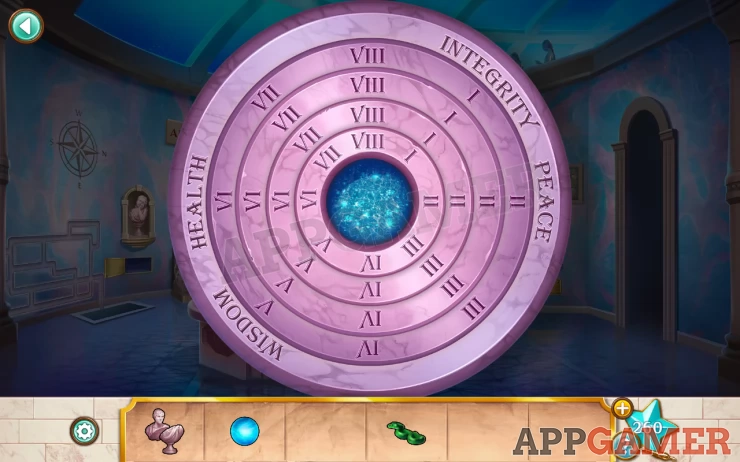
Hint: the 4 pillars under the words in the right room are different thicknesses and have different numbers of rings. The circles on the puzzle rotate.
Solution: the thickness tells you which ring to set for each word / pillar. The number of rings is the number you need to set for the word. Health - Smallest Ring - VII Wisdom - Second Smallest ring - III Peace -Third Ring - IV Integrity - Largest ring - VIIIShow
Positions: Show
The healing water is now on the wall to the left and in a pool in the floor.
Add the broken bust to the water to heal it. Collect the Restored Bust.
Go back to the right hand room
Place the Restored bust on the alcove on the right “Just because you’re broken, doesn’t mean you can’t be whole again.”
Collect a shield from the floor.
Then add this shield to the statue of Athena
Next give the snake to the Statue of Asclepius.
Now place the bio-luminescent orb inside the lantern.
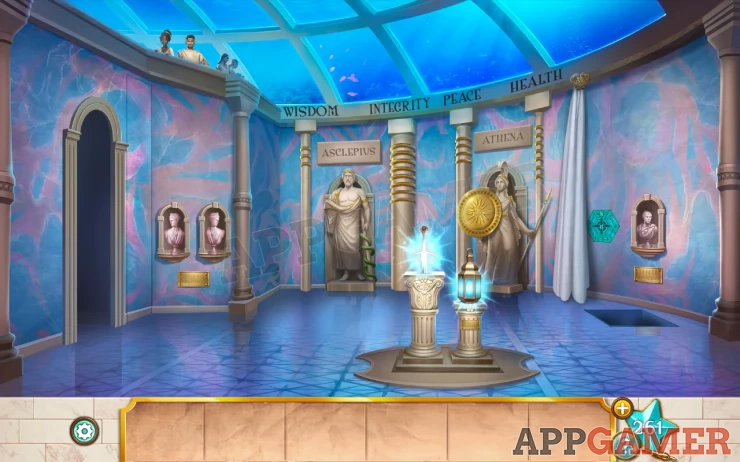
You can now collect the sword.
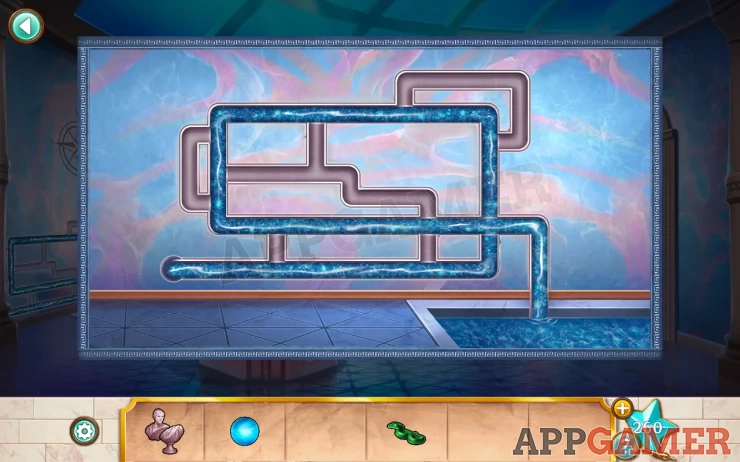
Next tap to view the green panel on the right wall. this is another puzzle.
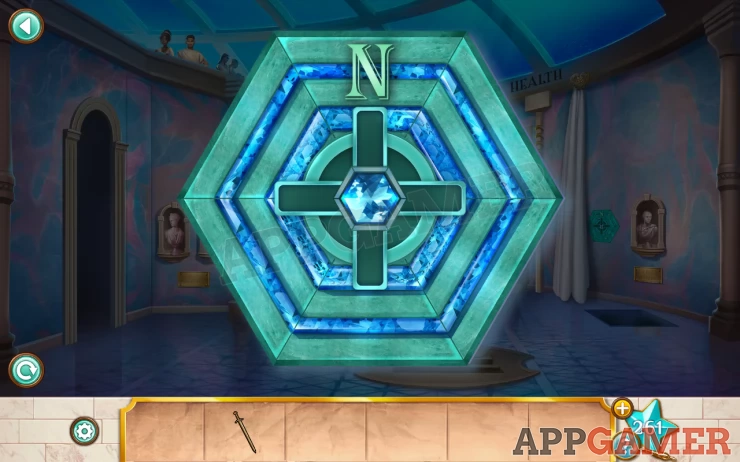
Hint: the gem can be moved in 4 directions. The N at the top is for North, this matches the compass in the left room above the water flowing. The N there is to the right.
Solution: follow the flow of water in the pipes, it starts on the left and flows around to the pool on the right. From the compass above right is North. Move the gen in the directions the water takes as it moves.Show
Moves: North (Up), West (Left), South, East, North, East.Show
Collect the Gemstone topper.
Go back to the left hand room
Give the sword to the statue of Themis and then place the gemstone topper on Amphirite’s staff.
This opens a door.
Go through to start the final trial, another puzzle.
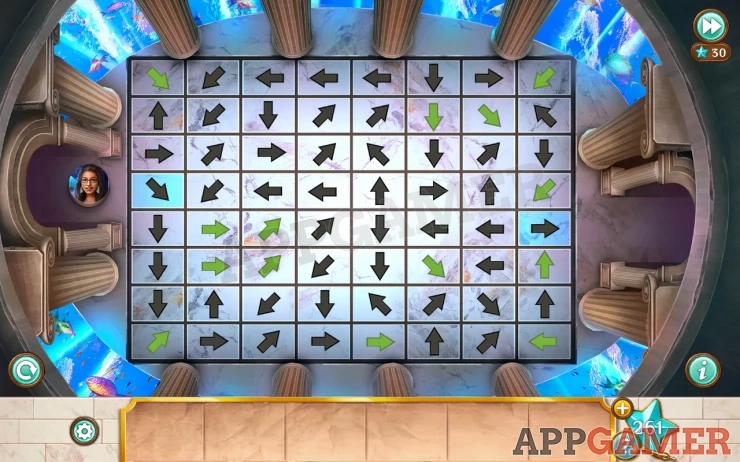
Hint: rotate the green arrows, you must make a path that covers every tile.
When ready tap on Xochi to make her walk.
Solution: Show
This completes Chapter 5. Continue to Chapter 6.
We have questions and answers related to this topic which may also help you: Show all