Chapter 7
More Lost Ruins Revenge on Atlantis
This is our full walkthrough for chapter 7 of Lost Ruins Revenge on Atlantis. A new Adventure Escape mystery game from Haiku.
In Chapter 6 you opened the sealed arsenal and found the first piece of Poseidon's Trident along with the locations of the other 2 pieces. Now you split up to find them.
First you play as Peter and Dr. Okoya.
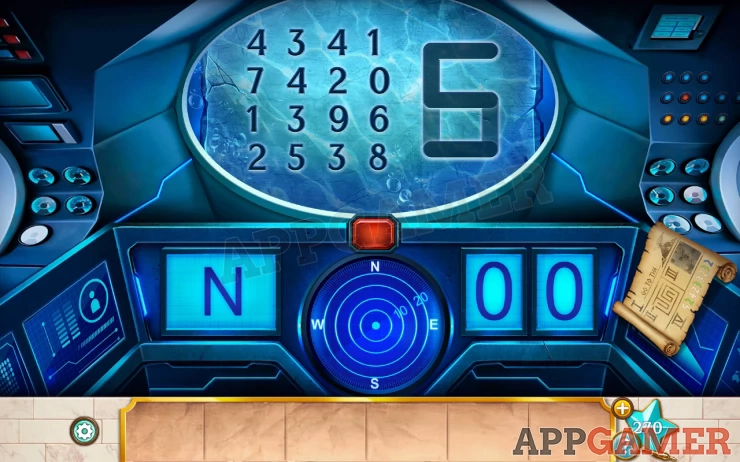
You start in the sub and you need to input the heading and distance to get it moving.

Tap the scroll on the right to view it for the instructions.
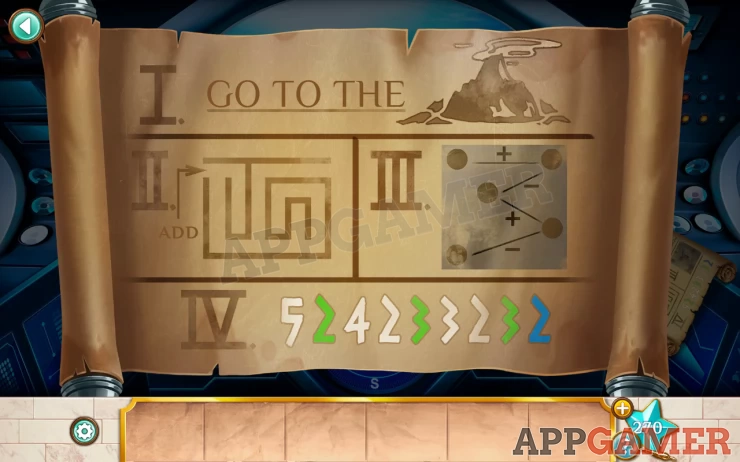
Step 1 is go to the volcano
Hint: On the sonar screen we can see the volcano marked.
Solution: Direction is NW. Distance shown is between 10 and 20 = 15. Enter NW 15Show
Step 2 the scroll has a maze to follow and the word ADD. We see numbers on the rocks ahead and a statue pointing to the right.

Solution: Follow the direct path through the maze on the scroll and then take the same path through the numbers and add them as you go. => 1 + 2 + 3 + 5 + 2 = 13. For the direction follow the statue. It is pointing East. Enter E 13Show
Step 3. The scroll now has another maze type set of directions to follow and a set of numbers in the window. The directions on the scroll have + and - operations for you to follow.
Solution: Follow the numbers to get 4 + 1 - 4 + 6 - 2 = 5. THe large figure on the right is a combination of 2 letters, Darker where they overlap. The letters are SE. Enter SE 05.Show
Step 4. The scroll has a string of colored numbers and the clue in the window has colored mathematical operators. There is also some images of the sun.
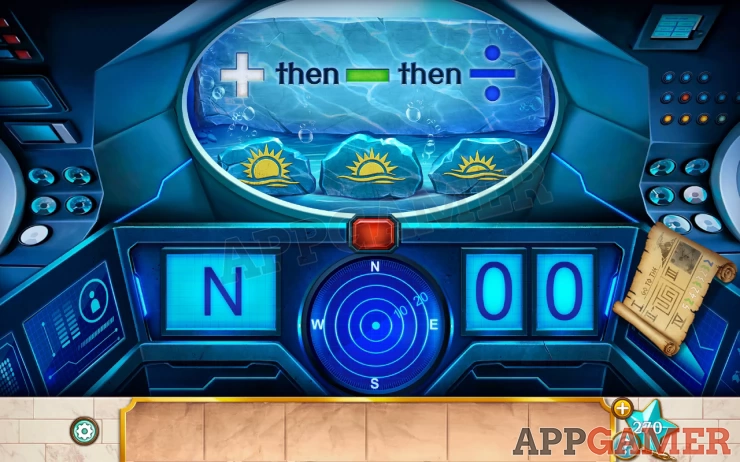
Solution: The color operators tell us that white is add, green is subtract, and blue is divide. Apply this to the numbers sequence to give us. + 5 – 2 + 4 + 2 – 3 + 3 + 2 – 3 / 2 = 4 The sun symbols are a setting sun. This tells us the direction is West. Enter W 04Show
You reach the cave.
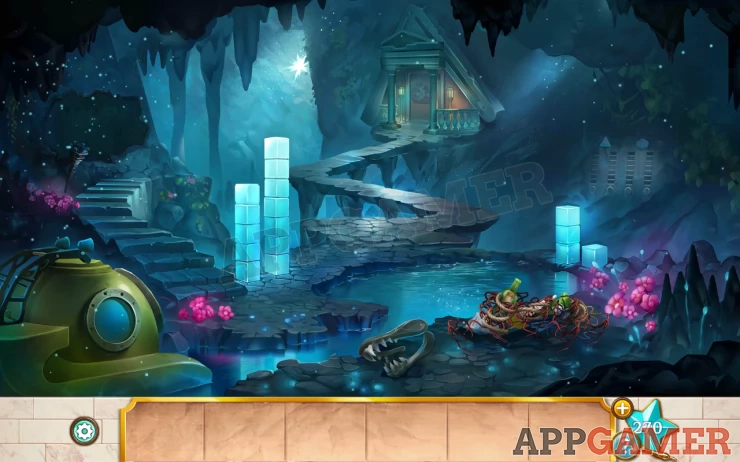
Star: top center of the cave.
Collect a Shark tooth from the skull bottom center. Then use the tooth to cut away the tangle of ropes etc just to the right.
Collect an Empty Bottle with the message "Music makes all things bloom". And a Flute made from a shell.
Take note of the pillars of cubes and then tap on the rock wall on the right to see a puzzle.
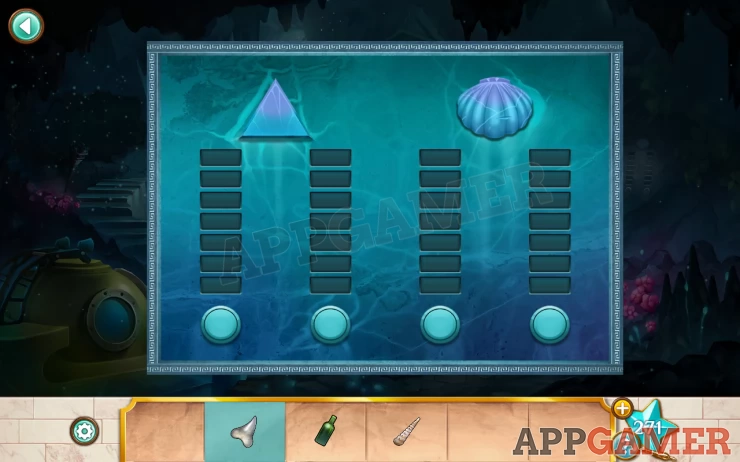
Solution: Enter the same number of lights as the number of cubes in the pillarsShow
Code: 5 7 3 1Show
You can then collect two triangle pieces.
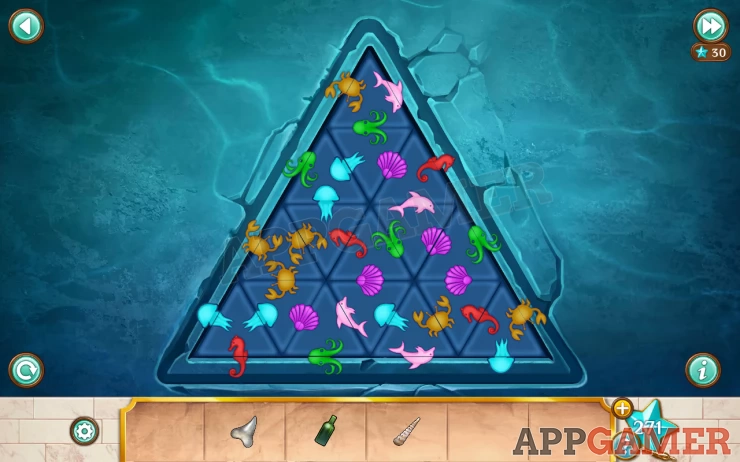
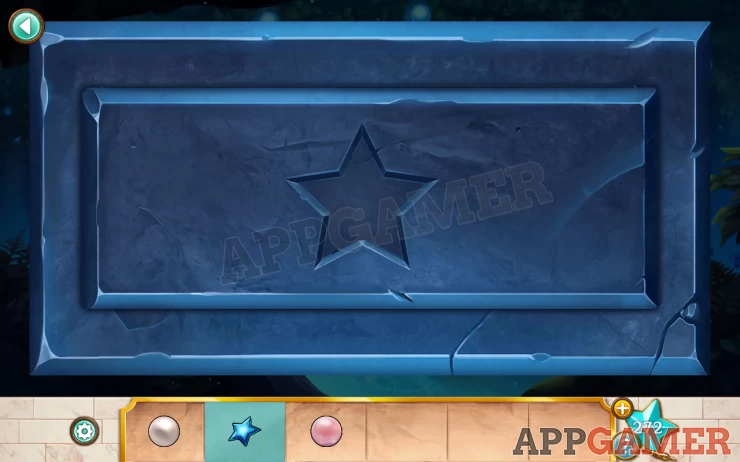
Now tap the door at the cop of the central pathway. There is another puzzle.
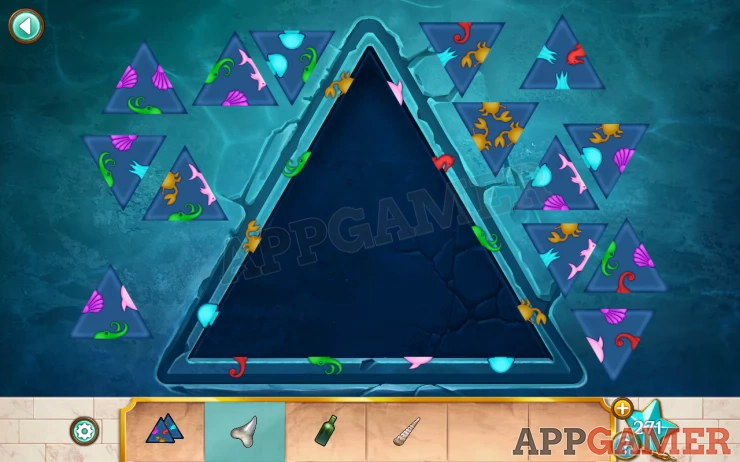
Add the 2 triangle pieces to begin. You then need to place all the pieces on the board so that the symbols match.
Solution: Show
Go through the open door
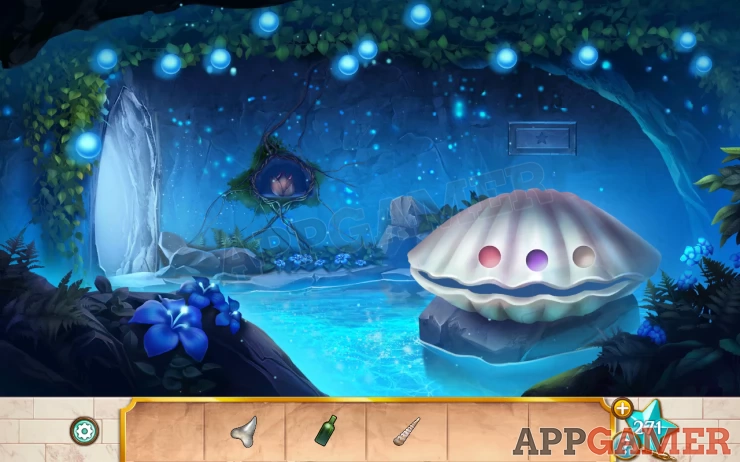
Star: On the blue flower bottom left.
First use the shark tooth on the low hanging bio-luminescent orb on the left to collect it.
Then use the empty bottle on the pool of healing water.
Now tap on the small alcove at the back with a dead flower in it.
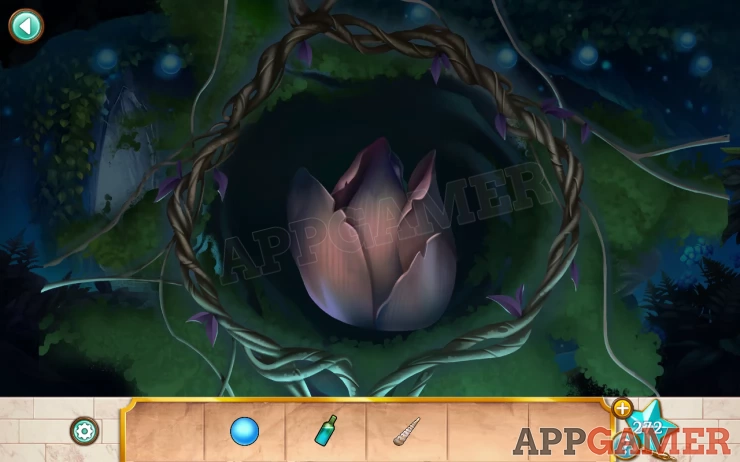
Add the healing water to revive it. Then use the flute to make it bloom .
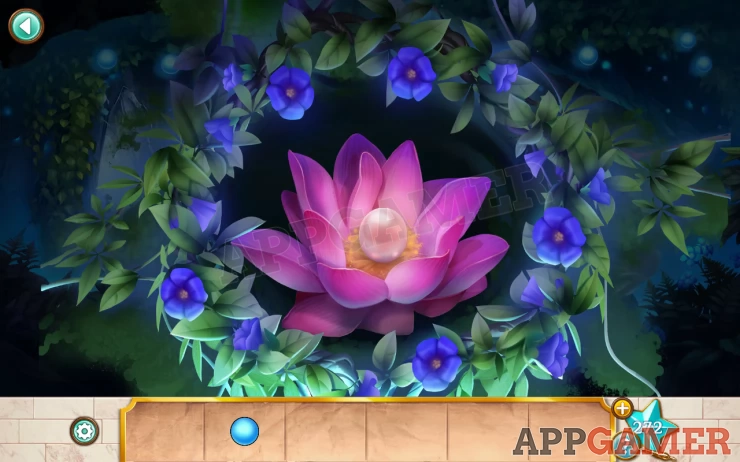
Collect the Pink pearl from it.
Next tap on the giant clam shell. You will see a sequence of lights flash inside, this is a clue.
Now exit the room to the first area and tap again to view the puzzle on the right wall.
Hint: Use the clue from the shell to enter a new code.
Solution: Follow the sequence and increase each of the 4 sets of lights by 1 for each time that light is on in the sequence. E.g. the first flash has all for lights on so tap to increase each column of lights by 1. The second flash has lights 1 3 and 4 on. So increase those only. There are 5 flashes.Show
Code: 5 1 4 3Show
Collect take the white pearl.
Now tap on the left path to find a dark corner of the cave.
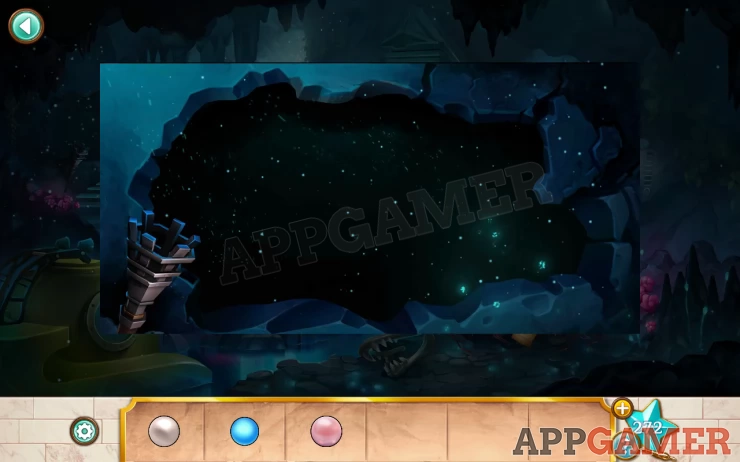
Add the bio-luminescent orb to the torch on the left to let you see.
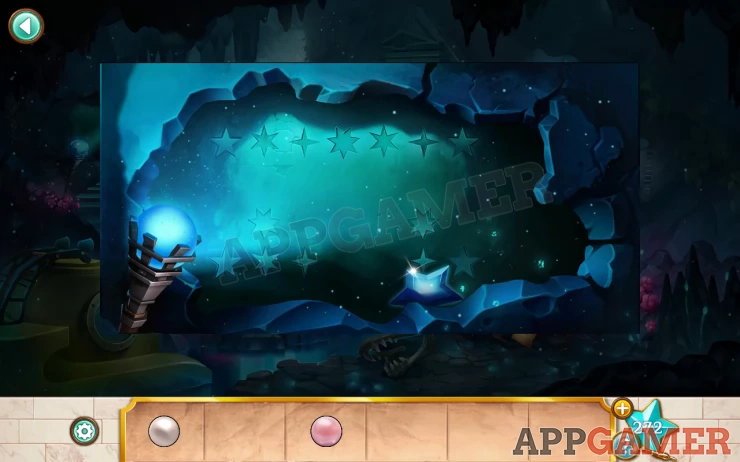
This shows a pattern of stars. There is also a blue star key at the bottom to collect.
Now return to the room with the giant clam shell.
Above it is a star shapes slot. Place the star key here to open it.
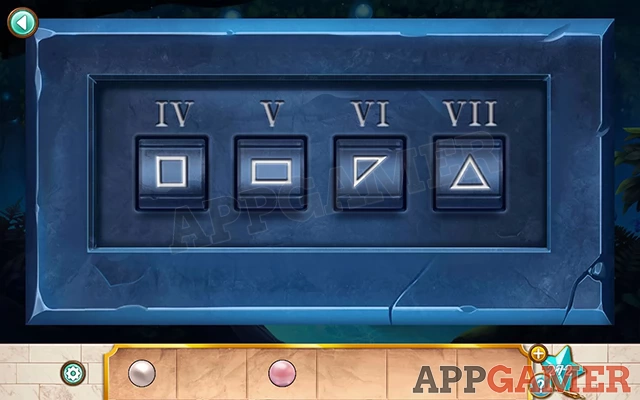
You then get a combination lock, each dial has a set of shapes. Above each is a roman numeral.
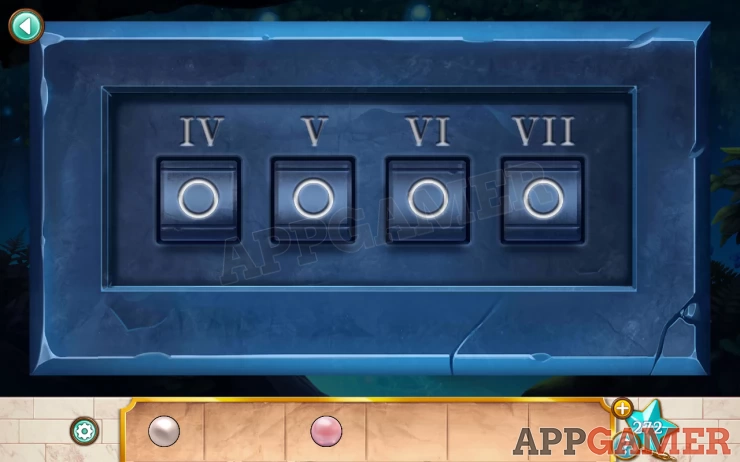
Solution: From the pattern of stars find the stars in it with the numbers of points relating to the roman numerals. So the number with 4 points, then 5 points, 6 and then 7 points. the stars are the points in a shape. Find these and use the on the lock.Show
Code: Show
You can then collect the Purple Pearl.
You can now use the 3 pearls on the clam shell.
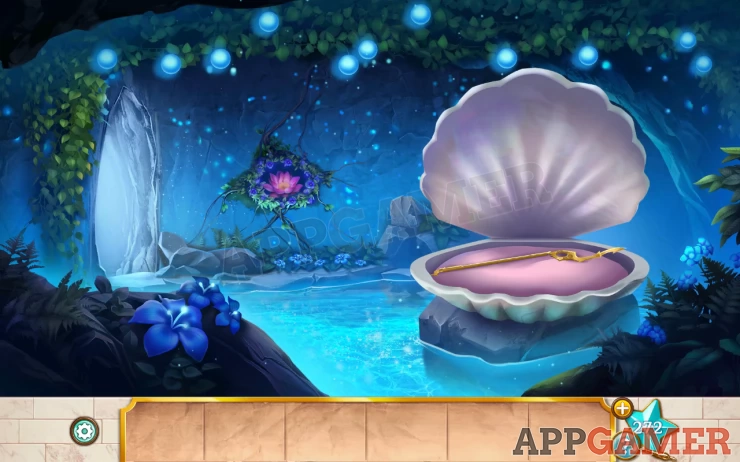
Collect the piece of Poseidon’s trident.
Now we go back with Xochi to find the other piece.
From the steps on the right collect the Disc, then in the flower bed just to the left of these find and collect the spade.
In the green bush next to the left steps is a coin to collect.
Now tap the temple building at the top of the steps to view it.
Collect the handle from the ground.
Back up and view the wall in the center of the steps to see this panel.
Add the handle to the right then tap to pull both handles down.
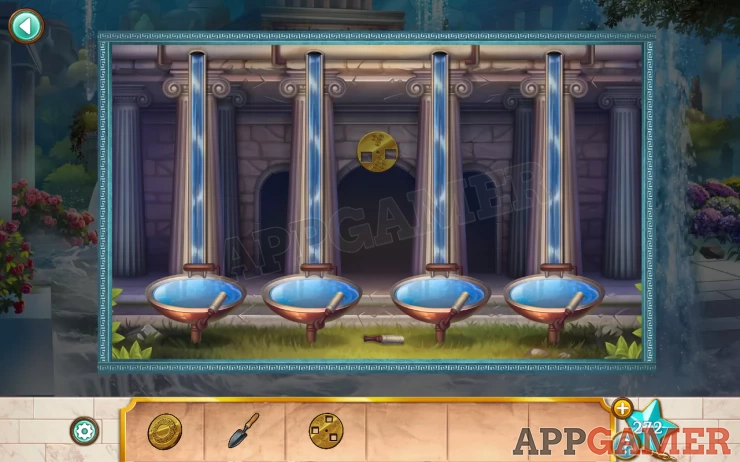
Now view the top building again with the 4 basins. You can now tap each basin to empty it. Collect another coin from the left one. Emptying the basis will fill the panel below with water.
Next at the top of the left steps are 2 statues, each with a round slot.
Add the 2 coins to these slots. Collect thew Golden circle and the spear.
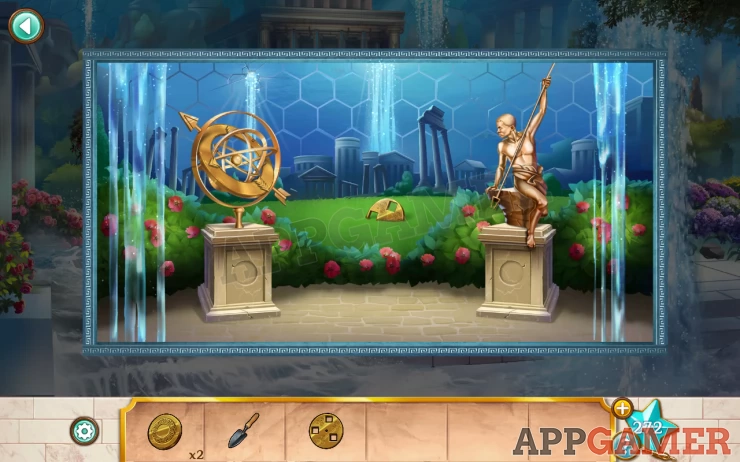
Then use the spade to the dig up and collect a second disc.
Now back up and tap to view the circle in the middle of the courtyard.
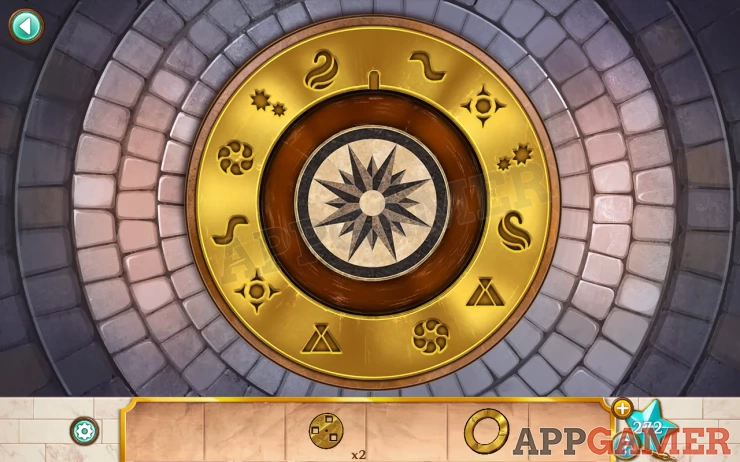
Add the golden circle to it. Then rotate it to lock it
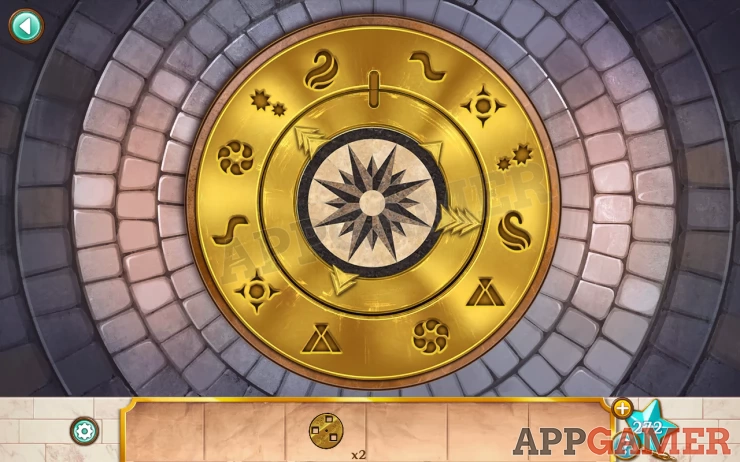
Note the arrows and the symbols they point to.
Go back to the building at the top of the steps. Use the spear to collect the disc hanging above the four basins.
If you did not already do this then make sure to empty each basin 6 times to fill the panel below.
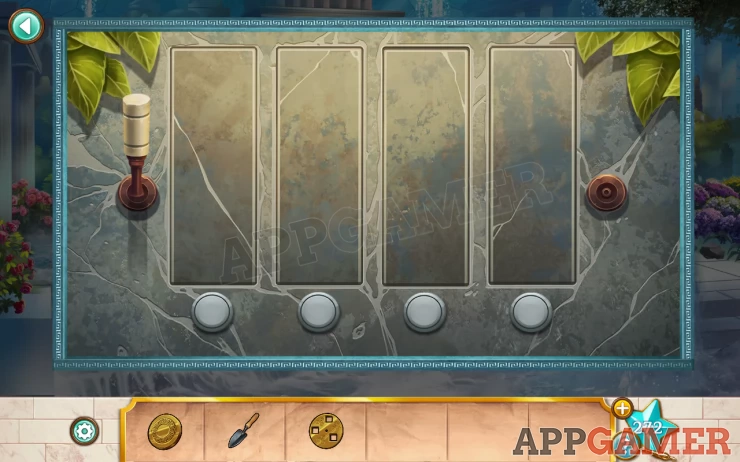
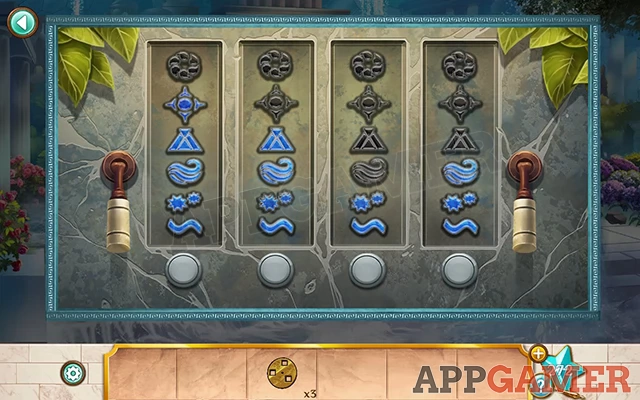
Now return to the panel on the wall between the steps. If you have emptied the basins enough they you will see that the symbols are blue (full of water). If not then they will be empty like below.
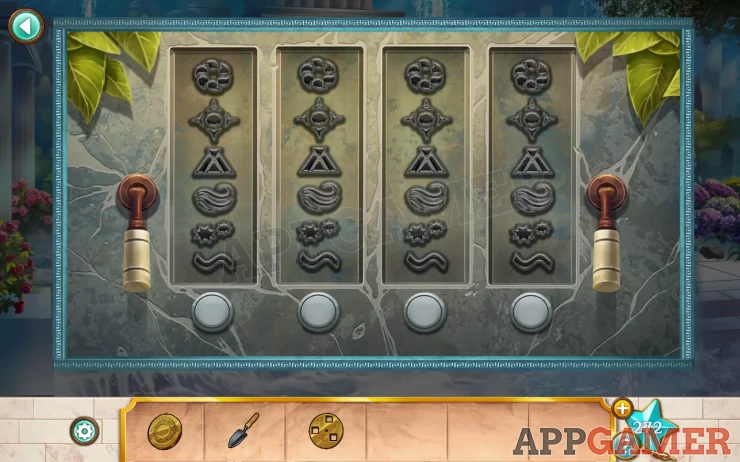
The buttons below the symbols will let you drain the water away one symbol at a time. You need to set the correct level for each. Add water at the temple above. Drain it with the buttons.
Solution: From the golden circle there are 4 symbols shown by arrows, the arrows have a size from 1 to 4. Lower the water level in each column to the symbols from 1 2 3 and 4.Show
Code: set the heights to 5, 4, 2, 3Show
Now you can view the center circle again for a new puzzle.
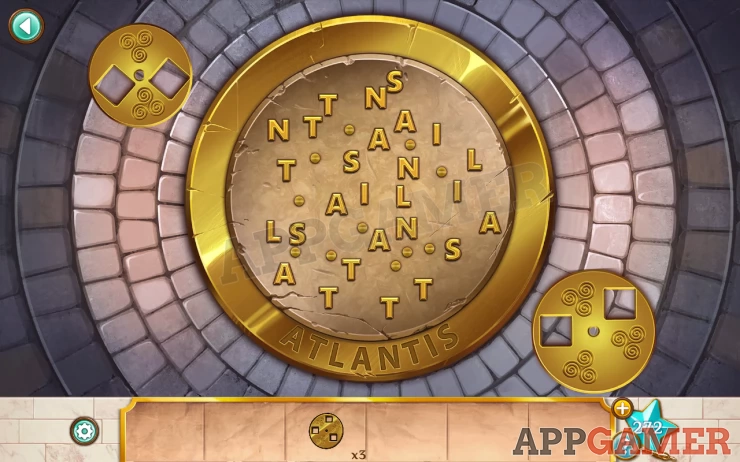
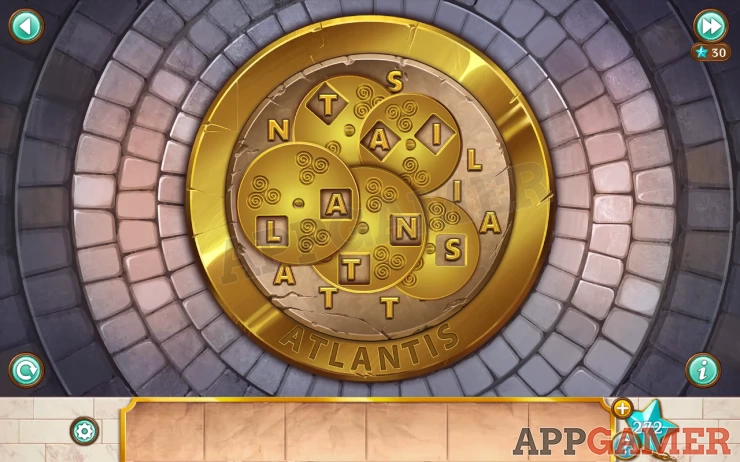
Add the 3 discs to start, then place them reveal the letters to spell ATLANTIS.
Solution: Show
You collect the third piece of the trident but then Prof Burns appears.
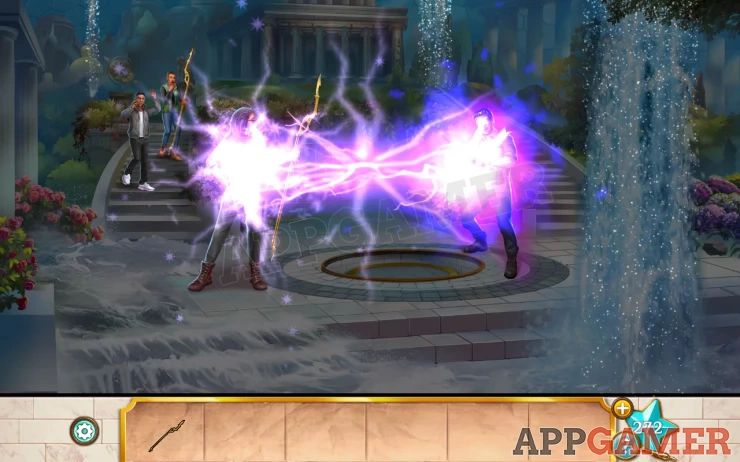
He takes your third piece of the trident.
That completes Chapter 7, move on to Chapter 8.
We have questions and answers related to this topic which may also help you: Show all