Level Guide 81 - 90
More 100 Doors: Escape from Work
100 Doors Escape from Work is another top escape room game from Peaksel Games. Makers of the similar 100 Doors Escape from Prison and Escape from school.
Having completed Levels 71 - 80 you can now find the walkthroughs of levels 81 - 90 here.
Level 81 Walkthrough
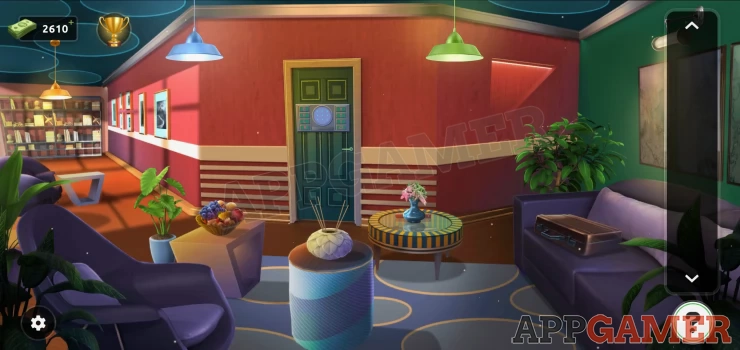
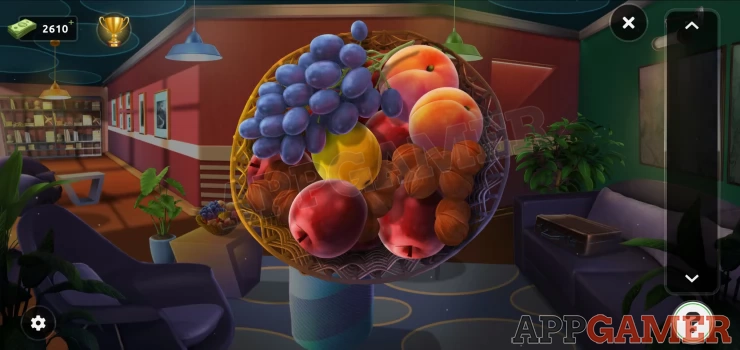
View the bowl of fruit on the left of the door and move the items to collect a lemon.
Next move the vase on the round table to the right of the door to collect a handle. Then open the briefcase on the sofa on the right and collect a paper.
Now view the exit door to see the puzzle. Tap the small door at the bottom to open it and collect a blade.
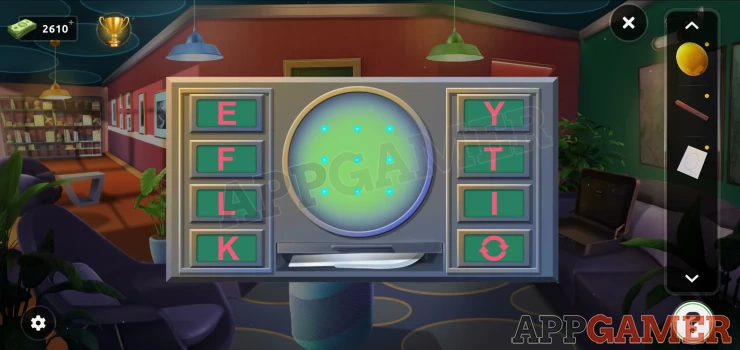
Now view the handle in your inventory and add the blade to make a knife.
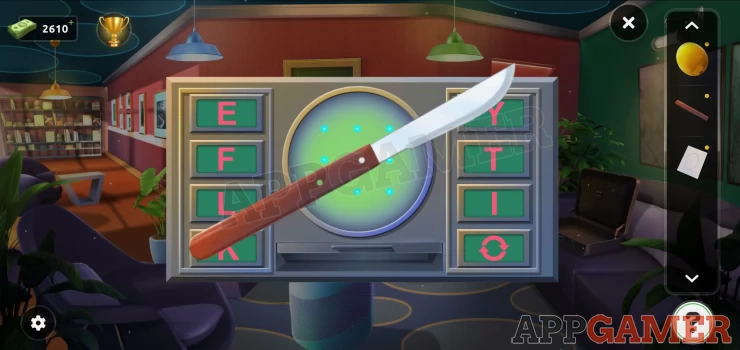
The view the lemon and use the knife to cut it. Then view the paper and use the half lemon on it to reveal a clue.
Show
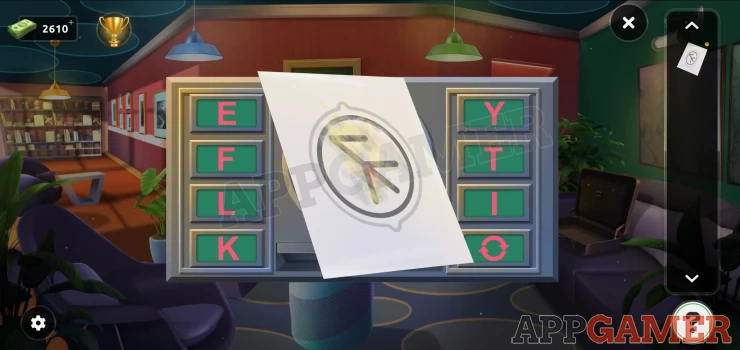
Use the clue to complete the door puzzle. You need to tap the letter to set the pattern on the grid, each letter will add or remove lines. You need to find the correct letters to use to match the pattern on the paper.
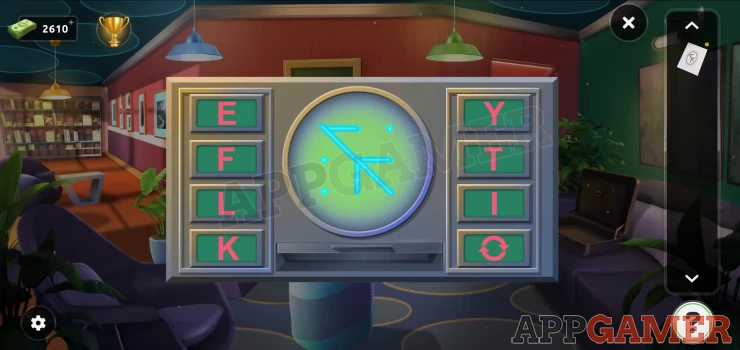
Solution: Tap the following letters: E L K Y TShow
Escape the room
Level 82 Walkthrough
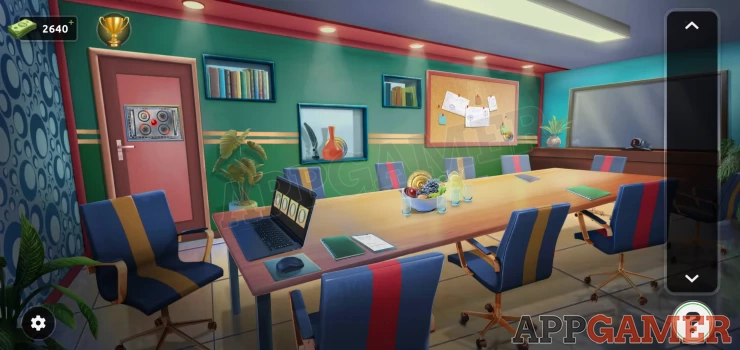
Move the orange vase on the wall shelf to find a gold disk, then collect a second one from the fruit bowl on the table.
Then view the note board on the wall on the right. Collect another gold disk and take note of the papers for a clue.
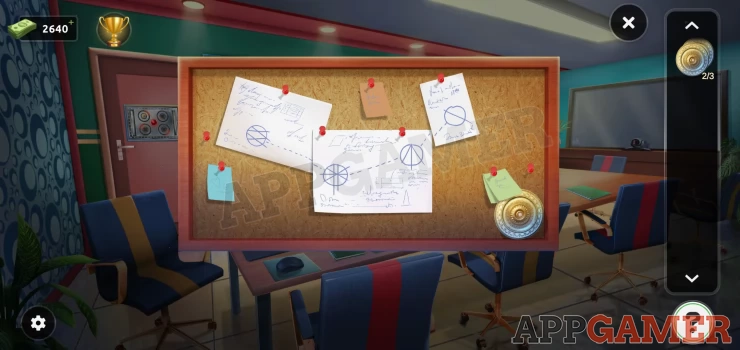
Now view the laptop on the table. You can get the code from the clue on the notice board.
Solution: Count the number of lines in each of the 4 circles.Show
Code: 4531Show
You will then see a clue on the screen. Tap the red button at the top to activate the exit door puzzle.
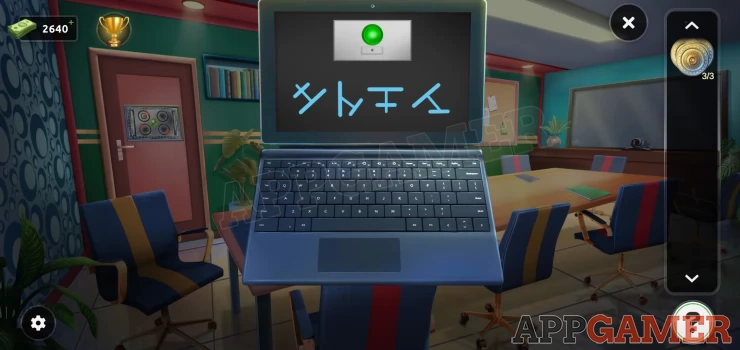
View the exit door. Then add the 3 gold disks to it to start the puzzle. Now use the clue on the laptop to set the 4 sets of circles correctly.
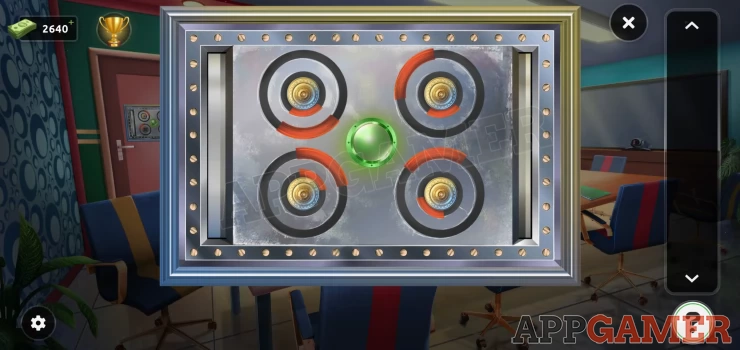
Solution: the laptop has pairs of long and short straight lines. Copy the directions of these with the long and short curves on the door puzzle.Show
Level 83 Walkthrough
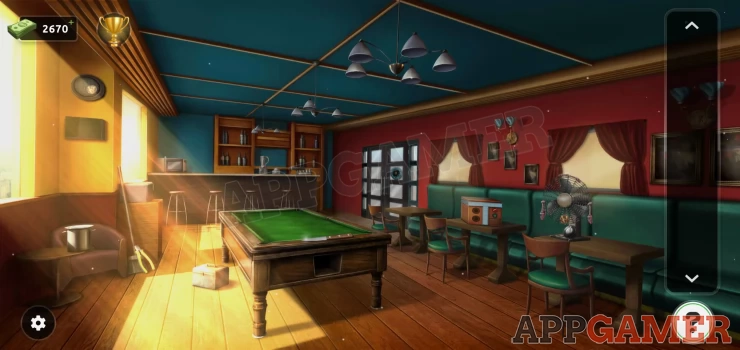
Collect an Ice bucket from the chair on the far left and some wire cutters from the floor to the right of the chair. Then collect a knife from the snooker table.
Next view the fan on the table on the right of the room.
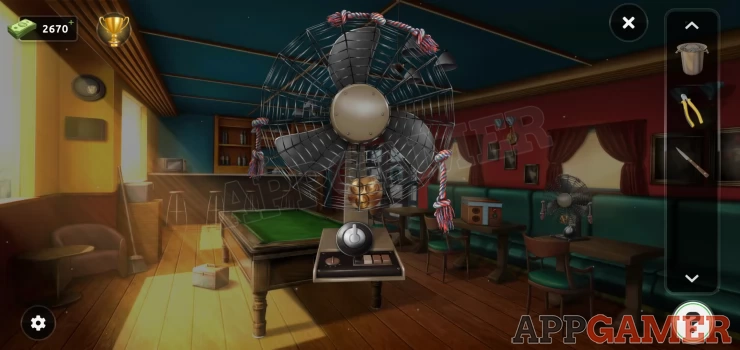
Use the knife to cut the ropes and remove the cover, you can then collect a gold colored button from inside. Also collect the black and white knob from the base.
Now view a small oven that is on the bar on the back left. Open it and place the ice bucket inside and then add the knob to turn it on and melt the ice.
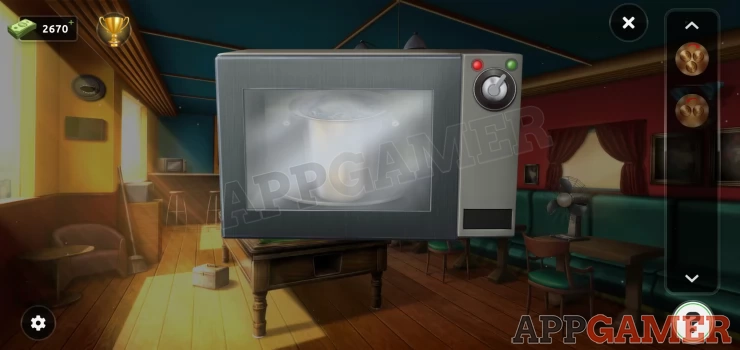
Open the oven and collect a paper, you can view it for a clue. Next on the top left of the room above the chair is a small round grill.
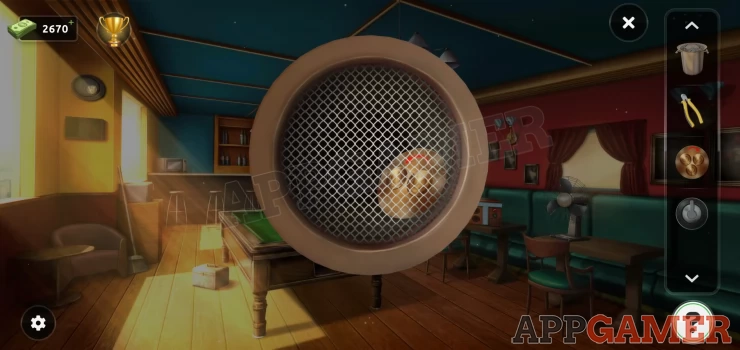
Use the wire cutters here to open it and collect a second gold colored button. Next view a box on the table on the right
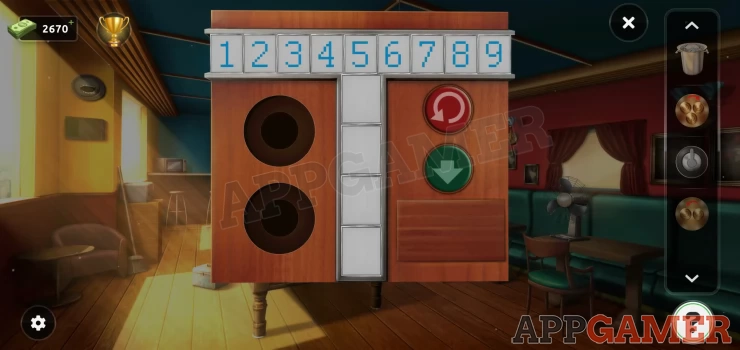
Add the 2 gold buttons to it to start a puzzle. Tap the buttons to move the row of numbers left and right. They will move 3 or 3 numbers at a time. Then you can tap the green button to drop 1 number at a time into the vertical column.
Solution: You need to set the same numbers as those on the paper. 5382. Remember to do them in reverse order.Show
You can then collect some puzzle rings. View the exit door and add these to the puzzle.
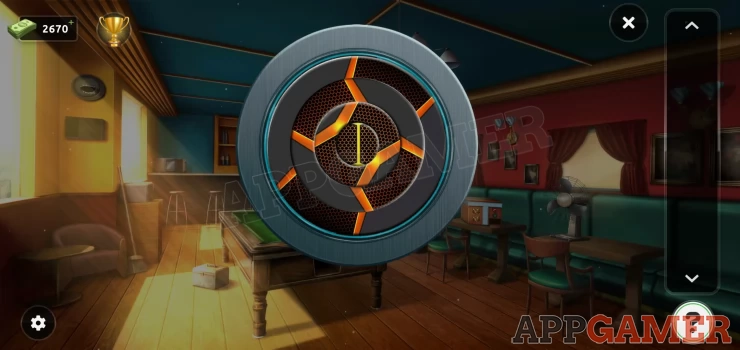
You now need to rotate the rings to complete the shape. Moving each ring will also move others.
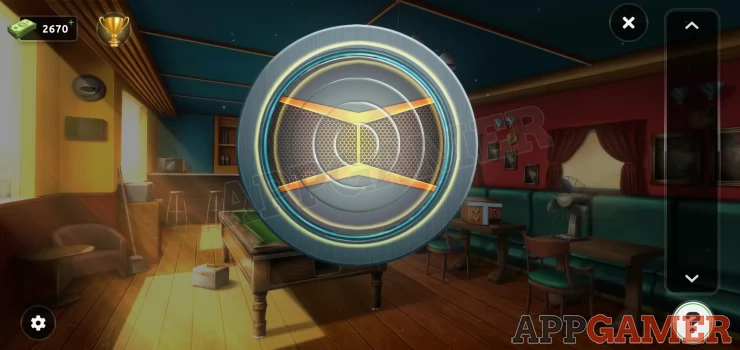
Once done the door will open and you can escape.
Level 84 Walkthrough
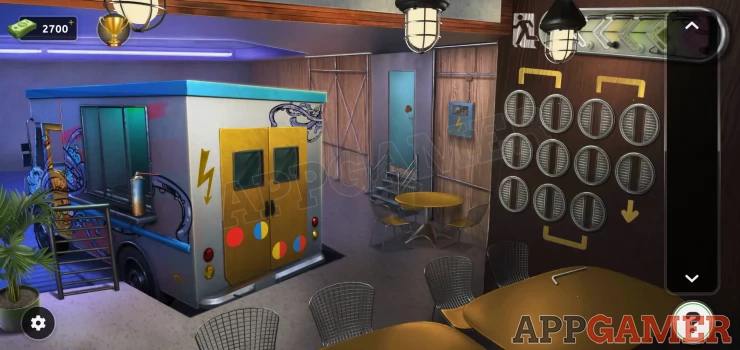
Collect an oil spray can from the left side of the truck and then also a hex key from the table on the bottom right. Now view the electrical box on the right of the door and use the hex key to open it.
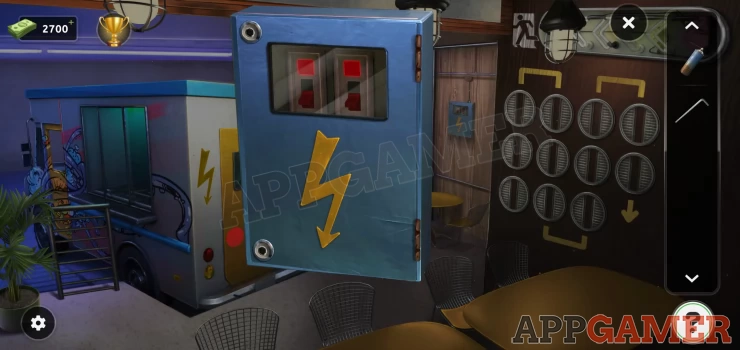
Tapping the switches inside will change the color of the lights. You need to find the correct 4 colors.
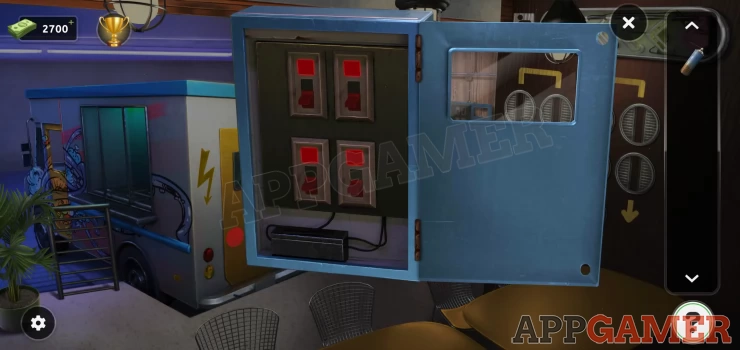
Solution: Look at the colored circles on the back of the truck. Some have 2 colors so you need to mix them.
Colors: Red Green Orange PurpleShow
This will light up a clue on the right wall. Now view the exit door.
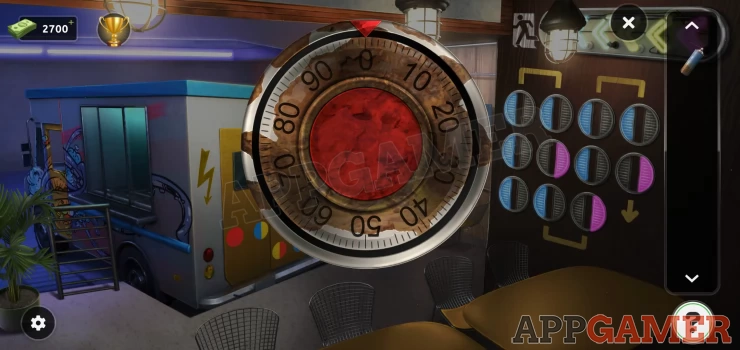
Use the spray can to clean the dial and you can then spin it to the left or right.
Solution: To solve this follow the clue on the right wall. Blue means spin to the left, pink means spin to the right. Make sure to follow the arrow line correctly.Show
The door will open and you can escape
Level 85 Walkthrough
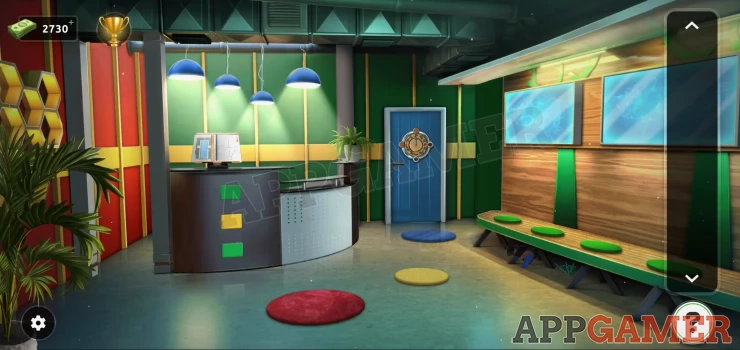
First view the book on the stand on the reception desk. Collect the wooden ruler.
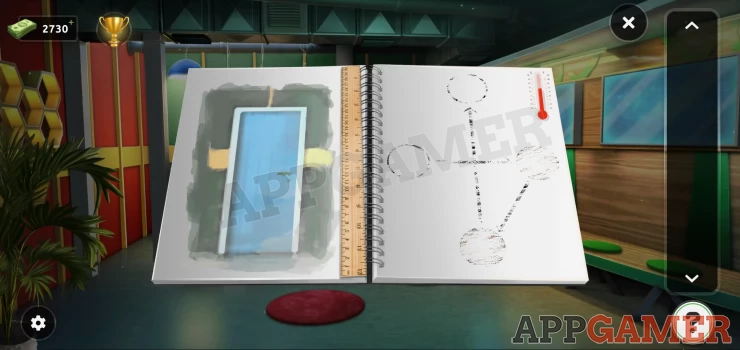
Then use the ruler under the bench on the right to find and collect a hairdryer and a set of 3 clock hands.
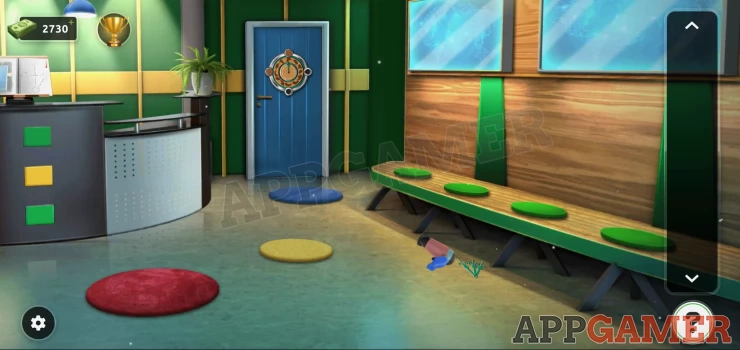
View the book again and use the hairdryer on the right page to reveal a clue.
Show
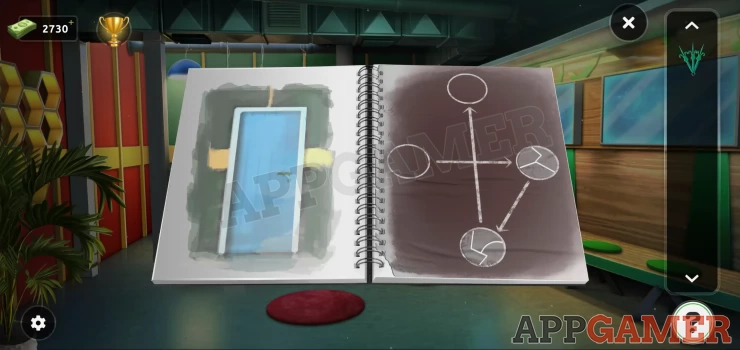
Note the 2 shapes and the order of the arrows. Now view the exit door. Add the hands to the puzzle.
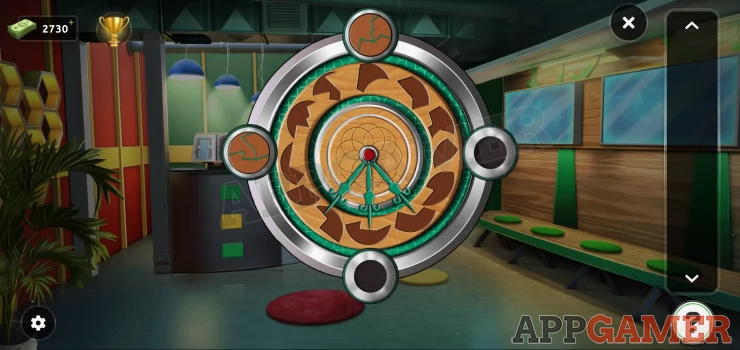
To solve this you need to use the hands to select 3 shapes to make up the required symbols. Two of the symbols are on the door and 2 can be seen in the book. You need to follow the order shown by the arrows in the book.
Solution:
Show
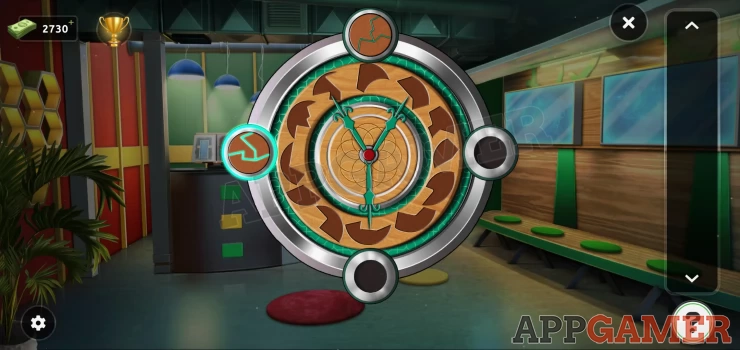
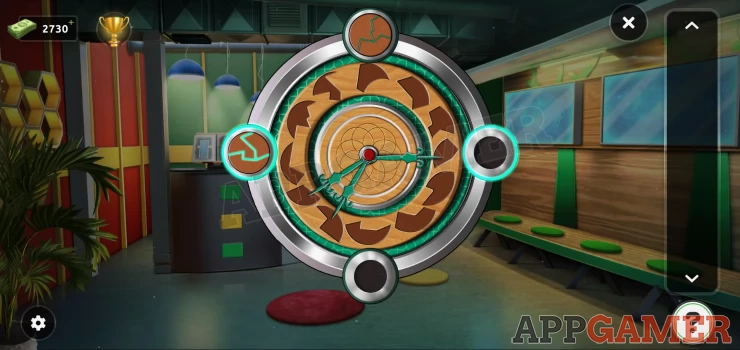
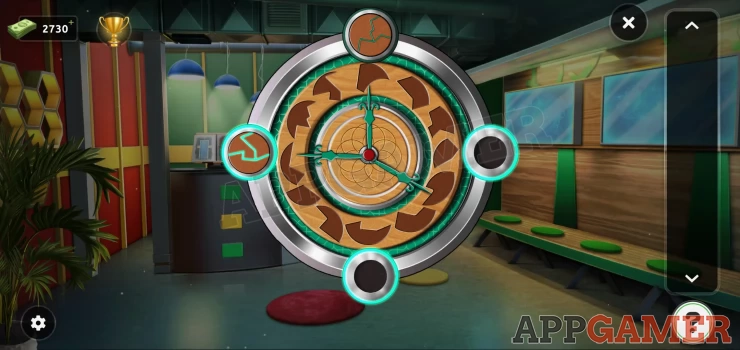
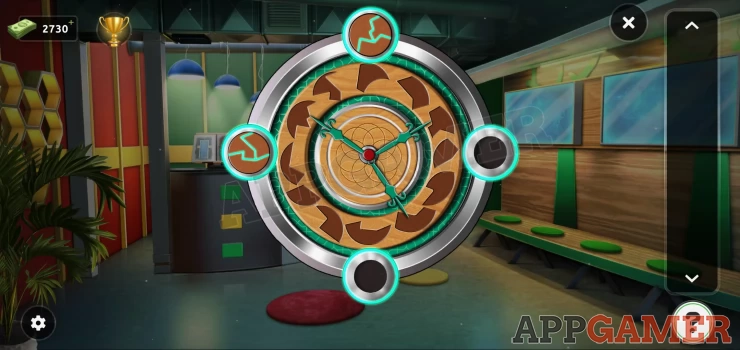
The door will open and you can escape
Level 86 Walkthrough
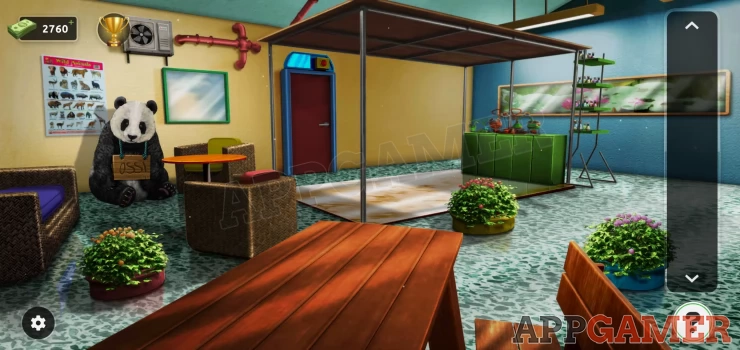
Notice the bear on the left with the sign around it's neck. Then tap the small panel above the exit door.
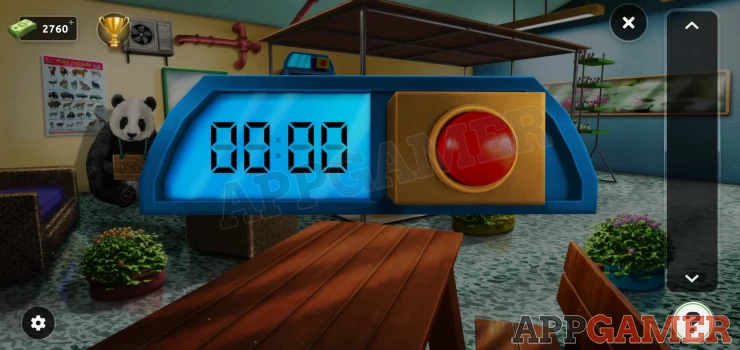
Enter the code then press the red button.
Solution: The sign is not the name OSSI but numbers 0551.Show
You can then collect a paper with a clue. Now tap on the green bench on the right of the door to see some chemistry equipment.
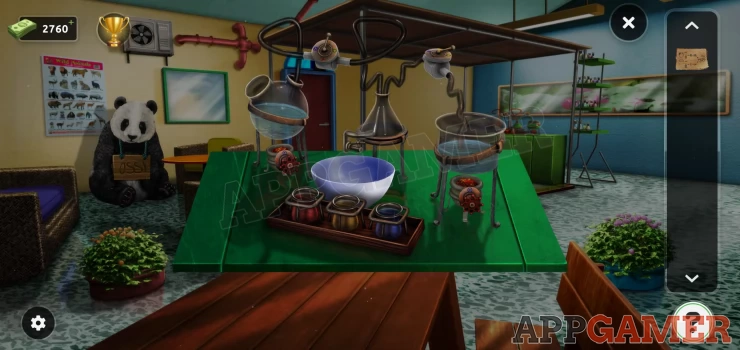
Add the paper to it and then view the paper to see the instructions.
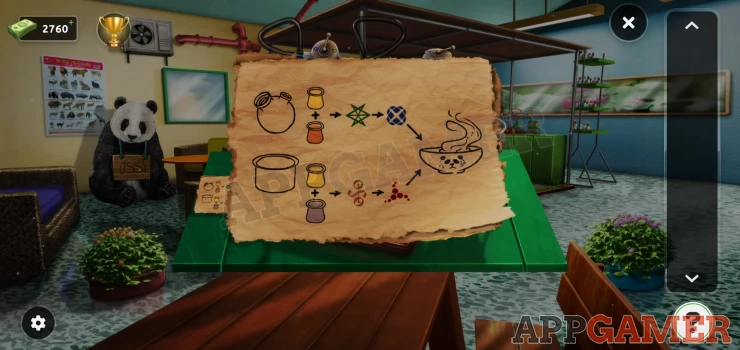
Solution: Add the yellow and red liquids to the round vessel on the left. Then set the bottom dial (under the vessel) to green and the top dial to Blue. Add yellow and blue liquids to the vessel on the right, then set orange on the lower dial and red on the top dial.Show
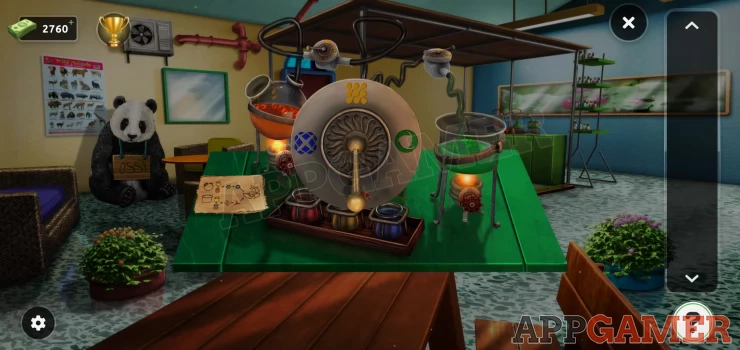
Now tap the flask in the center to pour out the purple liquid into the bowl, collect it. Give the bowl to the bear and it will move to the left to reveal a hole.
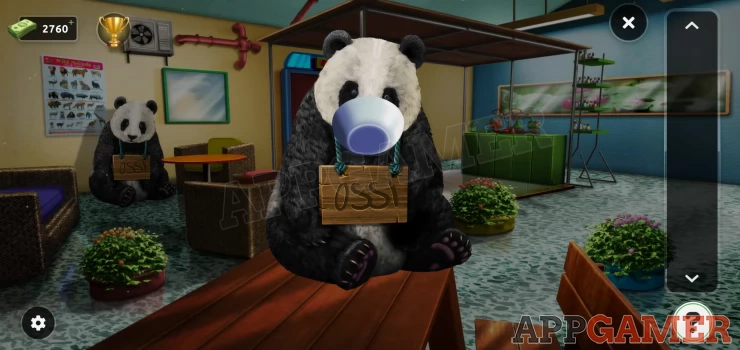
Collect a key. You can now escape the room with the key.
Level 87 Walkthrough
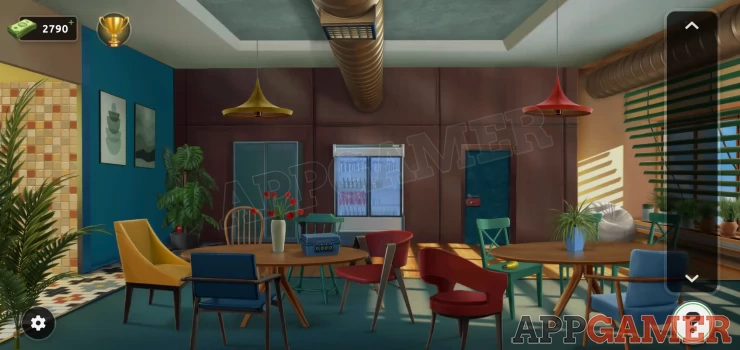
Collect a red light bulb from the potted plant on the back left corner and then also a yellow bulb from the green chair at the table on the right. Add the yellow bulb to the yellow lamp shade and the red bulb to the red lamp.
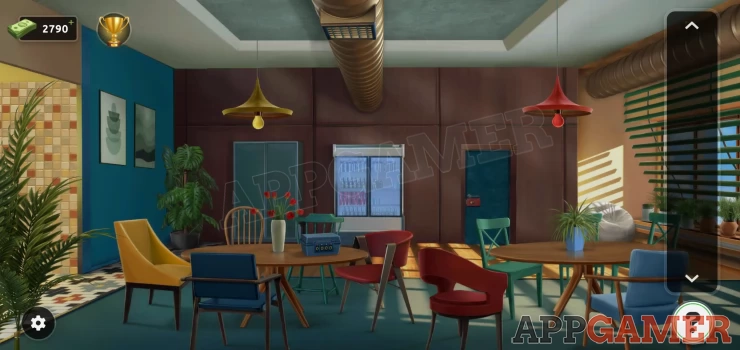
When you do this the bulbs will flash a number of times, count these. Next view the blue box on the table on the left. Use the clue to open it.
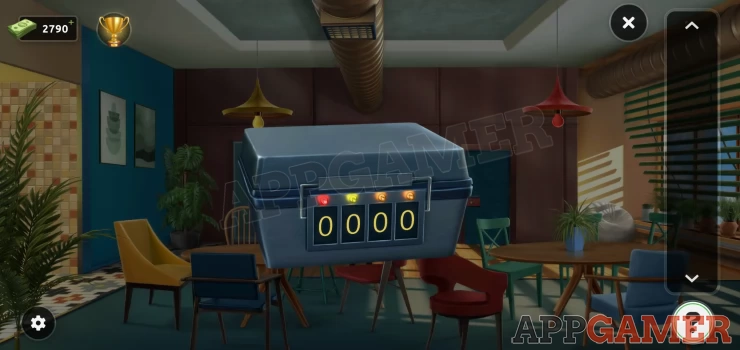
Solution: The red number is the number of red flashes, the yellow number is the number of yellow flashes, and then the 2 orange numbers are the total of red and yellow.Show
Code: 5813Show
Collect a key and then view the exit door lock,
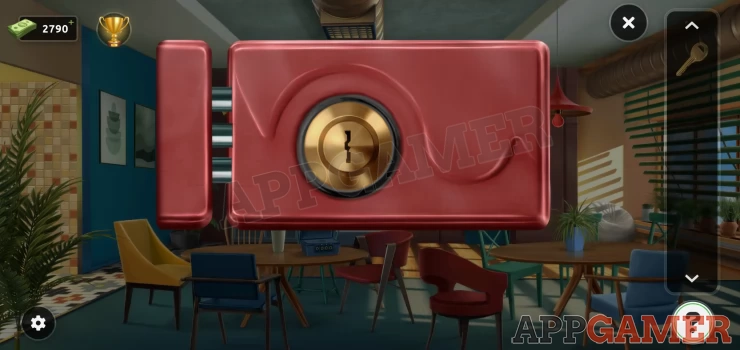
Use the key on the lock and you will find another puzzle.
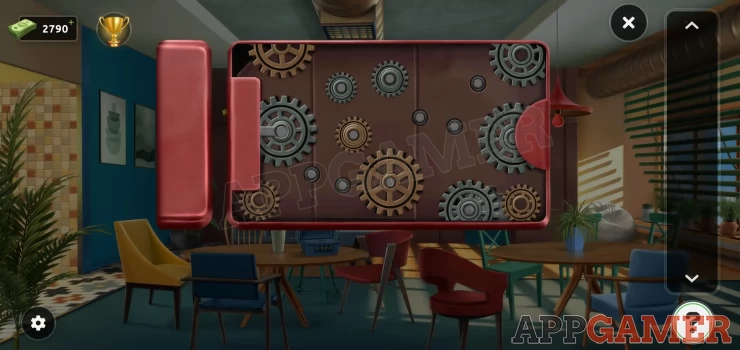
To solve this you need to arrange the cogs so that they all fit and turn the one on the right to open the door.
Solution: Show
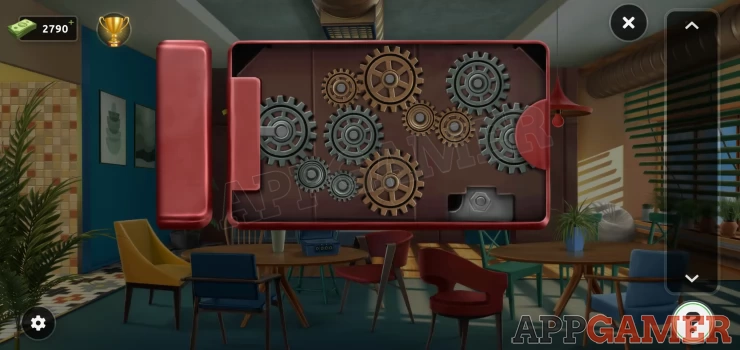
Escape the room.
Level 88 Walkthrough
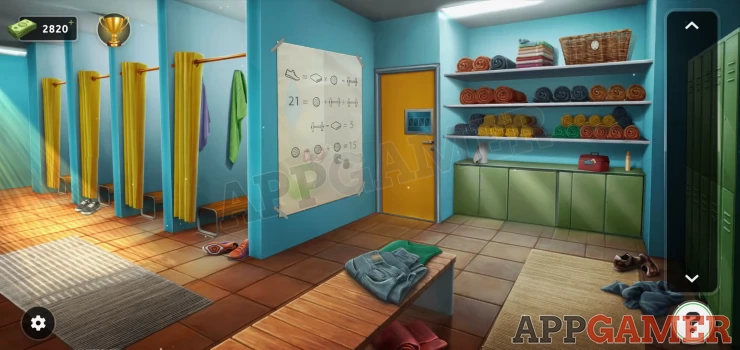
Look at the large clue on the wall, this has clues to the values of 4 objects. Then tap on the small red box on the green cupboards on the right.
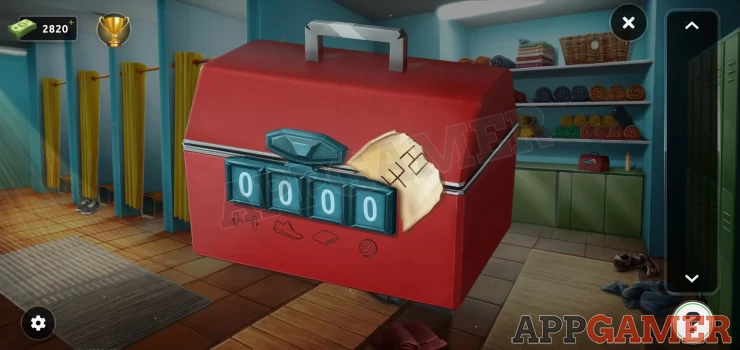
Collect the torn paper clue and then use the clues to enter the code relating to the symbols above each dial.
Code: 8735Show
Collect the second half of the paper. Combine then in your inventory to see the clue.
Show
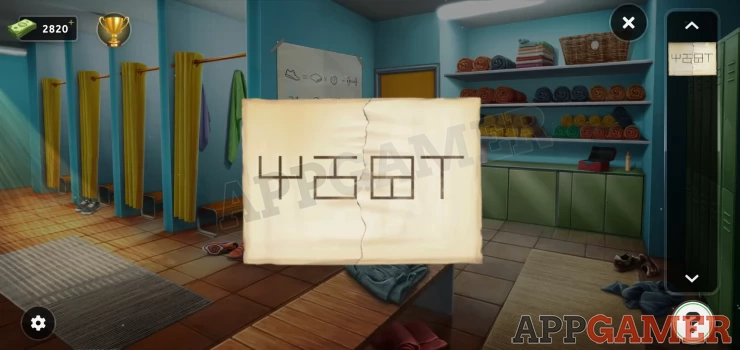
Now you can view the exit door code lock and enter the code using the clue.
Solution: Each symbol is a number that has been mirrored.Show
Code: 4267Show
Escape the room
Level 89 Walkthrough
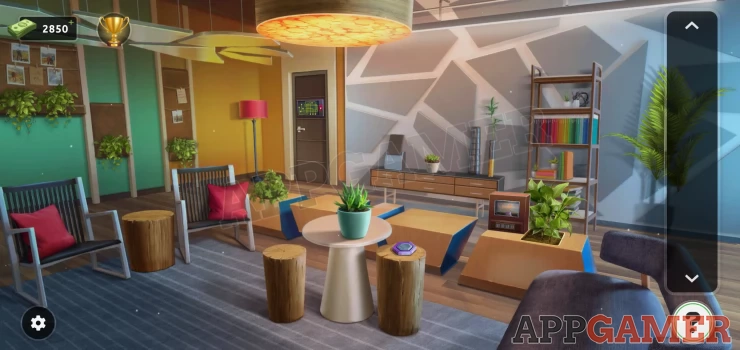
First collect a purple tile from the log seat on the right of the white table. Then tap to move the red cushion on the chair to the left of the white table. Collect a mirror.
Next view the exit door puzzle to collect some tweezers.
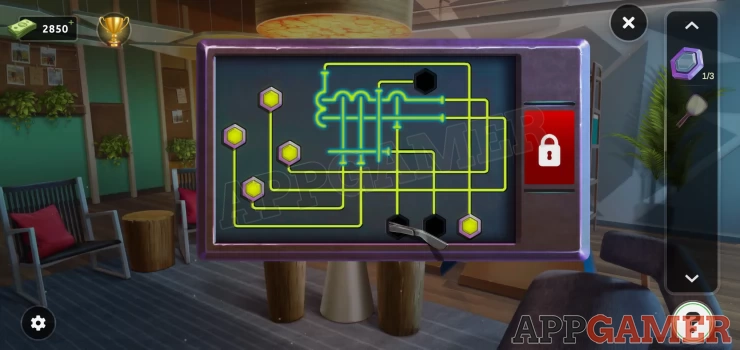
Now view a box by the small plant on the right. Use the tweezers to collect a second purple tile from it.
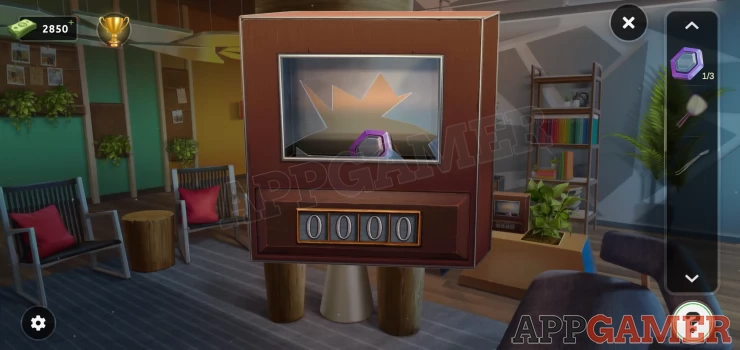
Then use the mirror on the box to find a hidden code.
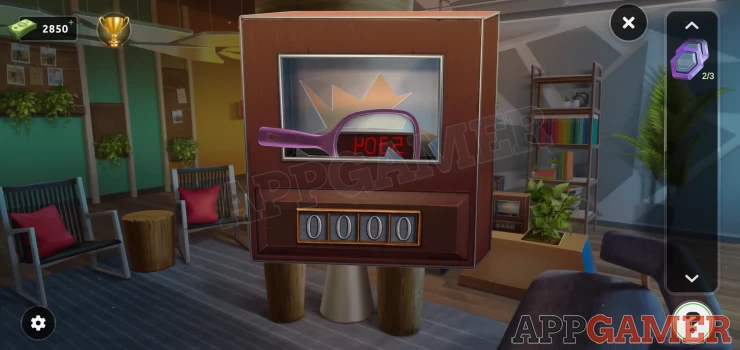
Use this clue to enter the code on the box and collect the third tile.
Code: 5304Show
View the exit puzzle again and add the 3 tiles to start.
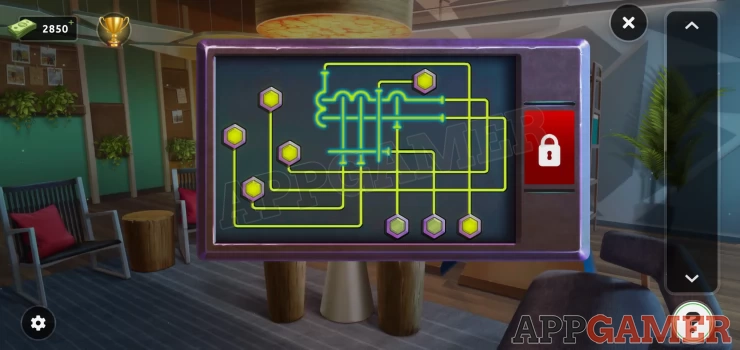
To solve this you need to tap the buttons in the correct order. tapping a button will remove the associated glowing line.
Solution: Remove the lines that are over other lines first. From the one that is crossing OVER the most lines first. Remove the ones that do not cross any lines last.Show
Check the video below for help if needed.

Escape the room.
Level 90 Walkthrough
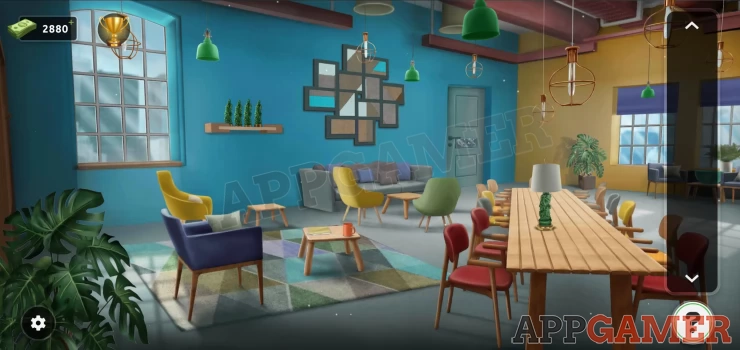
First tap the lamp on the long table on the right to remove the shade and then collect the green figure. Then view the shewlf on the wall on the left to see 4 more green figures.
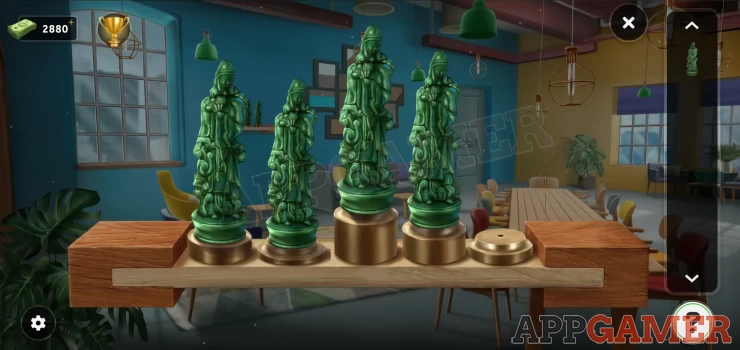
Add the one you have collect to it and then solve the puzzle.
Solution: Swap the figures around to place them on the different height bases so that they are all the same height overall.Show
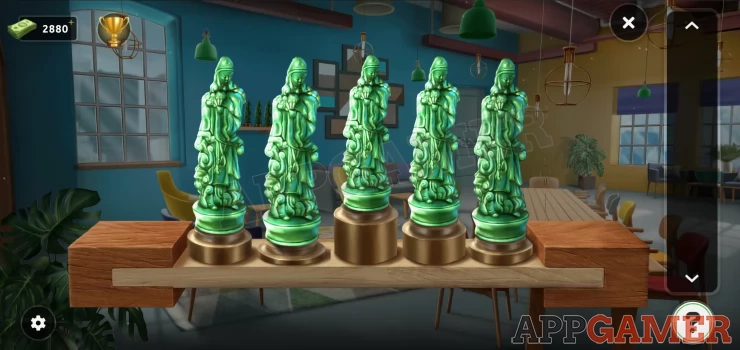
Once done you will see a clue A=3
Now view the small square table with the cup and move the papers on it to see more clues.
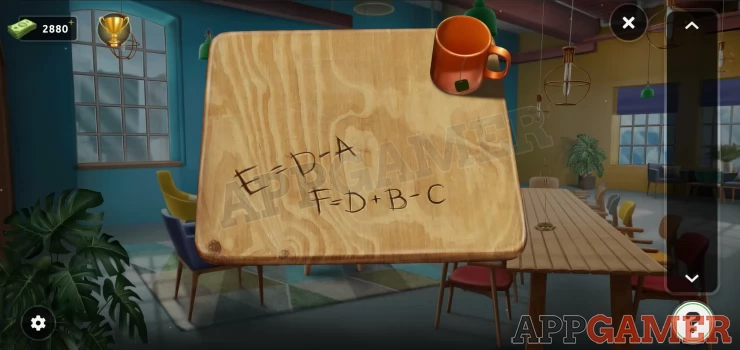
Then view the exit door puzzle to see more math clues.
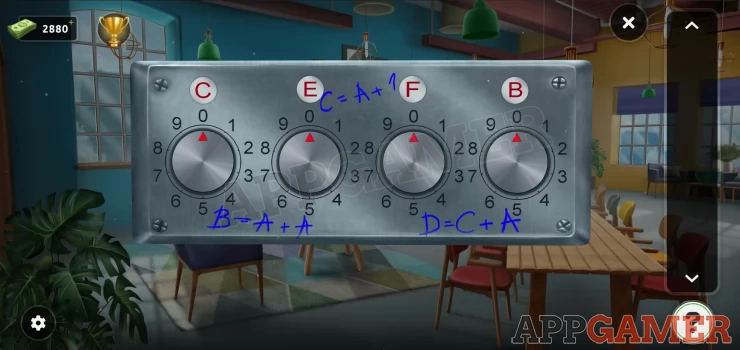
Use these to work out the values for the 4 letters, CEFB.
A=3 B = A + A = 6 C = A + 1 = 4 D= C + A = 7 E = D - A = 4 F = D + B - C = 9Show
Code 4496Show
Escape the room.
This completes Level 81-90. Continue with Levels 91 - 100
We have questions and answers related to this topic which may also help you: Show all
 With 20 years of experience in creating video game content for the internet and over 30 years as a gamer, Mark is now a passionate mobile App Gamer. Loving a challenge, he is always ready to get stuck in to both survival builders and puzzle solving games. He has been providing content for AppGamer since 2014.