Level Guide 31 - 40
More 100 Doors: Escape from Work
100 Doors Escape from Work is another top escape room game from Peaksel Games. Makers of the similar 100 Doors Escape from Prison and Escape from school.
Having completed Levels 21 - 30 you can now find the walkthroughs of levels 31 - 40 here.
Level 31 Walkthrough .
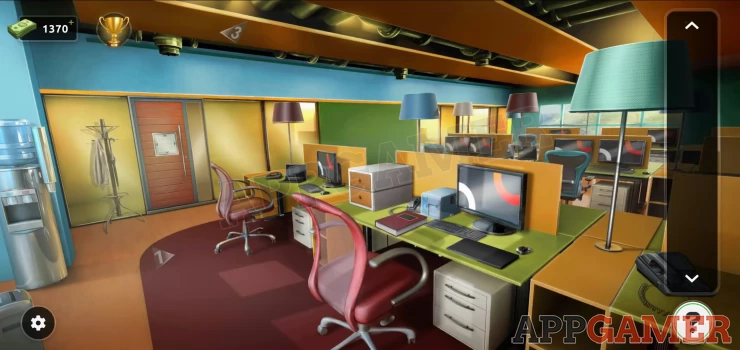
Notice on the floor is an arrow with the number 1 (Right arrow). Then on the ceiling is the number 3 (Left arrow).
There is a blue lamp shade near the center of the room, tap this to rotate it and see the number 2 (Up arrow).
Then open the black laptop on the desk towards to lower right to see the number 4 (Down arrow).
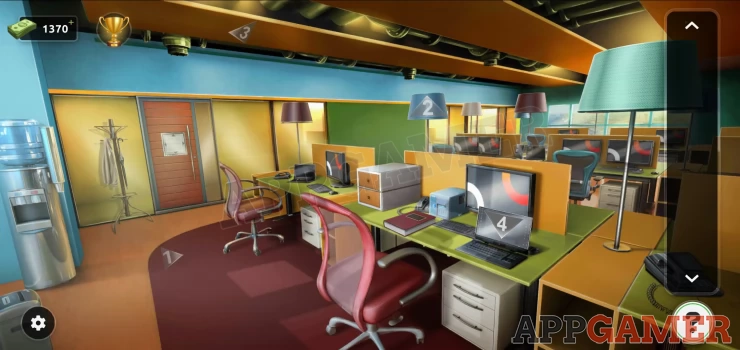
Now tap to move the red book on the same desk. and collect a blue key card.
Net view the lock on the door.
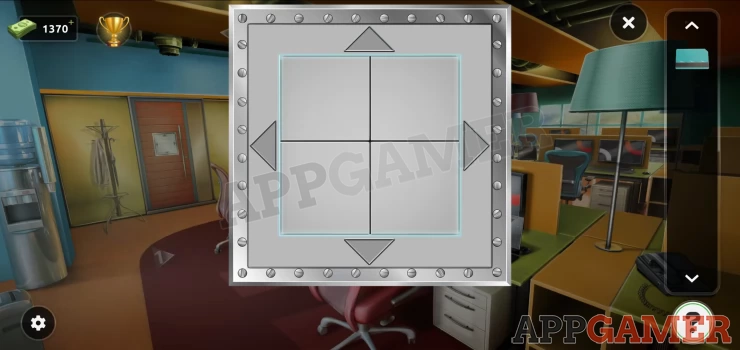
Use the key card on it to activate it and then tap the arrows in the correct order.
Solution: Right, Up, Left, Down.Show
The door opens for you to escape.
Level 32 Walkthrough
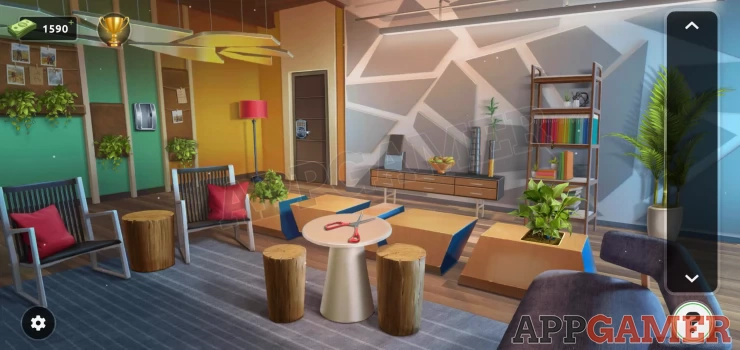
Collect the scissors from the small round table int he center and then view the small bush to the right of the table.
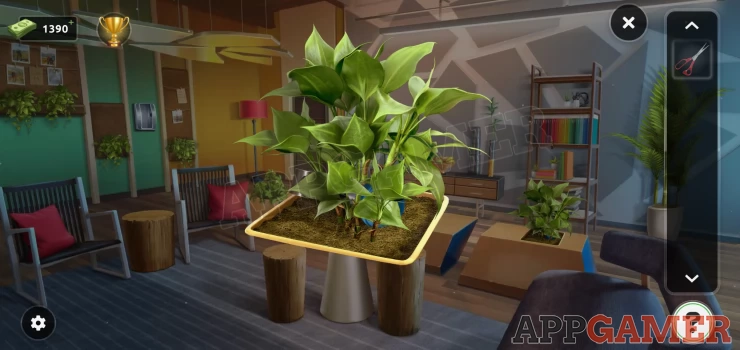
Use the scissors to cut away the bush and then collect a lever handle. Place the lever handle in a socket on the left of the room.
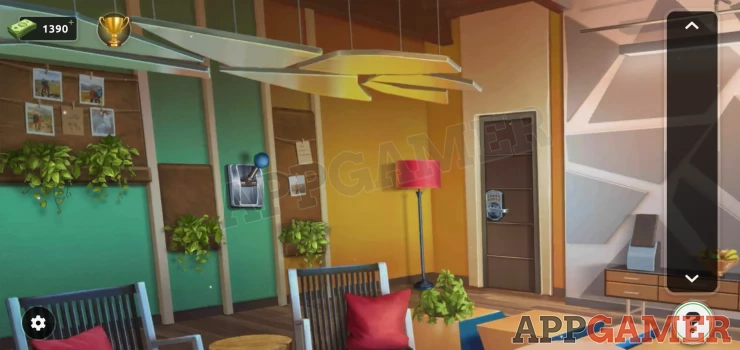
Pull the level to lower a light and see a pattern.
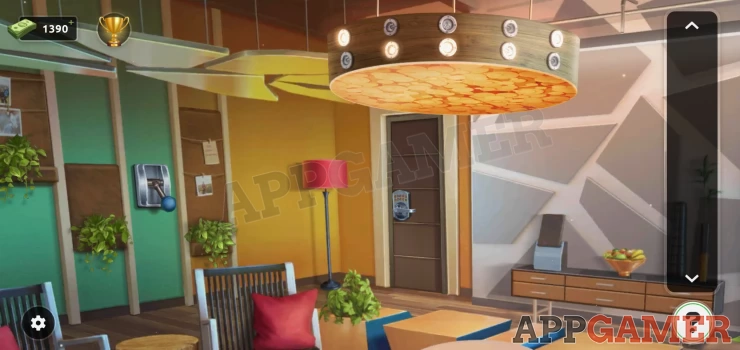
Now view the door handle to see the puzzle lock. Set the lights to match the pattern above.
Escape the room.
Level 33 Walkthrough
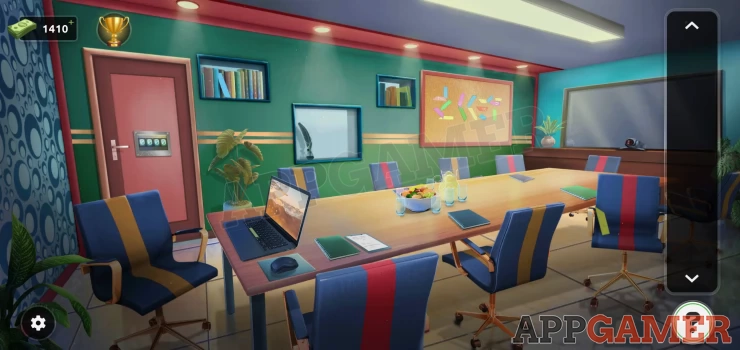
Tap the top left shelf with books to collect a blue block. Then tap the red strip chair on the lower right to turn it and collect a yellow block.
Next tap the blue book on the table in front of the center yellow tripe chair to open it. Collect a pen.
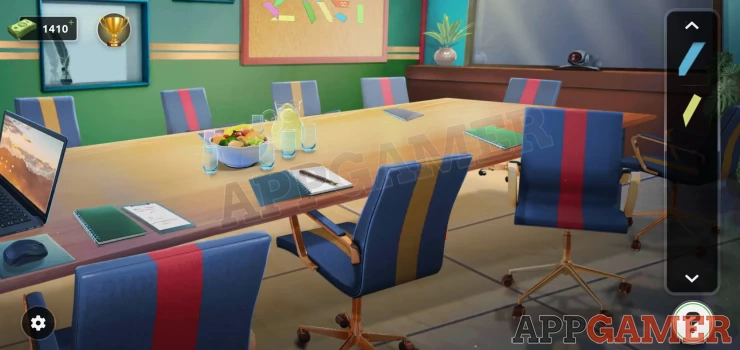
View the laptop on the table and use the pen in it to collect a green block.
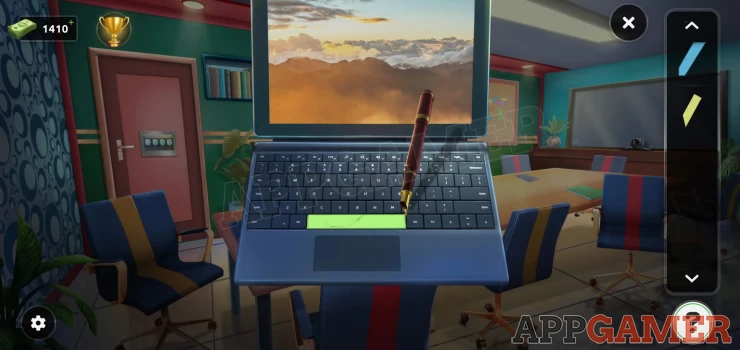
Now view the pin board on the top right.
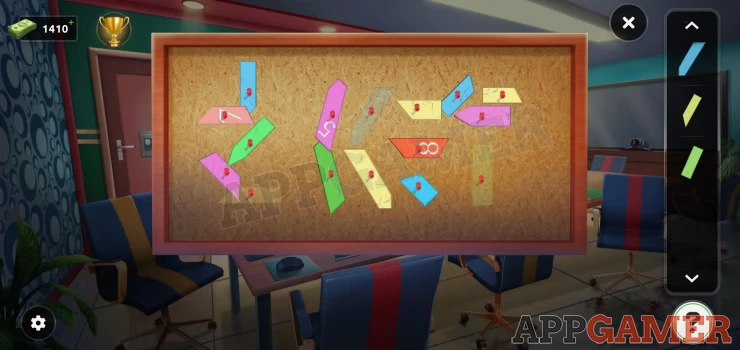
Add the 3 blocks to it and then you ca tap to turn and arrange the blocks to form a word. When you do this will reveal 4 numbers.
Show
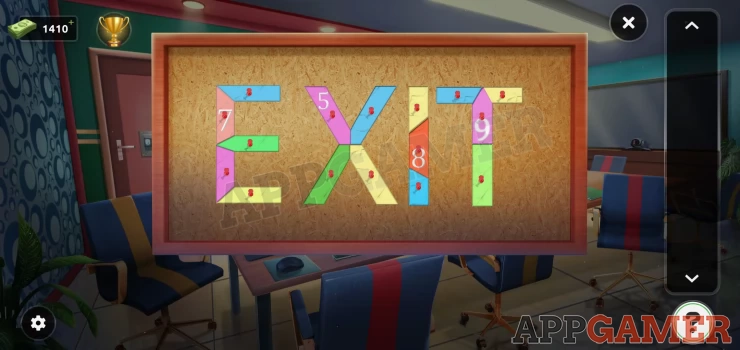
Now view the exit door lock.
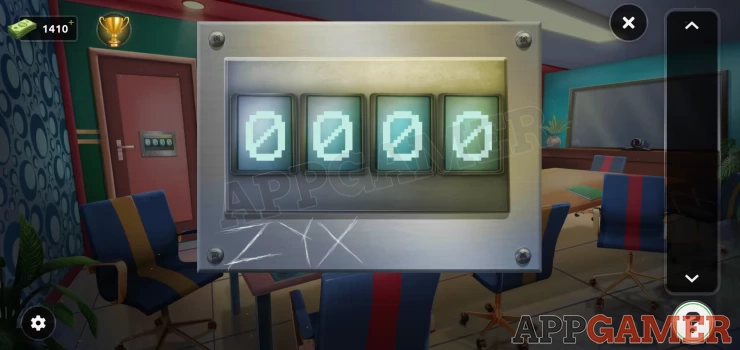
Note the scratched letters, these are in reverse alphabetical order.
Solution: get the numbers from the letters from the board but in reverse alphabetical orderShow
Code: 5987Show
Exit the room.
Level 34 Walkthrough
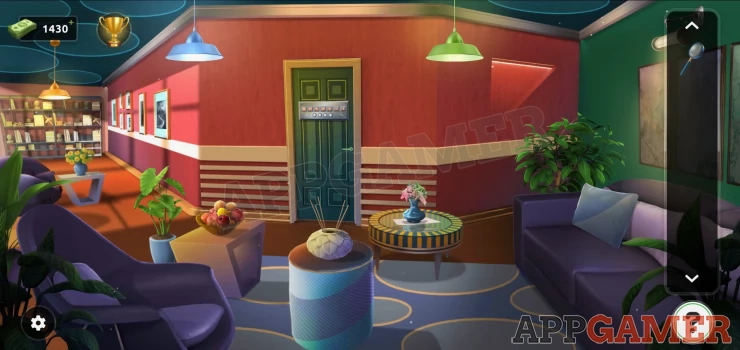
Tap the fruit bowl to the left of the door to collect a magnifying glass. Then tap on the round vase in front of the door to collect a blue cloth. Finally collect a small bottle of cleaner from the wall on the top right near the green light.
View the magnifying glass and use the cleaner and then the cloth on it to clean it.
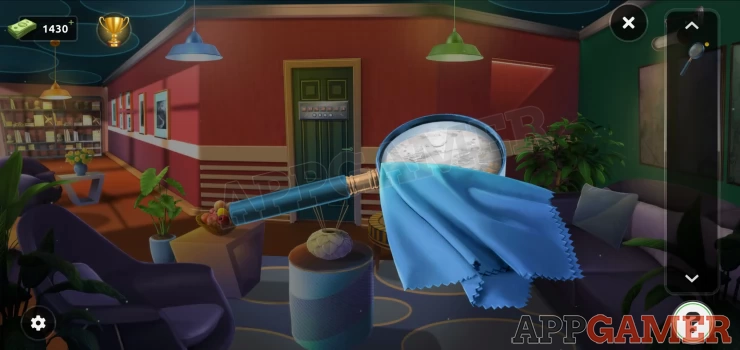
Now tap the blue vase on the small table to the right of the door to move it and then collect a paper clue. View the paper in your inventory and then use the magnifying glass on it. Move it around to find the clue.
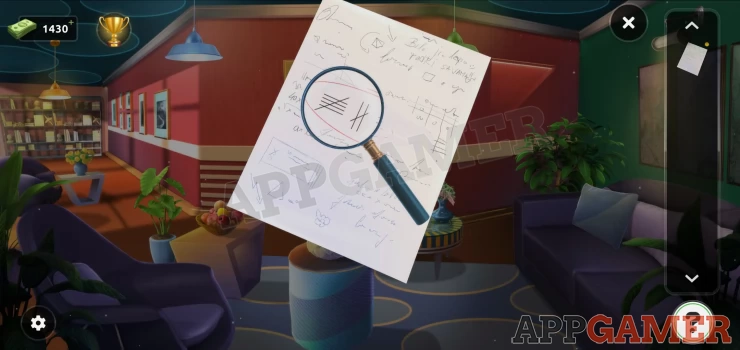
Now view the Code lock on the door.
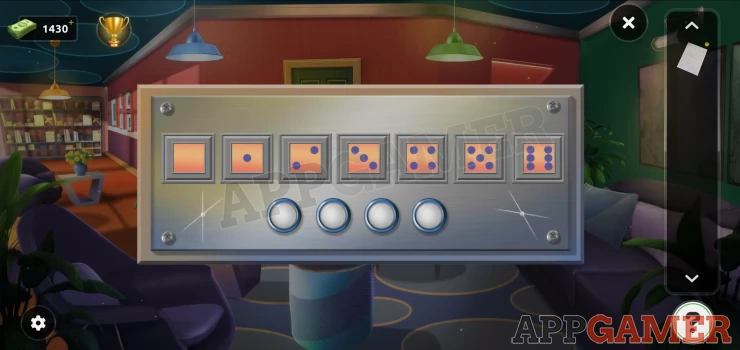
Solution: Notice the scratched crossed lines. Check the paper clue and count the number of crossed lines in the 4 symbols.Show
Code: 4 2 0 6Show
Escape the room
Level 35 Walkthrough
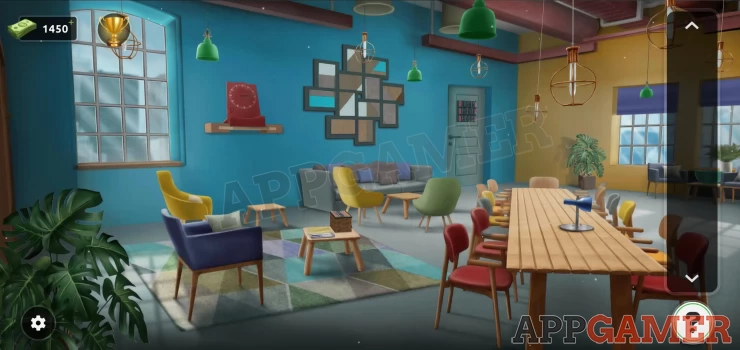
First view the small square table with a box on it.
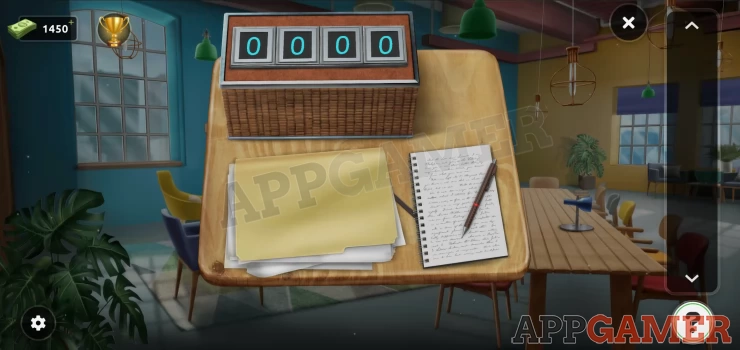
Move the papers away and you can collect a clock hand and see a clue.
Show
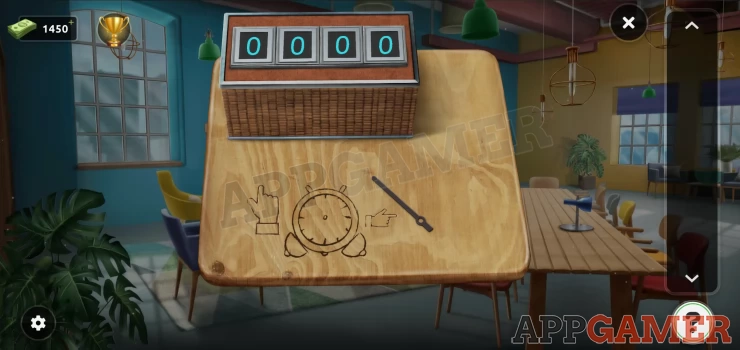
Now view the red clock on the shelf above.
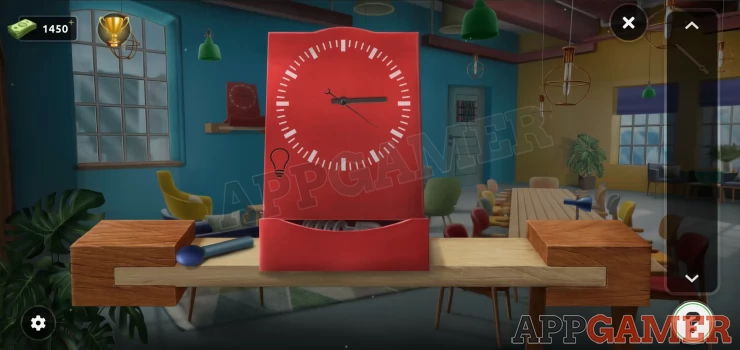
Collect a blue switch from the left. Then add the hand to the clock. You can now set the time according to the clue.
Solution: Notice that in the clue on the table the clock is upside down.Show
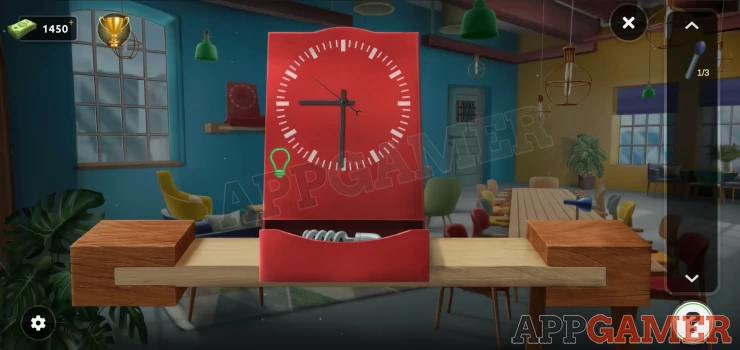
Collect the light bulb.
Now view the blue lamp on the long table.
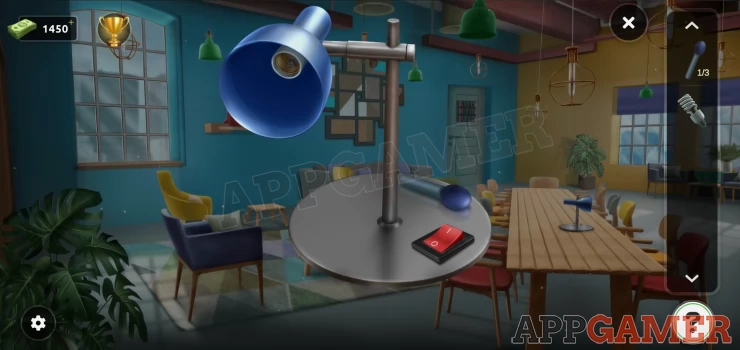
Collect a second blue switch and then add the light bulb to the lamp. Turn the lamp on and then tap it to point it down and see a code clue.
Show
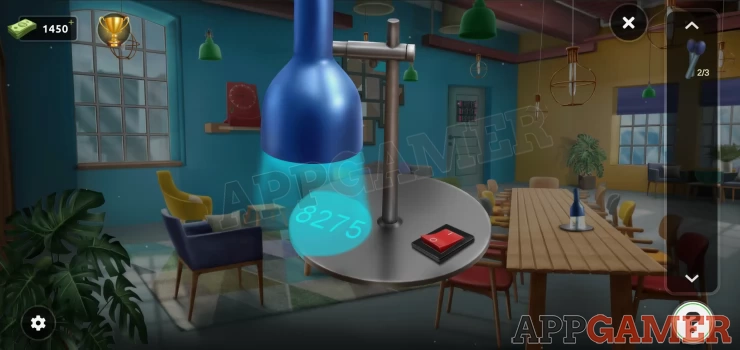
Return to the box on the small table and enter the code.
Code: 8275Show
Collect another blue switch.
Now view the exit door to see the puzzle.
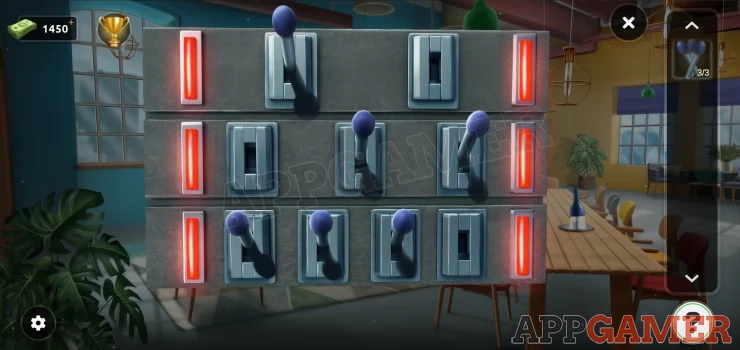
Add the 3 switches to the puzzle to begin. You now need to tap the switches in the correct order to set them all down.
This is a process of elimination. Start at the top.
Solution: Start with the top row: tap switch 2 and then switch 1. Second row: Tap 2, 3, 1 Bottom row: Tap 3, 1, 4, 2Show
Escape the room.
Level 36 Walkthrough
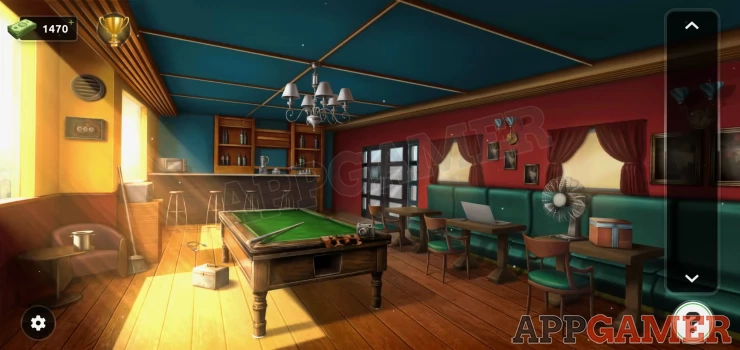
First collect a camera from the snooker table and then also a USB cable from the floor to the left of the table.
View the camera in your inventory and add the cable to it.
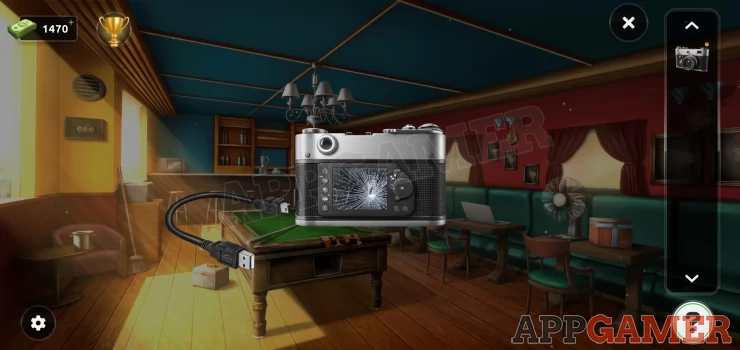
Now view the exit door. There is a pattern of 7 lights on the left.
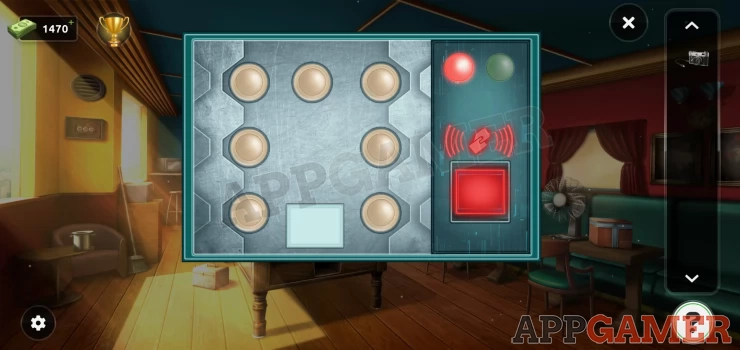
Tap the square button at the bottom to show a sequence of light flashing, remember this order. Now view the laptop on the right side of the room.

Repeat the order of lights on the screen to unlock the laptop.
Solution: Start at the bottom left.Show
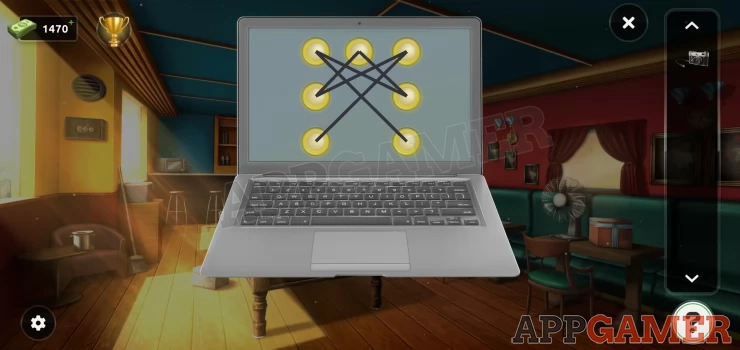
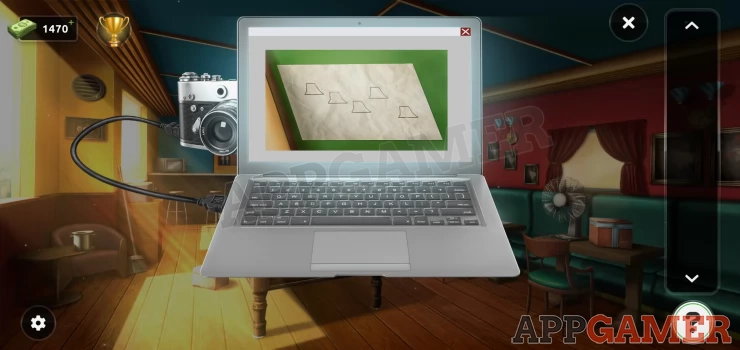
With the laptop unlocked add the camera (with cable) to it. You will then see an image.
Show
Now tap to view the lights on the ceiling.
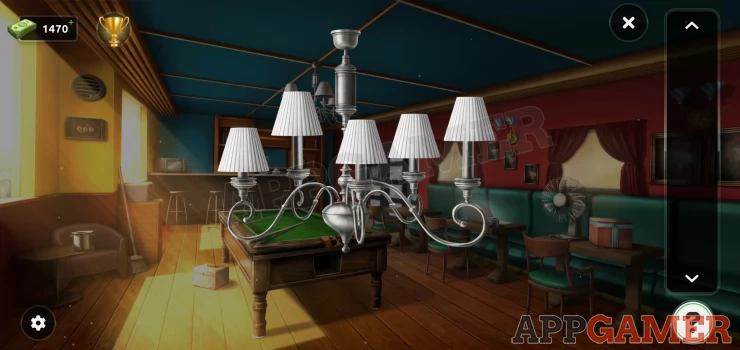
Set the heights of the lamps according to the image from the laptop.
Solution: Show
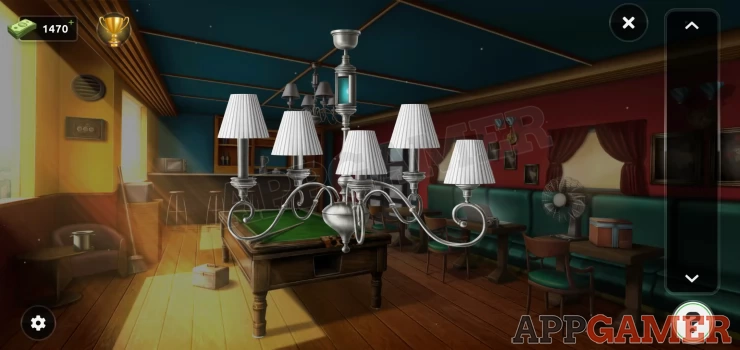
You can now collect a key card from the top of the light.
View the exit door again and use the key card on the right to open it.
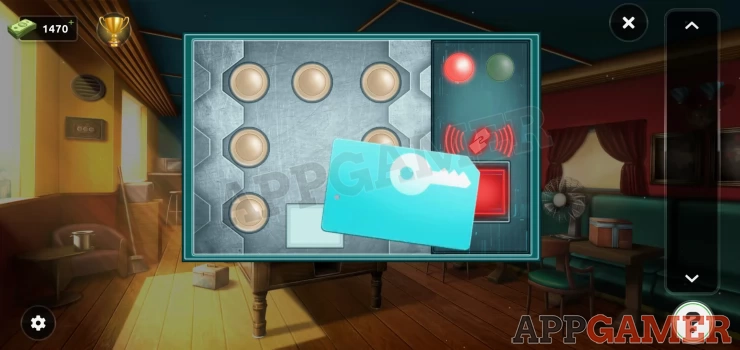
Escape the room.
Level 37 Walkthrough
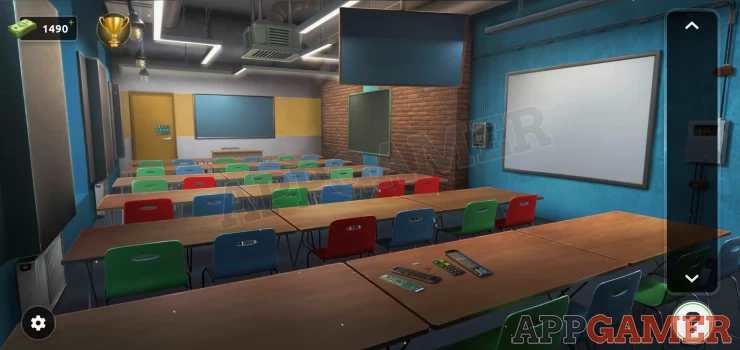
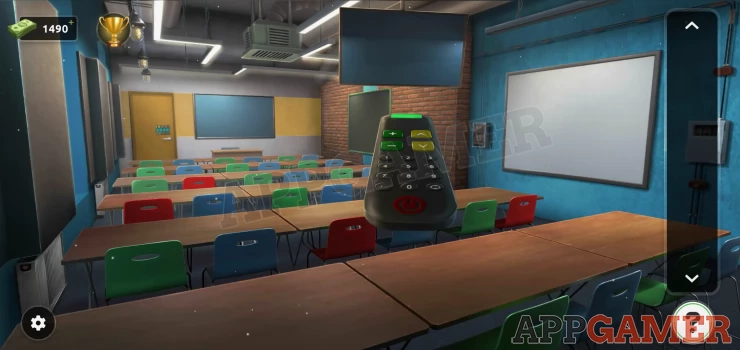
Tap to view the parts of a remote control that is disassembled on the desk.
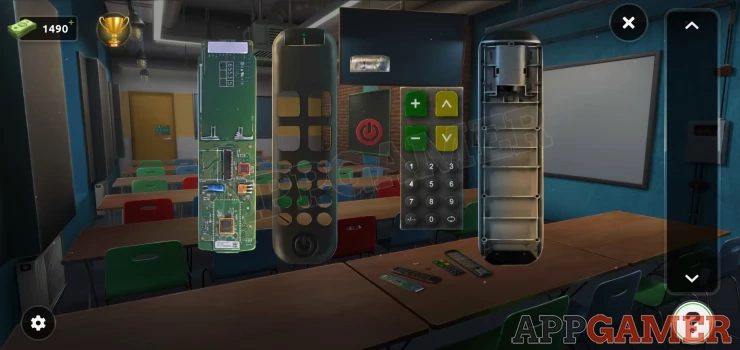
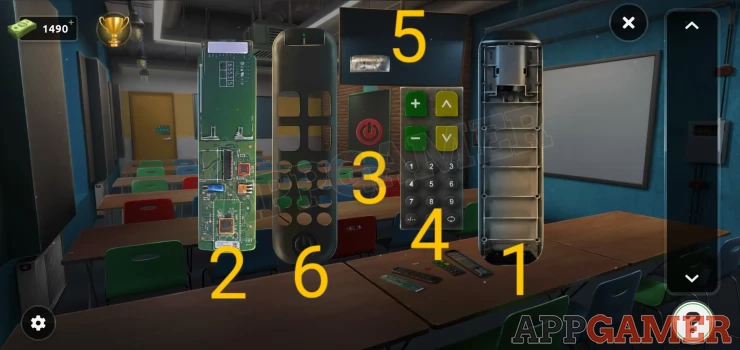
To fix it you need to tap the parts in the correct order to put them back together.
Solution: Show
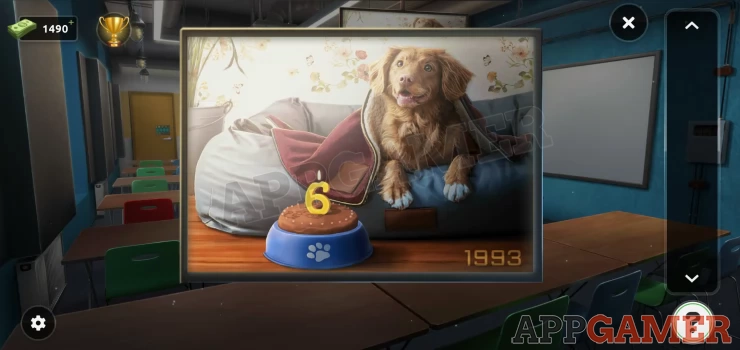
Use the remote on the large screen hanging from the ceiling to the right. You will then see an image with a clue.
Show
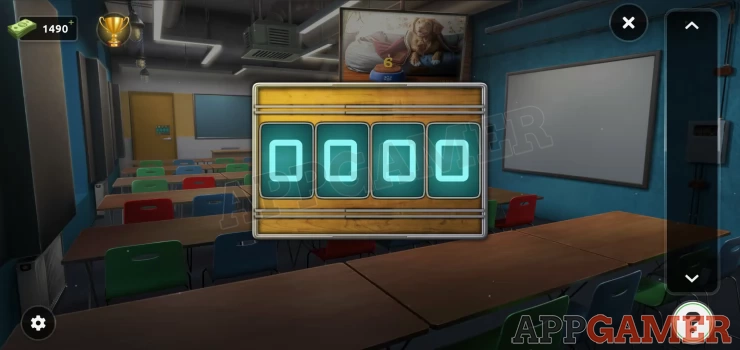
View the exit door. Enter the code from the clue.
Code: 1987 (the dog is 6 years old in 1993)Show
Exit the room.
Level 38 Walkthrough
First view a small box that is on the small table at the back of the room under the large screens.
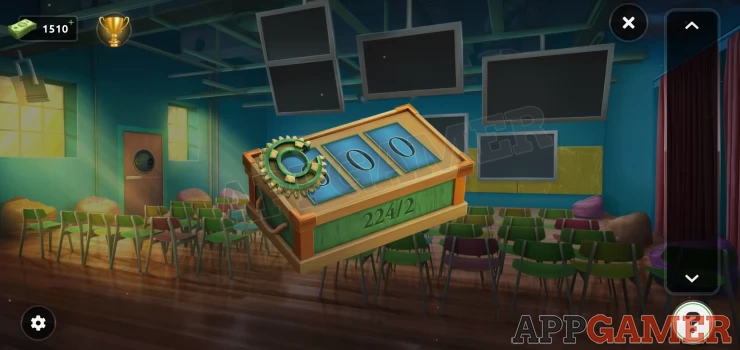
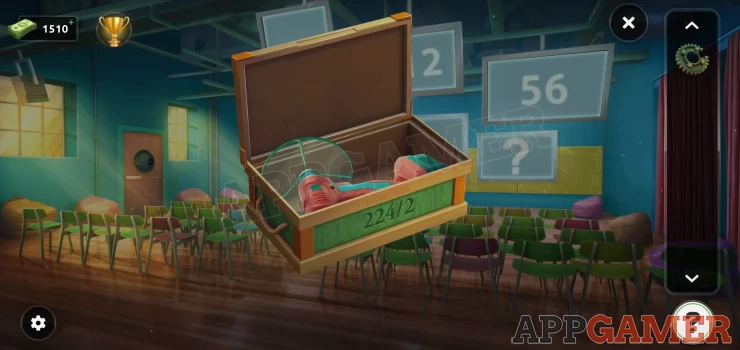
Collect the cog wheel from it and notice the clue written on the side. Now tap the large screens to activate them and show a series of numbers. Use the clue and the number sequence to work out the missing numbers.
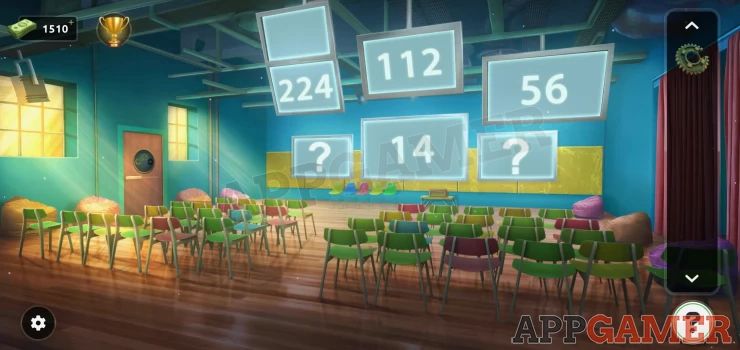
Solution: Each number halves. 224 112 56 28 14 7Show
Now view the box again and use this clue to get the code to open it.
Code: 28 7Show
Collect a device.
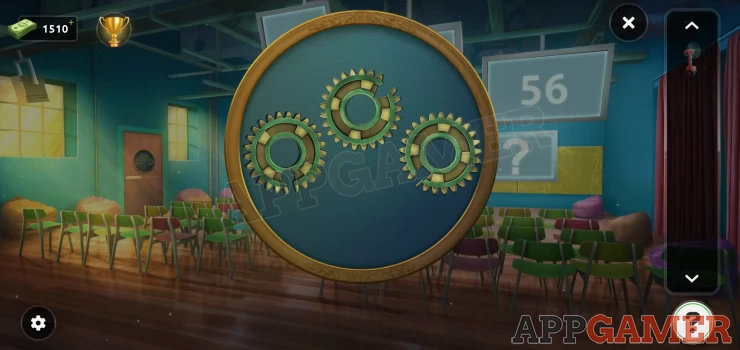
Now view the door and add the 3rd cog to it.
Use the device on it and you will be able to see a pattern.
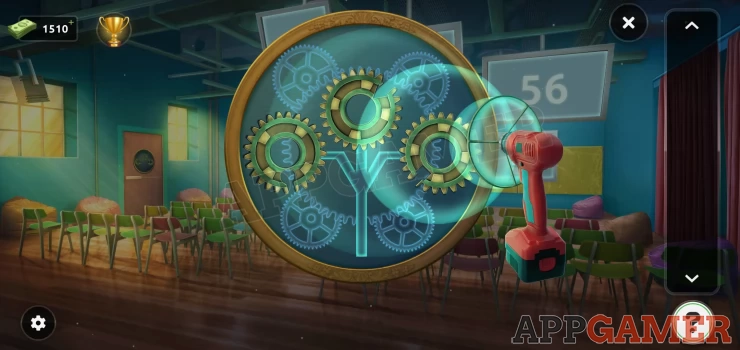
You now need to rotate the cogs to match the pattern. Moving some will then move others.
Solution: Show
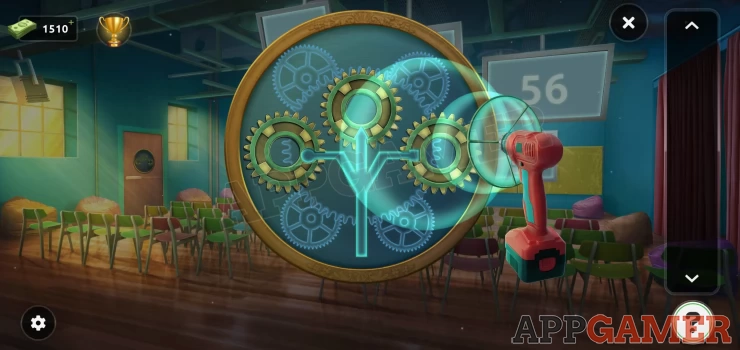
Once done the door opens and you can escape the room.
Level 39 Walkthrough
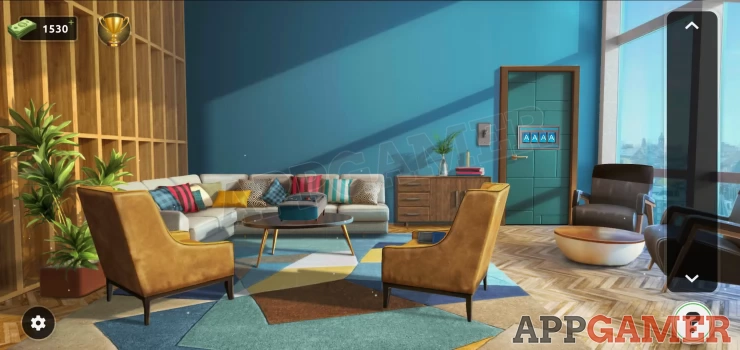
First collect a blue and black box (switch) from the chair on the right.
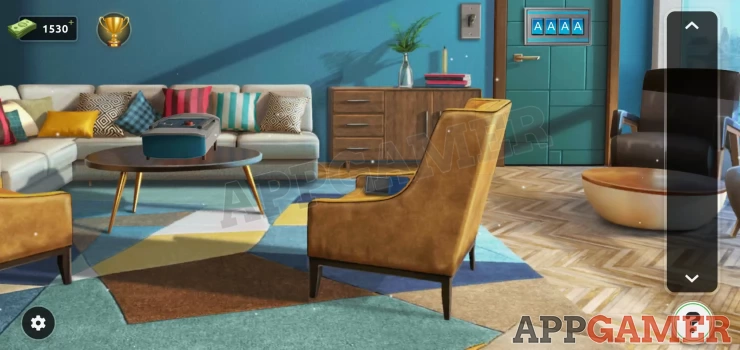
Then tap the light switch by the door and the blind on the window will close making the room dark.
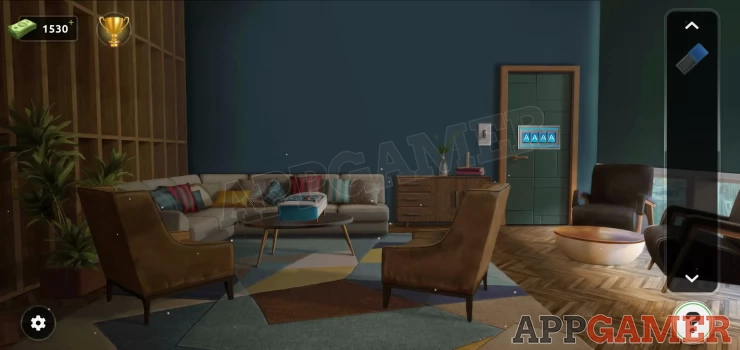
Now tap to view a projector on the round table to the left. Add the blue and black switch to it on the left.
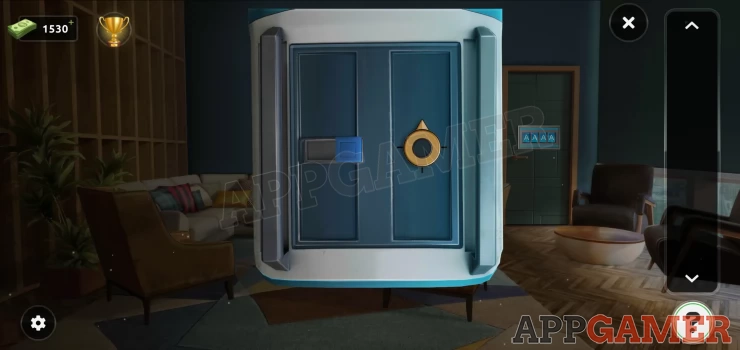
Then tap the switch to turn it on, you can then see an image on the wall.
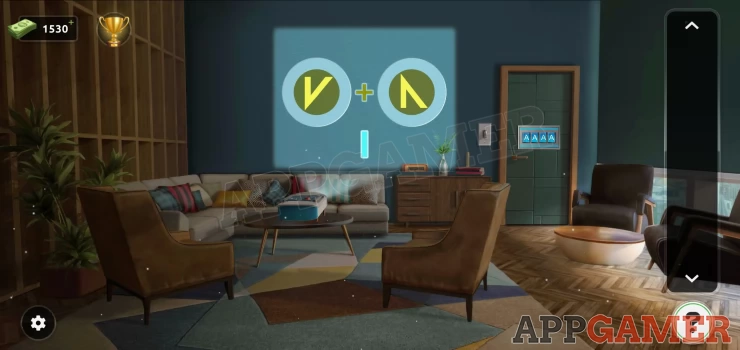
This is image 1, look at the shapes and you need to work out what letter can be made by combining them.
Next view the projector again and tap the control on the right to rotate it.
View the wall again to see another clue, this is image 2.
Repeat this to get 4 letters.
Now view the exit door to see the code lock.
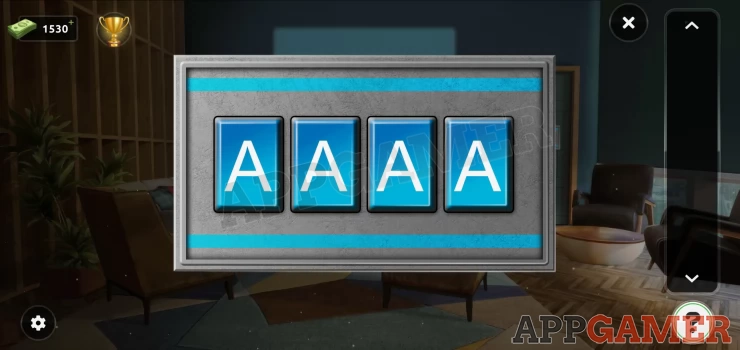
Enter the 4 letter code to open the door
Code: KXPEShow
Escape
Level 40 Walkthrough
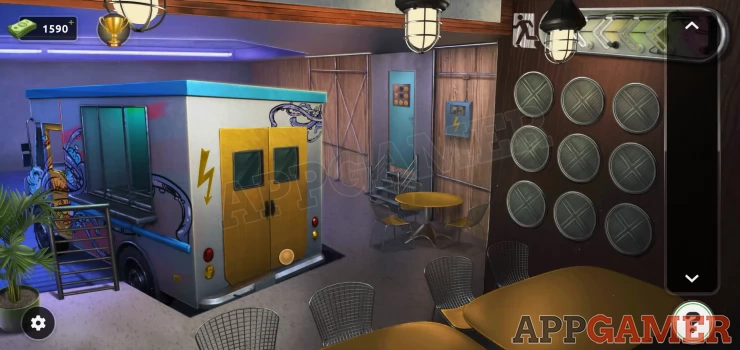
Collect a gold button from the bottom of the back door of the truck. Then view the small electrical box on the right of the door.
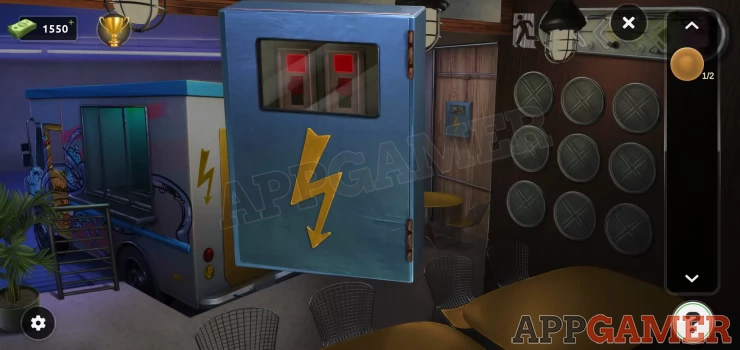
Open it to collect another gold button and then tap all of the switches to turn on the power. You will now see a clue light up on the right of the room.
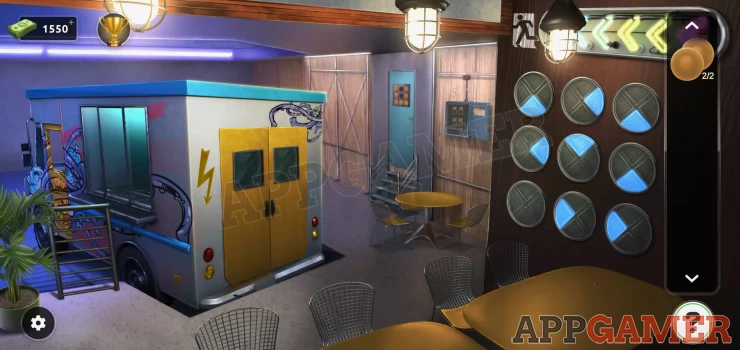
Tap the door to see the lock, Add the 2 buttons to it. You then need to tap them all in the correct order.
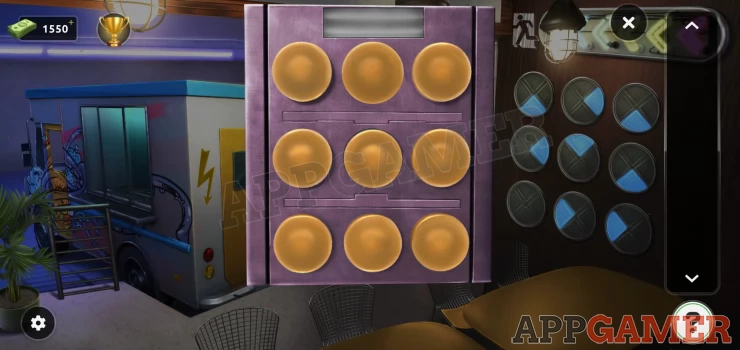
Solution: Follow the clue on the wall. The lit segments will give you a direction. Start with the top left button and then go down, right, up, right, down, down, left, left.Show
Escape the room.
This completes levels 31-40. Move on to Levels 41 - 50
We have questions and answers related to this topic which may also help you: Show all
 With 20 years of experience in creating video game content for the internet and over 30 years as a gamer, Mark is now a passionate mobile App Gamer. Loving a challenge, he is always ready to get stuck in to both survival builders and puzzle solving games. He has been providing content for AppGamer since 2014.