Level Guide 91 - 100
More 100 Doors: Escape from Work
100 Doors Escape from Work is another top escape room game from Peaksel Games. Makers of the similar 100 Doors Escape from Prison and Escape from school.
Having completed Levels 81 - 90 you can now find the walkthroughs of levels 91 - 100 here.
Level 91 Walkthrough
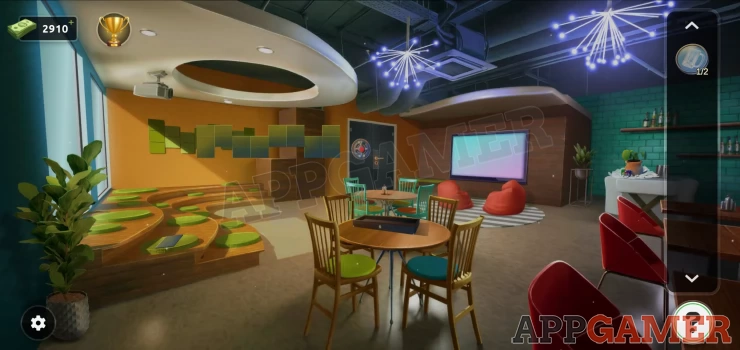
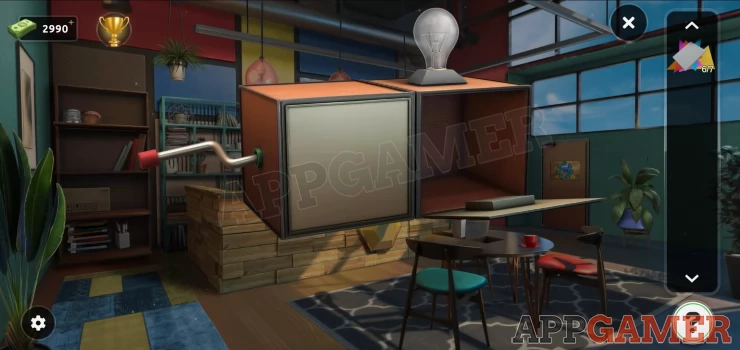
First tap on the box on the round table to view it. Collect the scissors.
Then view the exit door puzzle, collect from it a hex key tool.

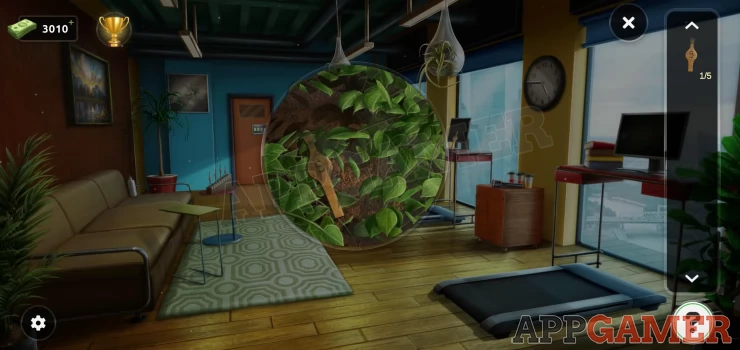
Next view the plastic bag on the counter on the back right of the room.
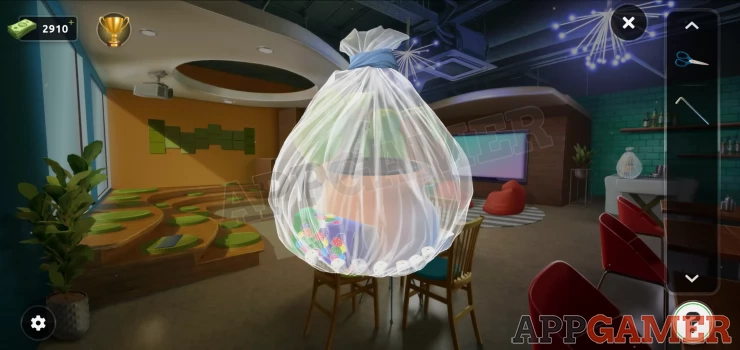
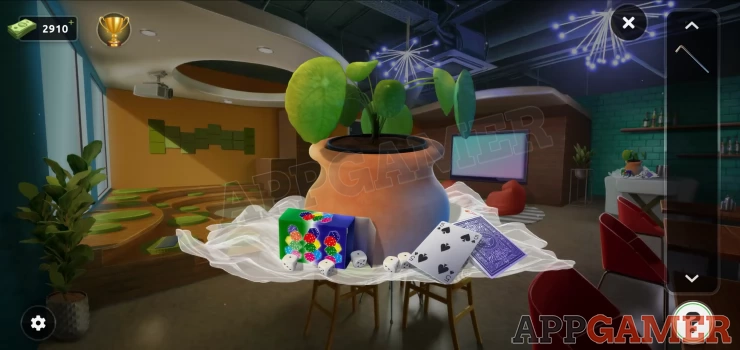
Use the scissors to cut this open and then you need to collect 7 dice. 5 you can see, then move the cards to get 2 more.
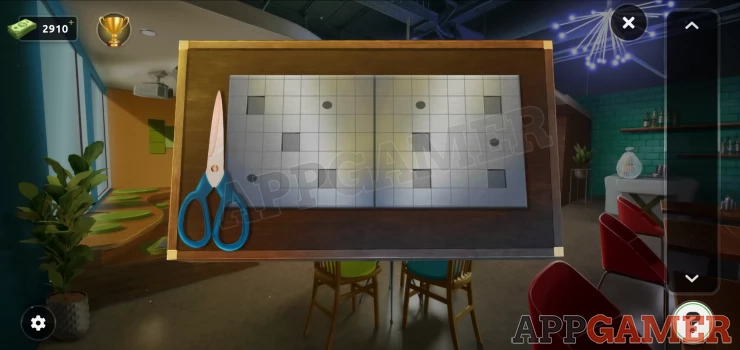
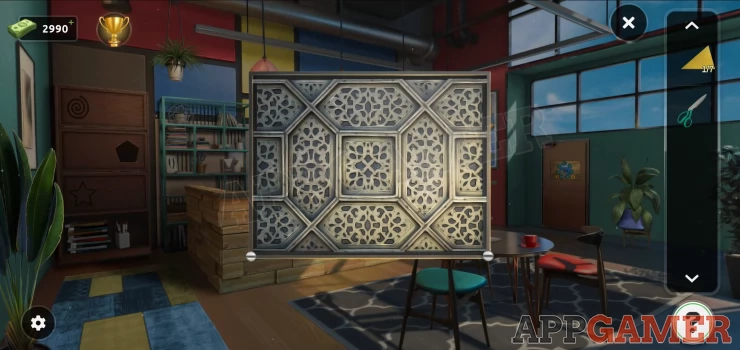
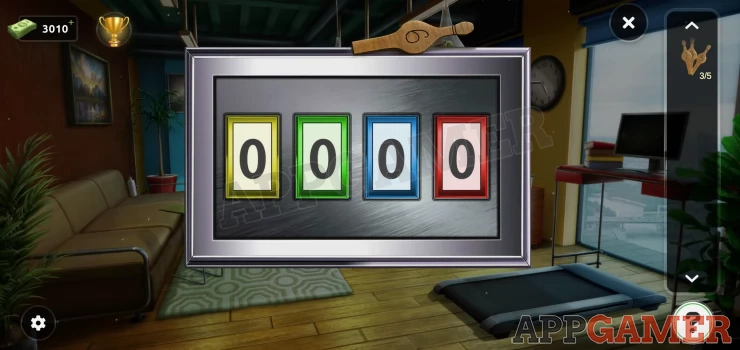
Now go back to the box on the round table and place the dice on the puzzle board.
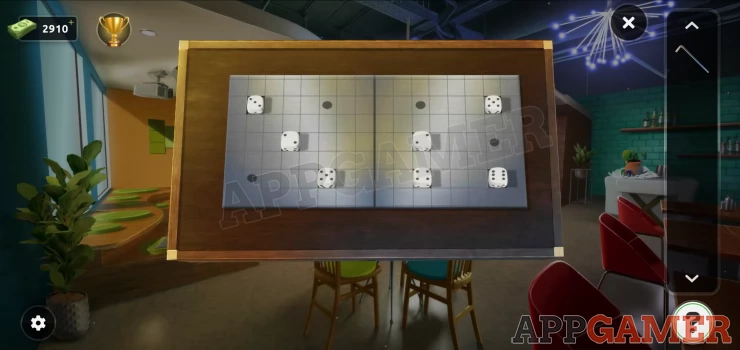
Solution: To solve this puzzle just change all of the dice to show 1 dot to match the dotes that are there.Show
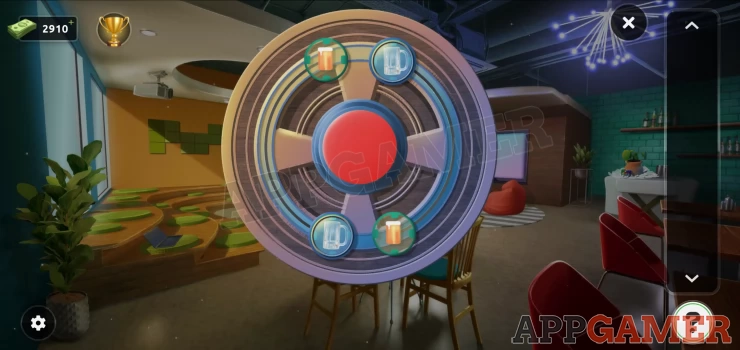
Once done 4 bolt heads appear and you can use the hex tool top open them.
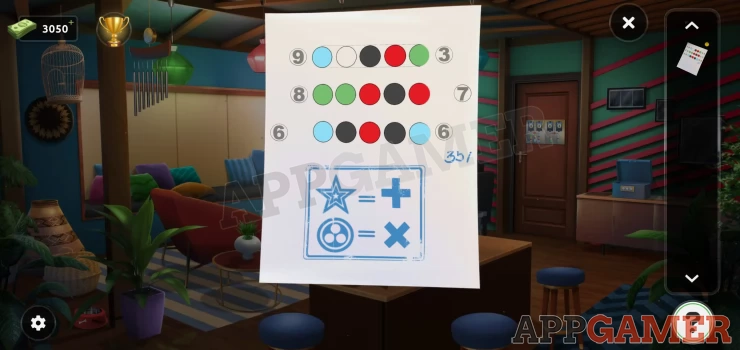
Collect the round token and notice the clue.
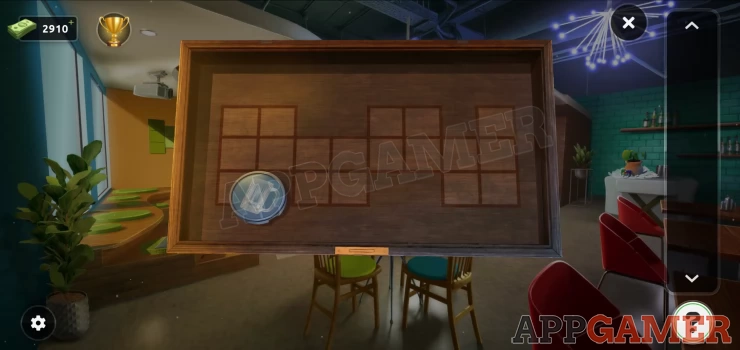
Now view the green design on the left wall, this is a puzzle. Use the clue from above to solve it.
Solution: move the columns of blocks to match the pattern in the box.Show
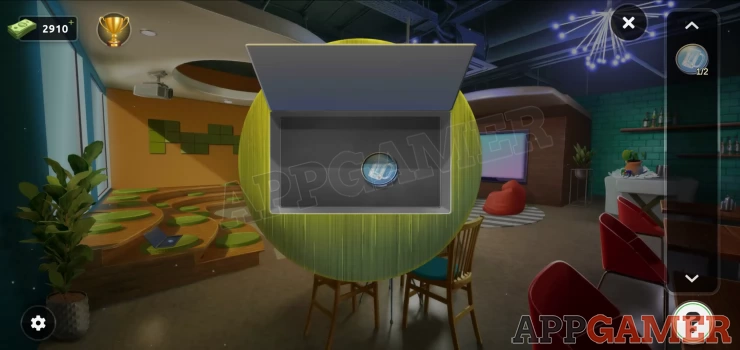
Once done a small panel opens on the step seats lower left, and you can collect a second round token.
Now view the Exit door lock again and add the 2 tokens to it. These will then unlock the door.
Escape the room.
Level 92 Walkthrough
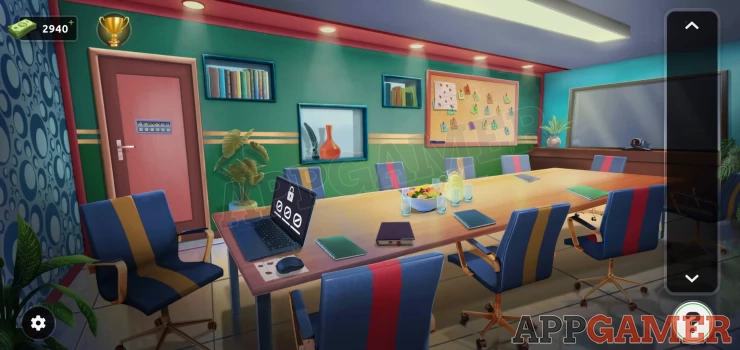
Begin by collecting a paper clue from under the mouse next to the laptop on the table. Then view the note board on the top right.
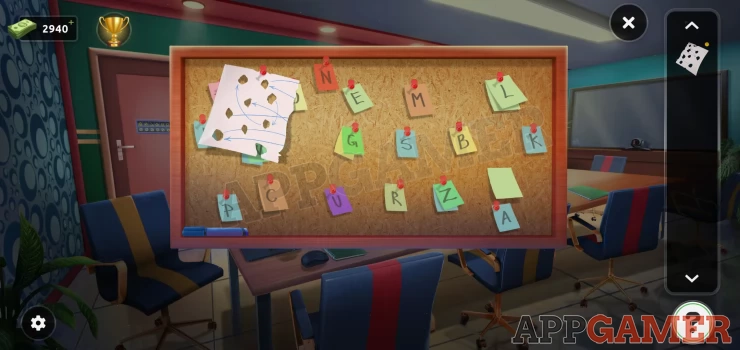
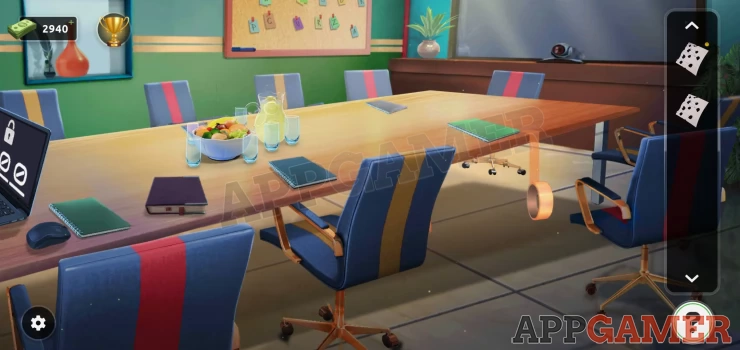
Collect a second paper clue and notice the letters pinned to the board. Now tap the red chair on the right to move it and find a roll of tape to collect.
View the first paper clue in your inventory and then add the second one and the tape to combine them and make 1 paper clue with holes in it.
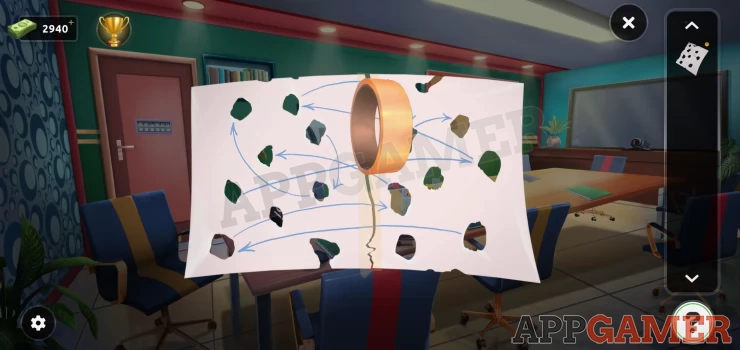
Now collect the dark blue book on the table to the right of the laptop. Then view it in your inventory and open it.
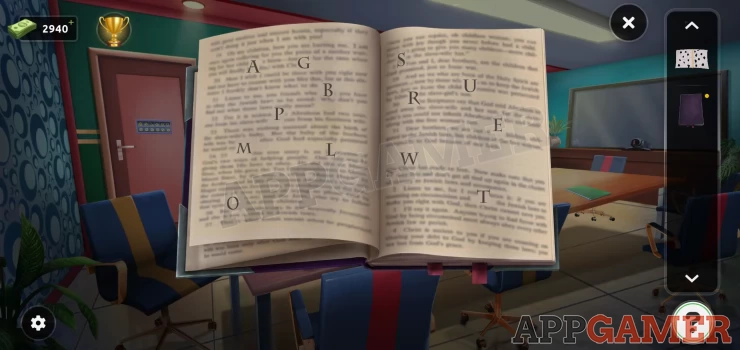
Add the paper clue to it to reveal letters and arrows to give an order.
Show

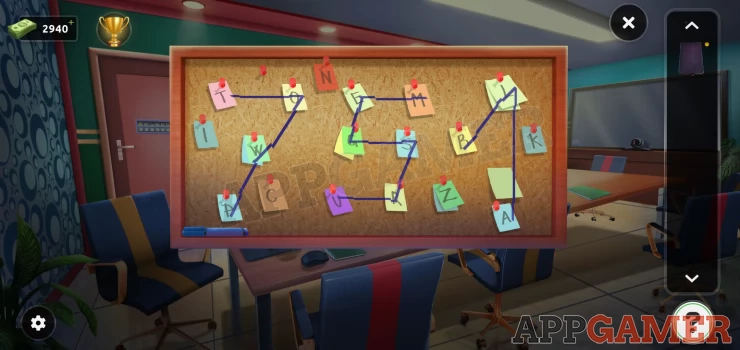
Now view the note board again, use the clue to select the correct letters to form a new clue.
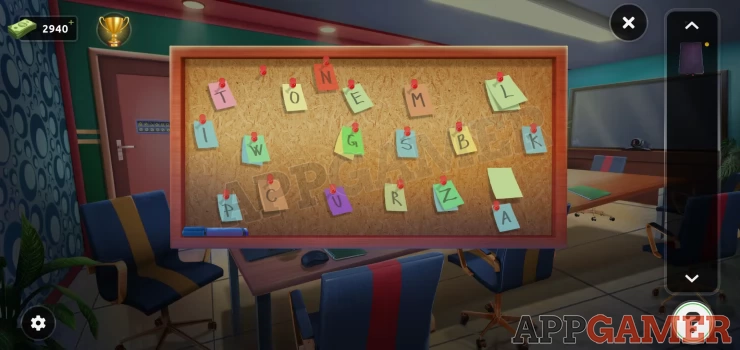
Solution: The paper clue in the book gives 3 paths of letters find these and tap out the letters on the board to draw a line between them. Doing this will reveal 3 numbers. TOWP MEGSRU BLAShow
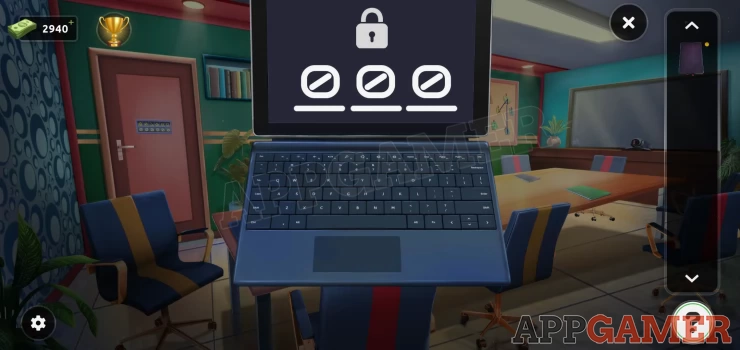
Now go to the laptop and use this code to unlock it.
Code: 751Show
You will now see a new clue with shapes and numbers.
Show
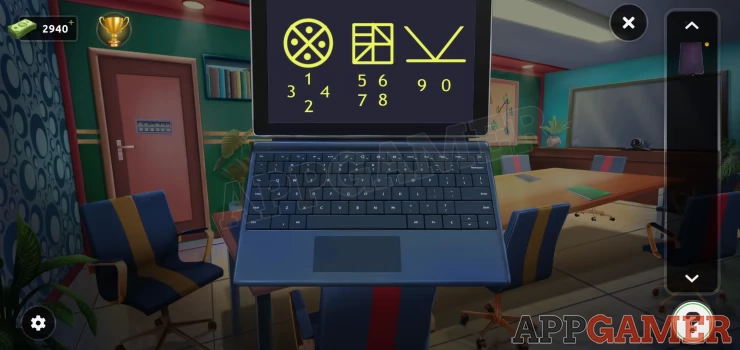
View the exit door lock puzzle.
Solution: Find the shapes within the patterns on the laptop screen and get the associated numbers.Show
Code: 479258Show
Escape the room.
Level 93 Walkthrough
First collect 3 puzzle tiles, the first is on the mantle top, the second is behind the yellow cushion on the right side chair and the third is on the book case at the top near the door. Then view the fire place.
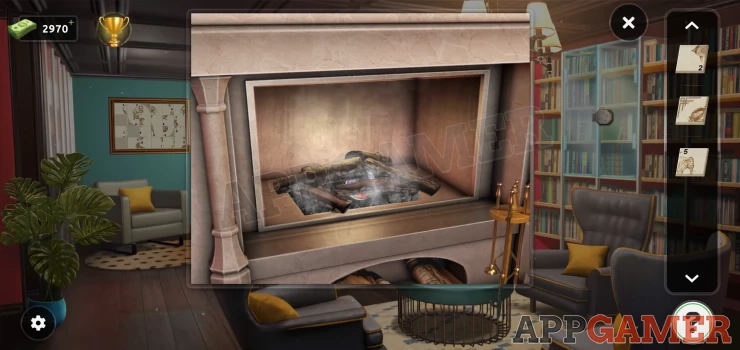
Collect a poker from the stand on the right and use it on the ashes to move them. Collect a colored disk.
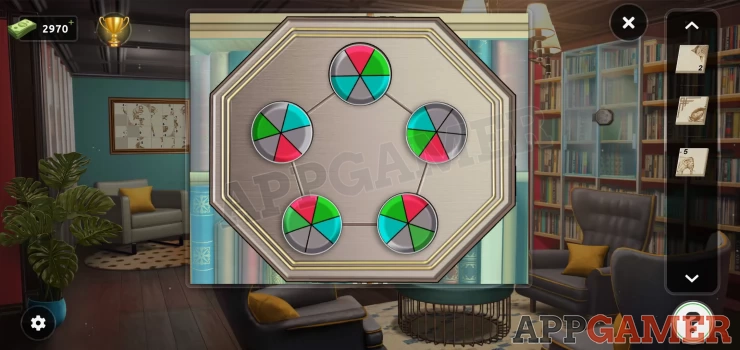
Now view the glass cabinet on the bookshelves on the right. View the lock and add the colored disk to it. Then solve the puzzle.
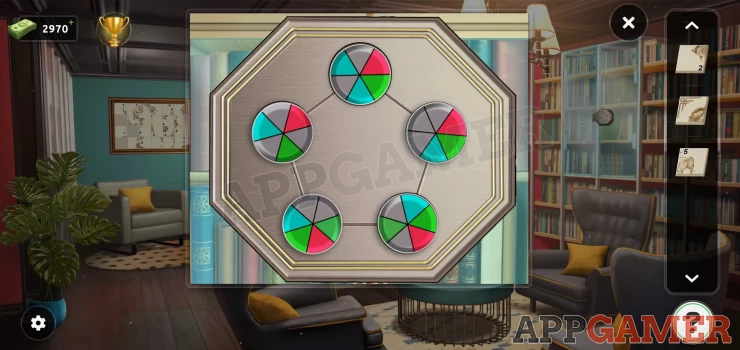
Rotate the disks so that the colors joined by the lines match each other.
Solution: Show
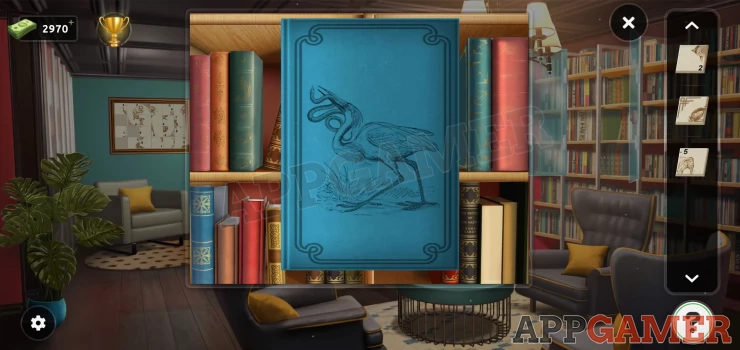
When the doors are open view the blue book on the bottom right for a clue.
Now view the picture frame on the left of the room. Add the 3 puzzle tiles to begin.
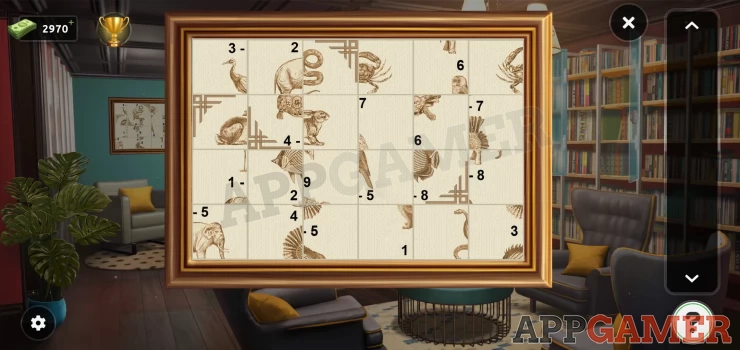
Swap tiles to complete the full picture. This is another clue.
Show
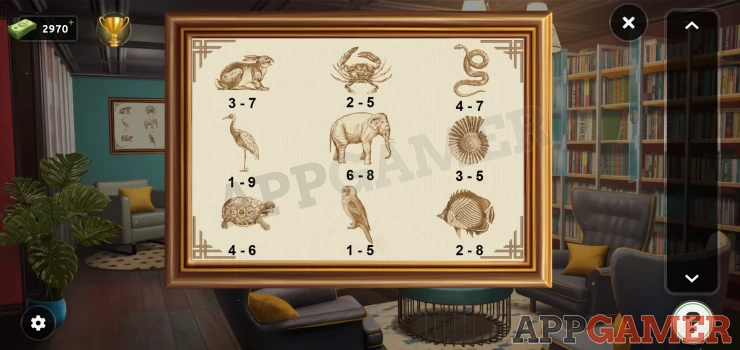
You can now view the door exit code lock. Use the clues to find the code.
Solution: The book on the shelve has 1 animals a crane bird catching a snake. Find these in the picture and get the numbers.Show
Code: 1947Show
Escape the room.
Level 94 Walkthrough
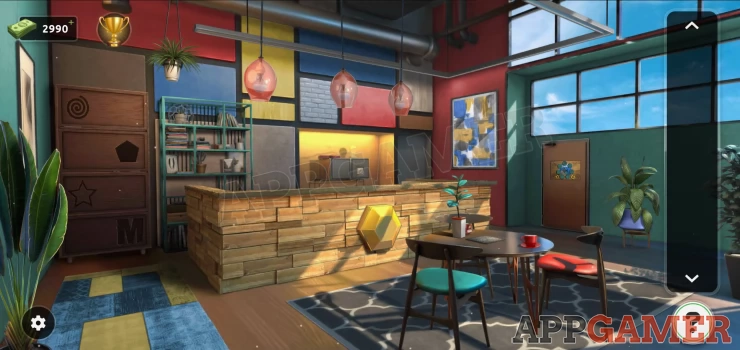
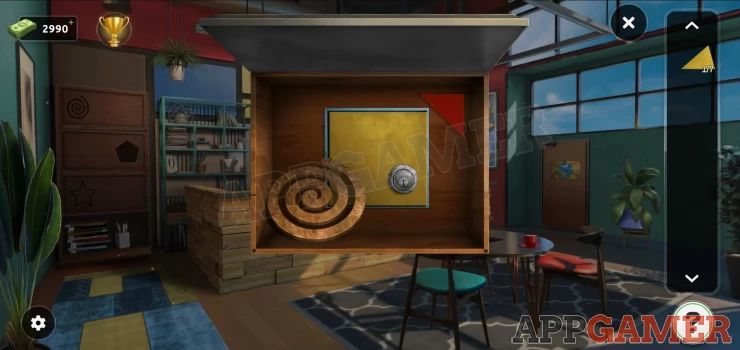
First tap on a shelf behind the bar to see a box with 2 compartments and a light.
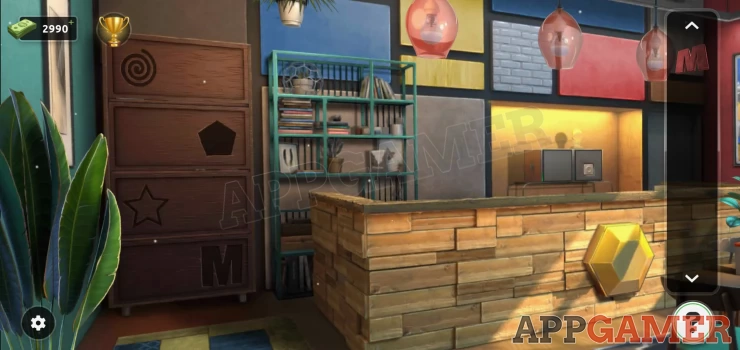
Collect the M shape from the top. Now use the M on the bottom compartment of the cabinet on the left of the room.
Collect a yellow shape (1 of 7) and some scissors. Next tap on the round table to see a panel in the center.
Use the scissors on the panel to remove the screws and open it. Collect the spiral piece and the red shape. Notice the locked panel below.
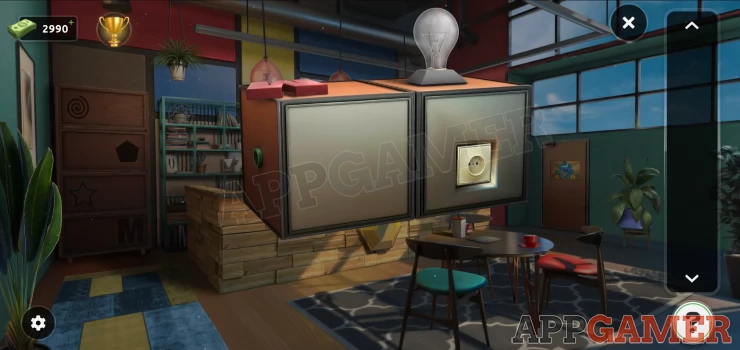
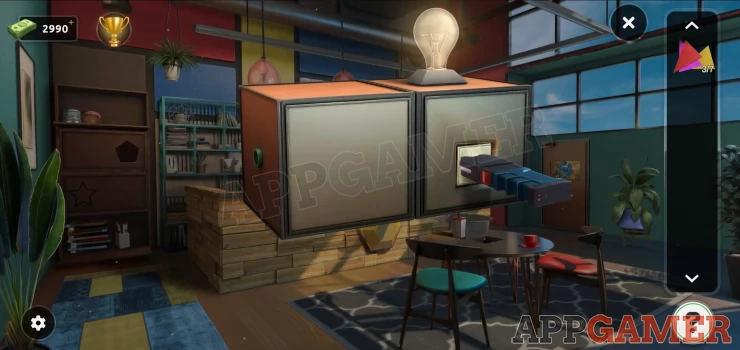
Use the spiral on the top compartment on the left to open that and collect a pink shame (3 of 7) and a blue handled stun gun. View again the box on the shelf behind the bar and use the stun gun on the power socket on the right to light up the light bulb and open the right side.
Collect a star and a white shape (4 of 7). Use the star on the cabinet on the left to open another compartment. Collect a blue shape (5 of 7) and a key.
Back to the round table and use the key to open the locked panel. Collect an orange shape (6 of 7) and a Pentagon.
Use the Pentagon to open the final compartment on the left side cabinet. Collect a handle. View the box behind the bar again and use the handle to open the left side. Collect the green shape (7 of 7)
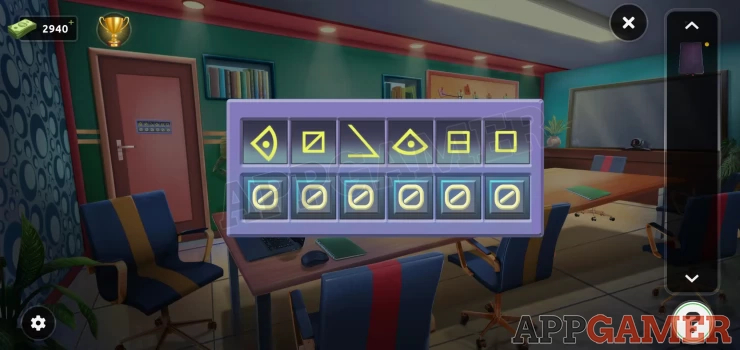
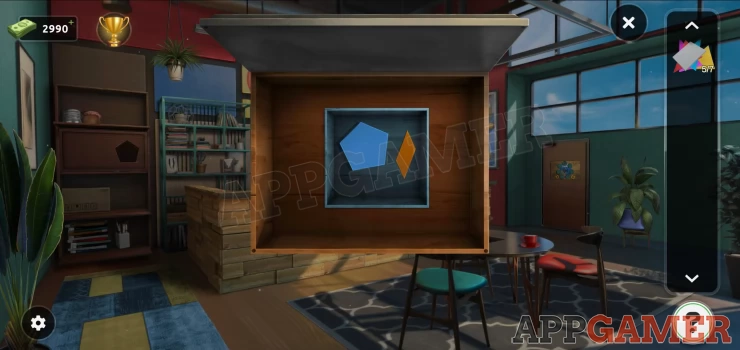
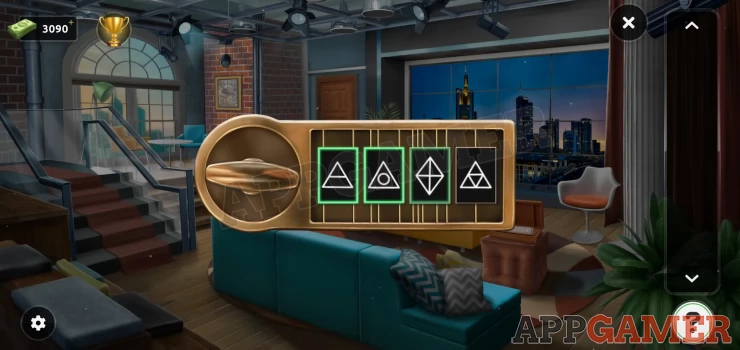
Now view the exit door puzzle. Add the 7 shapes to it.
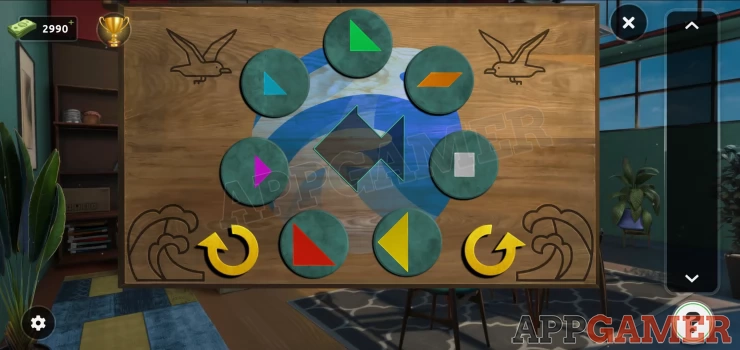
Complete the puzzle by placing the shapes into the center to complete the fish shape. You will need to rotate some ofth e shapes which you need to so with the arrows before adding them to the puzzle.
Solution: Show

Once done the door opens and you can escape.
Level 95 Walkthrough
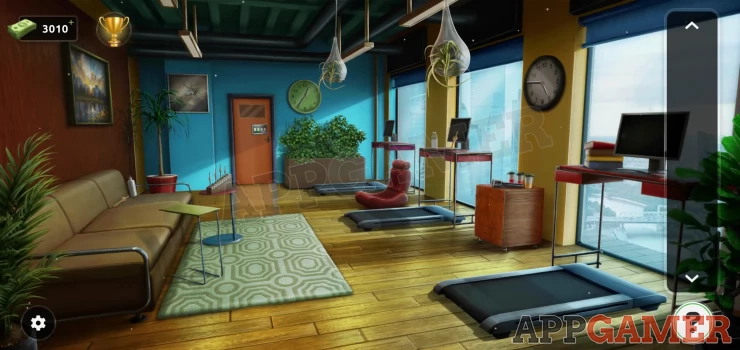
Tap on a small round red table by the sofa on the left and you will see a stand with bowling pin shapes, there are 5 missing.
Collect 1 piece from the sofa on the left. Then look in the bushes to the right of the door to find another.
There is a 3rd one to collect on the middle desk on the right, and you can view the exit door puzzle to find the 4th.
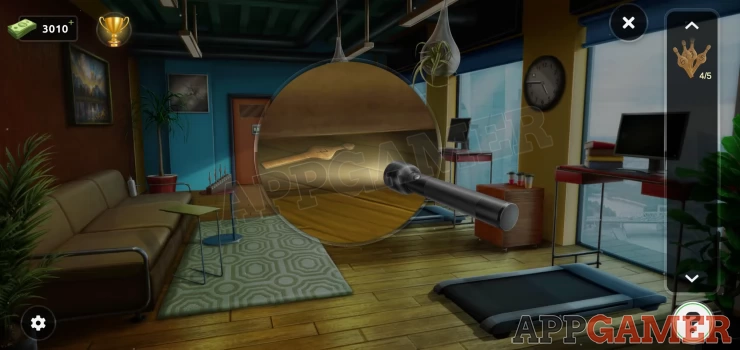
Now collect a torch from the small cabinet on the right and then use the torch to look under the sofa. Collect the 5 piece.
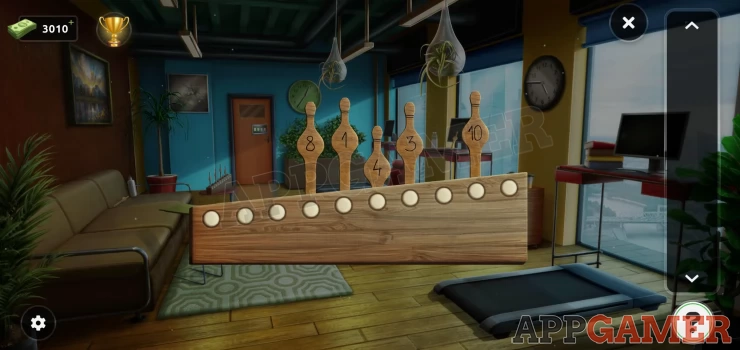
View the stand again and add the 5 pins to it to begin the puzzle.
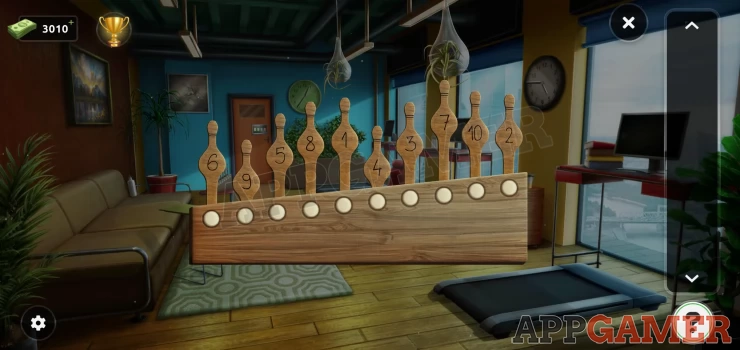
Solution: Rearrange the pins so that they are all the same height.Show
Once done they will light up with colors.
Show

Now view the exit door puzzle again. Note that each number has a colored border. Get the code from the pins.
Code: 9587Show
Escape the Room.
Level 96 Walkthrough
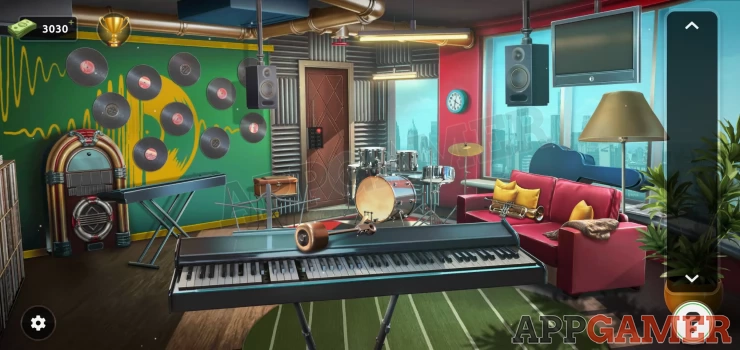
First collect the bass drum beater from the keyboard and then add it to the drum set at the back. Now tap the base drum until it tears open. Collect a piano key and a remote control.
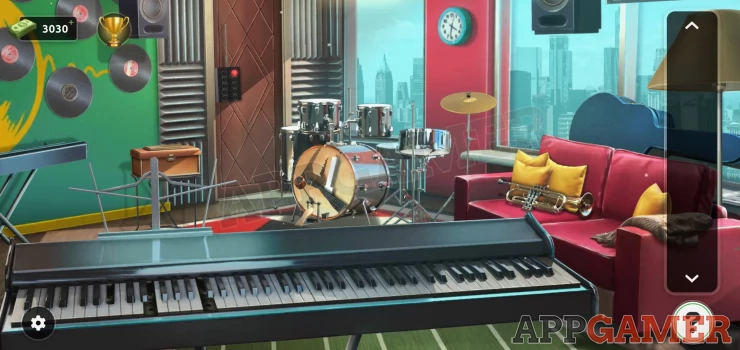
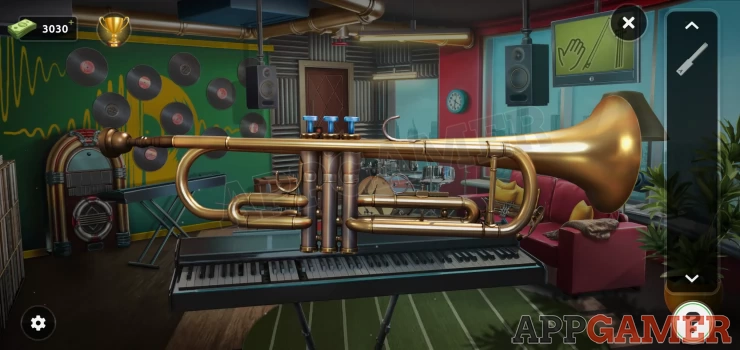
Use the Remote on the TV screen top right to get a clue. Now tap on the Trumpet on the sofa to view it, then tap the 3 blue buttons on top and you will get a black piano key.
Next view a box to the left of the door to see a puzzle. Set the correct symbols.
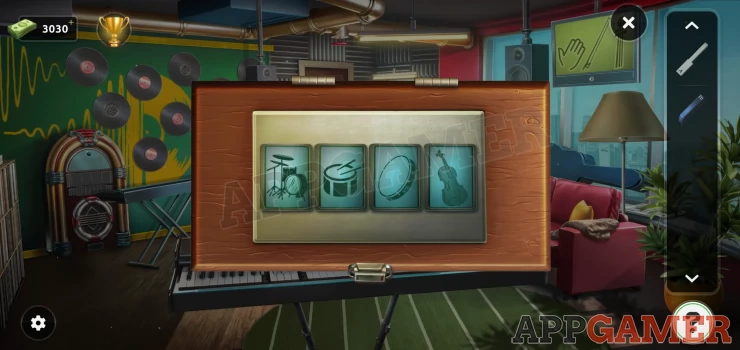
Solution: Show
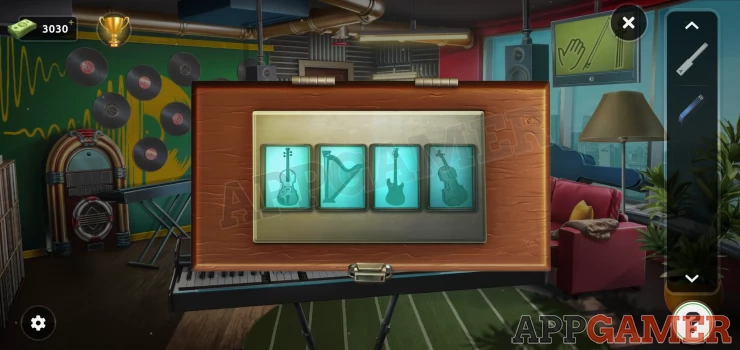
Open the box and collect the paper. Then view this in your inventory to collect another piano key and see the clue.
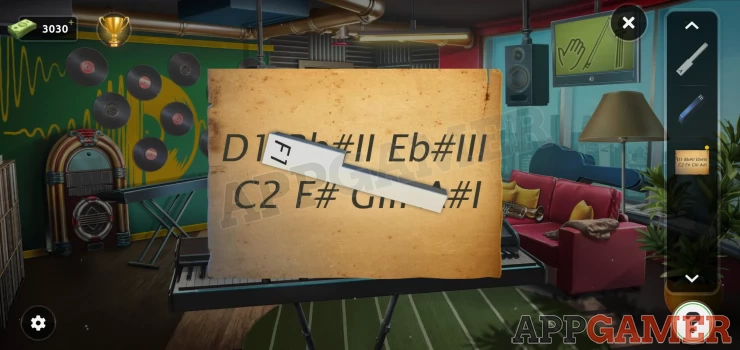
Now tap on the keyboard to see the missing keys.
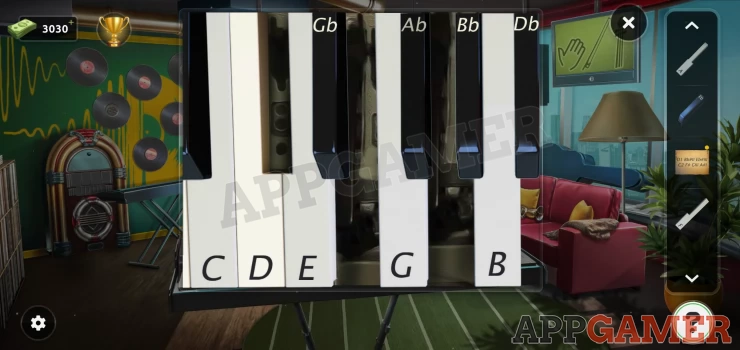
Add the keys to it and start the puzzle. Using the clue on the paper tap out the correct notes.
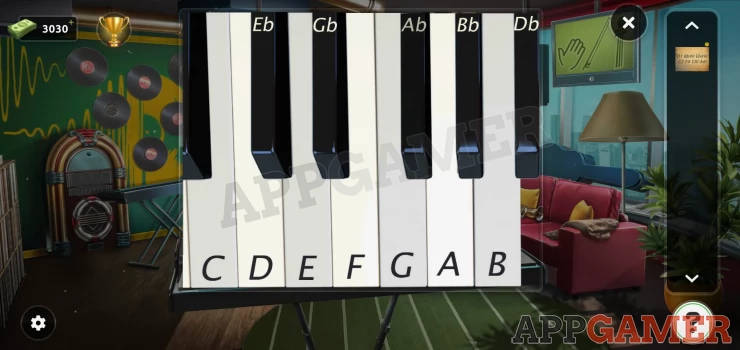
Solution: Tap: D C G F A Bb EbShow
The door will open, Escape.
Level 97 Walkthrough
First collect a paper from the round table on the left and then view the printer. Add the paper to the printer.
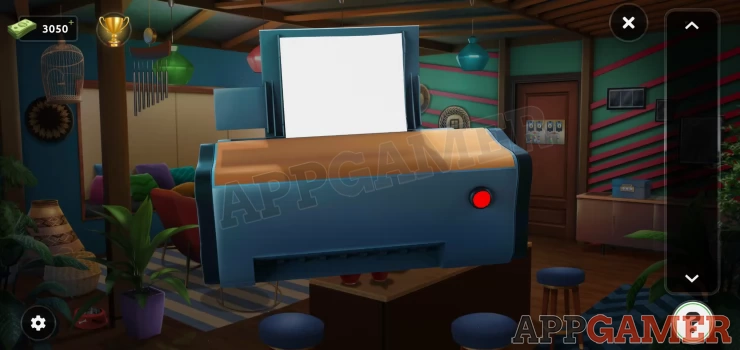
Press the red button to make print then collect this and view it for a clue.
Show
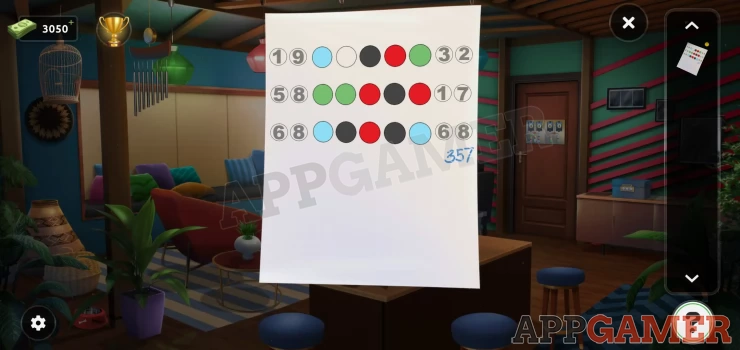
Now view the small blue box to the right of the door.
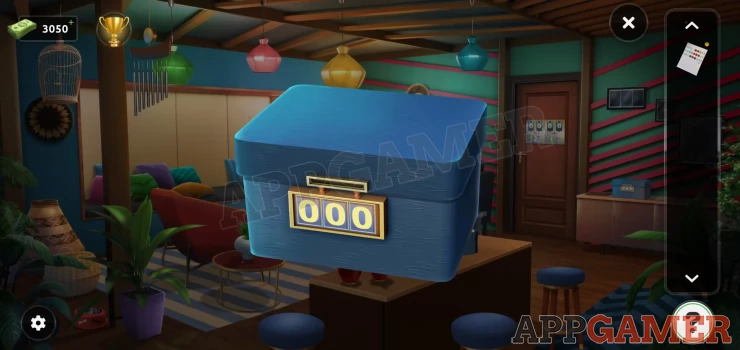
Use a code from the clue to open it
Code: 357Show
Collect a paper template and a stamp. Now view the printed paper in your inventory and add to it the template and the stamp. This will add more information to the clue.
Show
Now view the Exit door puzzle.
Use the clues on the paper to solve the puzzle and get the code.
Solution: Left side = 8 + 3 + 6 = 17 Right Side = 9 x 7 = 63Show
Code: 1763Show
Exit the room
Level 98 Walkthrough
Collect a blue fuse from a chair on the right side of the room and then tap on a chair to the left that has a paper on it.
Move the paper and collect a yellow fuse. Then tap to view the red power box on the left by the door.
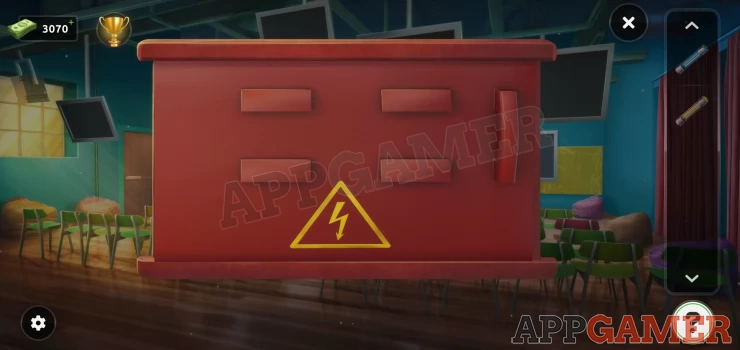
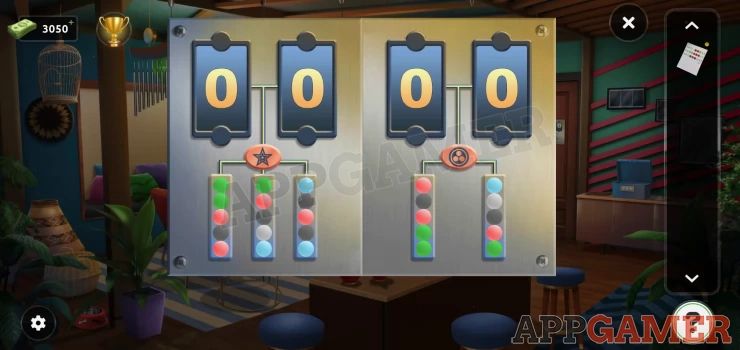
Open the cover and then insert the 2 fuses into the puzzle to begin.
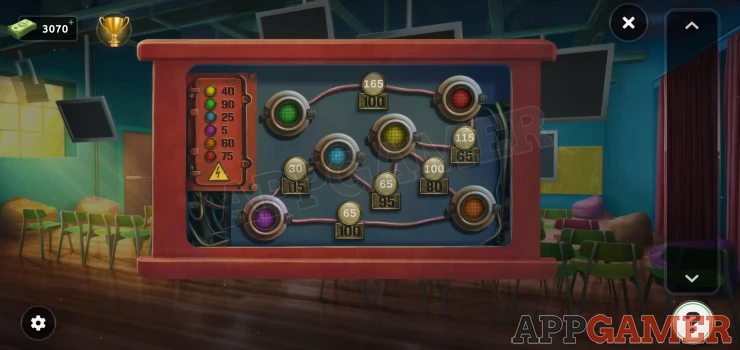
To solve this you need to rearrange the fuses so that the values on the cables between then equal the value on the plates below each. You can see the values of each color fuse on the top left. they till add up on the cables.
Solution: Show
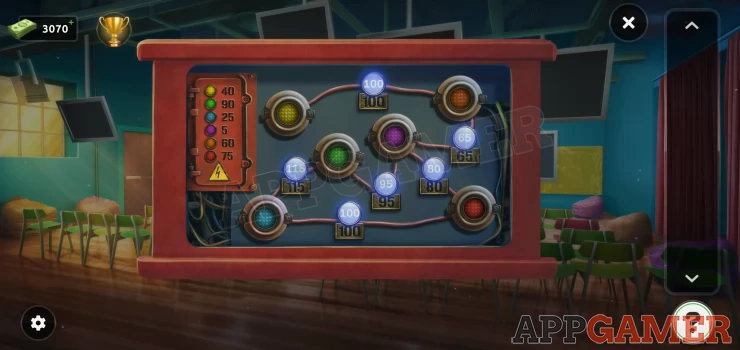
The power will come on and the door will open. Escape.
Level 99 Walkthrough
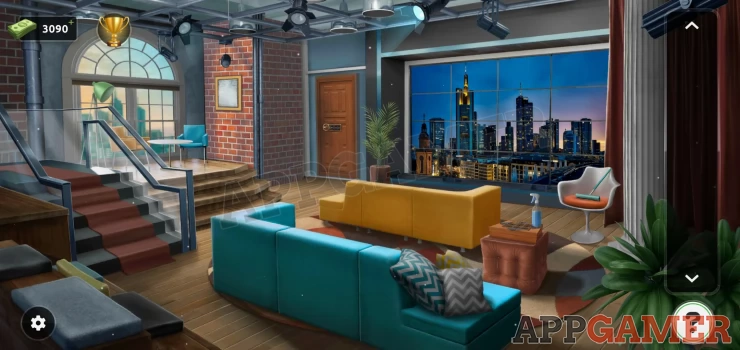
First view a box on the right side of the room to collect a blue spray bottle, then also collect the sponge from the white chair to the right.
Now view a picture frame on the brick wall to the left of the door.
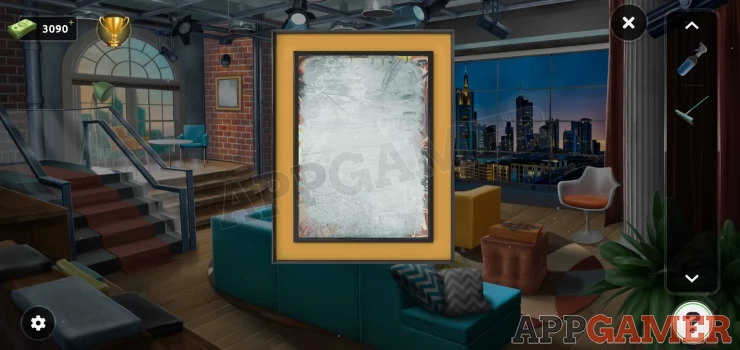
Use the spray bottle on this and then the sponge to clean it and reveal a clue.
Show
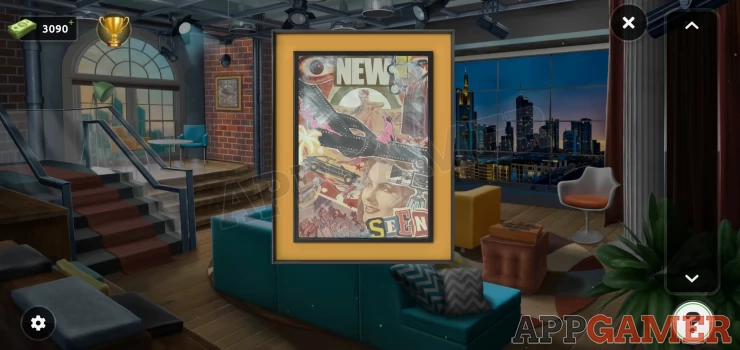
Go back to the box on the right with the compass points and use the clue on the poster to move the piece around the board.

Solution: The letters on the poster tell you the directions to move in. N E W S E E N Move N (Up), E (right), W (left), S (down), E (right), E (right), N (Up)Show
The box opens and you can collect a paper clue.
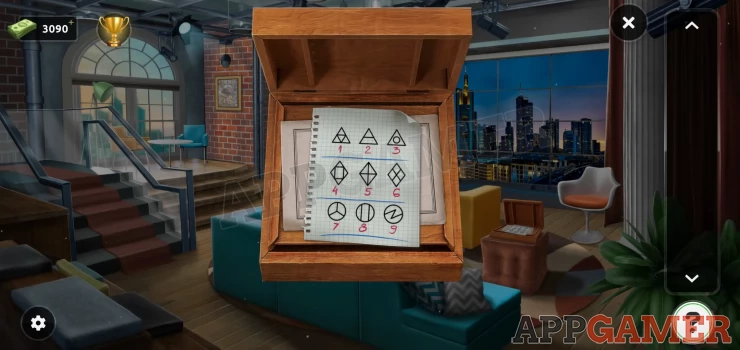
Now view the exit door code lock. Use the clues to get the symbols for the code.
Solution: the lock has 4 sections with numbers of lines, count the lines for each and find the symbol on the paper for that number.
Code: Show
Exit the room
Level 100 Walkthrough

Collect the handle from the table and then use it on the top yellow cupboard on the right. Open the door to collect a playing card.
Next move the fruit bowl on the table to find a second playing card. Then tap the blue window blind top left to move it. A key will fall out to collect and you can find another playing card on the window.

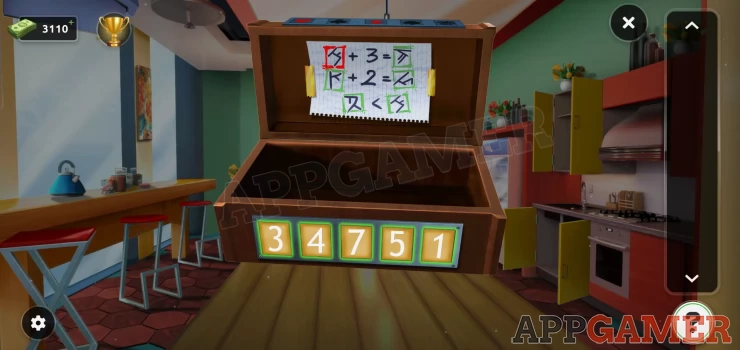
Next view the box on the table.

Collect a 4th playing card and then use the key on the small box on top to open it and find a 5th card.
Now view the 5 cards in your inventory for a clue and use this to set the code for the large box.
Code: 34751Show
Inside you will see a clue to the value of some symbols.
Show
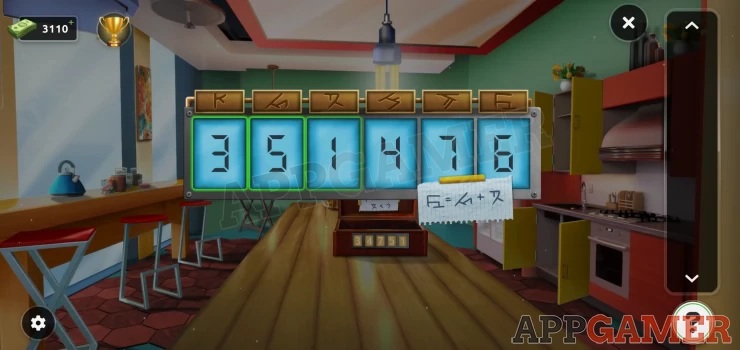
Now view the exit door code puzzle.
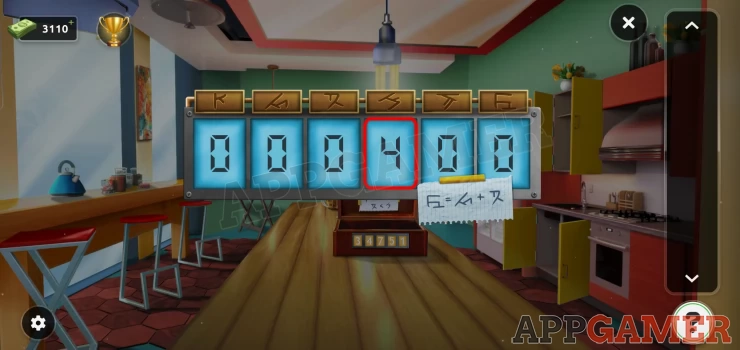
There is another clue here. And you will see that the 4th digit of the code is fixed at 4. Use the symbols above the numbers to work out the rest of the code
Code: 351476Show
Escape the room.
This completes Levels 91 - 100
We have questions and answers related to this topic which may also help you: Show all
 With 20 years of experience in creating video game content for the internet and over 30 years as a gamer, Mark is now a passionate mobile App Gamer. Loving a challenge, he is always ready to get stuck in to both survival builders and puzzle solving games. He has been providing content for AppGamer since 2014.