
Chapter 7 Walkthrough - Matter of Security
More Machinika: Atlas
This is a walkthrough and guide for Chapter 7 of Machinika: Atlas. Following the previous game in the series, Machinika: Museum you play as a researcher whose escape pod has arrived at an abandoned spaceship on Atlas a moon of Saturn.
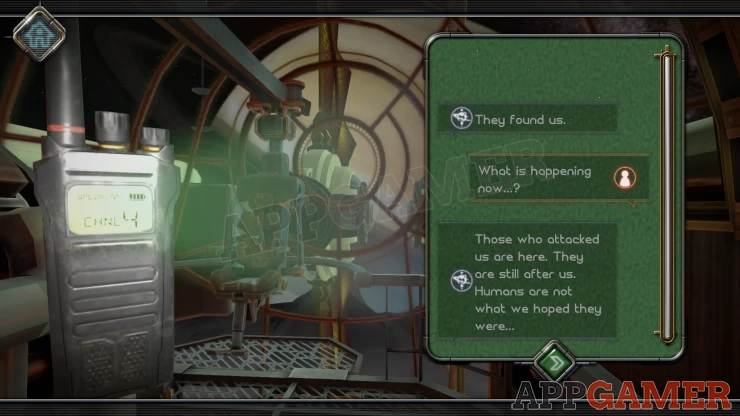
In Chapter 6 you found the engine room of the ship and solved the puzzles to fix the engines and get them started. The ship is flying but under attack so now you need to activate the shields.
Chapter 7a Walkthrough
After exiting the Engine room you approach a red door that you need to get though. The alien will then open up an access hatch for you. Look inside to see a puzzle.
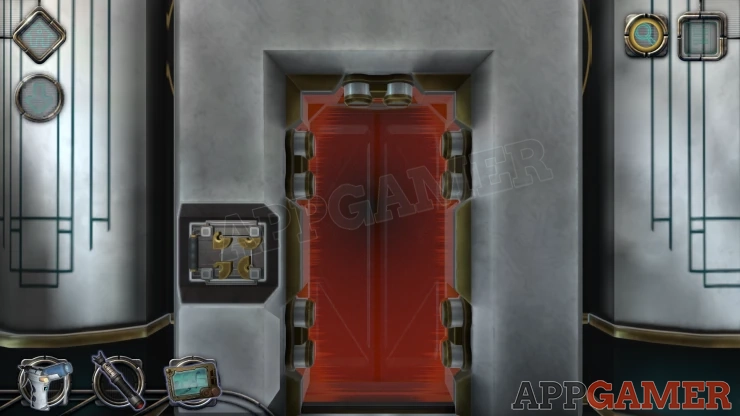
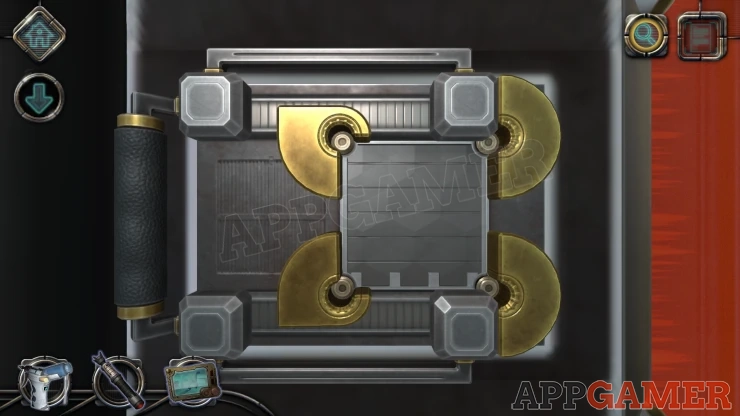
Red Door Lock
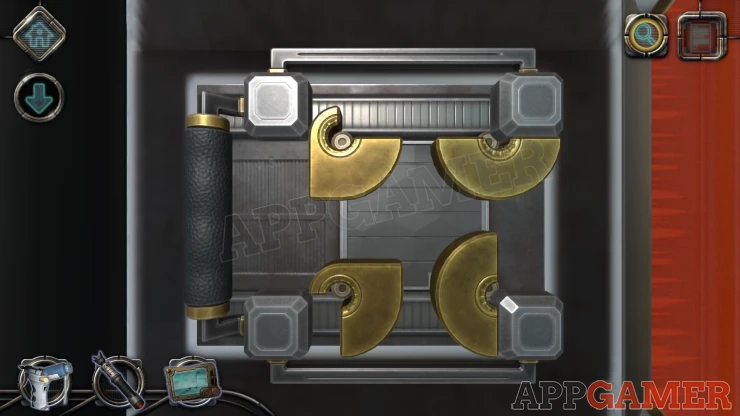
- There are 4 gold colored blocks that can be rotated.
- Behind these is a square panel that you need to access.
- There is also a handle on the left that moves the 4 grey square blocks.
- Rotate the gold blocks to release the center square panel
Solution: First turn the bottom 2 gold blocks and move the handle to the left. Then you can turn all of the blocks to uncover the square plate.Show
Part 2
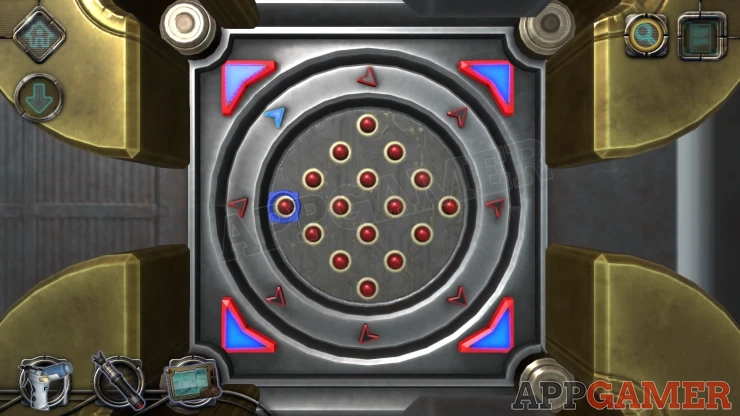
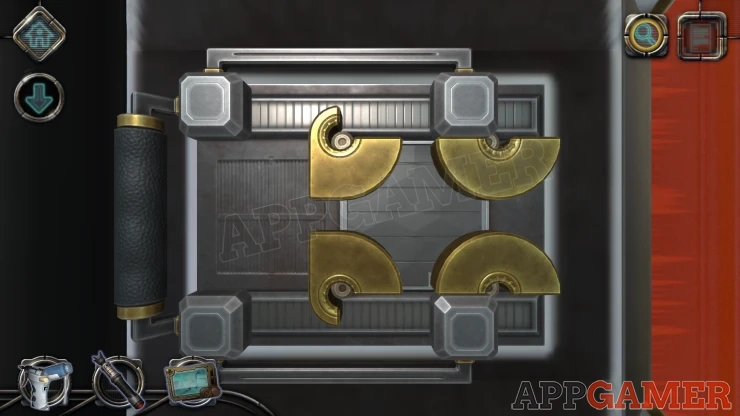
Now you have a panel with a light grid inside.
There are 4 arrow buttons on the corners that you can press. This will move the light on the grid in the center.
Notice also the circle that has arrow lights on it.
Tap the Arrow buttons in the correct order to solve this.
Solution: Look at the lit arrow on the circle, the first one shown is pointing up/right. Tap the top right arrow button, the the lit arrow on the circle will change to the nest one, down/right. Tap the bottom right arrow button. Continue the sequence for all 8 arrows.Show
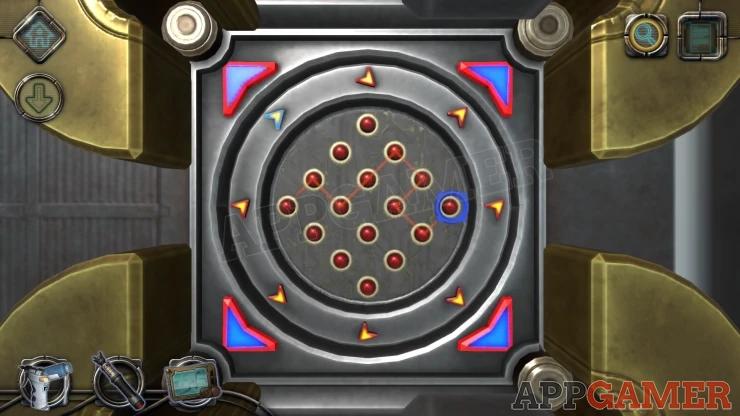
The red door will now open. Enter the Security Room
Chapter 7 - Matter of Security Walkthrough
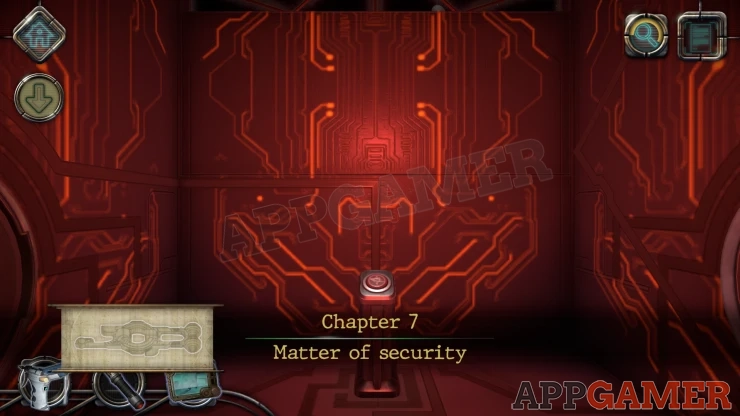
First press the red button to activate some lights on the wall to the right.
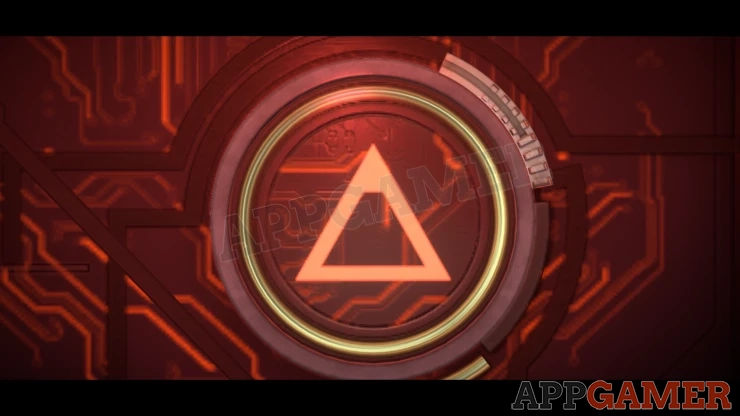
Look at this circle and then slide down a grey section on the top right. This opens a panel with a puzzle
Connect the Pattern
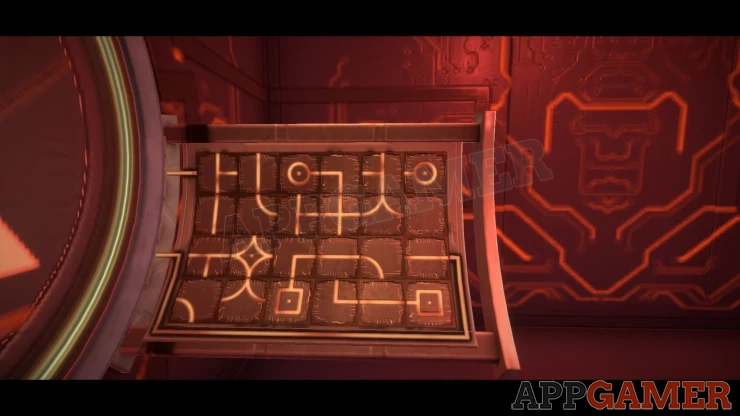
Tap the blocks on the grid to rotate them and arrange the lines.
Connect all of the lines to complete the puzzle.
Solution 1: Show
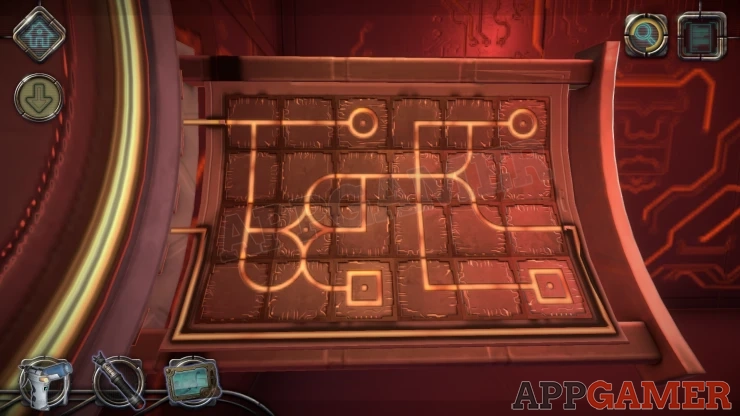
This then activates another circle of lights on the opposite wall.
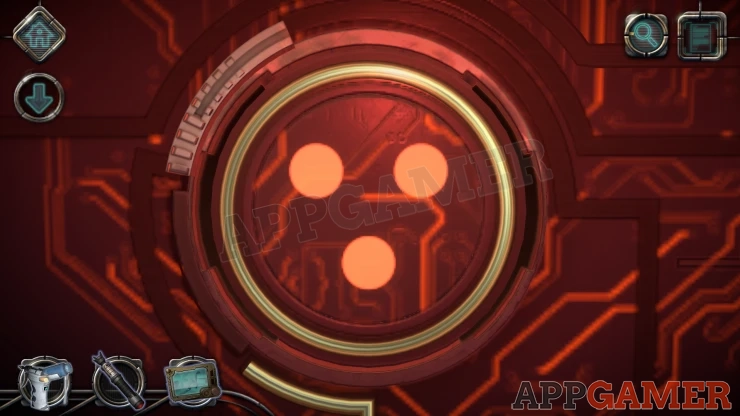
Find another grey switch on the left there to slide down and open another panels with a similar puzzle.
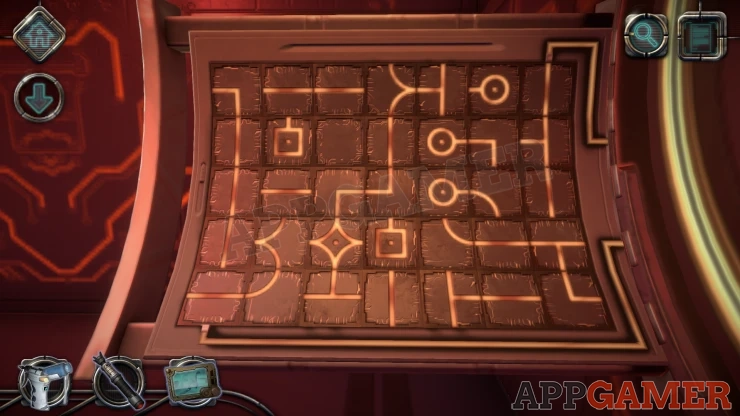
Solution 2: Show
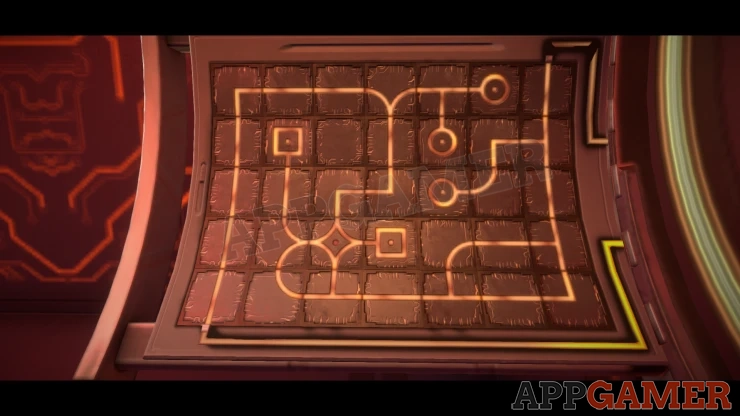
A console with screens appears at the front of the room.
Console Puzzle 1
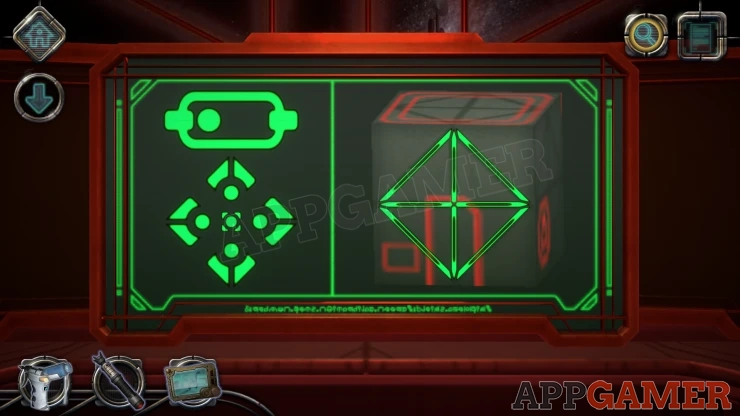
View the center screen and first tap the top left green switch icon, this will change the patterns of lines of light that go around the room.
Look at the liens of light carefully. You will see that they form a continuous line around the walls of the room.
Look on the right side of the console screen. There is a cube with red markings on it.
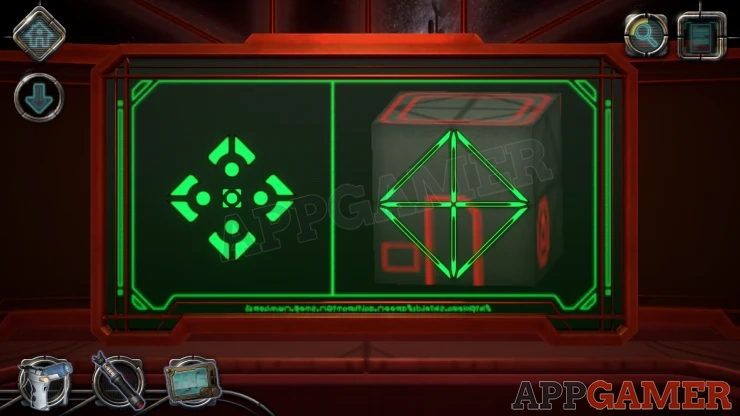
You can rotate the cube with the green arrow buttons on the lower left.
Turn the cube to each face of it and then use the green lines that cross it to light up lines on the face that match the lines seen around the room.
The first face that you see is the wall with the door that you came in from.
Complete the line around the cube to match the line around the room.
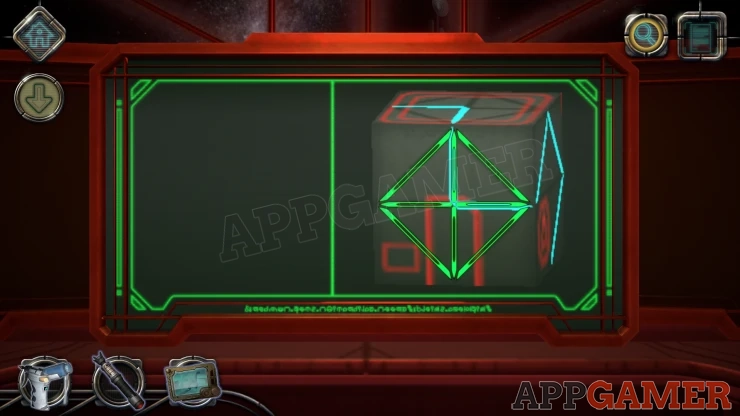
Once done you will see 2 further screen slide out from the center one. The one on the right will fall to the floor.
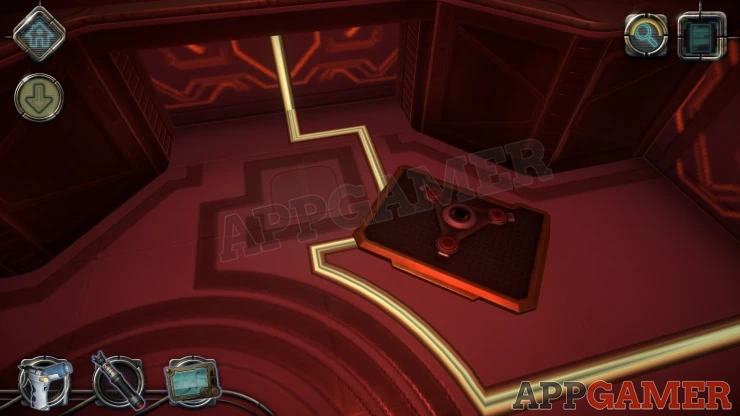
You will also see a panel open up on the back wall.
Collect the broken Screen from the floor. View this and turn it around to see the back.
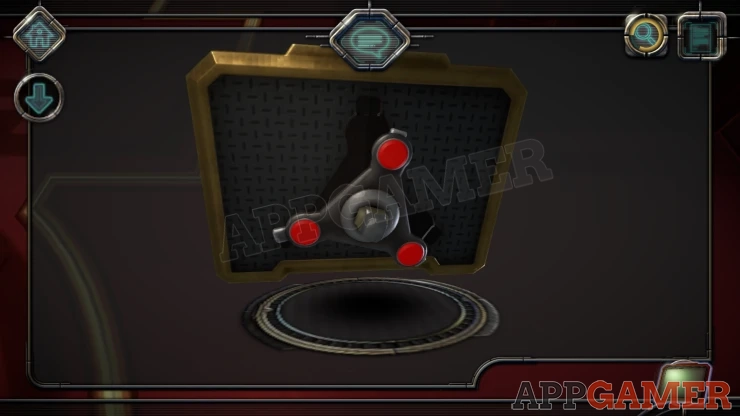
Move the triangular bracket that is on the back up to realign it and then tap the red button at the top to move a small silver clip that is at the top of the bracket up to fix it in place. And then also the red button on the right to do the same there.
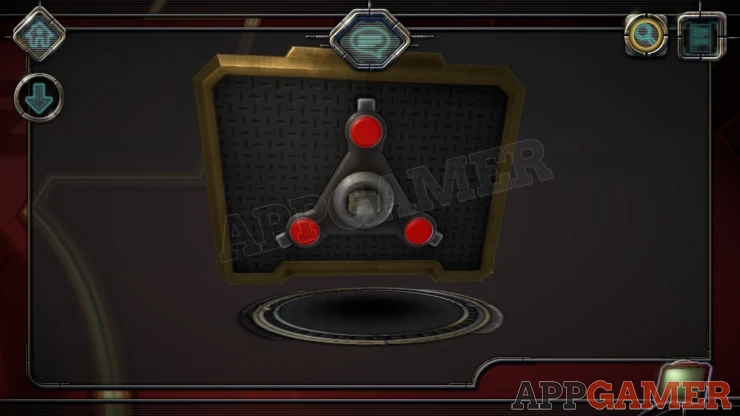
Once done you can return to the console and add the screen back on the right side. On the left and right screen you can now see 2 new puzzles
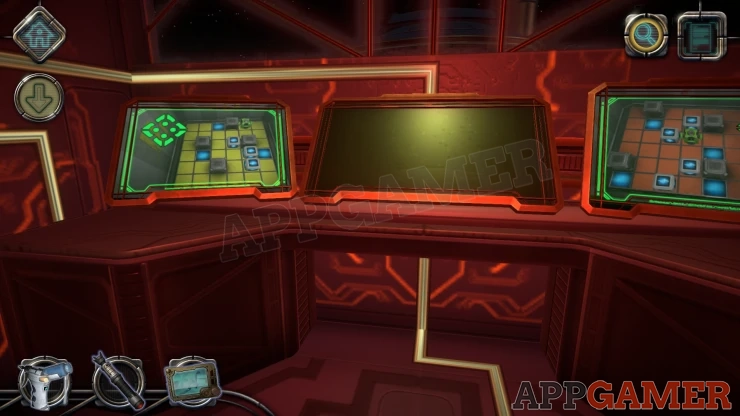
Block Puzzles
- On each puzzle there is a green cube that you can move around the board using the arrows on the top left.
- The green cube will stick to the the blue Power cubes and drag them around with it.
- You can release a power cube by moving past one of the fixed blocks to knock it from the green cube.
- On the left screen you need to move 3 power cubes to the power floor tiles.
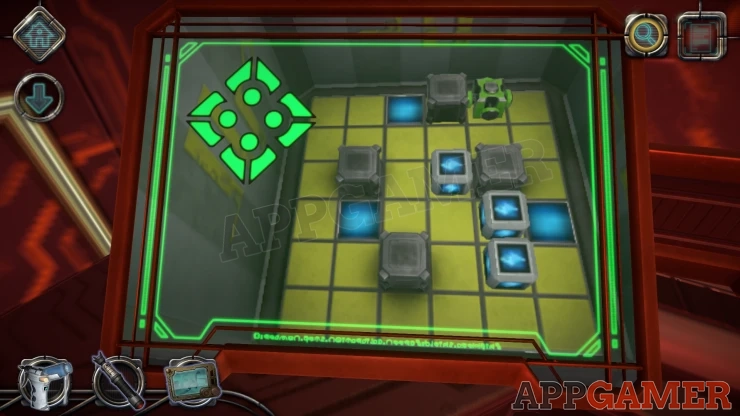
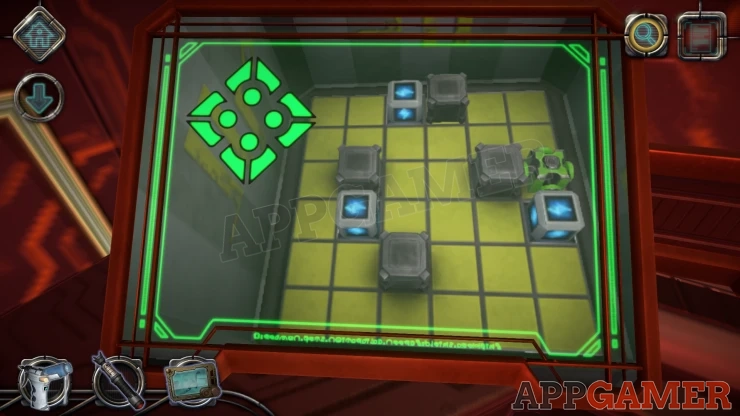
Then on the right screen you need to do the same with 4 power cubes.
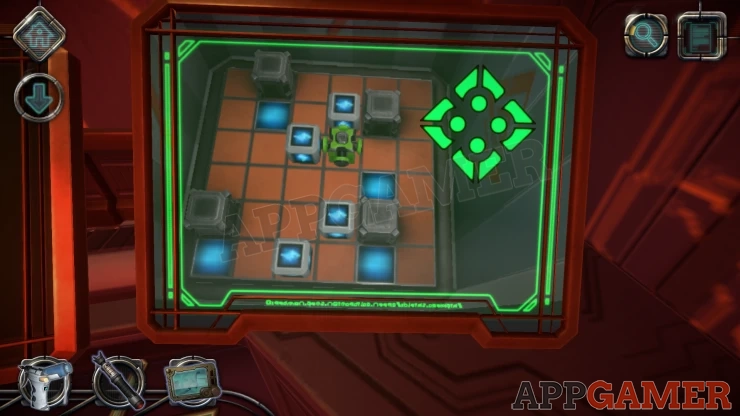
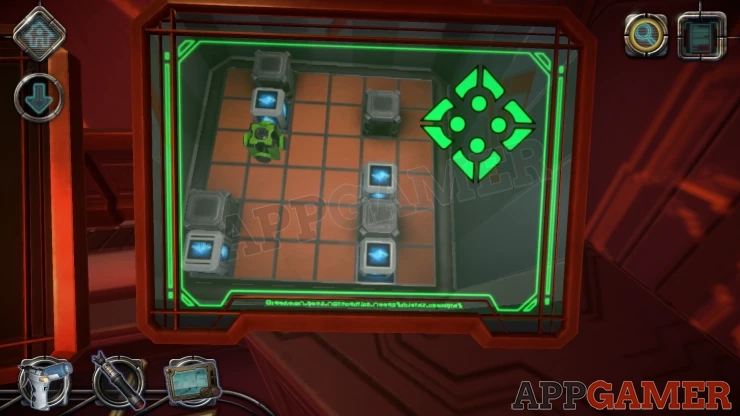
Once done a section opens on the left and you can collect 3 Projectors.
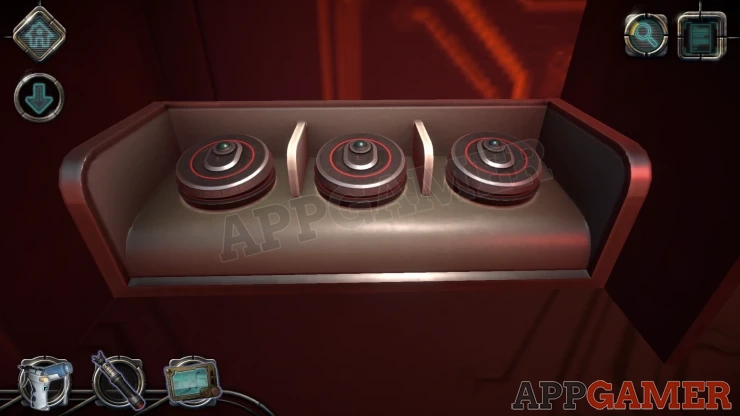
Now turn and look at the opened panel on the back wall.
Laser Puzzle
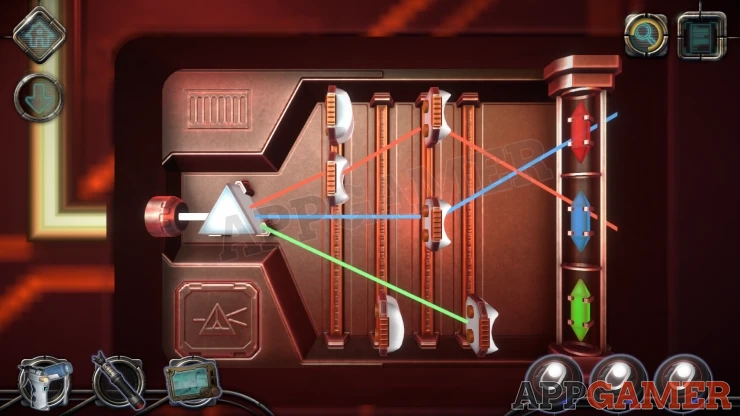
- There are 3 colored lasers coming from the prism on the left.
- There are 4 sliding lenses that you can move up and down to intercept and redirect the light beams.
- Arrange the lenses so that the light beams reach the matching colored crystals on the right.
Solution: Show
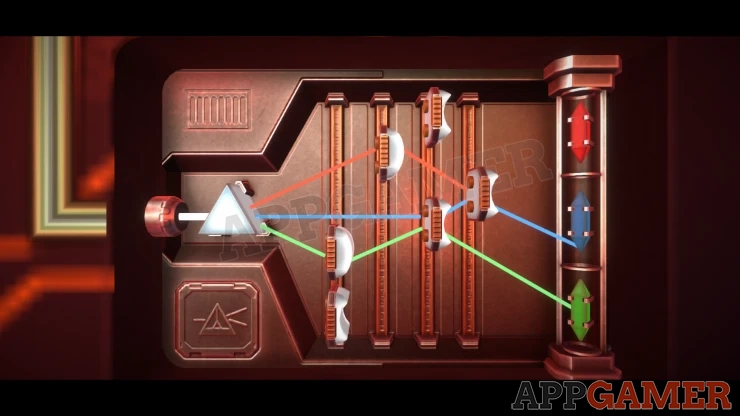
This now places a round table into the room with a triangular machine on top.
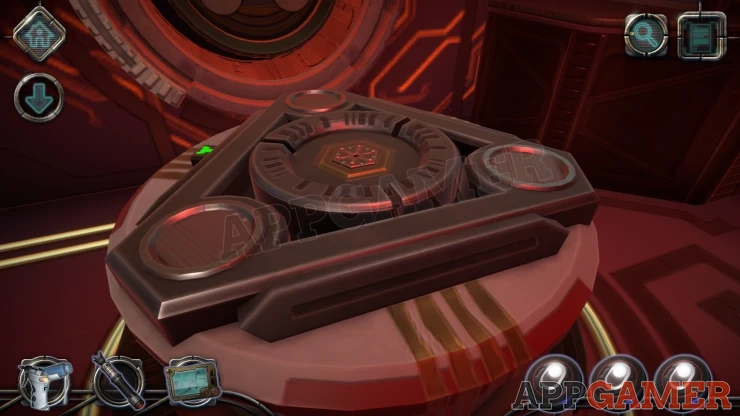
Letter before proceeding look inside the hole in the wall where the table came from to find a letter on the side. It is hard to spot.
First look around the sides of the triangle piece to find an icon for the drone.
Use the drone/table here to activate it.
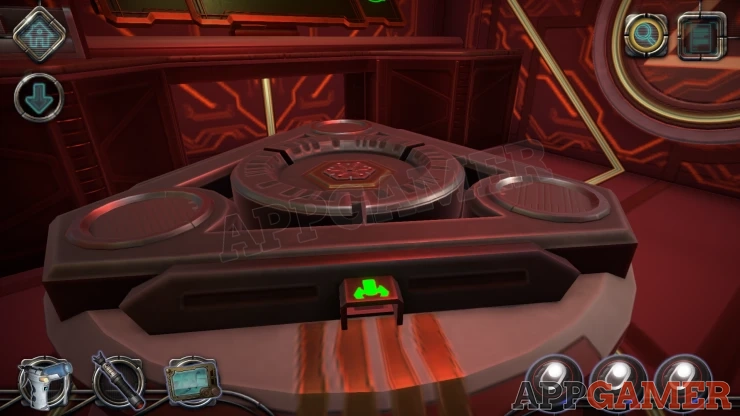
Drone Puzzle
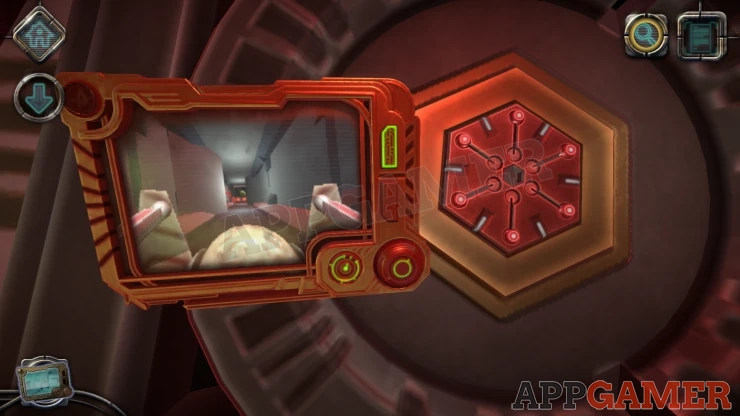
- First move forward and look to the left. Use the laser to activate the red target on the left.
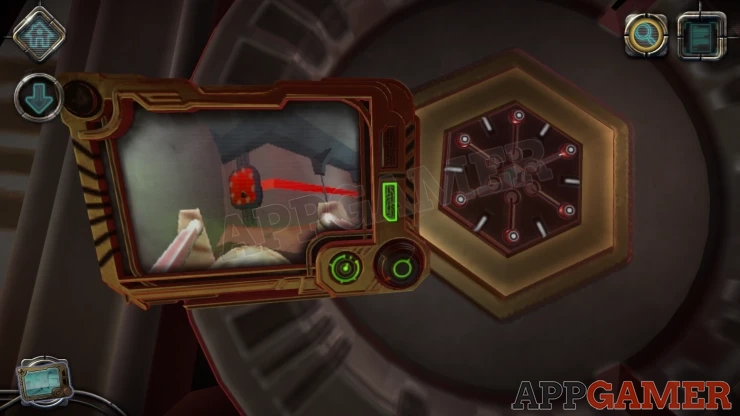
- Move forward again and look to the right, use the laser to activate the red target on the right.
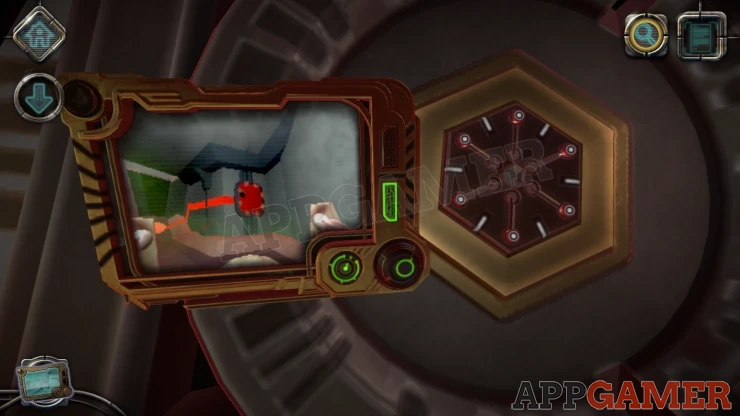
- You can now move forward further to find a hexagon shape with red buttons as you also see on the outside view on the right.
- On the drone view you will see that one of the lines has a yellow dot.
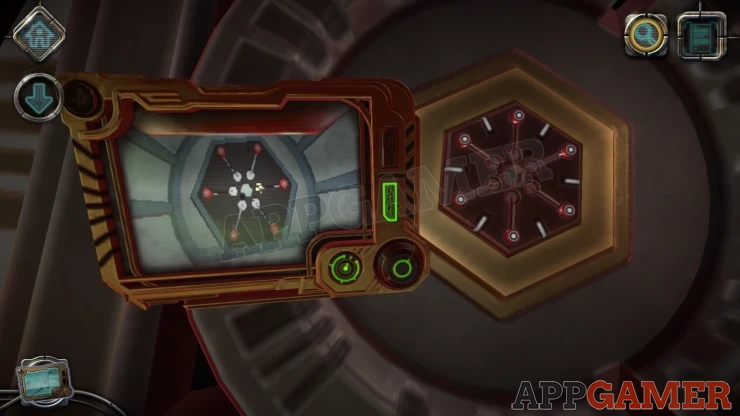
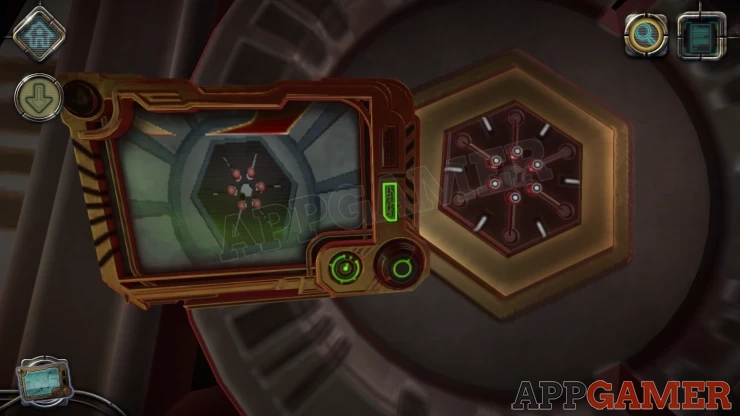
- Move the red button on the outside view that matches the one for the yellow dot on the inside view into the center. Remember the drone view is upside down.
- Then repeat this process with the other 5 buttons.
The corners of the triangular block open up, place the 3 projectors into the holes.
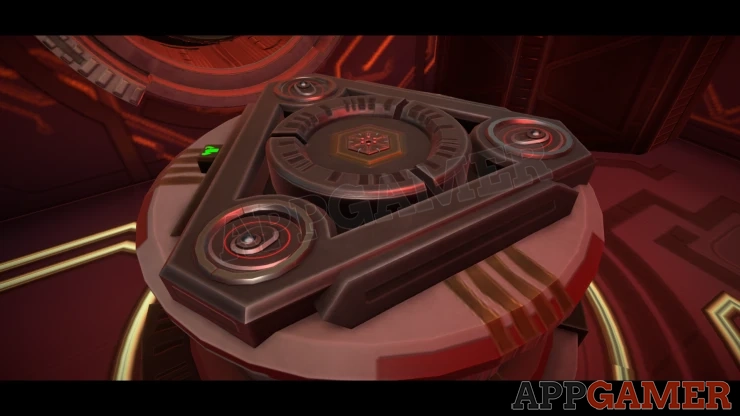
You will see an image of the ship but it is not working correctly.
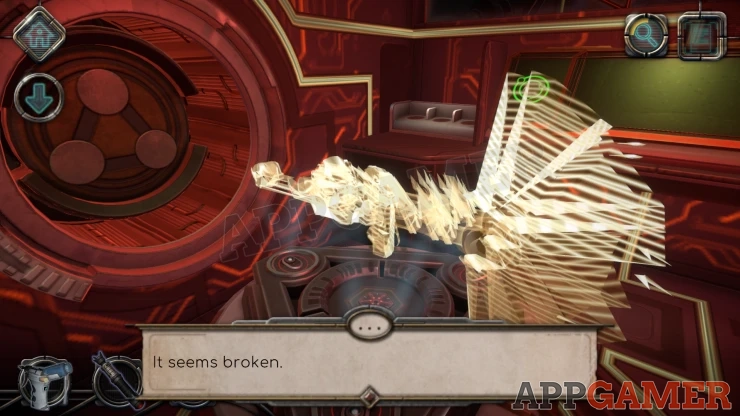
Another panel on the opposite wall opens and reveals a Pyramid
Pyramid Puzzle
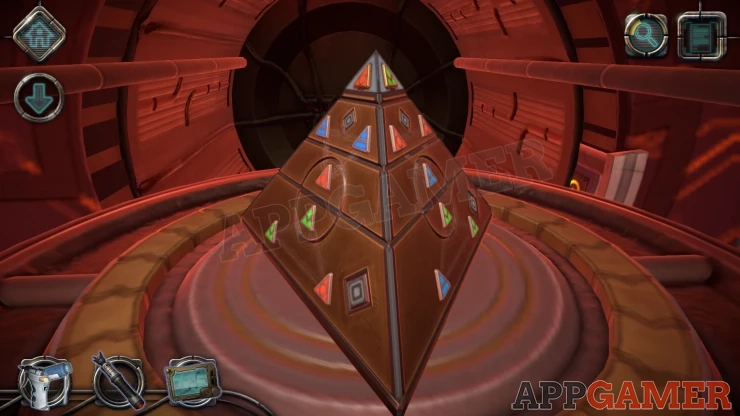
- There are 3 sides to the pyramid. and 3 levels that you can rotate around it.
- You can also rotate the whole pyramid using the circle around it to see all sides.
- Each level has a number of colored gems in 3 different colors. Red, Blue Green.
- On the top and bottom levels the gems can be swapped around using buttons.
- You can also swap gems between the layers.
- Arrange all of the colored gems so that each side has single color matching the ones at the top.
- They do not all need to be the same way up.
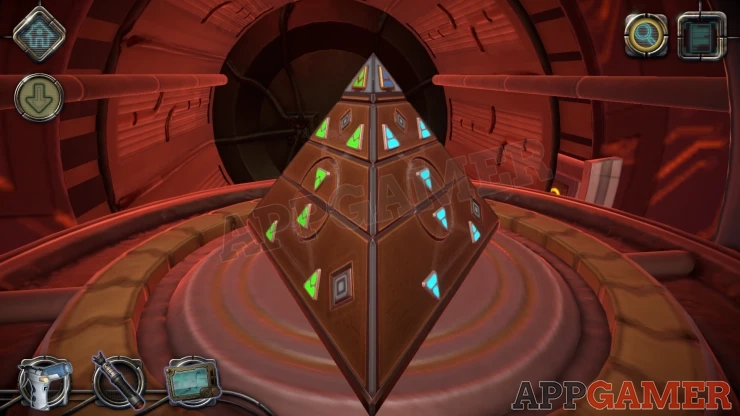
Once done the pyramid will project light into the shim image to correct it.
You will now see a sphere around the ship projection.
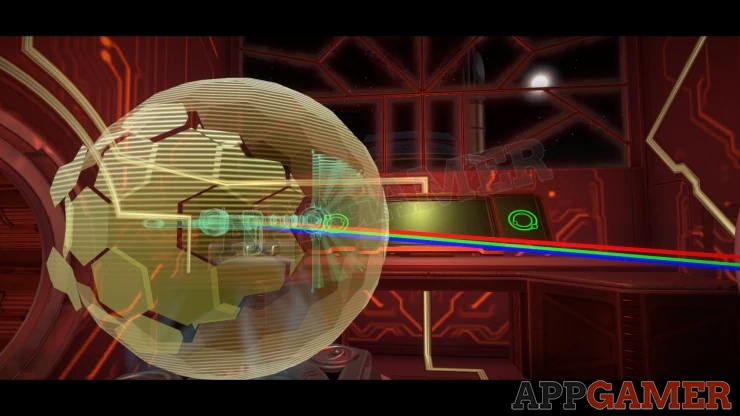
Fix the Shield
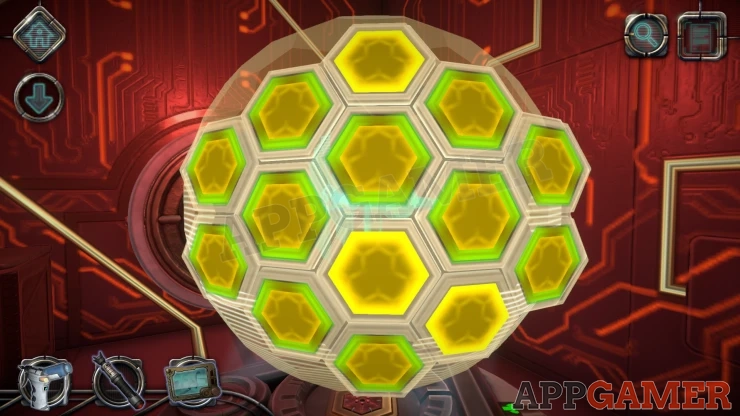
- On the side of the sphere is a section that needs to be fixed. Viewing this will show you a pattern of hexagons shapes. Some are Yellow (good) and some are glowing green (broken)
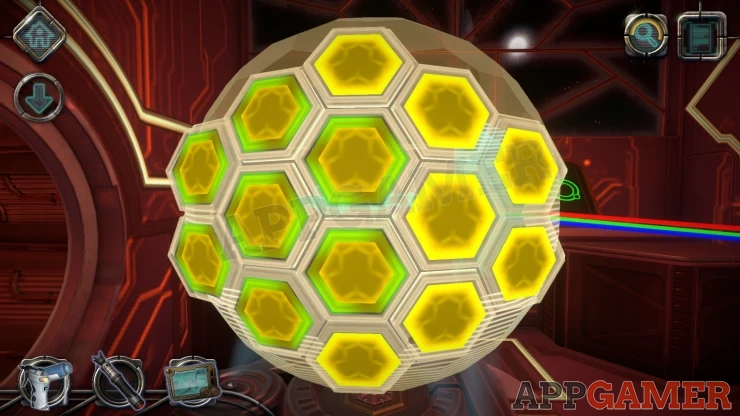
- Tapping a hexagon will mark it for repair and it will also mark all of the hexagons touching it also be repaired.
- You need to mark only the green ones to be repaired, the yellow ones must not be changed.
- Once all the correct ones have been marked it will be fixed and you can move on
- There are 3 levels to this puzzle.
Part 1
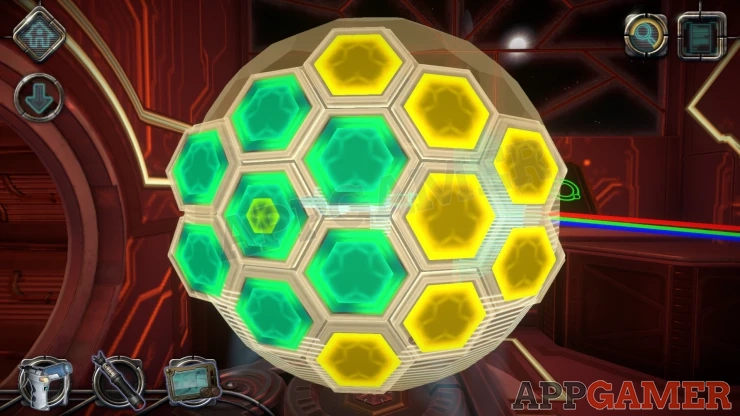
The first one is simple:
Solution: Show
Part 2
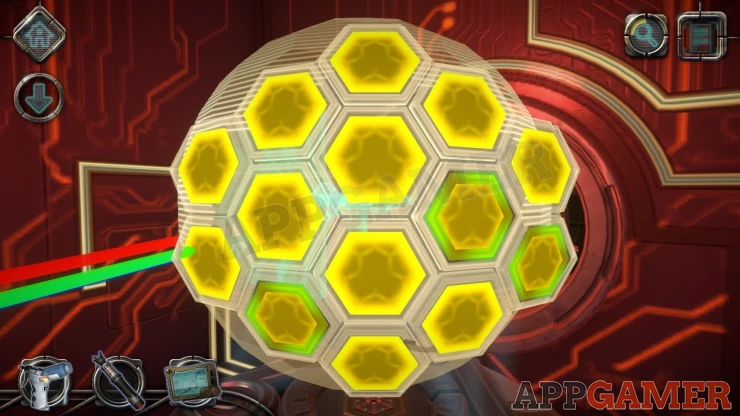
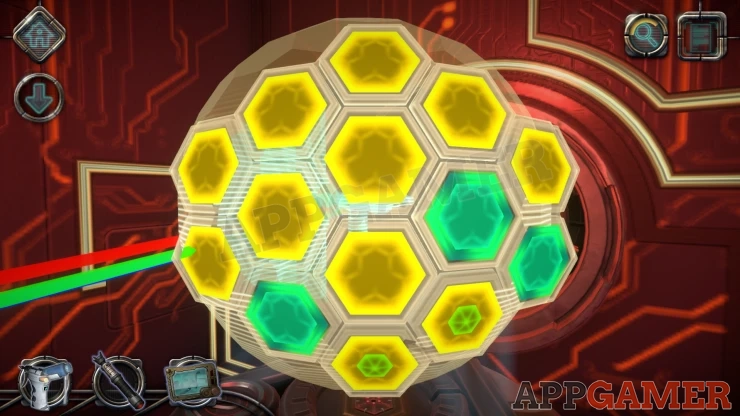
Solution: Show
Part 3
Solution: Show

The shield is now fully operational and the ship is no longer in danger.
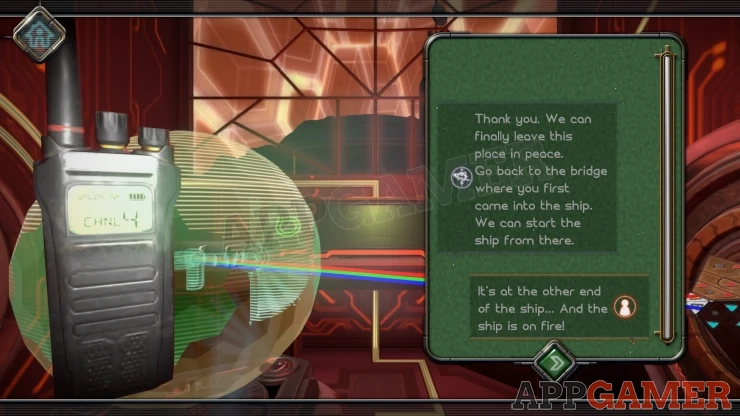
This completes Chapter 7. Move on to Chapter 8.
We have questions and answers related to this topic which may also help you: Show all
 With 20 years of experience in creating video game content for the internet and over 30 years as a gamer, Mark is now a passionate mobile App Gamer. Loving a challenge, he is always ready to get stuck in to both survival builders and puzzle solving games. He has been providing content for AppGamer since 2014.