
Chapter 3 Walkthrough - Artificial Intelligence
More Machinika: Atlas
This is a walkthrough and guide for Chapter 3 of Machinika: Atlas. Following the previous game in the series, Machinika: Museum you play as a researcher whose escape pod has arrived at an abandoned spaceship on Atlas a moon of Saturn.
In Chapter 2 you continues to explore the ship and successfully synchronised your Walkie Talkie to let you communicate. Now you can proceed to move further into the ship.
Chapter 3a Walkthrough
You begin by proceeding through the door from the room of Chapter 2. This take you out onto another balcony area above some steps.
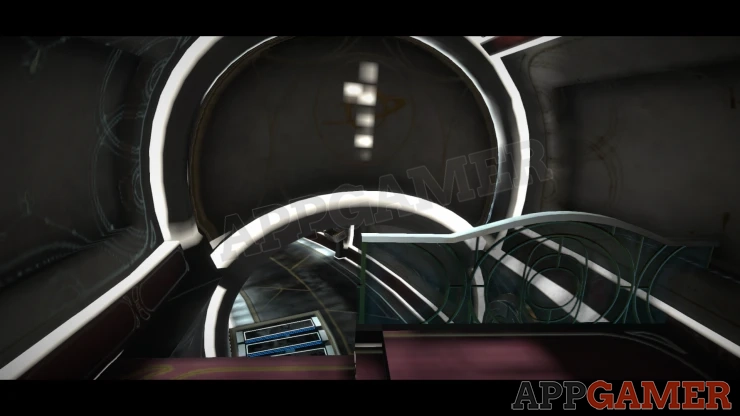
You cannot get down though. You then turn to the right to see another door, it is locked though. On the wall to the left is a vent panel.
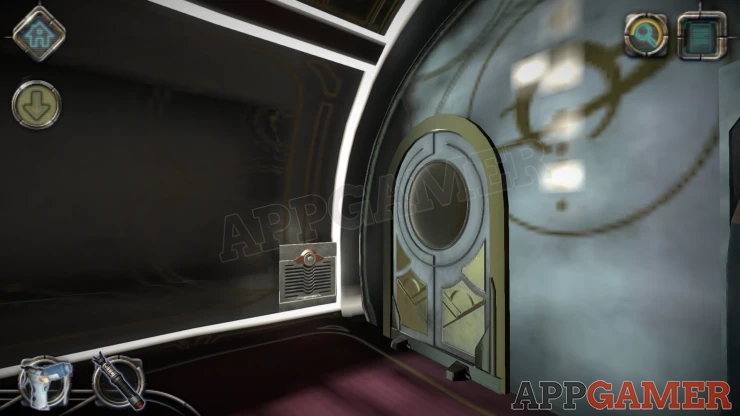
Use the screwdriver on the vent to let you open it. This is another screwdriver puzzle to set the patterns correctly.
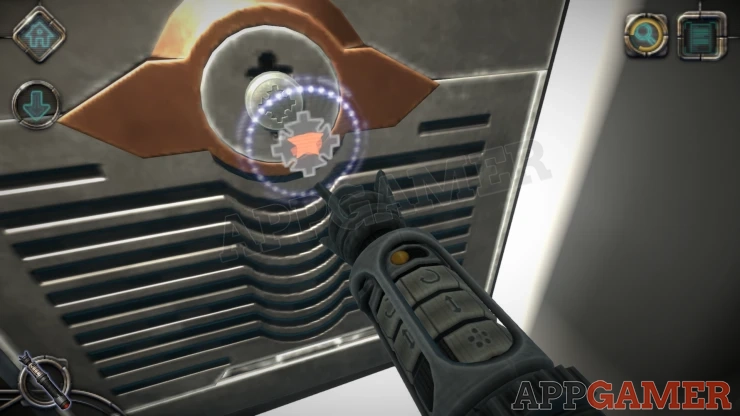
Once it is opened you will move through the vent to a door that is closed with another puzzle.
Vent Puzzle
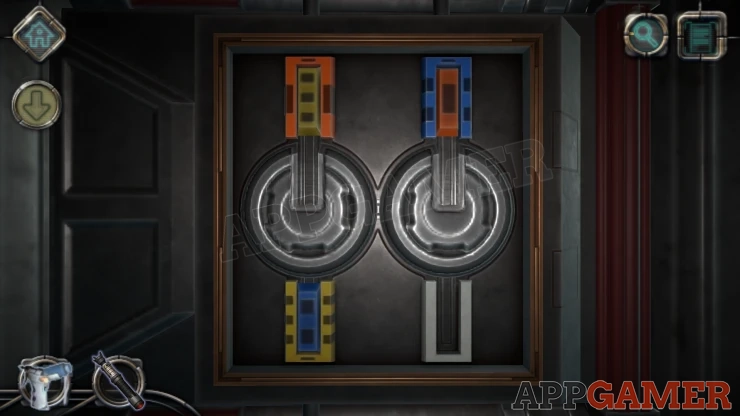
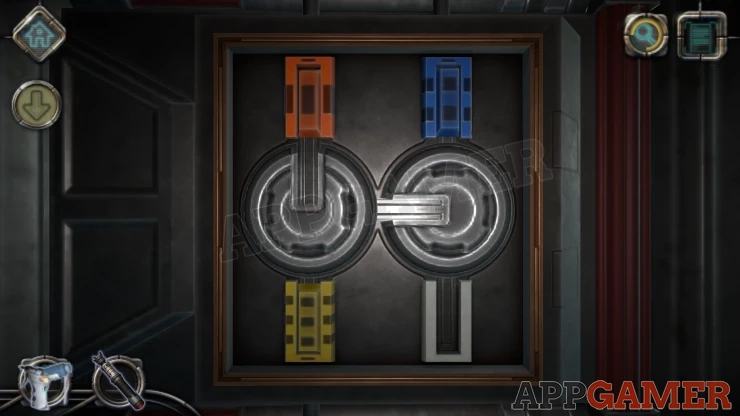
- There are 3 colored blocks (blue , red, yellow) that you can move around by using the 3 dials in the center.
- Rotate the dials to let you slide the blocks in and rotate them to new locations.
- There are 4 slots that you can place them in, 3 of them have matching colors.
Move the blocks to the correct colored slot.
Solution: Show
You move to the other end of the vent with a closed hatch.
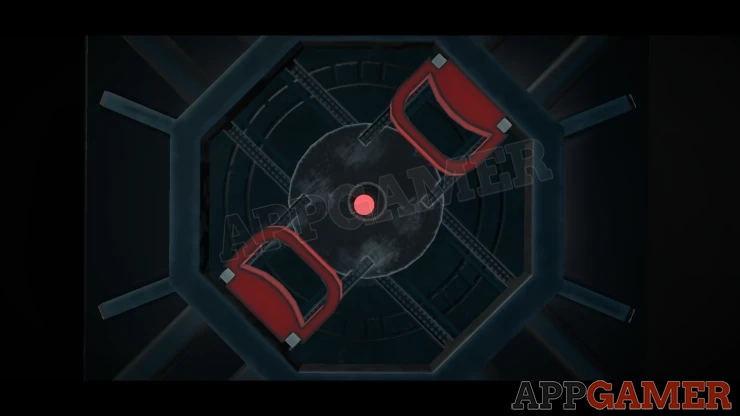
Slide the red handles to the center, then you can rotate the center circle.
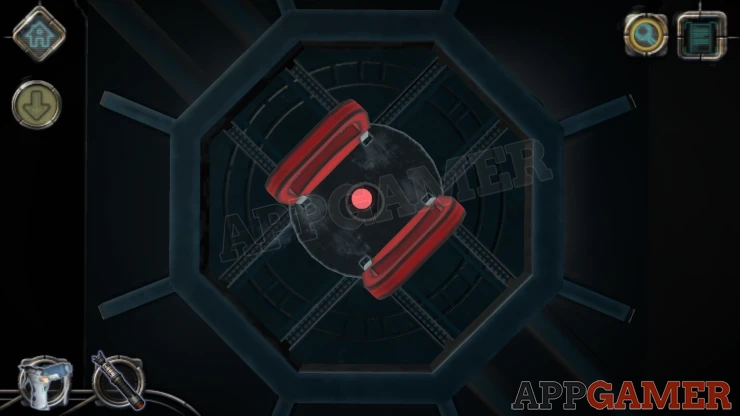
Now slide the red handles to the outside to open the hatch.
Chapter 3 - Artificial Intelligence Walkthrough
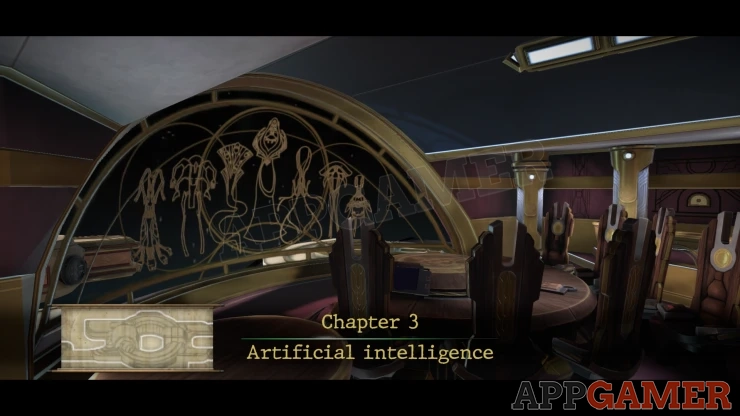
Move forward along the upper walkway and look at the large mural on the wall to the right.
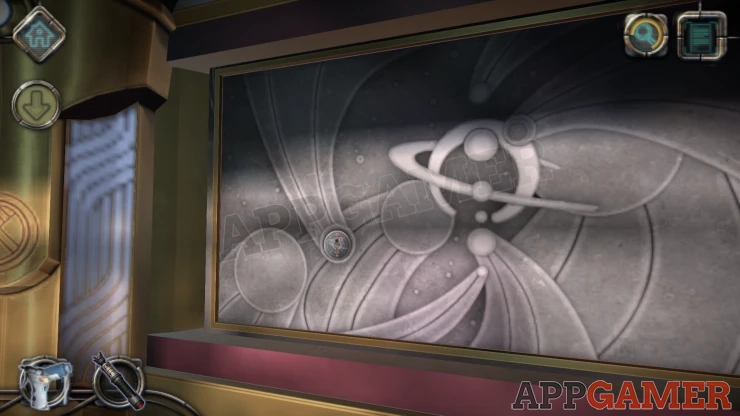
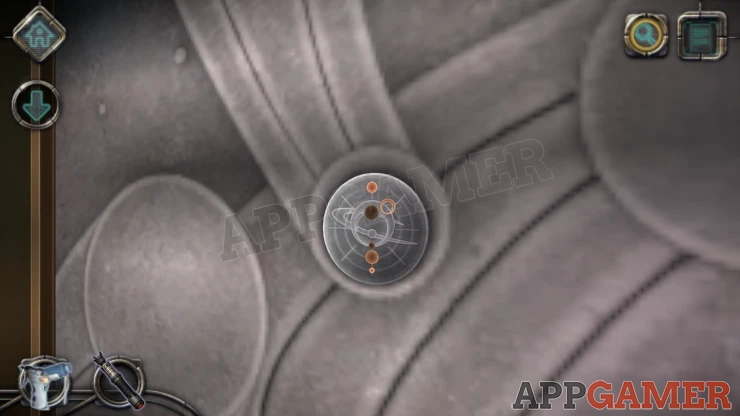
Collect a Seal from the left side of the mural.
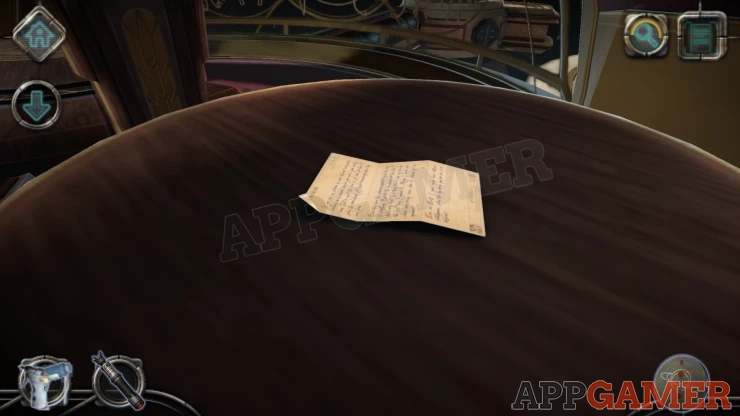
Move forward along the top walkway to find another Letter (letter 4) on the left.
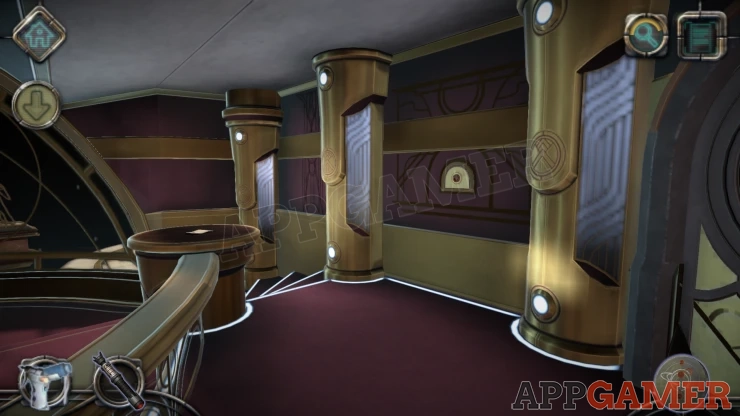
Then turn to look at the wall on the right to see a panel.
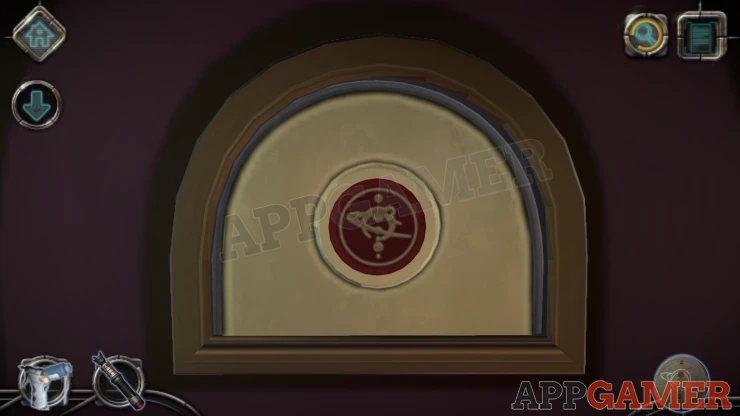
Tap to open the panel, inside is a small dome.
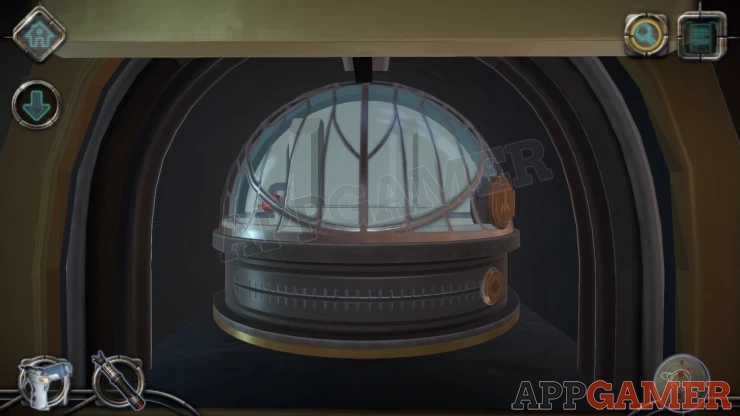
Slide the button on right below the dome to the left and it will open a compartment and a tablet device will appear. You will then look at the top left corner.
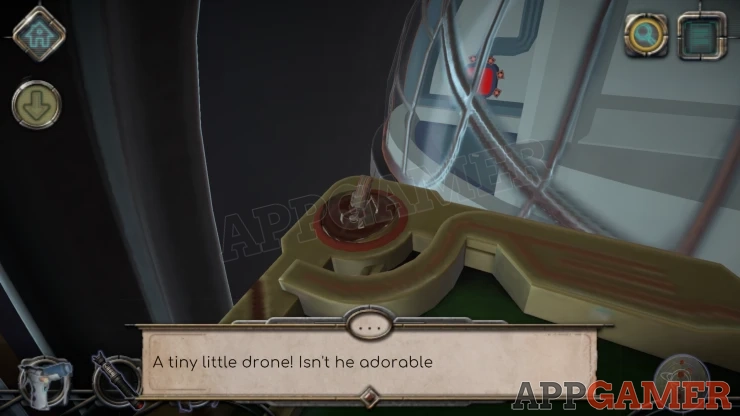
Collect the miniature Drone.
You can now place the drone into the opened small trapdoor on the right of the dome. This activates the tablet screen for you to control the drone.
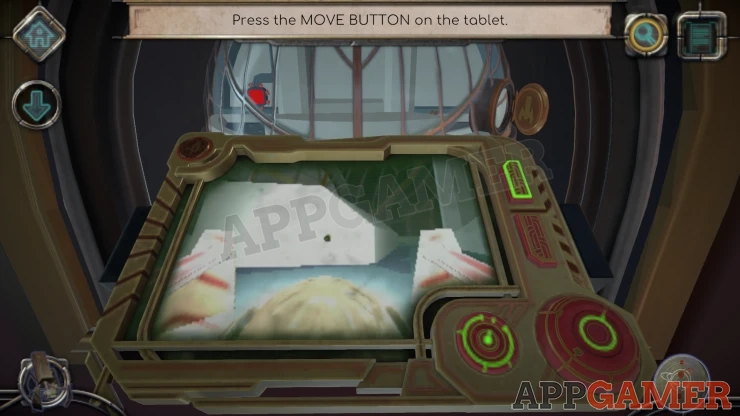
- Use the two buttons on the upper right to move the drone forwards and backwards.
- Then rotate the round button on the lower right to turn the drone.
- The other button on the lower right is used to fire a laser.
- Tap the top button to move forward until you reach the far side.
- Turn to the right and line up with the Red target.
- Fire the Laser to activate it. Hold it down until the green lights come on.
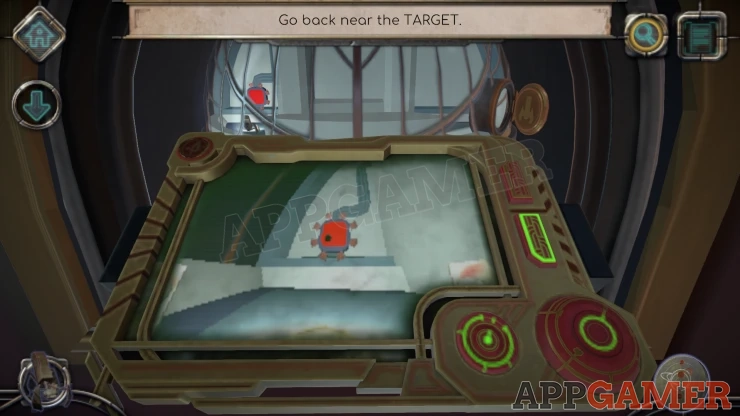
Once done you will collect the Controller tablet so you can use the drone again.
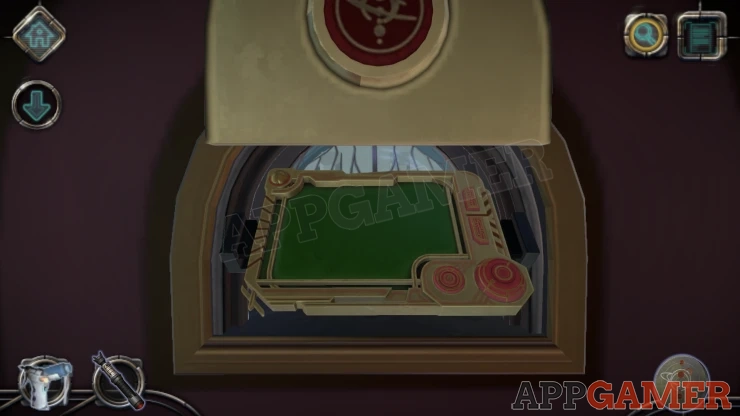
Move forward again into the lower area of the room in front of a large table.
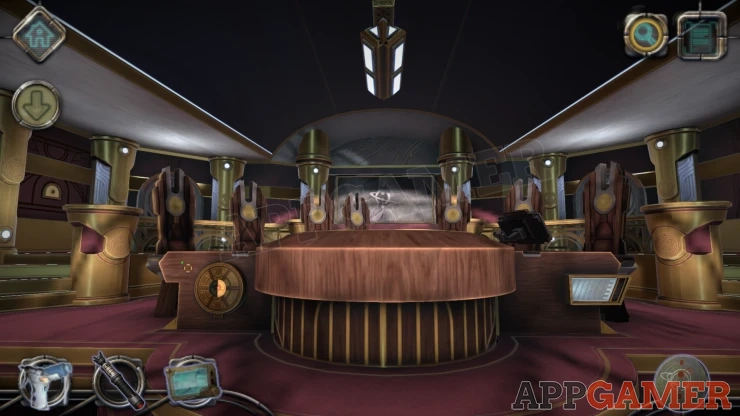
First view a silver panel on the right side of the table.
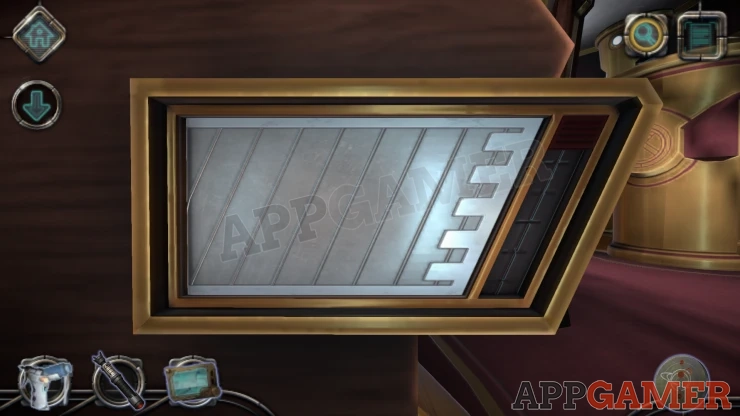
Slide the red button down to open it and find a puzzle inside.
Circles Puzzle

- There are 3 large circles that you can rotate.
- Within these circles there are red segments that need to be aligned together.
- Combine the segments to make a single shape and position it in the center.
Solution: Show

You can now collect a Battery.
Next you need to move the head of the table next to the chair by the steps at the top. You will be looking at the large window.
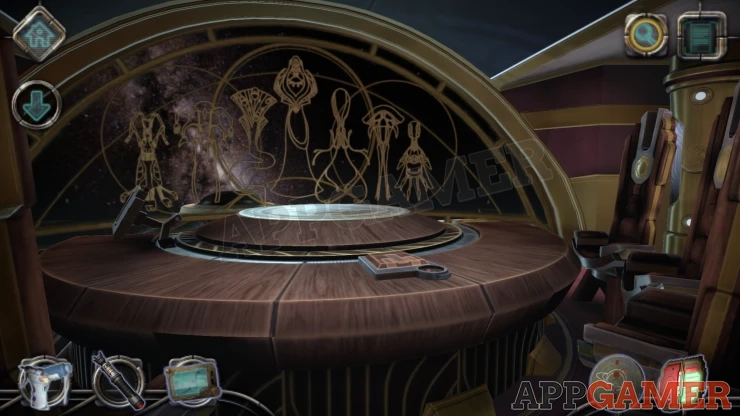
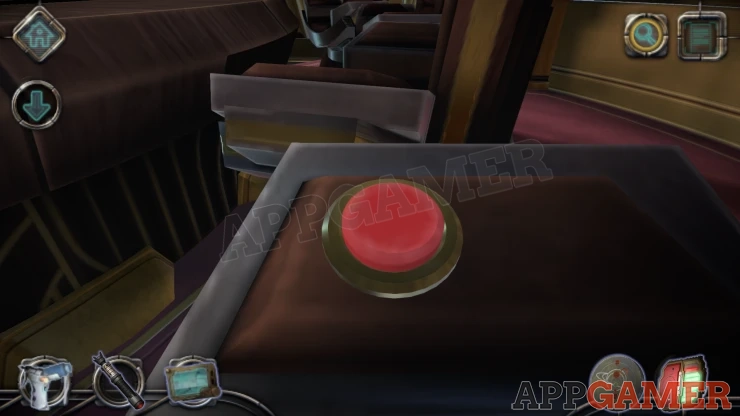
Look at the Arm of the chair to your right and press the large red button. A screen moves round to you.
Next look at the block on the desk with the round slot in front.
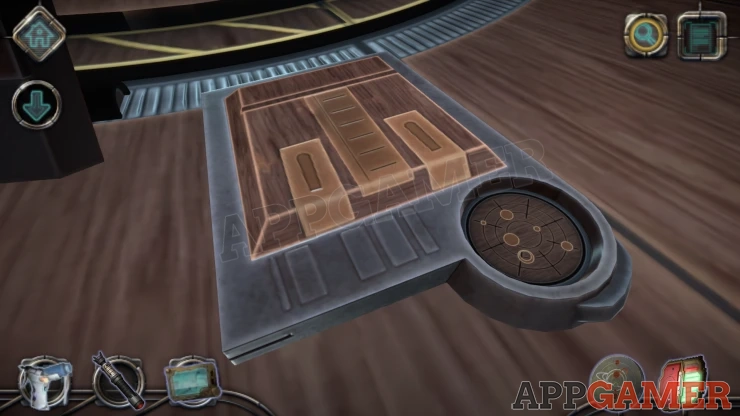
Notice the round hole has circles (planets) arranged in a pattern. Not examine the Seal that you collected from the mural.
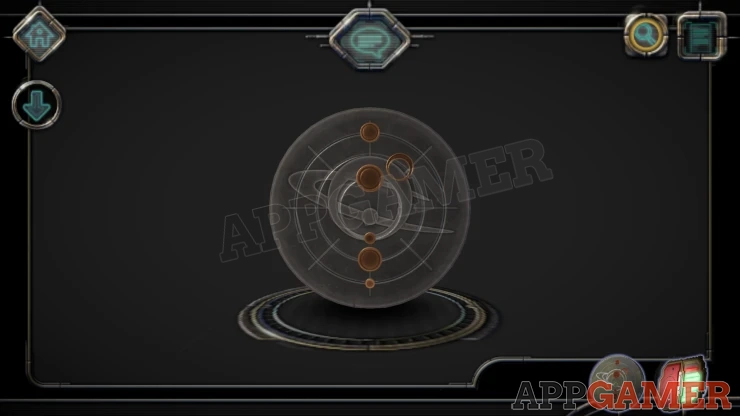
You can rotate the rings with the planets on on the seal to match the ones on the desk.
Solution: Show
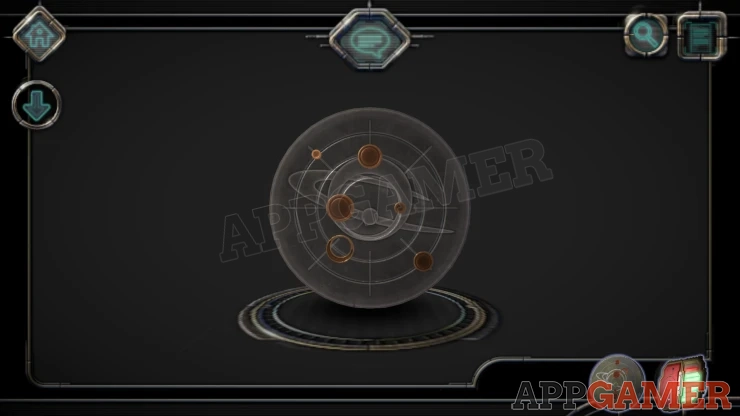
Now Place the Seal into the slot on the desk and you can then collect a Grid.
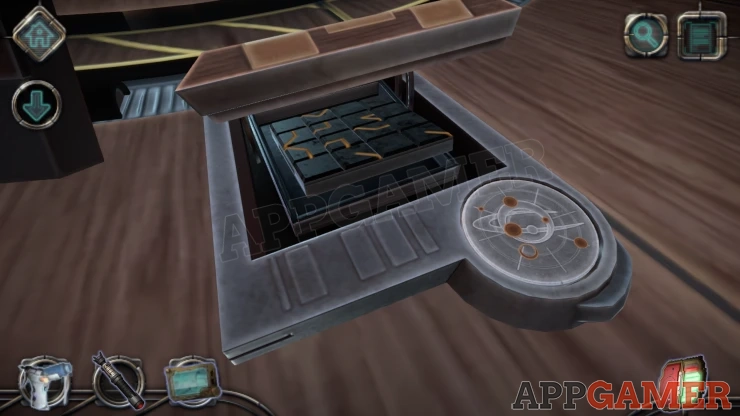
View the Grid in your inventory.
Grid Puzzle
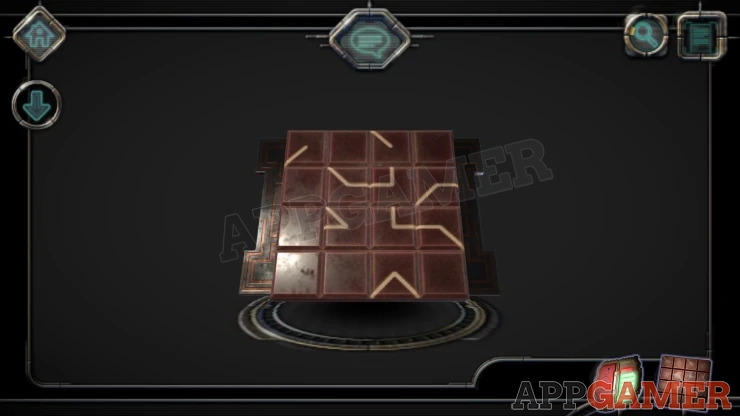
You can tap each of the square to rotate it.
Turn the pieces to line then up and create a single line on the grid.
Solution: Show
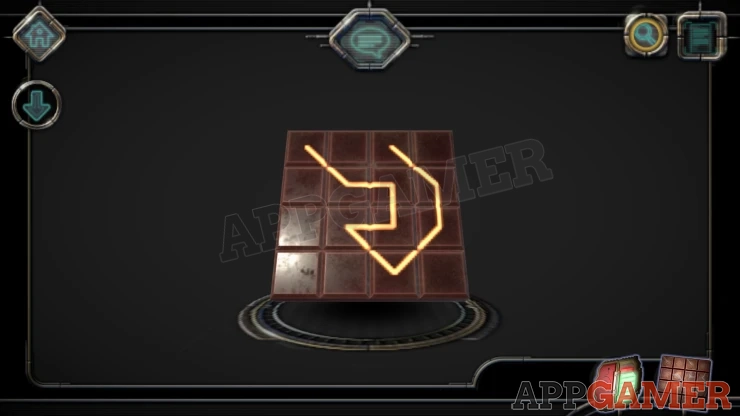
Now view the screen on the table. Place the grid on the left.
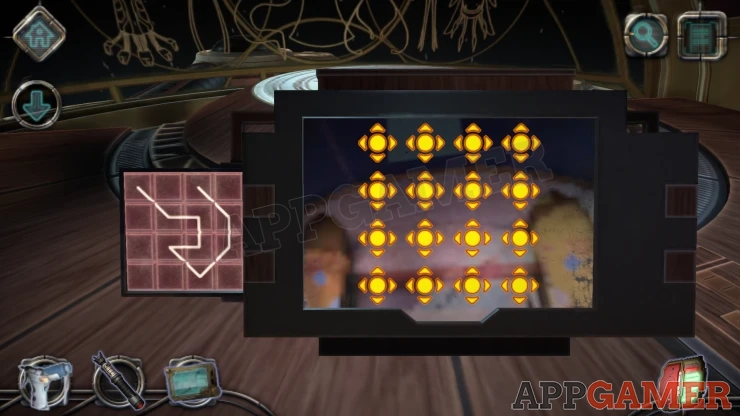
This activates a pattern code entry. Tap the markings on the screen to replicate the pattern on the grid.
A large sphere appears from the top of the table and a robotic arm will extend above it.
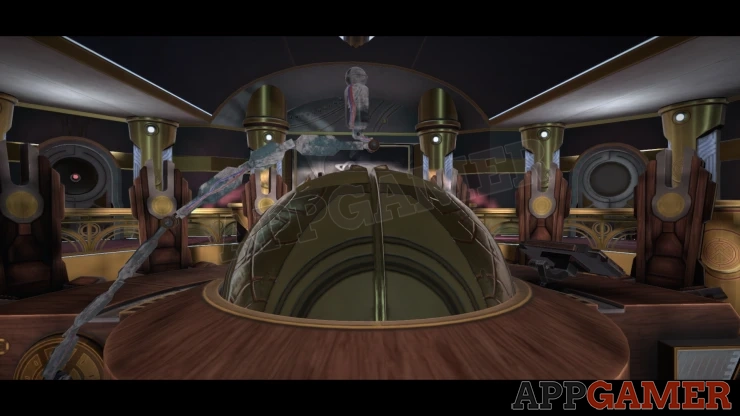
You can try to tap the top of the sphere to look more closely at it but the robotic arm will stop you.
Look on the left side of the table where the arm is extending from. There is a small hole to the left.
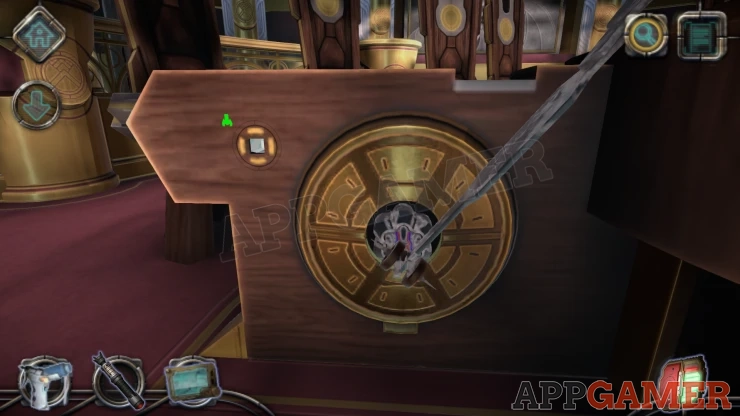
Use the drone controller on this to place the drone inside.
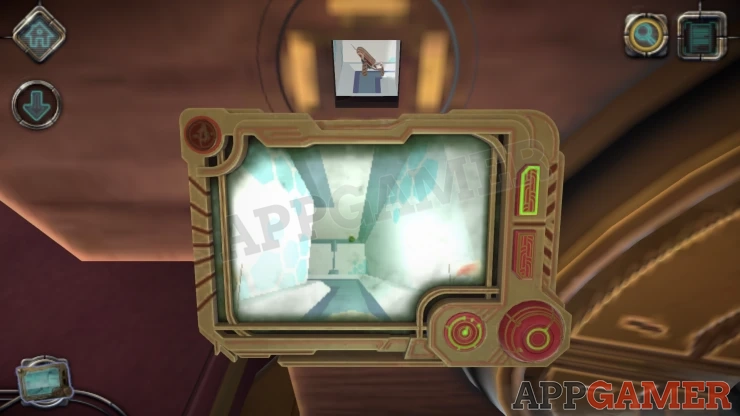
Navigate the Drone
Follow these directions to control the drone
- Move forward to the end.
- Turn to the left
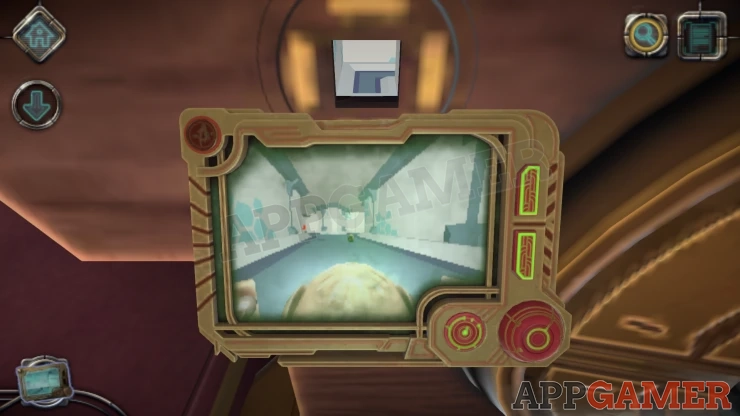
- Move forward again to a junction
- Turn to the left side of the split.
- Move forward again to reach a laser field.
- Use your own laser on it to turn it off.
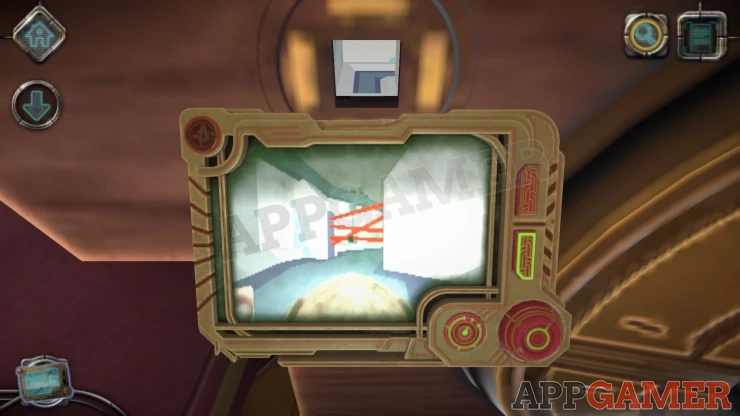
- Move forward again, then turn slight let and move forward some more to reach the red Target.
- Use the laser to activate it.
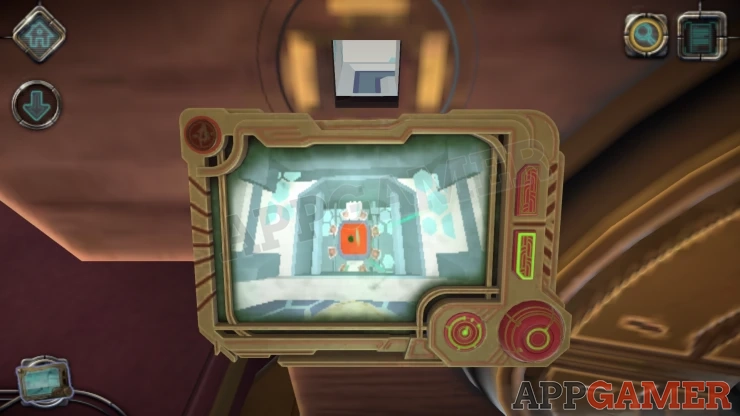
This disables the robot arm. You can now view the top of the sphere. Slide the two handles to the left and right. This opens the outer shell.
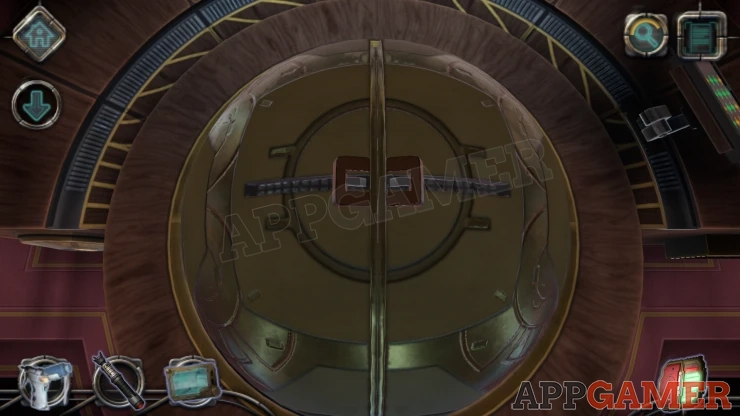
Next slide the 4 buttons to the sides to open the left layer.
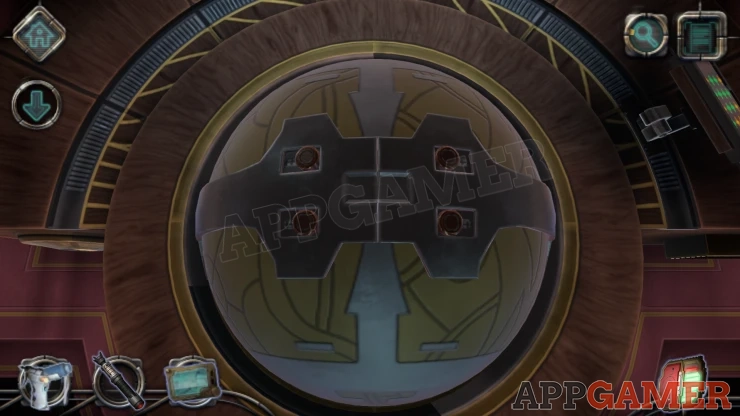
Finally there are 2 catches on the left to release and then you need to slide the large bars to the right.
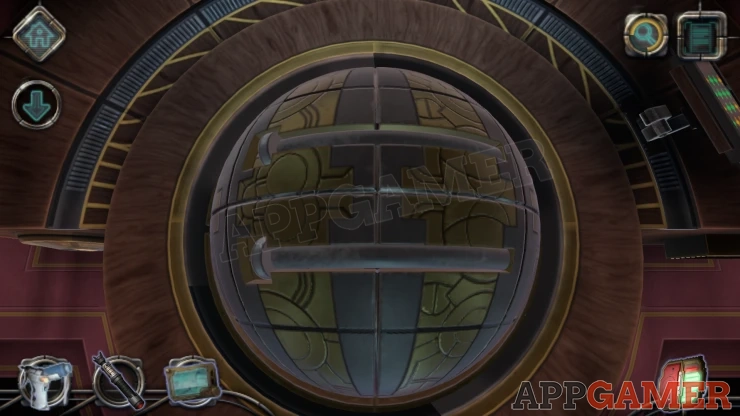
This opens up a circuit system inside.
Circuit Puzzle
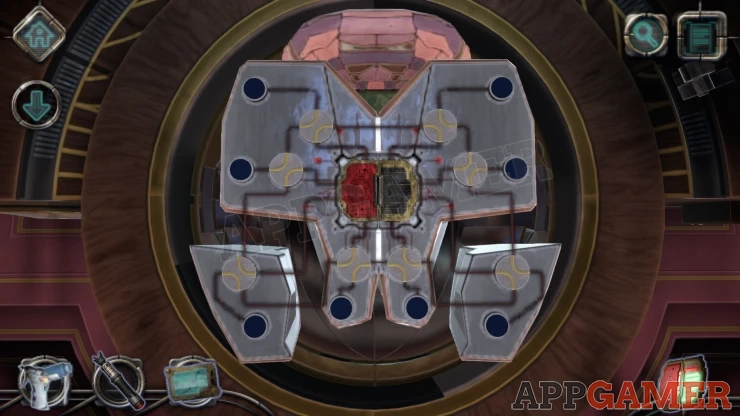
First remove the burnt out battery from the center. And replace it with the one you have collected.
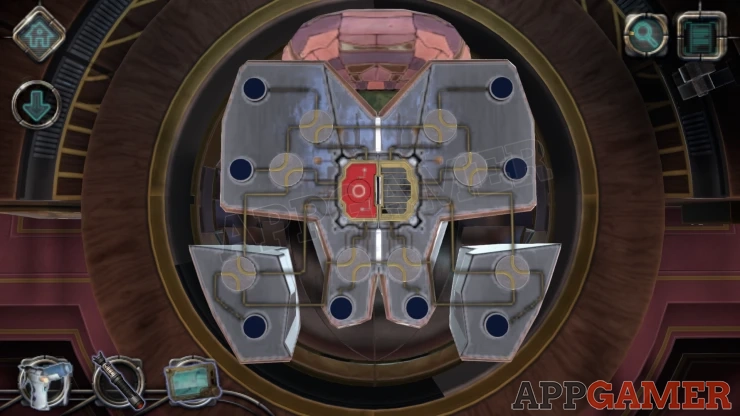
Next you need to turn the 8 circles to direct the lines to power the 8 nodes on the edge.
You can press the round circle button on the red side of the battery to light up the nodes an see if you have connected them correctly.
Solution: Show
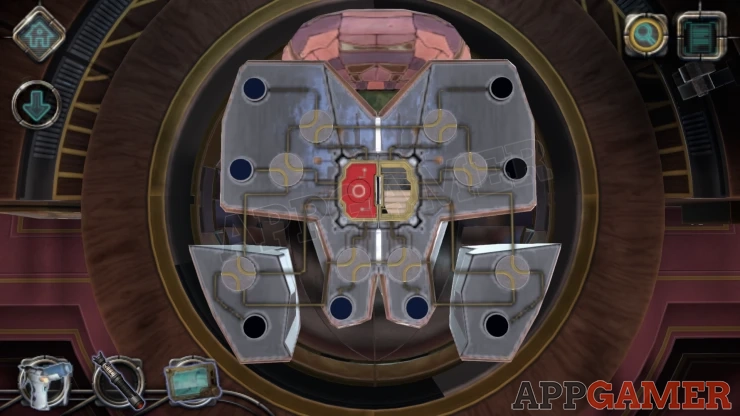
This activates a 3D projector which displays an image in front of the window.
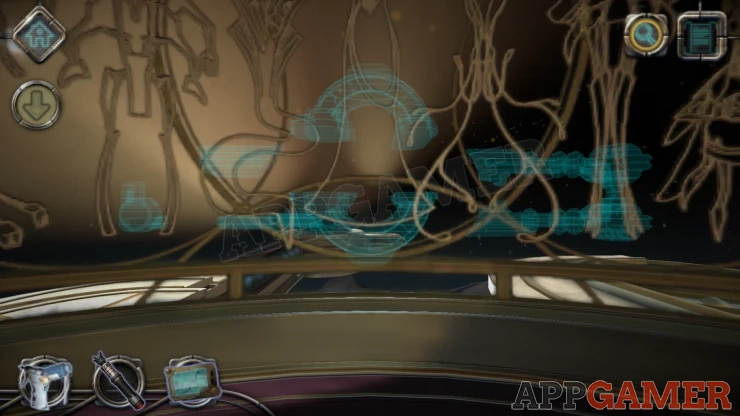
There are a number of ship parts. You can now slide these together to complete a graphic model of the ship.
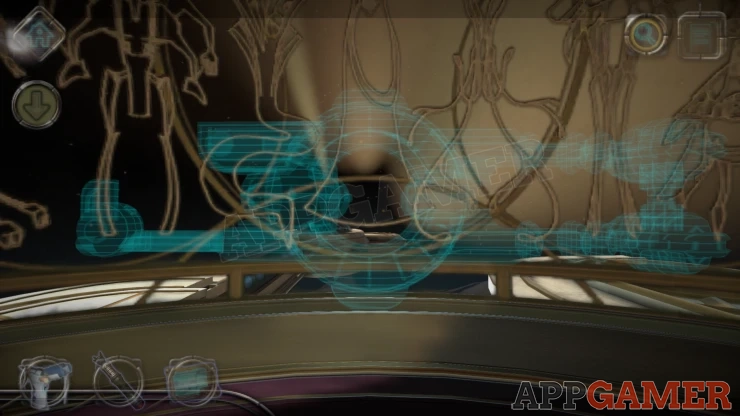
This will highlight a section on the ship on the right in red.
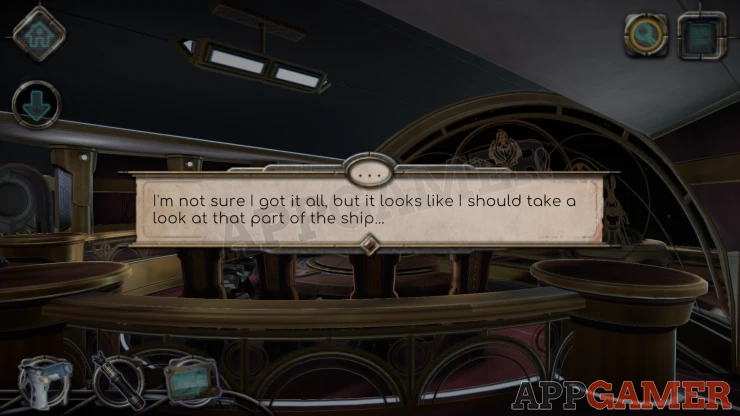
And it also completes chapter 3. Move on to Chapter 4.
We have questions and answers related to this topic which may also help you: Show all
 With 20 years of experience in creating video game content for the internet and over 30 years as a gamer, Mark is now a passionate mobile App Gamer. Loving a challenge, he is always ready to get stuck in to both survival builders and puzzle solving games. He has been providing content for AppGamer since 2014.