
Chapter 8 Walkthrough - Departure
More Machinika: Atlas
This is a walkthrough and guide for Chapter 8 of Machinika: Atlas. Following the previous game in the series, Machinika: Museum you play as a researcher whose escape pod has arrived at an abandoned spaceship on Atlas a moon of Saturn.
In Chapter 7 you access the security room and used the systems there to reactivate the ships shields. Now you are safe from attack and you need to get back to the bridge of the ship to prepare it for departure.
Chapter 8a Walkthrough
Make your way back out of the security room and then head through the door on the right into another passage.
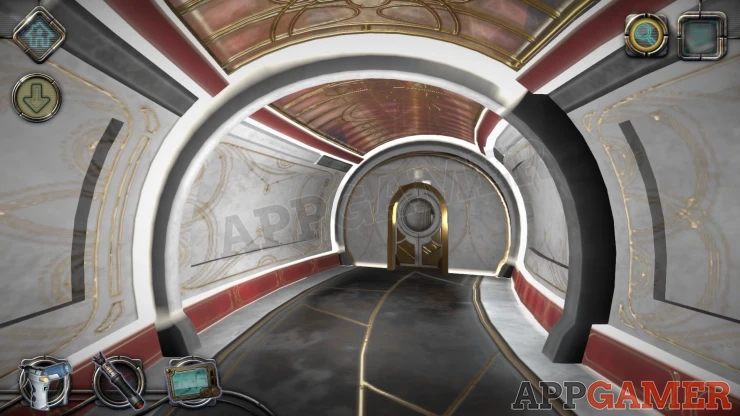
You will see a pod arrive into the next passage, then you can move towards it to get it.
You are taken over the ship and returned to the first room that you arrived in in chapter 1.
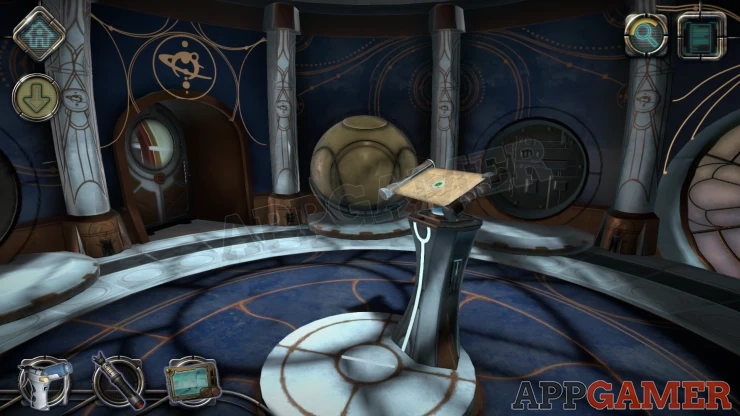
Move to the center console as you did before and tap the green button in the center. You will rise up on a platform to the dome above
Chapter 8 - Departure Walkthrough
On the center console now you can see 2 green sections.
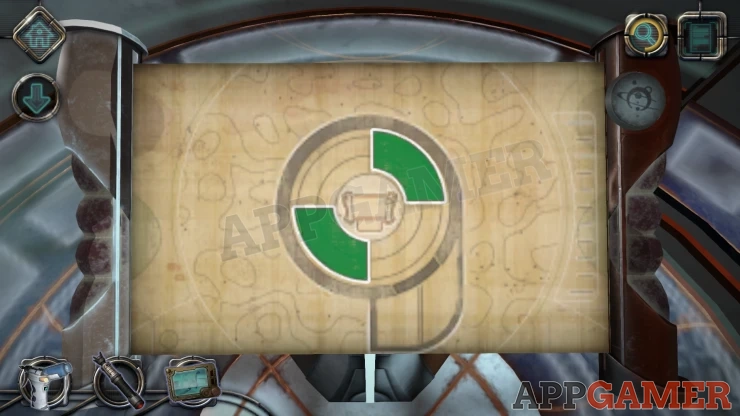
First tap on the top right one, this will open up a wall section in that location.
Letter: Look on the left side of the opened panel to find it.
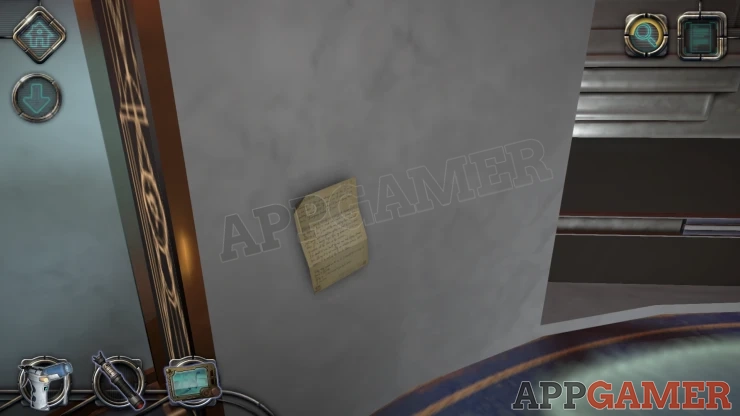
Now look in the opened panel.
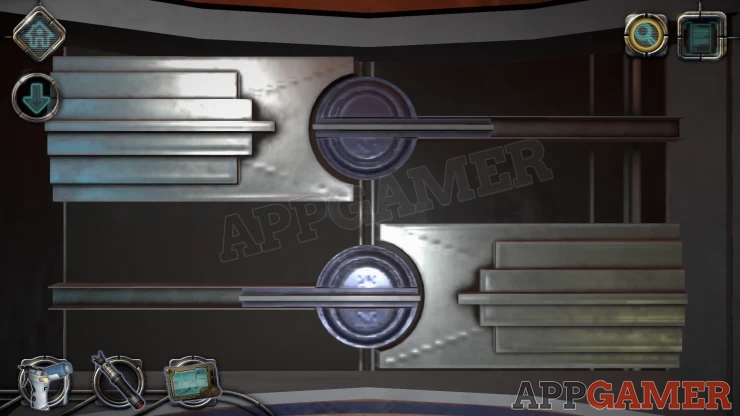
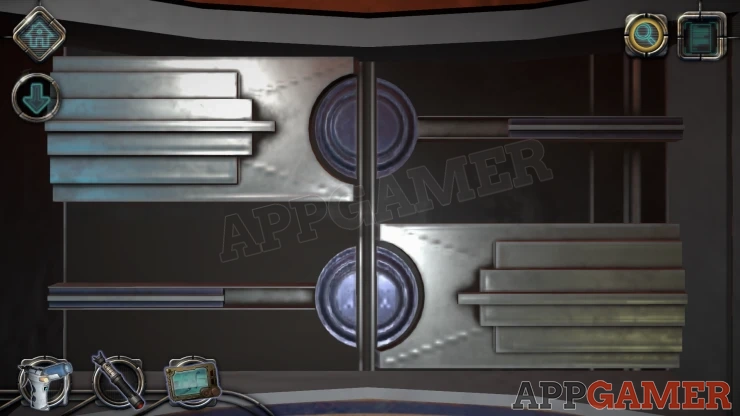
At the top is a circle with a bar across the center. Slide the bar to the right and then you can turn the circle to line it up vertically.
Repeat this on the bottom as well and the doors will open.
Hexagon Puzzle
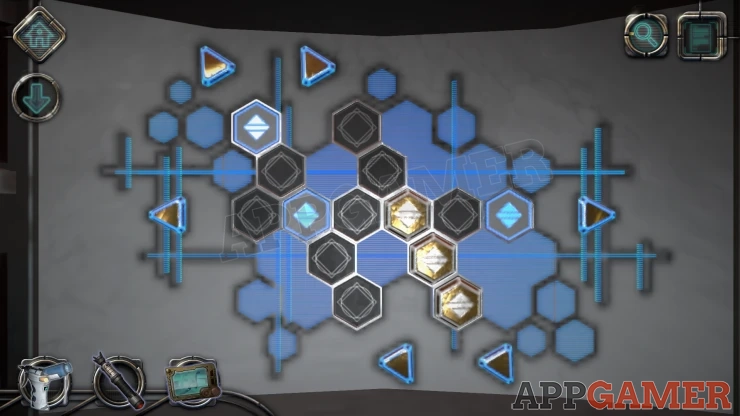
- Inside is a board made up of hexagon shapes. Some are Blue and some are Black.
- There are 3 gold hexagon pieces on the lower right.
- There are triangle arrow buttons that are at the ends of the lines of black hexagons.
- Use the arrows to move the Gold pieces along the lines. You need to move them so that the 3 end up on the marked tiles
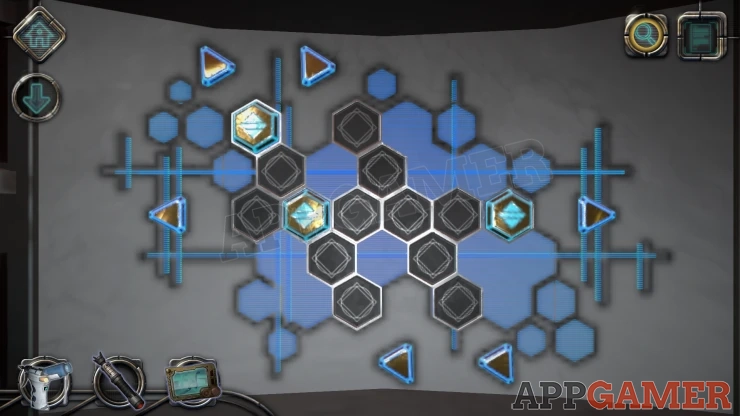
Once done the wall section moves and a Helm wheel appears.
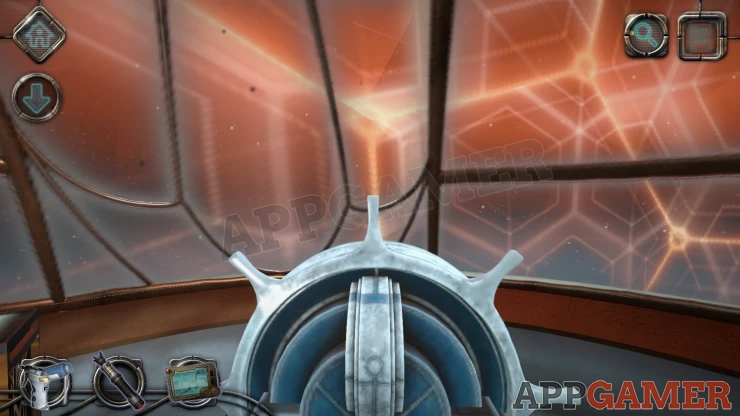
Now look at the center screen again and press the lower left green button. Another wall section appears behind you.
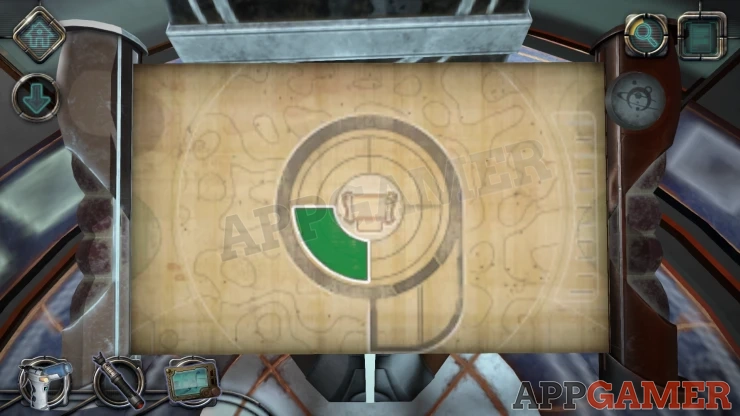
View this wall to see 3 large dials.
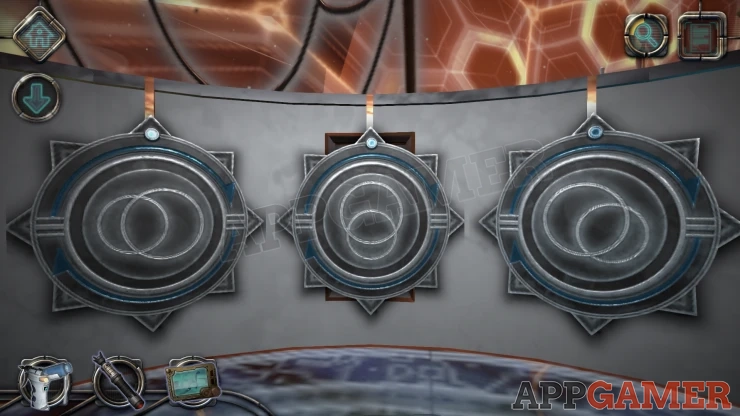
Turn each of the dials until it glows blue. Once all 3 are done it will open up.
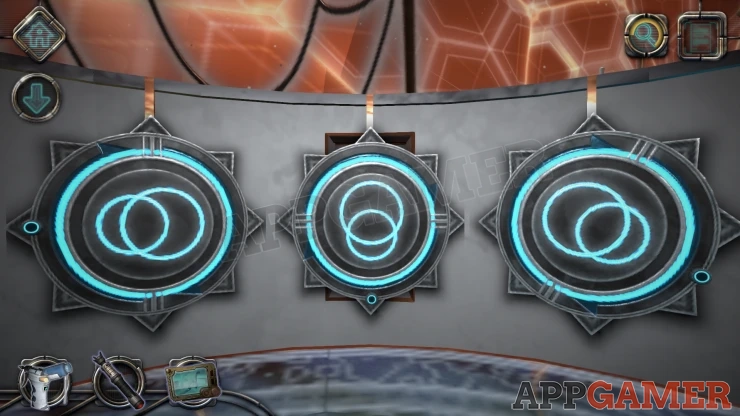
Collect a Magnetic Disk, a Helmet and a Strange Box.
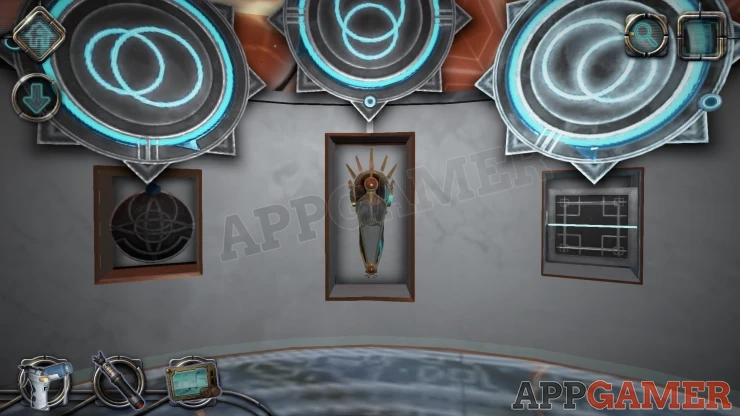
Strange Box
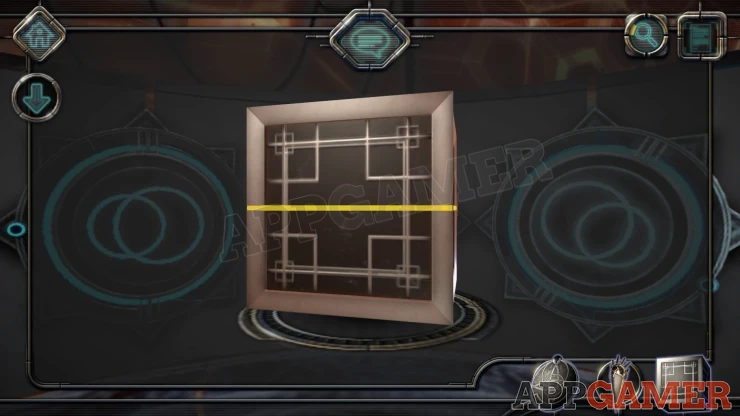
- View the Box in your inventory. You will see that it has yellow lines around it.
- Rotate the box and find any lines that are not joined together.
- You can rotate some of the faces of the cube to change the position of the lines.
- Once a line is complete around the box it will open a layer.
- The first layer is just a straight line. There are 2 more layers to complete after this.
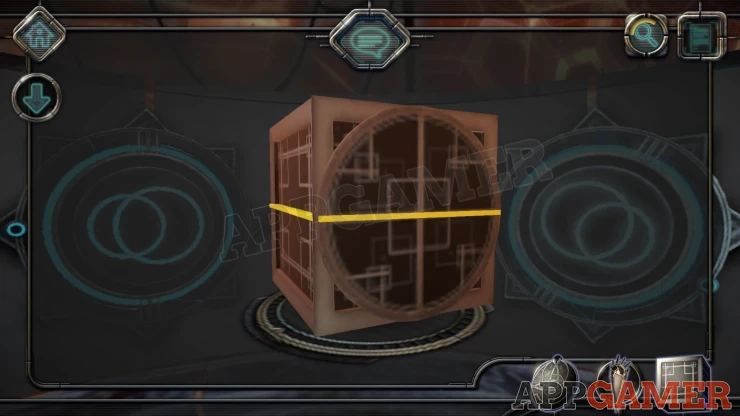
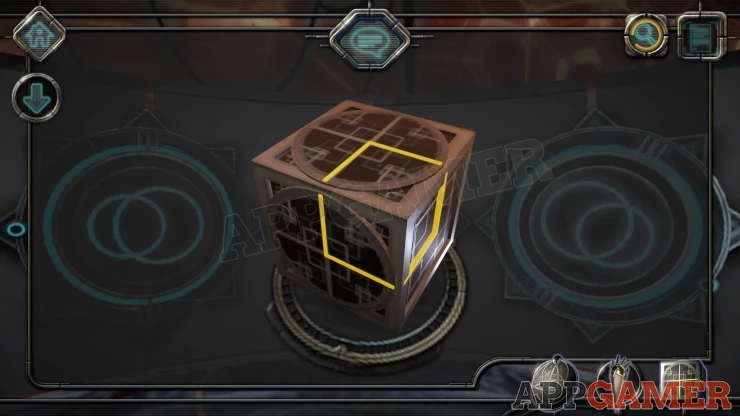
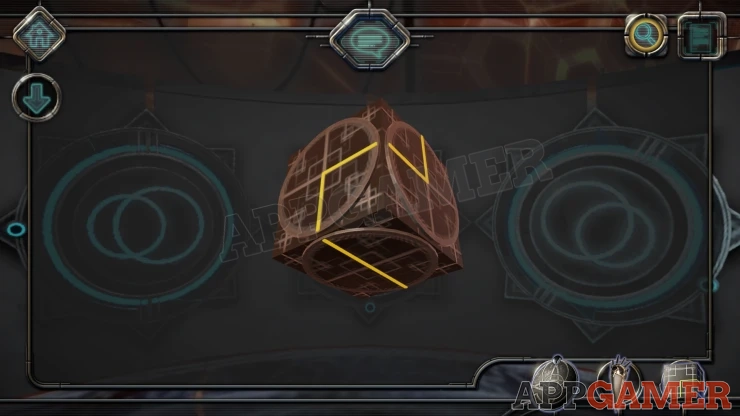
Once done the box is opened and you will collect a Glass Sphere.
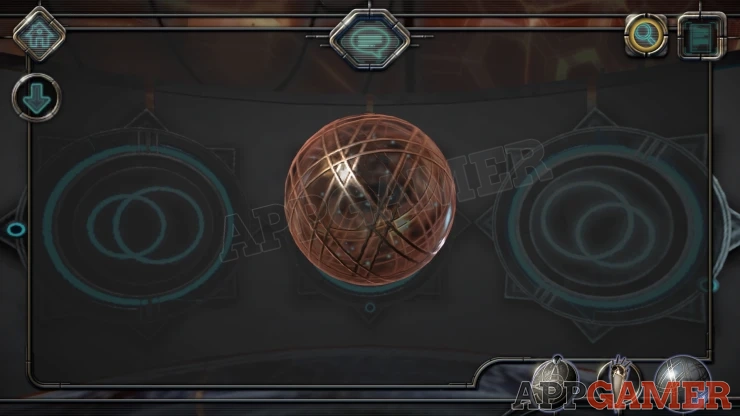
Now turn back to the Helm and then look to the right to see an object waiting. Collect this Disk.
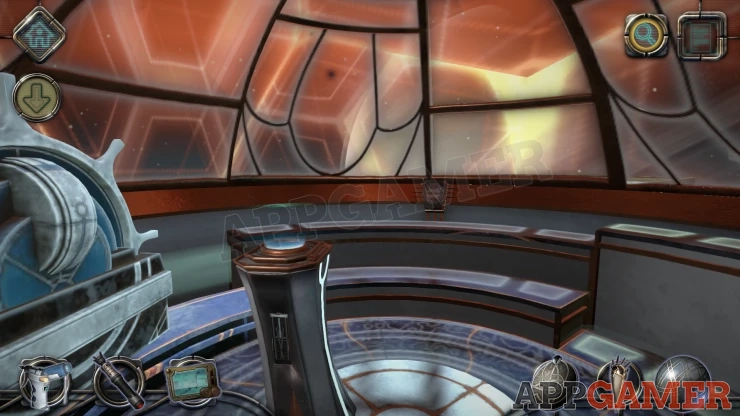
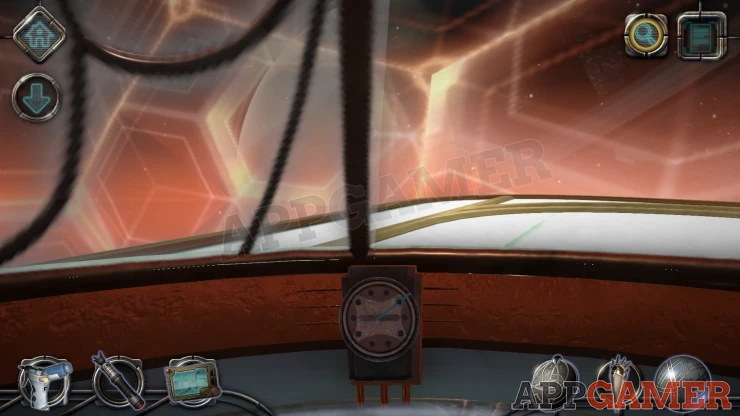
View it in your inventory, notice it has a hand like a clock, and 10 markings around the face.
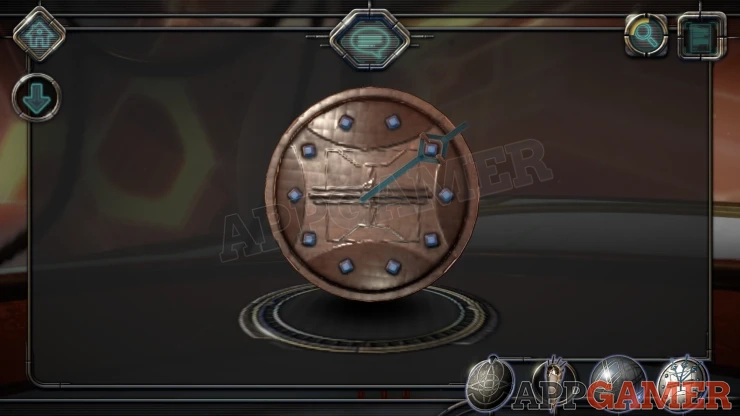
You can move the hand and you will find there there are 3 hands in total, one behind the other.
Turn it around to see the back. There are 3 markings here.
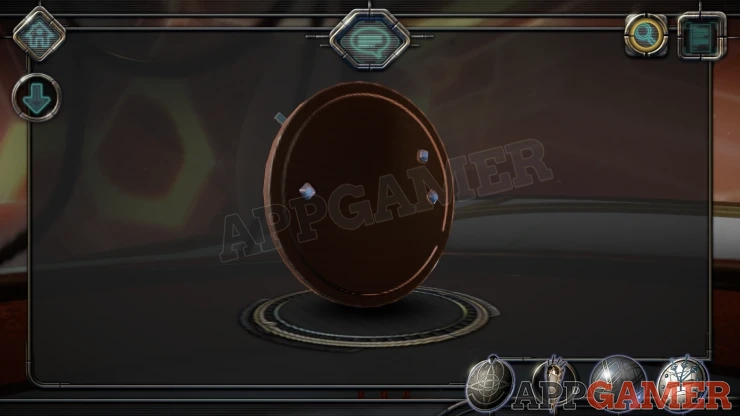
On the front now turn the 3 hands to line up with the 3 marks on the back.
Show
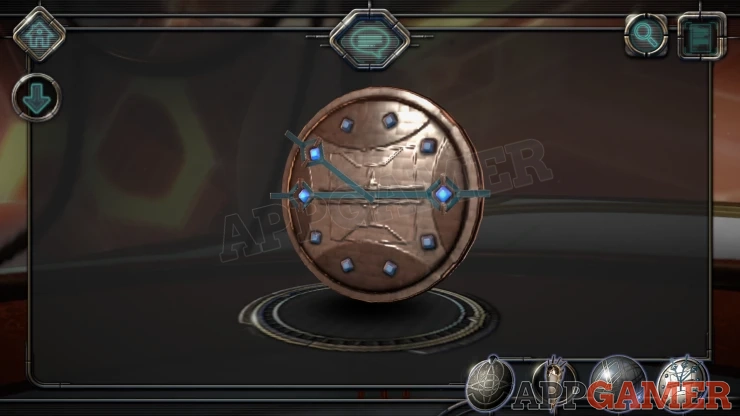
Place the Disk back into the slot and you will then place the helmet on yourself and the dome will open to allow you to step outside.
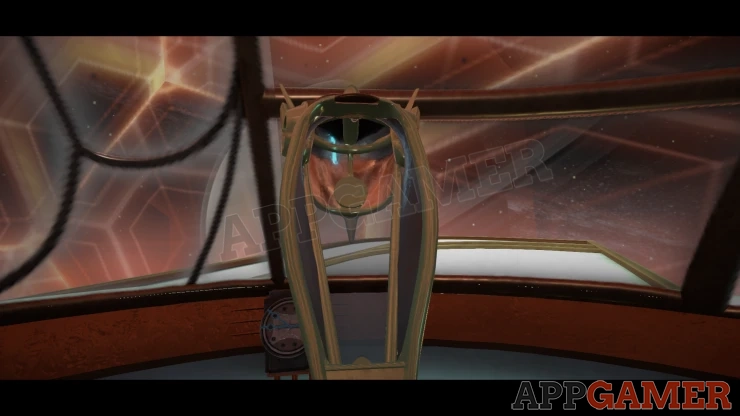
Look inside the section of the ship that opens up. There is a round puzzle.
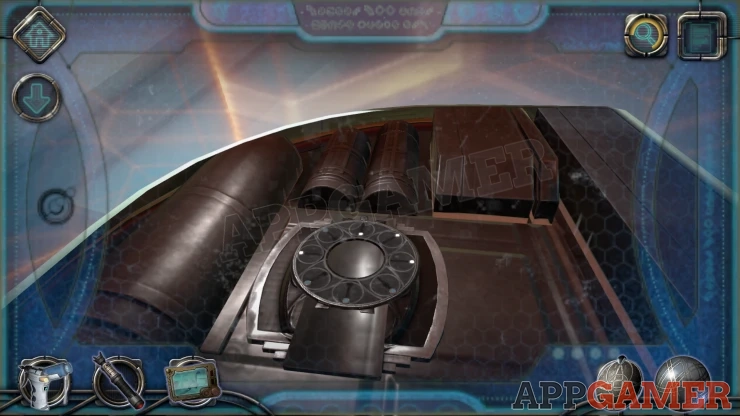
Round Puzzle
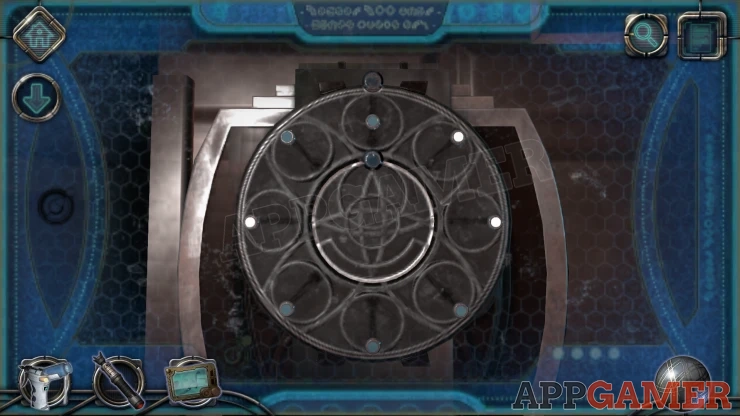
- Place the magnetic disk in the center to start.
- There is an outer disk with a round Magnet at the top. And the inner disk with another Magnet on it.
- Around the outer circle are smaller circles with slots in them and button sliders.
- These sliders are blue in color but will turn white when they are in the correct positions.
- The blue magnets will repel the sliders. (push them away).
- Turn the disks to move the magnets and use them to move the slider buttons to the correct locations and turn them all white.
Solution: Show
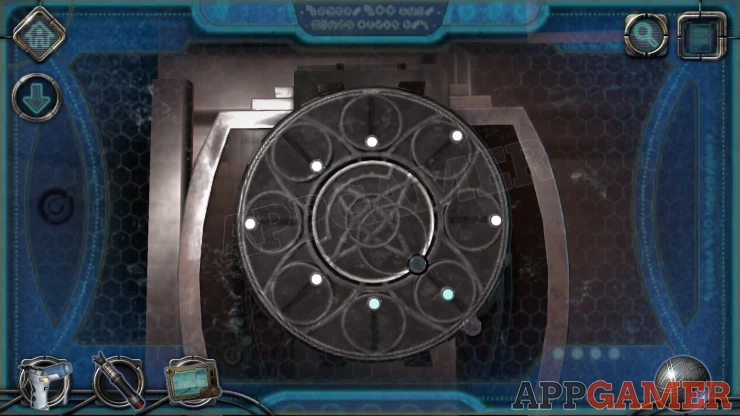
Once done a hatch will open. Open the doors to find another device below.
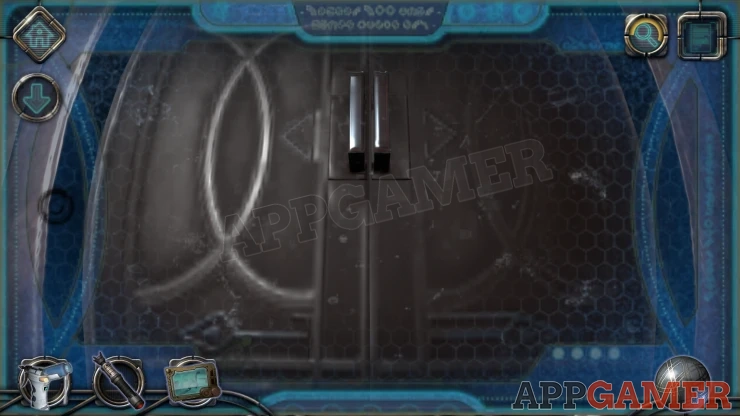
Sphere puzzle
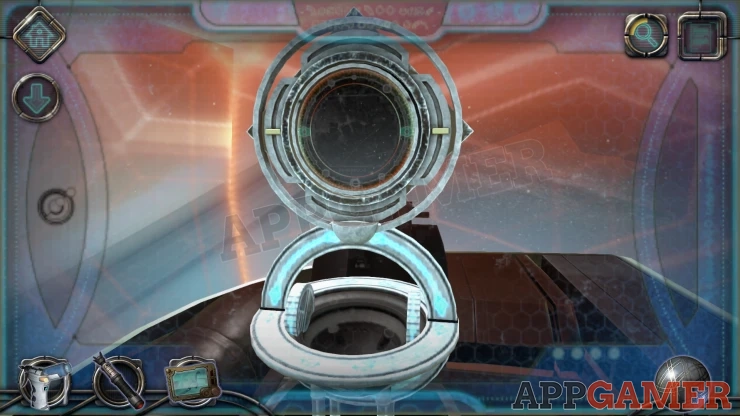
- Place the glass sphere into the bottom section of the device to start.
- You will see blue/orange circles inside it and also points of white light.
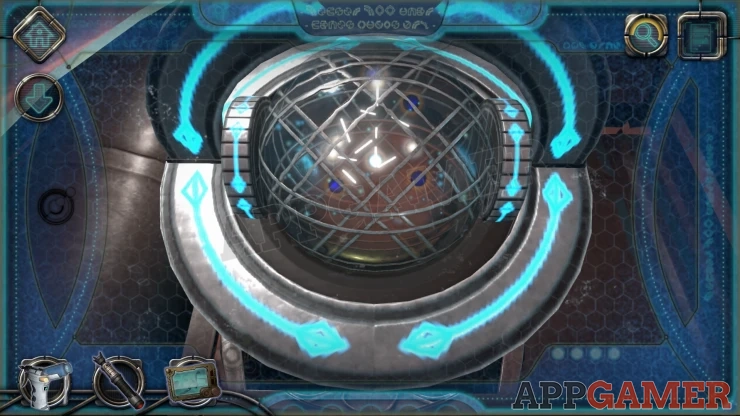
- Around the Glass Sphere are dials with arrows that let you rotate the Sphere around in different directions.
- This will also move the white lights inside it. The circles are fixed.
- Turn the glass to that the white lights match up with the position of the circles.
- The white lines within the model will also line up when they are in the correct positions.
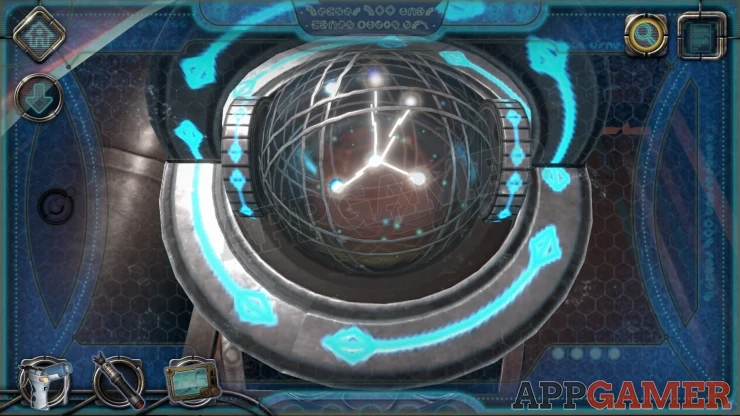
Once done the screen at the top of the device activates.
There are 5 circles on the screen.
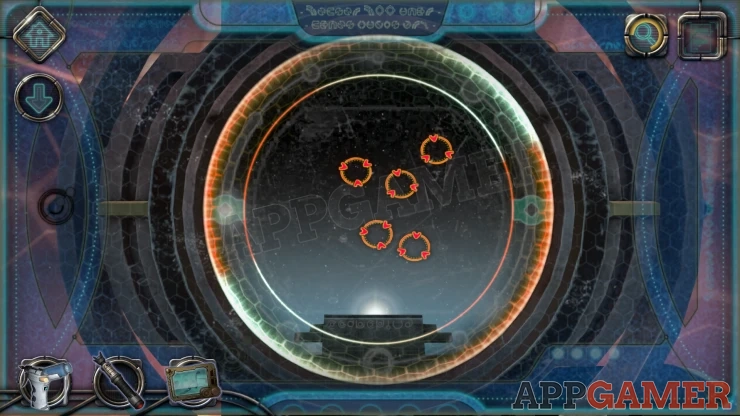
Drag the view around until you can see 5 distant bright stars on the screen.
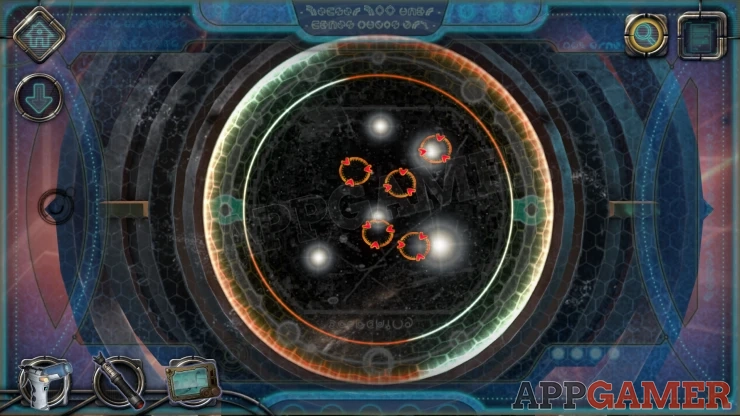
Now you can use the handles on the left and right of the screen to move the orange circles and line them up with the stars.
The handle on the left will zoom the circles to be closer together or further apart.
The handle on the right will rotate the pattern of circles around on the screen.
Line them up correctly and this will complete the set up of this navigation device. Three of the stars are marked in the sky.
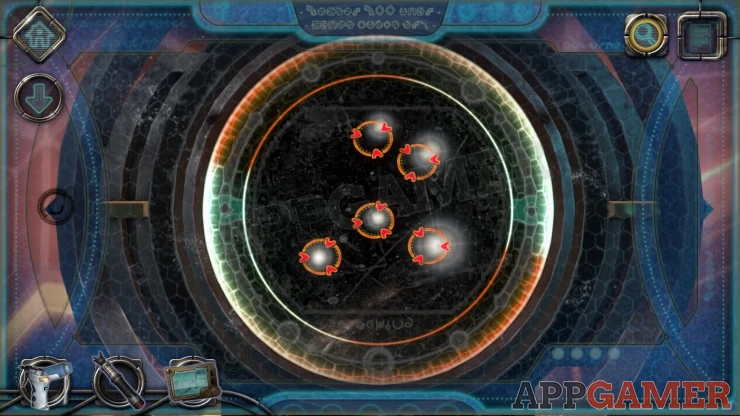
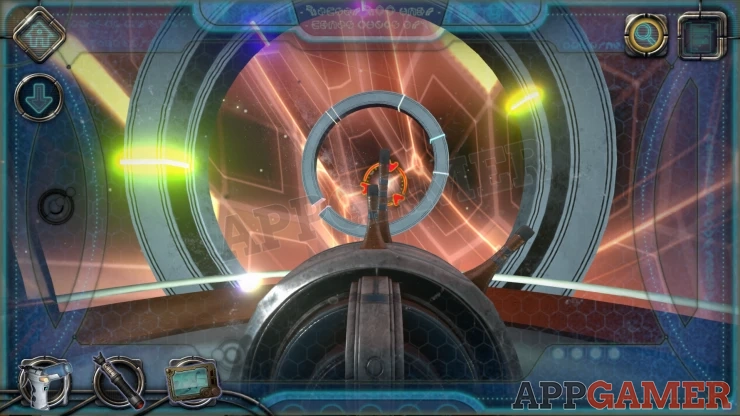
Back inside the ship, pieces of rings appear and move out to position them selves in line with the marked stars. The rings are incomplete.
Move to the Helm wheel control and you can then us this to move the view around and focus on one of the rings around a star.
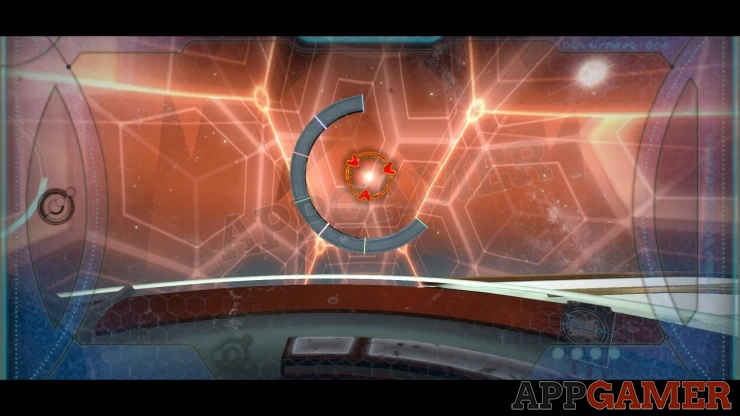
When you are looking at one of the broken rings
The wheel has 3 sections with handles that you can rotate. When you are lined up on a ring you can use these to move part of the broken ring and connect them together.
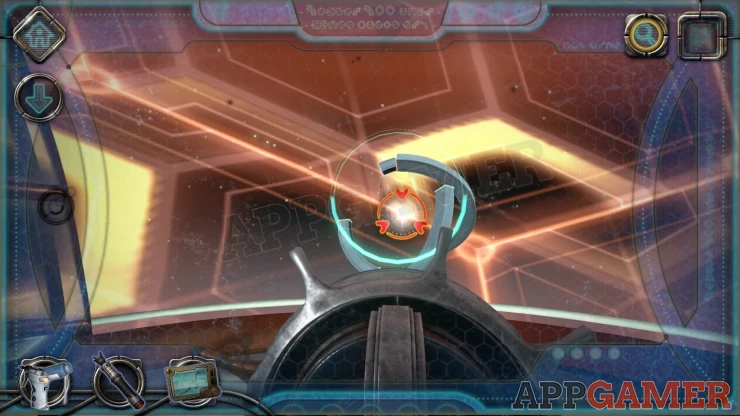
When each ring is complete you move on to the next.
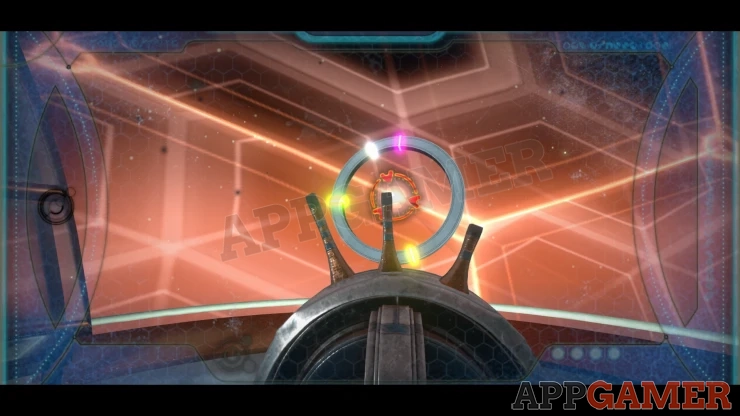
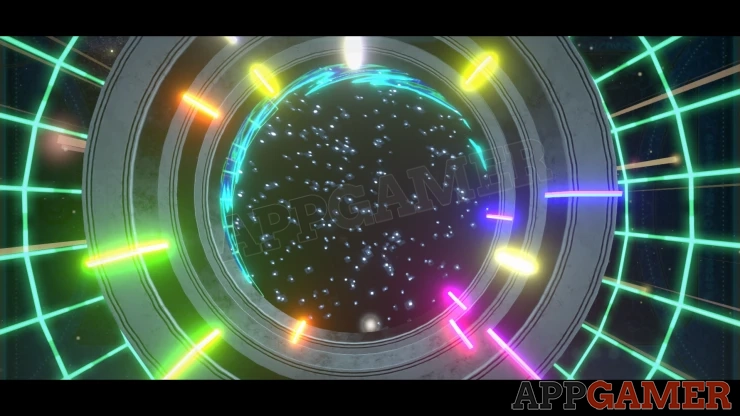
When all of the rings are complete a passage is opened to allow the ship to travel home.
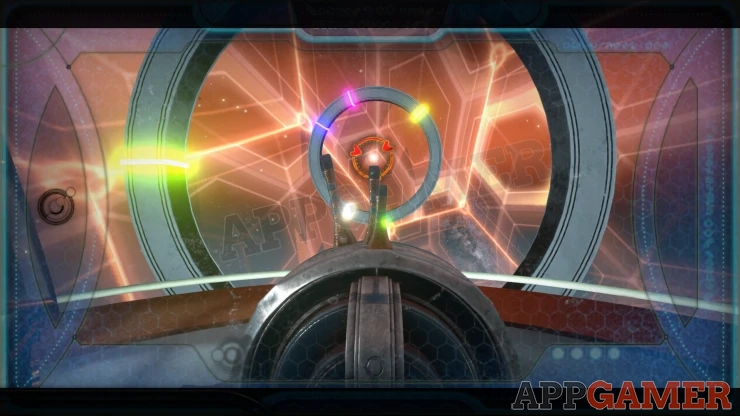
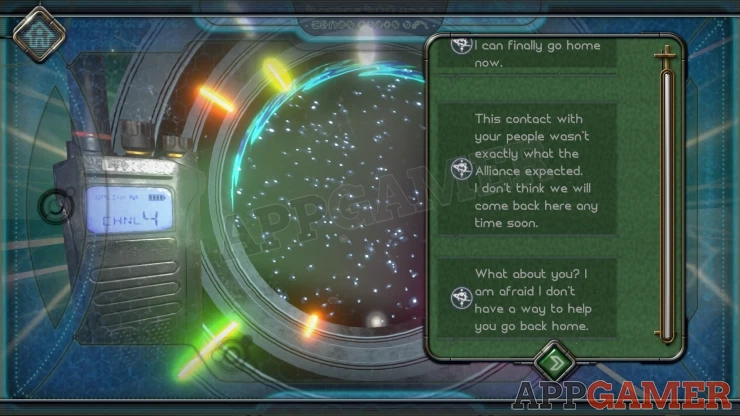
This completes the chapter and the game.
We hope this guide was useful to you. If you have any questions about playing Machinika: Atlas please head to the Answers Page to ask there.
We have questions and answers related to this topic which may also help you: Show all
 With 20 years of experience in creating video game content for the internet and over 30 years as a gamer, Mark is now a passionate mobile App Gamer. Loving a challenge, he is always ready to get stuck in to both survival builders and puzzle solving games. He has been providing content for AppGamer since 2014.